 Leon
LeonThe Idea and the PCBWay sponsorship
My goal for this project was straightforward: to create a compact and functional gaming console using an ATtiny85 and WS2812 LEDs. The challenge was to maximize functionality within the constraints of the ATtiny85's limited pins, RAM, and Flash memory. To conserve memory, I opted for hardware-based debouncing using capacitors, eliminating the need for software debouncing routines, which would have consumed valuable memory.
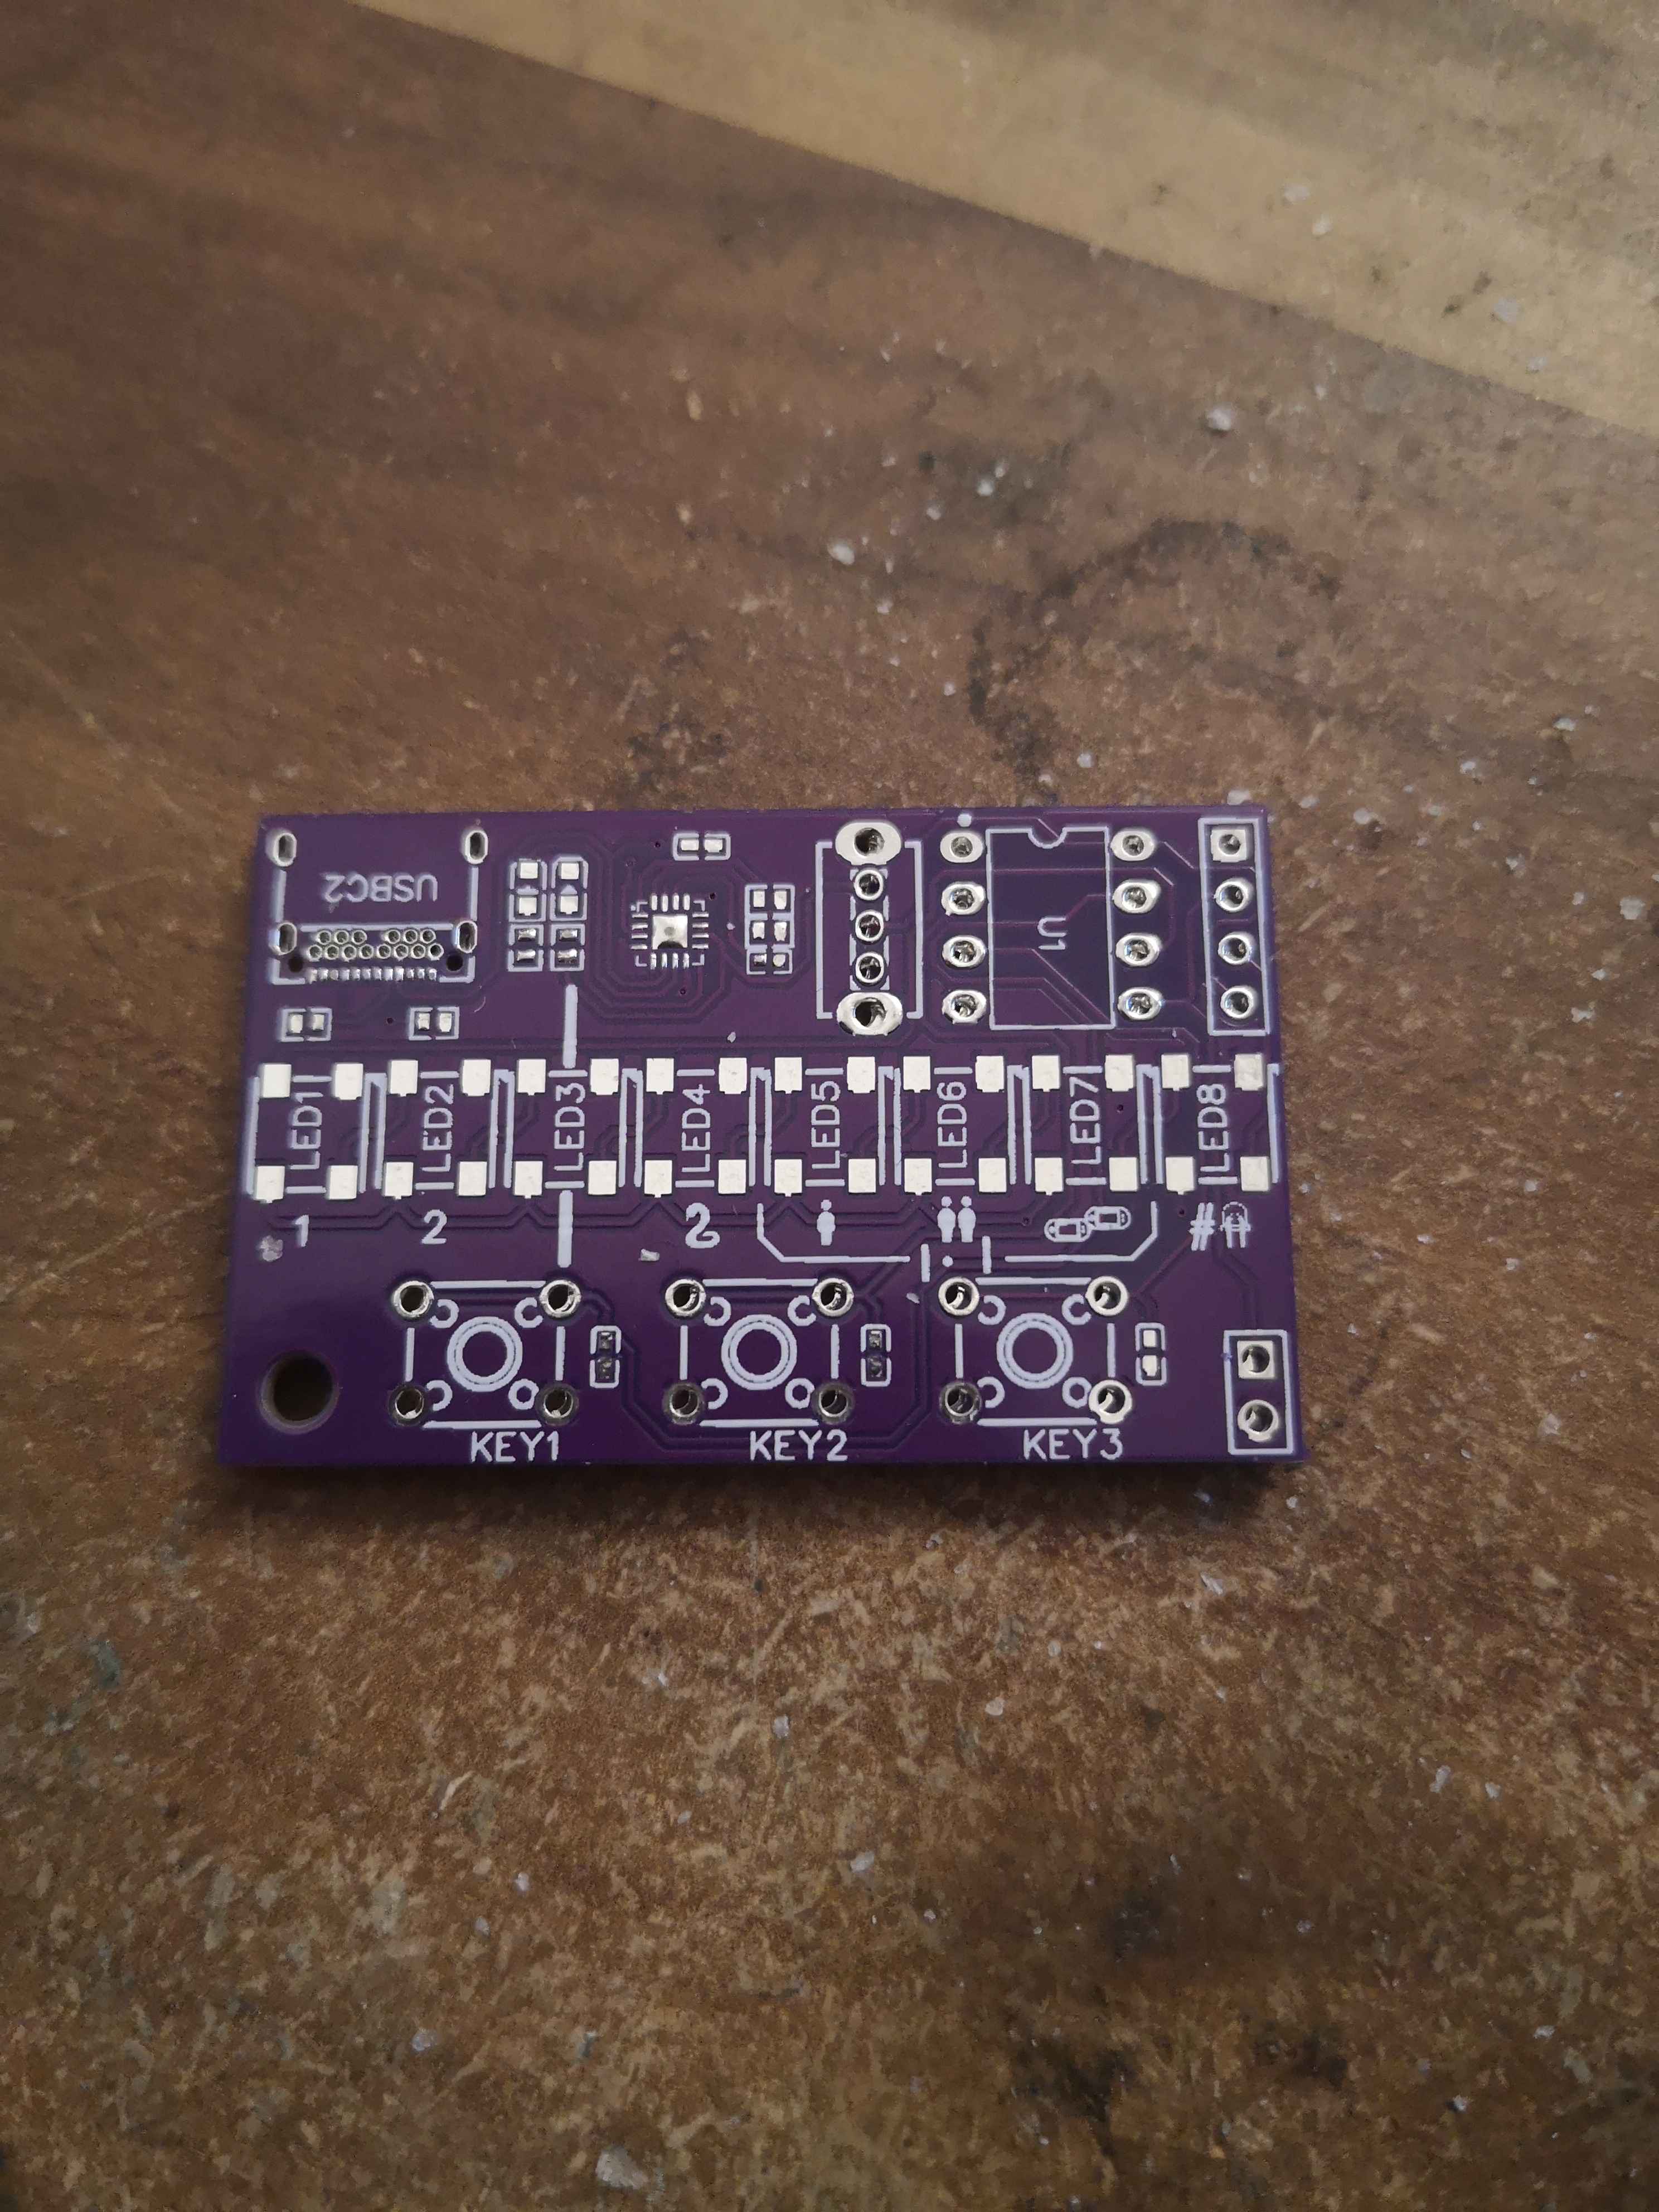
I got the PCBs and the printed enclosure sponsored by PCBWay. While the PCBs with the purple finish are definitely a treat to my eyes, I think the real deal is the printed transparent case. The Layer lines are only visible under a certain angle and there are no visible leftovers from support structure. I mean just look at it, it's so beautiful... and certainly better than everything I could have printed at home. Also ordering it was straight forward, even though I was not sure the material would support the snap fit I designed. On the PCBs, I was really surprised to see how well the silkscreen turned out, as some of my images I added are really small.
If you want to check them out you can use my referral link.
Building everything together
All the parts I used I had laying around, besides the PCBs and the enclosure of course. The most expensive one would be the BQ24230 for charging the battery I had conventionally not used in any other project since I bought them. The most pain was to solder in the USB-C connector, but I guess that's the price you have to pay to be able to charge your project with the cable of your phone.
I would have loved to build more than one console at the moment, especially as I have five more PCBs from PCBWay, but unfortunately I didn't had enough LEDs as well as no second BMU.
Features I added in Hardware (no matter if my code uses them)
I added the option to expand the LED strip if the eight LEDs on the PCB aren’t enough (which, to be honest, they usually aren’t for most games). I exposed the output pin of the last RGB LED, along with GND and VCC (which should be between 3.6V and 4.2V). This allows you to add as many LEDs as you want to the game console—at least until the ATtiny's RAM runs out.
Also because playing alone is boring, I added the theoretical possibility to connect two consoles together. At start I wanted to use a two wire protocol like I2C, but for that, I'd either had to get rid of one of my 3 buttons or use the reset pin (PB5) of the attiny, which would have made it really difficult to change the code after it's first uploaded. So I was forced to use only one pin. Because of that, I wasn't able to implement a multi-console game, as I had no idea how to implement a one wire protocol that either works without master or how the consoles could figure out which one should act as master, especially with the limited memory I had to work with. However, this is something I really want to include into this, my PCB already has a picture for pong across 2 consoles. (if anyone knows how to do this, I'd happily accept help, as my software developing skills are not the greatest)
The Code and the features I did indeed add to this project yet (or thought of adding)
For this Project to save as much precious space as possible, I modified Matthias Hertels OneButton Library, so the stuff I don't need like multiple presses or software debouncing don't take up memory. For interfacing the LEDs I used the tinyNeoPixel library, which is specialized in low memory consumption. Also it comes directly with the AtTiny Core, which is needed to program the attiny with Arduino.
I testet my code before uploading it using the wokwi website, the zip of the wokwi project is attached, with all Debug statements I added. Also because for some reason the tinyNeopixel Library is not supported in wokwi, I was forced to use the Adafruit NeoPixel library for simulation.
As the memory is limited, there is no collection of high scores or such stuff, even though I thought about saving them to EEPROM.
The entire code is uploaded to my GitHub under: https://github.com/1d438ef6/AtTiny-1D-GameConsole
The Menu
When starting the console, it "boots" into the menu, easily recognizable by all the LEDs being purple with one being green. The green one is the cursor, with which the different games could be chosen. It can be moved using 'key2' and 'key3' as its stated on the PCBs, with 'key1' acting as select. The movement in the menu sometimes glitches from first LED to last or into the game the cursor currently is at, but that's quite rare and I couldn't figure out why this happens.
Holding 'key1' pressed for long always returns to the menu, no matter in which game you are.
Free slots for games
Because I could not come up with two more games that I could easily implement on this, the first two menu points only lead to empty games, where only the player/cursor is shown.
For one of them I thought of something where colored pixels move along the LED-strip and you have to press the button according to the color when it is at a certain position on the PCB. In wise foresight, I already added a thick line on the PCB on the third LED. But the implementation of this (at least my implementation) would take up more memory than I had left after doing the other.
Game 3 (I could not come up with a better name)
Basically you have to catch the glowing LED, which moves up and down the LED-Strip. The position to catch it is the already mentioned third LED. Every time it gets caught, it moves faster.
Snake
1D snake is the game that profits the most from more LEDs than eight. With only them, it is very easy to reach the size of the game area (in which case you win). Maybe I'd have to turn up the speed to make it harder.
Pong
The game that works the best at the moment. I've added 3 different game modi:
- single player (against an imperfect computer enemy)
- multiplayer, but on one console
- multiplayer, but across 2 consoles, this is not yet included
The game is pretty basic. You have an area where you can bounce back the ball and depending where in this area you bounce it back, it gets faster, slower or keeps its speed. If it leaves your area of bouncing it back it's a win for your enemy (points are not tracked at the moment) and the game starts new. This game also would profit from more LEDs.
The only setting there is
As there is not much which could be done with settings on such a small console, only one is needed: the setting of the number of LEDs. It basically lights up all LEDs currently set, and 'key2' decreases their number while 'key3' increases them.


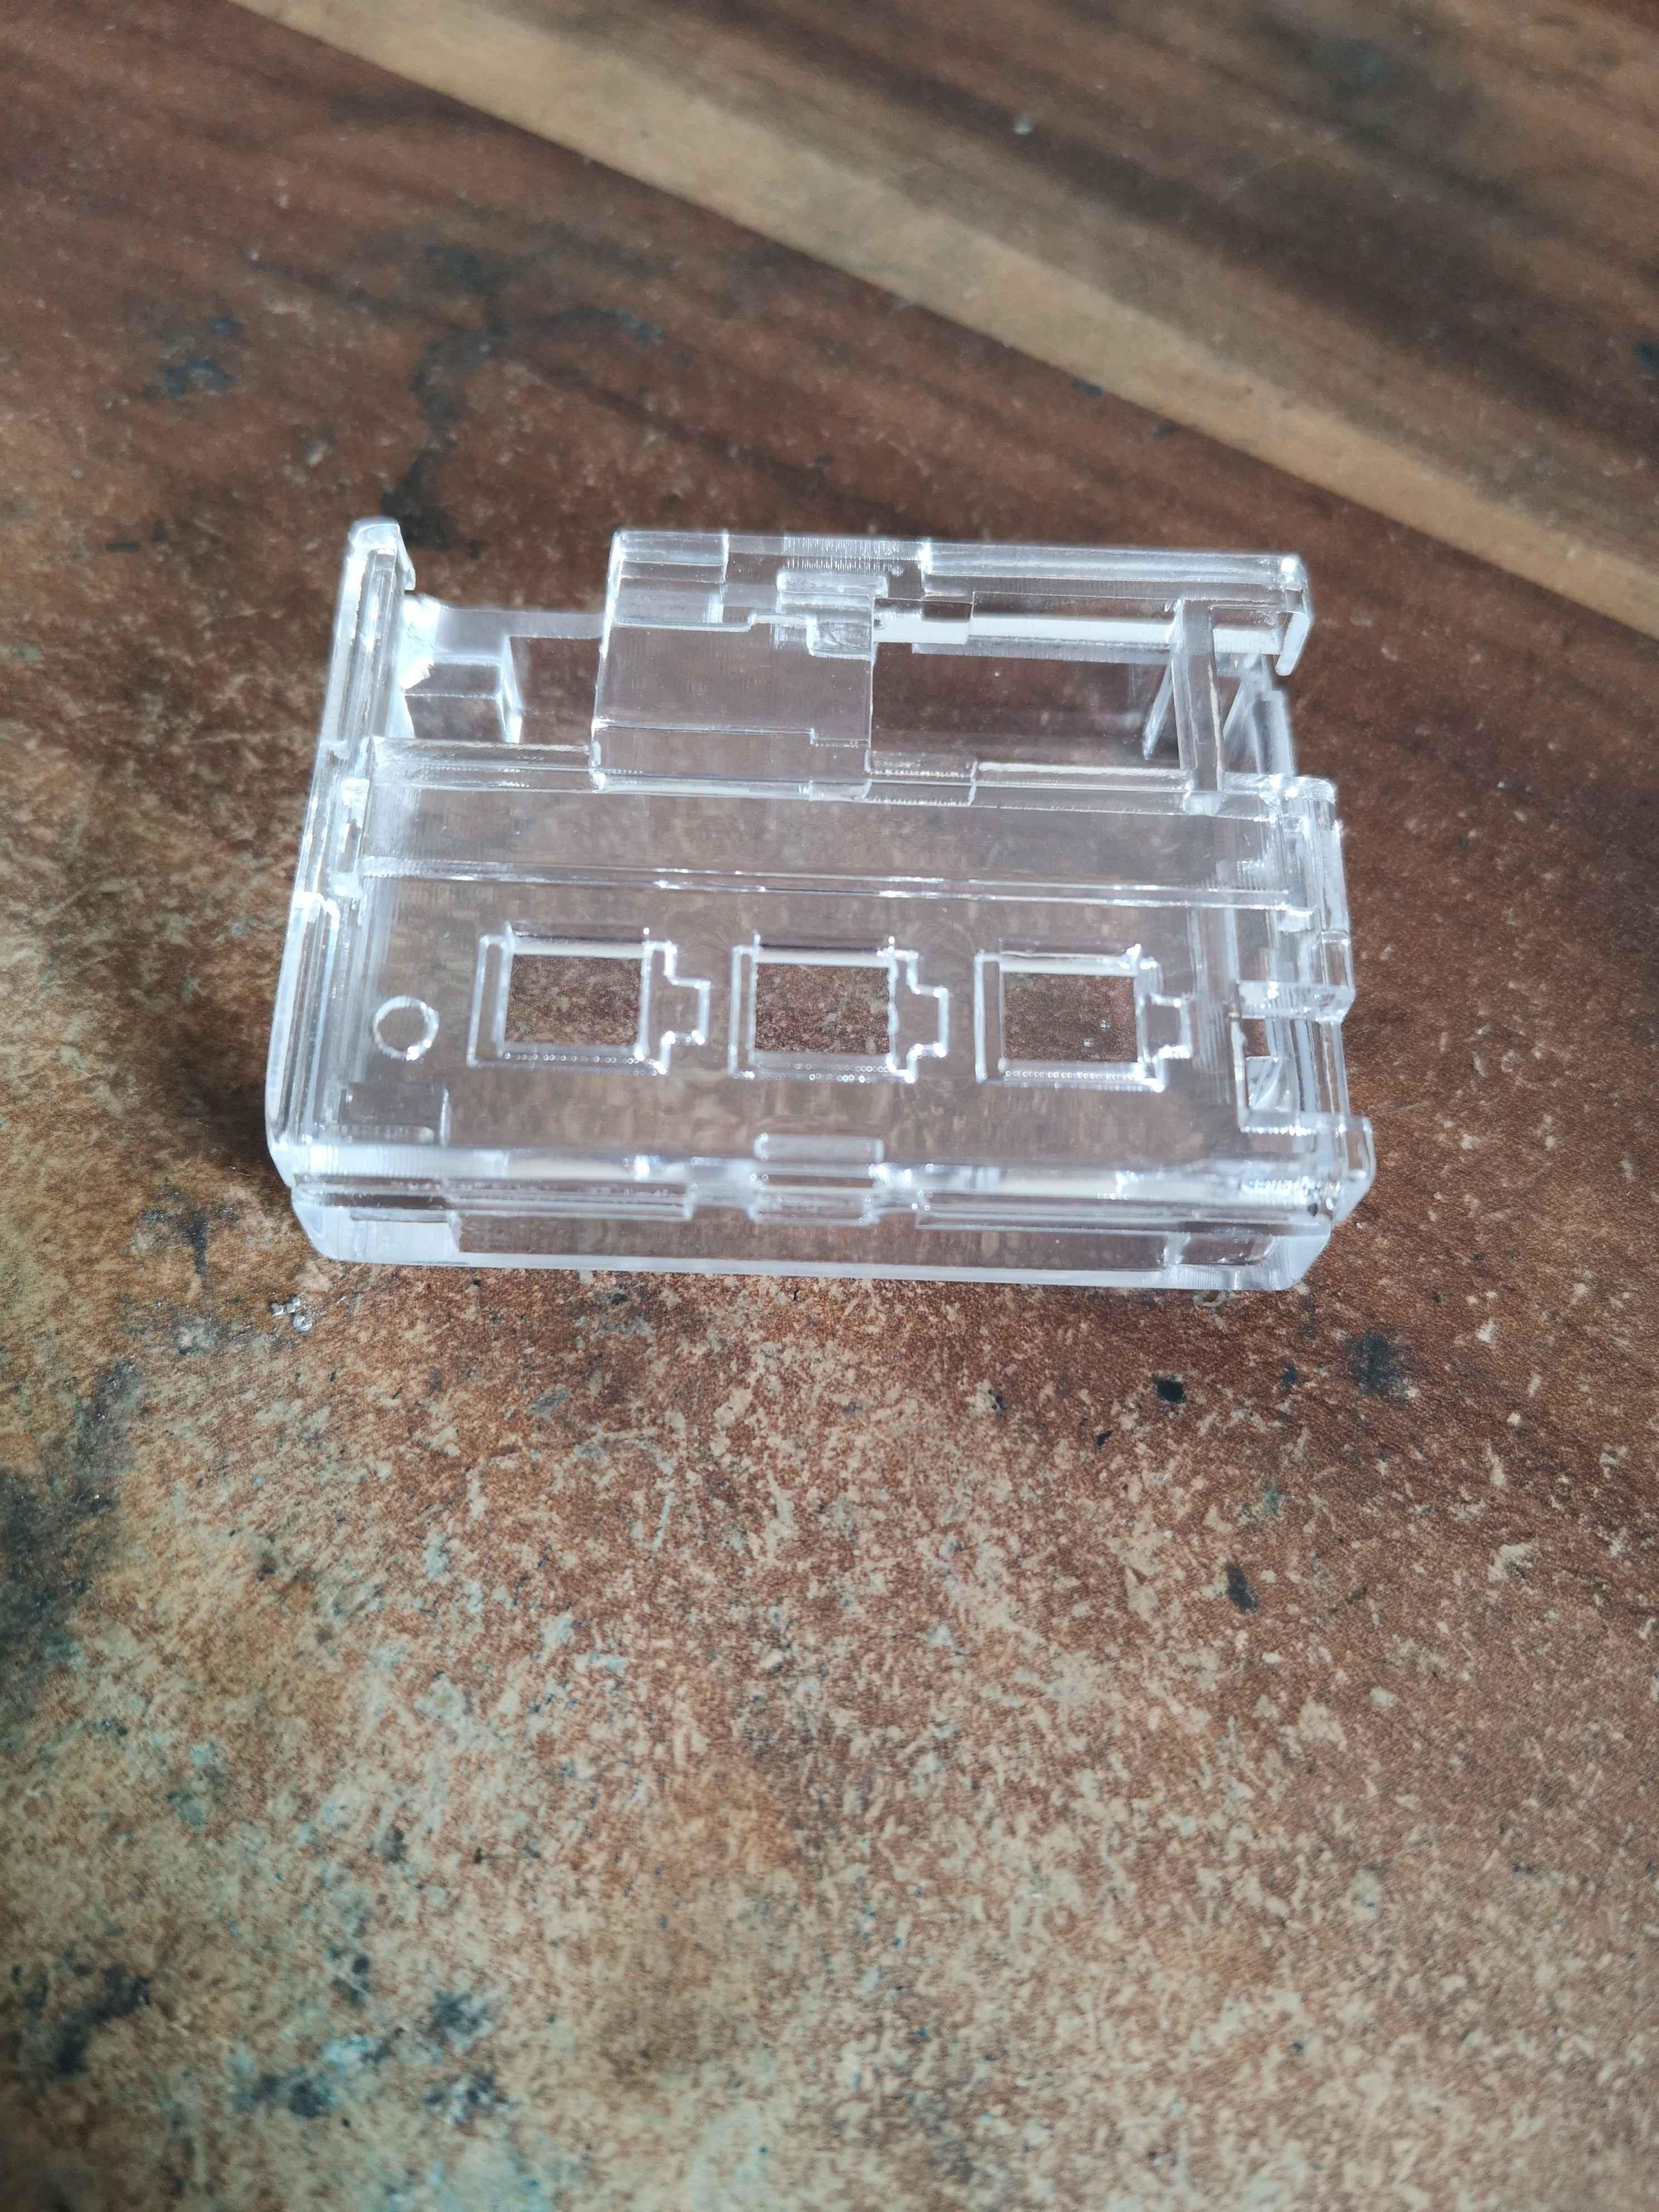
The case
I wanted something simple, which does not need screws. Those wouldn't really fit through the PCB. So I went with snap fits. As some kind of transparency is necessary for the LEDs to shine through, I used the 3D printing service from PCBWay with their UTR-8100 material with spray varnish, to give it this beautiful transparent look.
Things I could improve in the case is the placement and number of snap fits, at least on one side should have been two. Also I left too much space between components and the case. PCBWay really outdid it with the tolerances, so the 0.2mm specified on their webseite was not needed as much as I thought it may did.
The final product

I want to thank PCBWay again for sponsoring this project, as it would not have gotten this great without the 3D printed case, which I would not have been able to afford.