 jeremy.geppert
After returning from some travel I came home to the V1.2 boards and all the other parts I need to complete 30 SAO Speak and Spells. 1 Week remaining so no time to waste. It took far more time than I expected to assemble one of these with the audio parts. There is a good chance I will be bringing most of these in kit form.
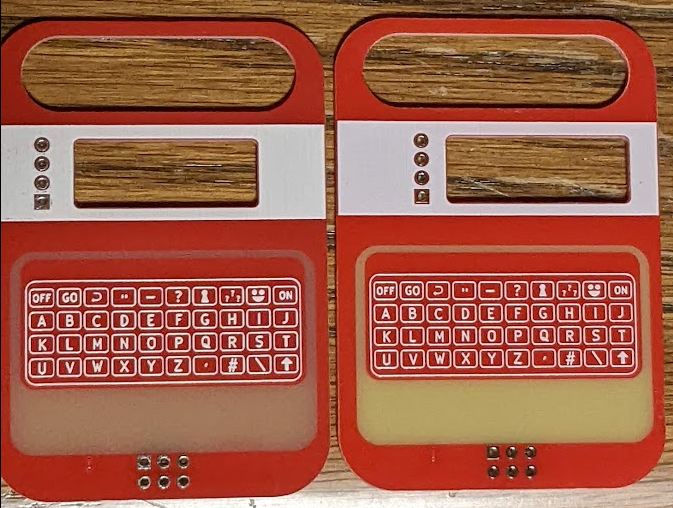
The V1.2 board is on the left. I was surprised how not yellow and darker the red was in this batch. A bit disappointing compared to the first batch of boards. I'll make it work.
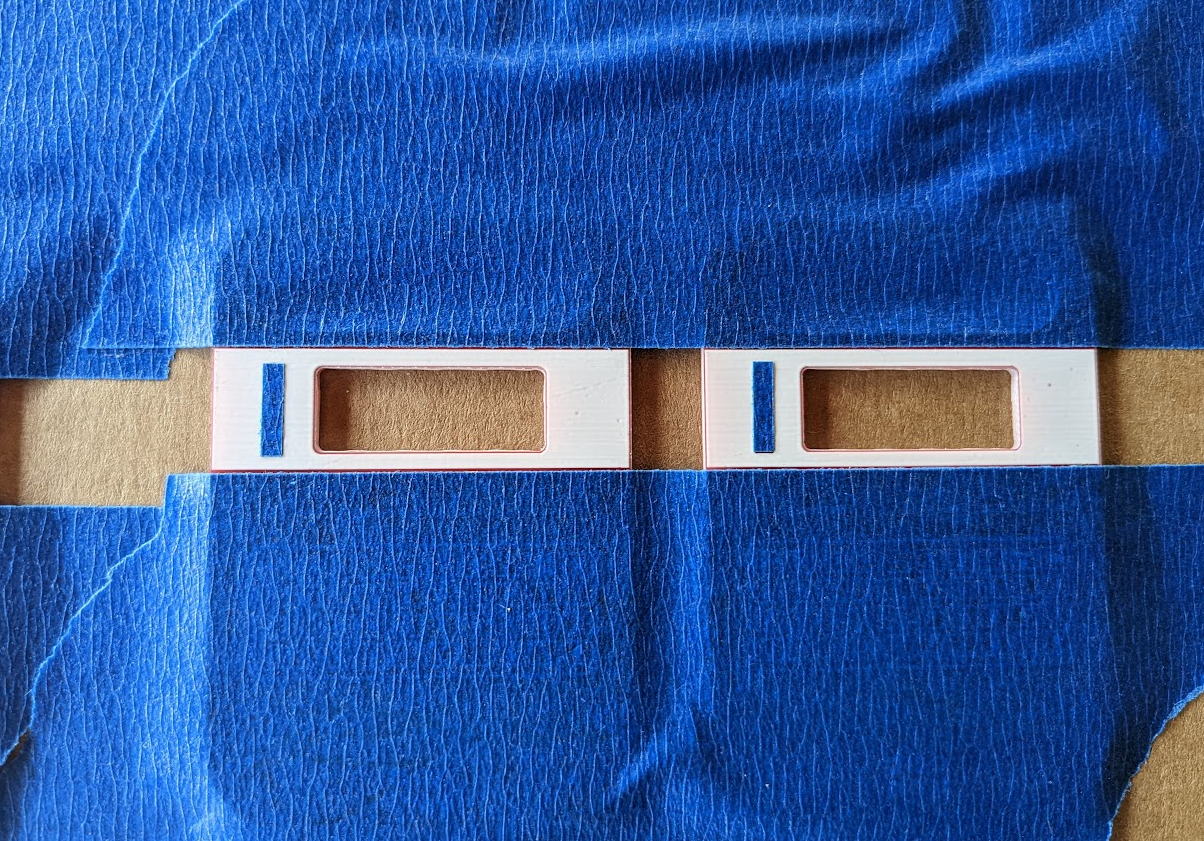
Masked off for painting. By painting on the black strip I also get to black out the inside edges where the OLED sits. This looks MUCH better than exposed board.
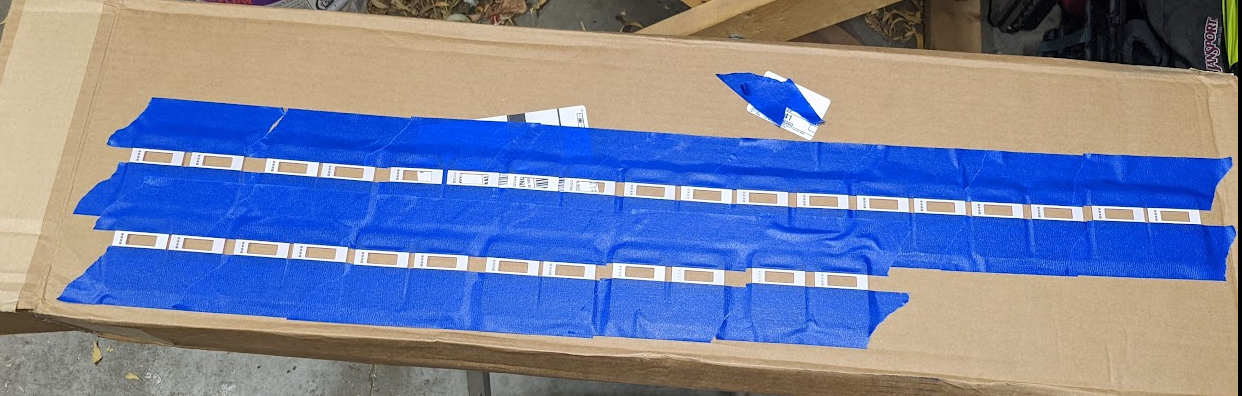
But first to the laser to cut some 2.5mm X 10mm strips to mask over the holes/pads for the OLED. I don't want paint in there. I'll touch it up with more paint after soldering.
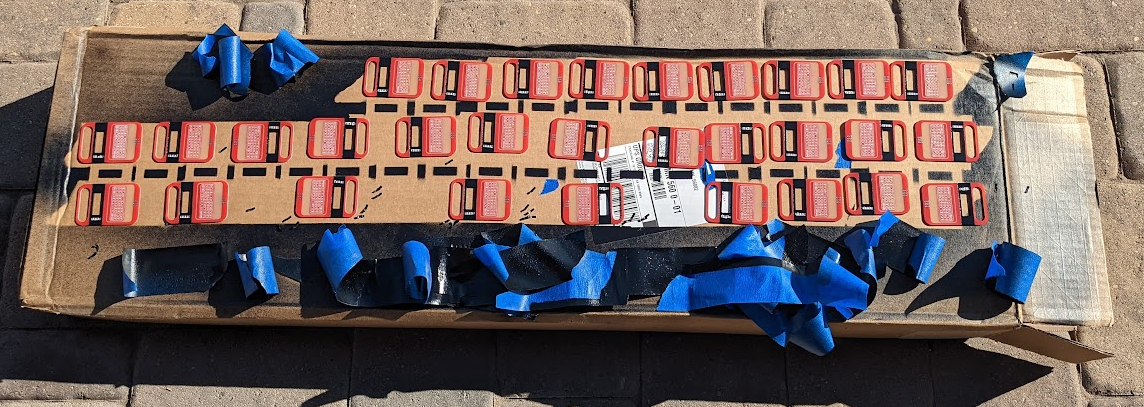
All painted, masking removed and drying in the sun.
Populated. All amped up.
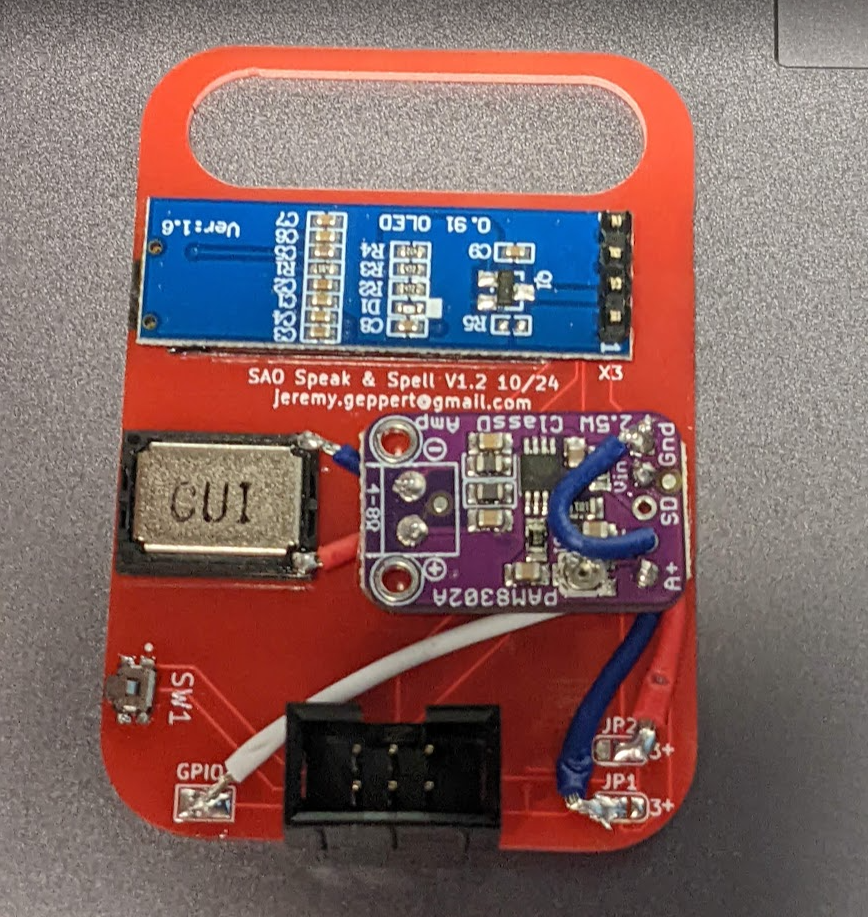
Now to get the code on one of Andy's SAO Demo Controllers to bring it to life.
Discussions
Become a Hackaday.io Member
Create an account to leave a comment. Already have an account? Log In.