Close
0%
0%

WALKPi Breadboard Version

WALKPi is a Raspberry Pi Pico powered Audio Player which uses the DFMini Player to play audio files stored on SD Card

Similar projects worth following
Greetings everyone and welcome back, Here's something loud and musical.

Similar to a traditional walkman, WalkPi is an audio player setup that plays audio files stored on an SD card by pairing a Raspberry Pi Pico with the DFMini Player. It has an SSD1306 OLED screen, an interactive menu with various buttons for selecting tracks, volume controls, and additional functions.
We are currently working on this setup, which is essentially a breadboard arrangement for an audio player.

The Raspberry Pi Pico, the project's brain, is linked to the DF Mini Player, a compact, inexpensive MP3 module that has a simplified output directly to the speaker.

We may choose and play tracks with the help of an OLED screen and a few push buttons that are attached to the Pico's I/O pins.

As the DF Mini has an internal amplifier chip that we can connect a speaker to, we are utilizing a 3 Ohm speaker directly attached to the speaker input pins of the DF Player.

DF Mini Player

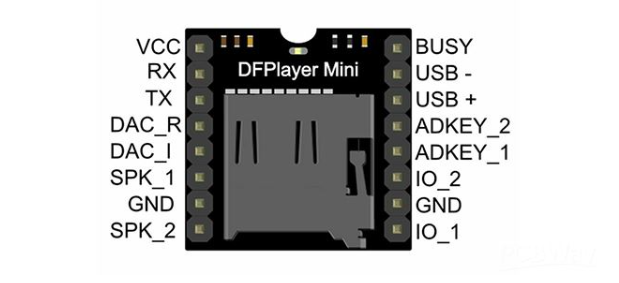
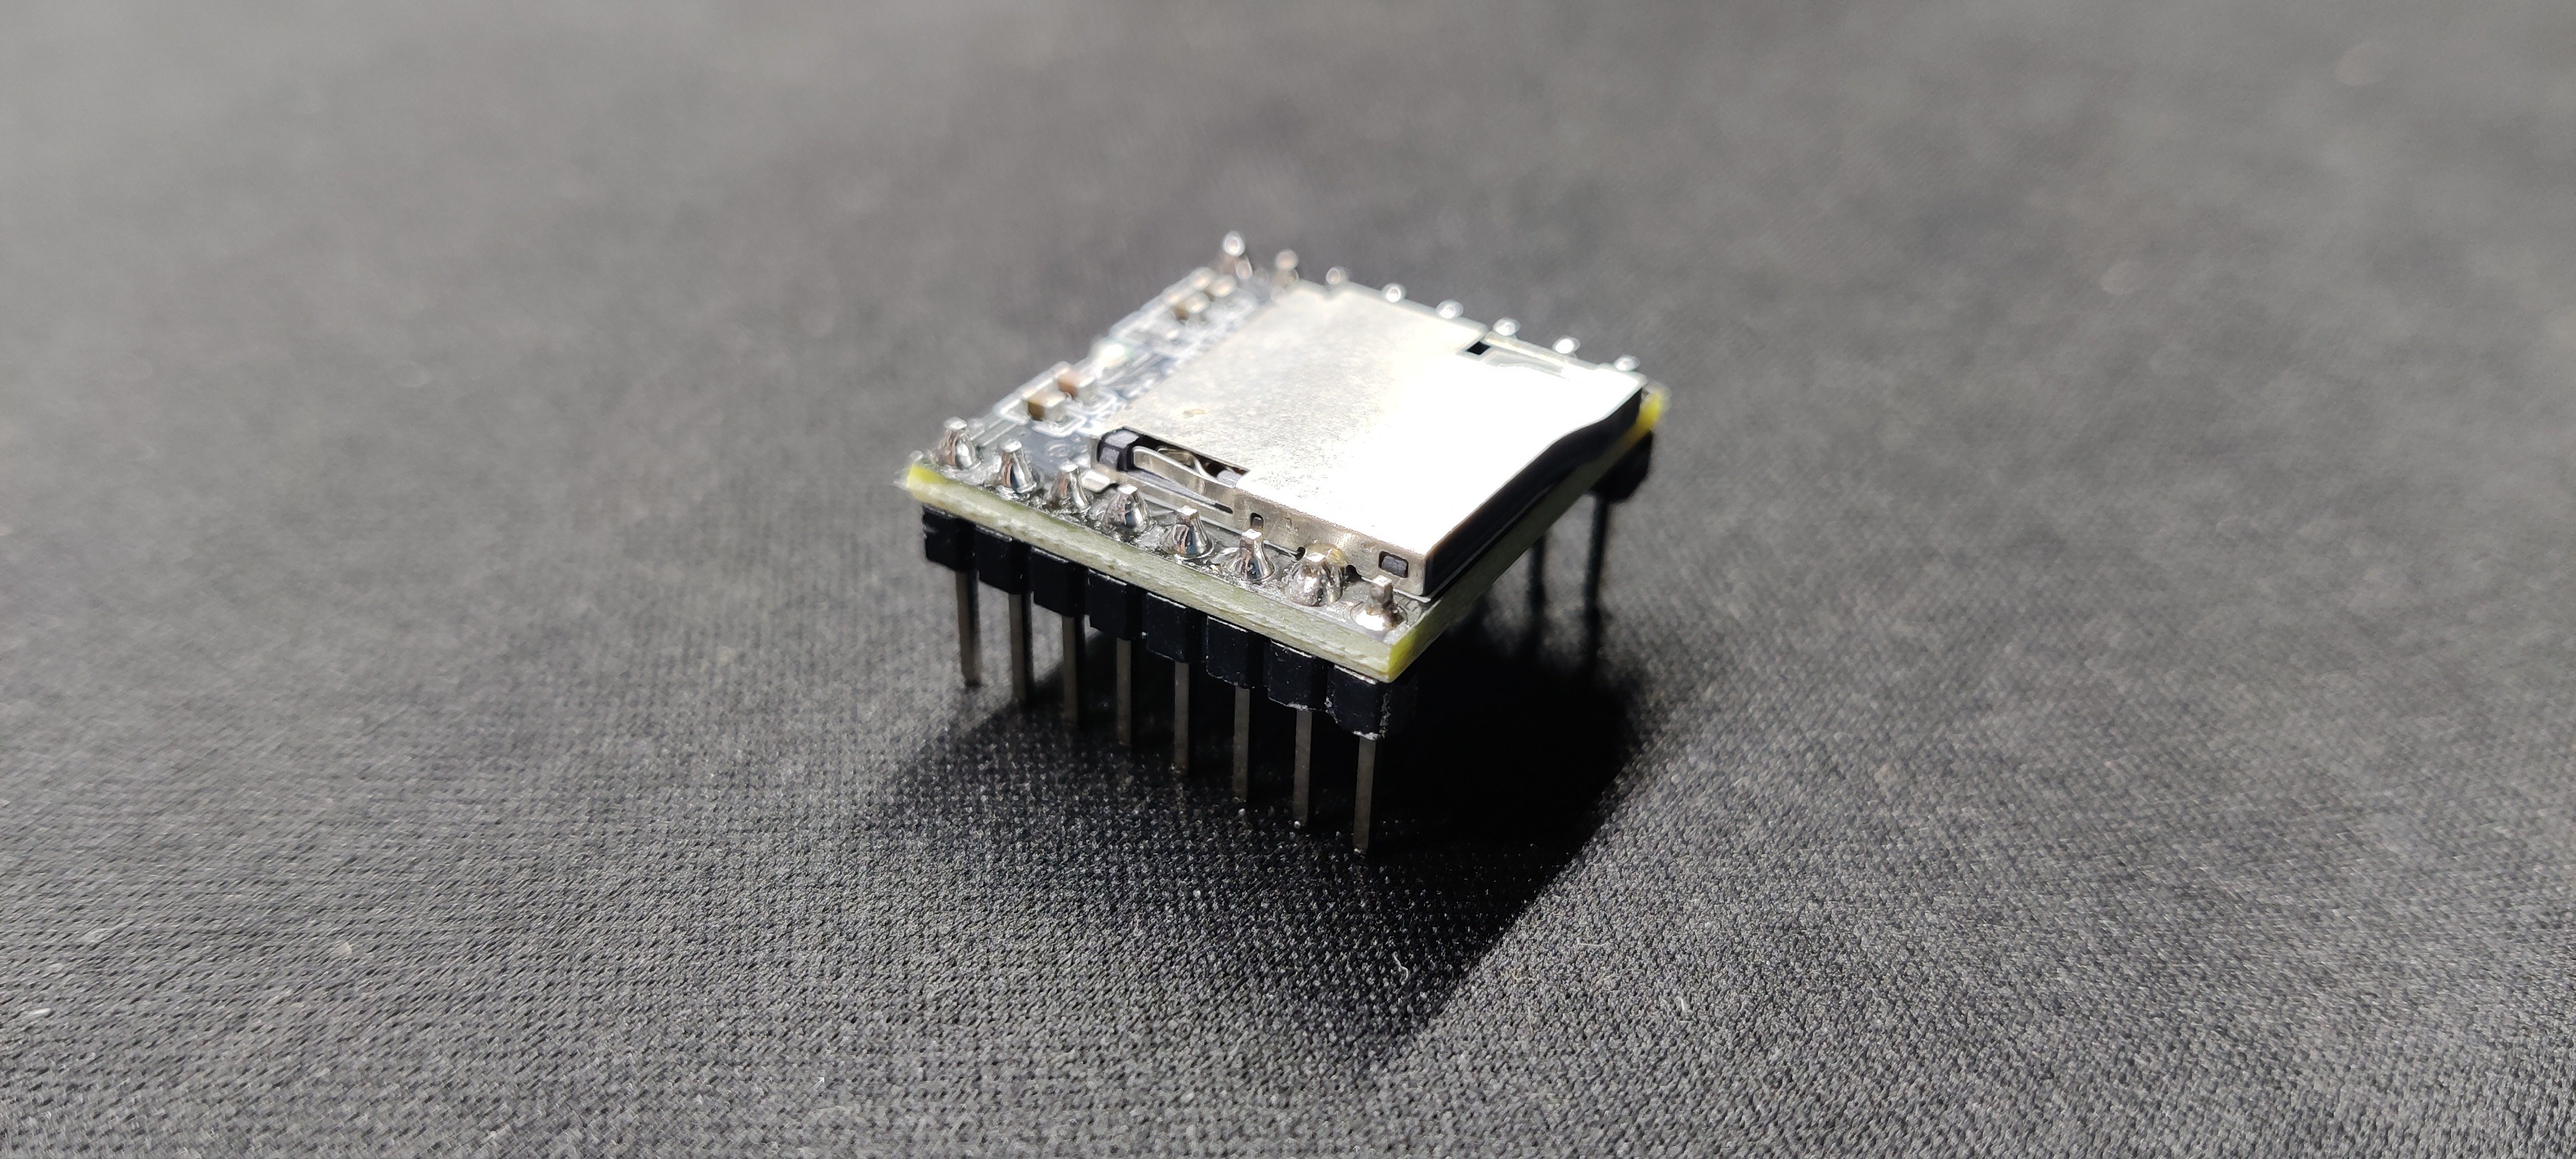
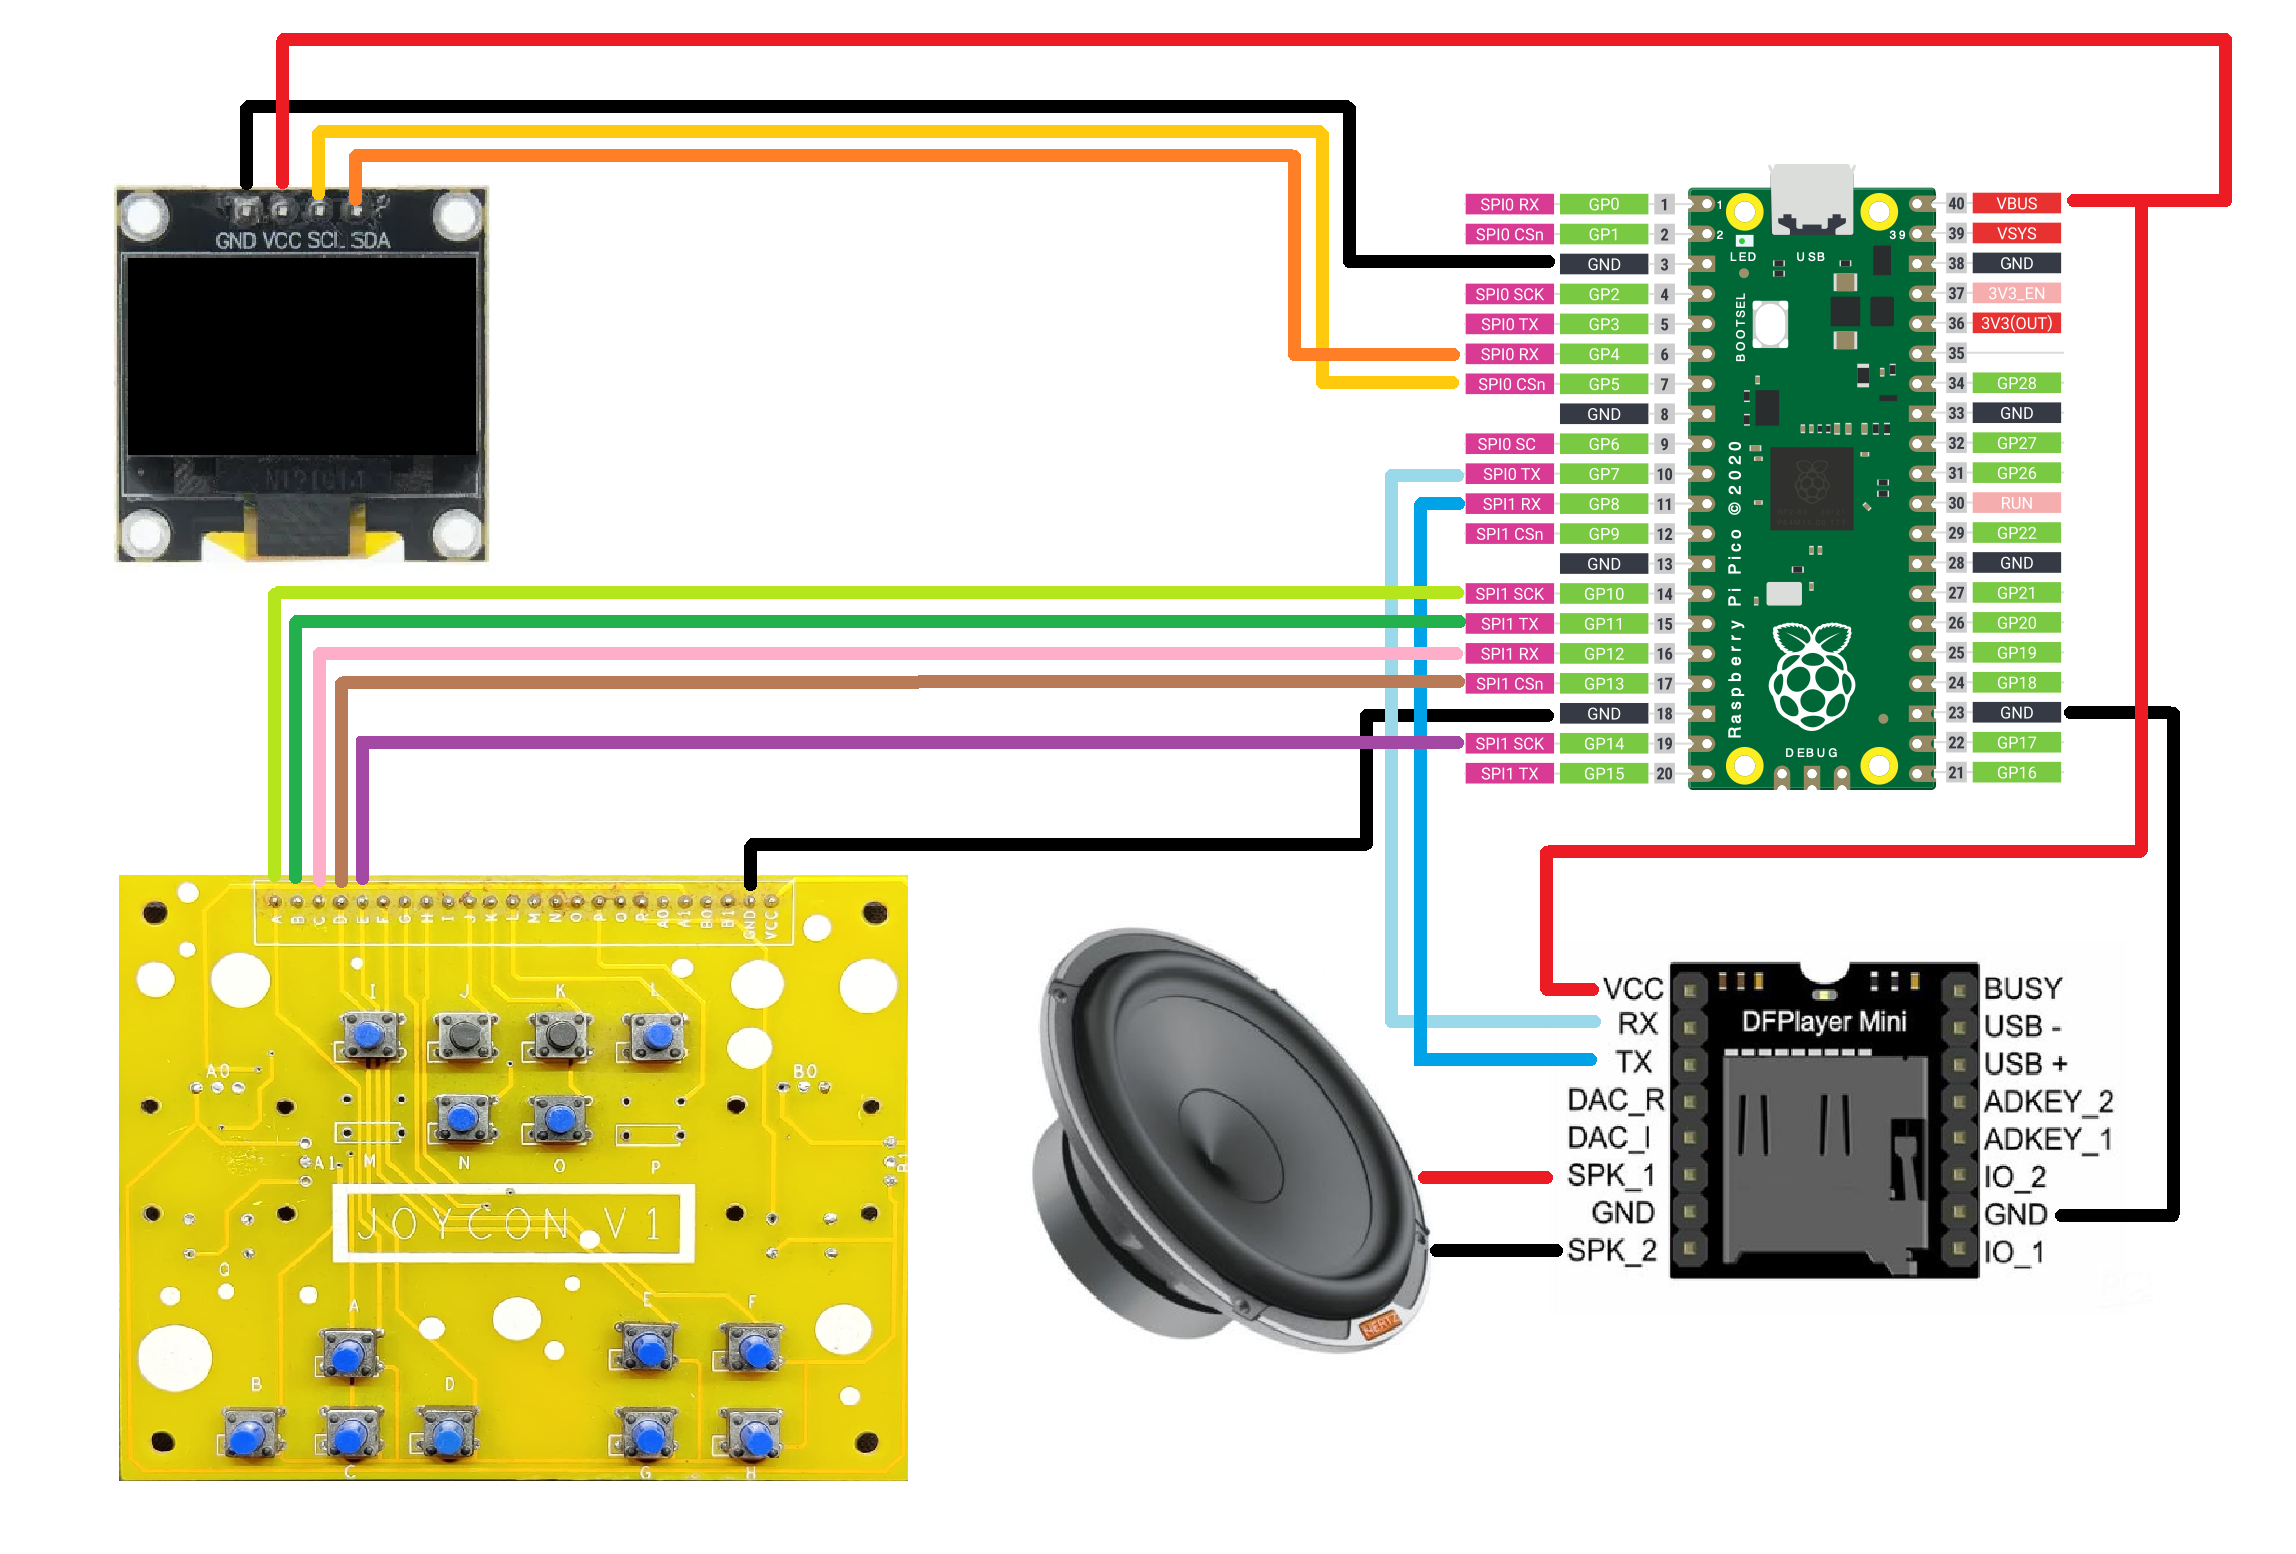
The star of this project is the DFPlayer Mini, which is a mini MP3 Player Module that is based around a 24-bit DAC IC along with an onboard SD Card reader that fully supports the FAT16 and FAT32 file systems.

This module supports a variety of control modes, I/O control mode, serial mode, AD button control mode, etc., meaning the user can use this board as a standalone device or use an external microcontroller to drive the module.

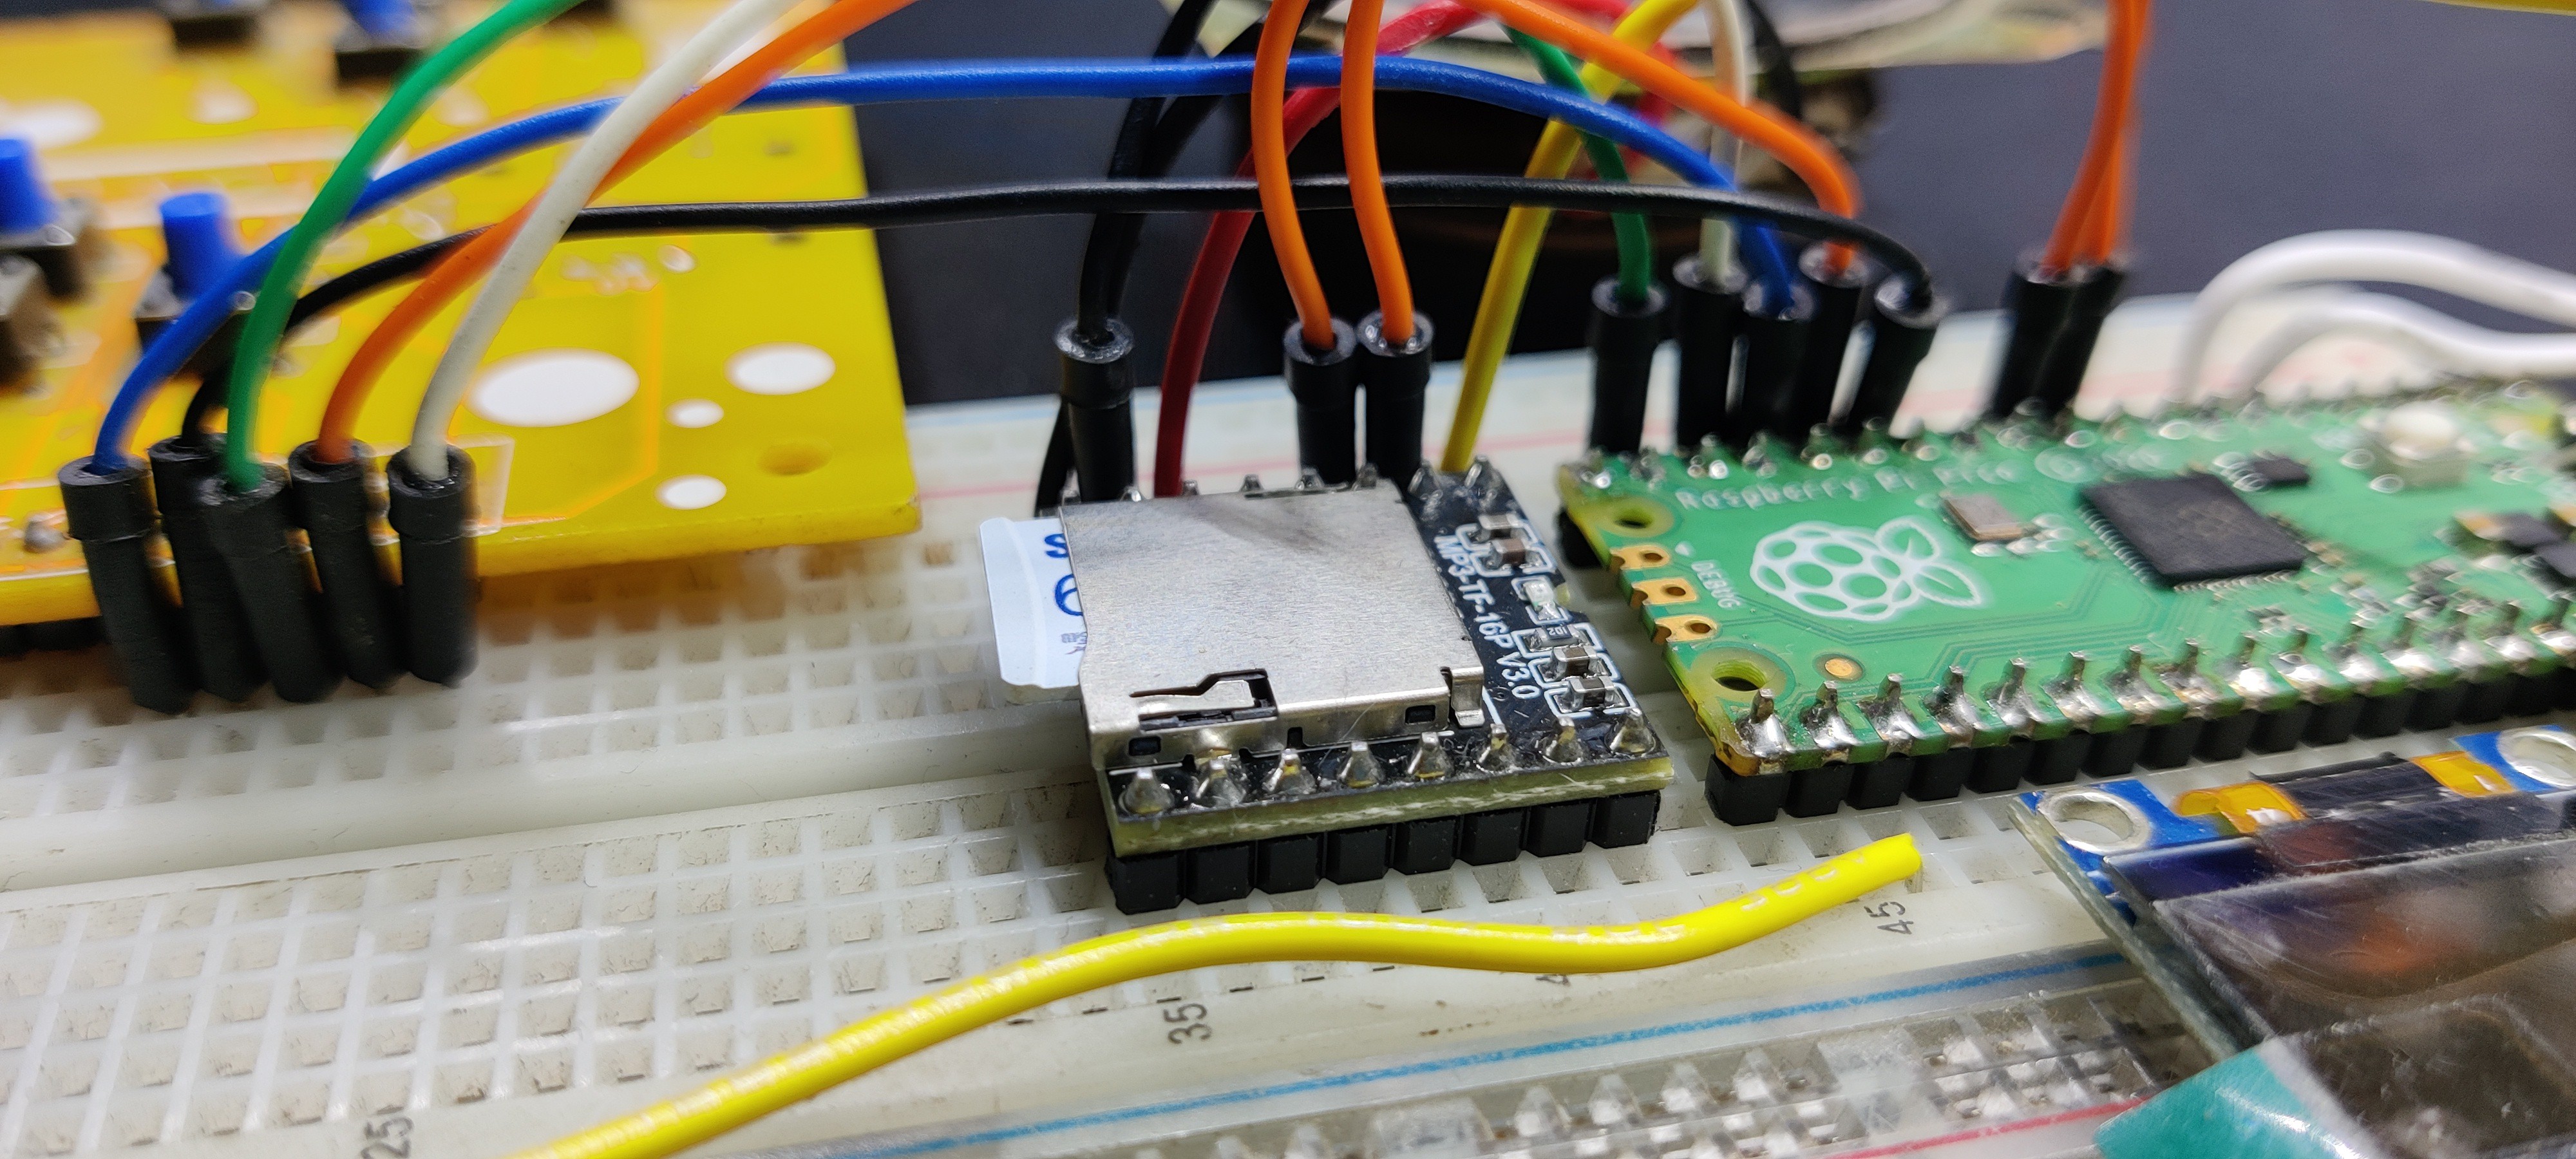
We could have used the barebone setup, which only requires push buttons to be added to a few of the module's I/O pins,, if our application was limited to playing tracks and shuffles. However, we needed a display with a proper menu that allowed us to select songs, so we used a Pico and paired its TX and RX pins with the TX and TX pins of the module.

We use Pico in conjunction with the DF player; Pico uses the TX and RX pins to operate the DF Player, and the OLED displays the music details and menu.

For more info about this module, you can checkout its product wiki published by DFROBOT.

https://wiki.dfrobot.com/DFPlayer_Mini_SKU_DFR0299

PCBWAY Giftshop

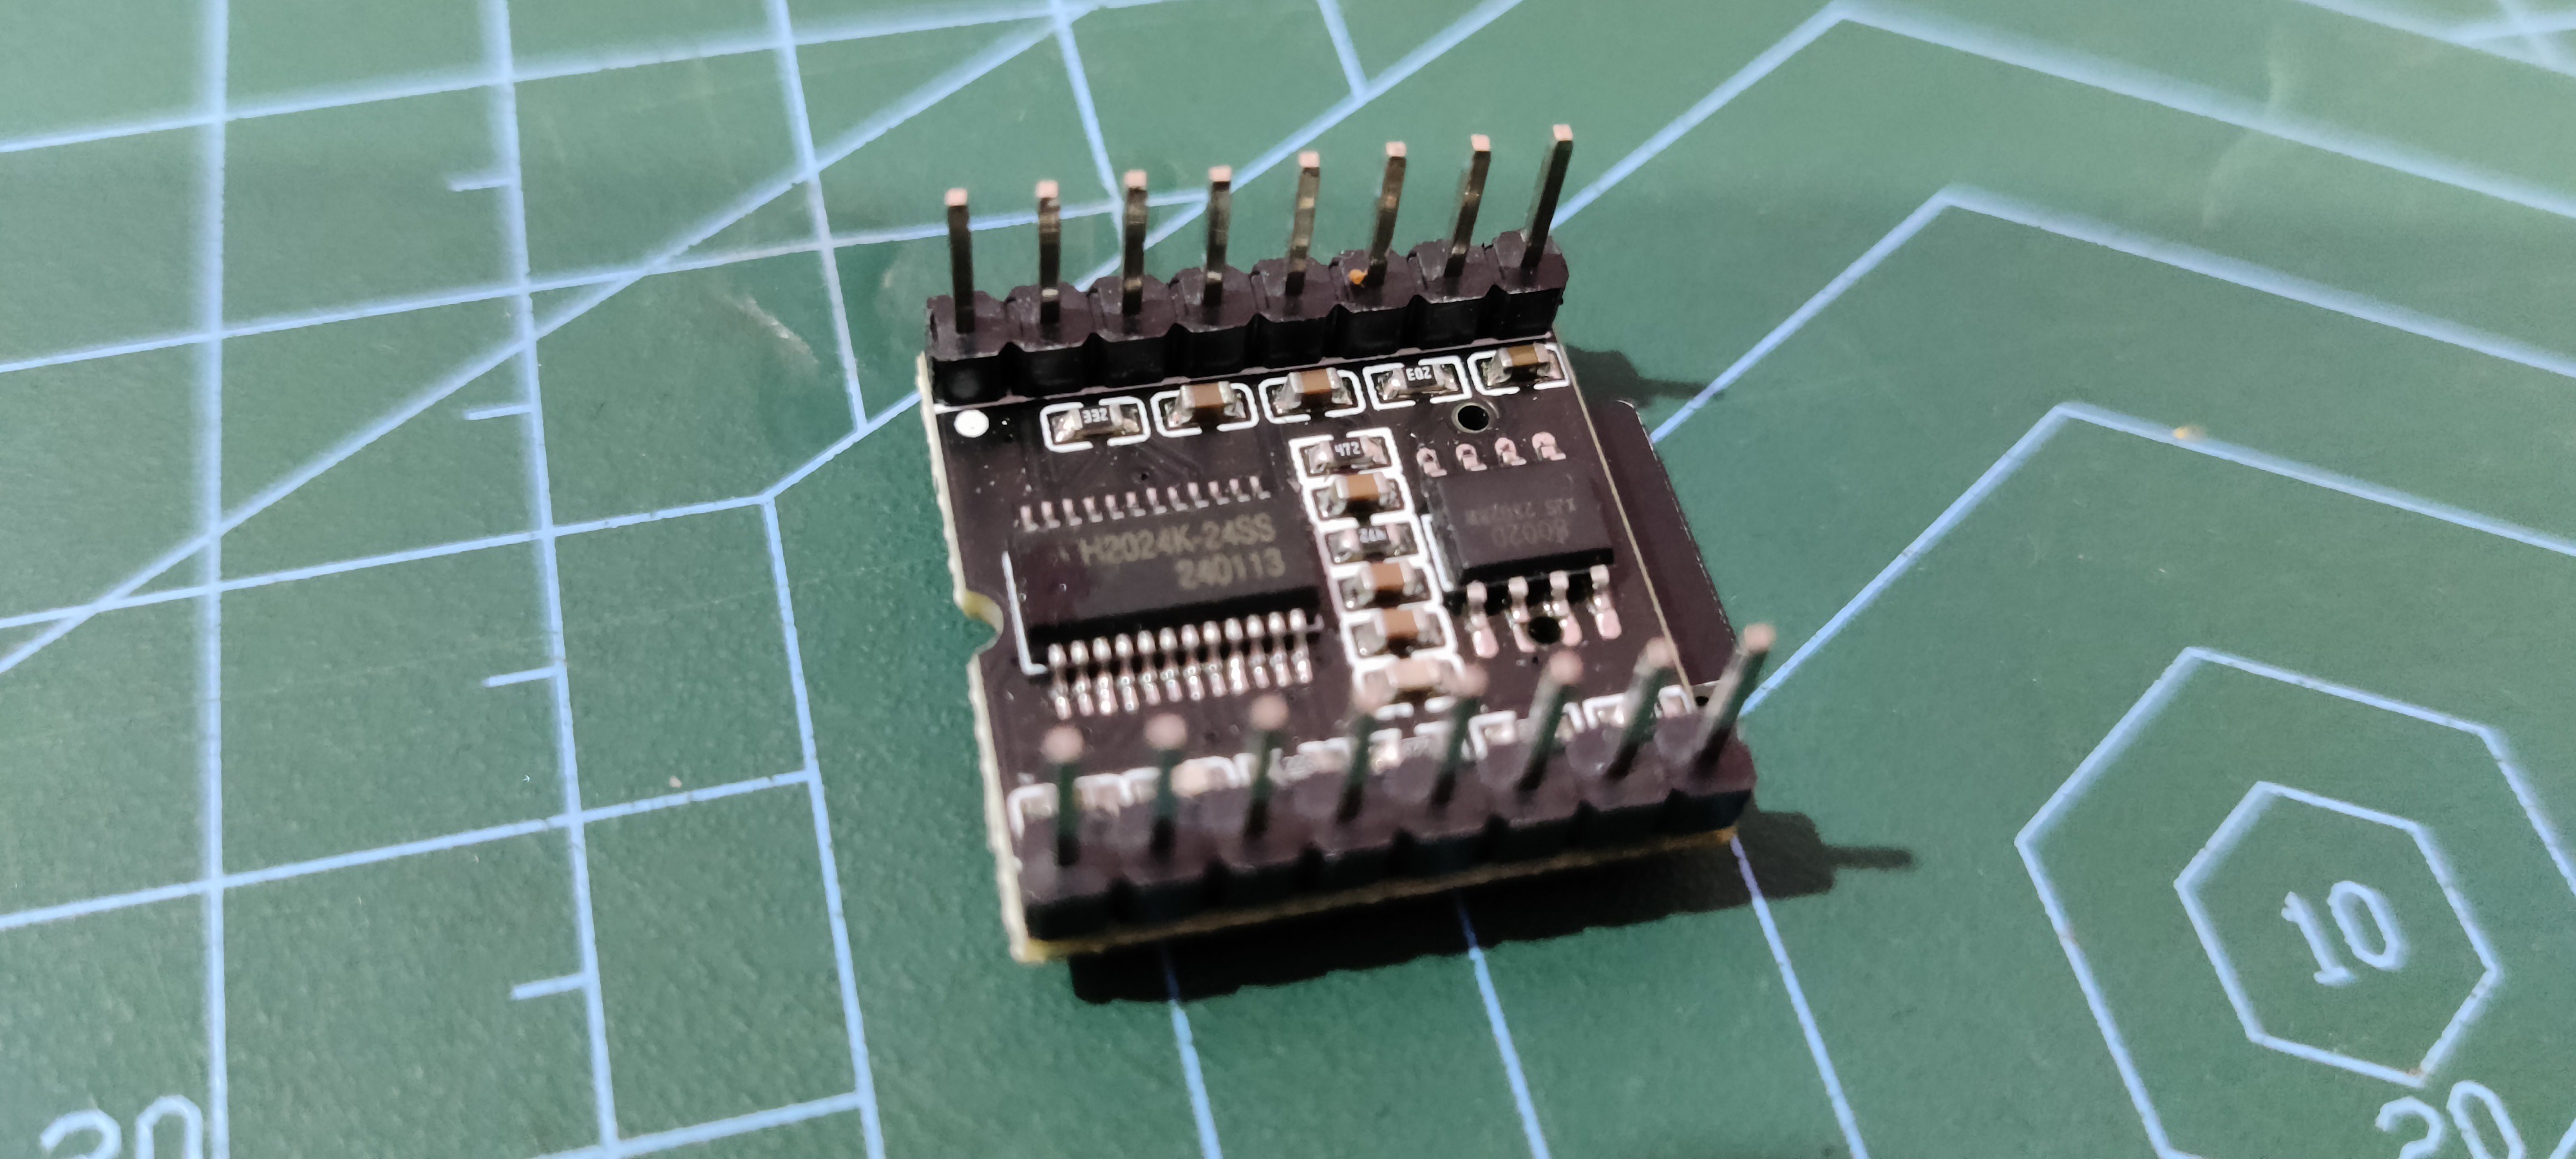
As for sourcing this Audio Player Module, we got it from PCBWAY's Giftshop.

https://www.pcbway.com/project/gifts_detail/Mini_MP3_Player_Module_with_Simplified_Output_Speaker_U_disk_TF_SD_for_Arduino.html

PCBWAY gift shop is an online marketplace where you can get a variety of electronics modules and boards for their genuine price, or you could use the PCBWAY currency, which is called beans.

You get beans after ordering something from PCBWAY as reward points, or you can also get them by posting any project in the PCBWAY community.

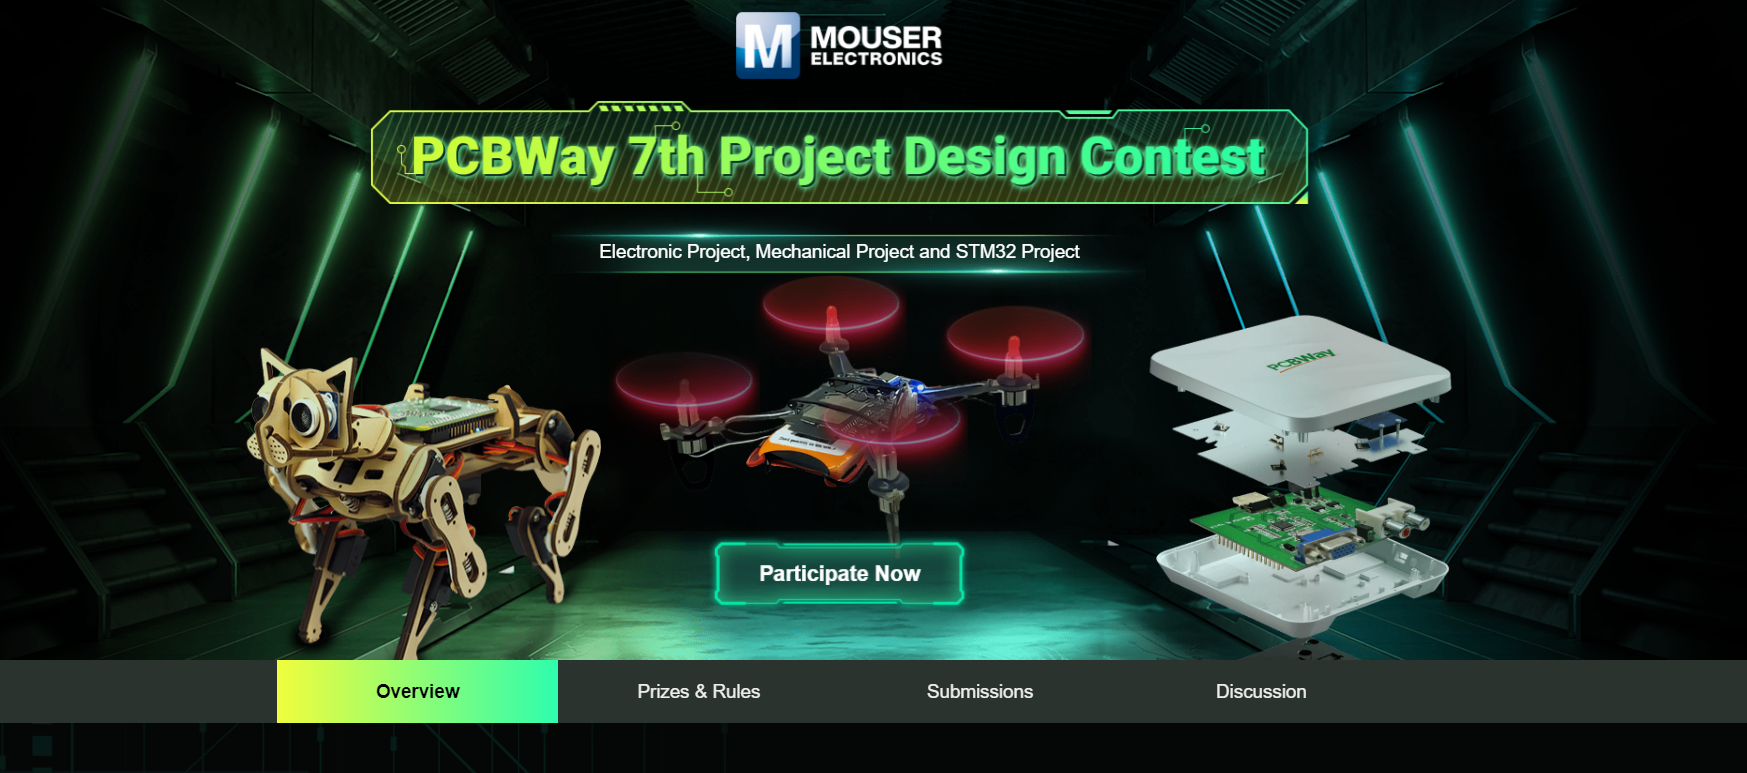
Also, PCBWay is hosting its 7th Project Design Contest, a global competition that invites electronics enthusiasts, engineers, and makers to showcase their innovative projects. The contest provides a platform for participants to share their creativity and technical expertise with the broader community. 

This year’s competition includes three major categories: electronic project, mechanical project and SMT 32 project

With prizes awarded for the most exceptional designs, the contest aims to inspire and support innovation, making it an exciting opportunity for both professionals and hobbyists to gain recognition and connect with like-minded creators.

You guys can check out PCBWAY if you want great PCB service at an affordable rate.

  • 1
    Breadboard Setup
    • First, we combined the Pico, DFPlayer, Buttons, OLED, and Speaker by joining them all together according to the wiring diagram.
    • We connect the OLED to the Pico by connecting its VCC to VBUS, GND to GND, SDA to GPIO4, and SCL to GPIO5.
    • Next, we paired the DFPlayer with the Pico by connecting the VCC of DFPlayer with the VBUS of Pico, GND to GND, the RX of DFPlayer will be connected to GPIO7, which is the TX of PICO, and the TX of DFPlayer will be connected to GPIO8, which is the RX of PICO.
    • Speaker's positive is connected with DFPlayer's Speaker 1 port, and negative is connected with Speaker 2 port.
    • We utilized a test board created for projects like this one, where we have to put together a setup on a breadboard, and it had a lot of buttons, so we used it for the buttons.

    https://www.hackster.io/Arnov_Sharma_makes/joycon-button-and-analog-stick-board-3eed73

    • The GND ports on each button are linked to one another and will be connected to PICO's GND. GPIO10 is connected to the Next button, GPIO11 to the Previous button, GPIO12 to the Select button, GPIO13 to GPIO14 to the Volume up and Volume down buttons, respectively.
  • 2
    CODE

    Here's the sketch used in this project, and its a simple one.

    #include <Wire.h>
    #include <Adafruit_GFX.h>
    #include <Adafruit_SSD1306.h>
    #include <SoftwareSerial.h>
    #include <DFRobotDFPlayerMini.h>
    #define SCREEN_WIDTH 128
    #define SCREEN_HEIGHT 64
    //#define OLED_RESET -1  // Reset pin not used
    #define SSD1306_I2C_ADDRESS   0x3C
    Adafruit_SSD1306 display(SCREEN_WIDTH, SCREEN_HEIGHT);
    // DFPlayer connections
    SoftwareSerial mySerial(7, 8); // RX, TX
    DFRobotDFPlayerMini myDFPlayer;
    // Button pins
    const int buttonPinNext = 10; // Next song button
    const int buttonPinPrev = 11; // Previous song button
    const int buttonPinSelect = 12; // Select song button
    const int buttonPinVolumeUp = 13; // Volume up button
    const int buttonPinVolumeDown = 14; // Volume down button
    // Song data
    const char* songNames[] = {
    "Song 1",  // Change to actual song names
    "Song 2",
    "Song 3",
    // Add more songs as needed
    };
    const int totalSongs = sizeof(songNames) / sizeof(songNames[0]);
    int currentSongIndex = 0; // Start with the first song
    int volume = 10; // Initial volume level (0-30)
    void setup() {
    // Initialize Serial and the display
    Serial.begin(9600);
    mySerial.begin(9600);
    display.begin(SSD1306_SWITCHCAPVCC, SSD1306_I2C_ADDRESS);
    display.clearDisplay();
    // Initialize DFPlayer
    if (!myDFPlayer.begin(mySerial)) {
    Serial.println("DFPlayer Mini not found");
    while (true);
    }
    myDFPlayer.volume(volume);  // Set initial volume
    // Set up button pins
    pinMode(buttonPinNext, INPUT_PULLUP);
    pinMode(buttonPinPrev, INPUT_PULLUP);
    pinMode(buttonPinSelect, INPUT_PULLUP);
    pinMode(buttonPinVolumeUp, INPUT_PULLUP);
    pinMode(buttonPinVolumeDown, INPUT_PULLUP);
    // Start playing the first song
    myDFPlayer.play(currentSongIndex + 1);  // DFPlayer uses 1-based indexing
    }
    void loop() {
    // Display song menu
    display.clearDisplay();
    display.setTextSize(1);
    display.setTextColor(SSD1306_WHITE);
    display.setCursor(0, 0);
    display.print("Select Song:");
    // Display the list of songs
    for (int i = 0; i < totalSongs; i++) {
    if (i == currentSongIndex) {
    display.setTextColor(SSD1306_BLACK, SSD1306_WHITE); // Highlight current song
    } else {
    display.setTextColor(SSD1306_WHITE);
    }
    display.setCursor(0, 10 + i * 10);
    display.print(songNames[i]);
    }
    // Display current volume
    display.setTextColor(SSD1306_WHITE);
    display.setCursor(0, 50);
    display.print("Volume: ");
    display.print(volume);
    display.display();
    // Check for button presses
    if (digitalRead(buttonPinNext) == LOW) {
    currentSongIndex = (currentSongIndex + 1) % totalSongs; // Loop back to start
    delay(100); // Simple debounce
    }
    if (digitalRead(buttonPinPrev) == LOW) {
    currentSongIndex = (currentSongIndex - 1 + totalSongs) % totalSongs; // Loop to end
    delay(100); // Simple debounce
    }
    if (digitalRead(buttonPinSelect) == LOW) {
    myDFPlayer.play(currentSongIndex + 1); // Play selected song
    delay(100); // Simple debounce
    playVisualizer();
    }
    if (digitalRead(buttonPinVolumeUp) == LOW) {
    if (volume < 30) { // Max volume is 30
    volume++;
    myDFPlayer.volume(volume); // Update volume on DFPlayer
    displayVolume();
    }
    delay(100); // Simple debounce
    }
    if (digitalRead(buttonPinVolumeDown) == LOW) {
    if (volume > 0) { // Min volume is 0
    volume--;
    myDFPlayer.volume(volume); // Update volume on DFPlayer
    displayVolume();
    }
    delay(100); // Simple debounce
    }
    }
    // Function to display volume change
    void displayVolume() {
    display.clearDisplay();
    display.setTextSize(2);
    display.setTextColor(SSD1306_WHITE);
    display.setCursor(0, 0);
    display.print("Volume: ");
    display.print(volume);
    display.display();
    delay(100); // Show volume for 1 second
    }
    // Simple visualizer function
    void playVisualizer() {
    // Basic visualization while playing (you can expand this)
    display.clearDisplay();
    display.setTextSize(2);
    display.setTextColor(SSD1306_WHITE);
    display.setCursor(0, 0);
    display.print("Now Playing:");
    display.setTextSize(1);
    display.setCursor(0, 20);
    display.print(songNames[currentSongIndex]);
    display.display();
    // Visualizer loop (you can customize this)
    for (int i = 0; i < 20; i++) {
    display.fillRect(i * 6, 40, 5, random(10, 30), SSD1306_WHITE);
    display.display();
    delay(50);
    display.fillRect(i * 6, 40, 5, random(10, 30), SSD1306_BLACK);
    }
    }

    This code implements a basic user interface for an audio player that can navigate through a list of songs, play the selected song, adjust volume, and display basic visualizations during playback.

    The OLED display is used for displaying song titles and volume levels, while buttons allow user interaction with the DFPlayer Mini module for controlling music playback.

    Make sure you install all the libraries needed for this code, including the ones listed below, before using the sketch.

    #include <Adafruit_GFX.h>
    #include <Adafruit_SSD1306.h>
    #include <DFRobotDFPlayerMini.h>

    Also, you need to change the name of songs to SONG 1, 2, etc., which matches the array in code.

  • 3
    Result

    This extremely basic build culminated in a working audio player that can play music that is stored on the SD card. We can select the song we wish to listen to and control the volume with buttons.

    Three songs that we added to the SD card, are read by the DFPlayer and output through a 3 Ohms 5W speaker.

    The speaker in this instance is being powered straight from the DFPlayer; an audio amplifier can be connected to the output of the DFPlayer if we wish for creating a louder setup.

    There is a lot of space for improvement when it comes to the menu. Additionally, we can add a visualizer or other such graphics to be displayed while the song is playing.

    Additionally, two more buttons are required so that the user can rewind or fast-forward the song.

    But for now, this arrangement seems to be working really nicely.

View all 4 instructions

Enjoy this project?

Share

Discussions

Does this project spark your interest?

Become a member to follow this project and never miss any updates