Close
0%
0%

Fuzzy SAO

Hand-sewn felt SAO

Similar projects worth following
I thought it would be fun to make something a bit more cozy and handmade than most SAOs, so I'm figuring out how this might work with conductive thread and LED sequins and felt.

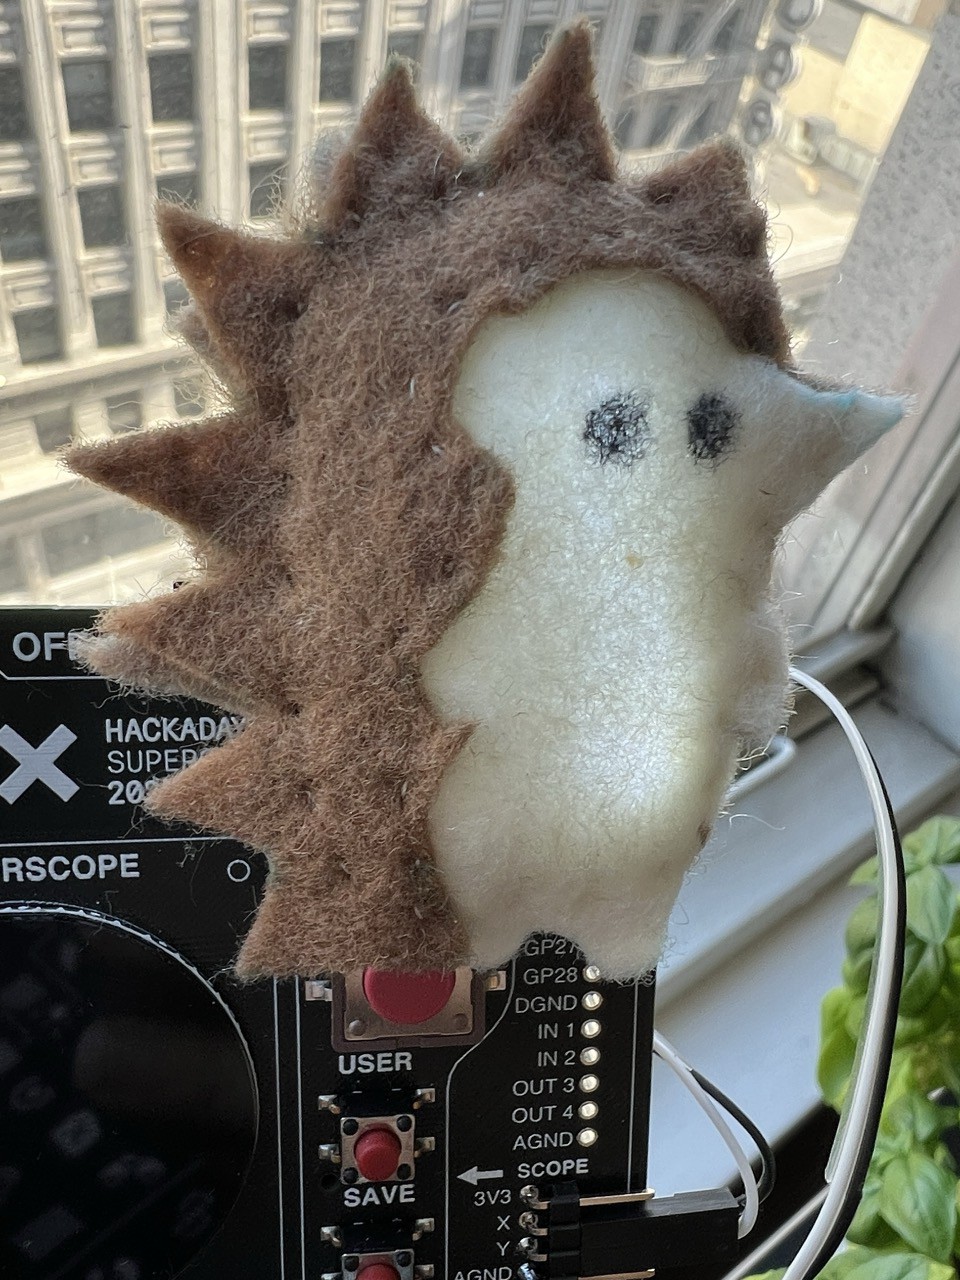
This project is a truly simple SAO. It's a hand-sewn fuzzy felt creature - a hedgehog, to be exact - that lights up.

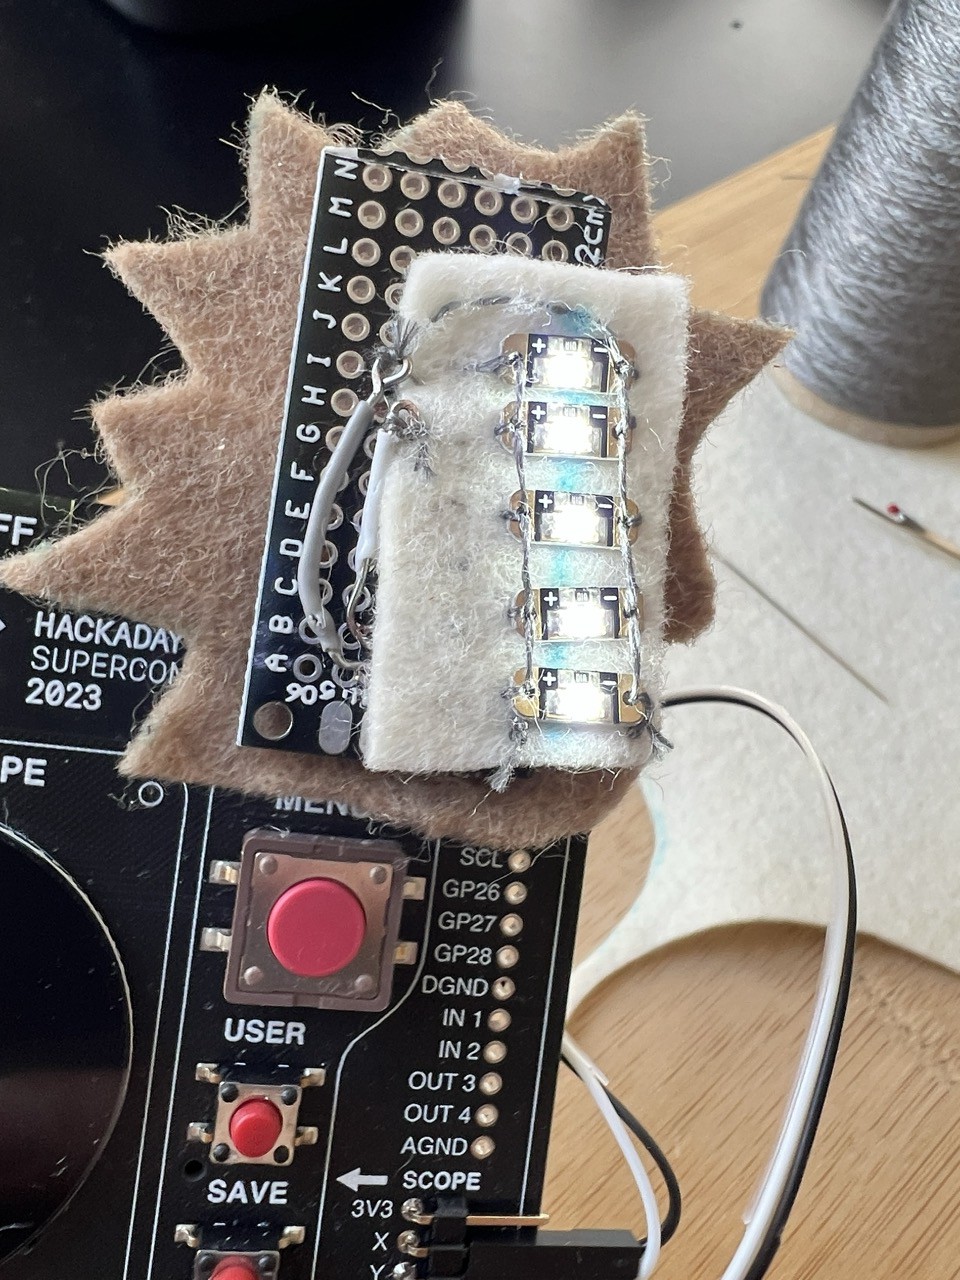
It's essentially a tiny protoboard with an SAO connector attached to it, some sewable "sequin" LEDs, and a felt covering wrapped around the innards.

The protoboard acts as a little spine or skeleton to hold up the outer felt layers, and provides a way to attach short wire leads with loops that can be connected to the LEDs via conductive thread. Inside the body is an extra piece of felt that the LED's are sewn to and attached to the leads. There's a small bit of diffusion - aka polyfil stuffing - in there to give a more even glow.

I didn't try to hide the stitching - it gives a nice handmade look. I'm pleased with the result and I hope you will be, too!

I intend to make at least a few more of these to share at Supercon 2024 - see you there!


As for the possibility of making multiples of this design, it might be easier with a few changes:

- Protoboard => custom PCB with places to mount LEDs

- Hand cut felt => laser cut felt (or other cutting automation)

- Hand sewn body => glued body

- Embroidered eye => glued on doll eye

I made this SAO with methods I know and stuff I had on hand (mostly - I did buy the protoboards). I don't know how to make custom PCBs and I don't have a laser cutter, for example, so it was all done by hand. I wasn't in a big rush, so I took the time to sew instead of glue. Automating and simplifying the construction would make it much easier to make multiples, but some of the charm - like hand stitches that show - might be lost.

hedgehog-parts.svg

Shapes for felt cutouts

svg+xml - 1.61 kB - 10/22/2024 at 02:23

Preview

  • 1 × Universal Proto-board PCB 2cm x 8cm Adafruit Product ID: 4783
  • 5 × LED sequins Adafruit Product ID: 1758
  • 1 × 6 pin SAO connector
  • 1 × Jumper wires
  • 1 × Conductive thread

View all 8 components

  • Much closer!

    Laura10/21/2024 at 22:31 0 comments

    I've resewn and connected the 5 LEDs, moving them over to the right significantly.

    I had to move the wires around to make this work better, and they're a little worse for the wear, but are still solid enough to light up the LEDs.

    Much better placement...

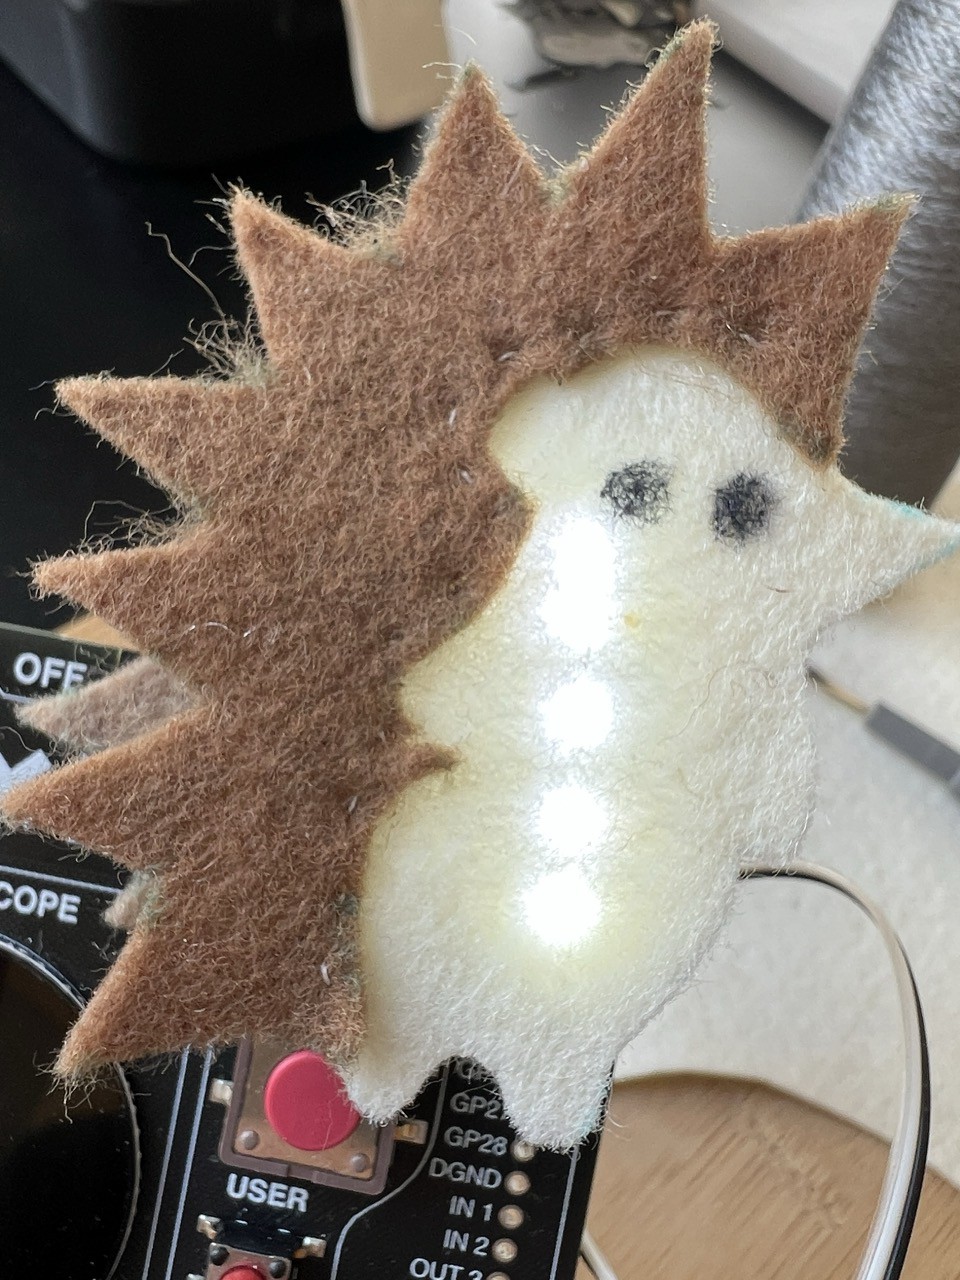
    This is without any diffusion, and the felt just sitting on top, but you get the idea.

    And adding the diffusion fluff and sewing it together...

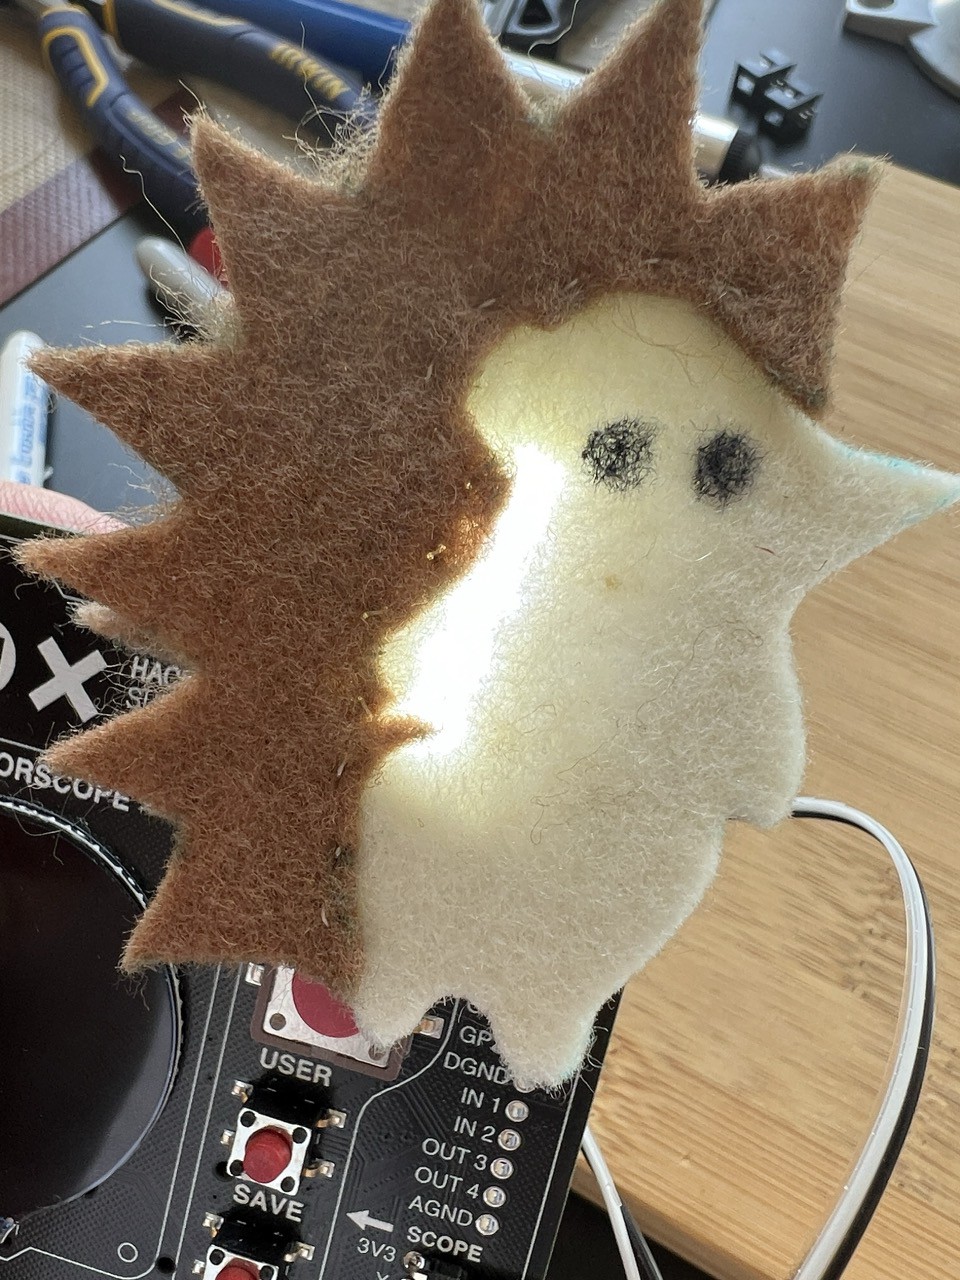
    Kind of hard to see the glow on this sunny afternoon, but it's much closer to what I was thinking.

    Now I just need to reformat the design a little bit. I need to take out some details - they're too small to render in felt. And my intent was to have the "spikes" on the front piece and the back piece offset each other to give it a little layering dimension - but that's going to take a bit more precision in my cutting than I applied to this version. And I just used a sharpie to make eyes, but I'll probably embroider them for the final piece.

  • Argh

    Laura10/21/2024 at 22:19 0 comments

    Alright, let's try this with something that's closer to the final shape.

    Got the soldering at least a little bit neater this time.

    And here's a first run at a character design. I can already see things that need changing, but it's in the ballpark. (And I didn't bother with matching thread, figuring this wouldn't be the final - so you can see my little stitches here.)

    Hedgehog-ish.

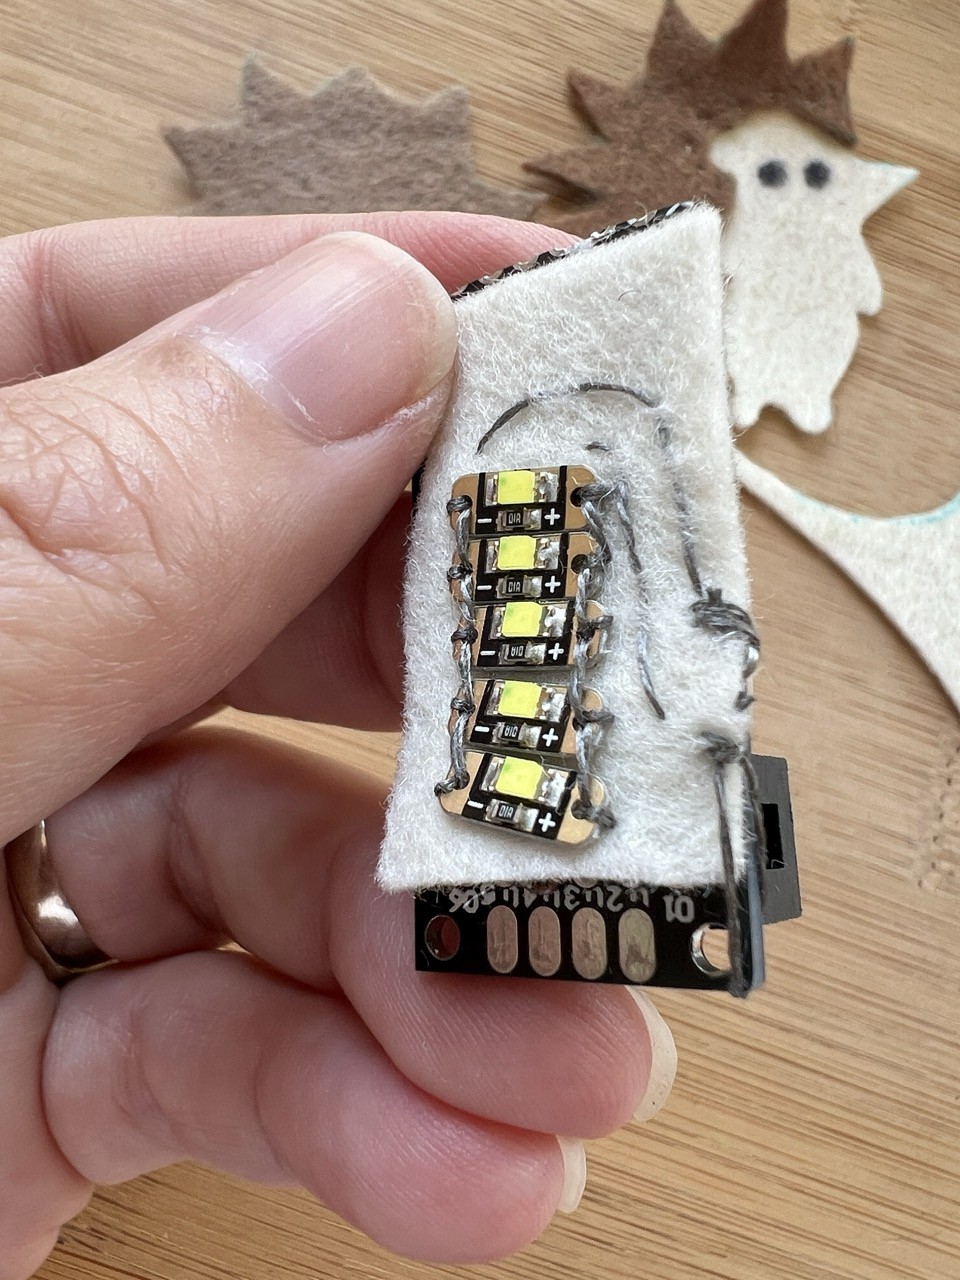
    Looking at the size of this, it seemed like 5 LEDs might be better than 3, so I got those sewed up in a line.

    And now let's wrap the felt around the innerds...

    Argh. Those LEDs are just not in the right place at all. Bummer. I guess that's why we test these things!

  • Beta Test Part 2, or A Glowing Ravioli

    Laura10/13/2024 at 17:41 0 comments

    Ok, onwards to testing the felt construction. I'm just using rectangles here for simplicity's sake - the final design will be some cute critter (probably a hedgehog).

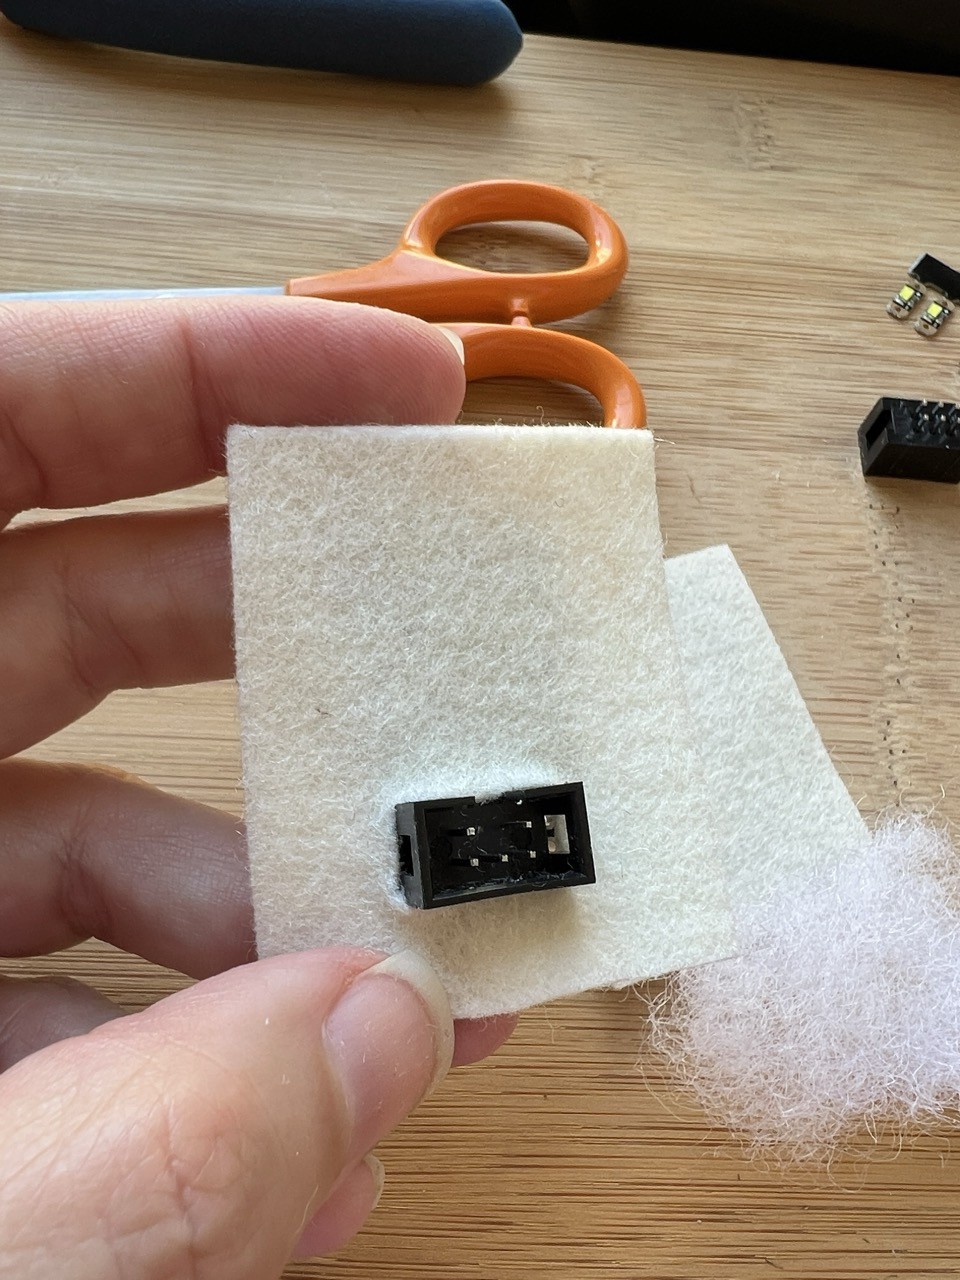
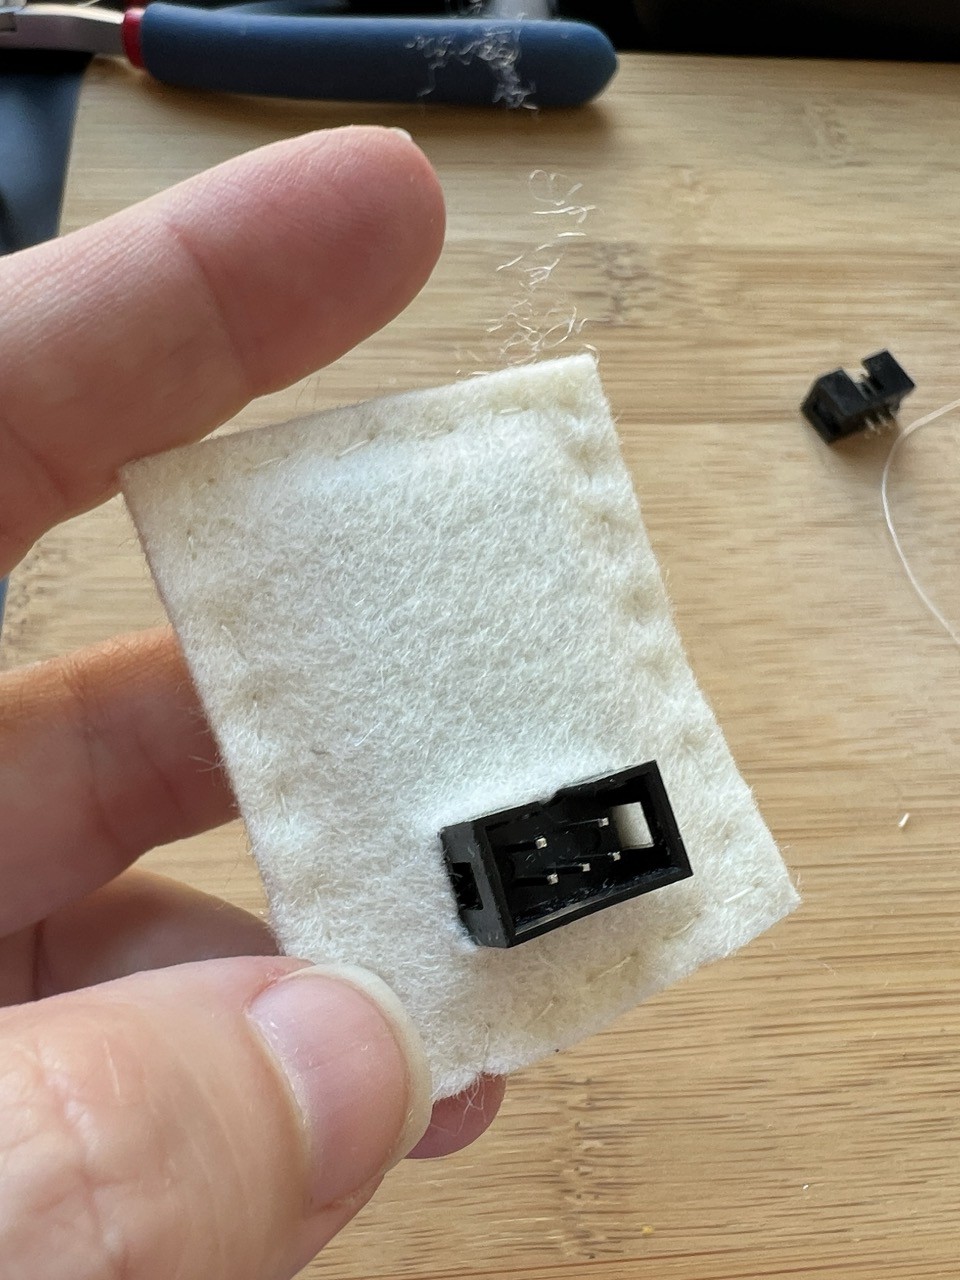
    First, the back piece of felt, just snuggled onto the connector:

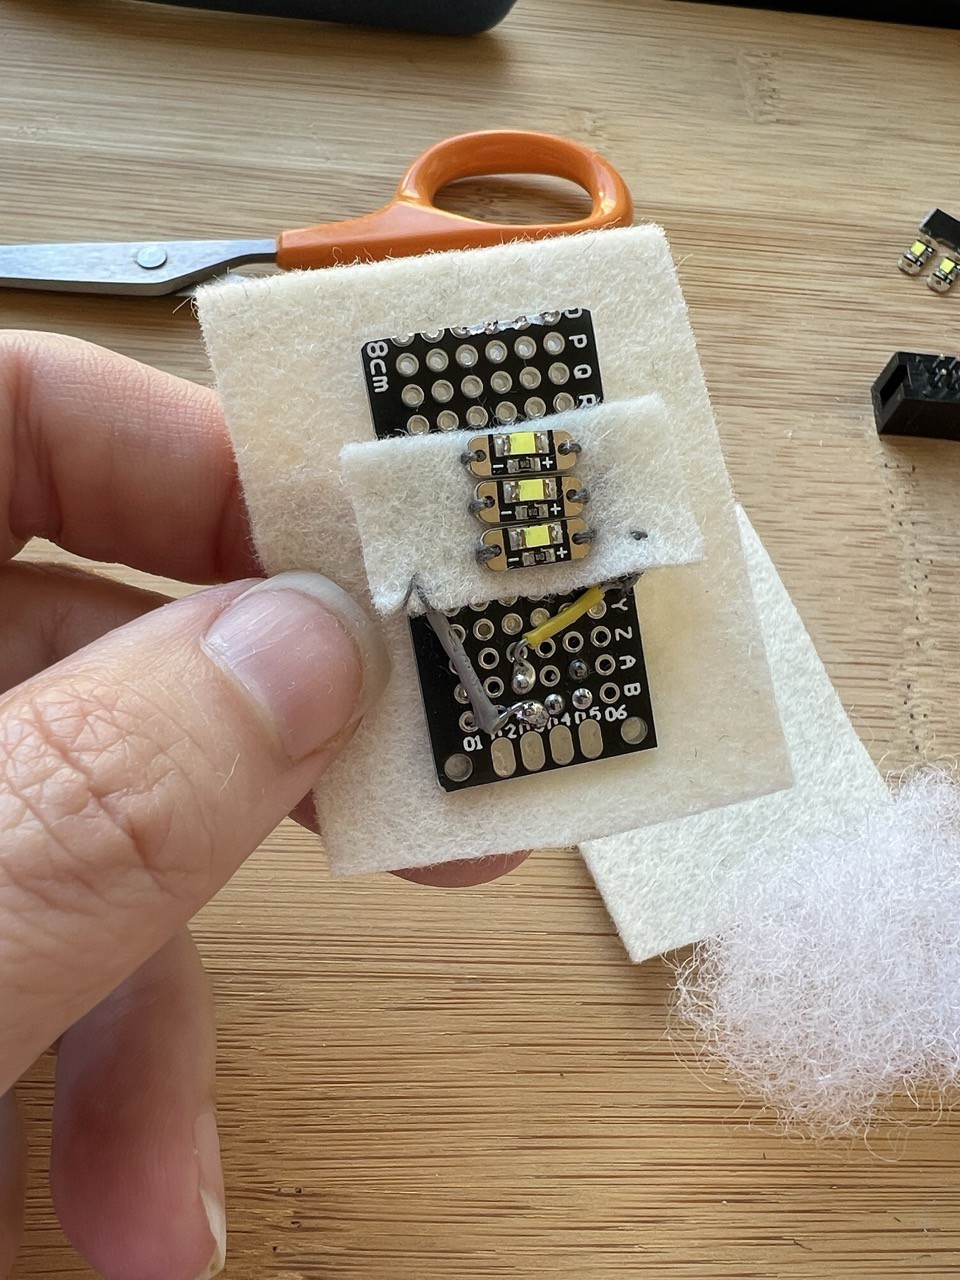
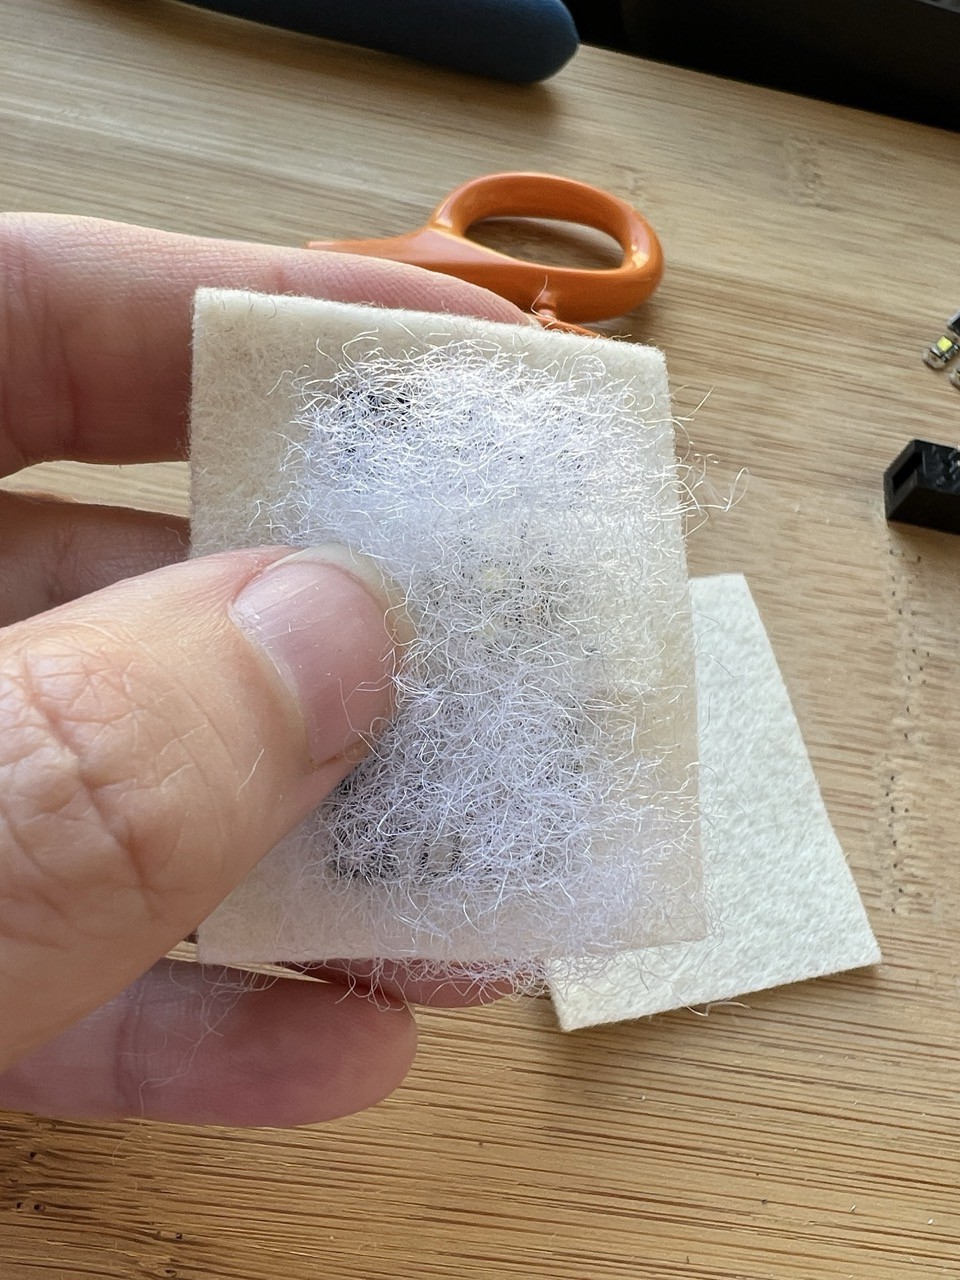
    And add just a little diffusion so the three LEDs aren't quite so distinct. (Just a little bit of poly-fil stuffing.)

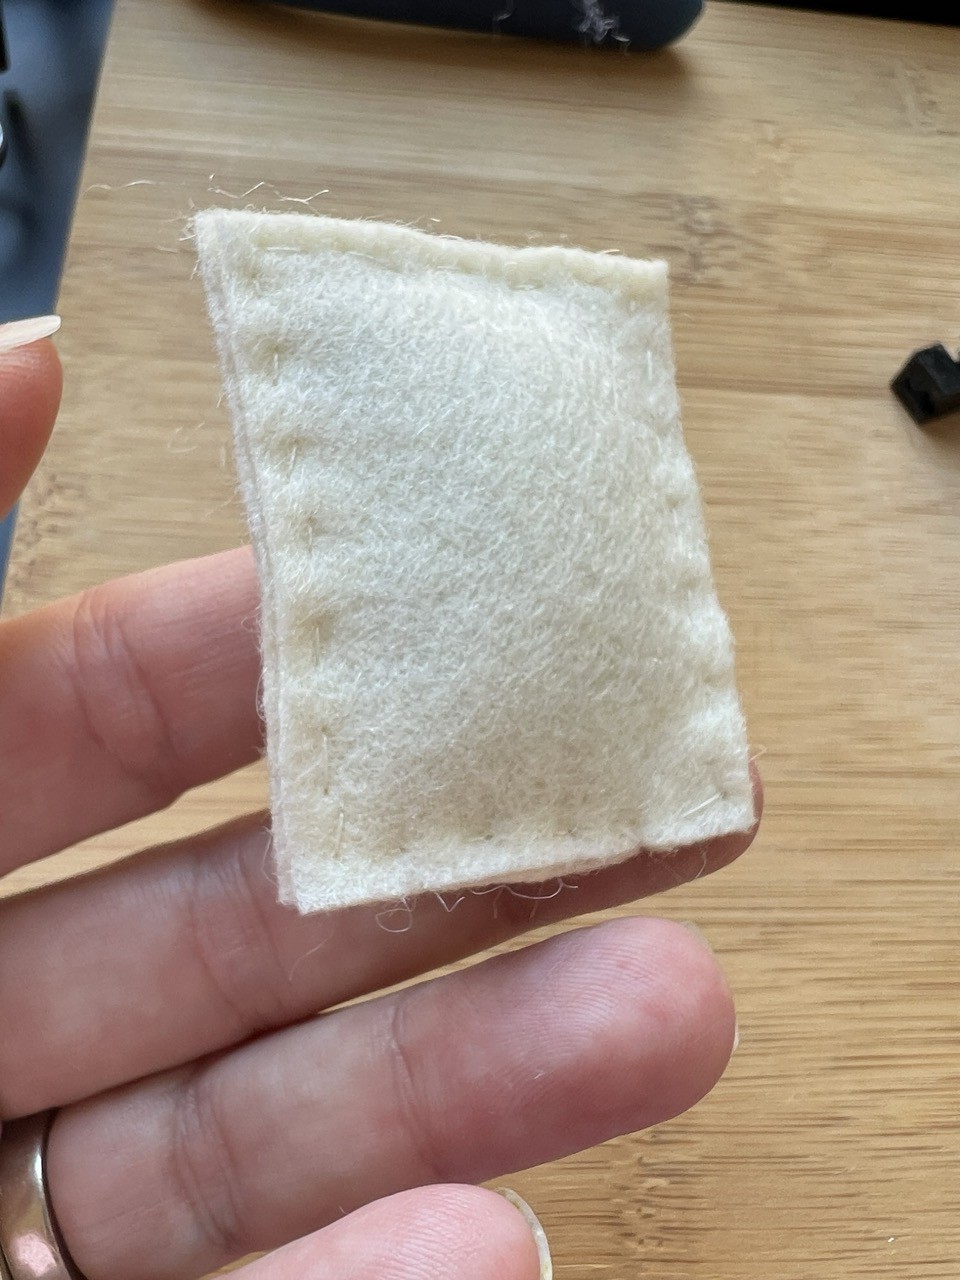
    I just used a quick and dirty running stitch to attach the front felt rectangle to the back rectangle, encasing the board and the diffusion. I'll do something neater in the final design.


    (Looks like a ravioli to me.)

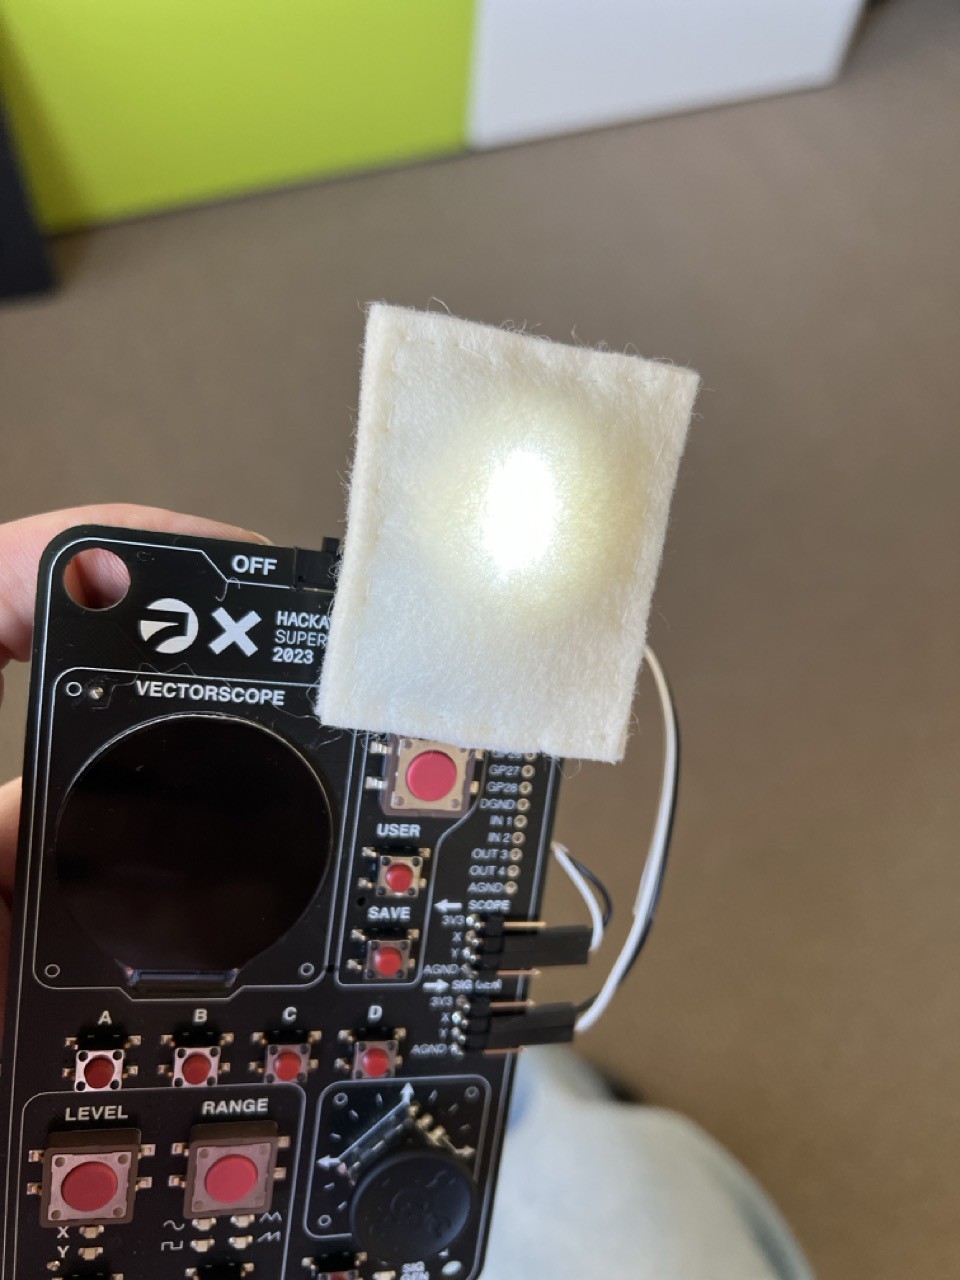
    And again a quick test:

    Wheeeeee! We have a glowing ravioli!

    I'll finish up the final character design next, and then start cutting some felt to shape. It's looking like I may need to shift the placement of the LED sequins up or down relative to the board, depending on the final shape of the critter. And maybe go back to using 5 sequins. We'll see.

  • Beta Test Part 1

    Laura10/13/2024 at 17:35 0 comments

    Alright, let's make one that's closer to the final product, at least in size and construction.

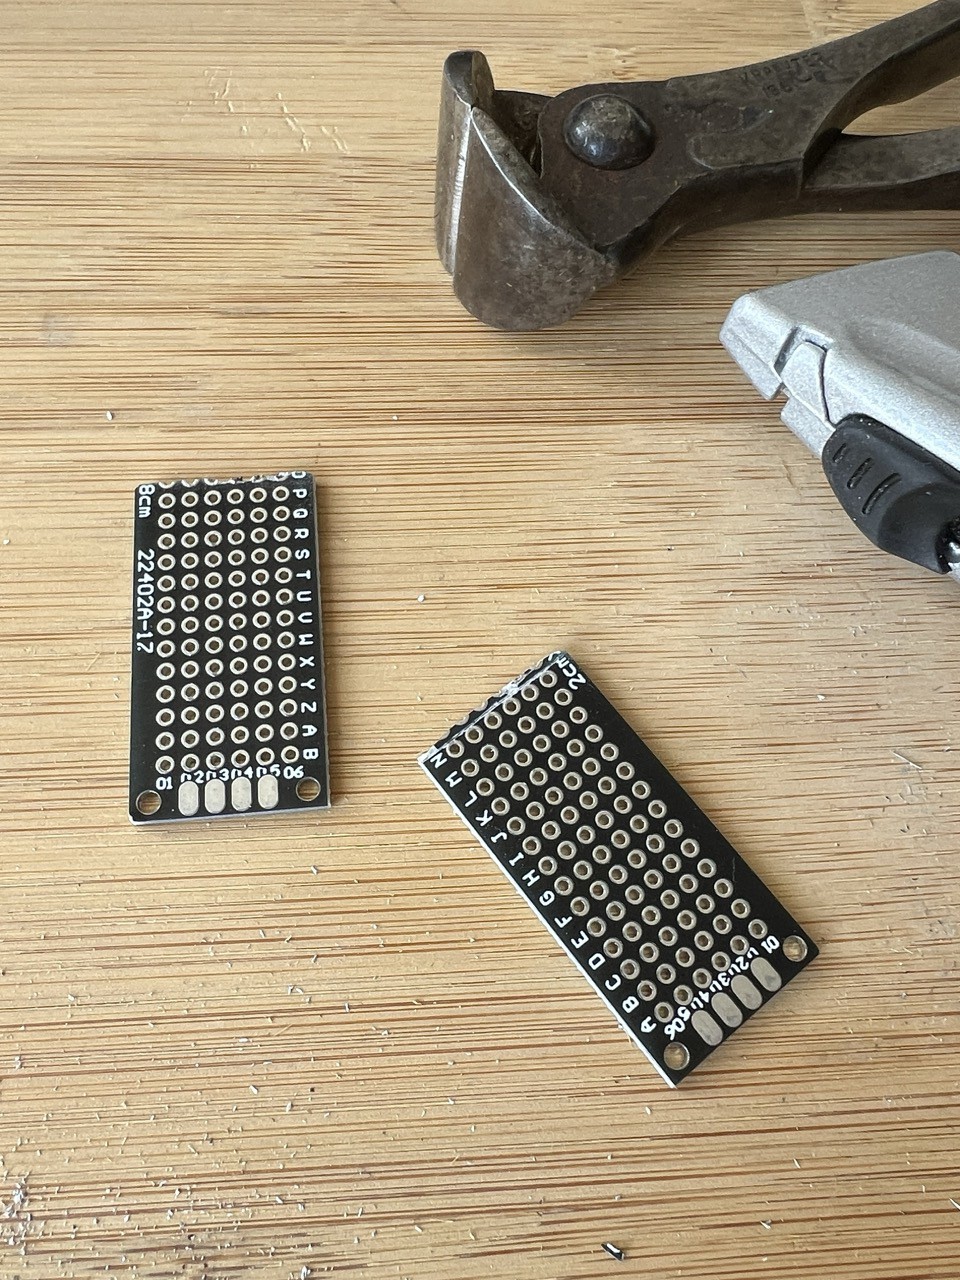
    I scored the protoboard at the halfway point, snapped it in two, and sanded the rough edges down.

    Now there are two!

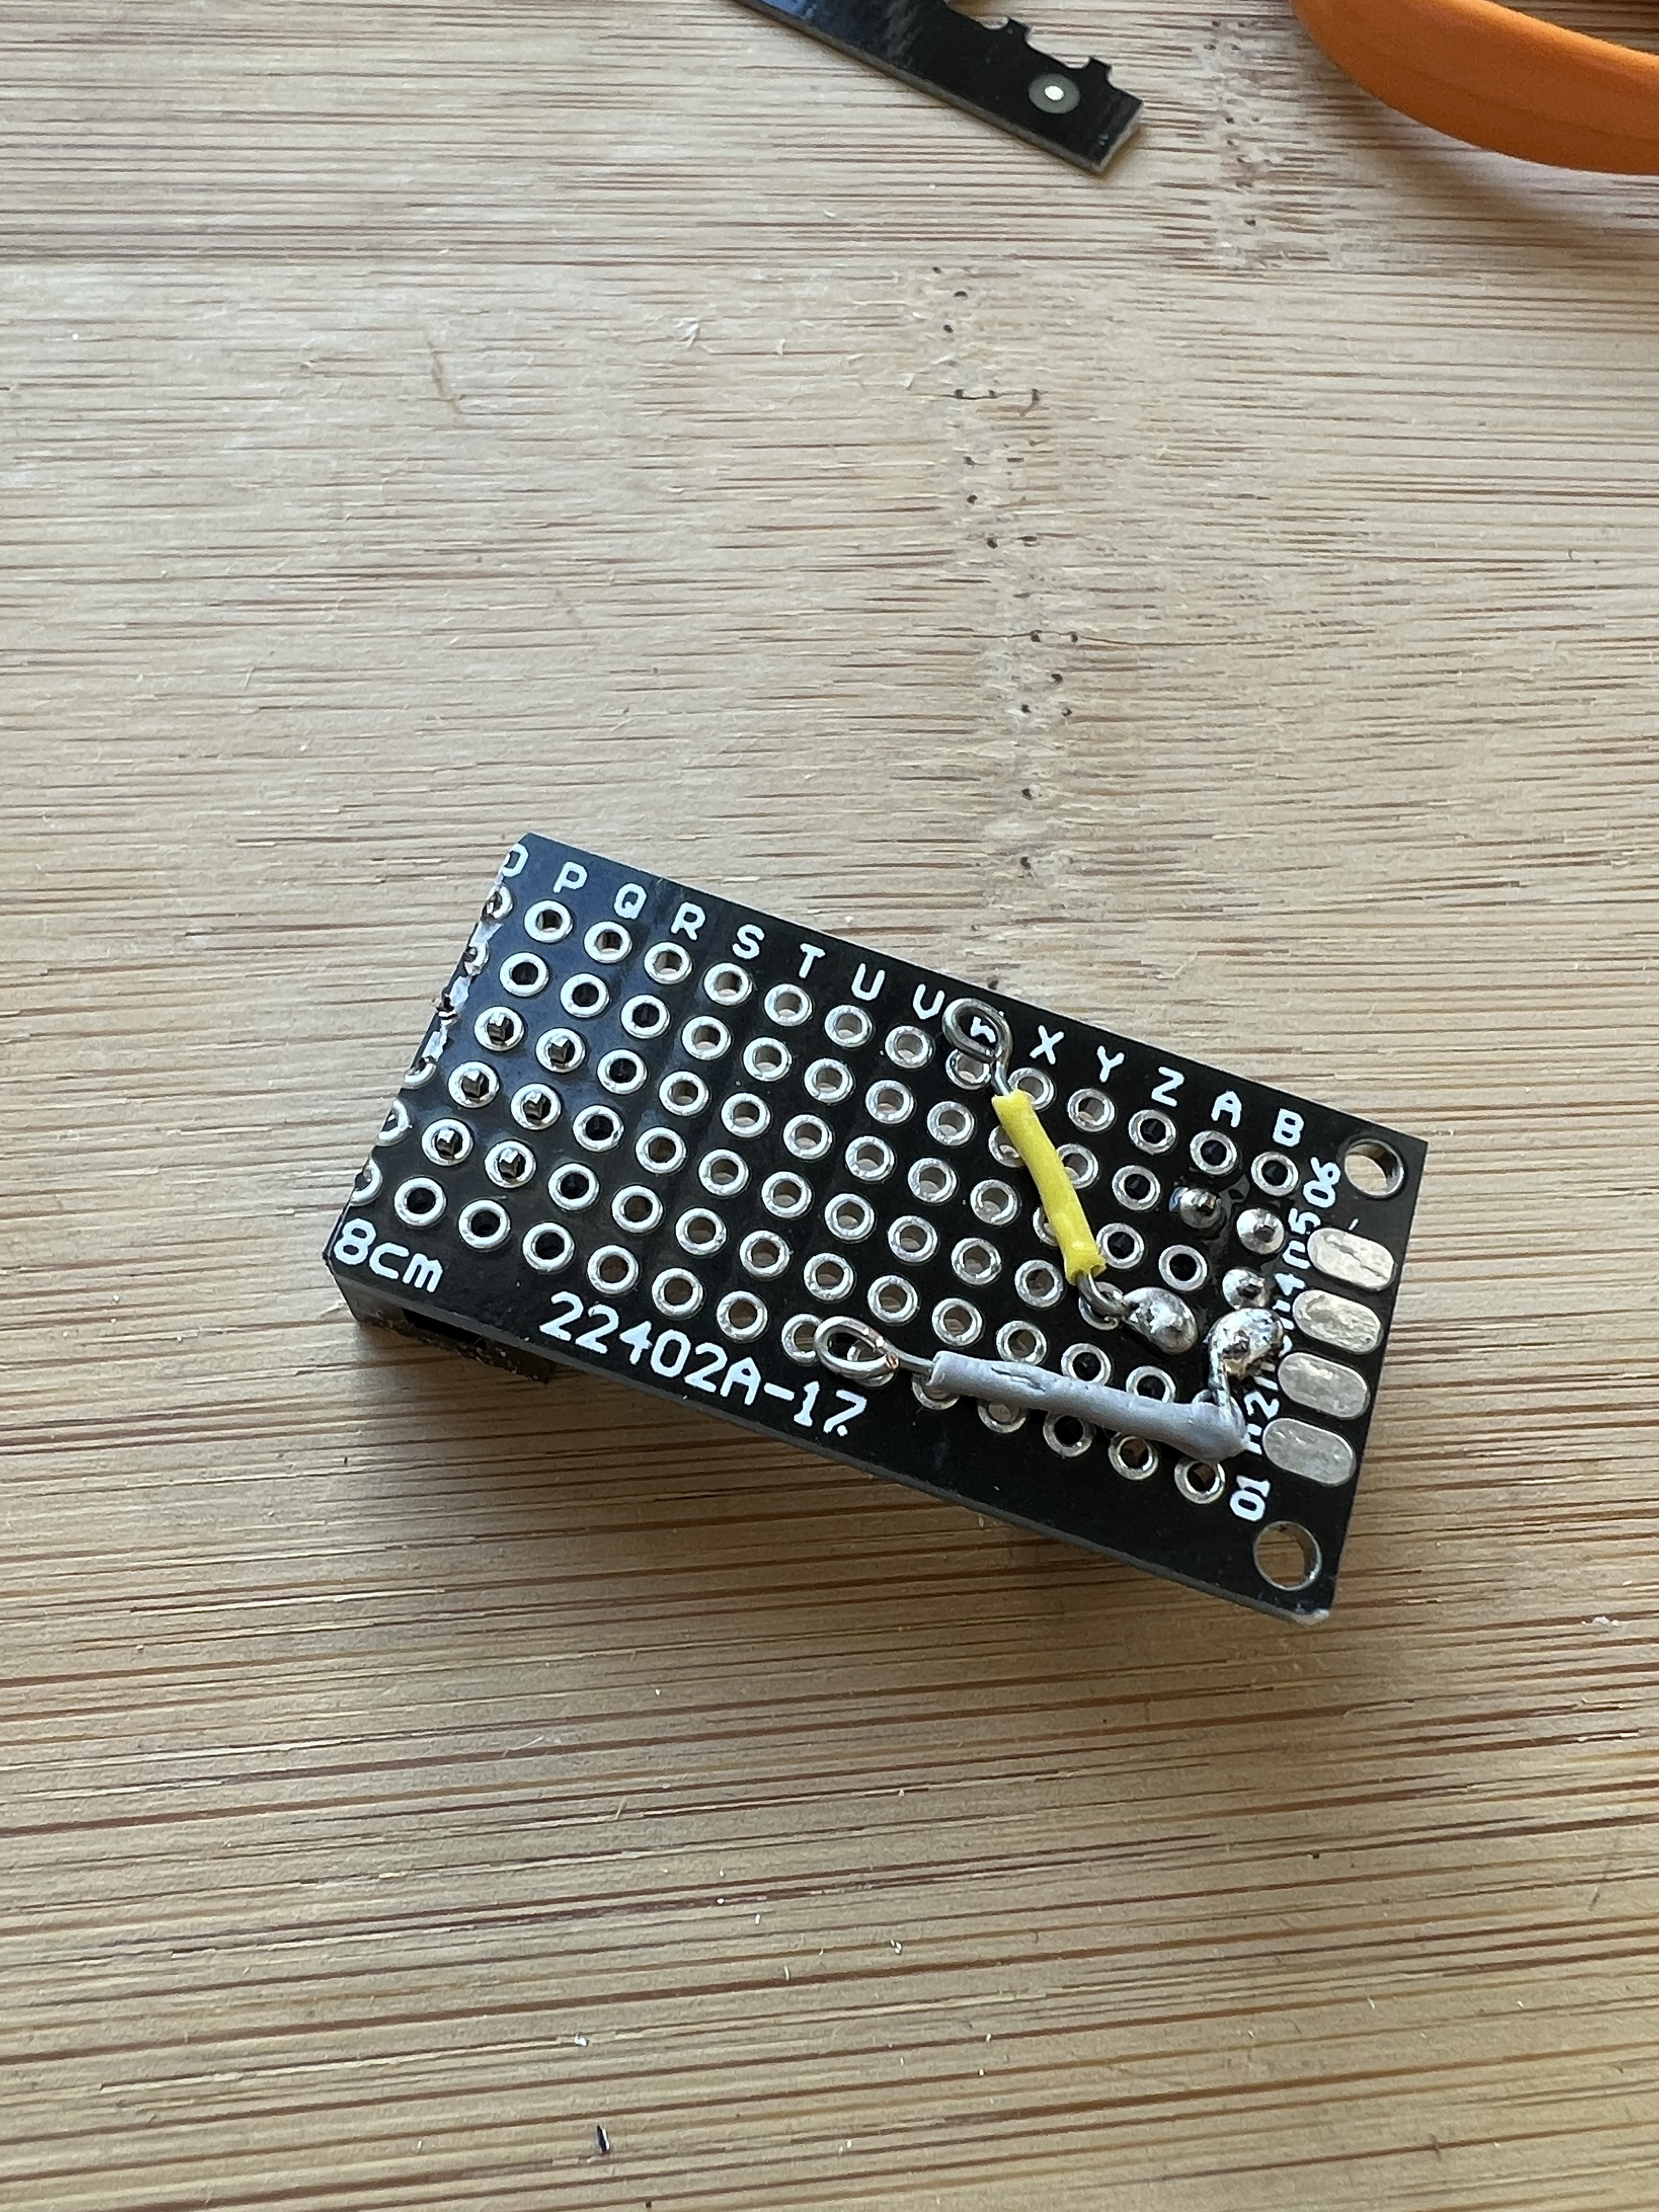
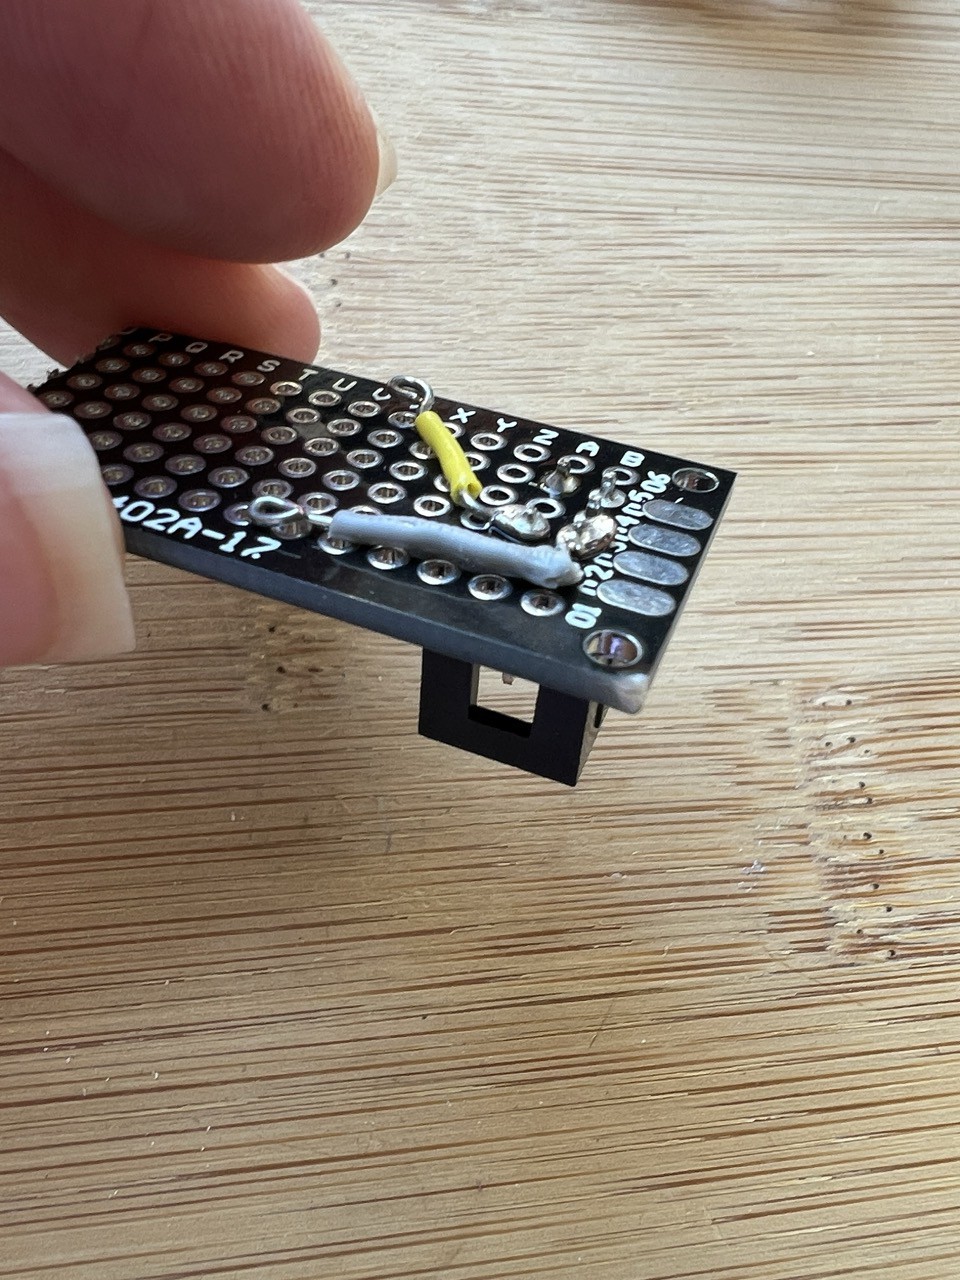
    And solder up the leads, hopefully slightly better this time.

    You can see I did pull one of the pins out, but I'm not sure it helped. The remaining three won't be attached to anything; just there for structural stability.

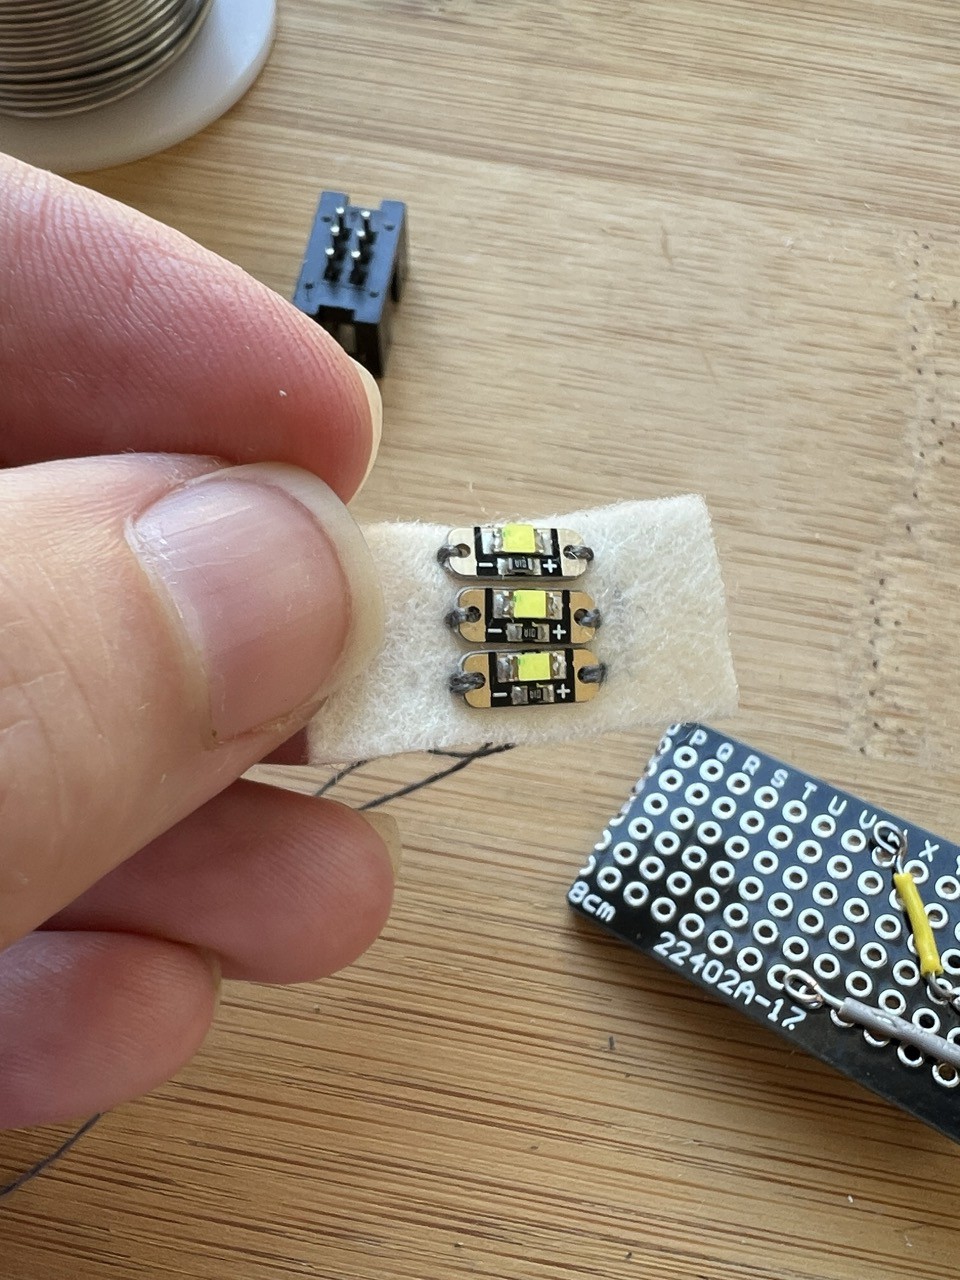
    Onward! First, sew up a few LED sequins:

    Make the connections and give it a quick test:

    Et voila! We have light again.

  • Proof of concept

    Laura10/11/2024 at 21:57 0 comments

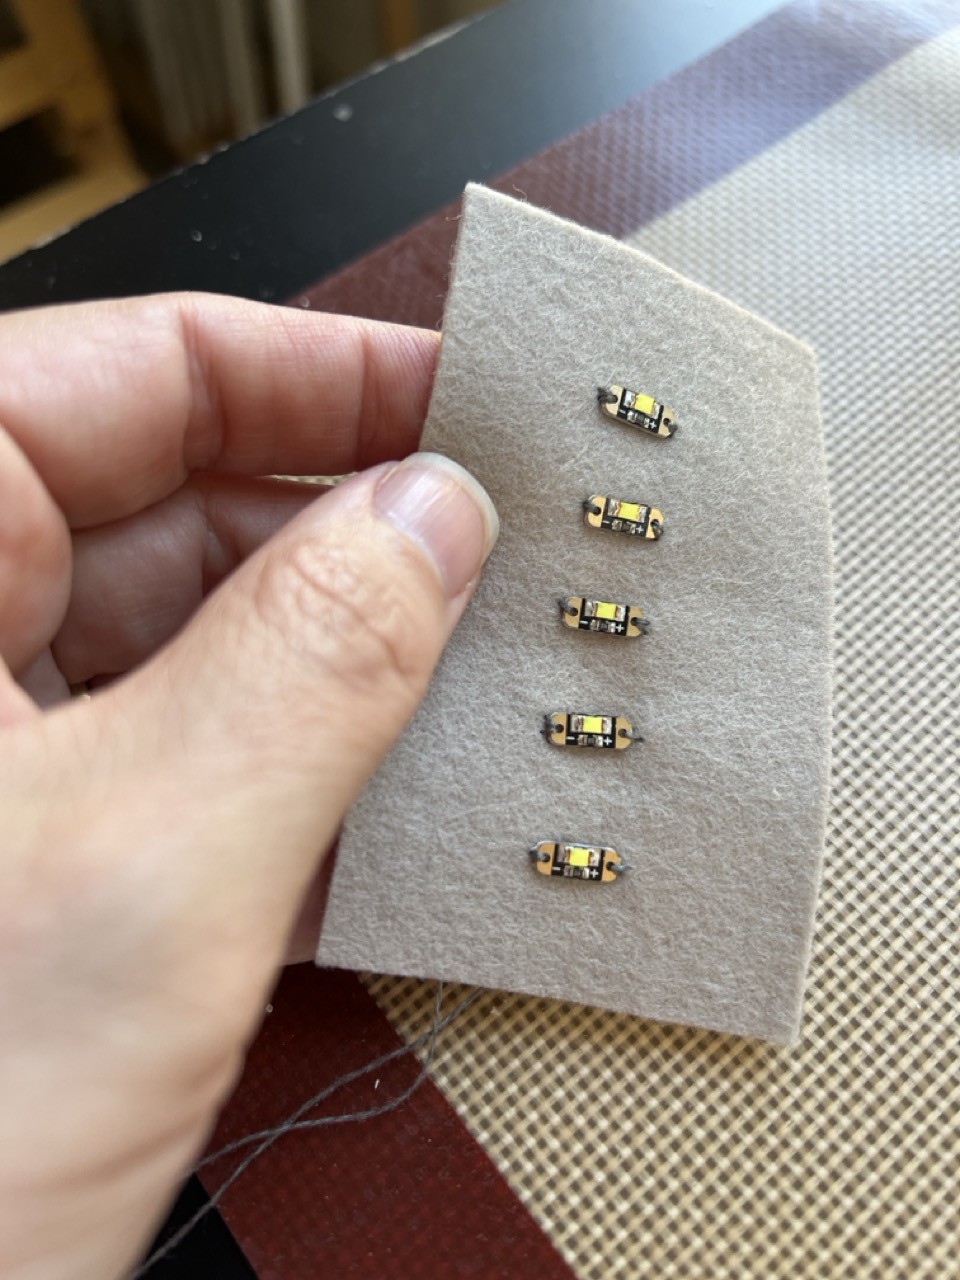
    I thought I'd sew up a few LED sequins as a test, just to make sure this works and to see how these connectors will fare.

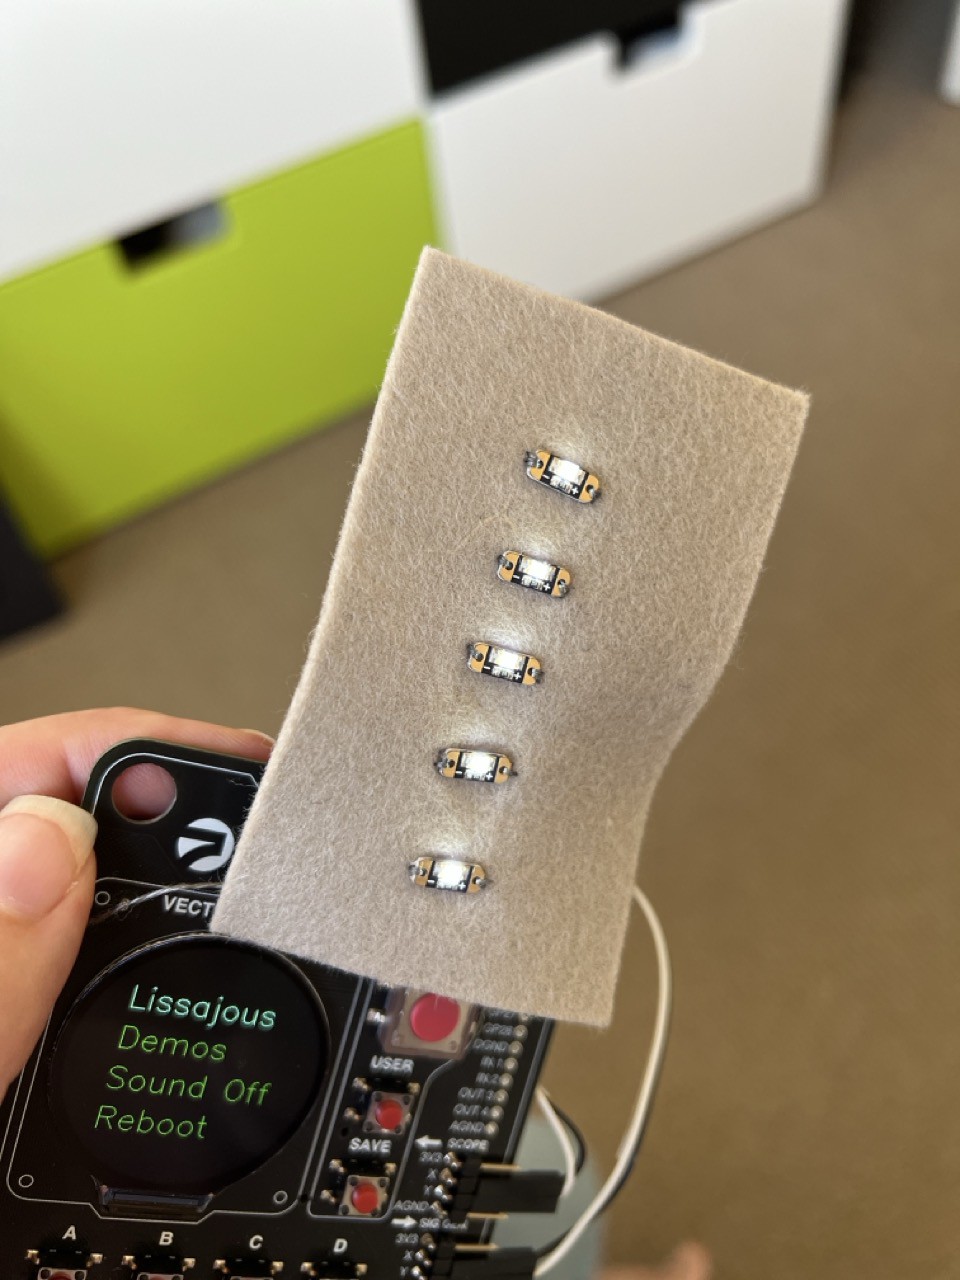
    5 LED sequins sewn to a piece of felt - nothing fancy.

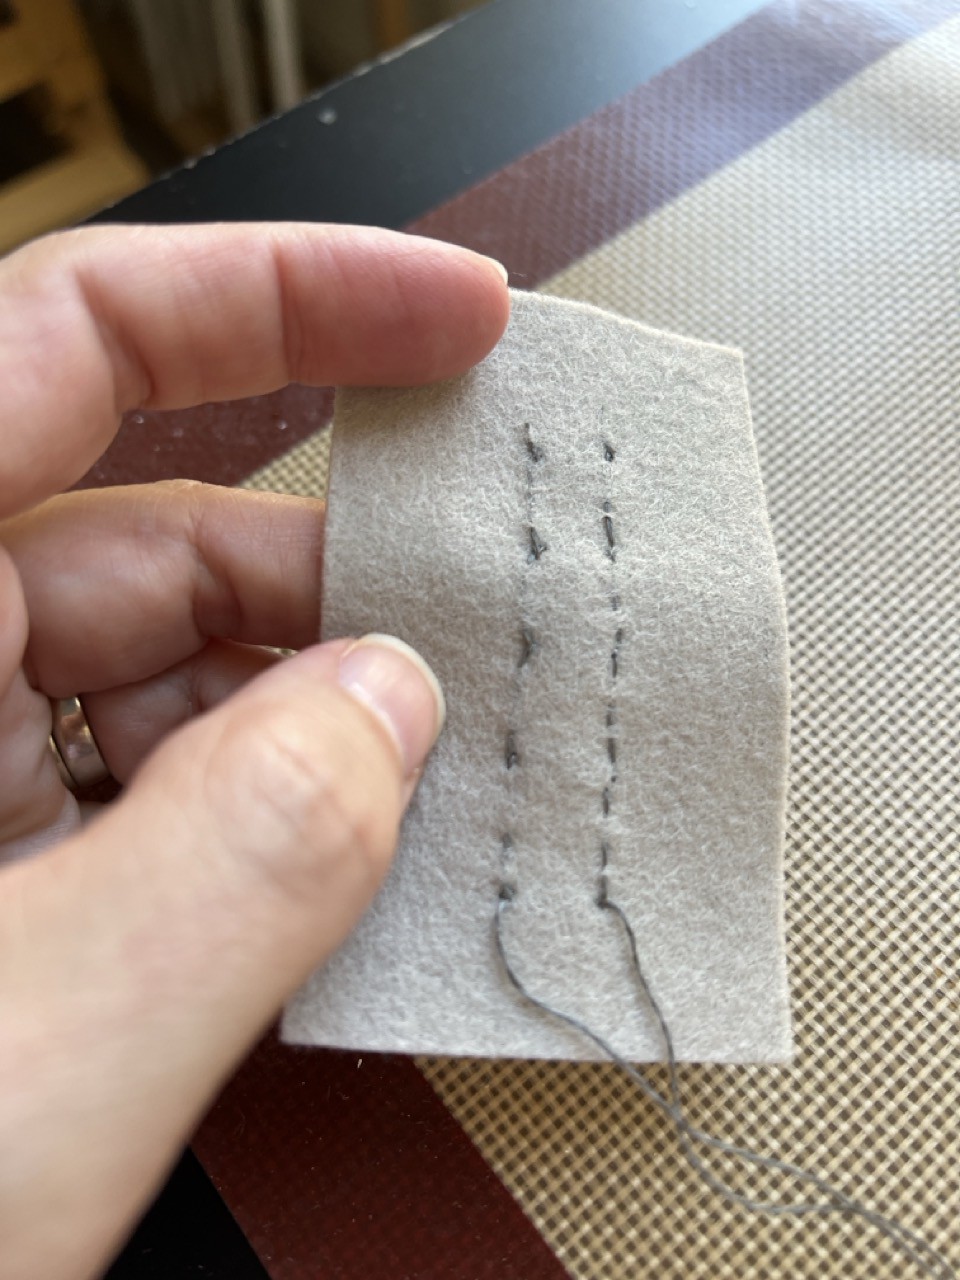
    The back of the stitching - just a simple parallel sequence.

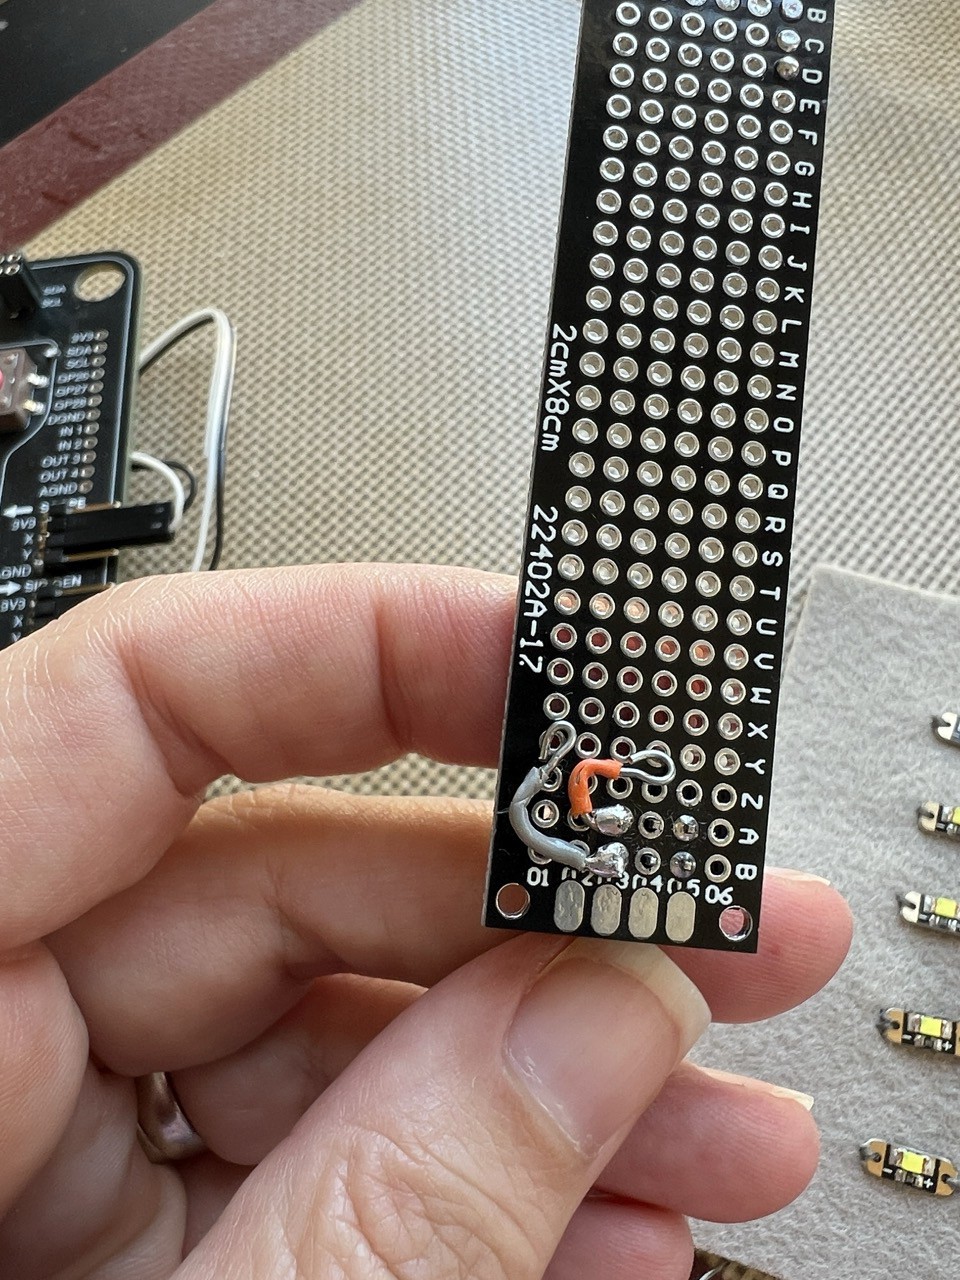
    So I got that part done, but when I started trying to attach it to the connector loops I had made, it became apparent that I would need to reconfigure the loops, and give them a bit more breathing room. With them both jutting out of the side, the threads were just too close and kept touching.

    So I bent the connectors around a bit:

    This worked much better. I think that on the next go-around, I'll try pulling out one of the middle pins so I can orient the connecting wire to the right side a little better. (The other 4 pins are just giving physical support - I'm not connecting them to anything.)

    And we have light! Wheeee!

  • Attaching the connector

    Laura10/10/2024 at 23:50 0 comments

    The first thing to work on is how to attach the connector to a soft material like felt. Can't really solder it, of course.

    I asked around and got some great ideas for how to approach this. I ended up getting some small, skinny protoboards - I figured I could solder the connector to the board, and it could act as both a "spine" to hold up the felt creation, and as a wiring carrier.  The boards I got are probably just a little too tall, but I should be able to trim them to size.

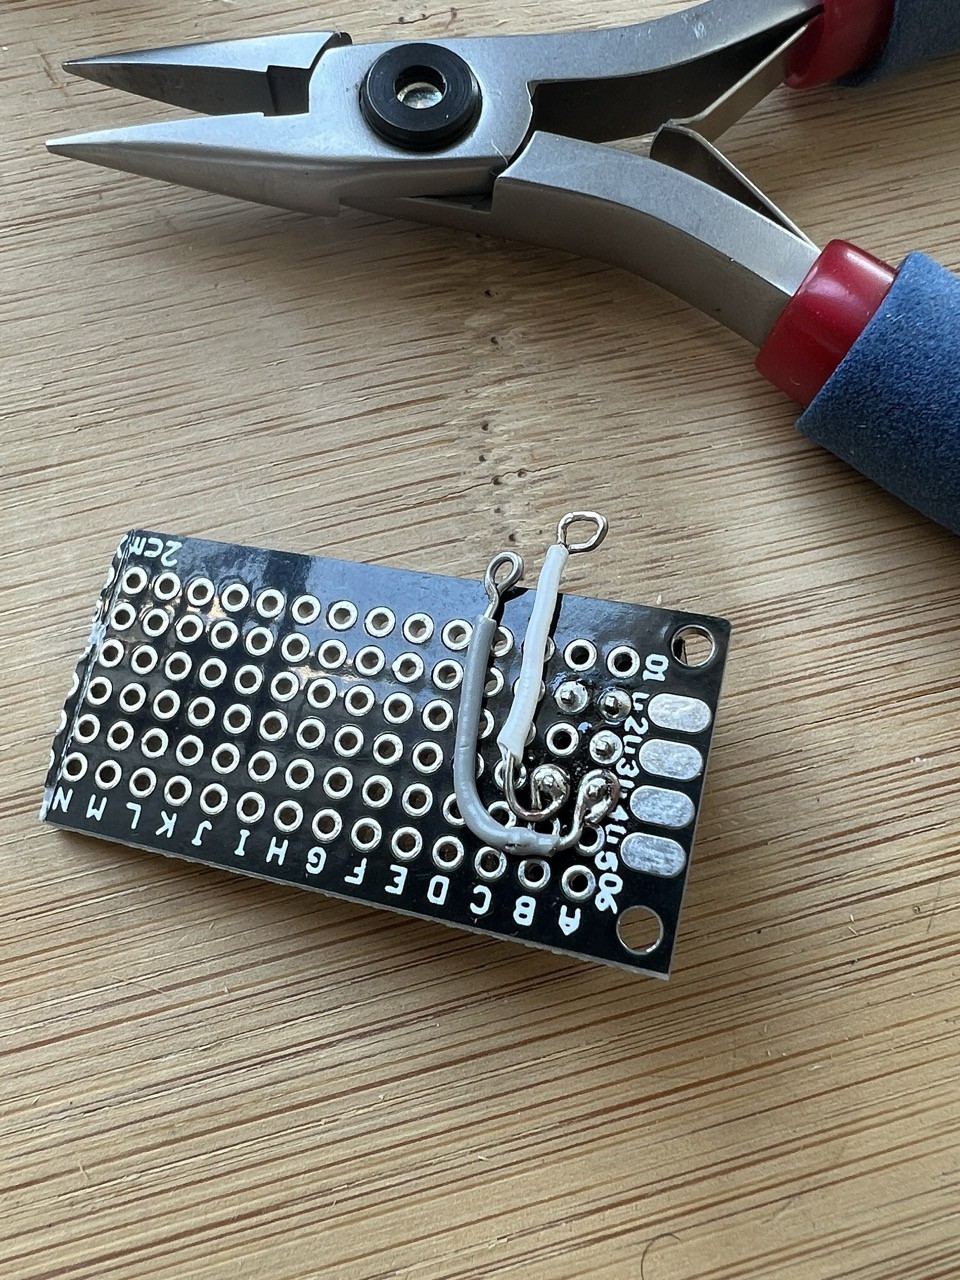
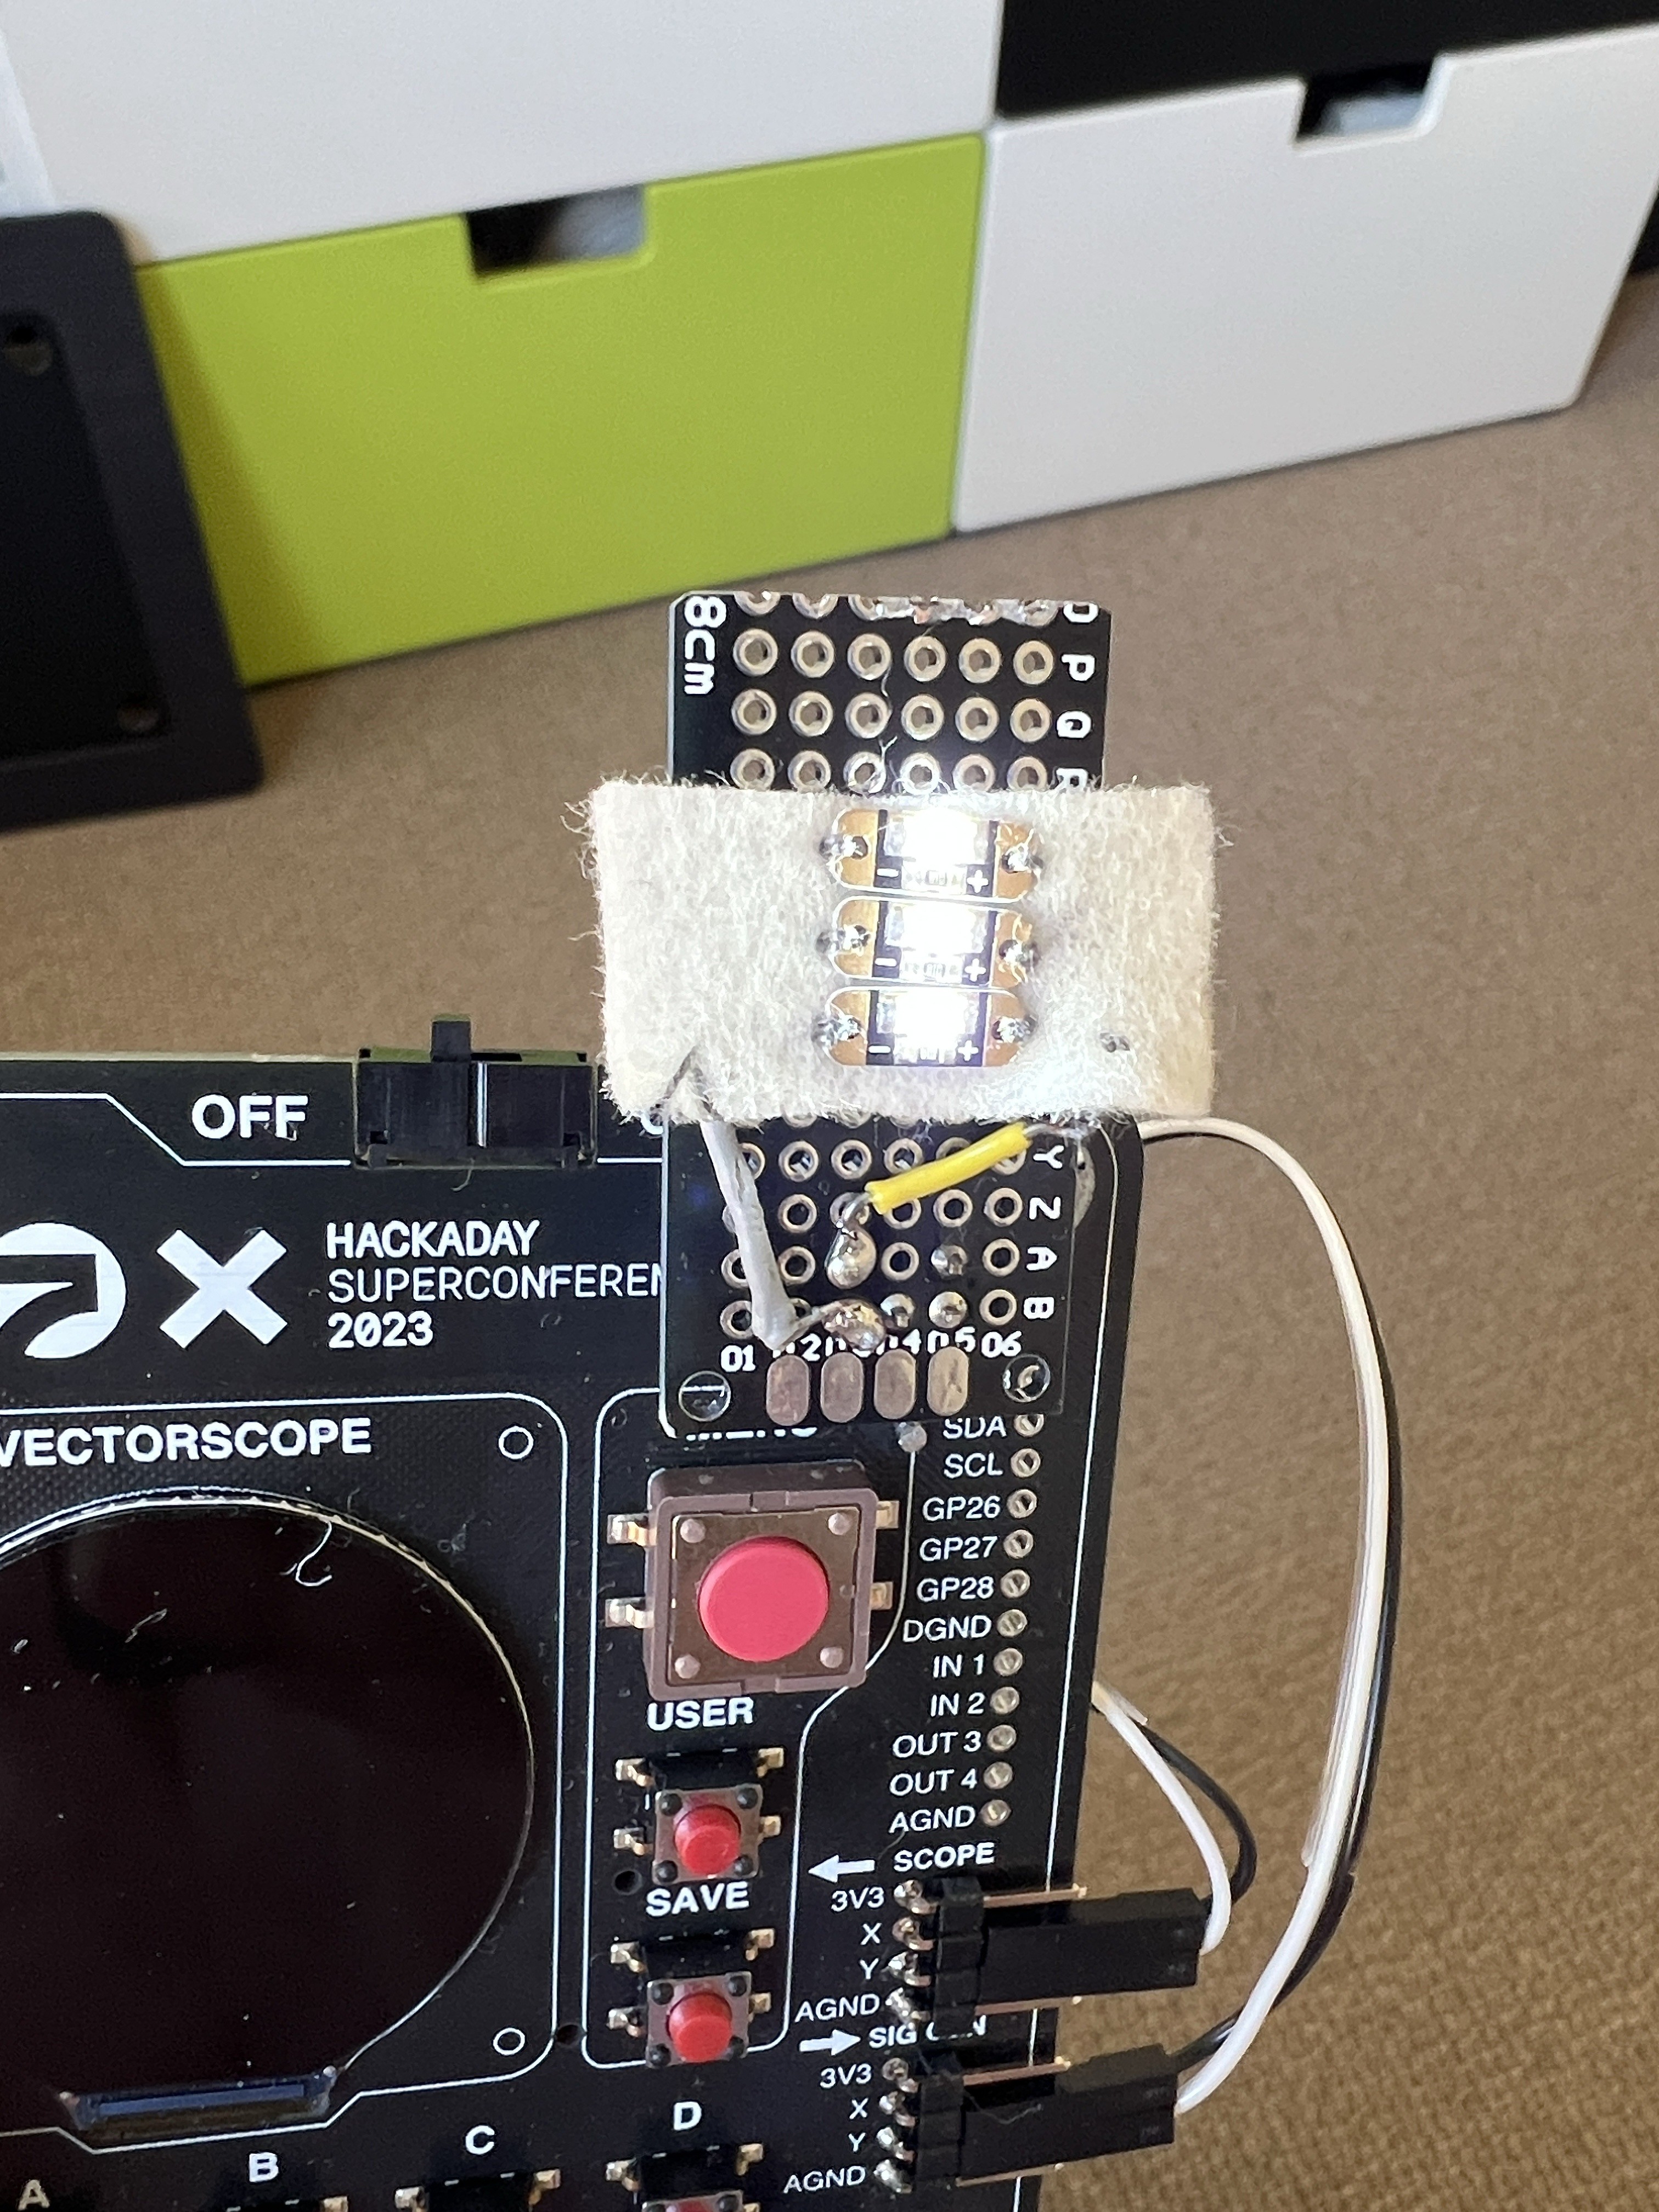
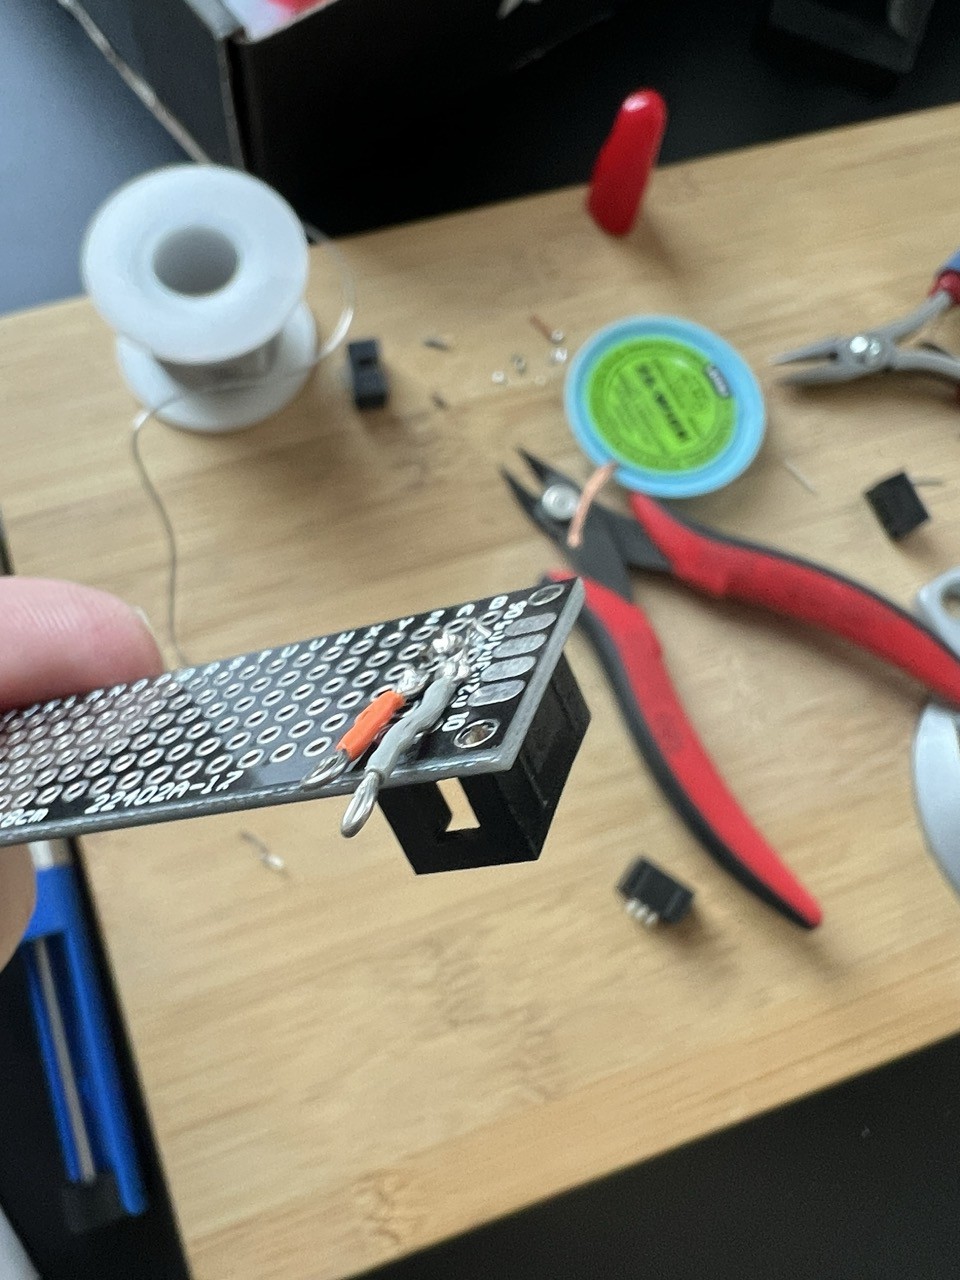
    My soldering skills are pretty basic, and after a bunch of missteps, I did manage to solder the connector to the little board. Works pretty much like I envisioned, but I kind of stumbled around with trying to make connections that I could attach conductive thread to. Normally you want a little loop or something you can wrap the thread around.

    I finally ended up using some little jumper wires, bending one end into a sewing loop, and soldering the other to the pin. Not complex stuff - just the power and ground.

    It worked, though - both for the power and as a sturdy "spine" that can hold the felt creation.

    [So there's a little more solder there than absolutely necessary. Whatevs. ]

    Successfully attached!

View all 6 project logs

Enjoy this project?

Share

Discussions

Similar Projects

Does this project spark your interest?

Become a member to follow this project and never miss any updates