 Laura
LauraAlright, let's make one that's closer to the final product, at least in size and construction.
I scored the protoboard at the halfway point, snapped it in two, and sanded the rough edges down.
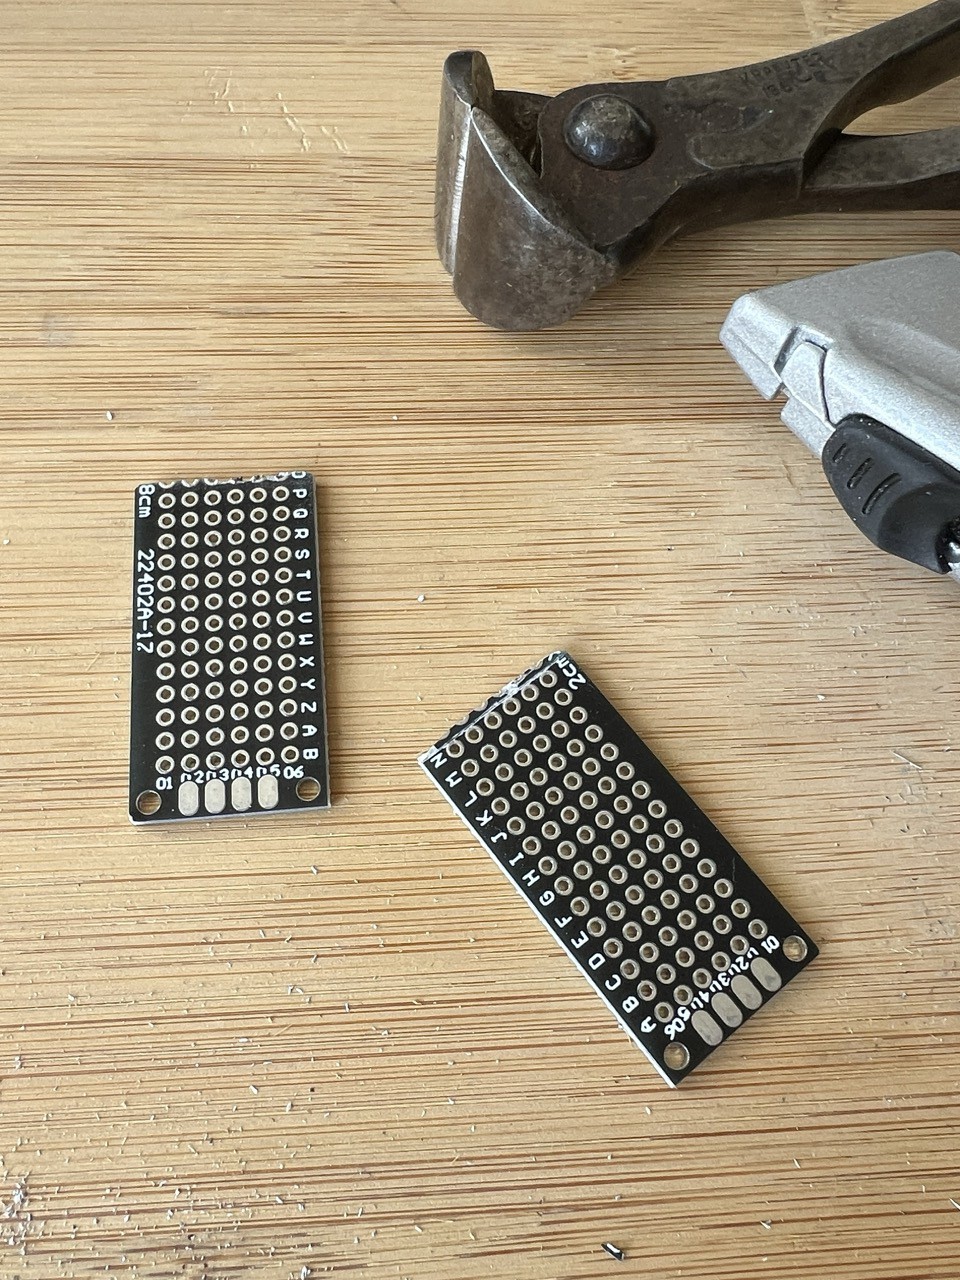
Now there are two!
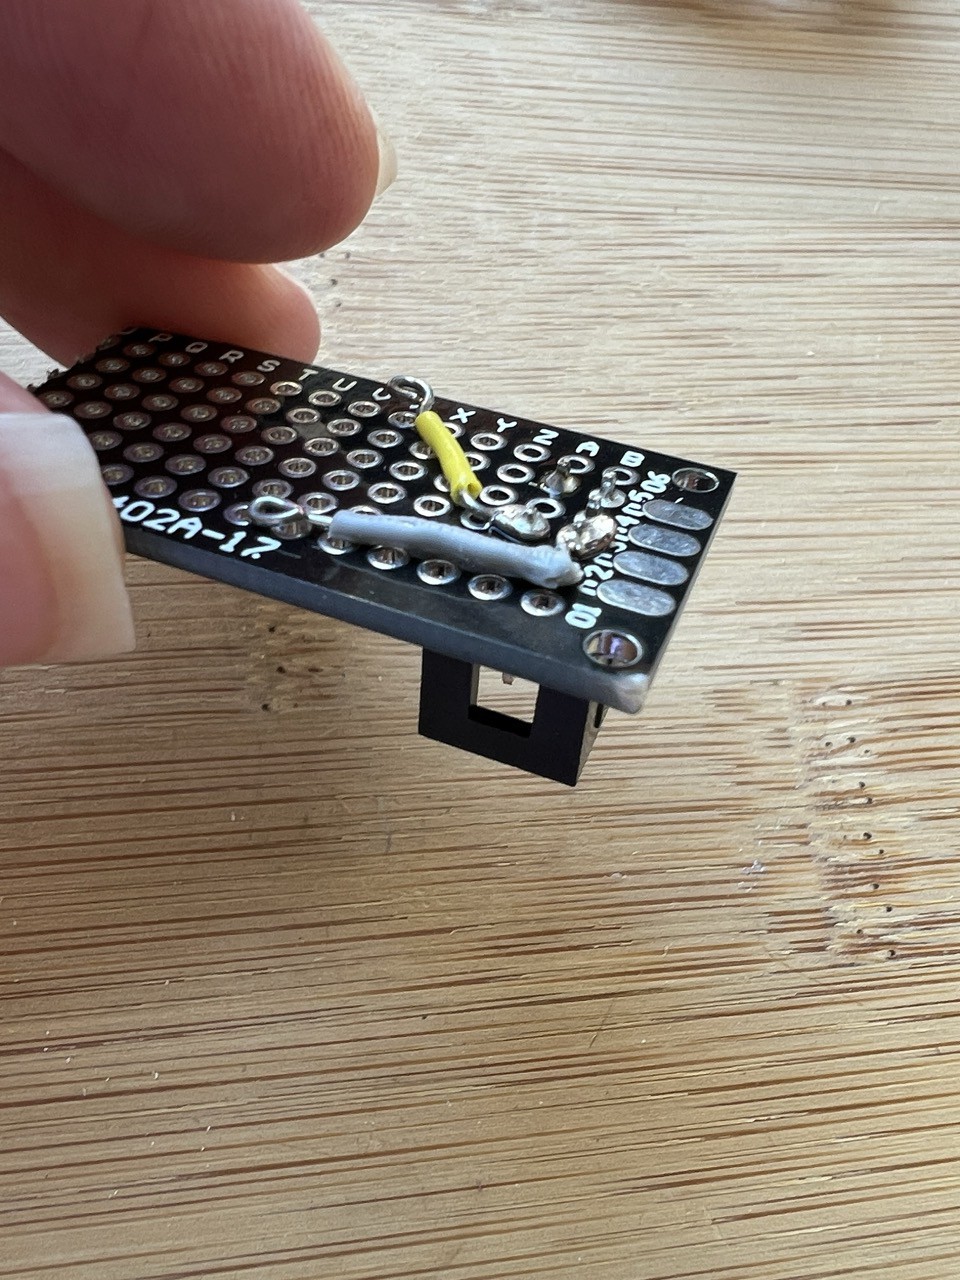
And solder up the leads, hopefully slightly better this time.
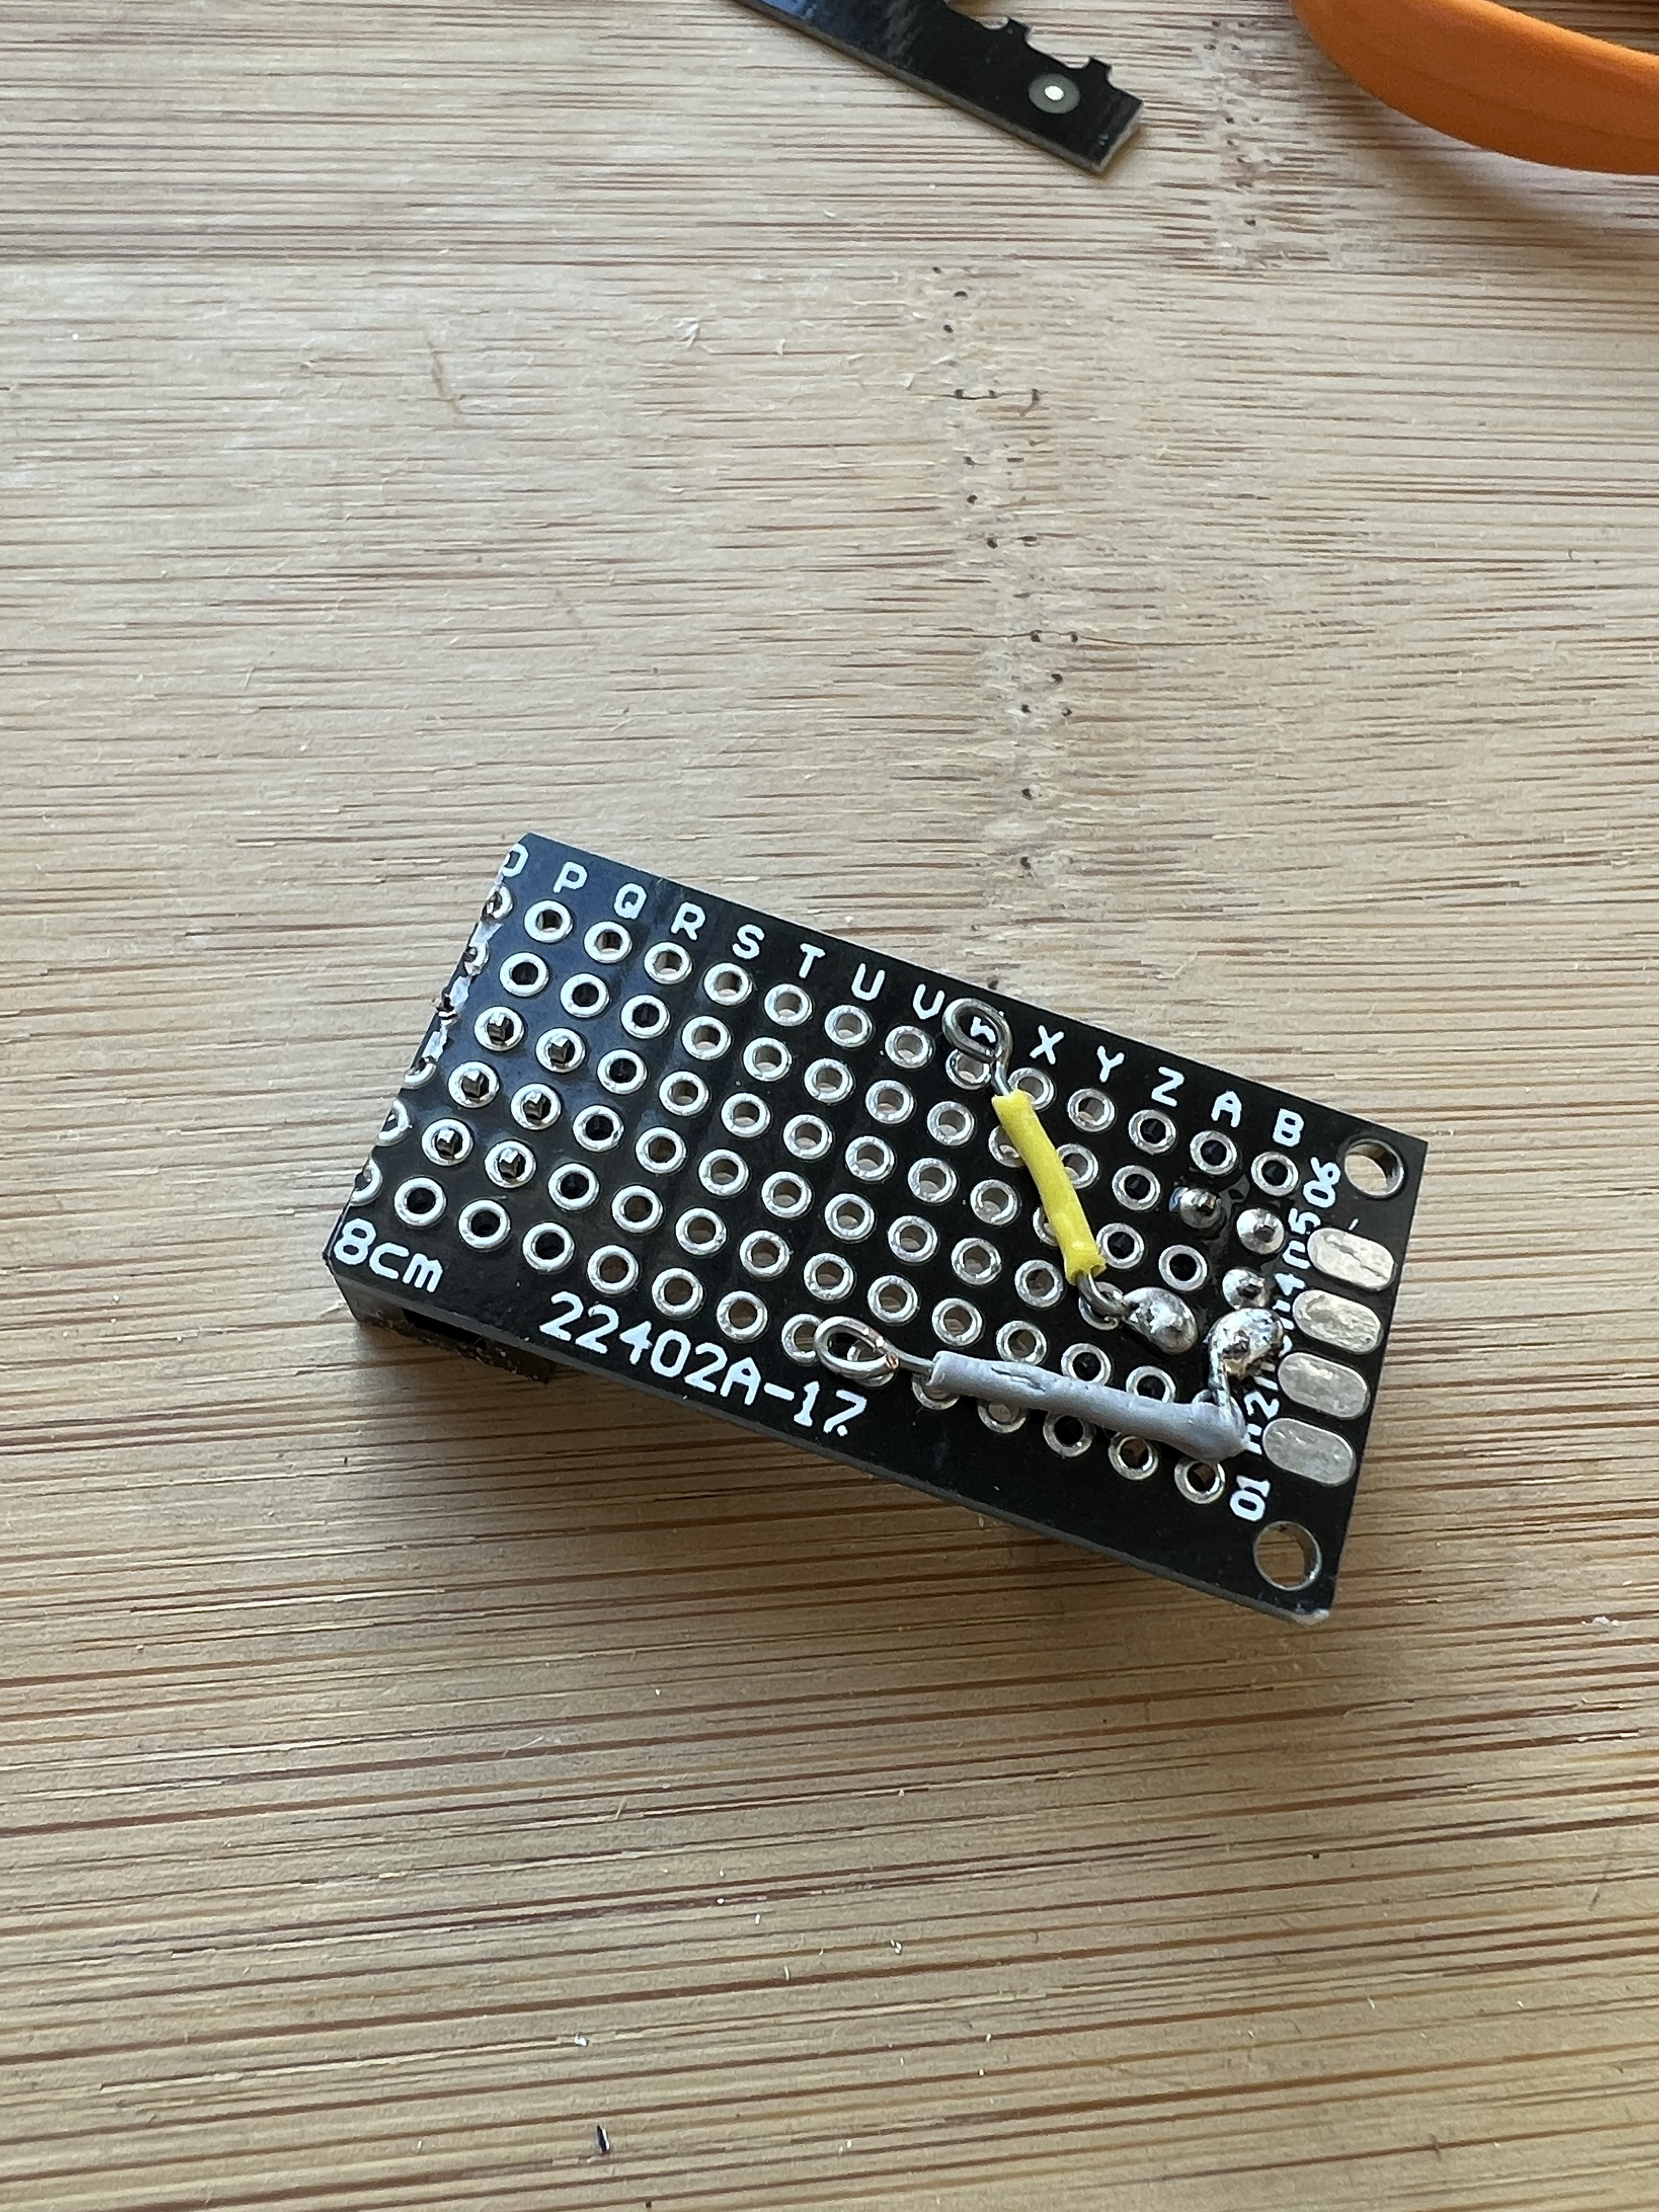
You can see I did pull one of the pins out, but I'm not sure it helped. The remaining three won't be attached to anything; just there for structural stability.
Onward! First, sew up a few LED sequins:
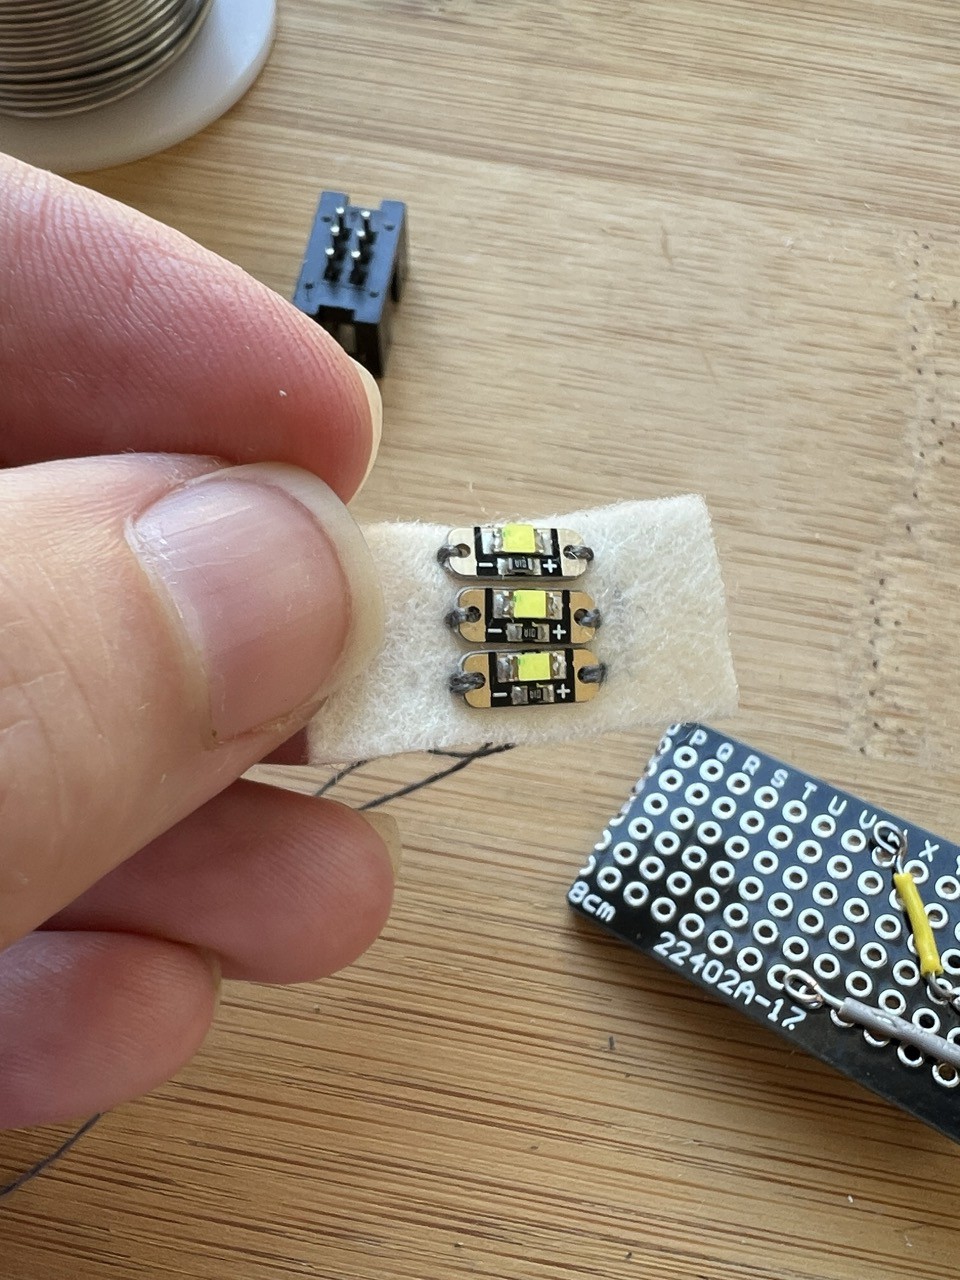
Make the connections and give it a quick test:
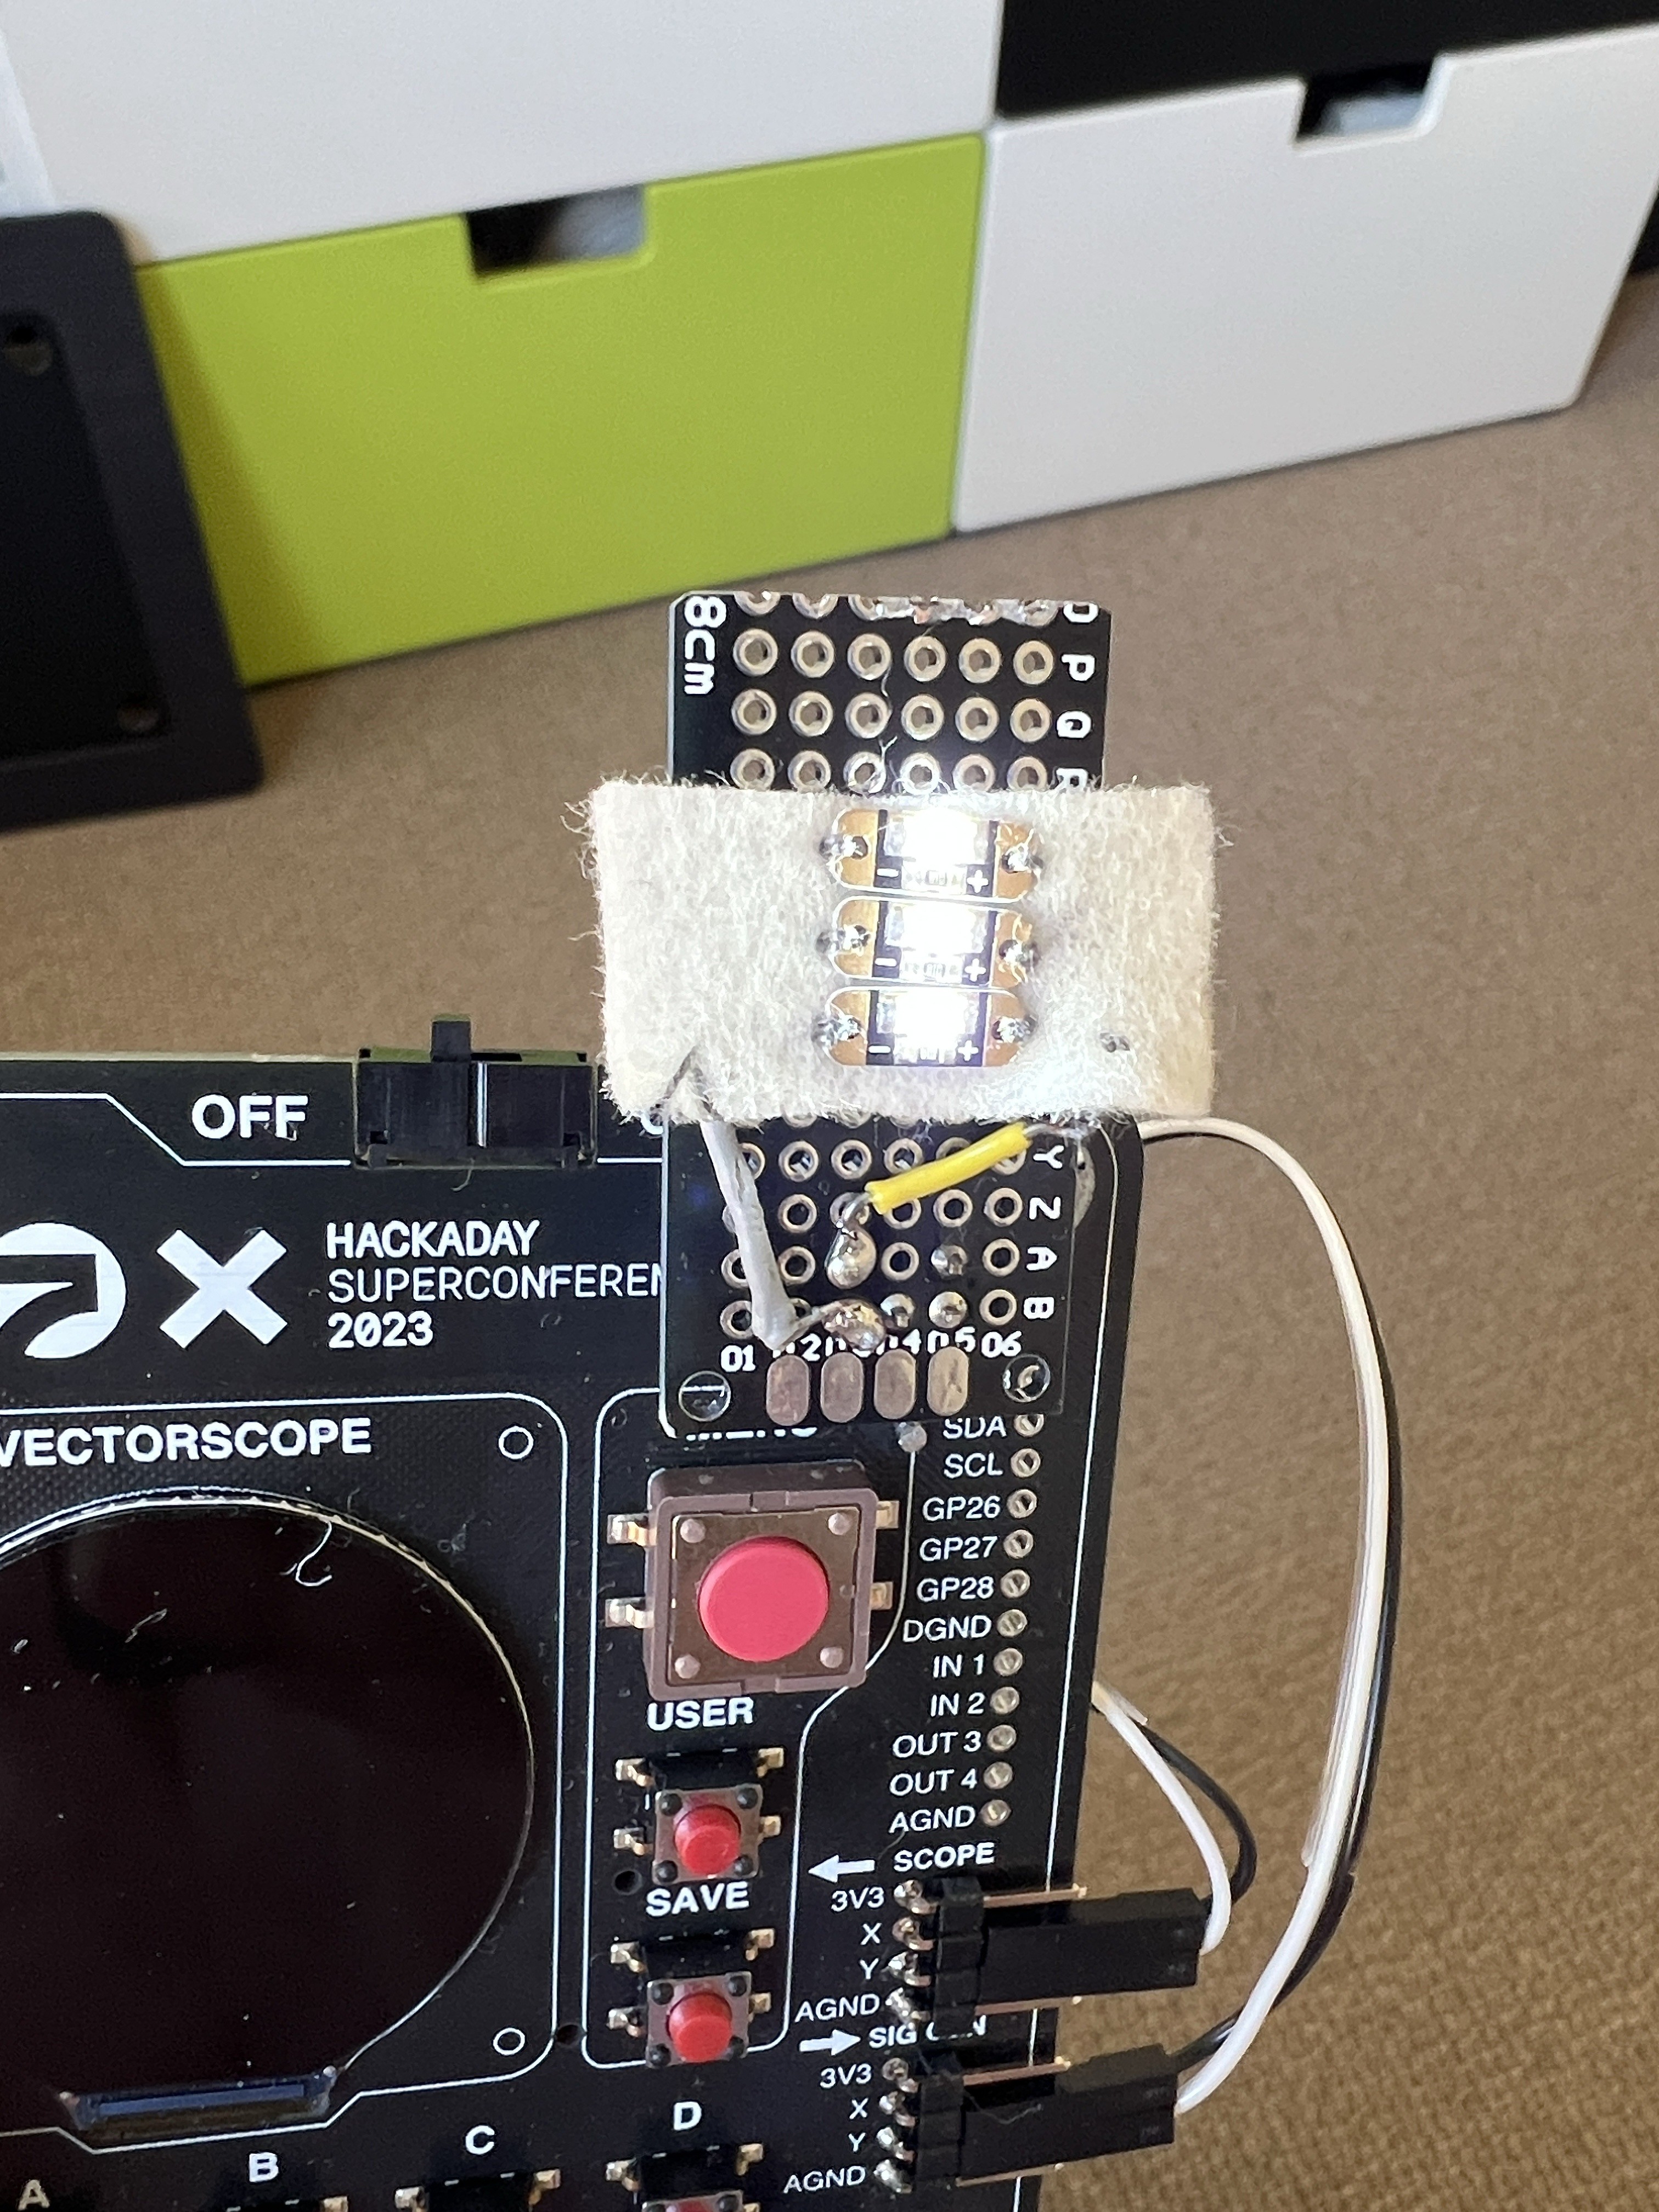
Et voila! We have light again.
Discussions
Become a Hackaday.io Member
Create an account to leave a comment. Already have an account? Log In.