The original design for the Day of the Week was a cardboard box with the days of the week in stenciled cut-out text, by Milas Clark. The appropriate day of the week would be lit by LEDs within the box. The design was changed due to its size in relation to the other elements of time included in the clock; the light box was too dominant, and the visual hierarchy was off balance.
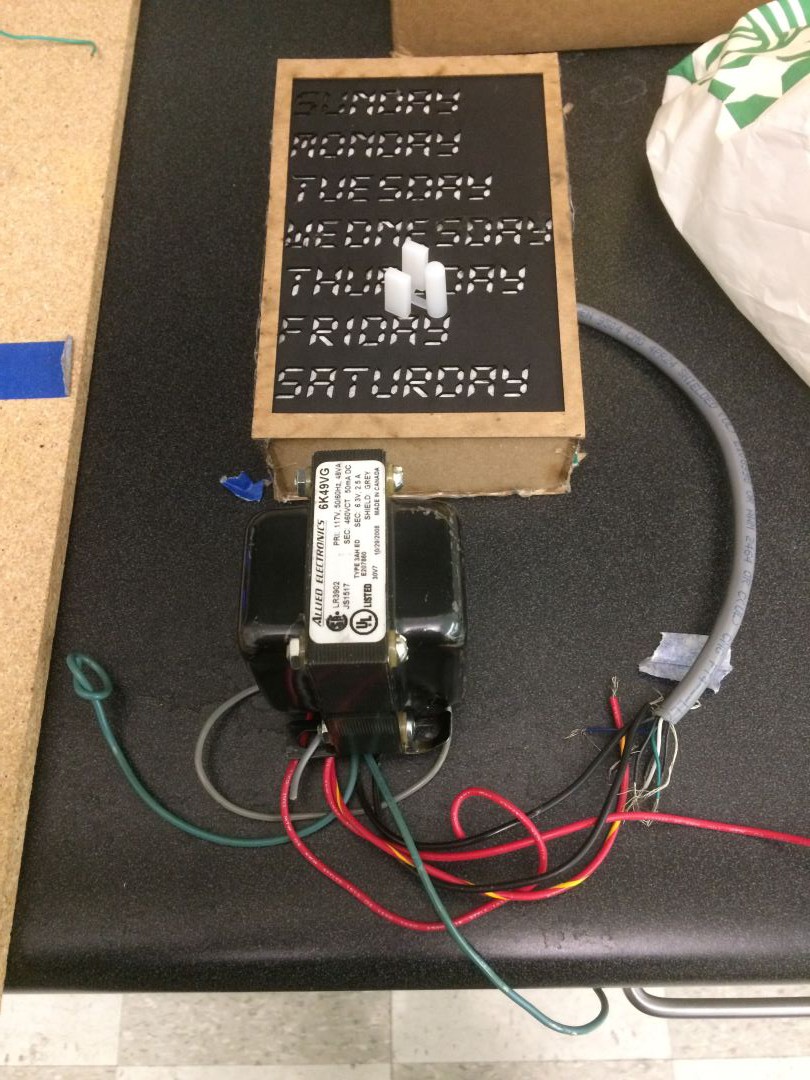
Original cut-out design by Milas Clark
This was changed to an LCD display, one of the most standard and common pieces of display technology. Being new to coding and electronics, I started my journey with a standard 16X2 LCD display that we had lying around the electronics lab. Because it was so basic, I thought it would be a good place to start. I referenced tutorials for 16X2 LCD displays for wiring up a prototype, and used the Arduino>Examples>LiquidCrystal>HelloWorld code as a template and eventually expanded from there.
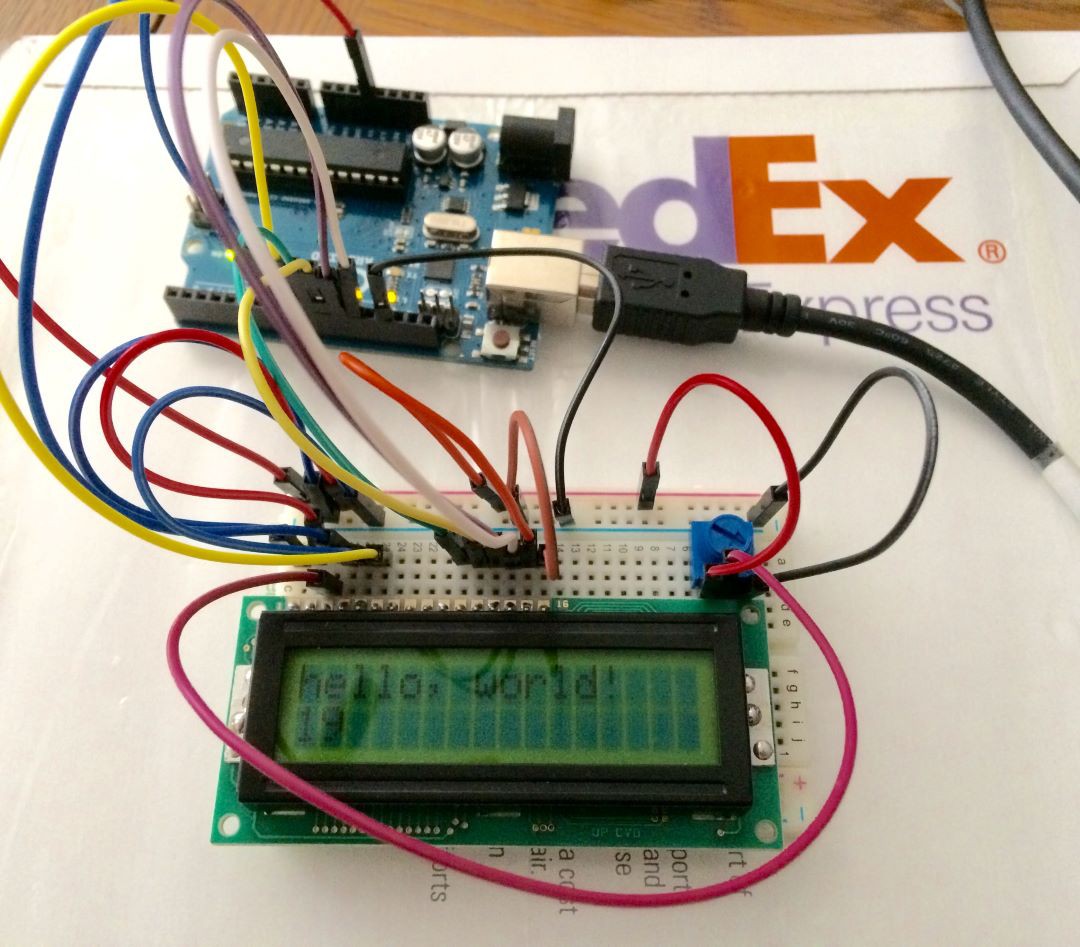
The 1st prototype after the redesign
Later on, the 16X2 display was changed to a 16X1, because the font size was too small to be read from a distance, and the position of the connection pins became problematic. The 16X2 display had connection pins at the top, while the 16X1 had connections on the left side. This was much better for cable management when we were connecting all the different displays together.
The second prototype incorporated push-buttons and If-Else statements in the code to change from one day of the week to another.
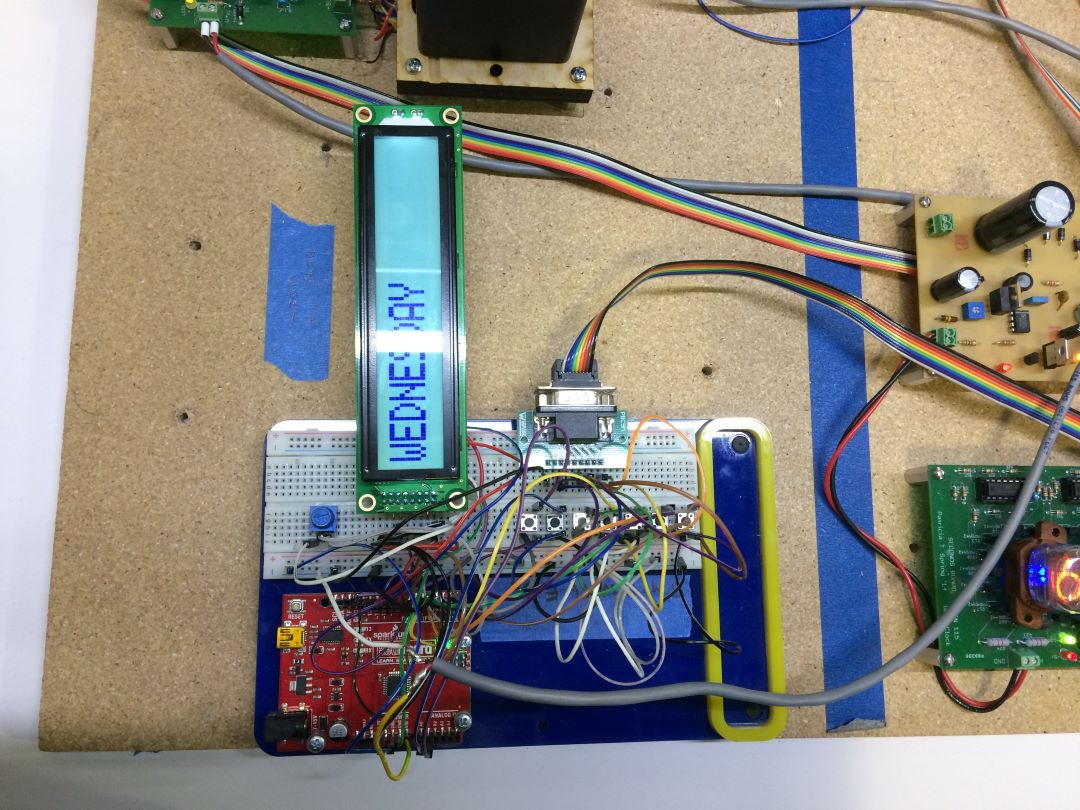
The 2nd prototype, push-button version
The push-button code was modified when we changed from using an Arduino Uno/ RedBoard to a Mega, and added an RTC (Real-Time Clock). Instead of the code reading inputs from the push-buttons, the inputs came from the time on the RTC. This was important because this way all the time information was coordinated, so if any time element changed, the other elements would match and be updated as well.
The PCB based on the push-button prototype was designed by David Harbottle and made on the Othermill in the Fablab, Pasadena City College's maker space. After being tested to confirm the design was working properly, we sent the design to PCBWay for a professional board to be made. It arrived quickly, worked perfectly, and gave a really polished look to our project.
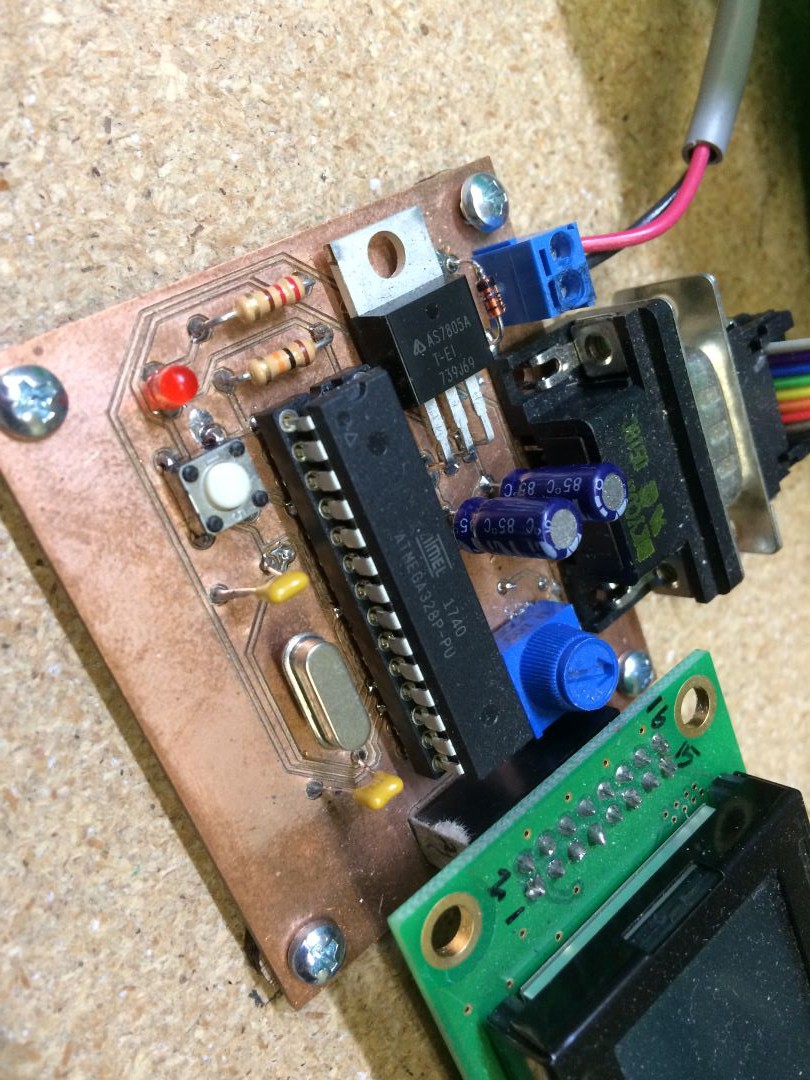
Detail of board (Othermill version)
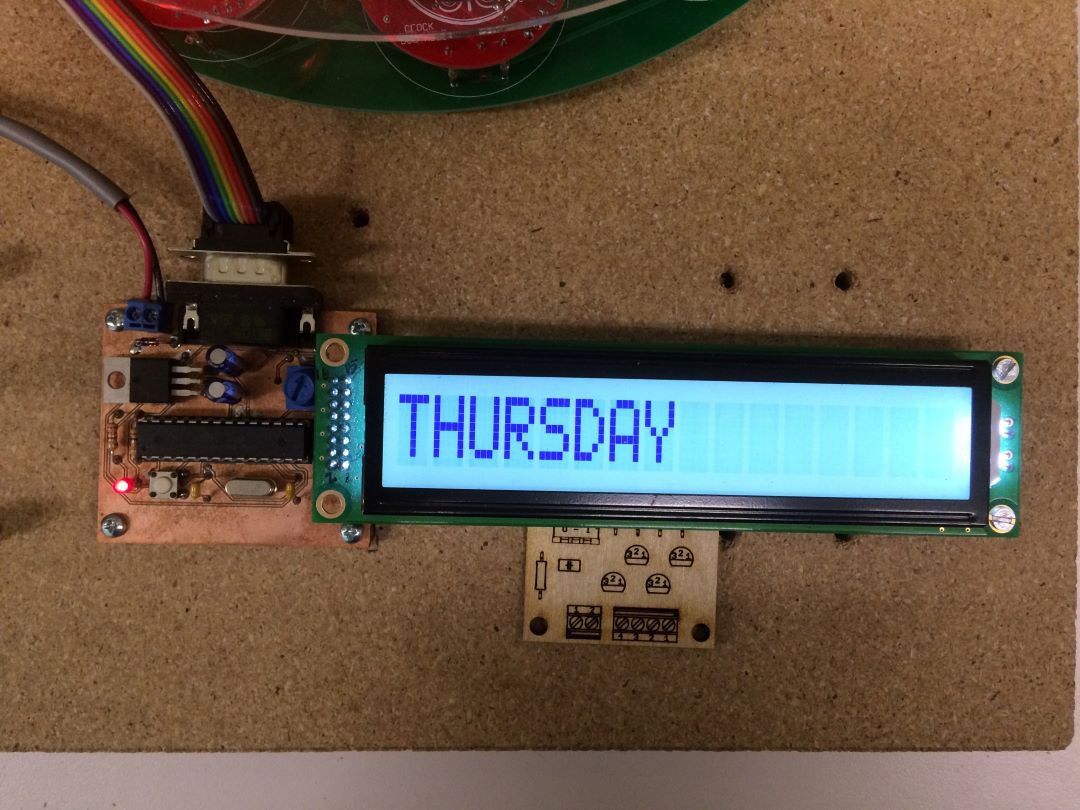
Testing of Day of Week display with Othermill board
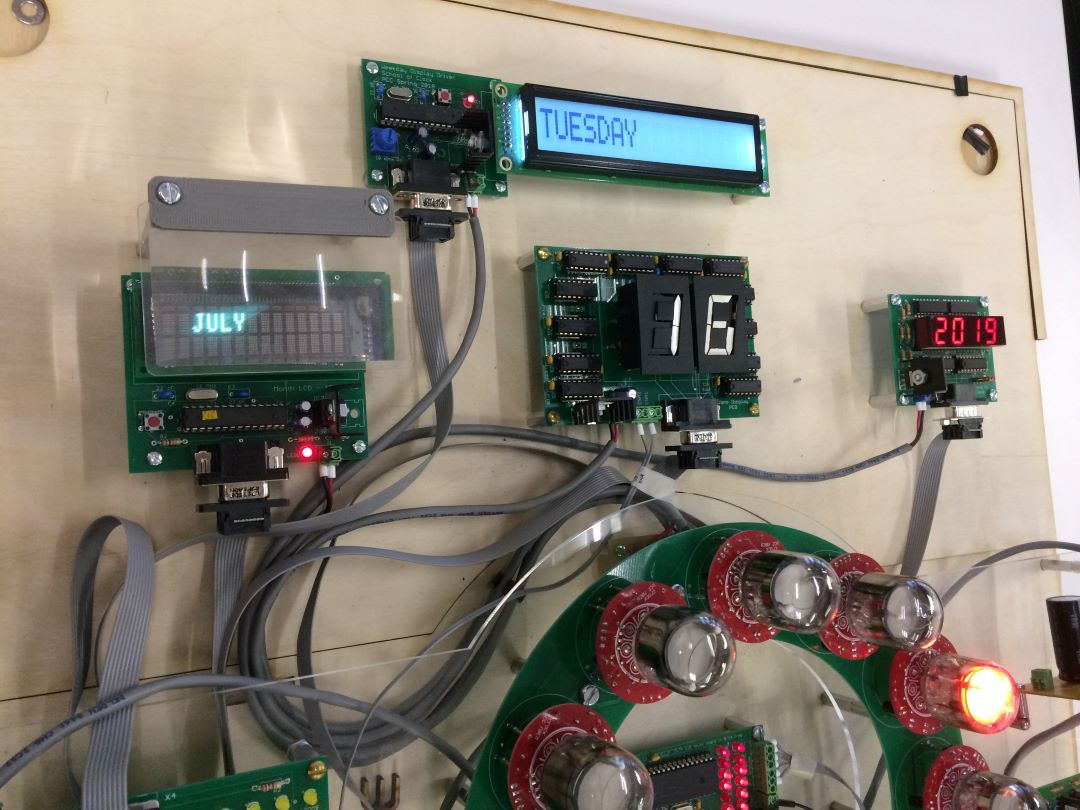
Putting it all together with final version of the Day of the Week board from PCBWay
Next, we'll explore the Minutes Display, or How to Pick a Proper LED!
 C
C
Discussions
Become a Hackaday.io Member
Create an account to leave a comment. Already have an account? Log In.