 MagicWolfi
As mentioned earlier, the SPI interface signals of the uSD card slot are connected backwards.
SCK <-> CSn
MOSI <-> MISO
This means 4 cut traces and 4 wires. In the end nobody will know because the wires will be hidden under the SD card holder. Just a few pictures to document the process:
Cut trances and wires already attached. I used 38 gauge magnet wire, which is perfect for this kind of re-work as the insulation melts away. No wire stripping required.
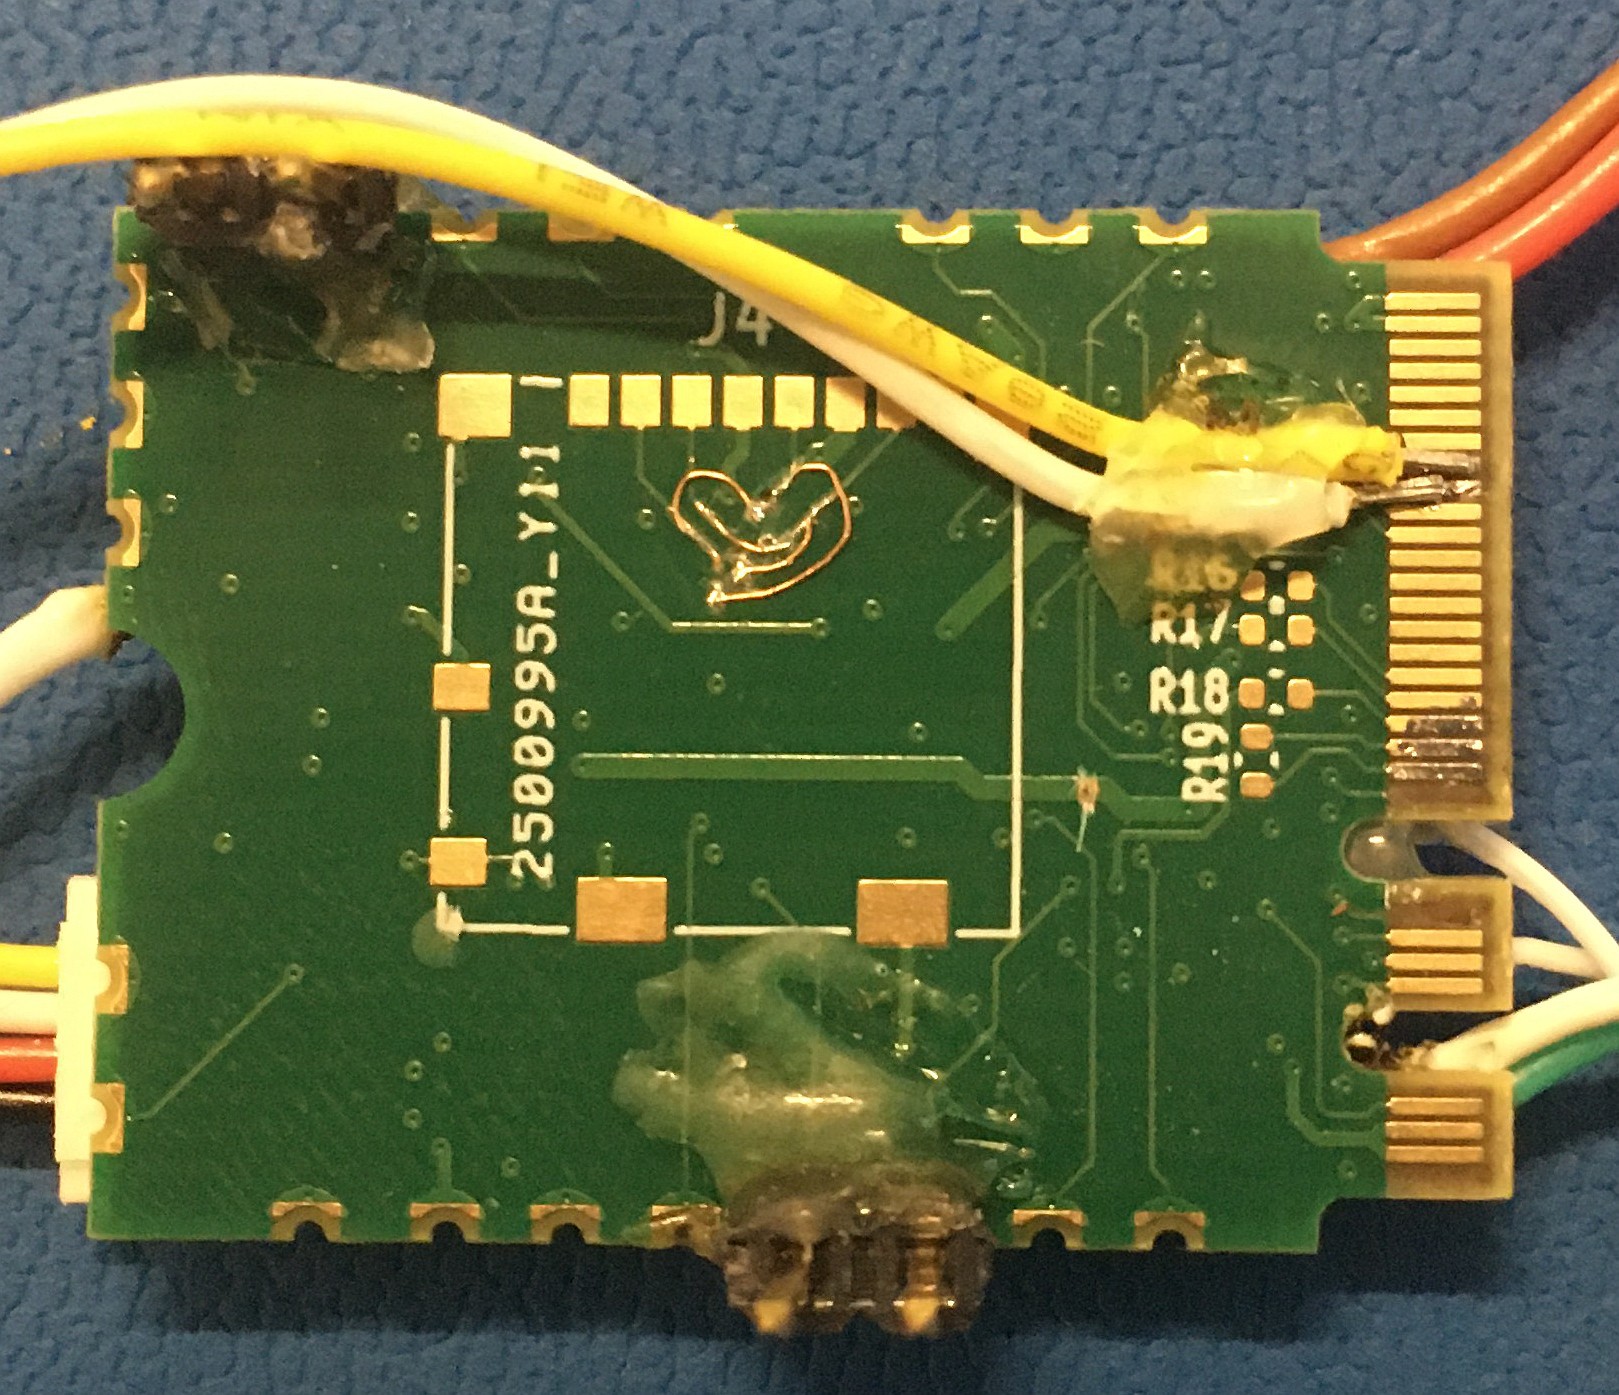
Then the wires got nicely covered with Polyimide for protection

And the uSD card holder soldered to the board.


Next, a trip into software land and trying to talk to the uSD card. I am going to try the Arduino SD library and [Greiman]'s SdFat library. I learned already that the maximum size for FAT32 file-system is 32GB, everything larger needs to run with exFAT. I will find out soon.
Discussions
Become a Hackaday.io Member
Create an account to leave a comment. Already have an account? Log In.