The primary circuit consists of a resonant inductor and capacitor, which together form a resonant tank circuit. Output Driver Circuit typically consist a half-bridge or full-bridge configuration for controlling the Mosfets, and Feedback Circuit serves to monitor the output and adjust firing patterns dynamically. This type of Tesla Coil has several advantages, including higher energy efficiency, greater control over pulse frequency, width, and amplitude and quieter operation.
Now I will present you a relatively simple way to make such a device, thanks to a cheap driver module that I got at a very low price of about 15 dollars.
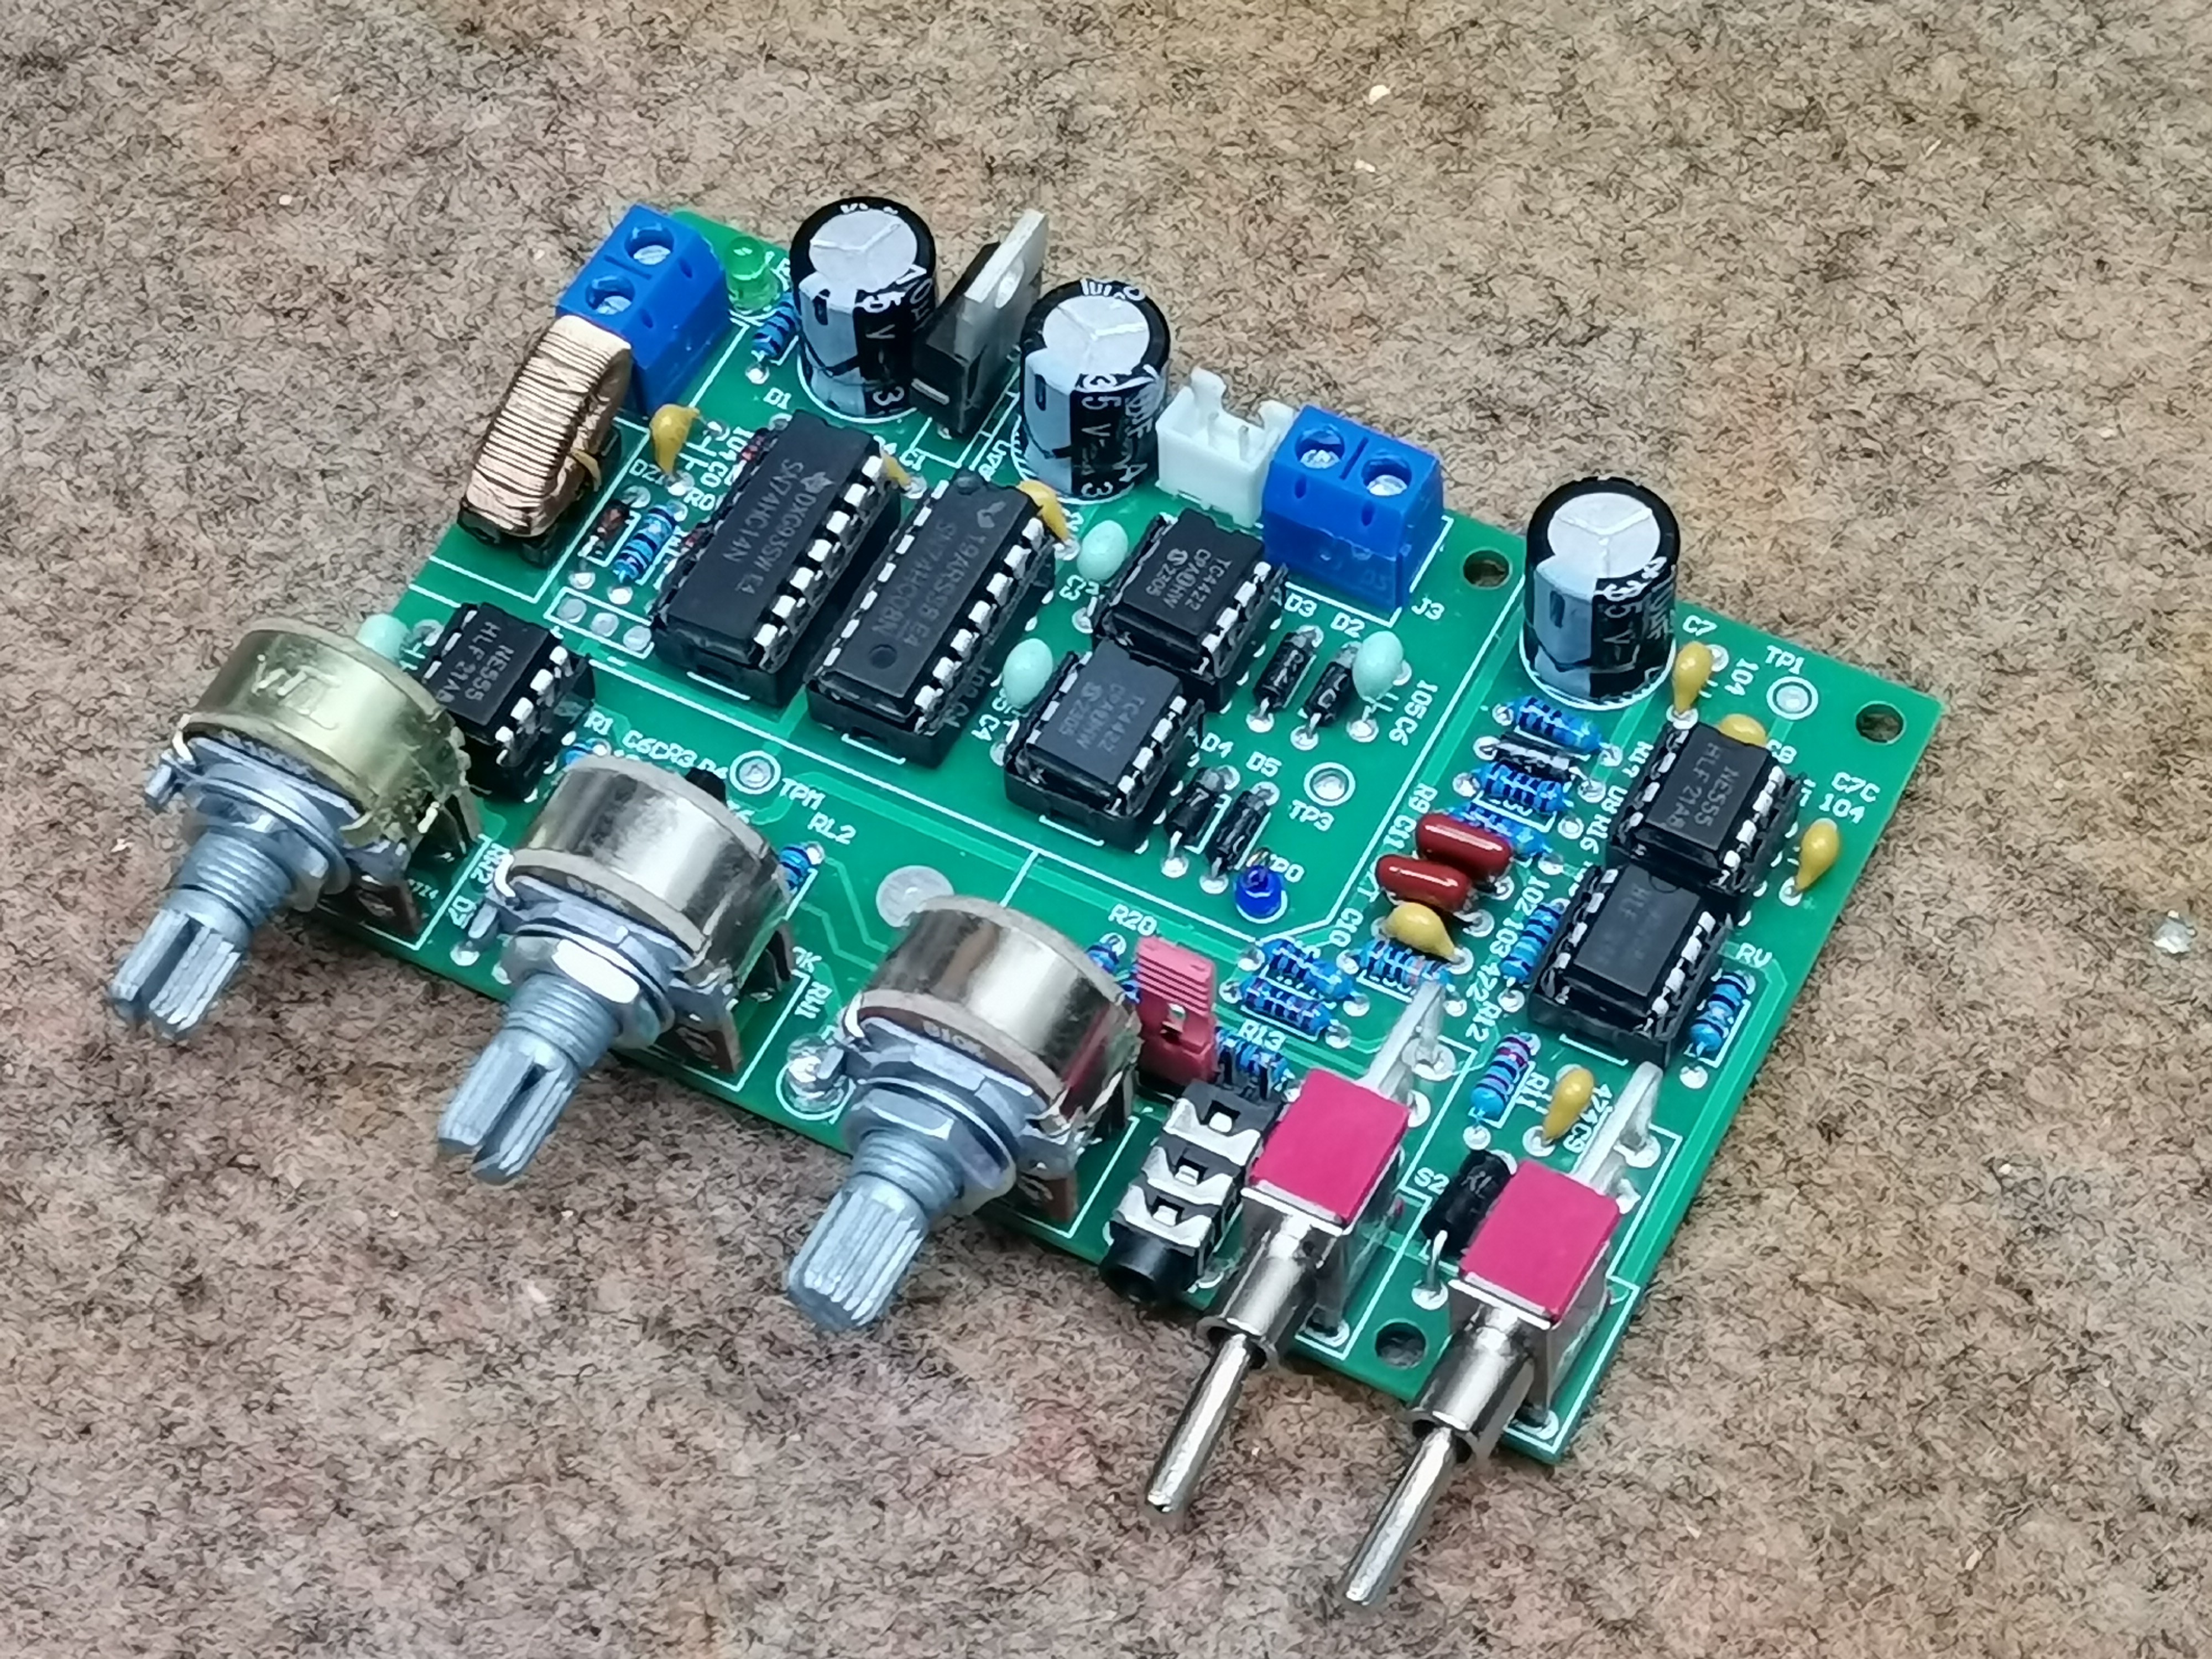
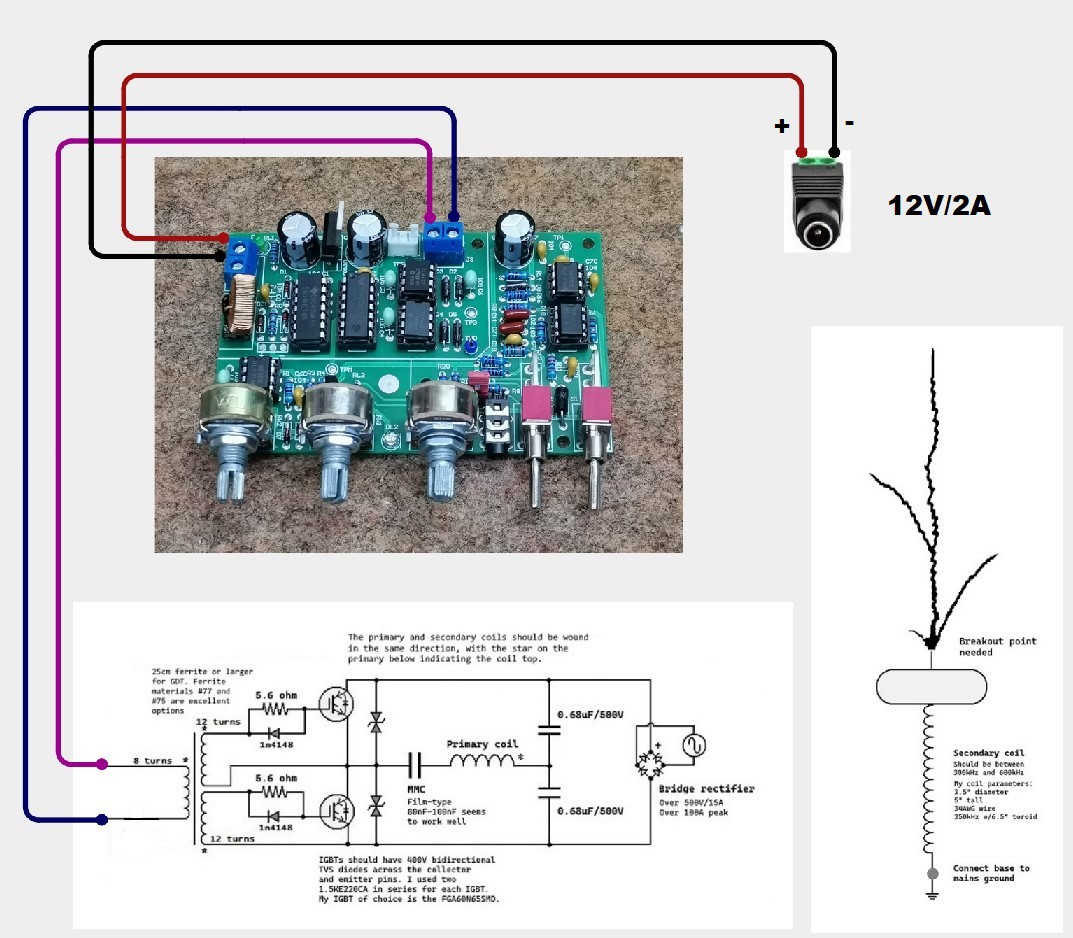
Along with the module, the package consist a description in the form of a circuit diagram of the module, as well as a schematic representation of how to connect the Power part, which should contain mosfet or igbt transistors.

The PCB is solidly built and also contains a staccato interrupter circuit with two adjustment potentiometers, as well as an audio modulator with a potentiometer to control the modulation of the input audio signal for musical Tesla coil operation.
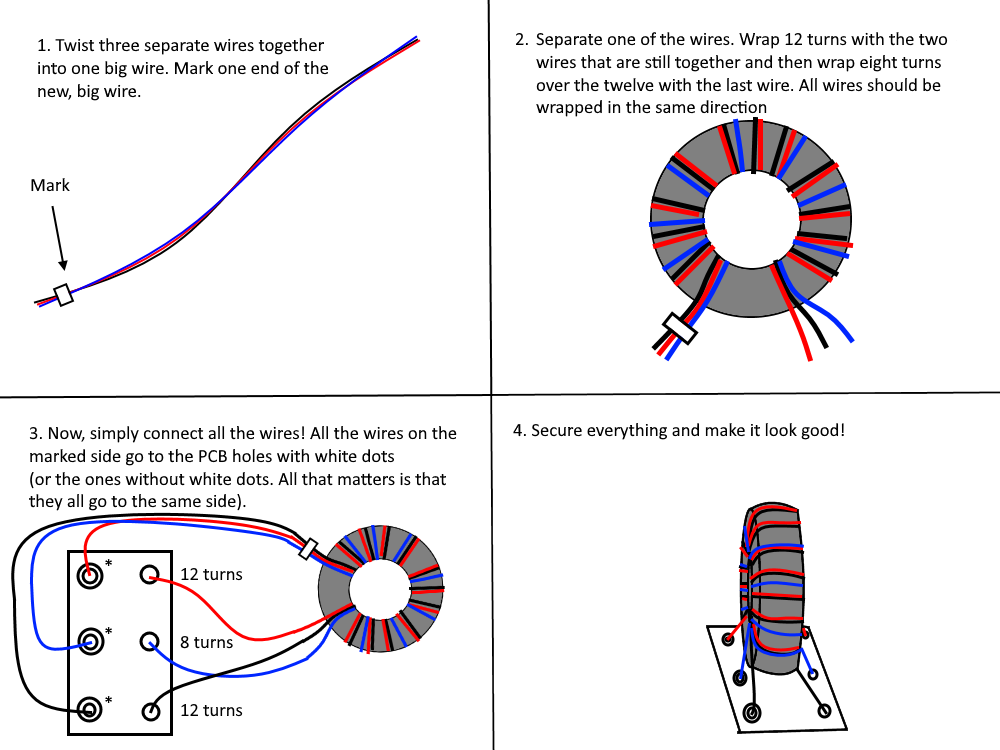
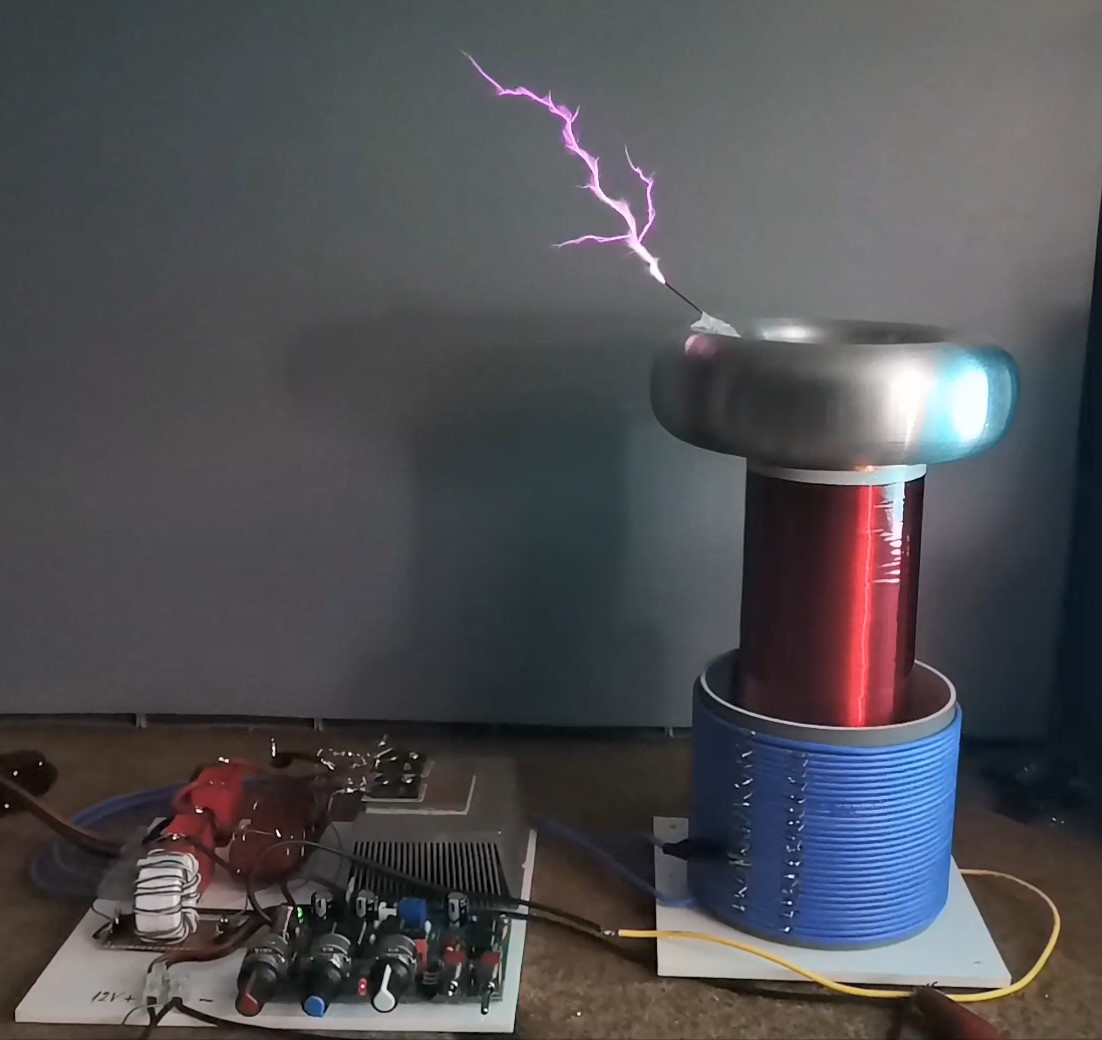
As you can see, I placed the components on a small plastic board, the two power semiconductors are mounted on an aluminum heatsink and the other elements are directly soldered to them or glued to the board with double-sided adhesive. The transformer is wound on a toroidal ferrite core with a diameter greater than 2cm and consists of three windings, two of 12 and one with 8 windings.
This project is sponsored by PCBWay(https://www.pcbway.com/?from=MirkoP). This year, PCBWayorganizes the Seventh Project Design Contest where, in addition to Electronic and Mechanical Project, also has been added a new category: STM32 Project. For the best selected projects are provided rich prizes in cash, coupons and special gifts. Submit your project for participation in this Contest from 2nd, Sep, 2024 to 19th, Jan, 2025. For more details and instructions visit the given page. Let PCBwayalways be your first choice.

More detailed instructions for making it can be found at the given Labcoatz Instructables site . Actually this is a very similar configuration, but performed with different components and instead of a QCW interrupter it contains a regular interrupter with partial frequency and duty cycle control. To power the half-bridge configuration of mosfets, I use a simple half-wave rectifier consisting of a fast diode and a 1 microfarad capacitor. I control the voltage with a 2kW variac.
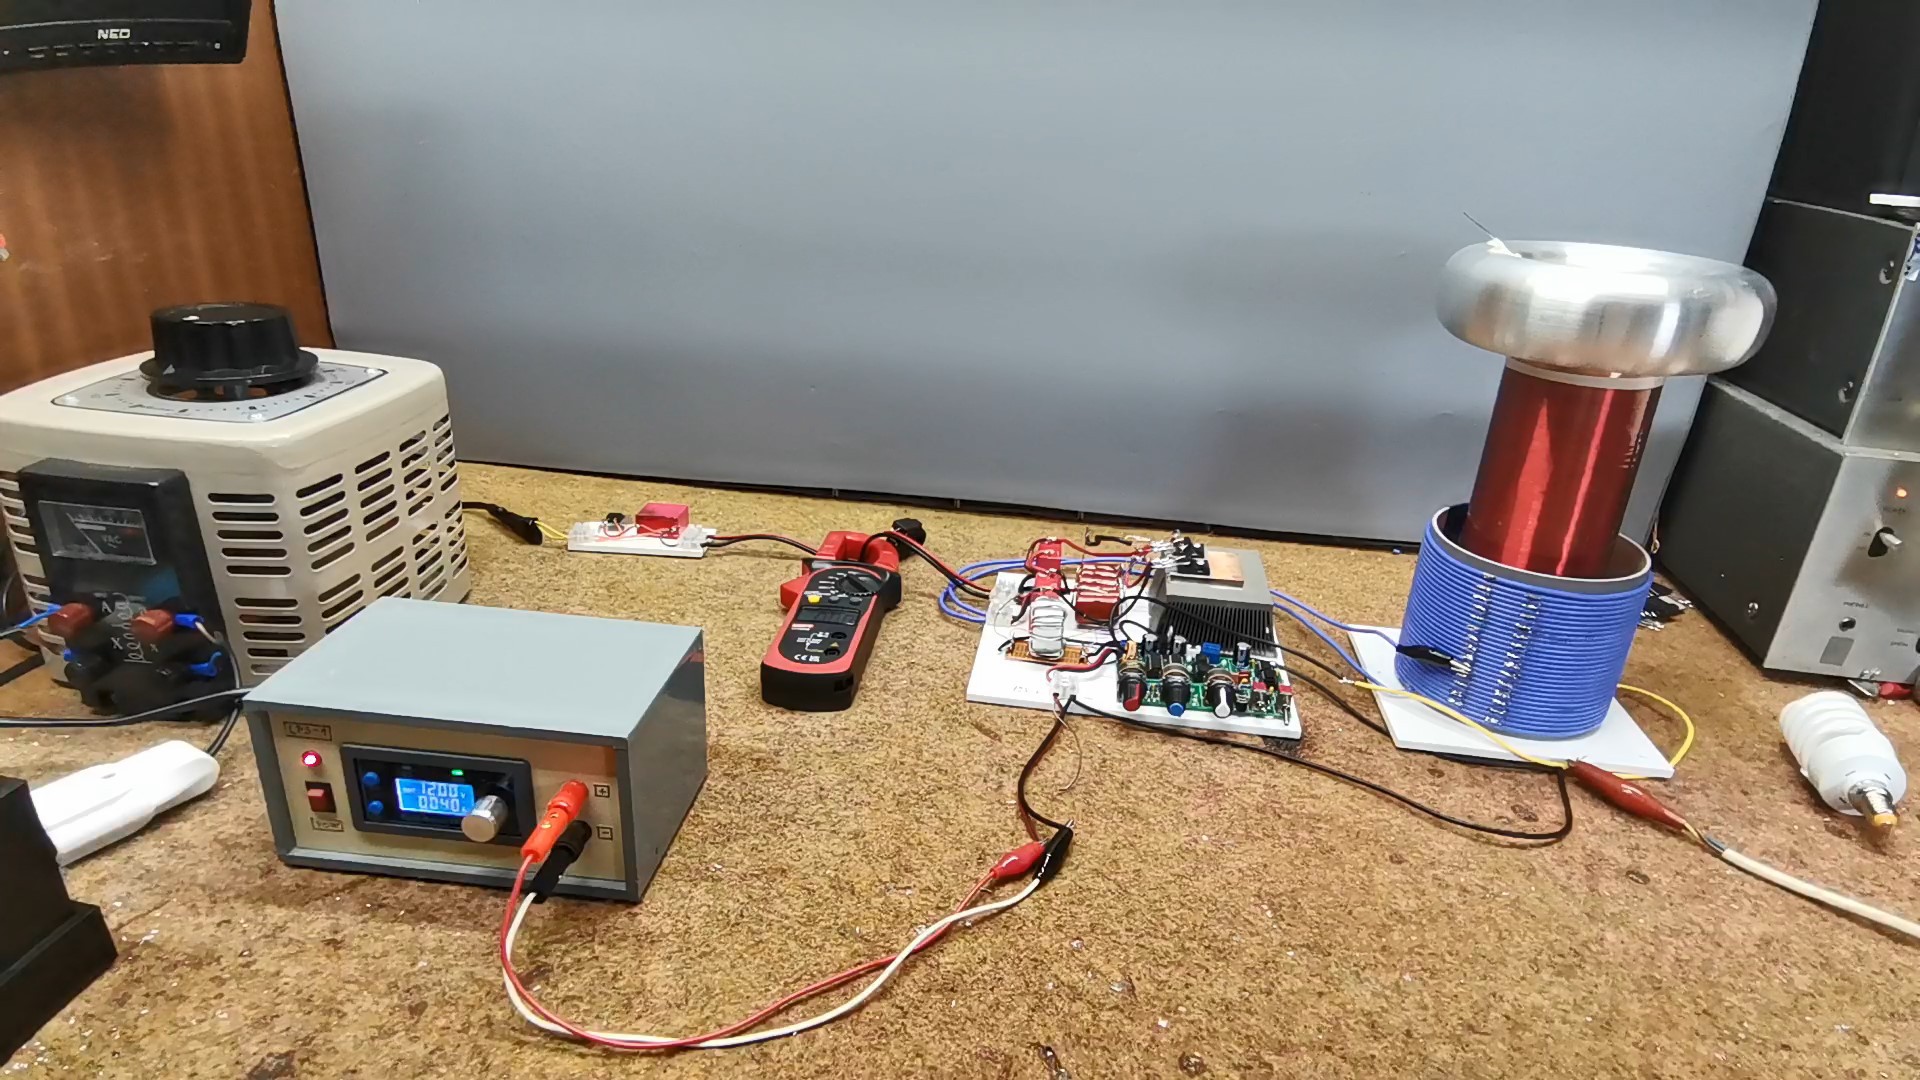
At the beginning during testing the tesla works worked normally, but with a gradual increase in voltage at about 100V I encountered a big problem.
Namely, the mosfets burned out very often unexpectedly. This is the result: manu death mosfets. I found that the reason for this was the very poor quality of the core of the gate driver transformer. Shortly, the output signal of the transformer should be as close as possible to an ideal square wave signal. The greater the deviation, the faster the mosfets burn. Now I will show you a simple way to test the characteristics of a gate driver transformer which depends on the quality and composition of the core. For this purpose, on all unknown types of cores that I had at the moment, I wound 10 turns with a double wire taken from a network cable. One color is the input and the other color is the output of the transformer. Now we need a square wave generator, an oscilloscope, and a gate driver IC, in my case a TC426, but you can use any gate driver. At the input of the IC we bring a signal from the generator, and at the output we connect the primary of the transformer, as you can see in the diagram. At the output of the transformer, we connect an oscilloscope to observe the shape of the signal.
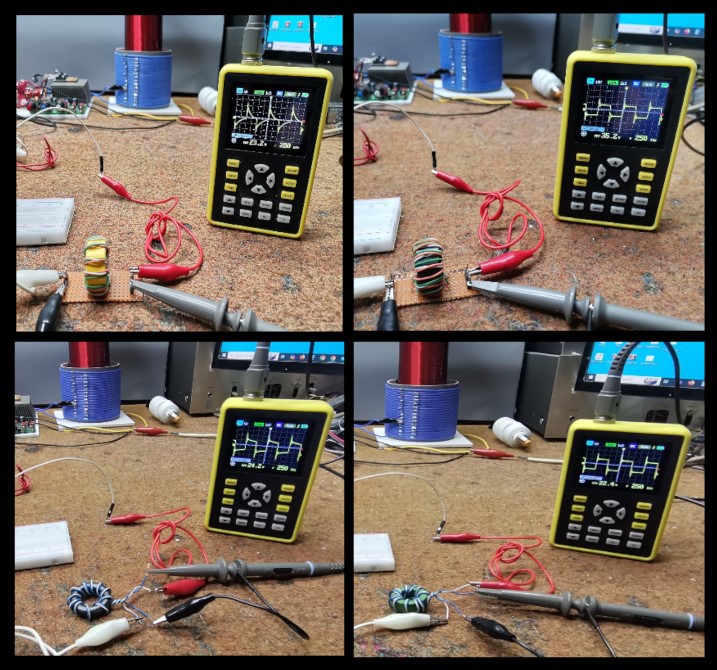
If you do not own a signal generator and an oscilloscope, you can simply test them with an inductance meter. Wind the same number of windings on all cores (for example 10) and measure the inductance of the coils thus prepared. The one with the highest coil inductance should be the most suitable for this purpose.
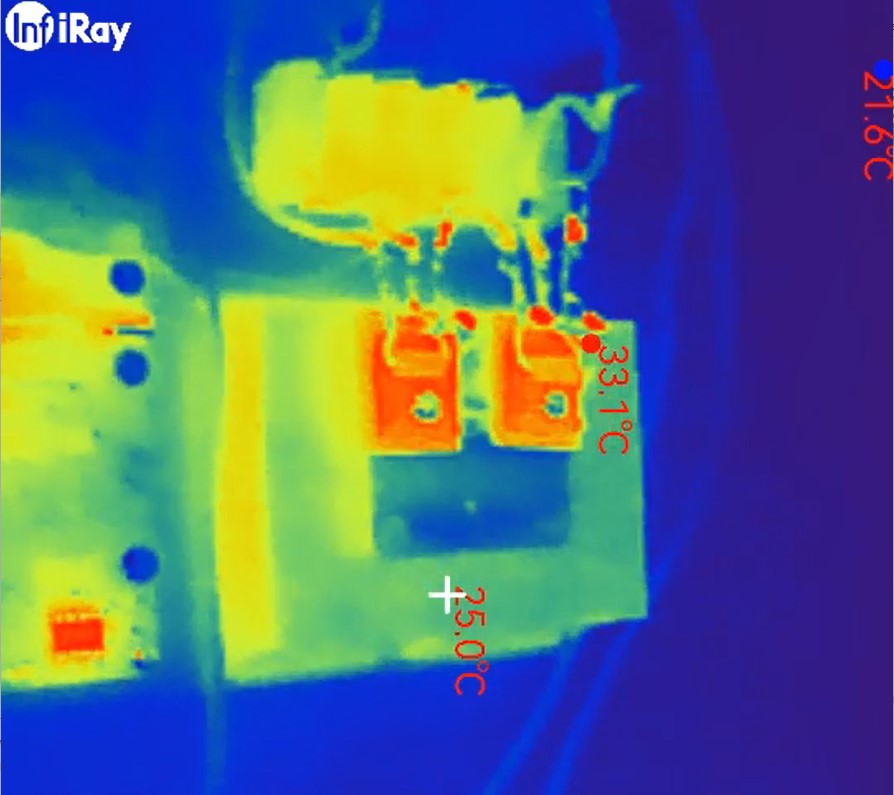
Now let's see how the transformer works in real conditions. First we test with a very low voltage of 20--30V bringing the CFL close to the secondary. If the bulb lights up, it is a sign that the transformer is oscillating, and we can gradually increase the voltage of the half-bridge power configuration. After choosing a suitable driver transformer, I have no problems in functioning, with a note that the highest voltage with which I tested the device is 150V. Unfortunately, at the moment I didn't have any more spare Mosfets, so I didn't want to carry out tests to the extreme limits. I expect Mosfets to arrive soon, as well as more powerful IGBT transistors, so then I plan to update the project with a QCW Staccato controller. It is interesting that during long-term operation of this Tesla coil, the temperature of the Mosfets did not exceed 35 degrees Celsius, which you can see on the thermal analysis that I made with a thermal camera.
I also made a small Arduino project for generating rectangular music.
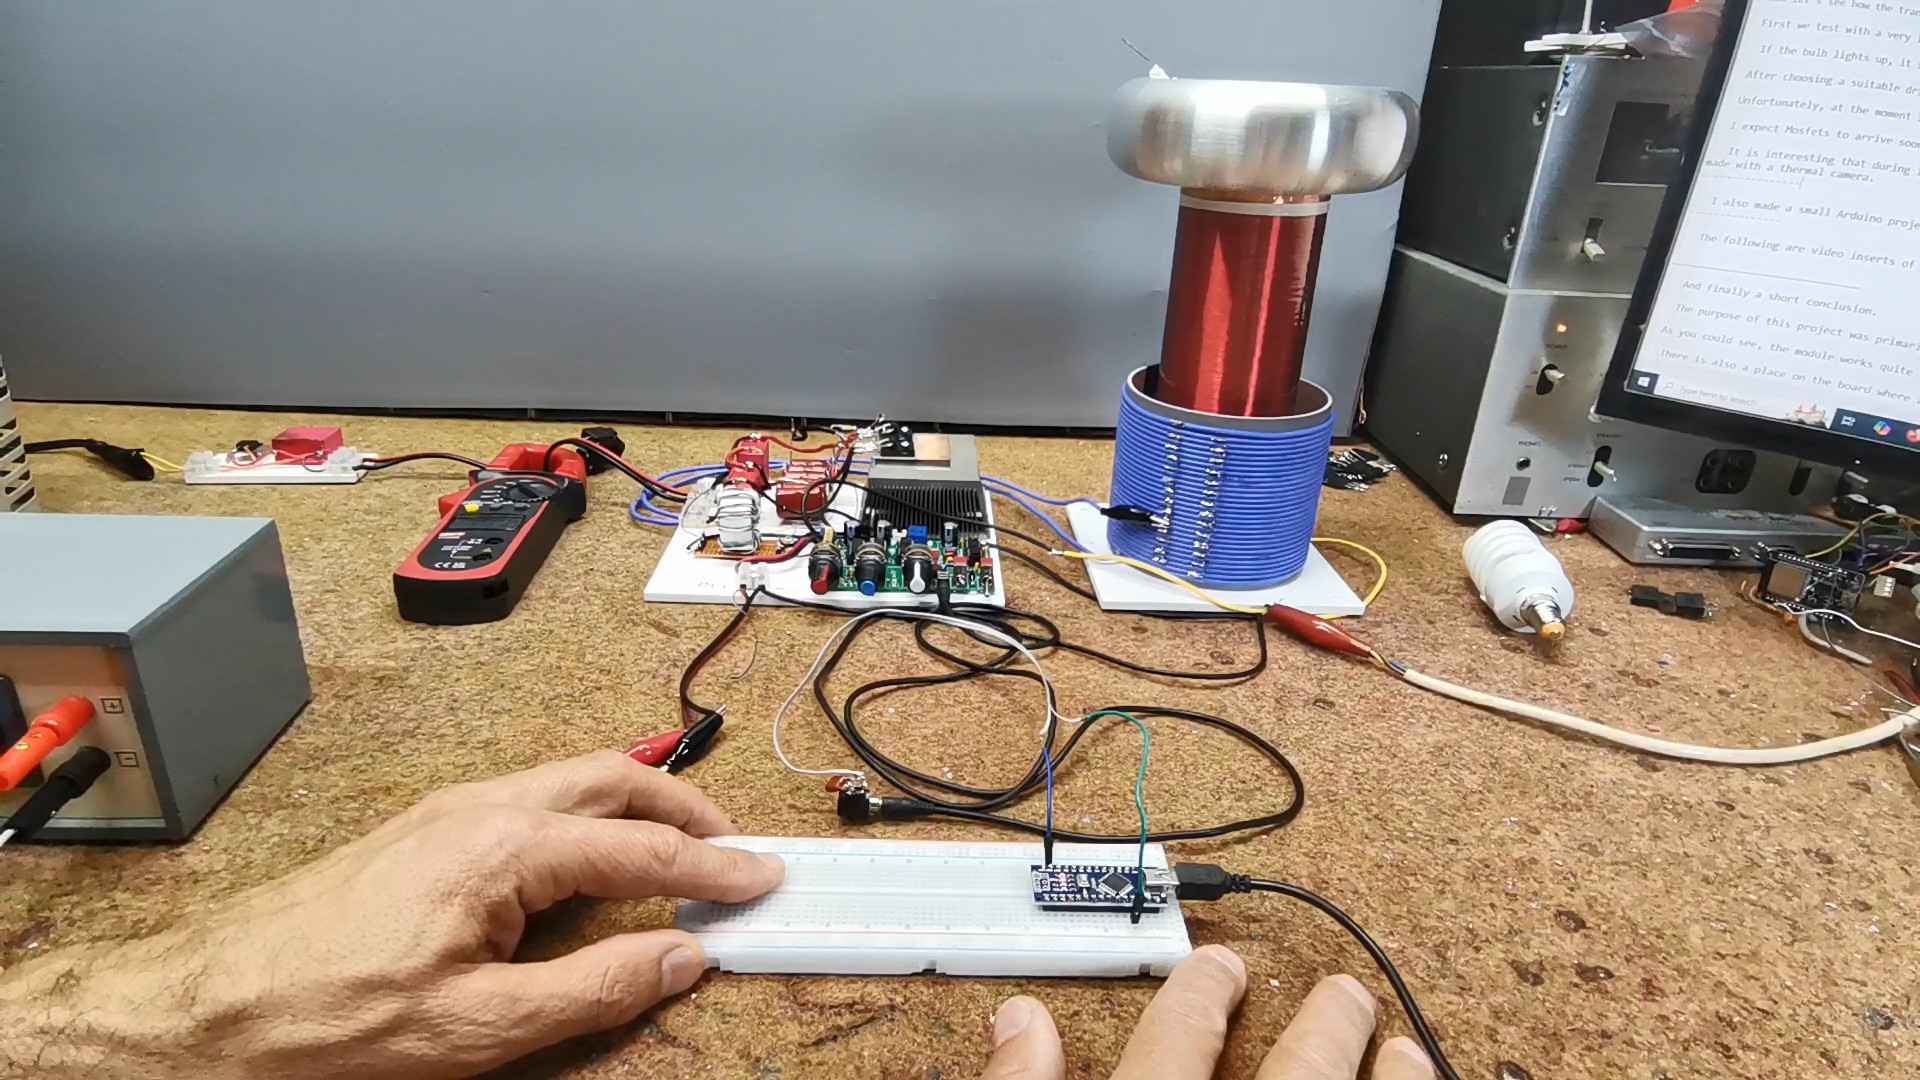
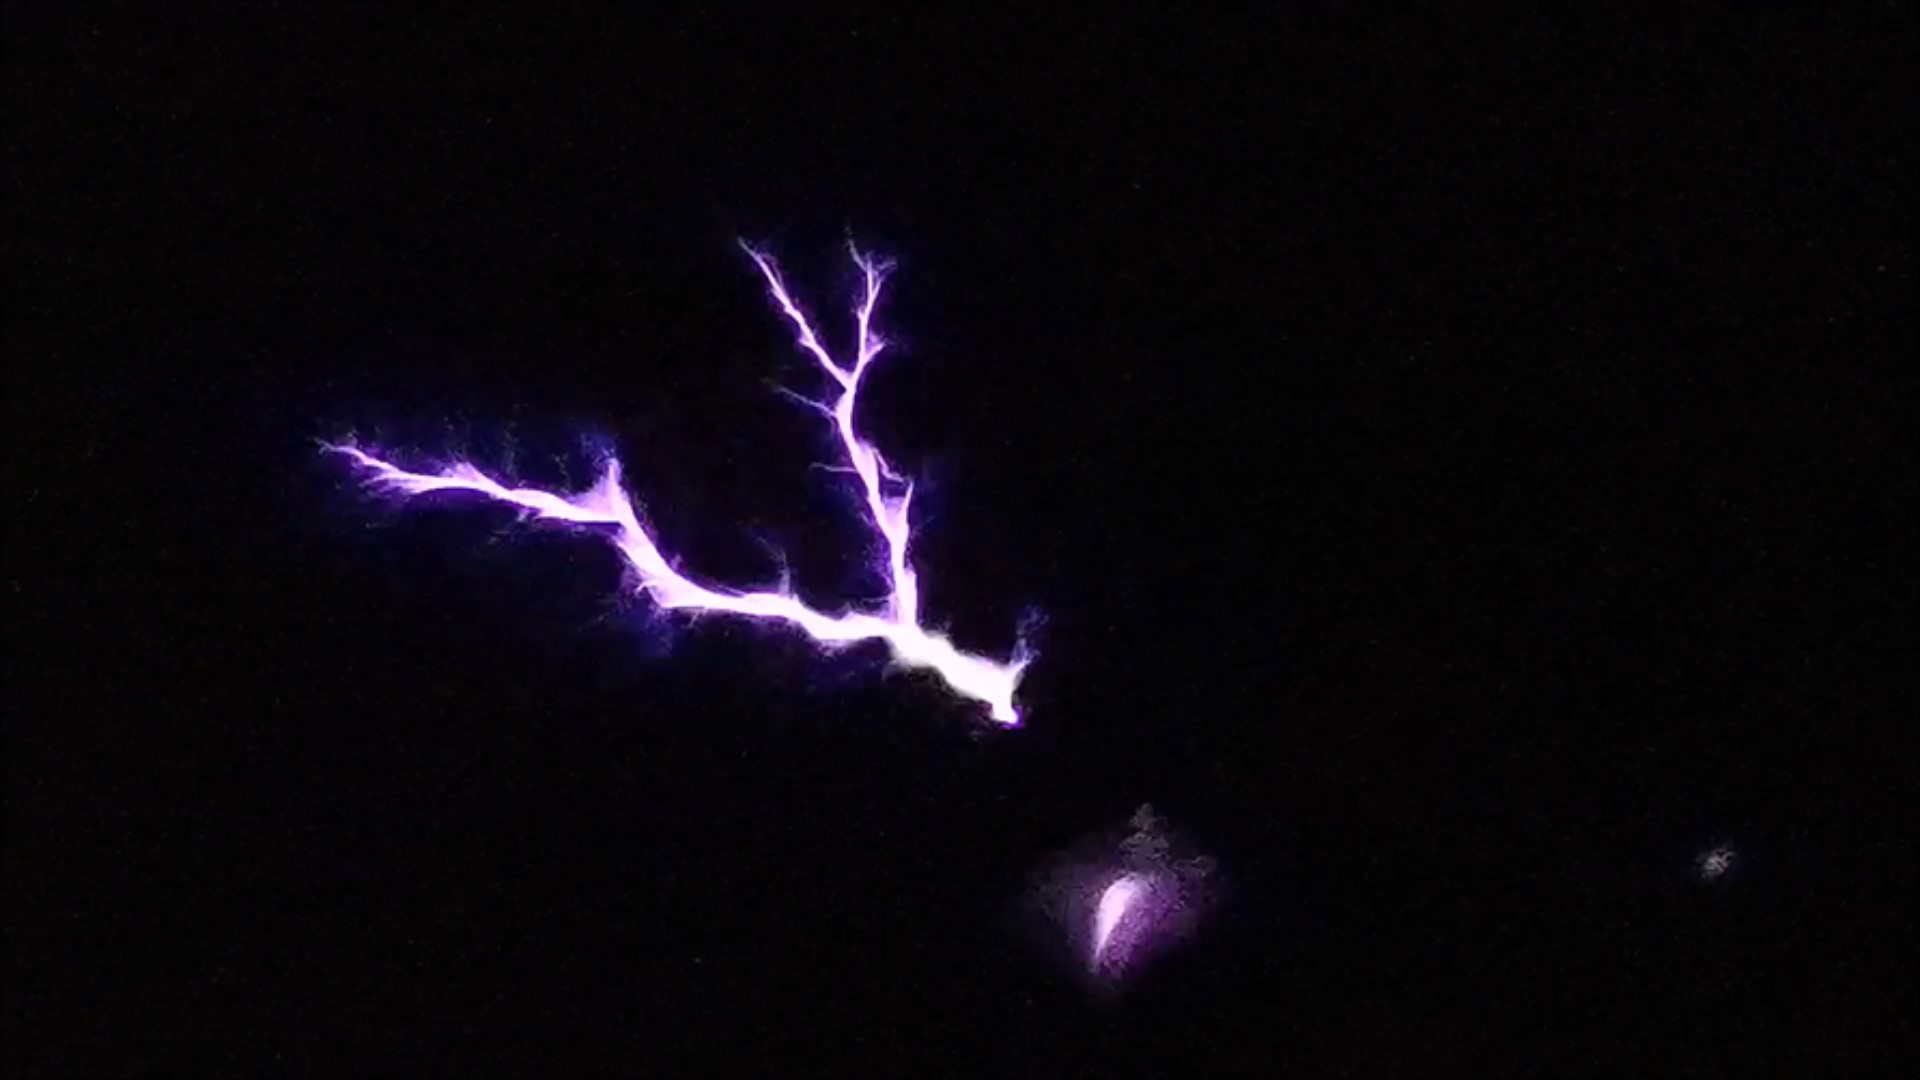
The following are video inserts of the operation of this Tesla coil with different settings of the interrupter.
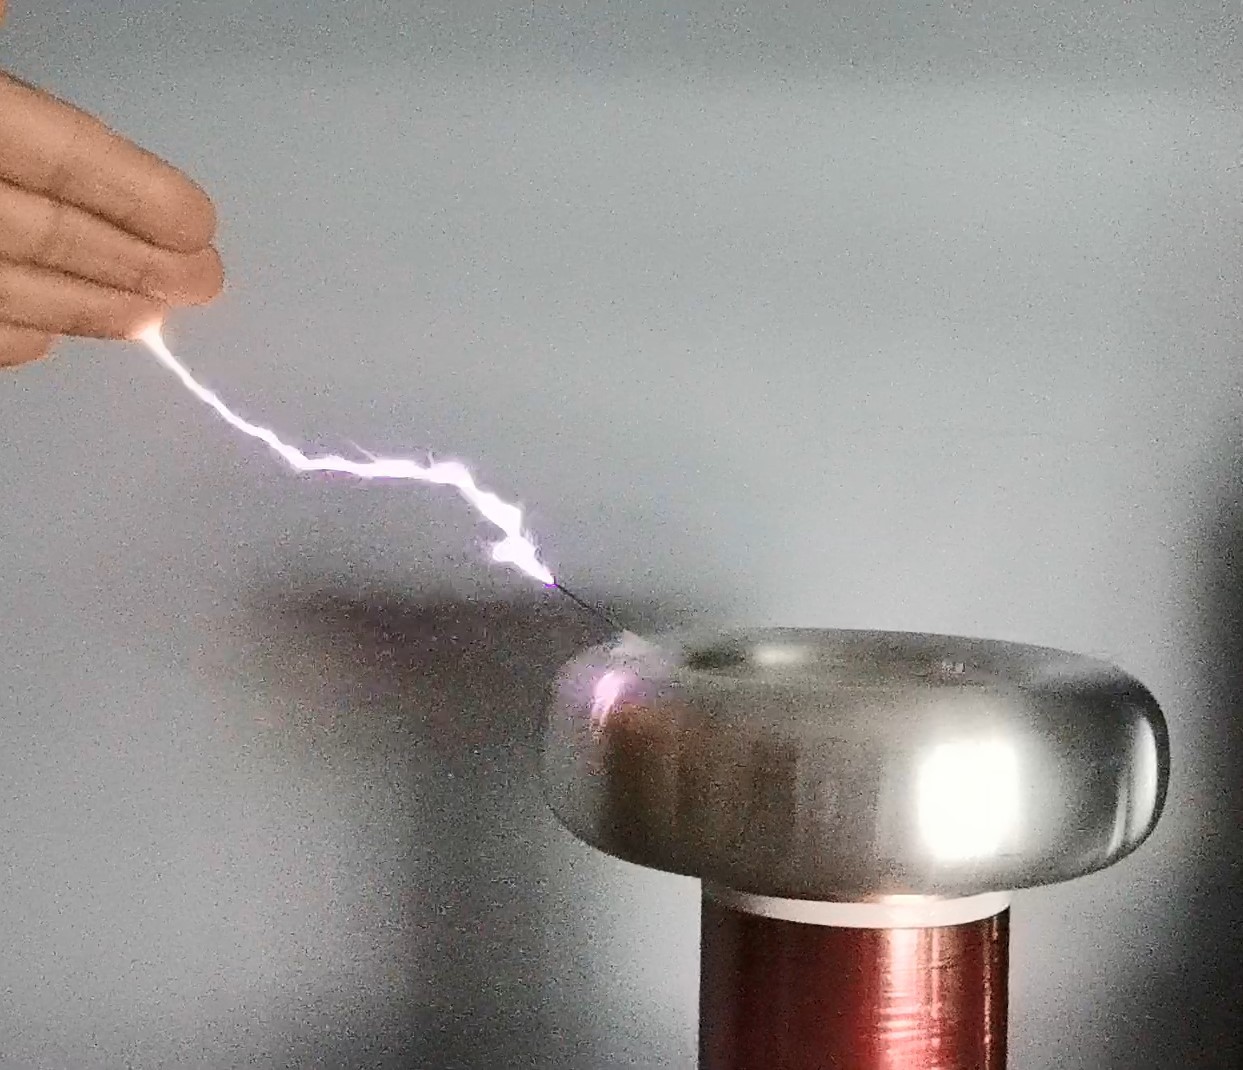
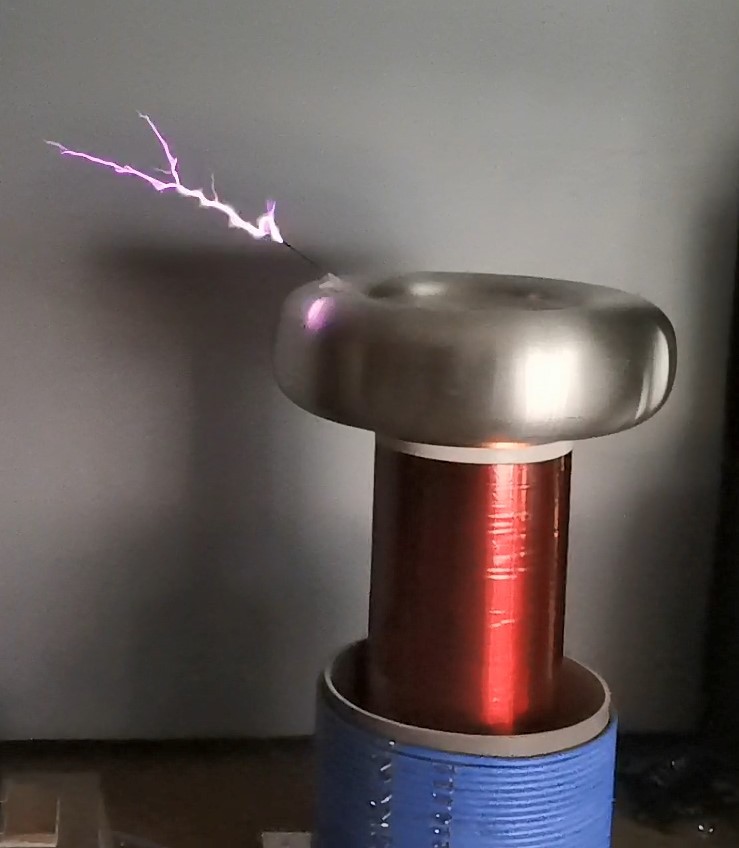
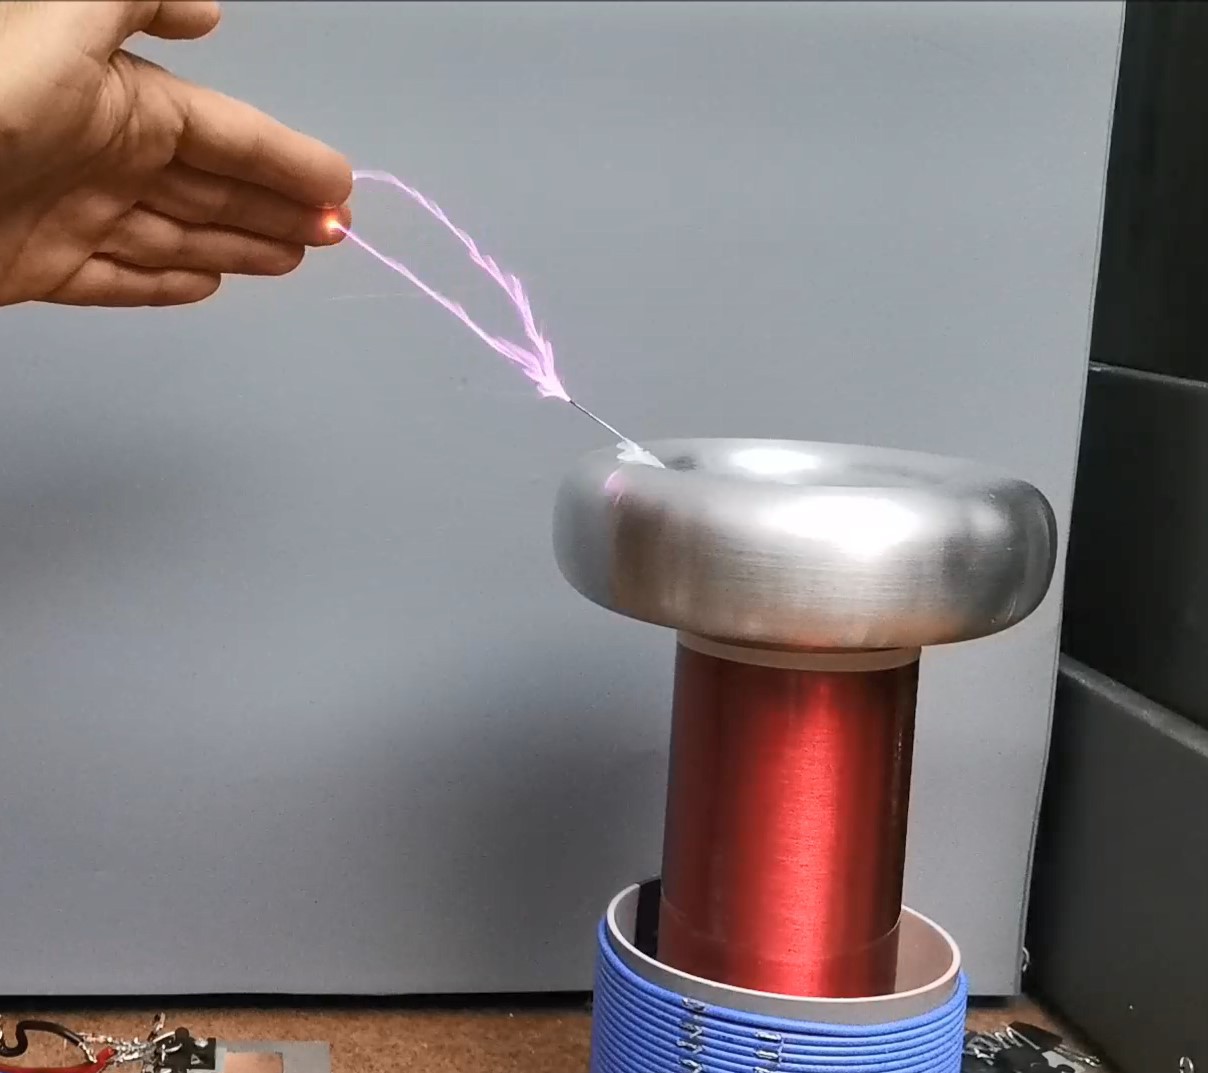
And finally a short conclusion. The purpose of this project was primarily to test this inexpensive driver board, and this was also my first DRSSTC Tesla Coil with a half-bridge configuration. As you could see, the module works quite solidly and stably and meets the needs for simple making of such a transformer. There is also a place on the board where an external interrupter can be connected, so as I mentioned before, in the next project I plan to make a QCW Tesla Coil.
SAFETY NOTE: Please do not attempt to recreate the experiments shown on this video unless you are familiar with High Voltage Safety Techniques! Direct Current even above 60V maybe lethal, even when the AC supply voltage has been disconnected due to the stored energy in the capacitors.
 mircemk