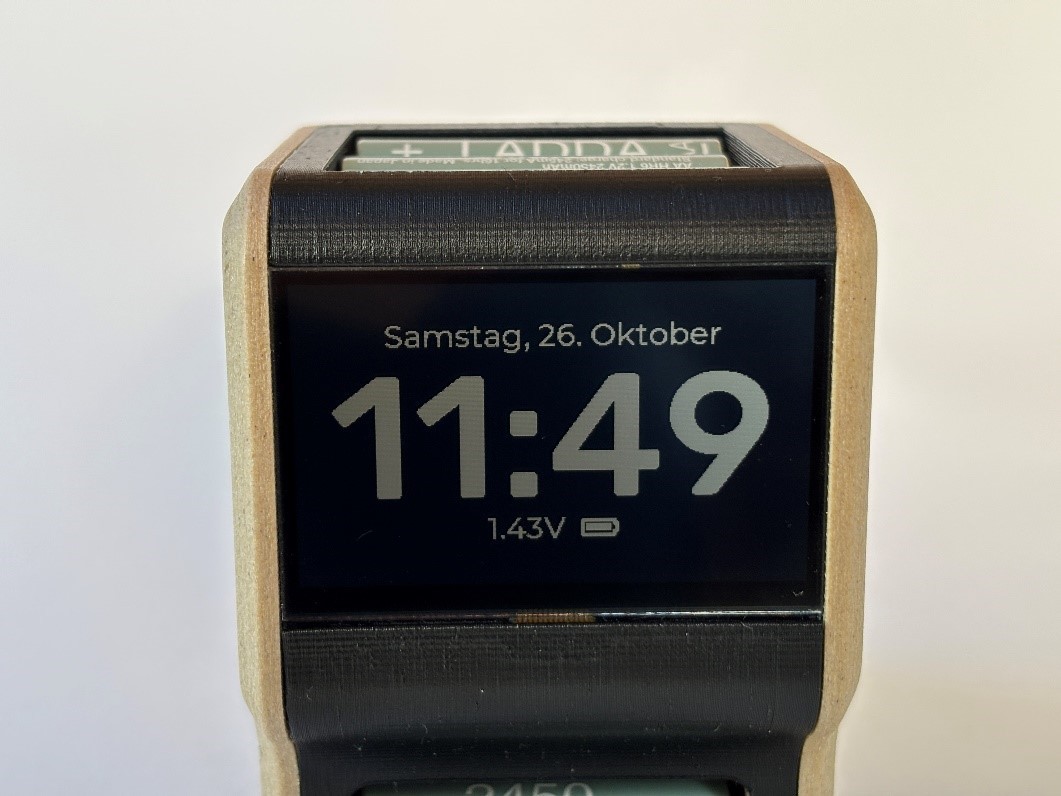
While the DS2712 handles the actual charging of the NiMH cell, the RP2040 still needs a simple state machine to control the switching of batteries. If it senses, that a battery is inside the input chute, it will move the arm up, then down to try to contact the battery. After the DS2712 signals that the charging is finished or if it signals an error, the battery will be ejected to the bottom.
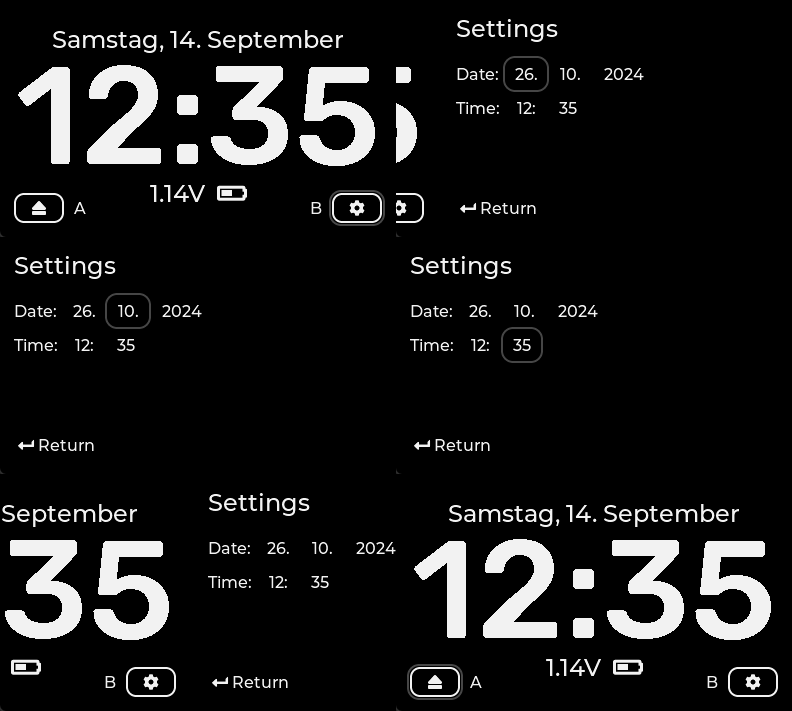
At the same time, the display clock needs to be updated. Like with my previous smart remote project, I decided to use LVGL for the user interface. Unfortunately, drivers for the Sharp Display are not readily available and the TFT_eSPI library does not support this display either. I tried to write my own driver, but always ended up in scrambled pixels. I ended up having to use the Adafruit library for the Sharp display in combination with LVGL. The refresh rates are not great, but acceptable for a clock. Besides the date and time, the main screen shows hints for the button, when they are first pressed. One button forces the current battery to be ejected, the other opens a menu screen. The menu is mainly for setting the date and time, as the RP2040 has no way of contacting an NTP server. Since there is no touchscreen, the entire menu has to be navigated with the two hardware buttons. I am using the Gridnav feature in LVGL, which automatically cycles through the elements on the screen. This way, the menu can be easily expanded with more settings in the future.

Overall, I am happy with how the project turned out. It started out as a little side project, but turned out to be quite time consuming. It would probably take a lot of effort and a complete redesign to turn this into a commercial product. But not everything has to be. I see this as a fun combination of technology and product design.
 Max.K
Max.K
Discussions
Become a Hackaday.io Member
Create an account to leave a comment. Already have an account? Log In.