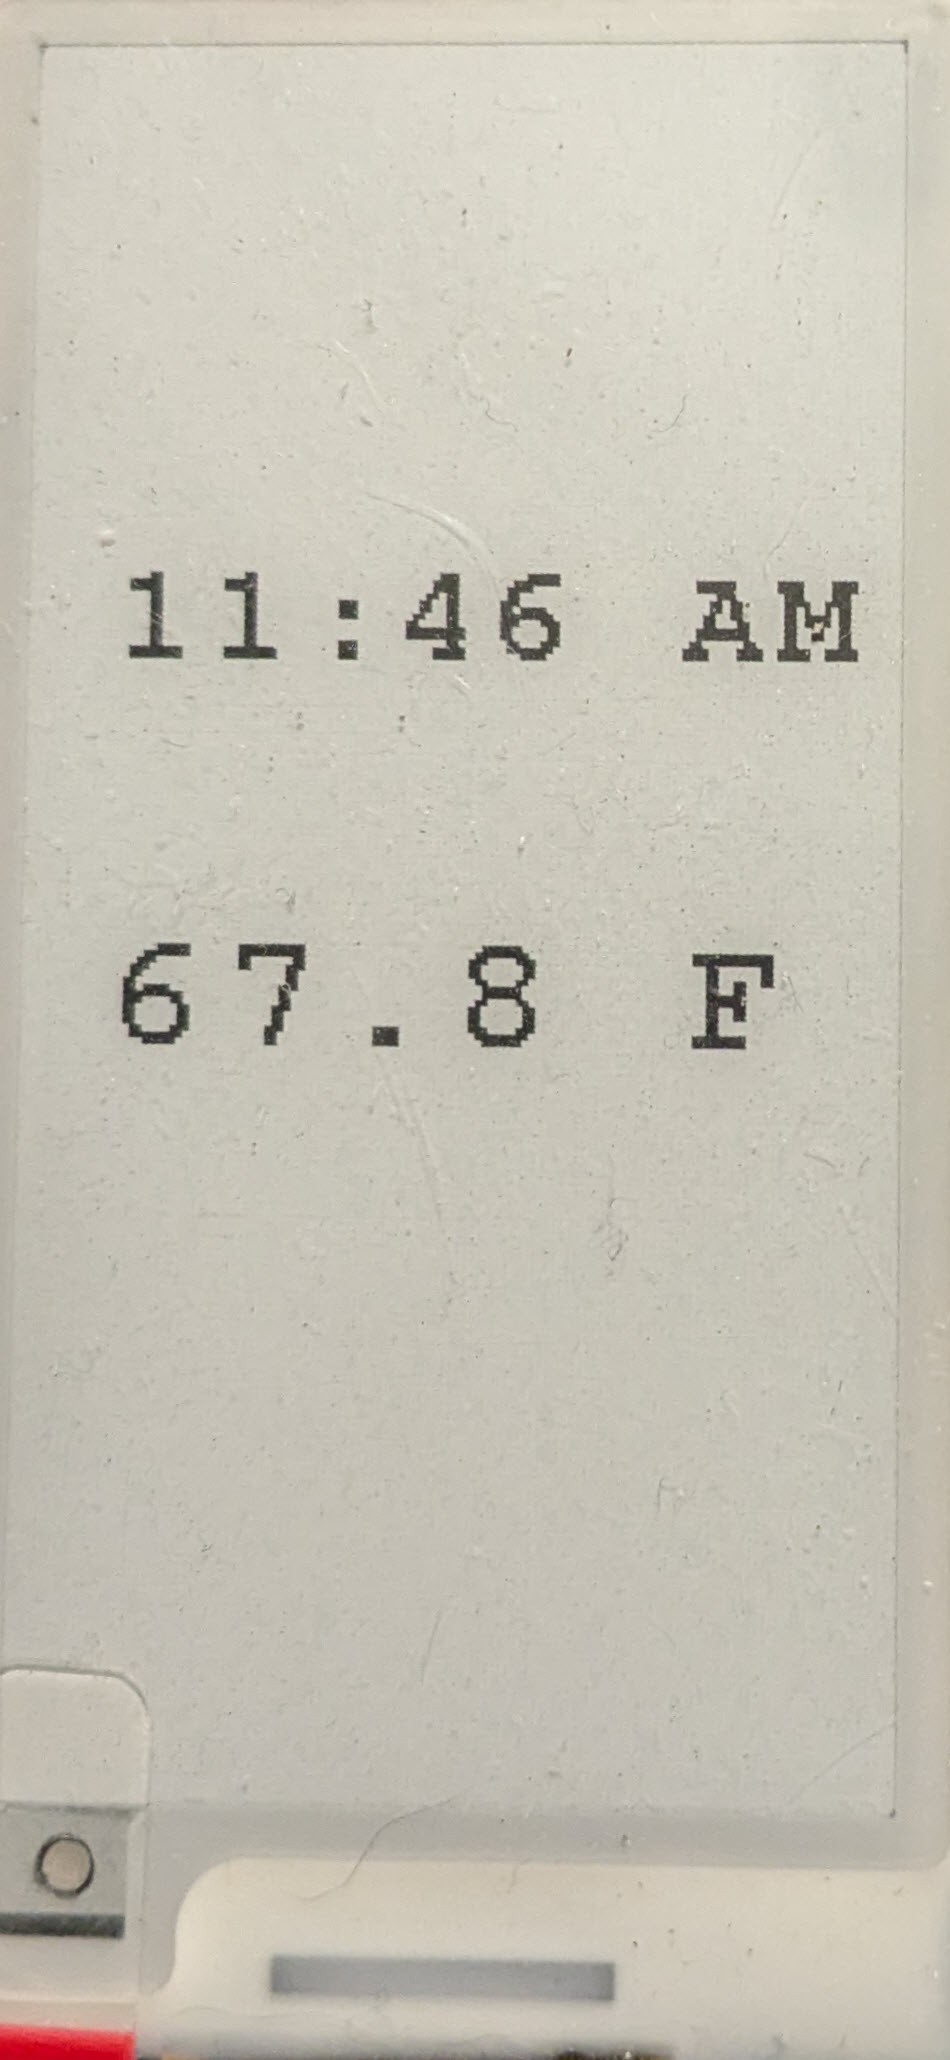
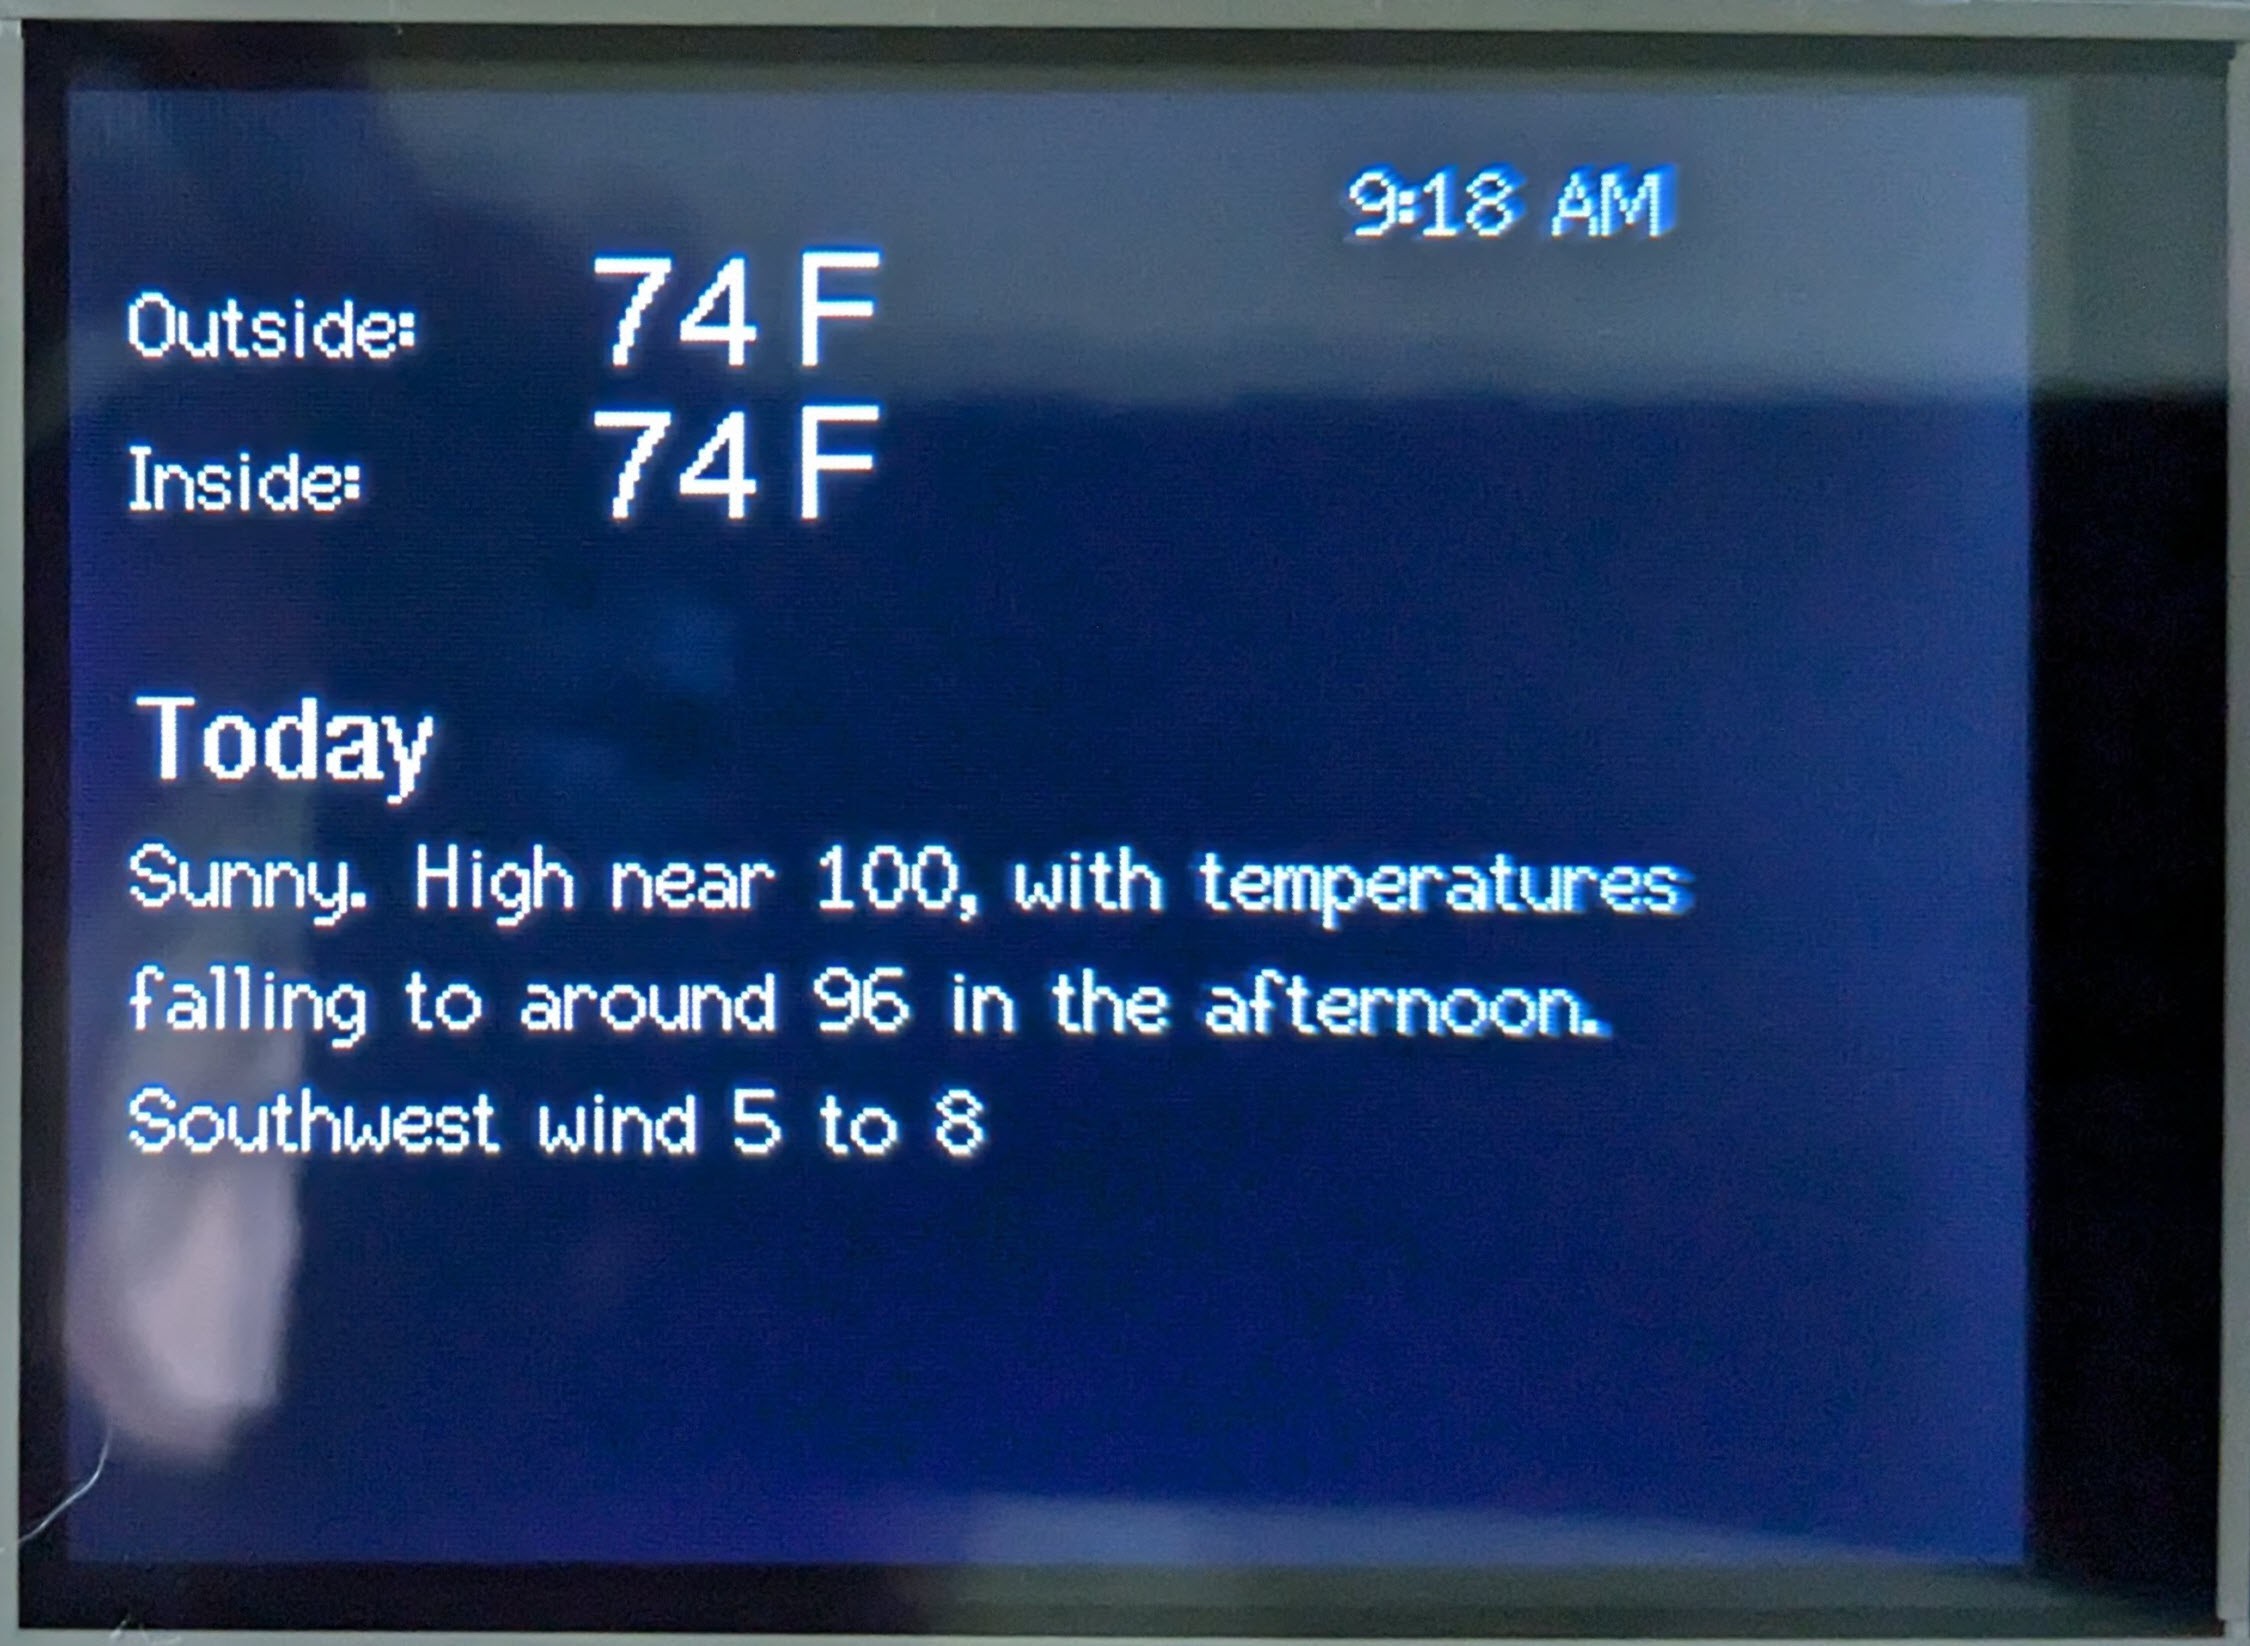
I have a few arduino type devices that display the time. When I wrote the code for them, I couldn’t find an easy way to get the state of daylight savings time(DST). Getting the time was really easy using NTP and applying an offset for the time zone. However, I had to change the offset every time we switch to or from DST.


When I had one device, it was annoying but not annoying enough for me to be motivated to find a permanent solution. However, I recently added a new display and now that I have two devices, I was motivated to find a better solution.
I’ve previously looked for an external API for determining the DST status for my location and couldn’t find one. Obviously Windows, Linux, and cell phones get the status from someplace, but I couldn’t find one that worked without an OS.
I also thought about writing some logic on the devices themselves to switch over on a specific date. I rejected that because this is subject to the whims of the DST overlords. I’ve heard we’re going to stop doing DST. I’ve heard we’re going to switch to standard time earlier in the fall, like we used to. I didn’t want to program something and then have to rewrite it when it changes again.
I also considered putting a physical switch on the devices themselves. They all have IO pins that I could have used. I have spare switches lying around, and the code would be trivial. However, I would prefer an all software solution.
So, I came up with a solution where I created an API on one of my local Linux boxes that returns a 0 when we’re on Standard time and 1 when we’re on DST. I then programmed my arduinos to call the API just before setting the time via the NTP protocol. I will manually update the DST state in the API via a REST call when we switch back to DST in the spring.
Steps.
- Create an API and get it up and running on a server.
- Make the code run as a daemon/service so that it runs reliably and restarts on boot
- Update the code on the arduino devices so that they call the API to get the DST state.
Step 1 - Create the API
I first started by looking at Flask. https://flask.palletsprojects.com/en/stable/ I fairly quickly determined it is overkill for the super simple API that I need. I next found FastAPI https://fastapi.tiangolo.com/ It was very easy to implement.
from fastapi import FastAPI

app = FastAPI()

class DST(int):
	value = 1

@app.get("/api/dst")
def dst():
	return {"dst": DST.value} #DST 0 is standard time, DST =1 is Daylight Savings Time

@app.get("/api/setdst/{newDST}")
def read_item(newDST):
   DST.value=newDST
   return {"DST": DST.value}

if __name__ == "__main__":
	import uvicorn
	uvicorn.run(app, host="127.0.0.1", port=8000)
I wrote the above code, mostly cribbed from the example. The only tricky part was using a class rather than a global variable for DST.value. I did the investigation on a windows laptop and moved it over to a Raspberry PI that I use as a server and contains the MQTT broker for my network.
The new API is accessible via the command line:
curl http://myraspberrypi:8000/api/dst
Step 2 - Make it run as a Daemon
It’s easy to do this on Ubuntu. I followed the instructions here: https://levelup.gitconnected.com/from-python-to-daemon-how-to-turn-your-python-app-into-a-linux-service-controlled-by-systemd-d87b59adfe7a
I used the alternate method. I don’t see the point of having a separate script to call the python code. Basically just write a Systemd Service Unit file and tell systemd to start using it.
Step 3 - Update my Devices
I was forward looking enough when I programmed my devices to break out a DST variable so I only really needed to add the code to set it. It should have been trivial to call an API, but it wasn’t quite. One device is a ESP32 and uses a different HTTP library than the standard Arduino. The ESP32 http library is more flexible than the standard Arduino. I could not get the standard Arduino library to use a defined port, so I used the alternate ArduinoHttpClient.
One of the great things about the Arduino ecosystem is that there are so many options when it comes to libraries.
A simplified version (not tested) of the calling code
void getDST(int dst) {
  HTTPClient http;
  http.begin("http://10.0.0.11:8000/api/dst");
  int httpCode = http.GET();
  // httpCode will be negative on error
  if (httpCode > 0) {
    if (httpCode == HTTP_CODE_OK) {
      String payload = http.getString();
      StaticJsonDocument<1000> doc;
      DeserializationError error = deserializeJson(doc, payload);
      dst = doc["dst"];
    }
You can find the complete code for the ESP32 device here: https://github.com/PeterQuinn925/Arduino/blob/master/cyd_weather_display.ino
And the Arduino IoT device here: https://github.com/PeterQuinn925/Arduino/blob/master/epd2in13_time_temp/epd2in13__time_temp.ino