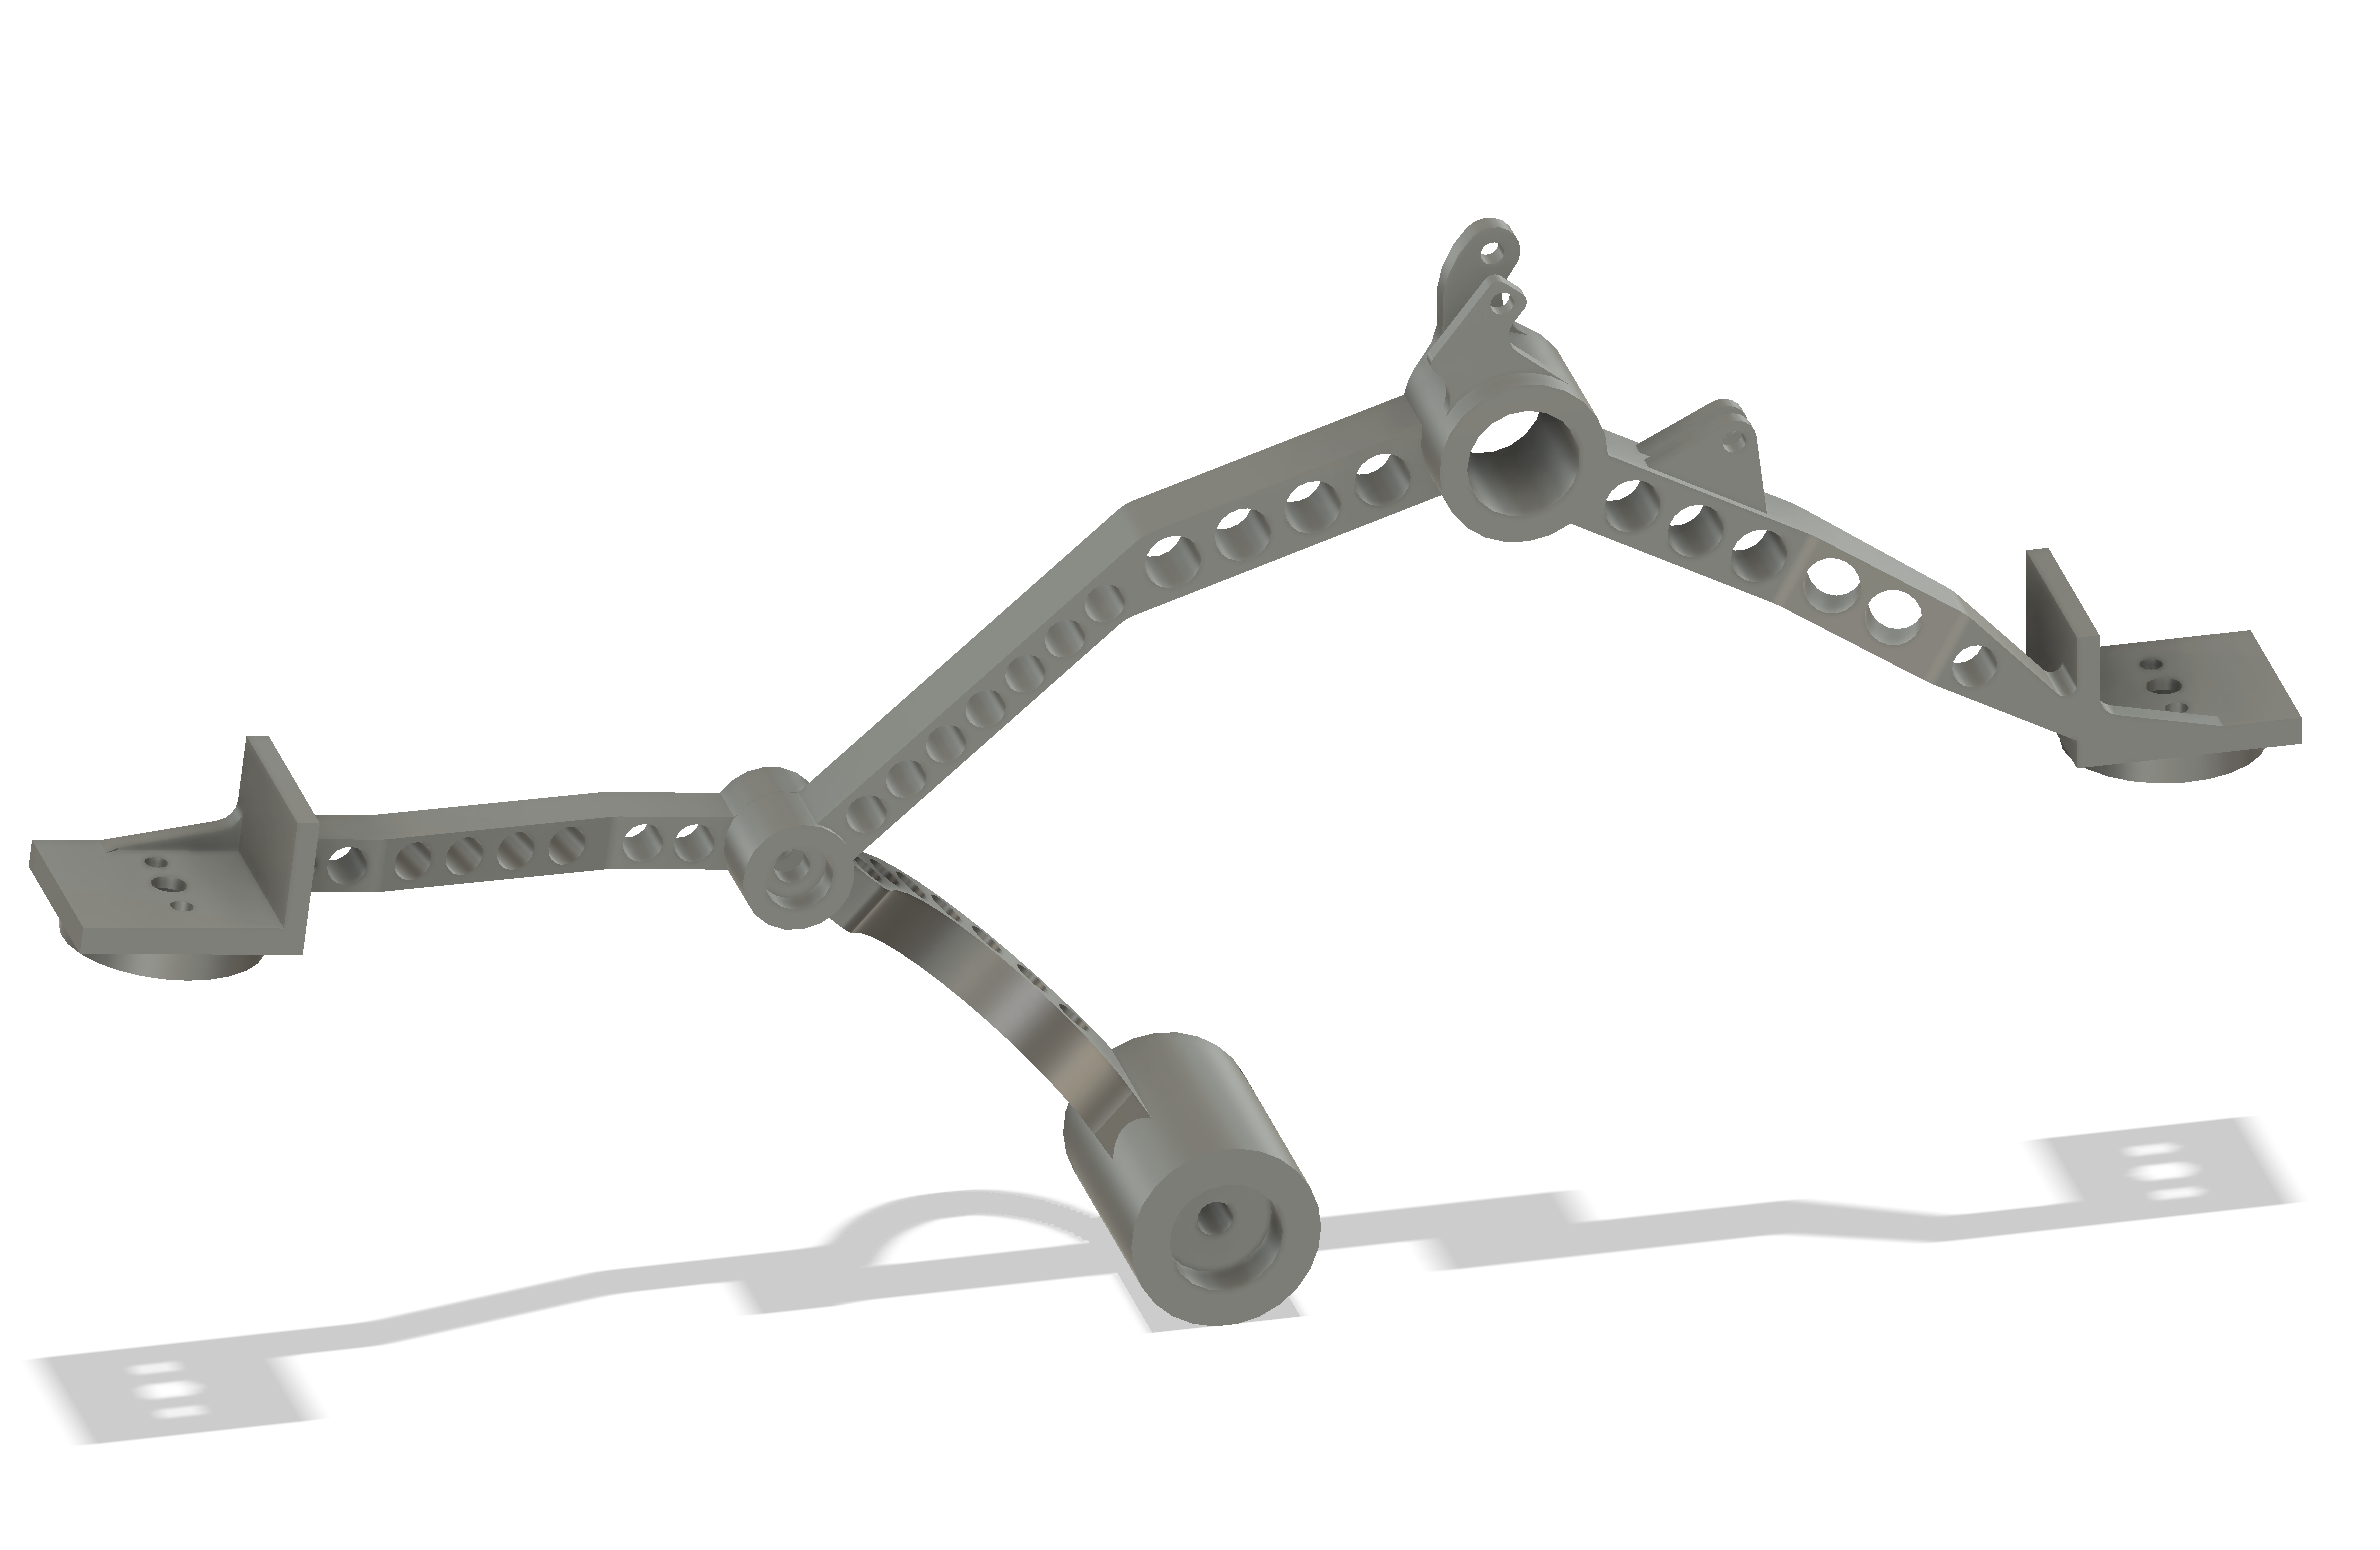
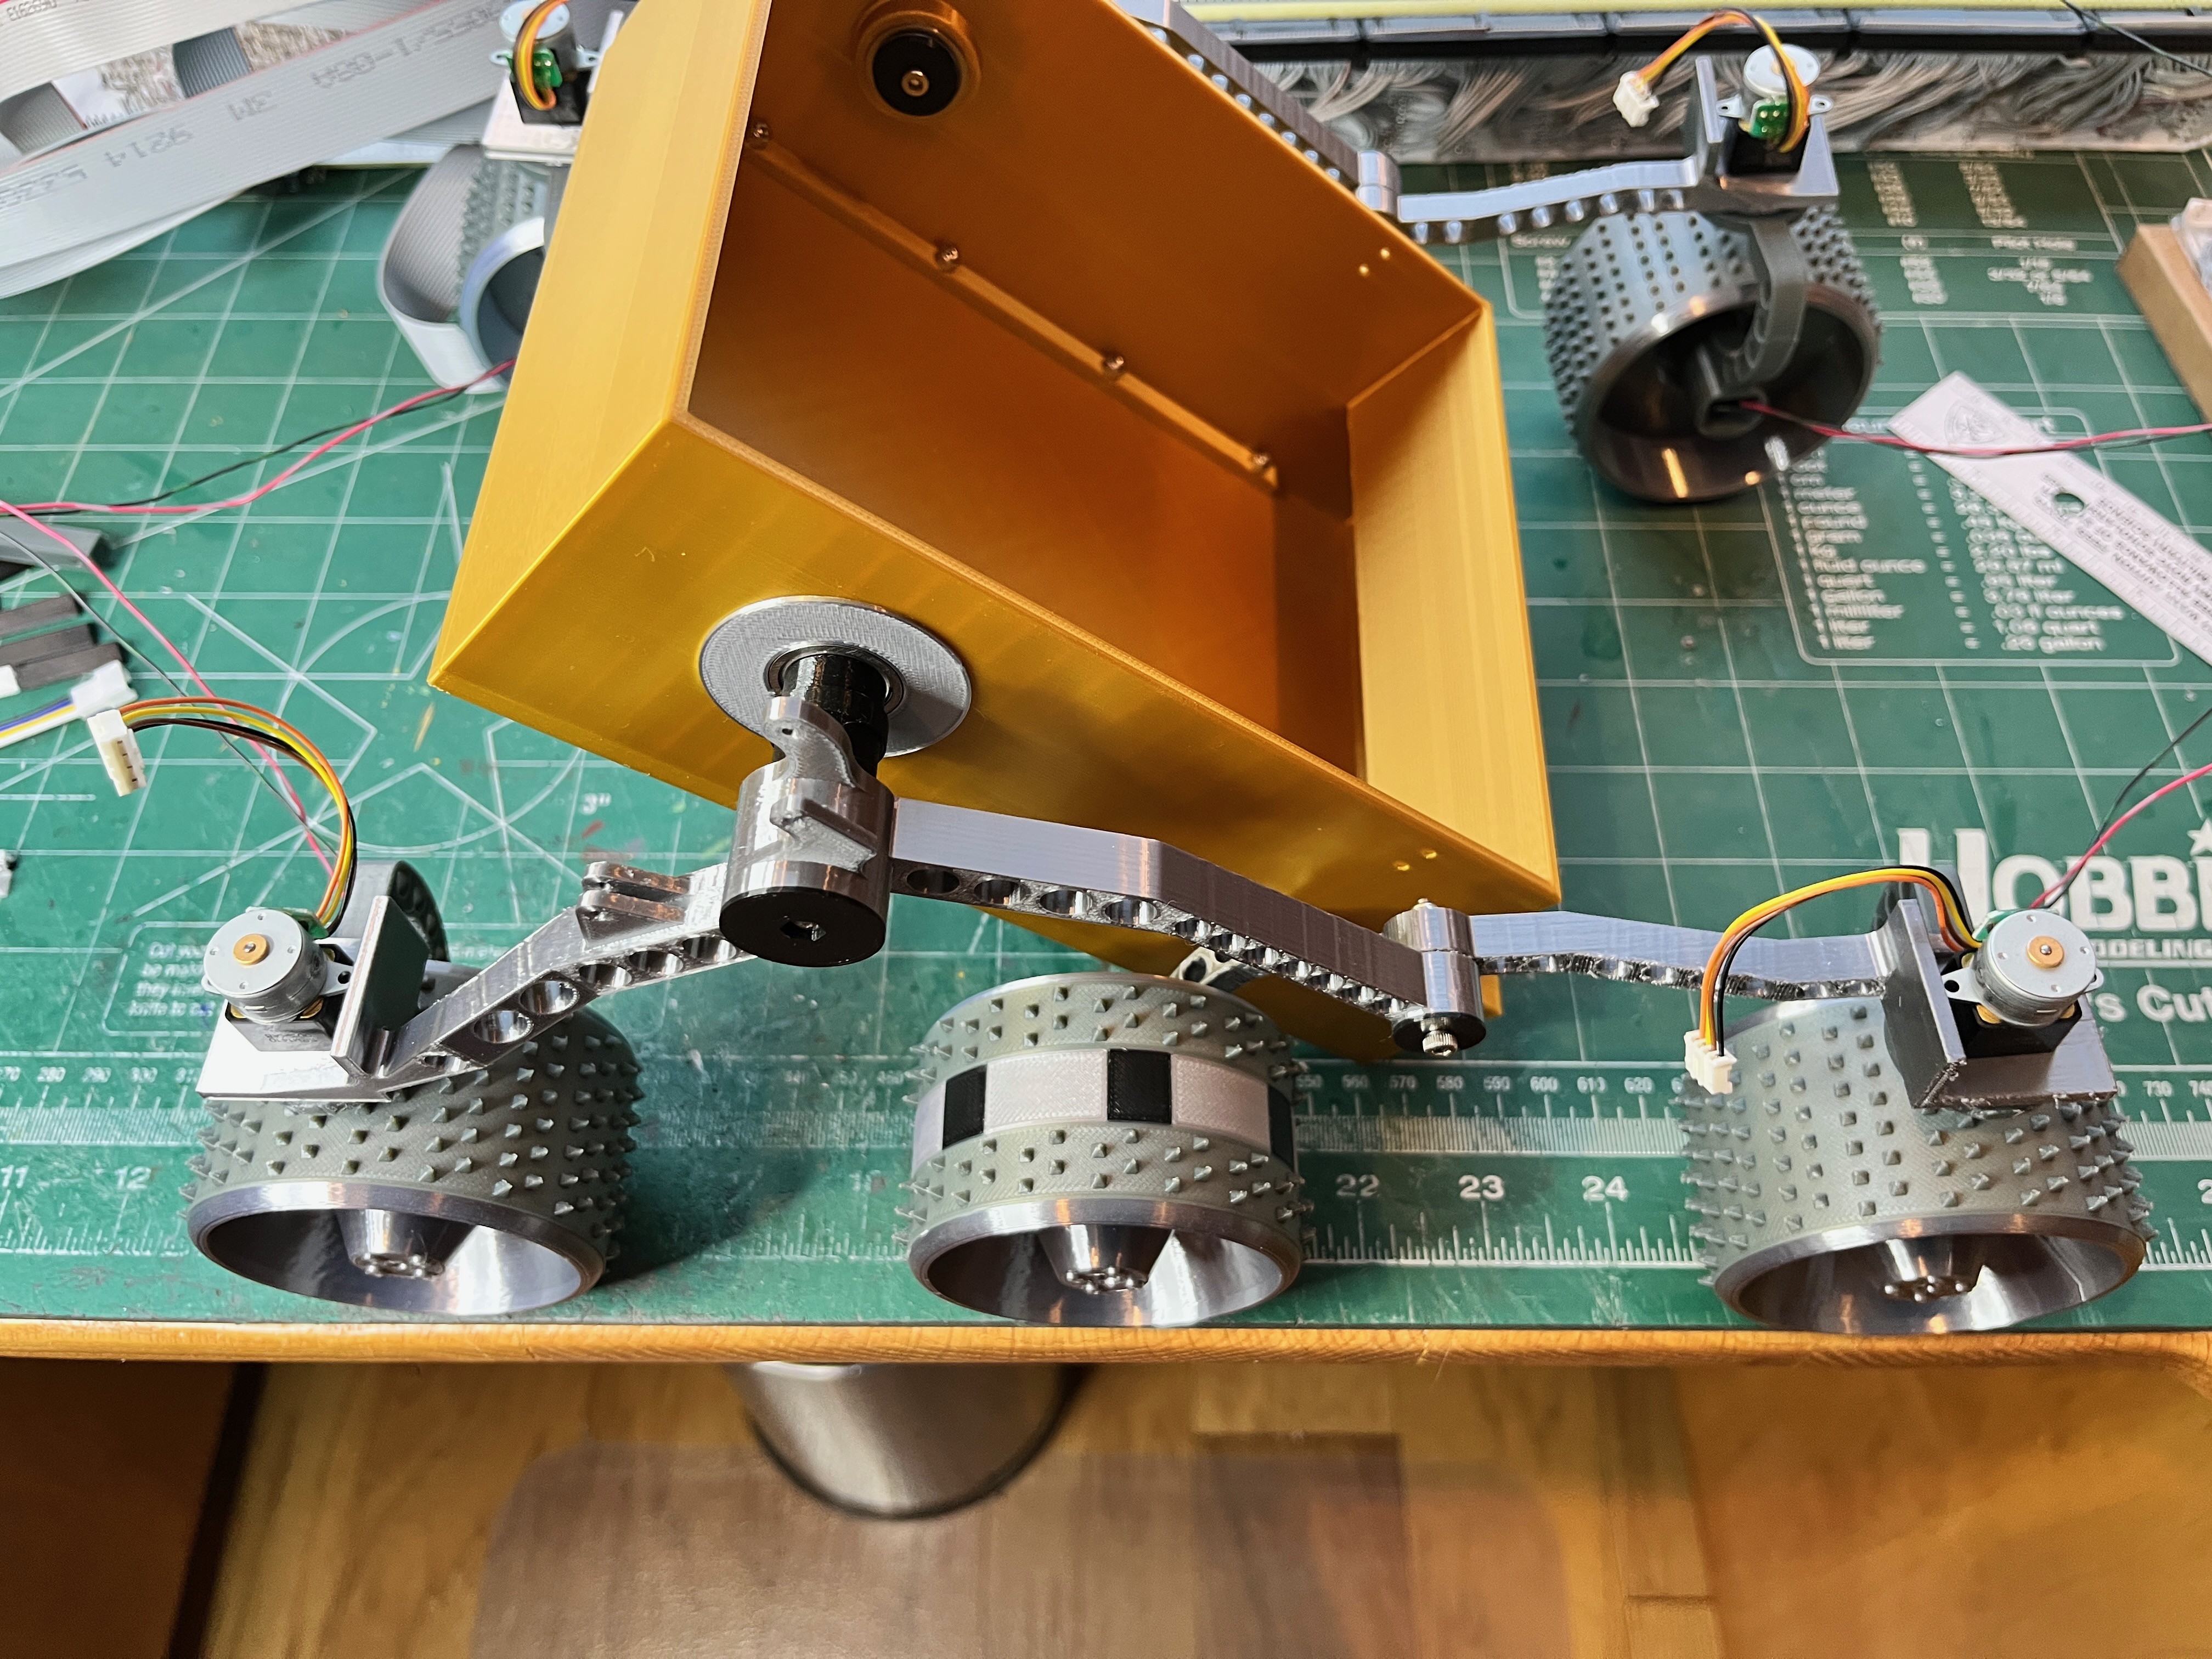
Most of the 3D parts have been created and are being verified versus available hardware parts. Here is the rocker and bogie arms. The real arms are hollow but when doing test prints the arms at this scale are too flimsy so the arms are solid with holes drilled through the appropriate sides. The wires will be zip tied to the outside of the arms instead of being routed through hollow arms. Still waiting for the small servos to steer the wheels. Unfortunately the really small servos have an 18 degree step but this should be OK because the only real steering maneuver used on this rover is to angle the wheels in and rotate in place.
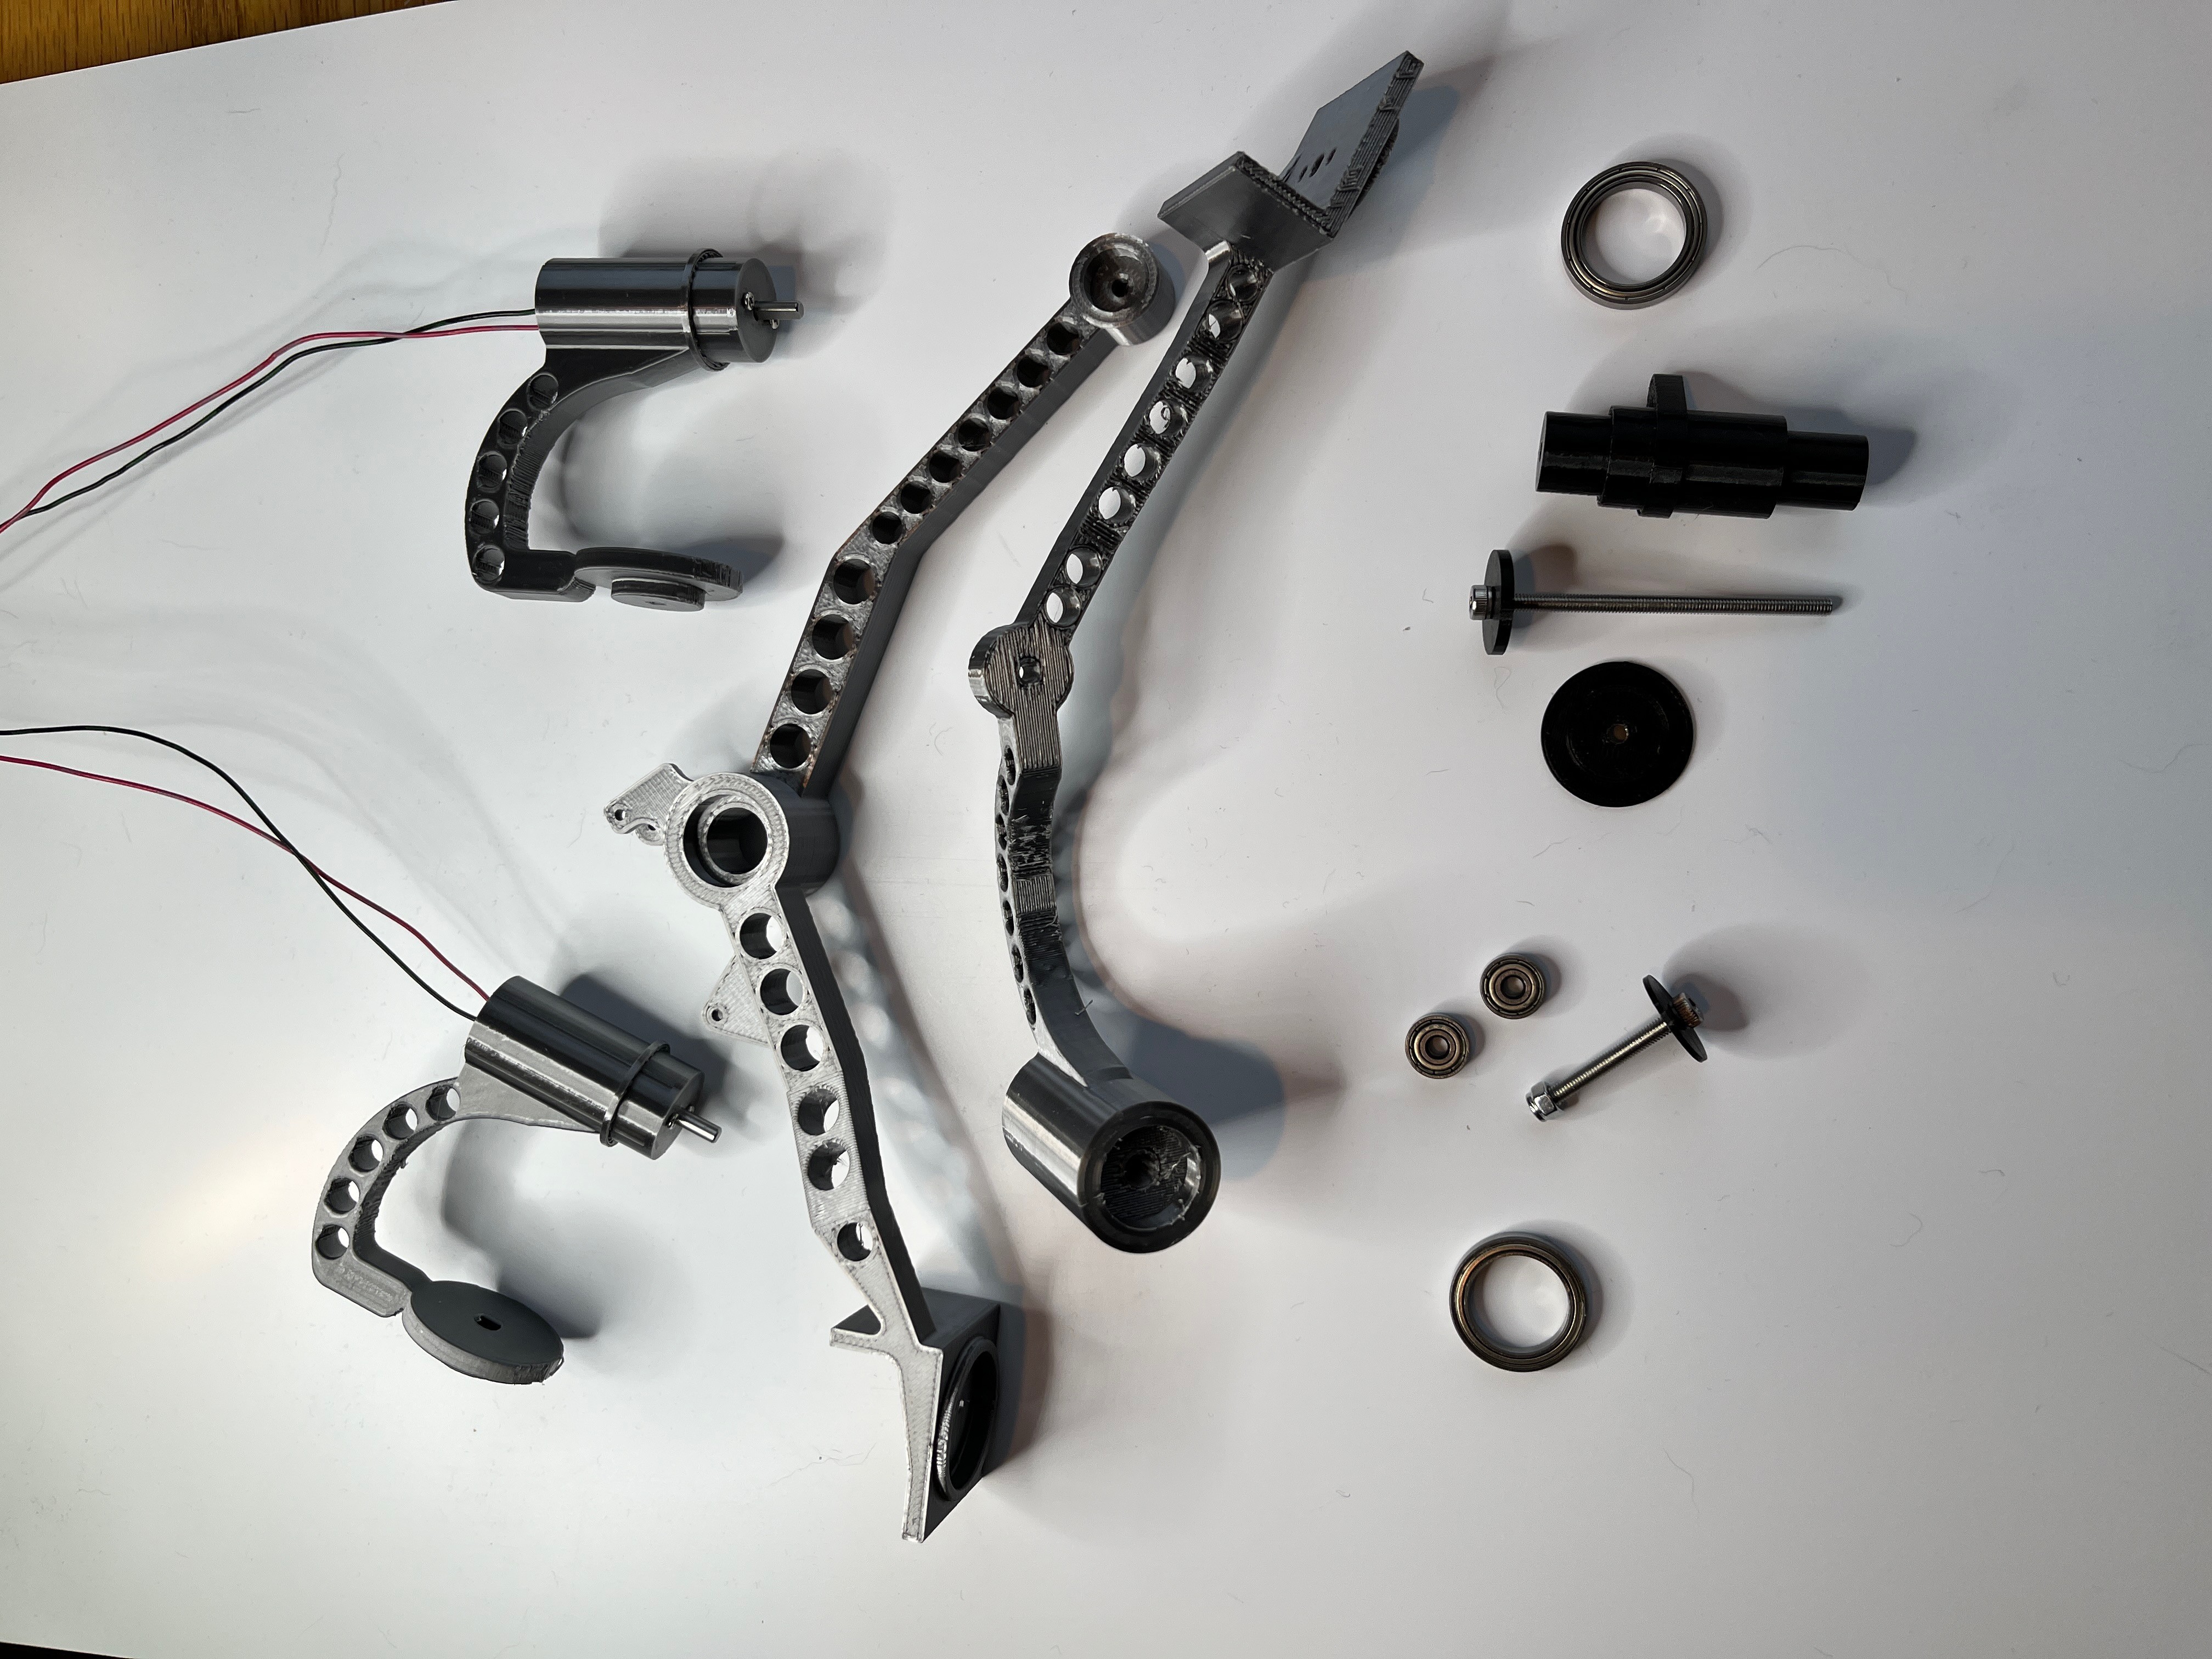
There are quite a few parts. Here are some of them.
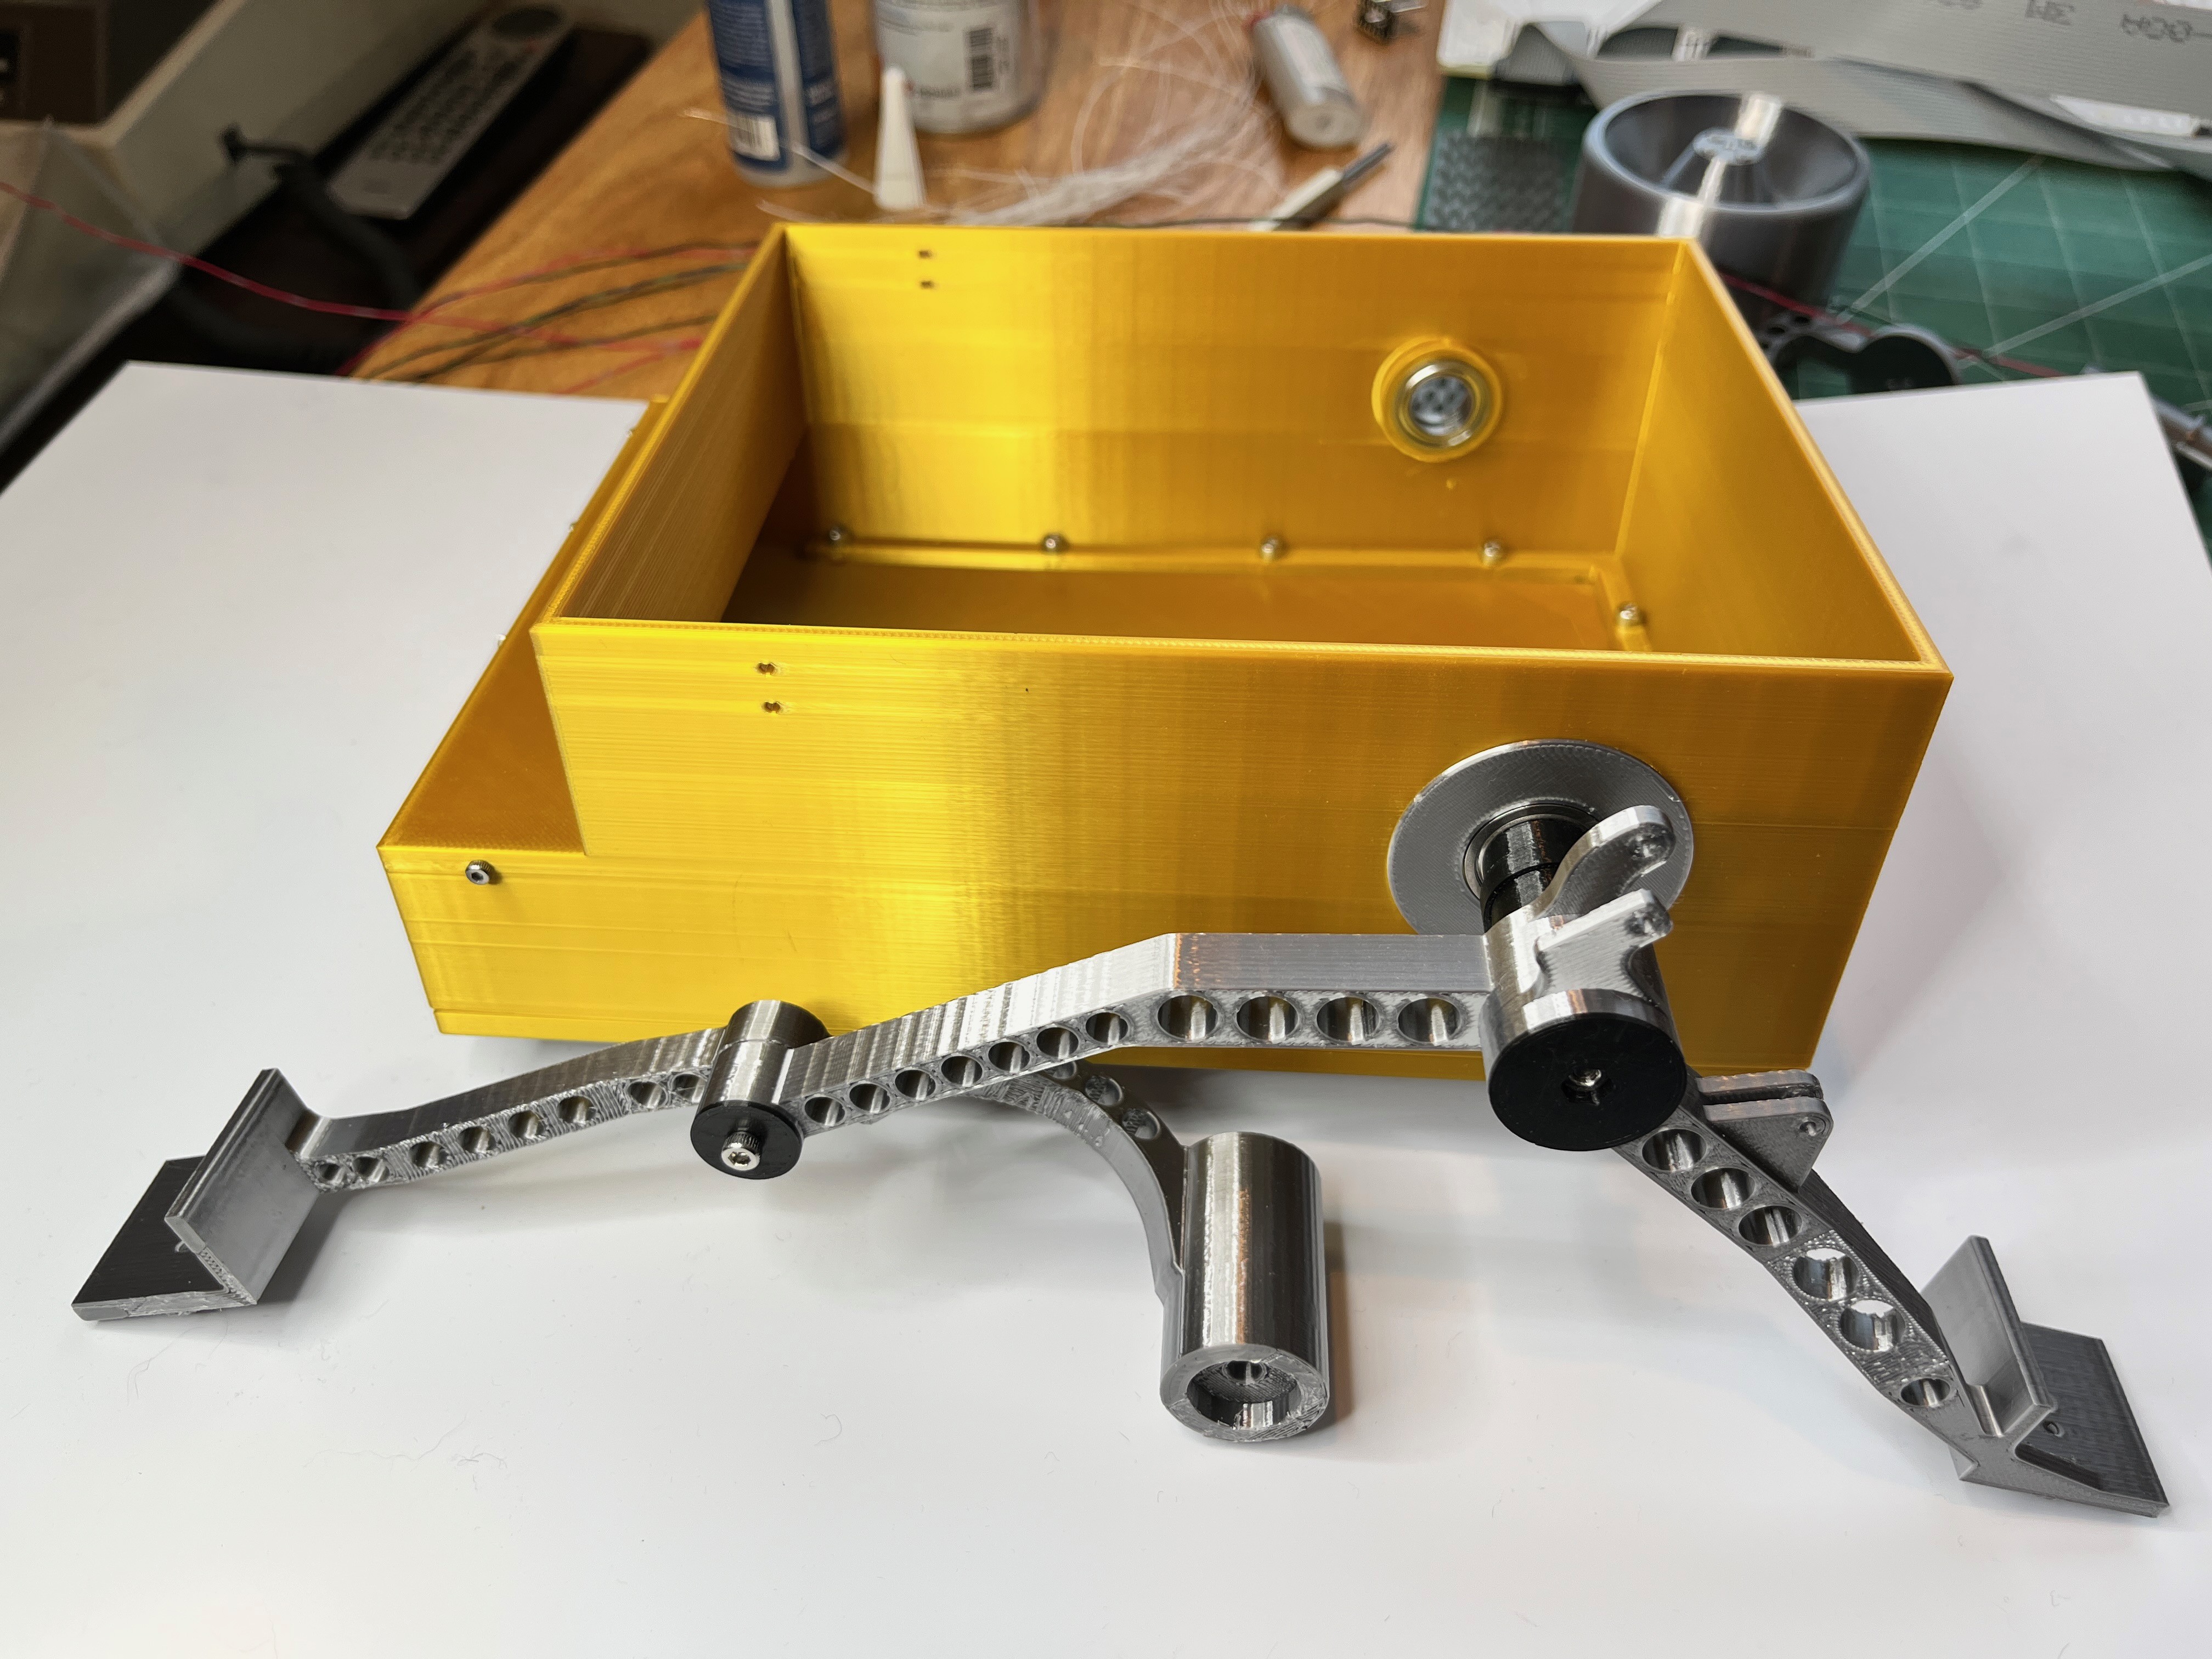
And here are the two main arms on one side attached.
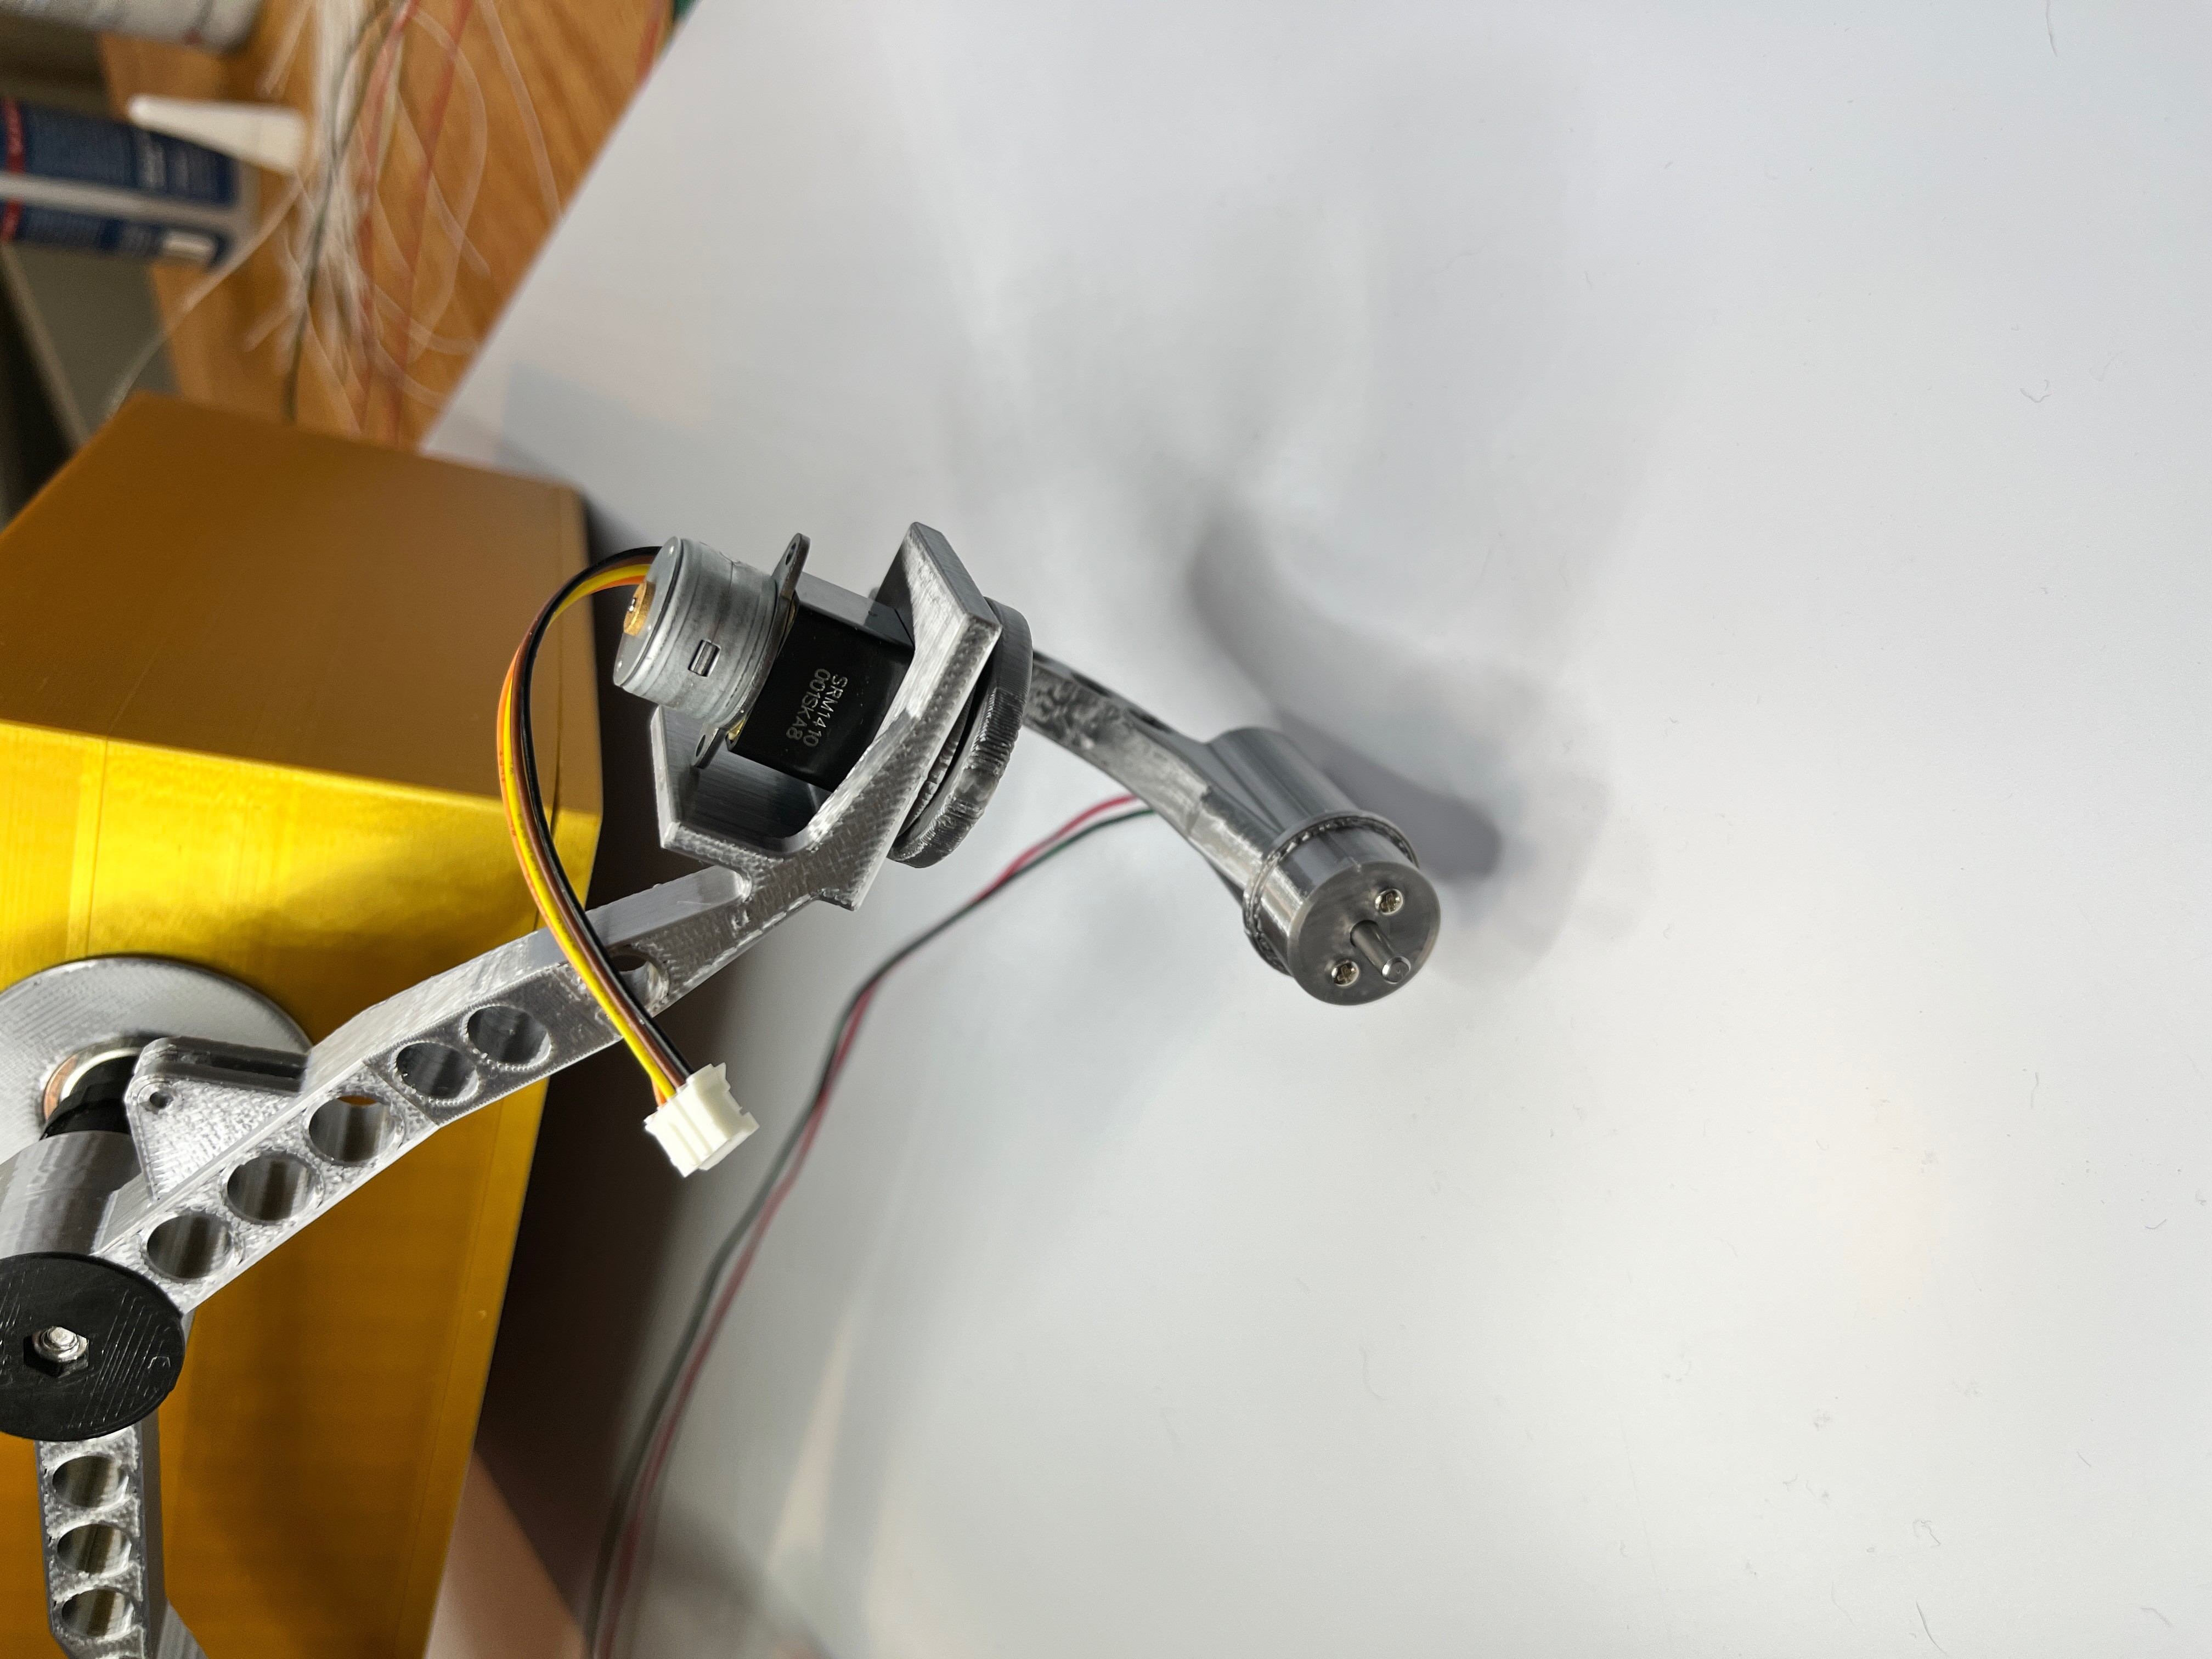
The corner wheels will be rotated with small stepper motors. Here is one of these motors in place along with the arm and the small geared motor to turn the wheel.
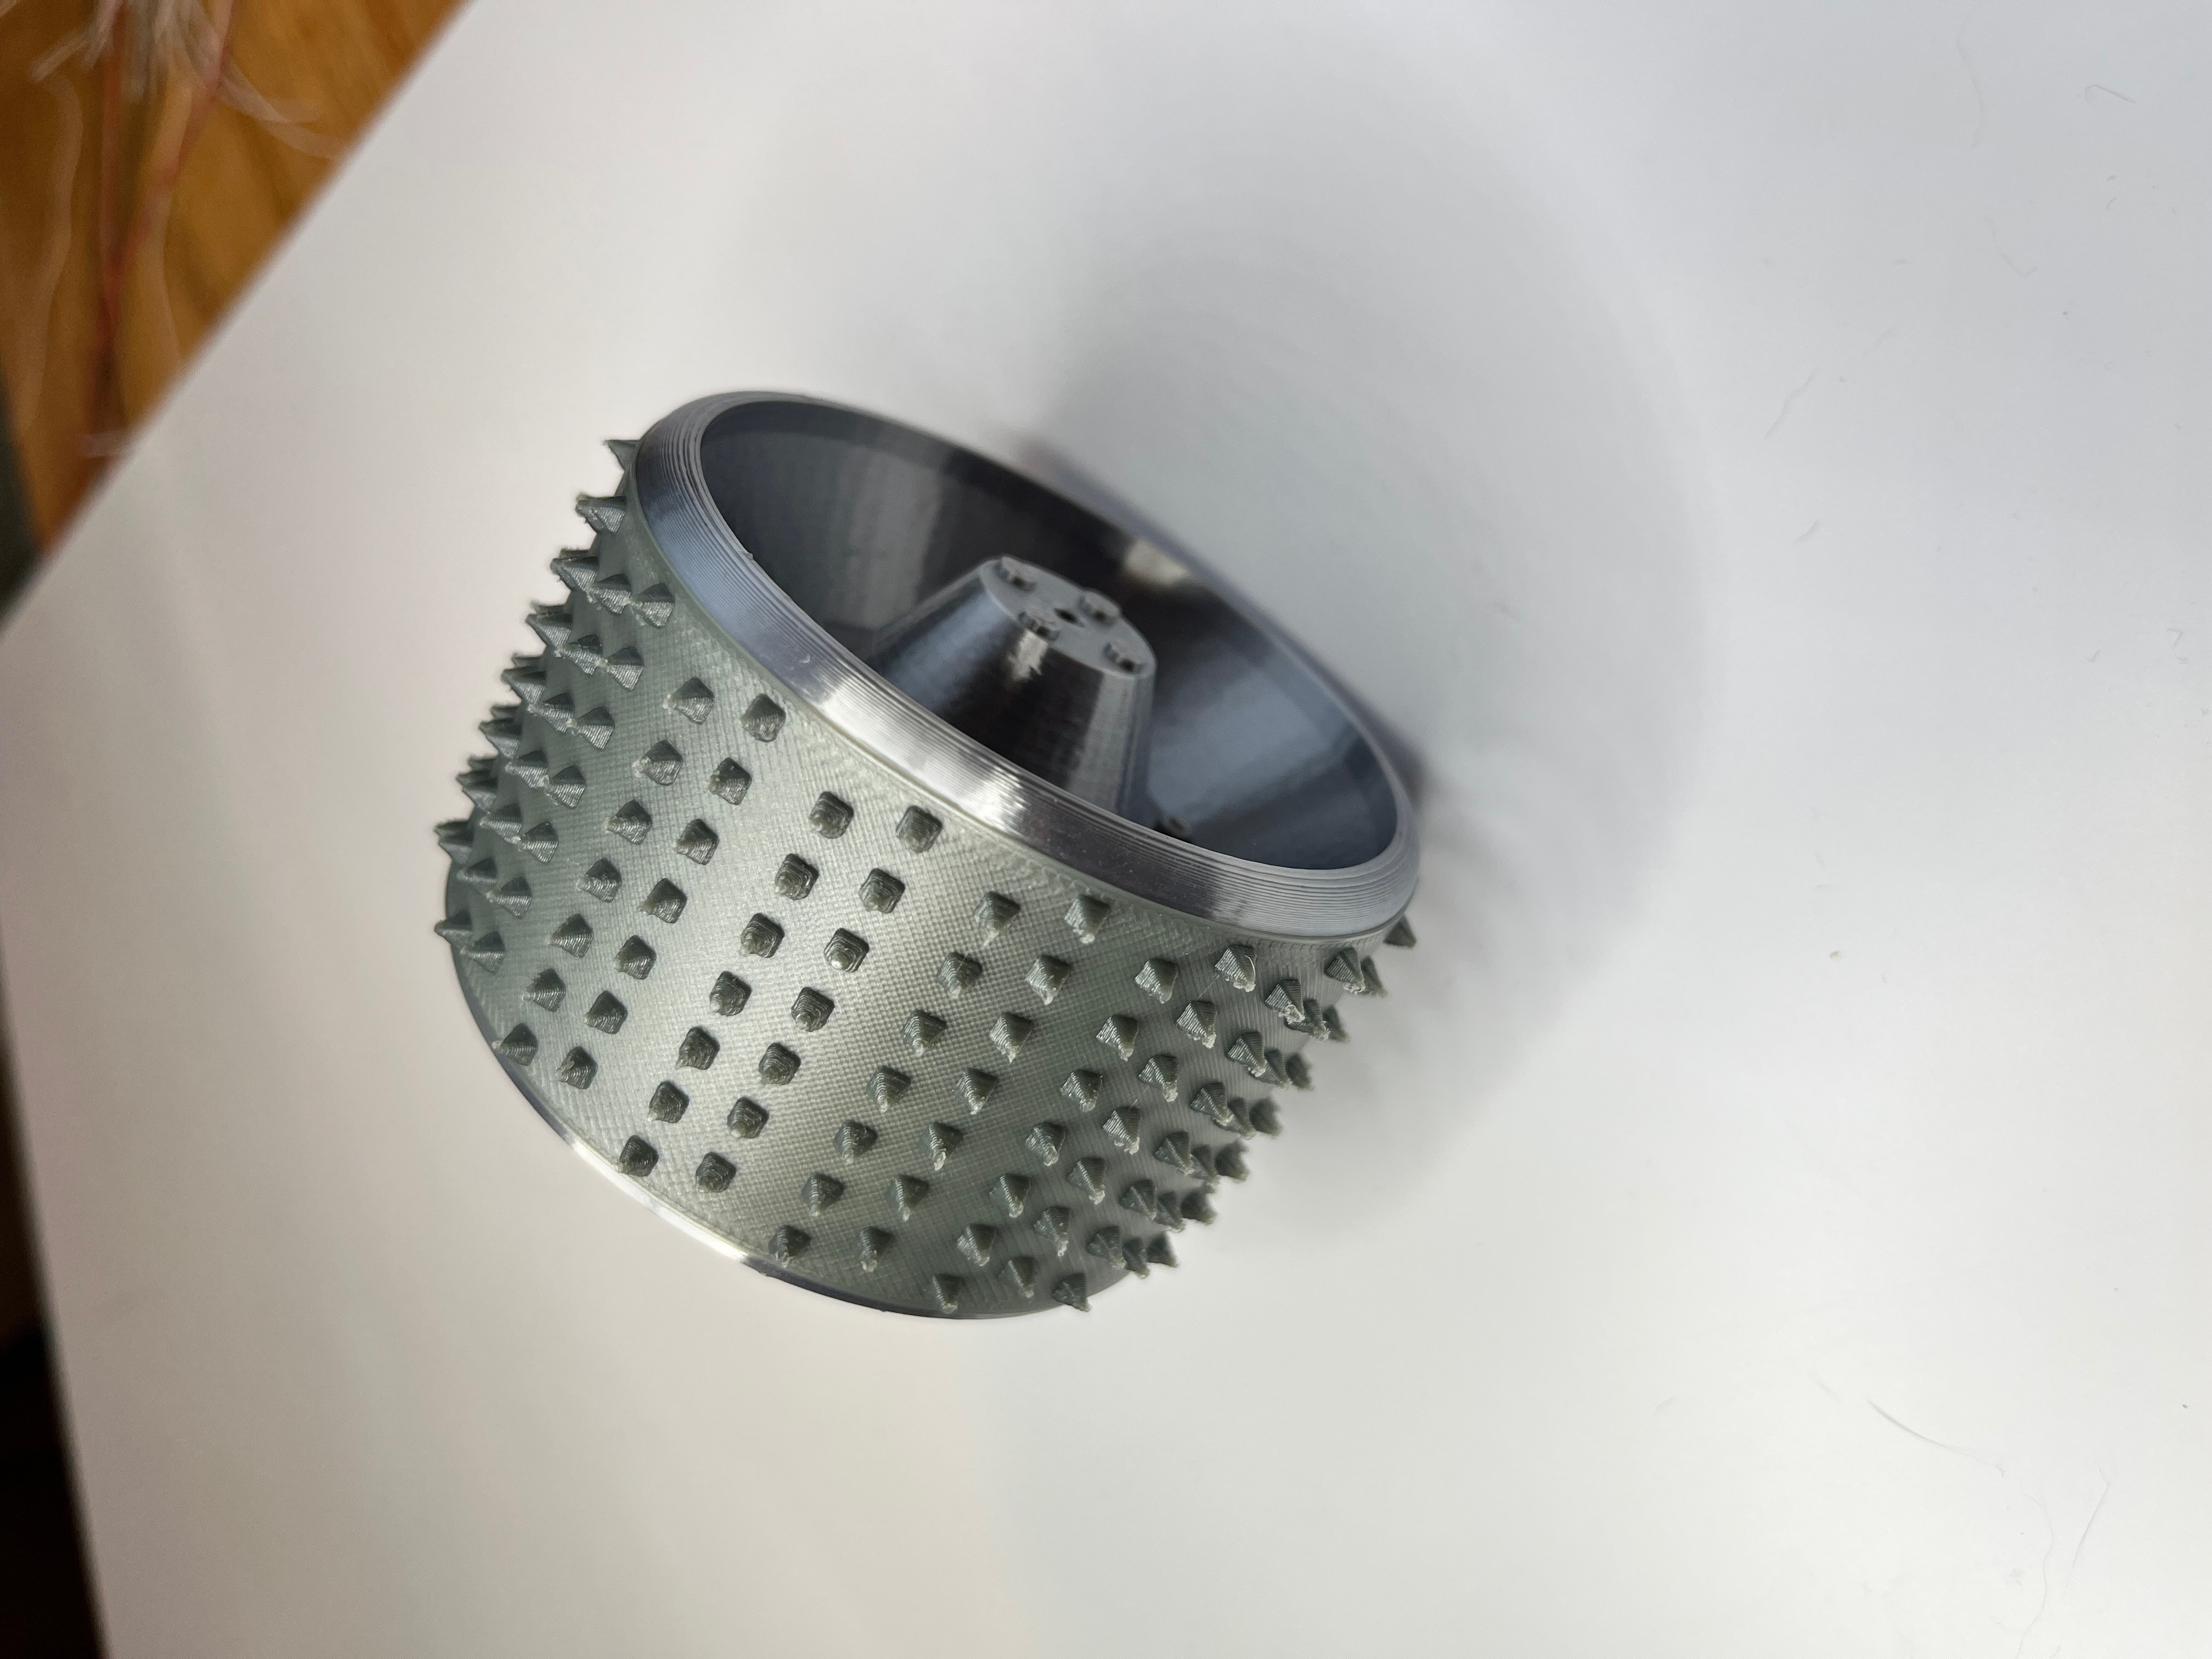
The wheels have small screws that simply add to the look.
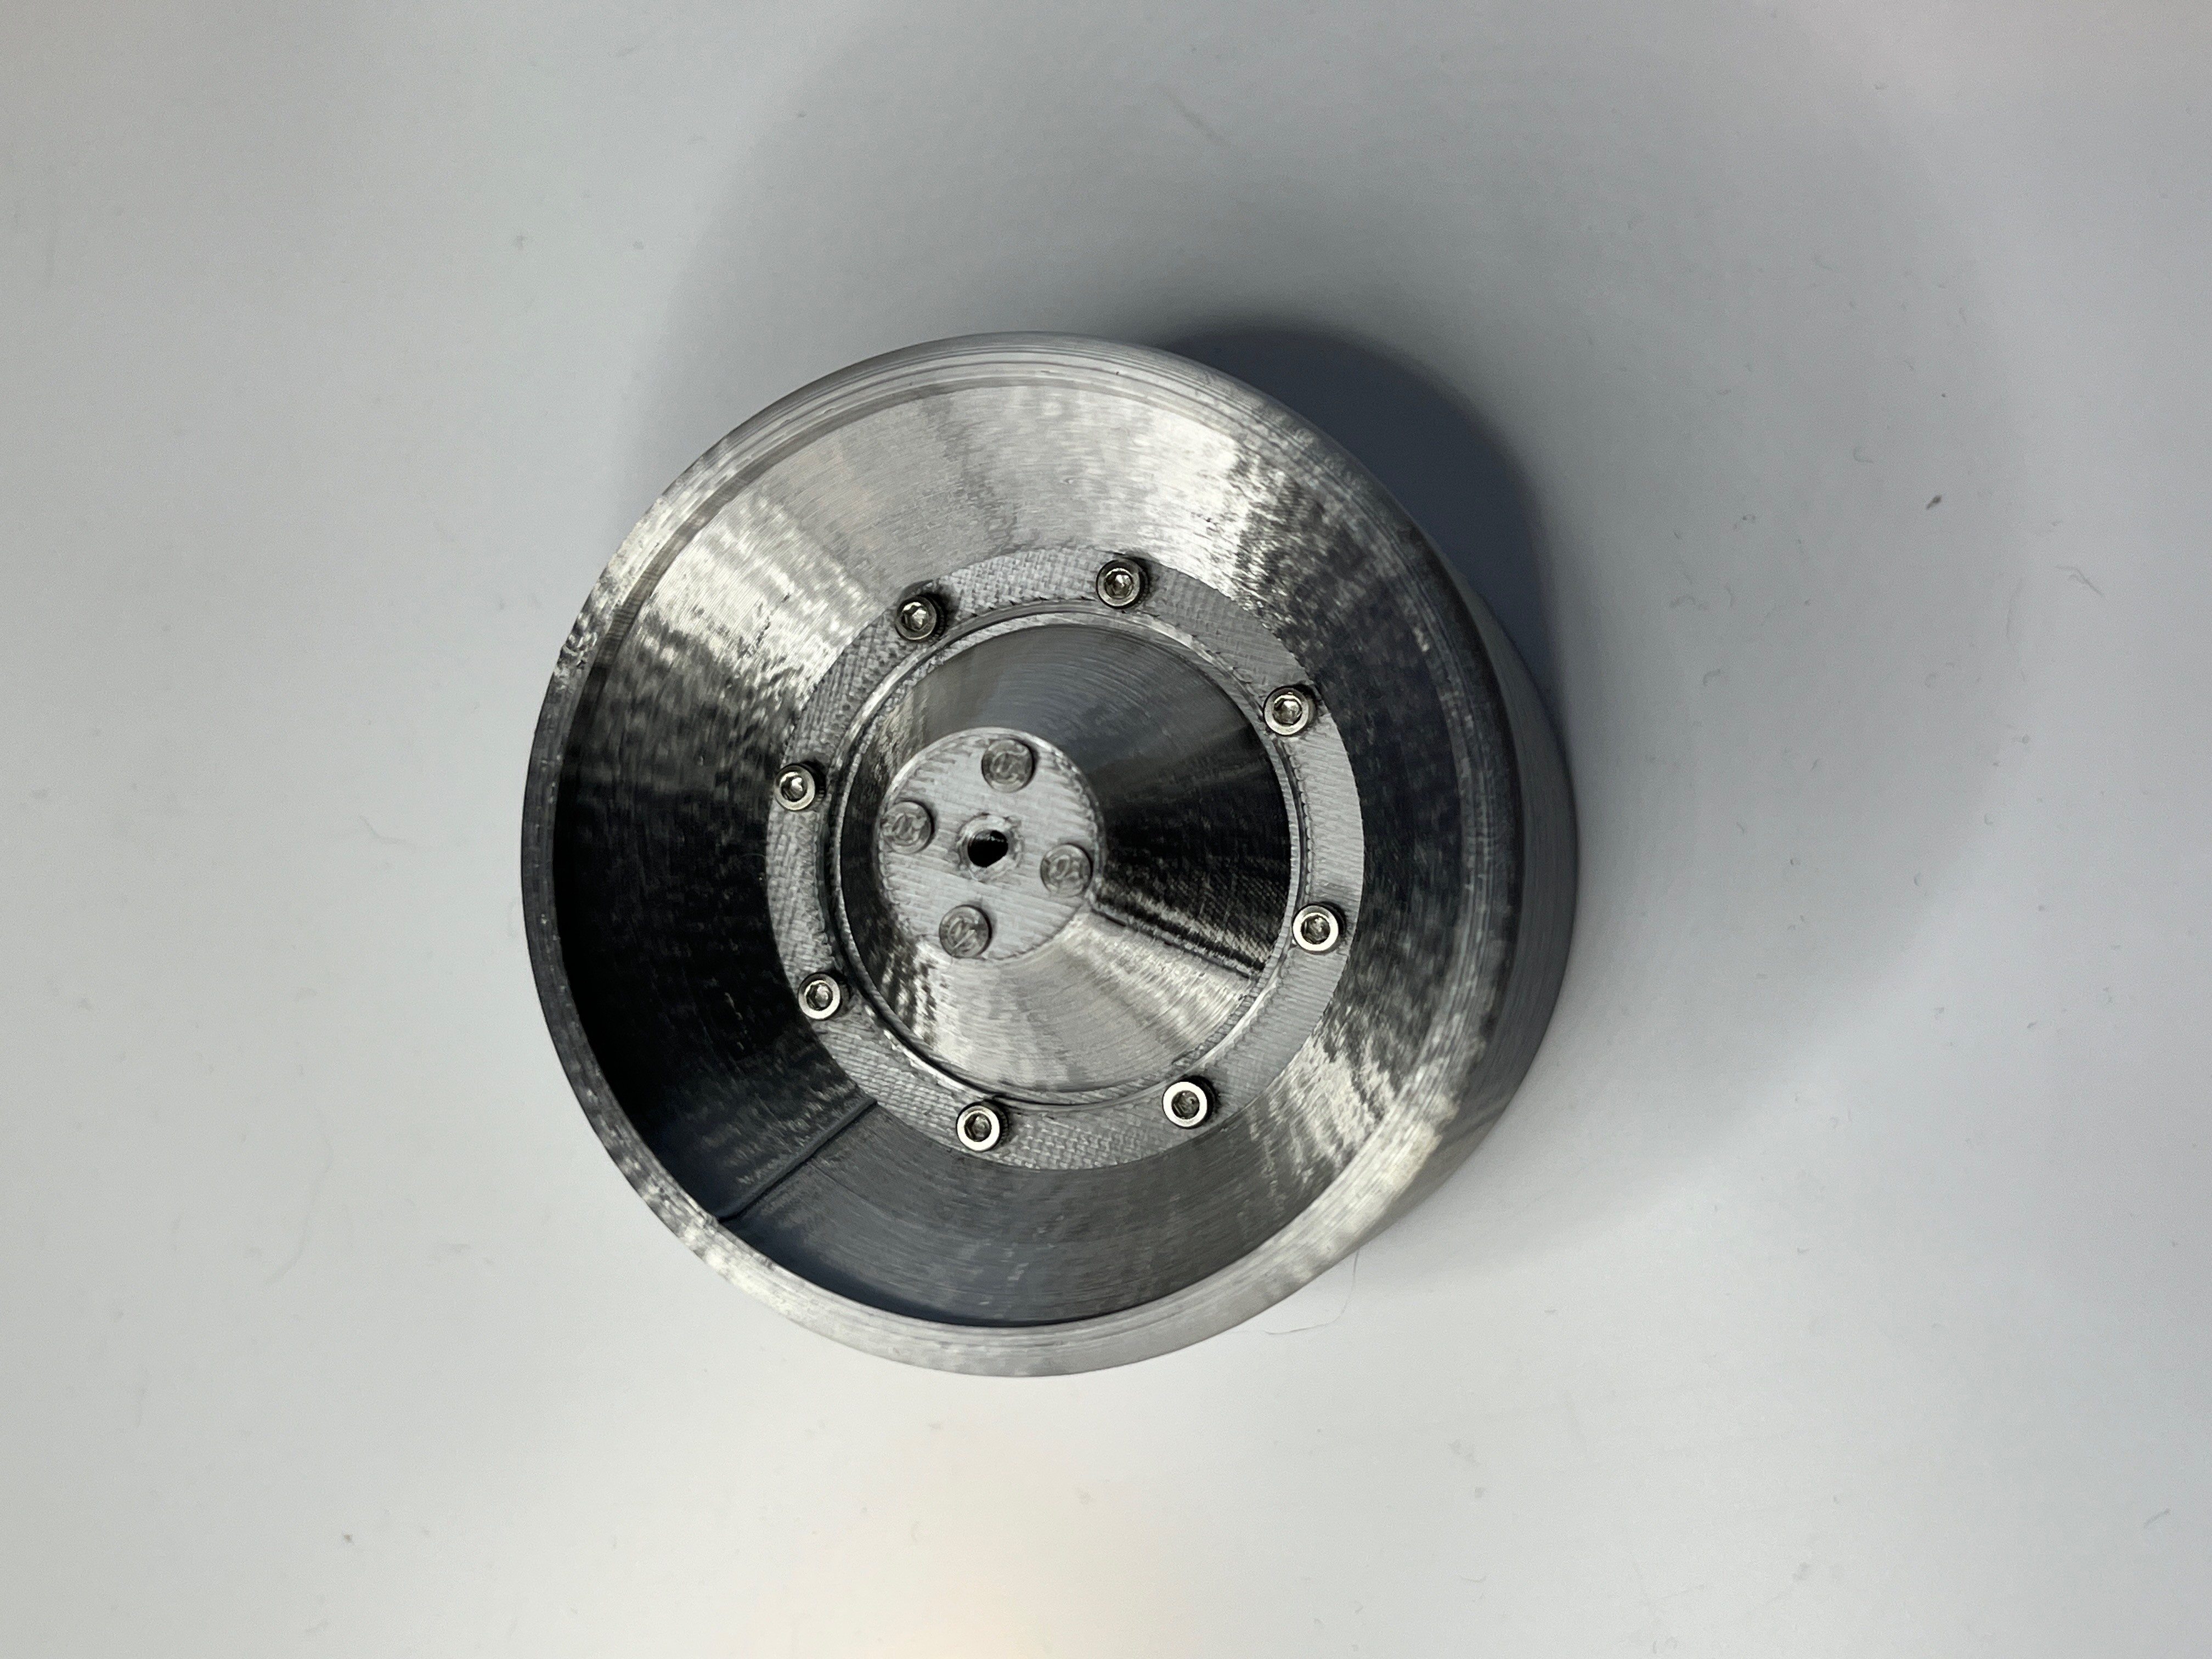
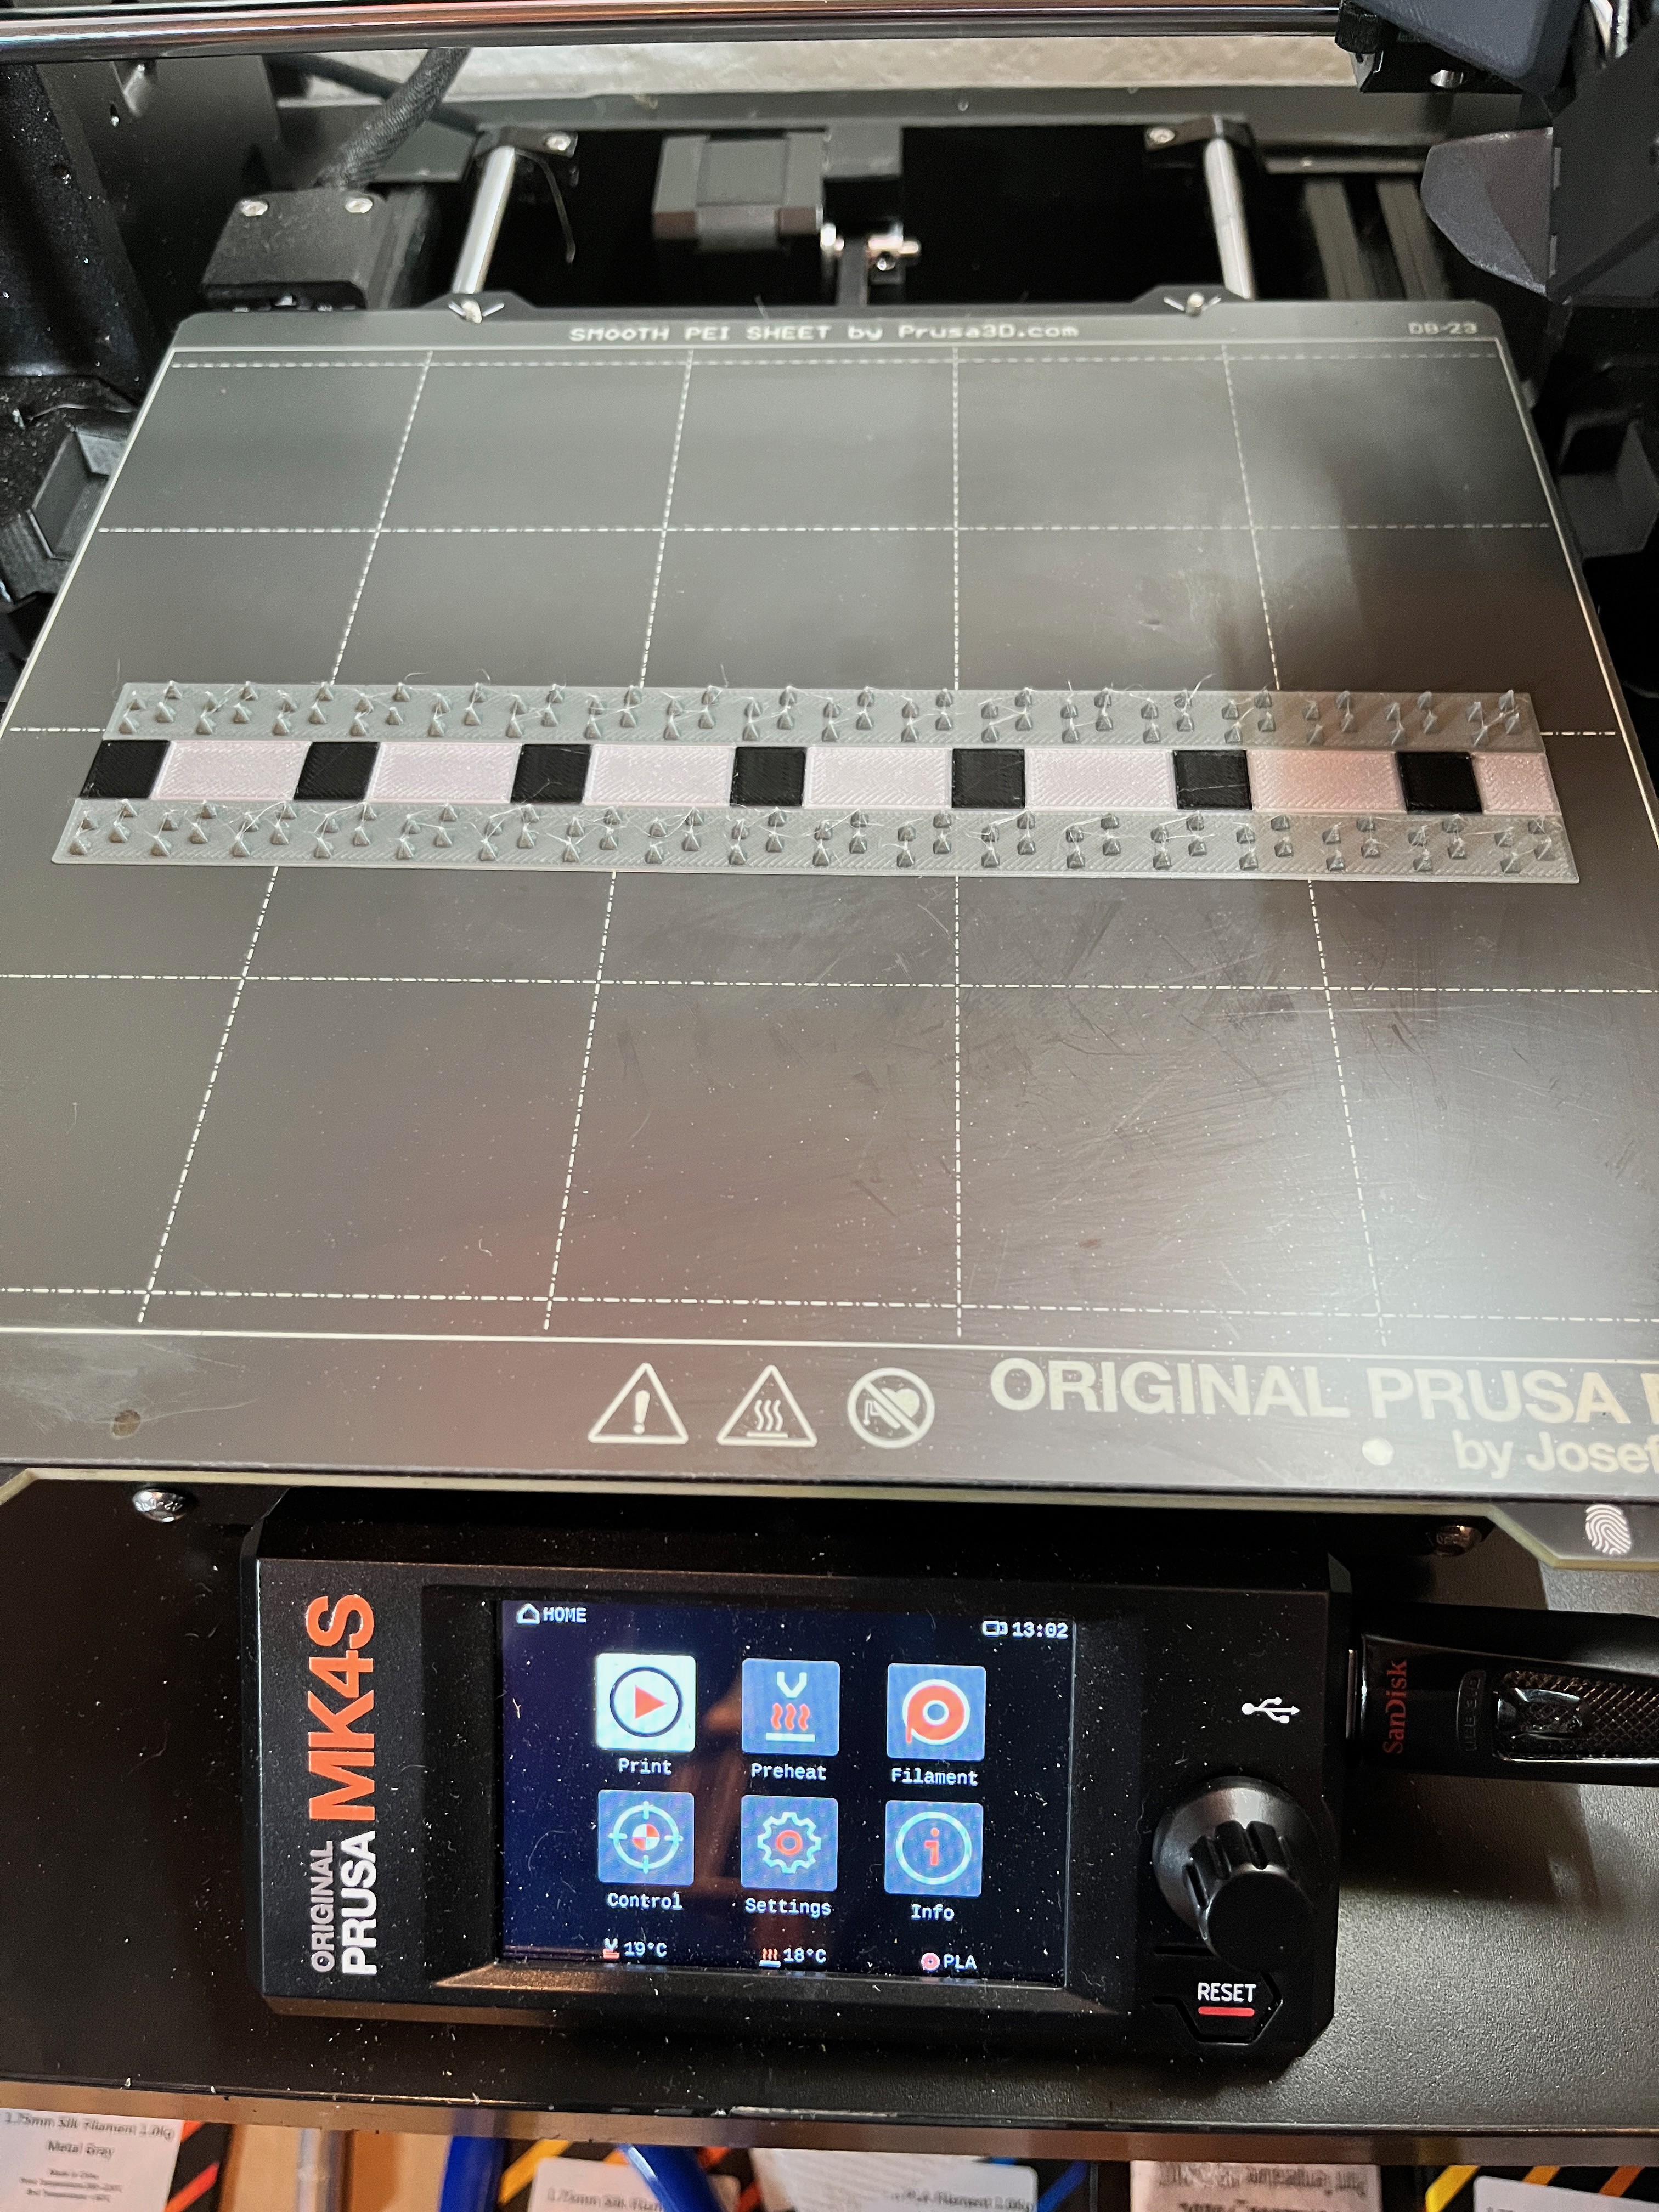
Along with treads that are glued on. They are printed using a different color. The spikes are printed on top of the first two layers that are thin so the tread can be wrapped around the wheel and glued on.
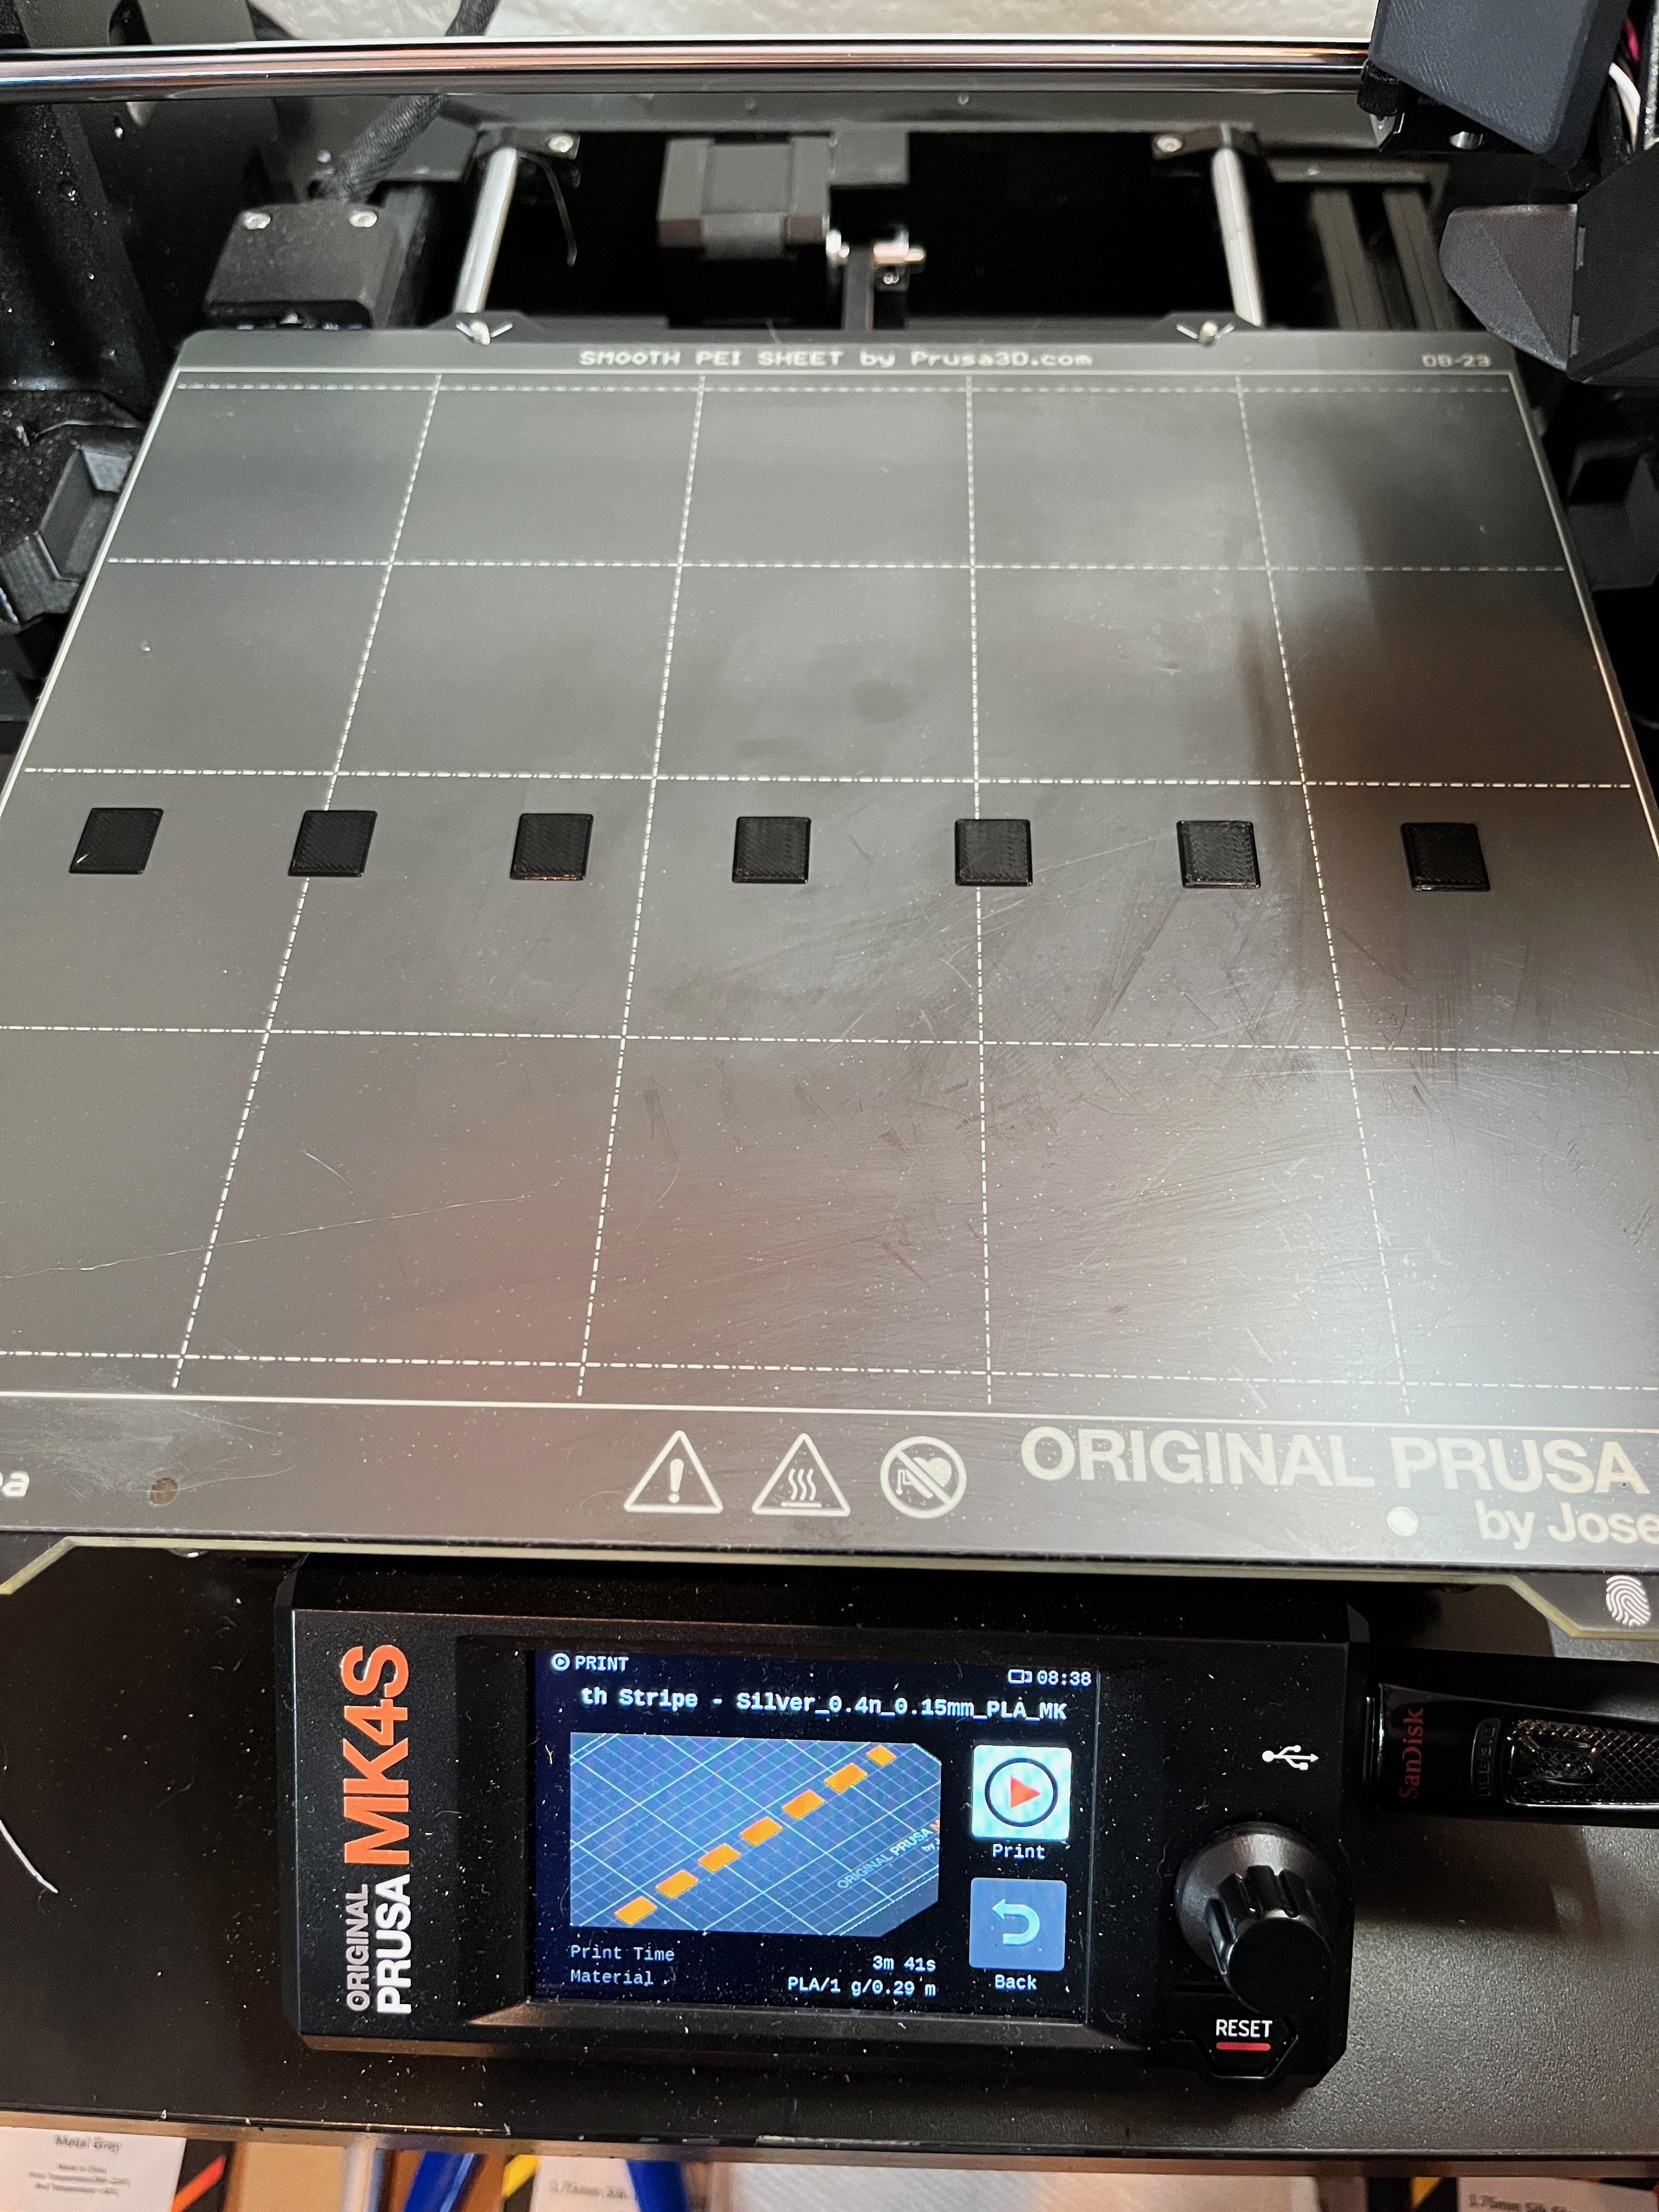
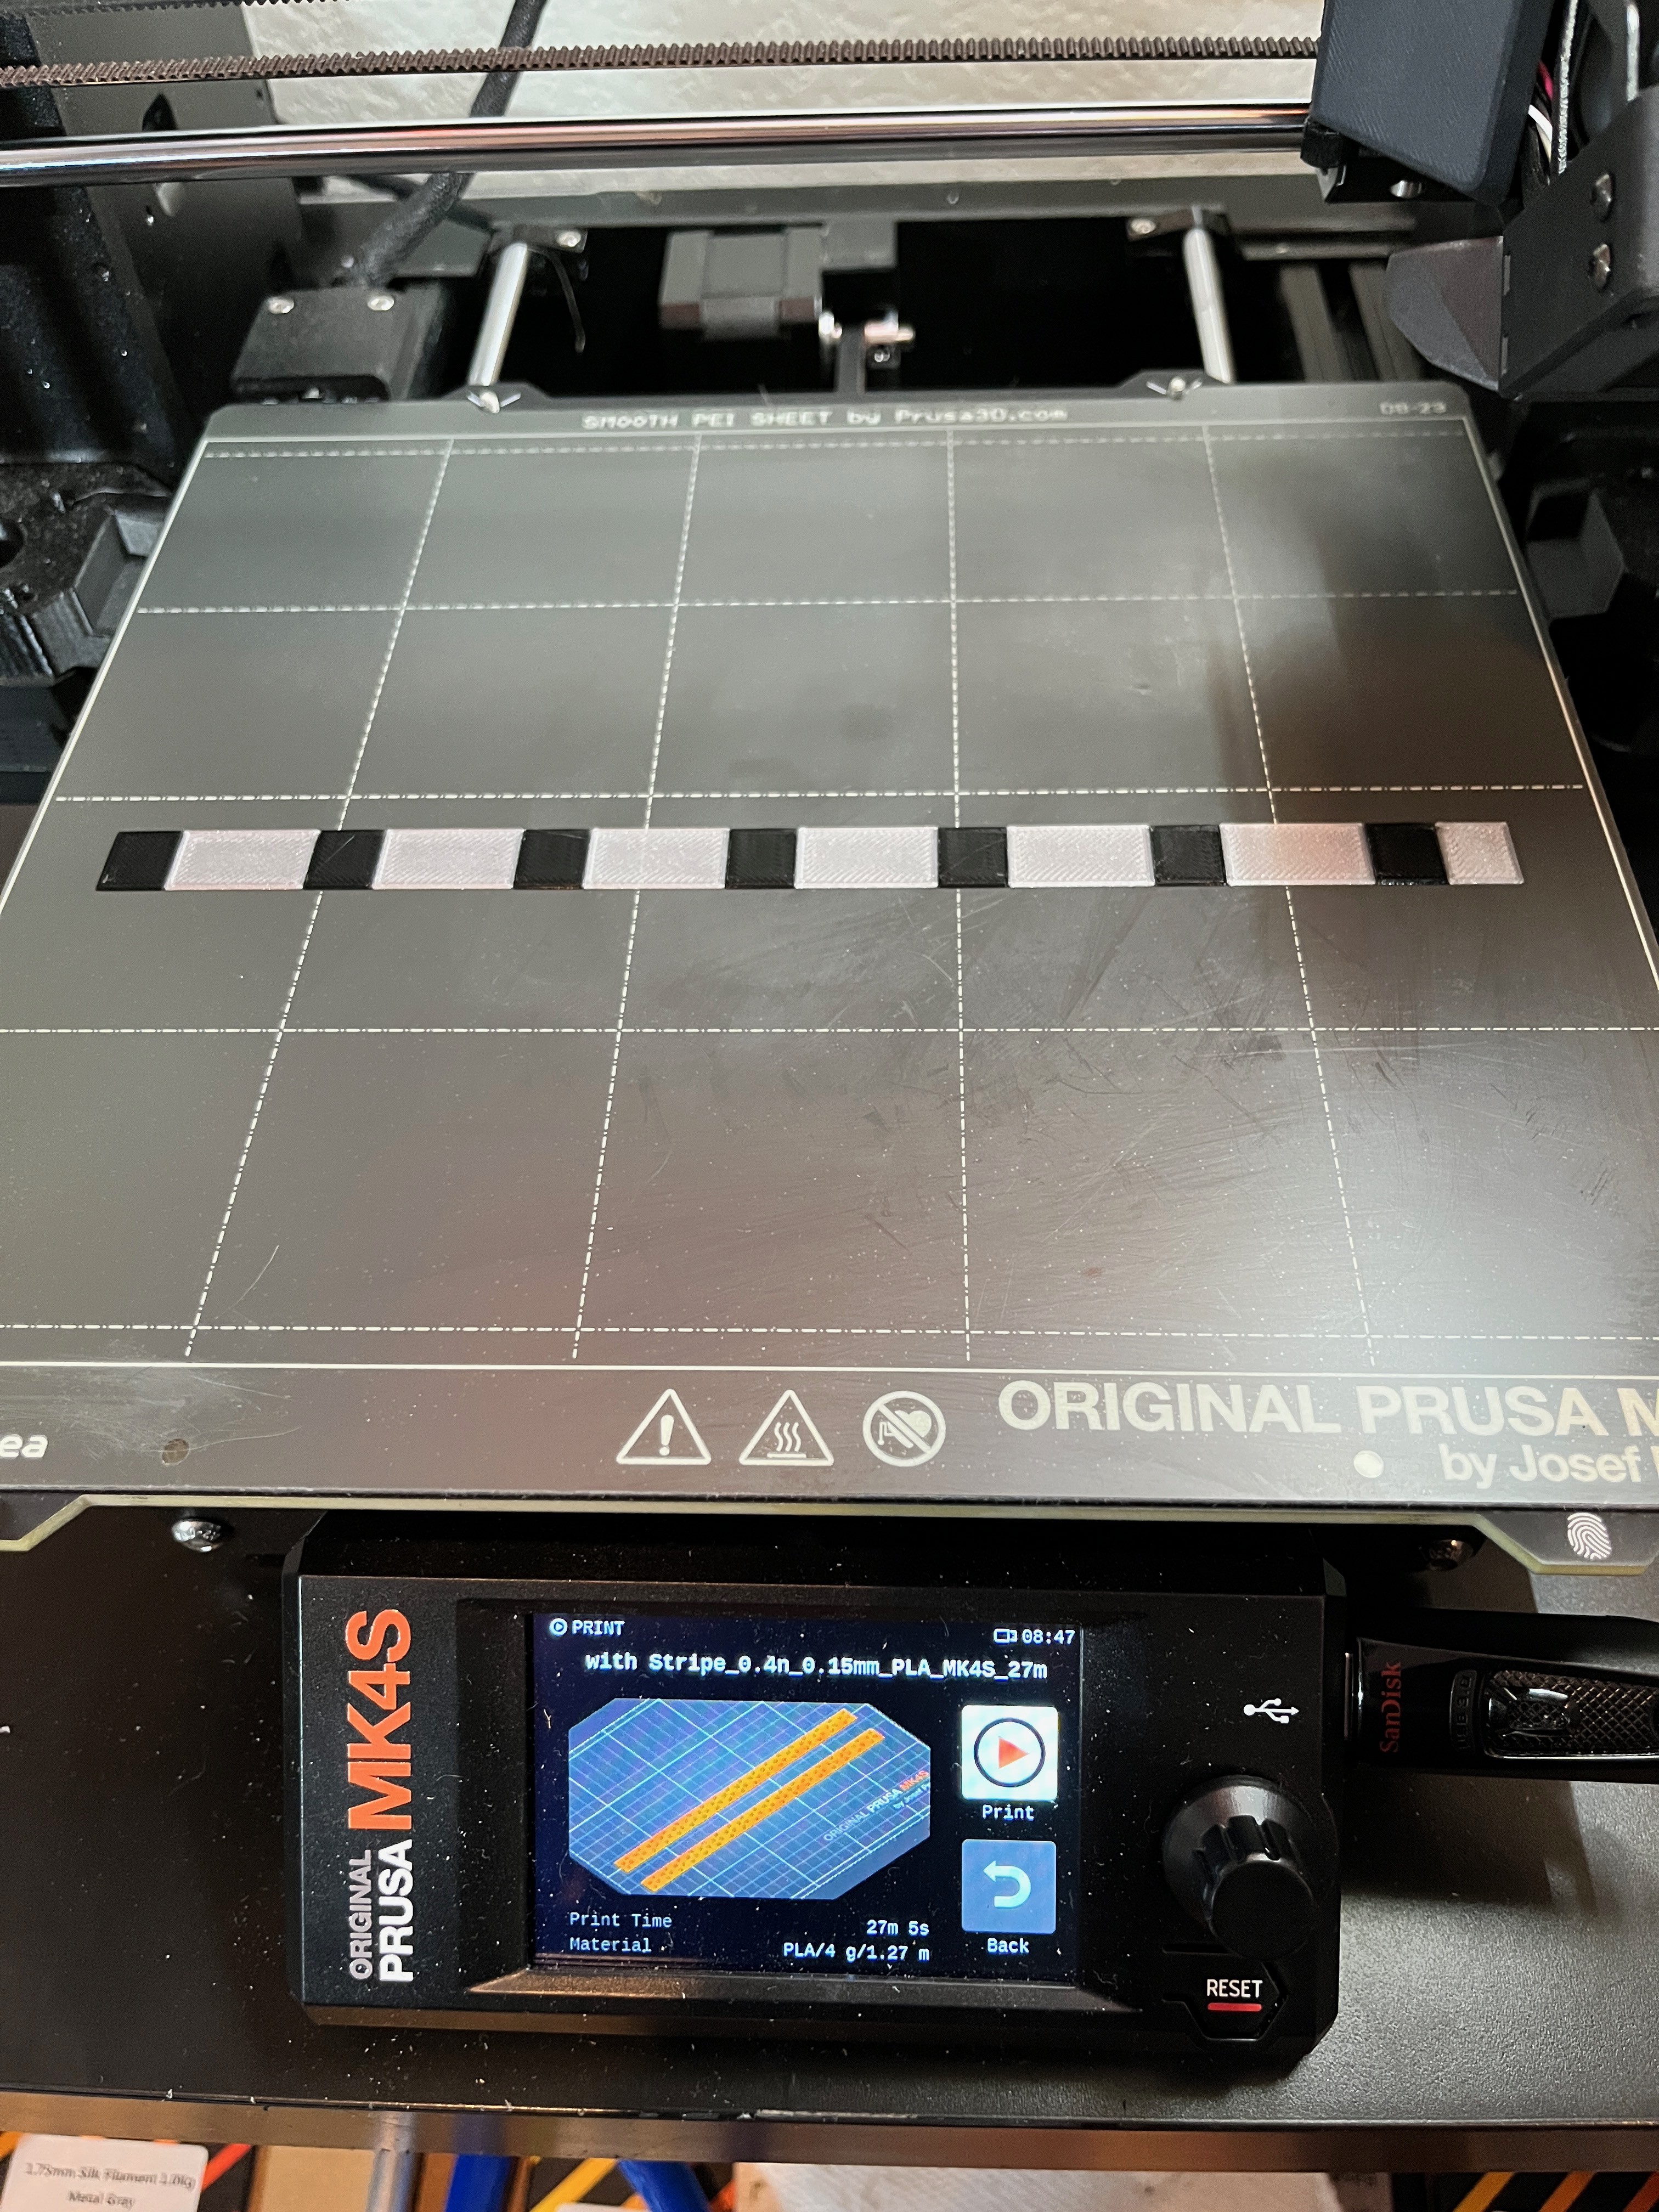
One of the middle wheels has a black and white stripe down the center. For this I overlay three STL files in the slicer to align them perfectly, then one by one remove two and slice the remaining STL, giving three printable files that are perfectly aligned. The key to doing this trick is to disable any elephant foot compensation so that the three prints meld together. You also need to position the STL files such that the center stripe is not going to interfere with the first layer measurements (at least if you have a Prusa printer that creates a plate height map so the first layer compensation is automatic). For other printers this may not be an issue. Start by printing the black parts. When complete change out the filament with silver, leave the printed parts on the plate but remove any initial filament laid down to get the flow started. Now print the silver parts. The parts are only two layers thick so they should not interfere with each other. Now swap out the silver for a grey filament and print the third file. In the end you should have a flexible tread ready to glue on to a middle wheel.
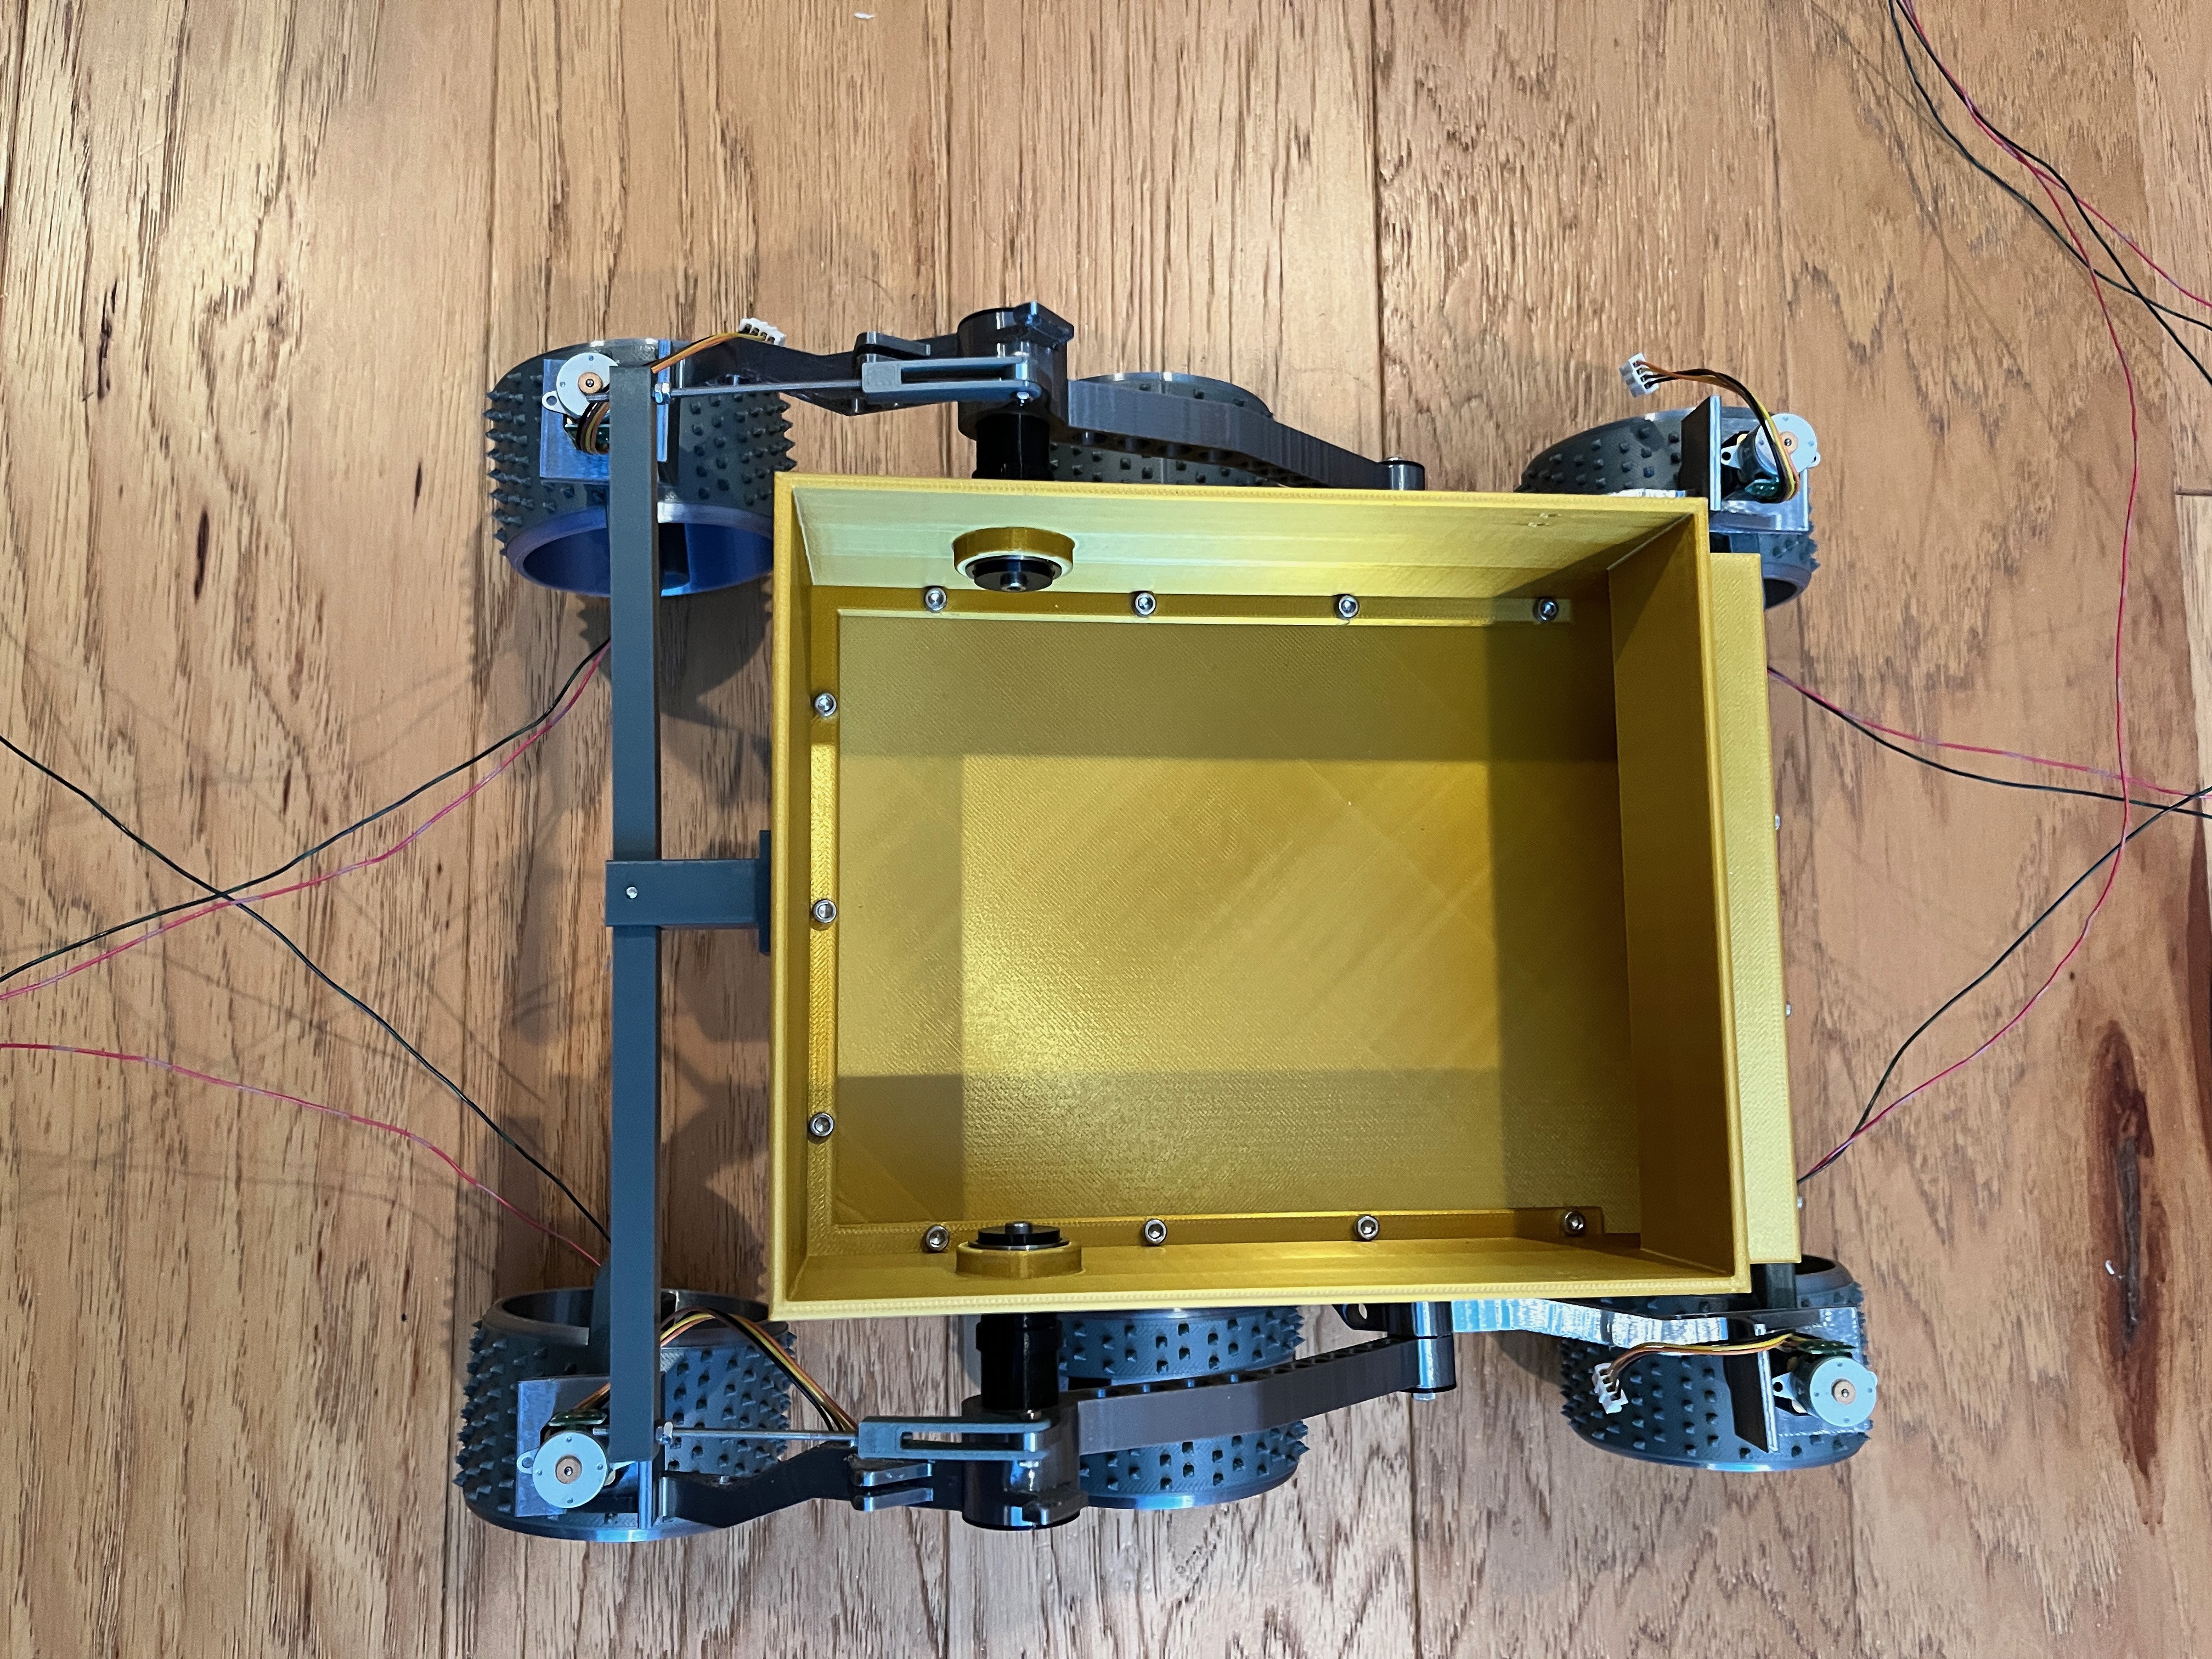
The suspension is on but the body sags down. What it needs is a stabilizer bar. This bar not only holds the body in place but allows one side of the suspension to go up while pushing down the other side. There is some bend to this bar. You should print it with at least 30% infill.

Discussions
Become a Hackaday.io Member
Create an account to leave a comment. Already have an account? Log In.