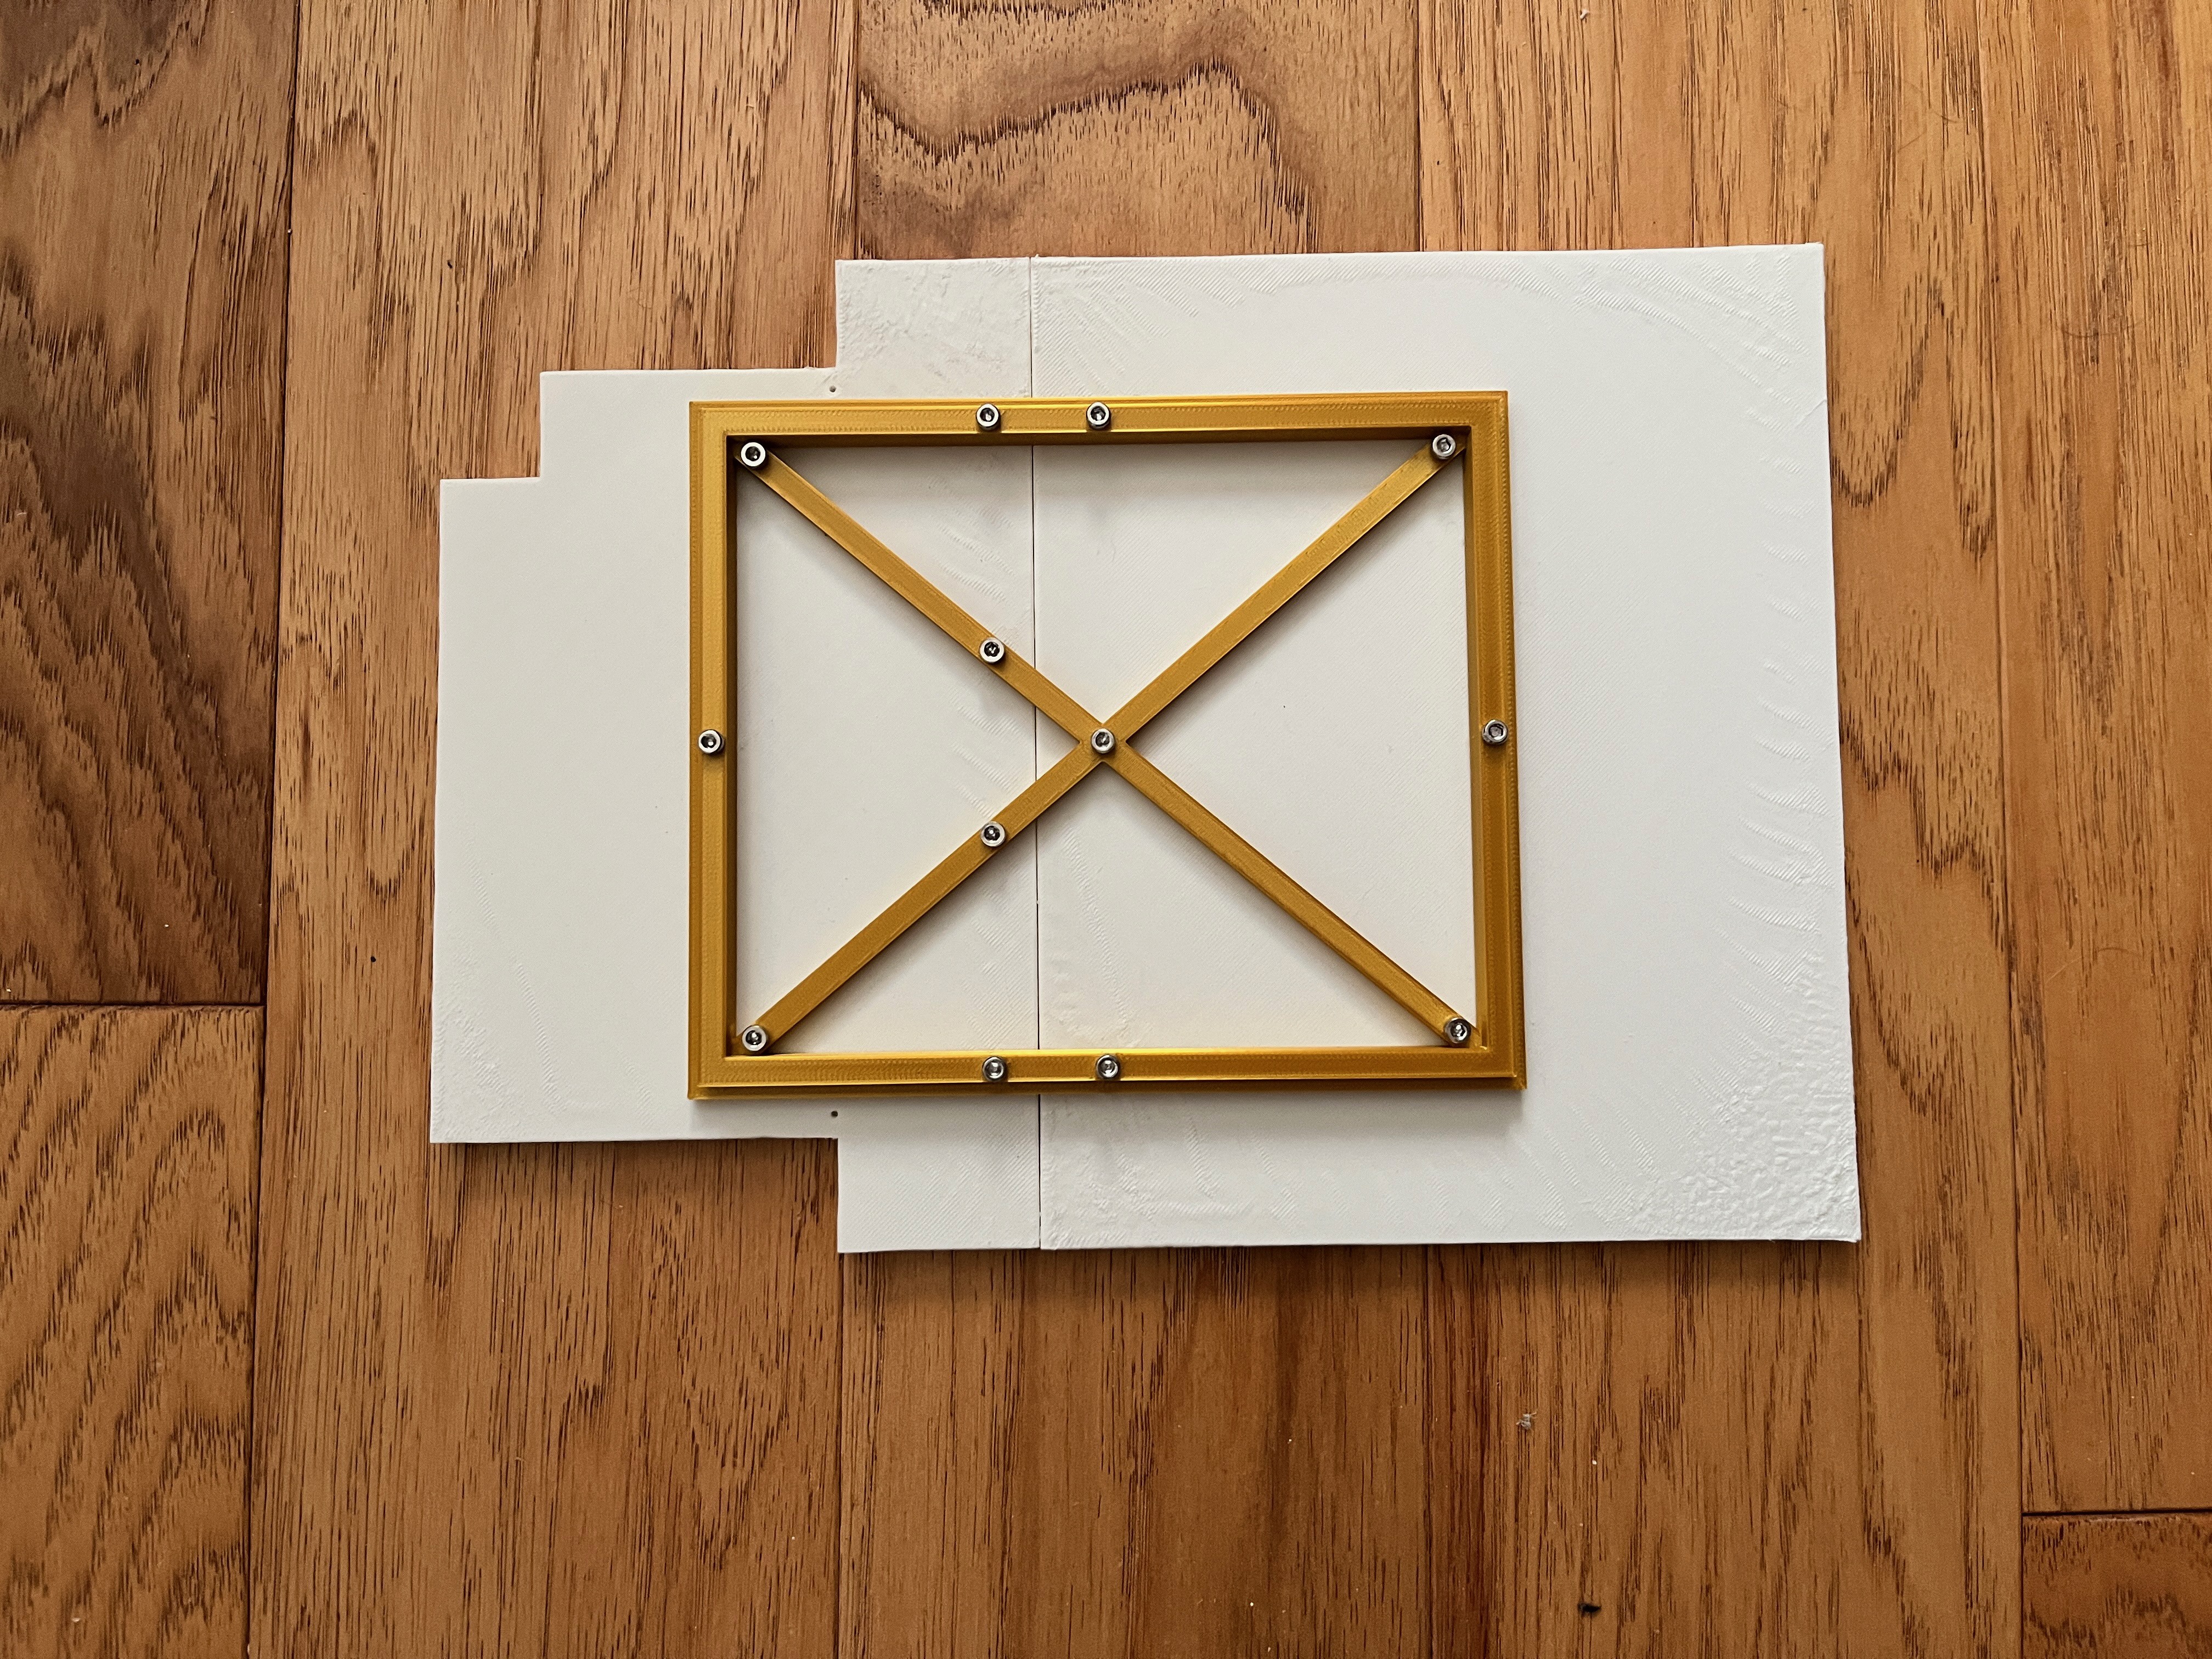
The main part of the solar panel is complete. Since the scale is 1/2 actual size, this is the one part that had to be split in two to fit on a standard 3D printer surface. After trying a print right side up I decided to print the two parts upside down, i.e. the top (good side) on the print surface. These are three color prints. The first layer should be black. Then switch out the filament for copper and print the next two layers. Finally switch out for white filament and let the remainder print in white. No supports are needed because the printer easily spaned the 1mm gap between the black rectangles. On the sides I beveled the edges at a 45 degree angle that go in 0.5mm. After the two solar panel parts are printed, print the body interface in gold and use M3 screws to anchor the top halves together. You could choose to glue these parts if you want but the screws work well at aligning the parts perfectly so you can't tell they are two parts. The solar panel is the most important part since it takes up the entire top.
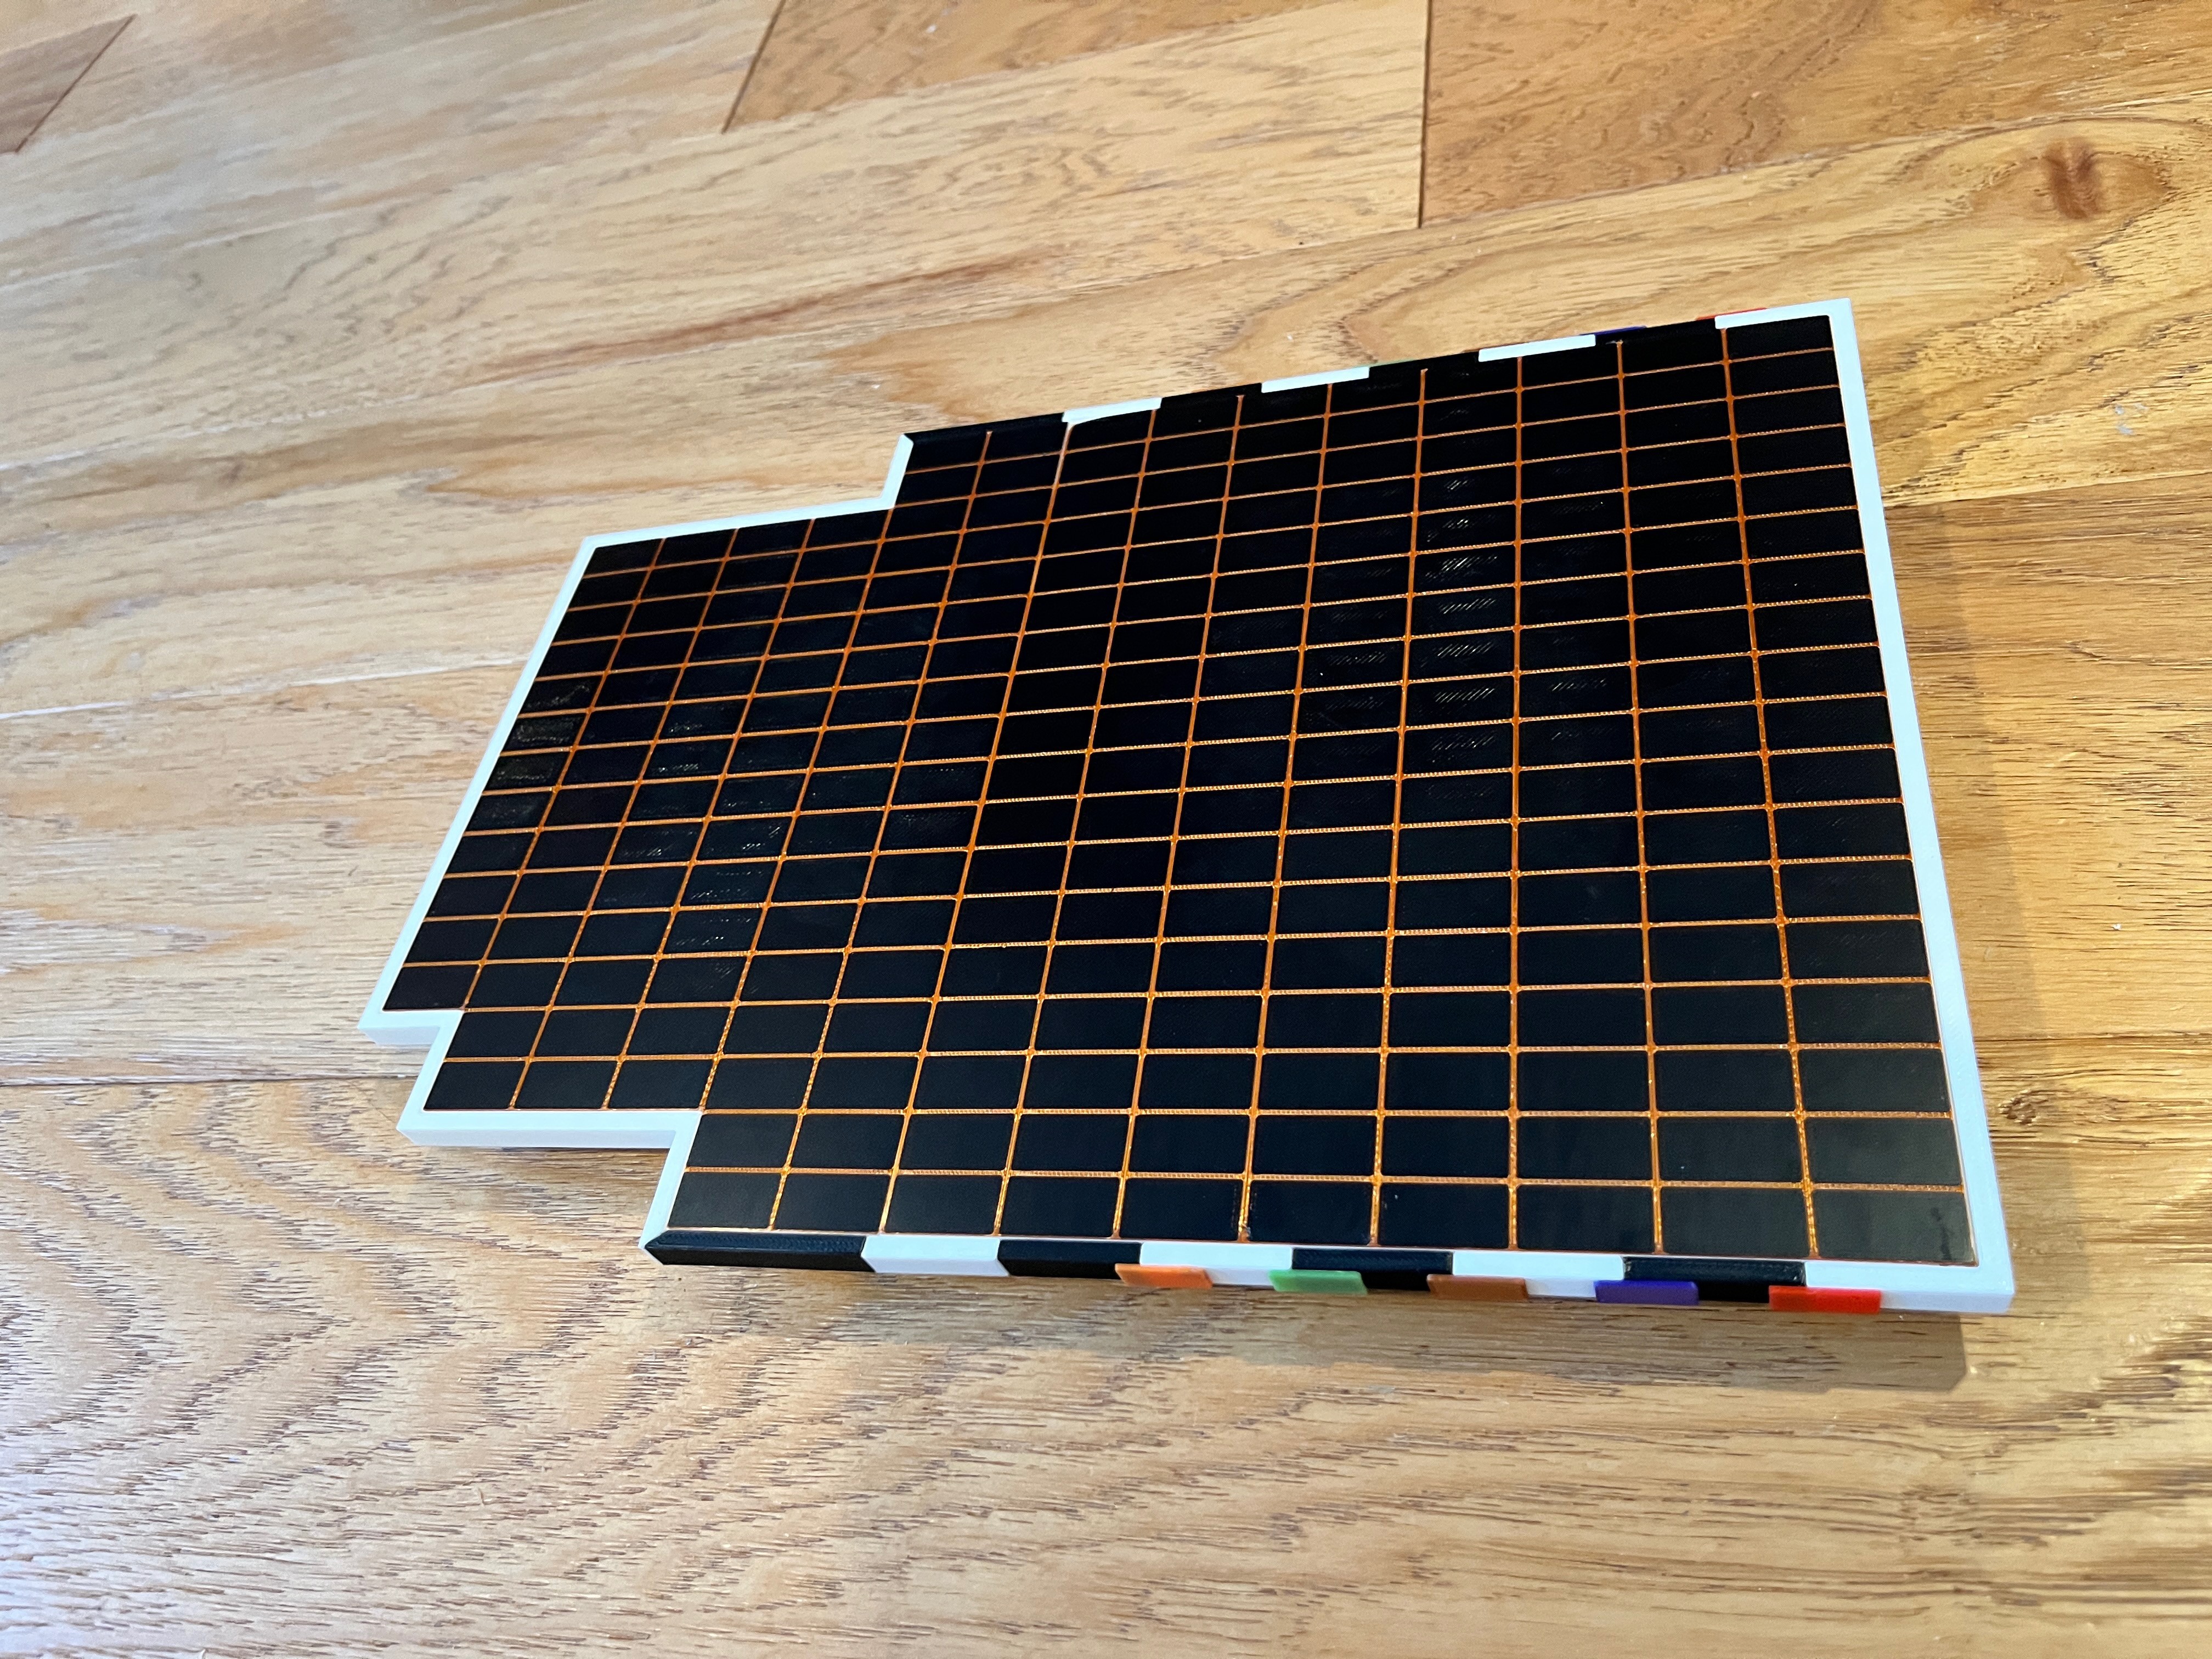
The sides of the solar panel are printed and glued on, first the two end white parts and then the sides alternating black and white. Work from the back to the front so the last parts glued on are the long black parts with the angled ends. For me one side fit perfectly and the other side was a bit long. A little sanding of the end of the last part and it fit just fine. Now print and glue on the colored strips (what I call badges). There is a specific order. On one side make sure you leave enough gap for the antenna park mount to go.
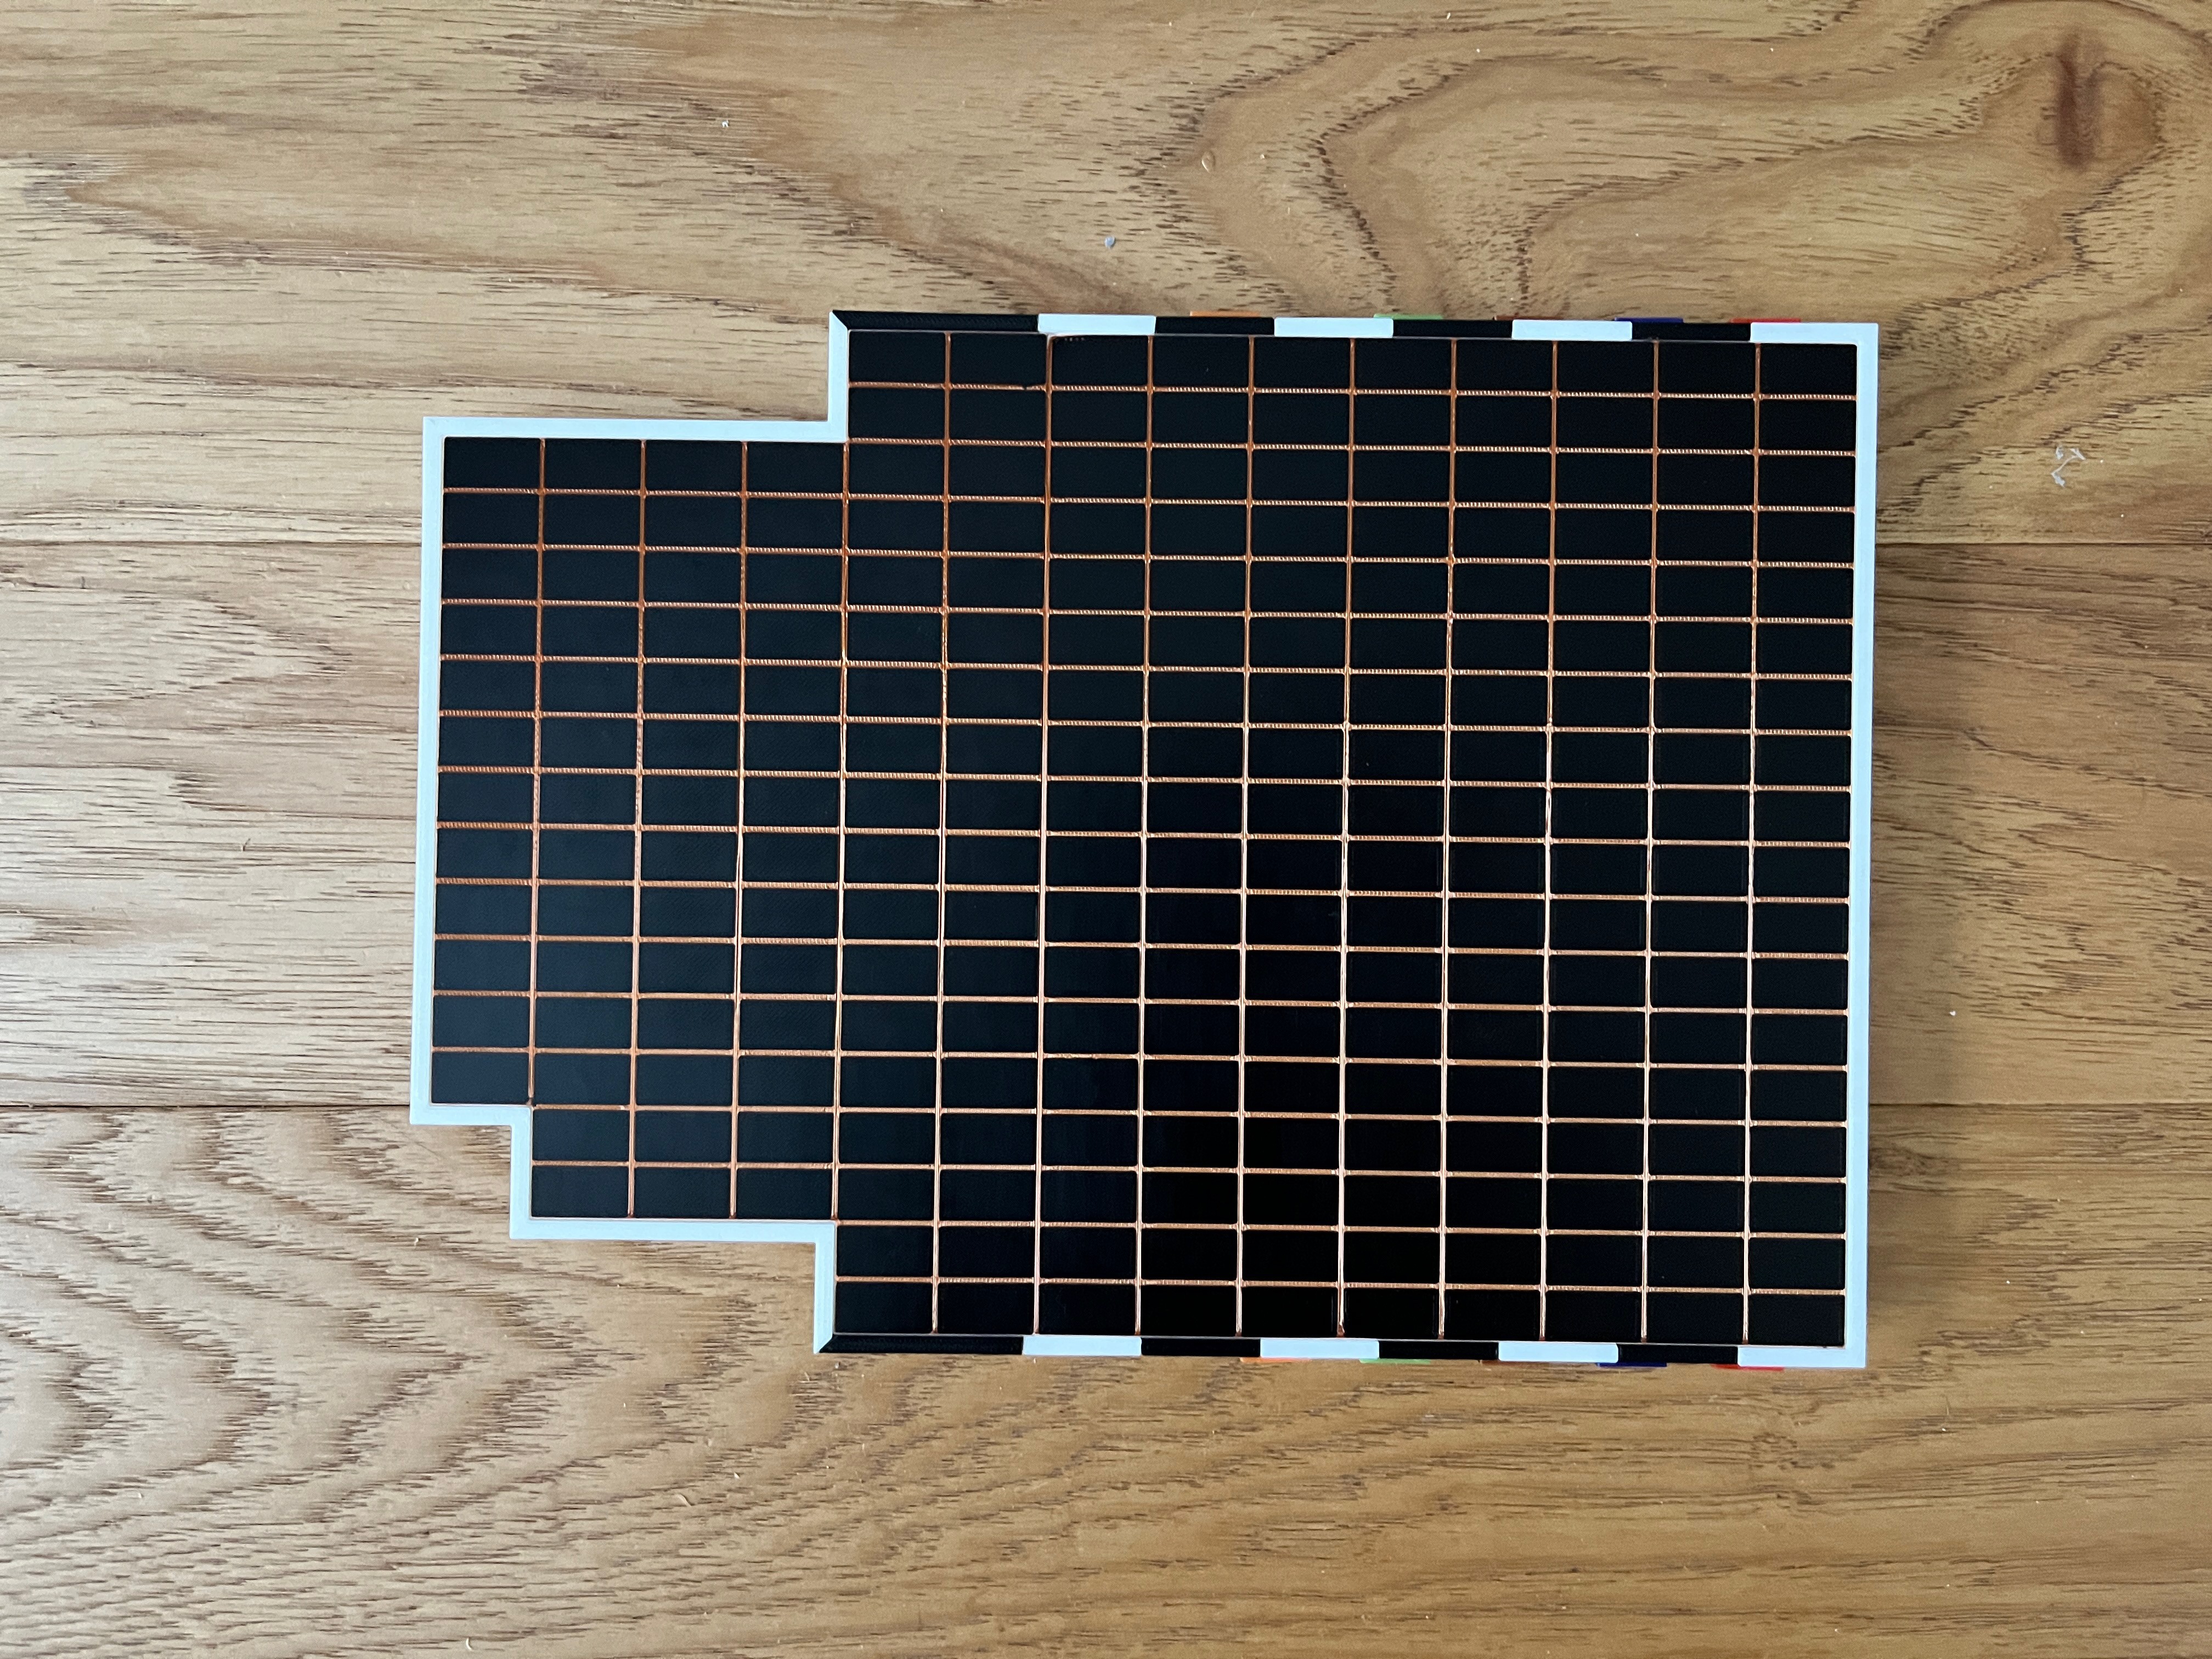
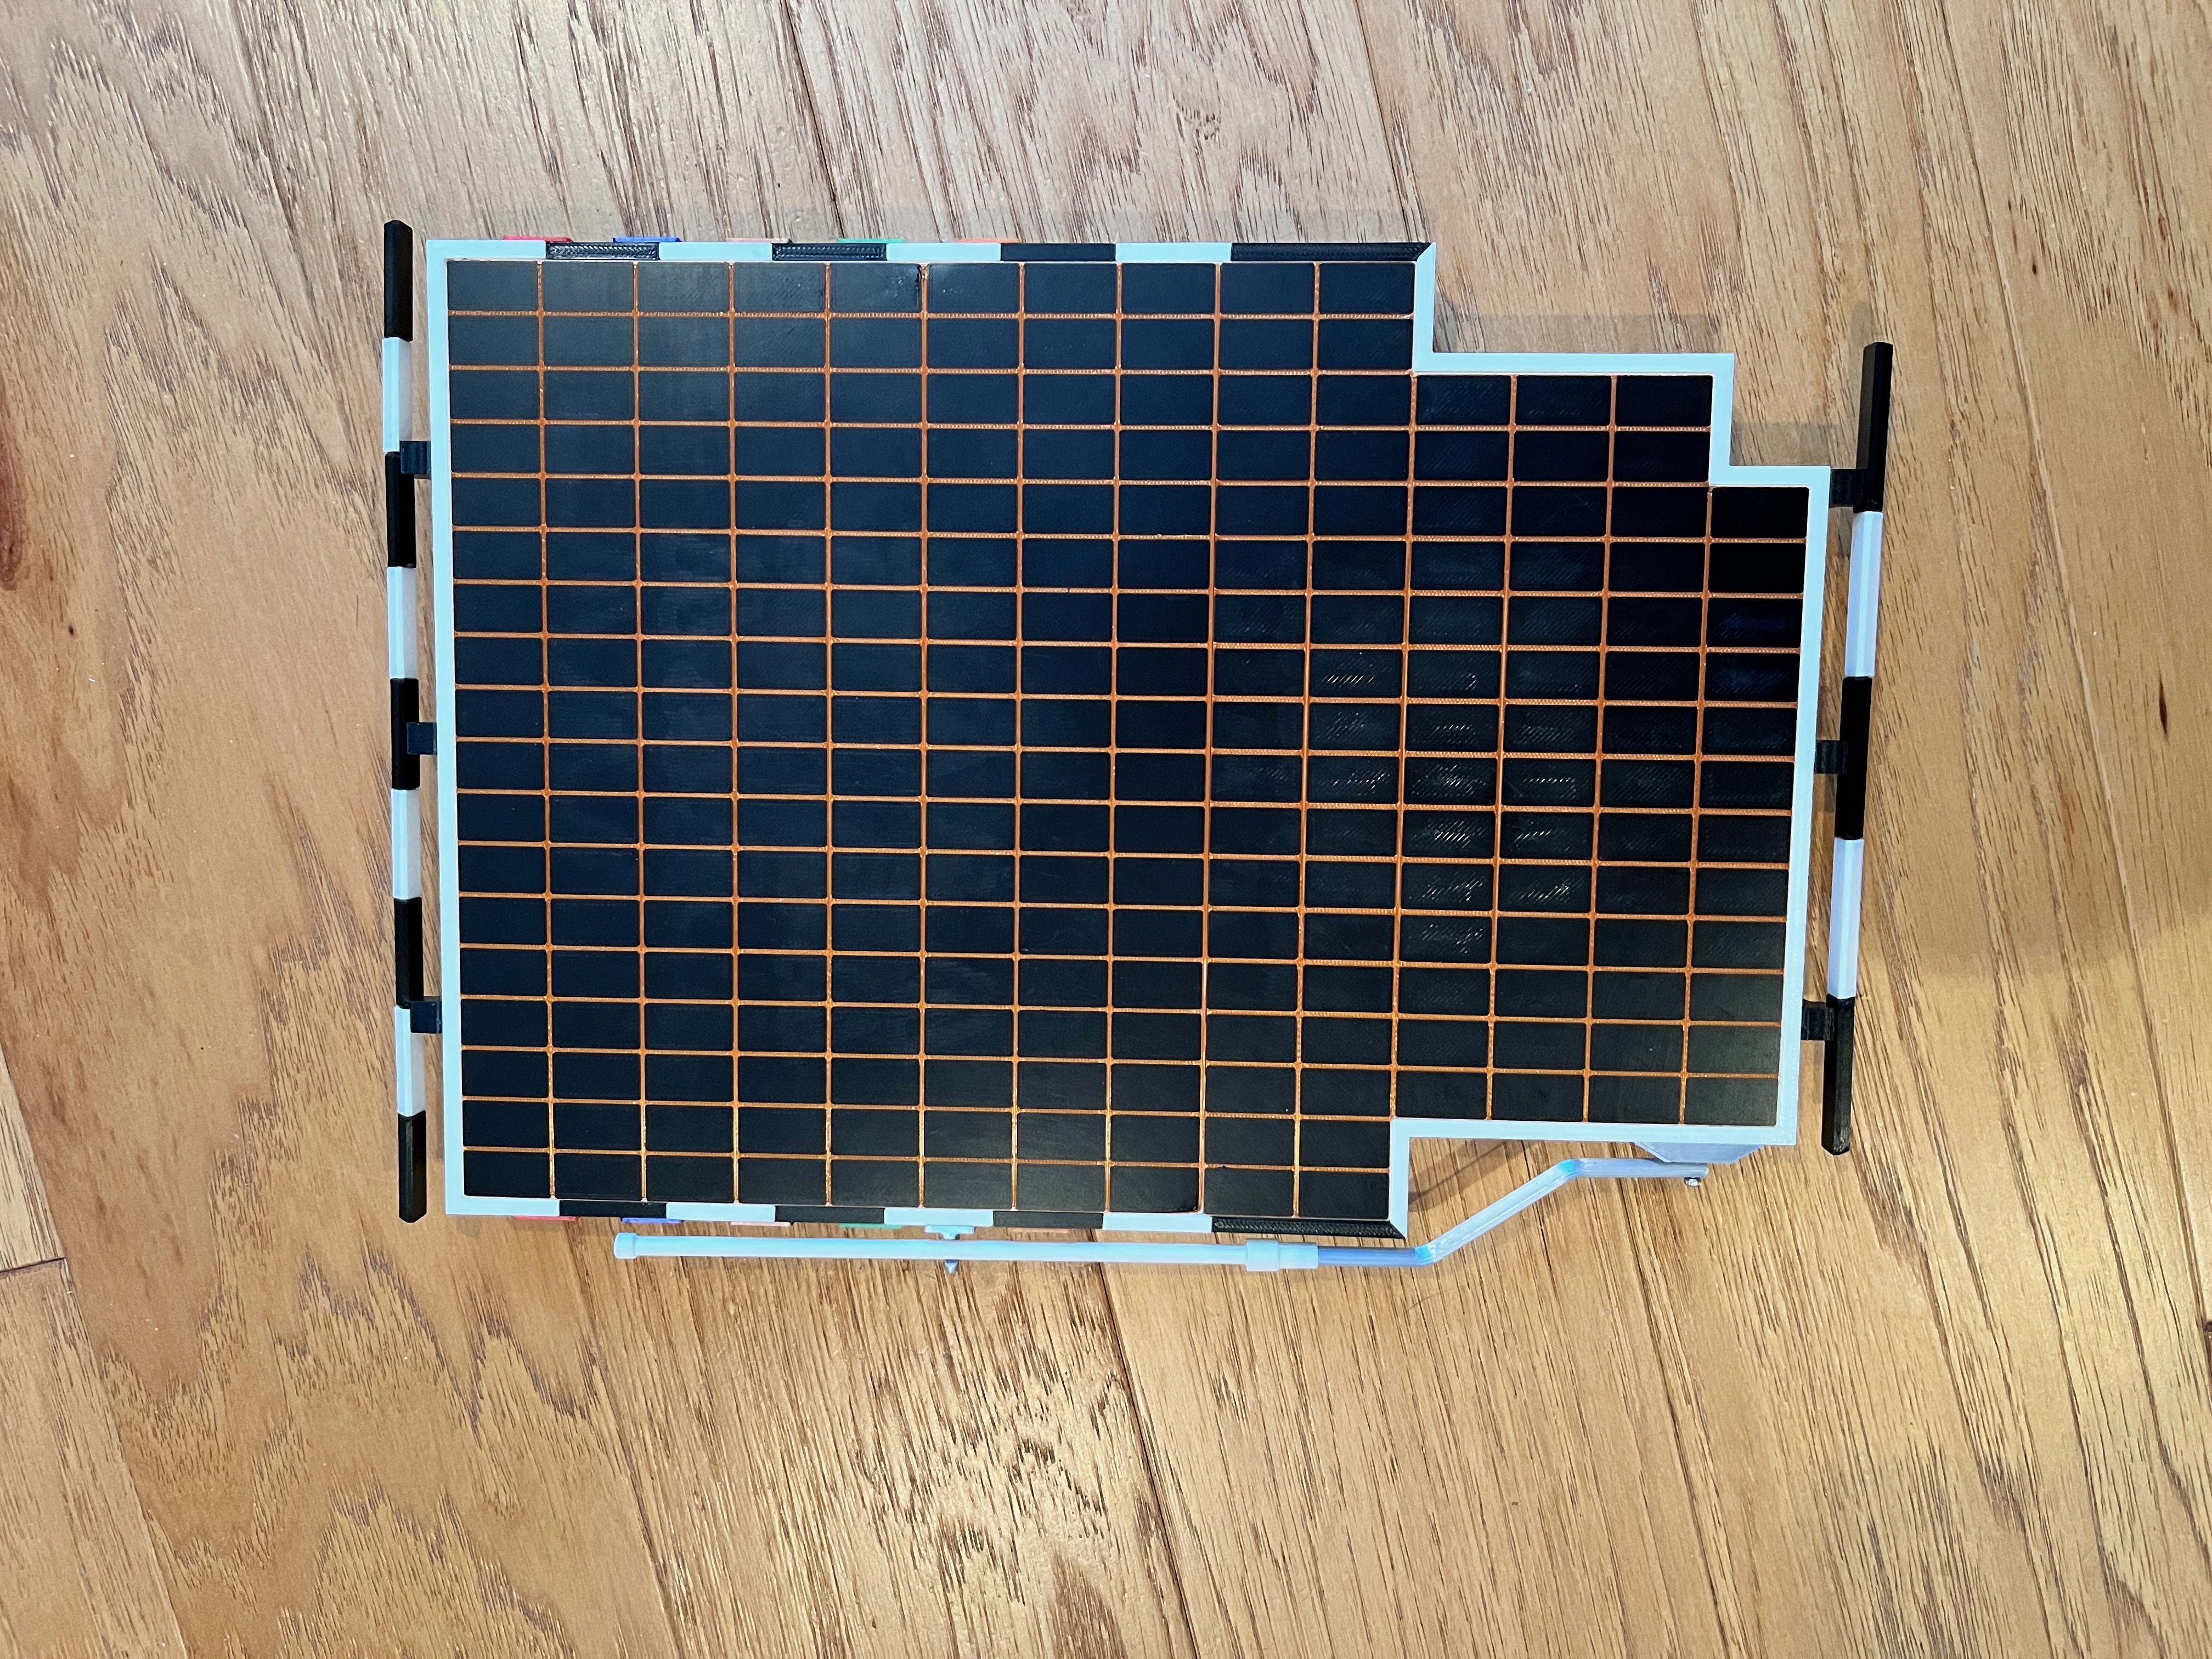
Here is the competed solar panel. I am happy with the result. You can't tell where the two halves meet. The other parts will go on later.
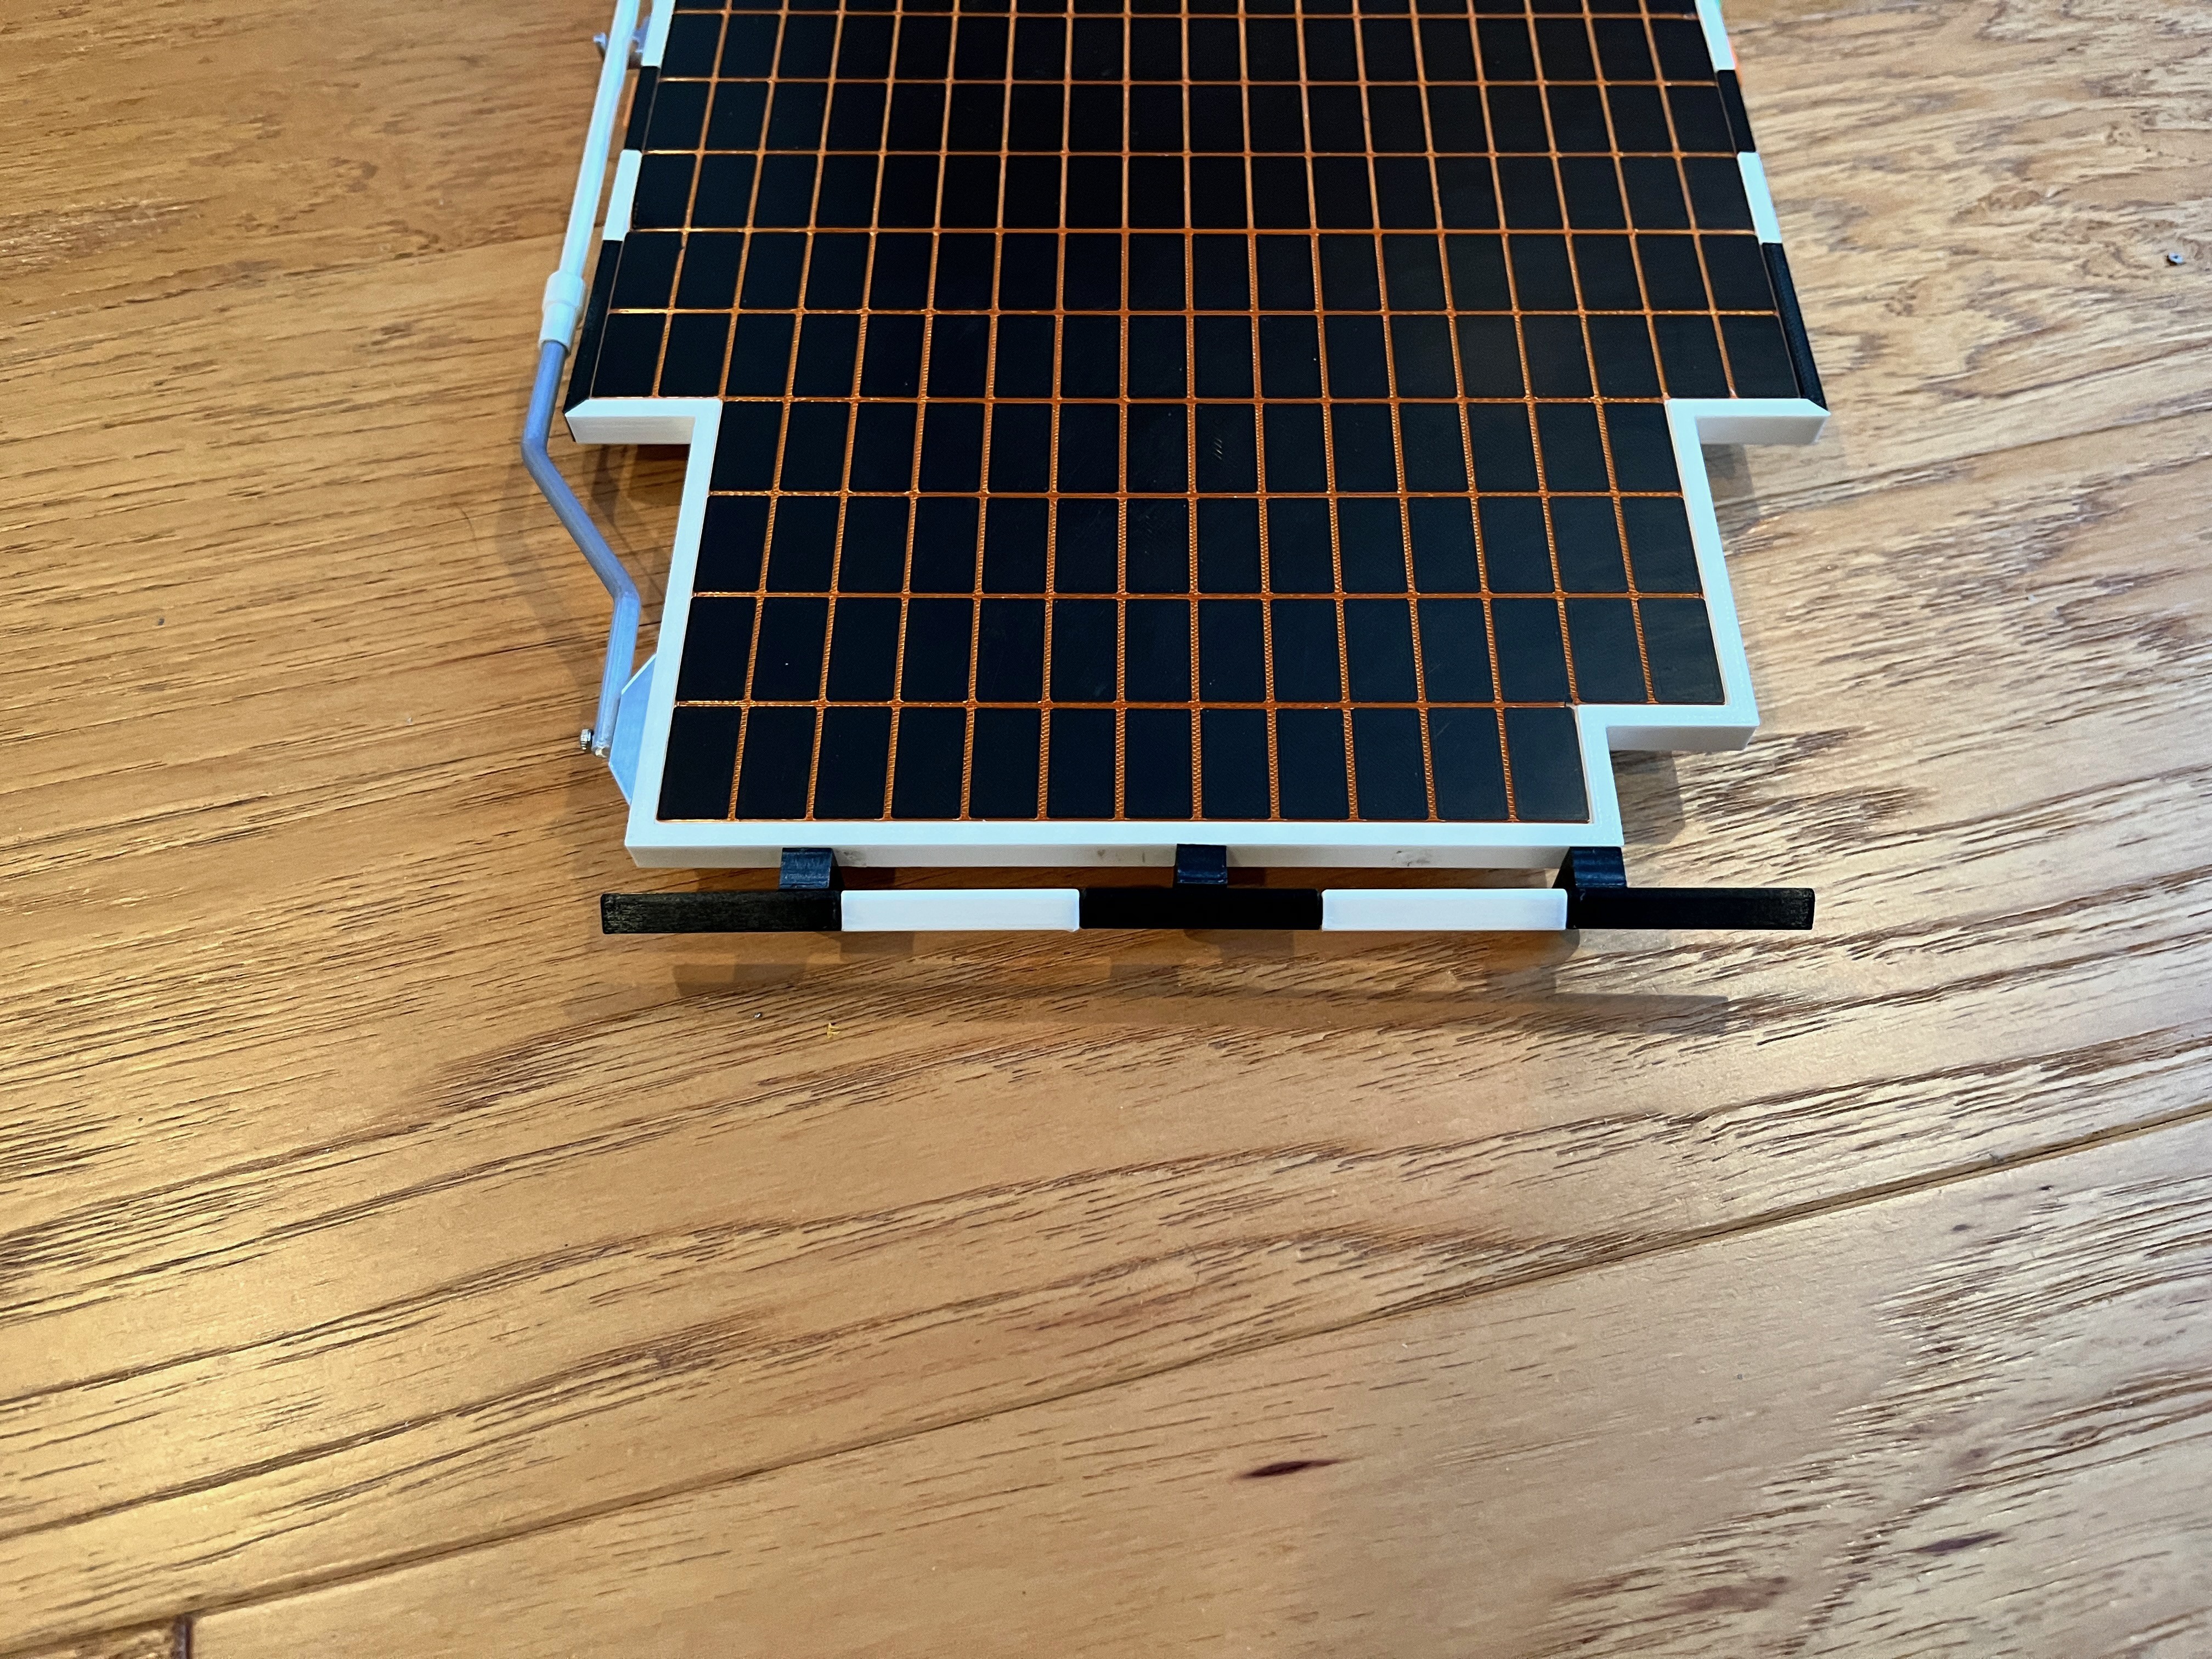
The antenna is printed and installed.

There are bumpers front and rear on the solar panel. They consist of black and white parts that are glued together.
Here is the completed solar panel assembly from the top.
Discussions
Become a Hackaday.io Member
Create an account to leave a comment. Already have an account? Log In.