Reverse engineering of the knobs
The front of the box that encloses the tester has two knobs that I wanted absolutely reuse, as well as the needle which moves to indicate the value of the voltage.
The knobs were connected to the rotary switches (this type): one of the two knobs, depending on the rotation step, connects different resistances allowing the measurement of voltage and current values on different ranges. The other knob, with every step, involved the activation of different circuits in order to operate the tester in AC or DC. I didn’t analyze it deeply because I was interested only to recycle the parts.
Depending on the rotation I wanted to read a 1 or a 0 on the Arduino pins.
Desolder. Look. Test.
The rotation of the knob, in practice, terminates at each step a different switch.
Reverse engineering of needle gauge
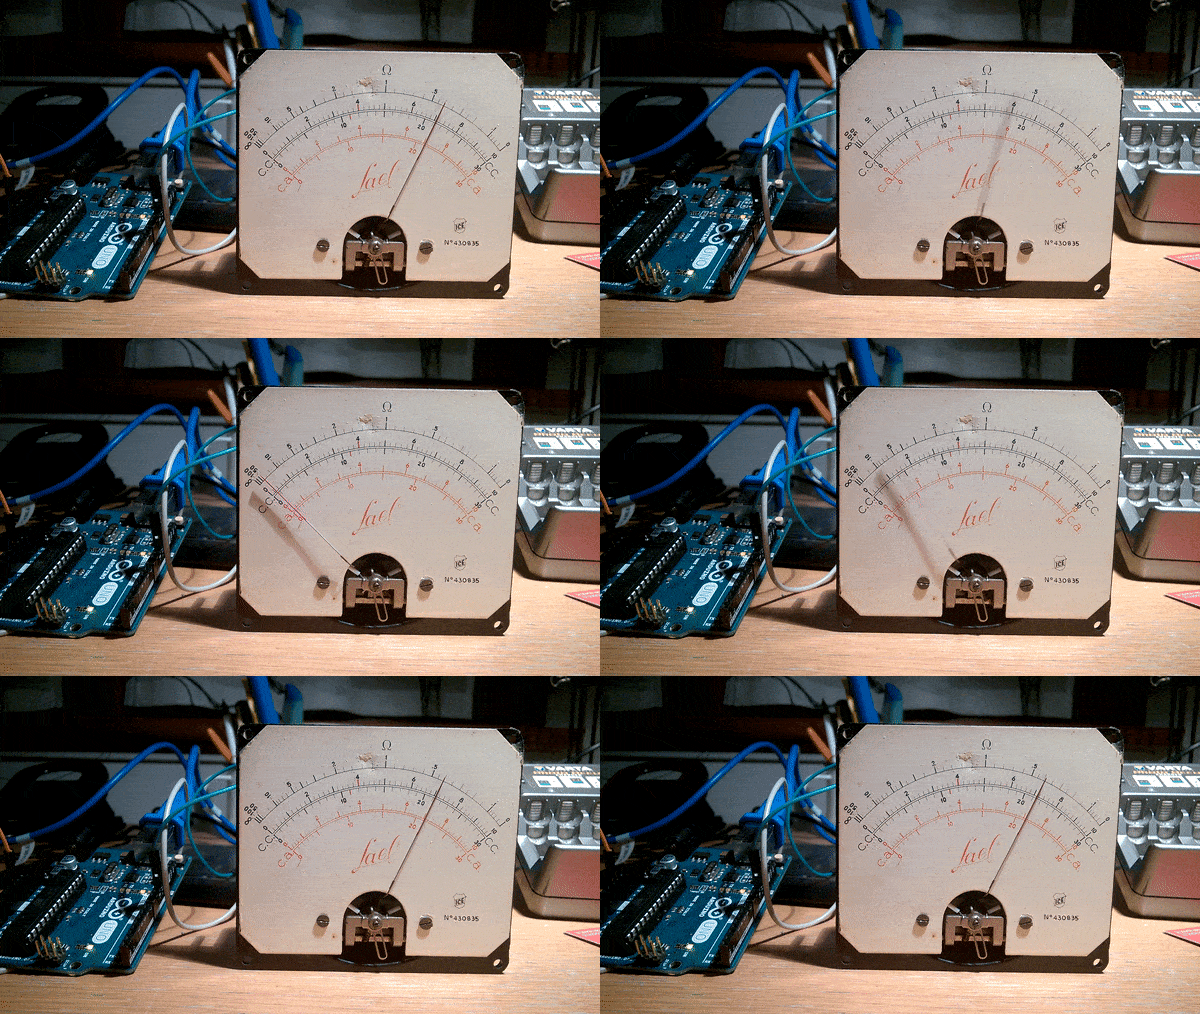
The needle that moves to report the measured values is controlled by applying a voltage to both ends, marked with + and - (GND). I did some tests and found how to pilot it with values of an Arduino PWM pin output by reducing the current with a resistor of 10kohm.
Making some tests I have established the values to apply to move the pointer on the numbers from 1 to 10 of the central line.
But then I noticed that the interactions with the other components, with wifi, leds and sounds probably alter the current flowing toward the gauge precluding any precise use of the lancet. Probably it is necessary to build a filter that removes these variations and stabilizes voltage and current, but the lancet for me it’s only an aesthetic accessory.
Potentiometer
Under the two knobs in the middle, there was a classical variable resistance, which did not work longer, fortunately, the modern ones have the same measures as those of sixty years ago so I could keep its cap and replace the old part with a new potentiometer.
Lights and sensors
I inserted two SMD LEDs, the flat ones, in the plug connections of external wires + (red) and – (black) of the tester.
I added a third SMD LEDs inside the little box of the needle gauge, it was not easy, because I wanted to enlighten a bit ‘the lancet without bump it.
To feed the three LEDs I had to use an ECB transistor, because the output current from an Arduino pin was not sufficient. I also put the potentiometer in series so the light can be doimmed at will.
With a fixed drill I punctured the box, which is really hard to insert the light sensor and the motion sensor (PIR) on the higher side of the box.
Sounds
From an old toy I recovered a speaker and I found that with some libraries is sounds without additional components can be output, amplitude modulating the square wave which usually allows us to do only the bad beep. The result, though far from any sampled sound, is best and very effective in some cases, the sound of R2D2 Star Wars (taken here) and that of crickets (taken here) above all. The library to handle the sounds without additional components can be found here.
Clock: Real Time Clock RTC vs ESP8266
To use the meter as a clock and as an alarm clock I bought a dedicated Real Time Clock circuit, in the first time I tried to use a DS1307, but I was not successful, other online users say they are wrong modules and that you have to modify them to make them work by removing some resistances and shorting some pins, I have also tried this but the DS1307 remains a mystery to me.
Then I moved to a DS3231 RTC and with this module I was able to do everything, clock and alarm, but this didn’t solve the problem of how to change the time at which the alarm should sound, or how to adjust the time without reconnecting the Arduino. These controls, ie the two knobs on their own, without even a display if not a needle gauge, do not allow the construction of a simple interface for entering any parameters.
I then replaced the RTC with an ESP8266-01, separately programmed.
From the point of view of the software developed for the RTC it is enaugh to initialize the class with millis(), the internal clock function that every...
 Giulio Pons

Hello Guilio, I wanted to make a comment about this great project because it reminded me of an old Heath kit ocilliscope I bought from Ebay. It was from 1955 and pretty beat up ( they said it came from a lab,) the only thing it did was the power indicator lit up.
To my surprise the only thing wrong with it was a broken chassis ground and a bad vacuum tube (which was very difficult to acquire!) but a little clean up and TLC, and it still works, (kind of, when it wants :)
I may dig it out a take some pictures of it, I love this kind of nostalgia :)