-
First Boards
03/14/2017 at 03:27 • 0 commentsNow that I have temporarily given up on the PCB cutter, I can move on and do some PCB design for the back plane and debug board.
I bought a ATmega128-16AI locally. I don't know this chip but I do know the ATmega1284 which I would have preferred.
Any way as the part number suggests it hopefully has 128kB of FLASH and can run at 16MHz.
I am hoping there is a bootloader available so that I can use it with the Arduino IDE. I have Atmel Studio installed but not everyone has that.
I better check first that there is a bootloader for this chip.
OK, here is a tutorial -
http://www.instructables.com/id/Arduino-on-all-sorts-of-Atmels/
And here are the bootloadres -
http://www.avr-developers.com/corefiles/index.html
I have been using ExpressPCB as I make single sided PCBs here and it has less clutter. Unfortunately it's not much good for SMD as it doesn't allow traces as a part of components and it cannot rotate by 45 degrees.
So I will make the first boards with ExpressPCB and then switch to KiCAD. I Also have Eagle but I only use that to view other peoples PCBs.
I will update with some PCB layouts soon. The backplane should be easy as it's passive.
-
PCB Cutter
03/11/2017 at 10:39 • 0 commentsA bit of a distraction but a necessary one.
The PCBs in the main picture are from China and they were supposed to be 150mm x 100mm x 1.7mm but when they arrived they were 151mm x 100mm x 1.1mm so they are too thin to use to align the back-plane.
I ordered some from only about 3500km away and they are 161mm x 101mm x 1.6mm. these are thick enough but too long and too wide and jam in the frame as I made it for cards that are exactly 100mm.
Locally I can buy blank PCB laminate that is 305mm x 305mm x 1.6mm and it is the cheapest.
So here we go ... I need to cut PCB to fit.
![]()
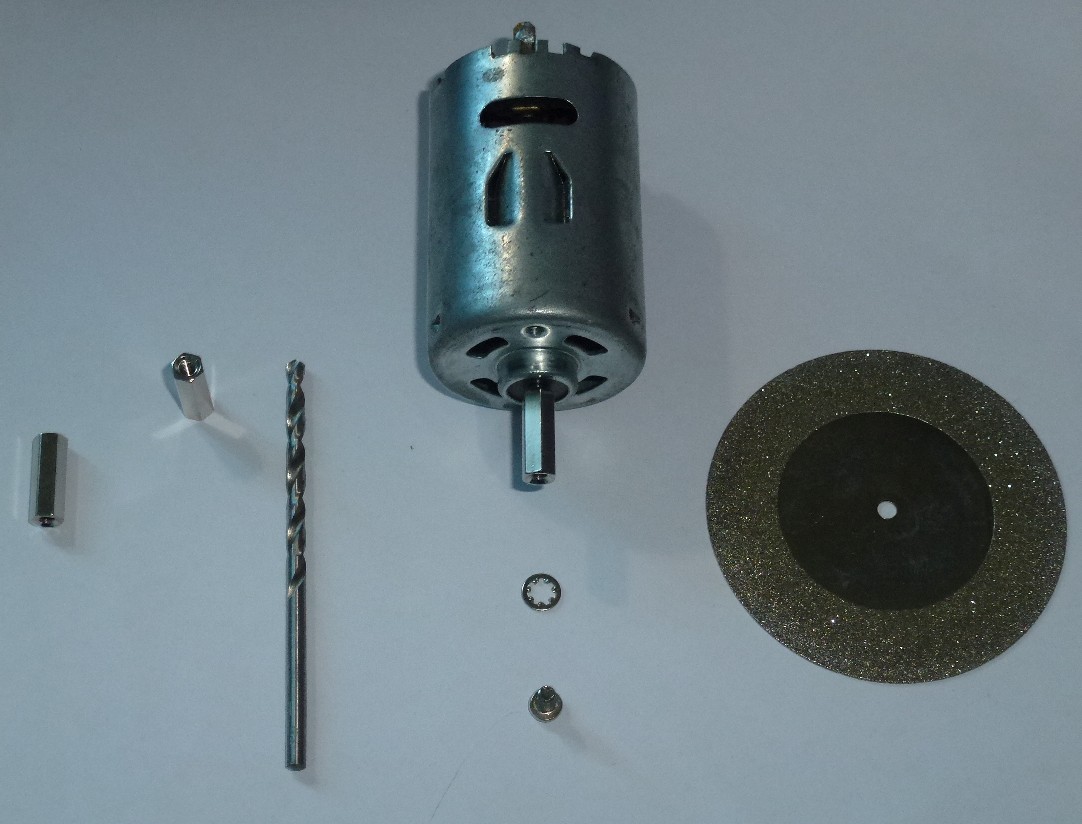
Here are the basic parts without a frame.
Left to right.
1) M3 threaded 15mm hex standoffs - saves me tapping the thread.
2) Same again.I will explain how to make it work later.
3) 1/8" drill bit that perfectly matches the diameter of the motor shaft.
4) Motor with coupler (hex standoff) fitted, star washer and M3 x 6mm screw
5) 60mm diamond coated abrasive cutting disk from China, I ended up using a 50mm disk, both have 3mm holes.
OK, the most critical part is the coupler. If if is not close to perfect then the disk will tilt back and forth as it rotates and trying to cut a path too wide and cause all sorts of problems.
I used a drill press in an odd way perhaps if your not familiar with this method.
Place a drill press vice on the platform but don't tighten it.
Place the 1/8" drill bit upside down in the chuck all the way up inside. Firm the chuck, it doesn't have to be fully tight.
Lower the bit so that you grip it with the vice while the vice is flat on the platform.
Tighten the vice and bolt it down to the platform without forcing the bit sideways at all.
Release the chuck it will go back up quickly spinning the three handles.
Put the Hex standoff into the chuck making sure it centers correctly.
Now drill the drill bit with the spinning hex standoff leaving enough thread for the screw.
That's the hard part done.
If you later find that the disk moves wonky then put the hex back in the chuck and place a file flat on the platform and drive the spinning hex standoff into the file. Mine was OK.
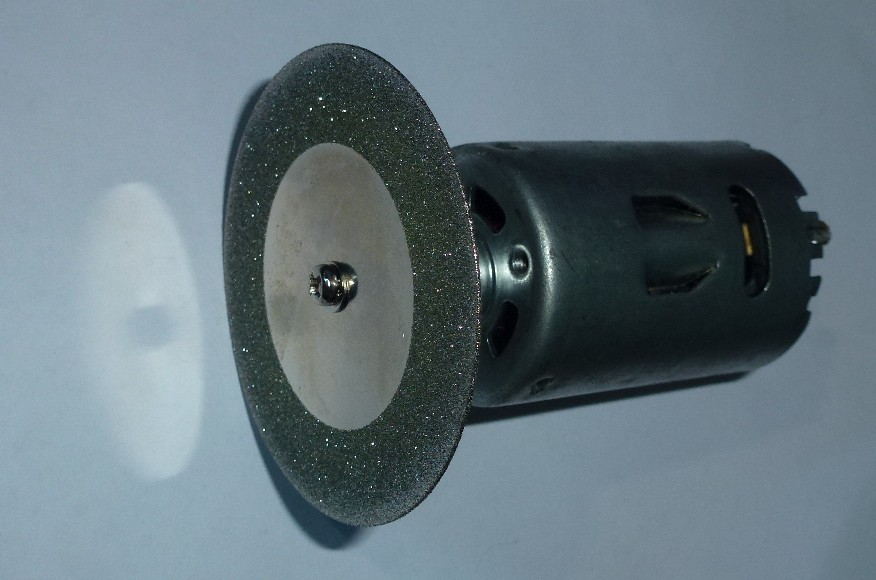
So now you should be about here -
![]()
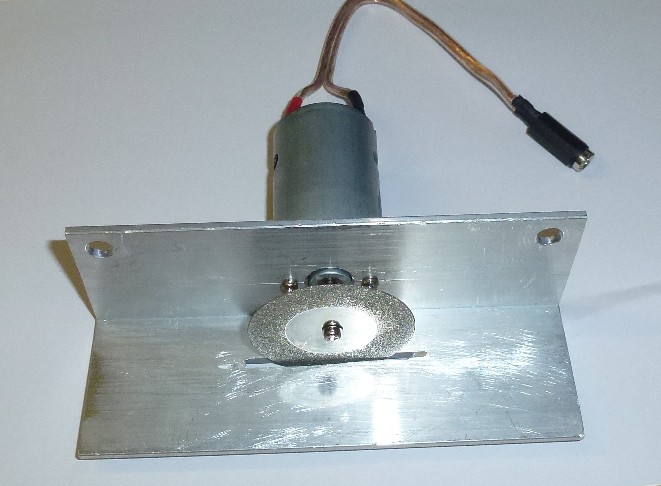
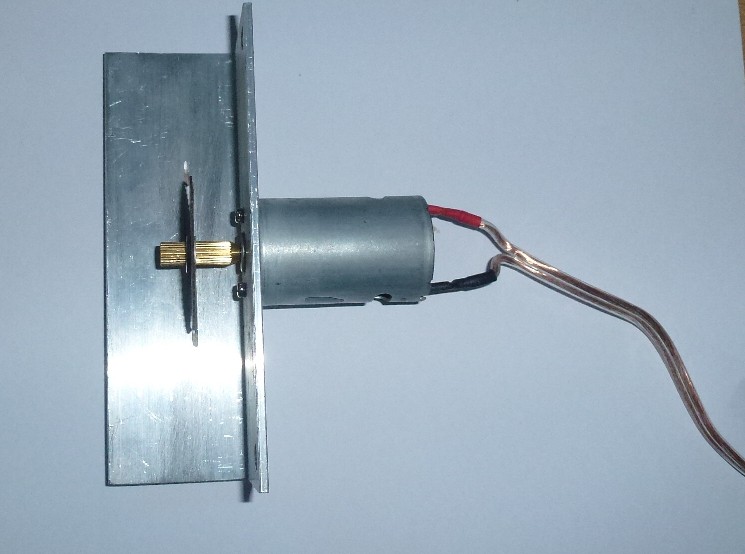
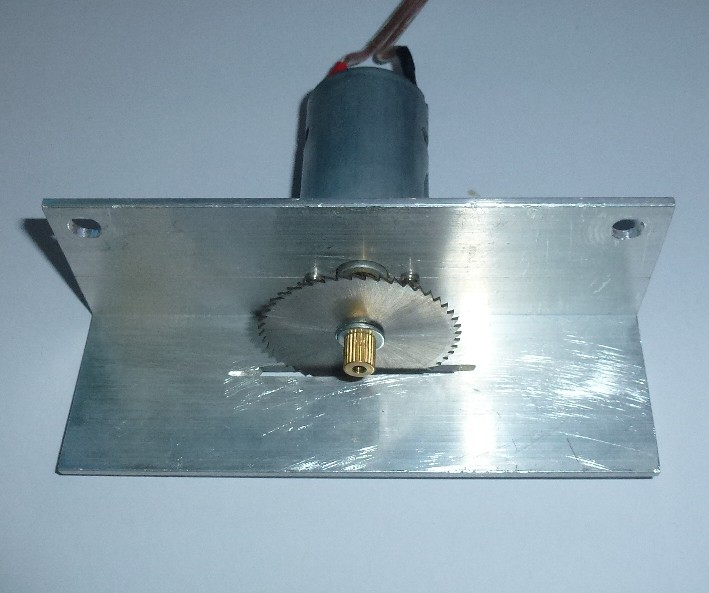
OK now make a guide for it with some equal angle. I used a 150mm (6") length of 50mm x 50mm x 3mm (2" x 2" x 1/8"). You want it to me 3mm (1/8") or it will flex to easily. I left 3.2mm clearance under the motor for a flat guide to fit later. This should have been more like 6mm (1/4").
![]()
Oh, I used an abrasive disk in an angle grinder to cut the slot, bit messy.
You could just put the motor around the other way and set up the guides differently.
I will make the cutting table and guides tomorrow and update *this* log.
And here's the (late) update.
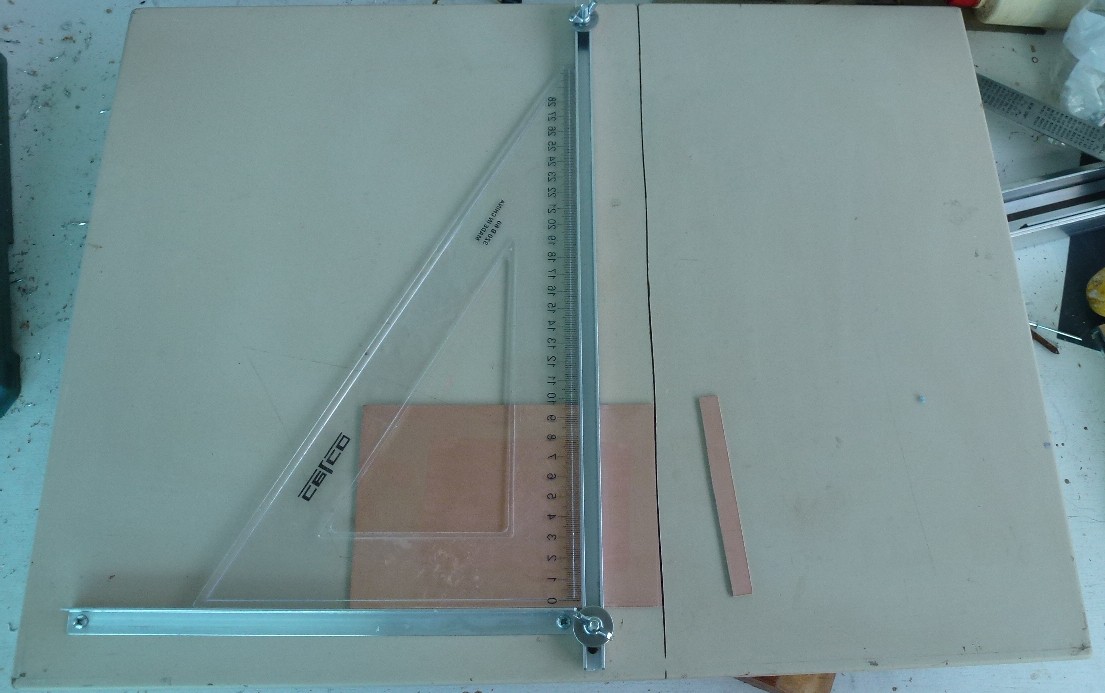
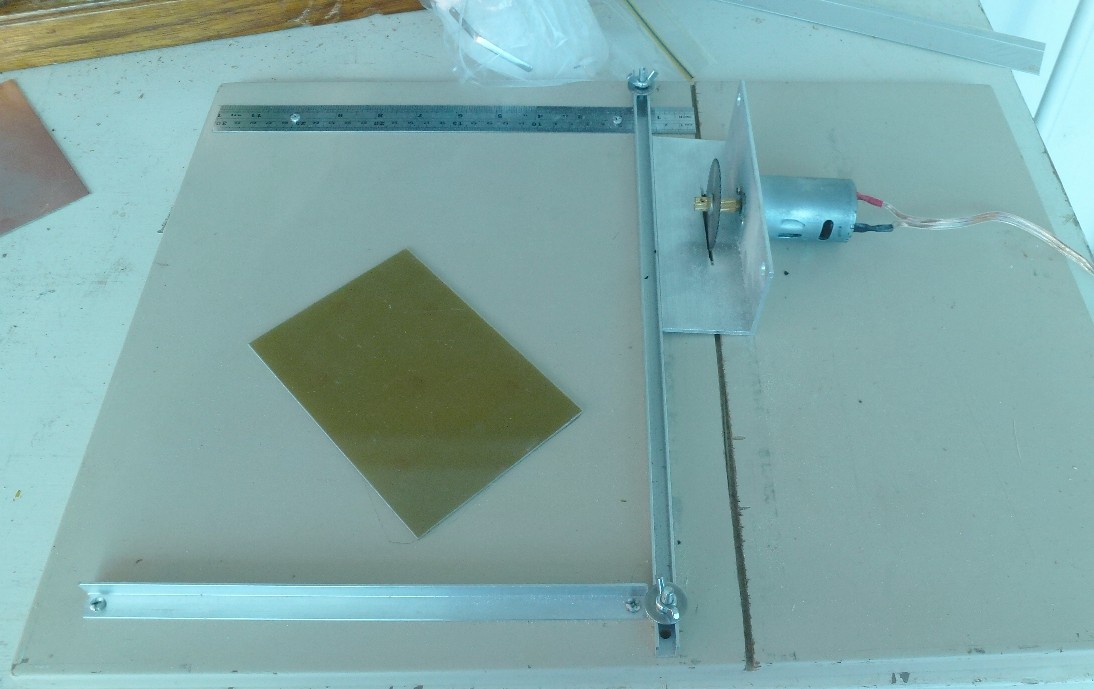
I mage a frame or board with guides and tried the cutter above.
![]()
I made a test cut. First just to the guide board to make a recess for the cutting disk and then to a PCB.
![]()
The cutting disk more of less burnt it's way through the guide board because it's the sides of the disk that have the abrasive coating. The edge itself is quite smooth.
I did however cut through the PCB material quite easily.
If you look closely you can see that the cut is quite wonky. I looked at the cut PCB and it's simply not good enough because of the wonkyness.
I found that the shaft of the motor can move in or out quite a bit and that was causing the problem.
I then used a small clutch to mount a different disk just to try it.
![]()
![]()
This toothed blade has some advantages and some disadvantages.
It cuts much better as the cutting surface is the edge unlike the other disk that is abrasive on the sides.
Unfortunately the teeth have no offset or pitch so it gets bogged down in the wood because of friction on the sides of the disk and then overloads the power brick.
I can simply use a my normal sized circular saw to cut a groove for the smaller disk so that it doesn't touch the wood.
The PSU issue could probably be fixed by placing two capacitors across the motor.
That leave the main issue which is the drift of the blade that comes from movement of the motor shaft.
I have ordered some bearings and I will get to that when they arrive.
I may move this log to a separate project later.
All is not lost. I can still hacksaw the PCB material.
The bearing didn't arrive so I tried something different.
I used a normal circular saw to widen the groove in the PCB cutting platform so that the toothed disk didn't touch the sides of the groove and cause excess friction.
The fact that the teeth on the mini cutting disk don't have an offset is an advantage as the start of the cut guides the blade straight.
![]()
I also cut the end off a stainless steel ruler and screwed it down so that it acts as a guide and also give an an accurate measurement of the with of the PCB after the cut.
-
The beginning
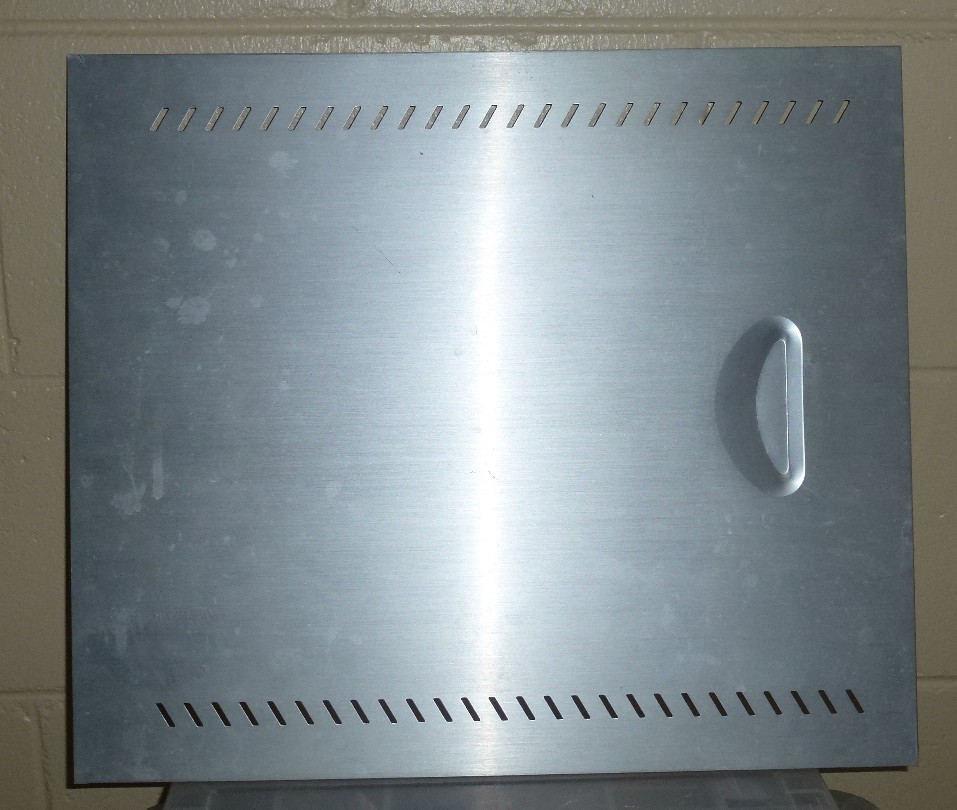
03/02/2017 at 09:27 • 0 commentsI found an old aluminium computer case and wonder what to do with it -
![]()
![]()
It was about 0.6mm and very easy to work with. I added a little support at the top and bottom to make this -
![]()
Retro rack and backplane computer
Old style modular system for development of retro computers
 Hacker404