 Anton Verburg
Since some years, our house is controlled using the first generation prototype of the ControlBox; let's call that 'rev. 0'. During the last weeks, our system has been upgraded to the next revision of hardware. Before installation, I have used this revision to extensively test all in- and outputs, and to improve wherever necessary. As a result, the revision that currently runs our house, is better;
- Fuses are tested and adapted, reducing the risk on fire or other malfunction.
- It is running on a rpi5 with NVME SSD instead of the previous rpi4 with SD-card. Once we had a power disruption, that caused the SD card to be corrupted. This will not so easily happen with the new SDD.
- There have been made a number of improvements on the LED driver side.
- The system is now running native Home Assistant OS. The advantages are huge; running a supervised system, providing automatic updates for both the supervisor, the core (Home Assistant itself), the operating system and the frontend.
- Installing the required additional software can no be done with HACS and the Add-on installer. Adding the repositories from github will give future users automatic updates of the software whenever available. This way we have already provided a large part of the required software for our future end-users!
- The fact that we have now the latest-and-greatest software of Home Assistant on our system allows us to add more functions related to energy management. We can read and control all our solar systems via the (local) ethernet modbus interface. Combined with the information that we read from our P1 energy meter, we will be able to combine all information to use energy as smart as possible. We have a plan to enable bi-directional charging for our electrical car, this will allow us to consume more of the local-generated energy via Home Assistant.
- Instead of the cheapest-of-cheapest thermal floor heater valves, we installed slightly more expensive valves. The ones that we used before had a very high current peak when switched on (up to 2A for a 24VAC valve). This made them unusable with the solid state relays. To fix this for rev. 0, I had placed a relay-board with mechanical relays in between. But that was a temporary fix. I also noticed that one of the valves stopped working after a while, so I guess the quality of those valves was also bad. The new valves have a run-in current of about 350mA. After startup, they reduce their energy consumption to less than 2 watt. If you are interested in the details, please check my video:
- We have installed the system in the box that we designed for it. Now we can start learning about it's cooling capabilities, and if the CPU temperature will stay within the required boundaries. For now it seems that the CPU temperature is stable below 75°C, with some very small spikes to 85°C; this indicates that the CPU is not throttling in normal use, without a fan. Note that there is some space in the ControlBox to add a fan, if required.
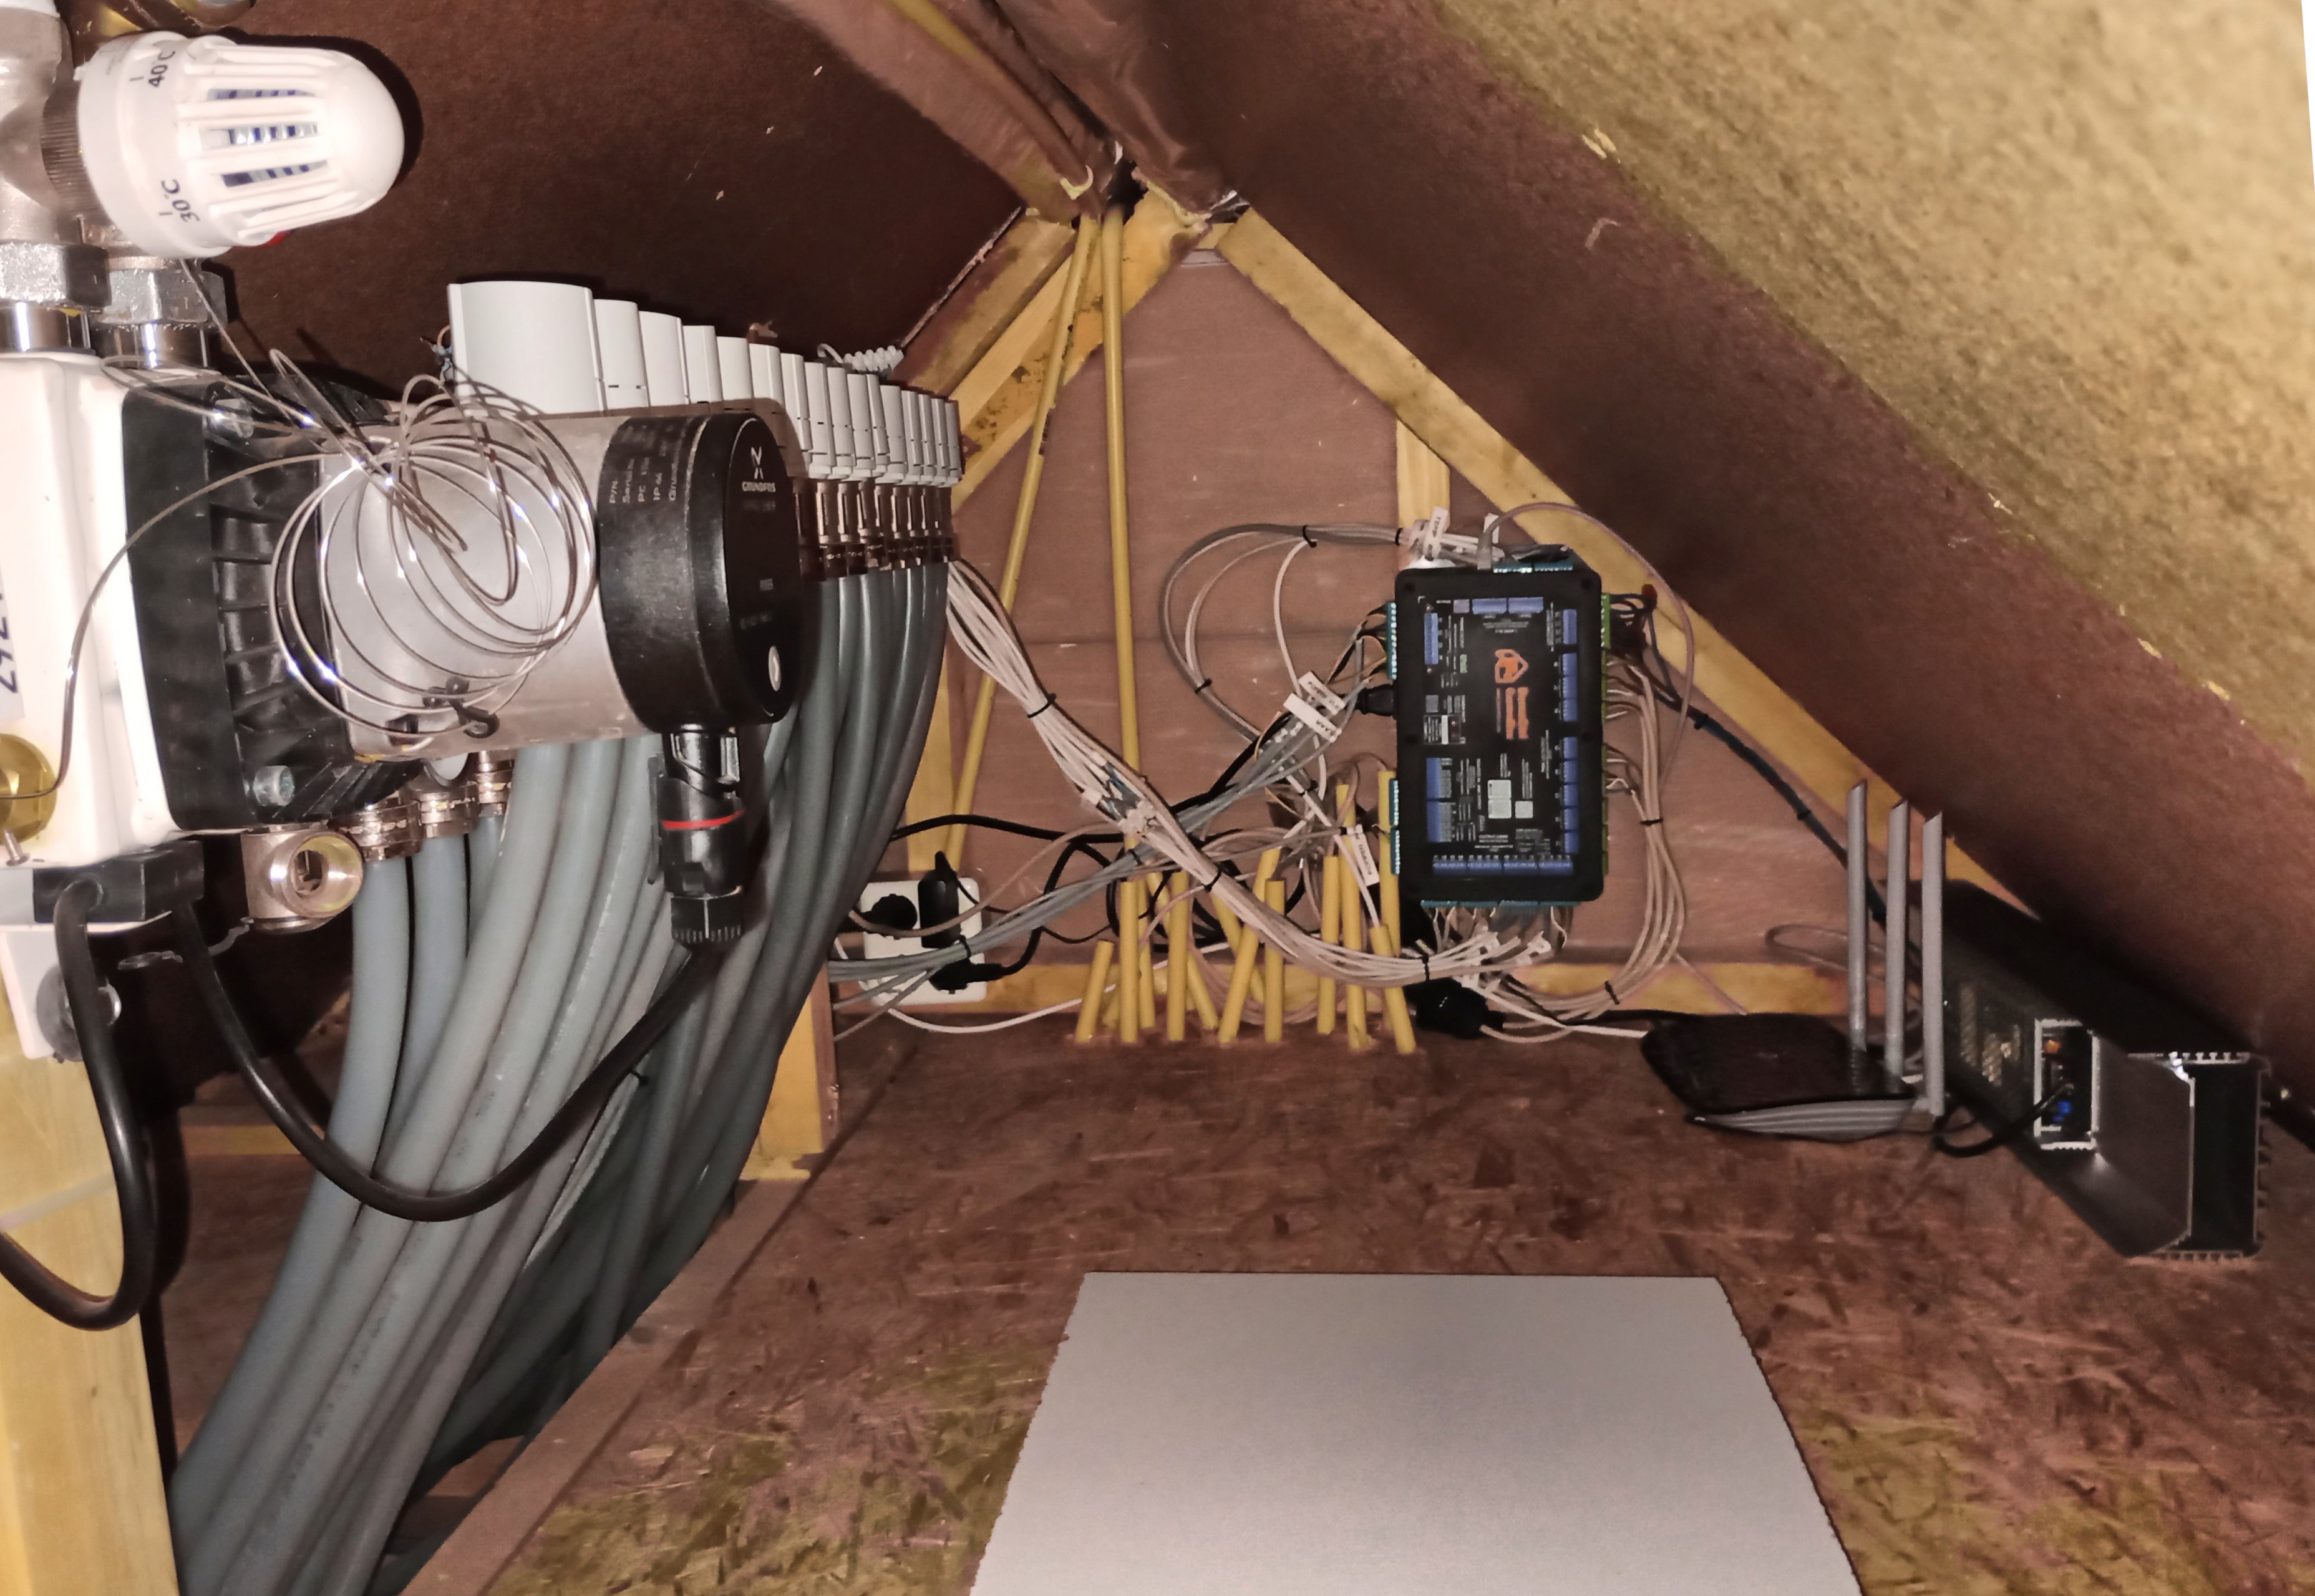
- All things mentioned above mean a much more organized & clean space where the ControlBox is installed; see the next photos. Note also that we do not have the 230VAC below the water-containing floor heater manifold any more; much better from safety perspective.
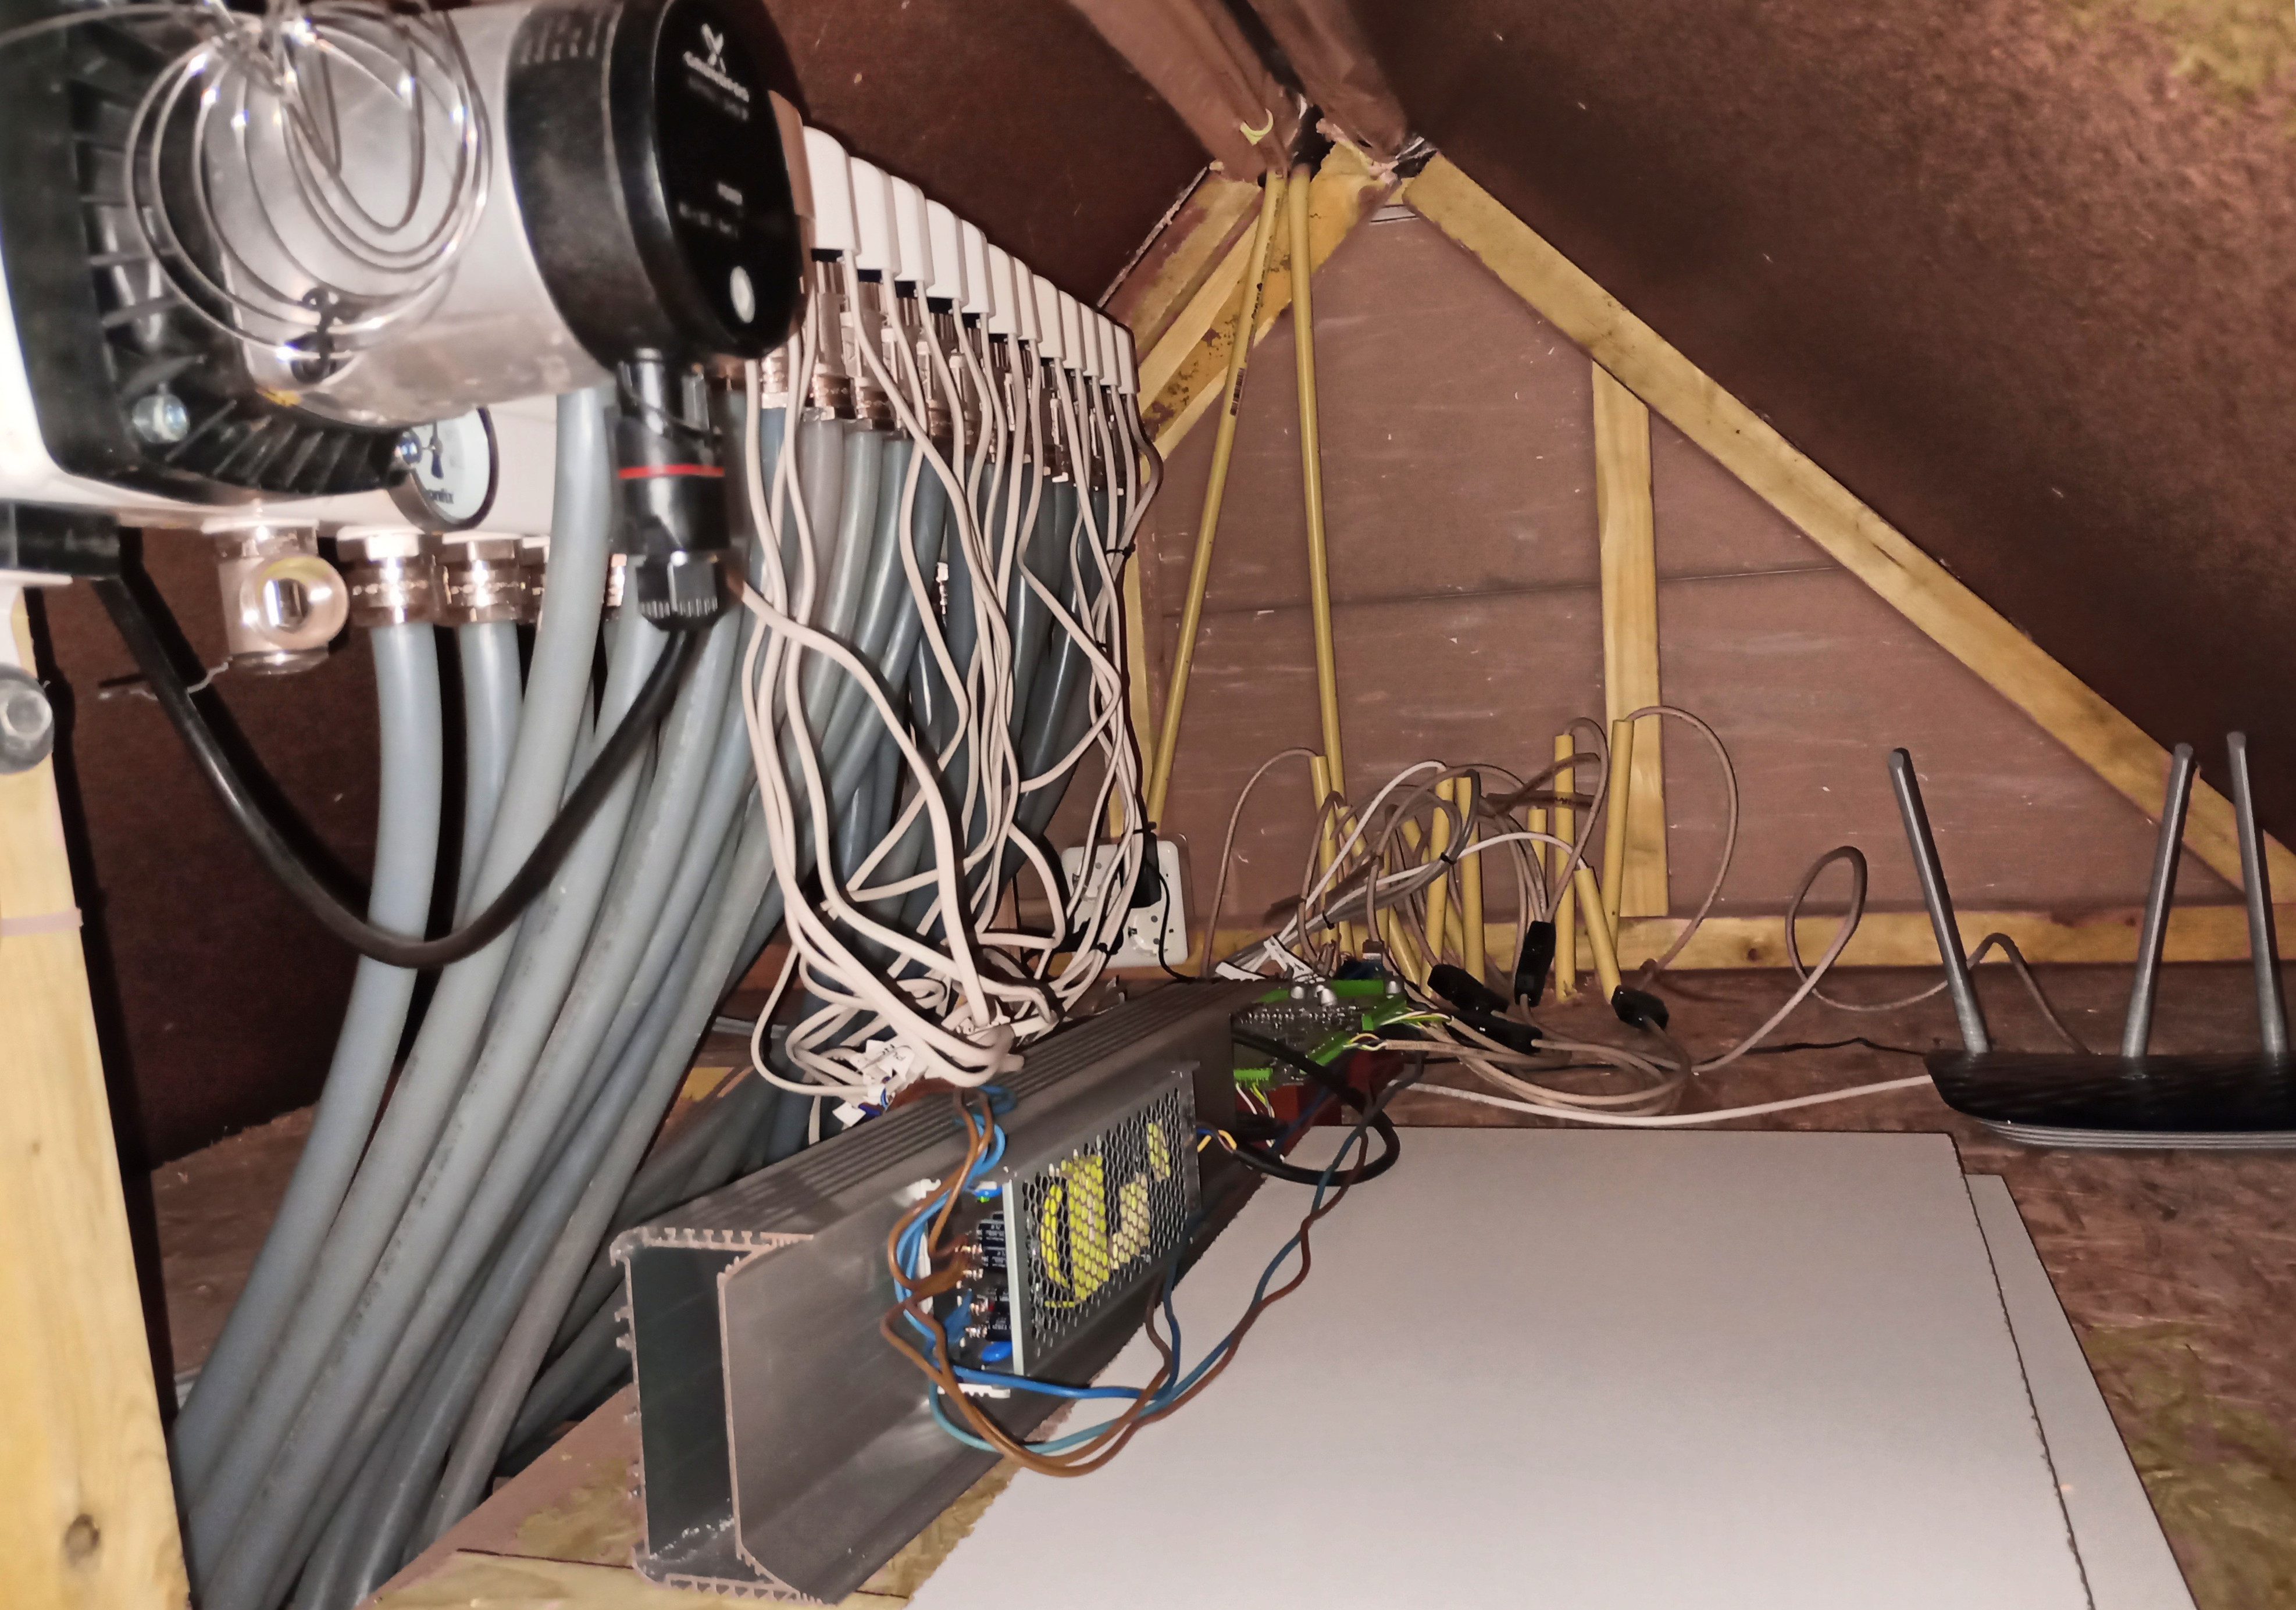
After update:
Discussions
Become a Hackaday.io Member
Create an account to leave a comment. Already have an account? Log In.