Giovanni
-
05
04/04/2017 at 18:26 • 0 commentsBusy days!
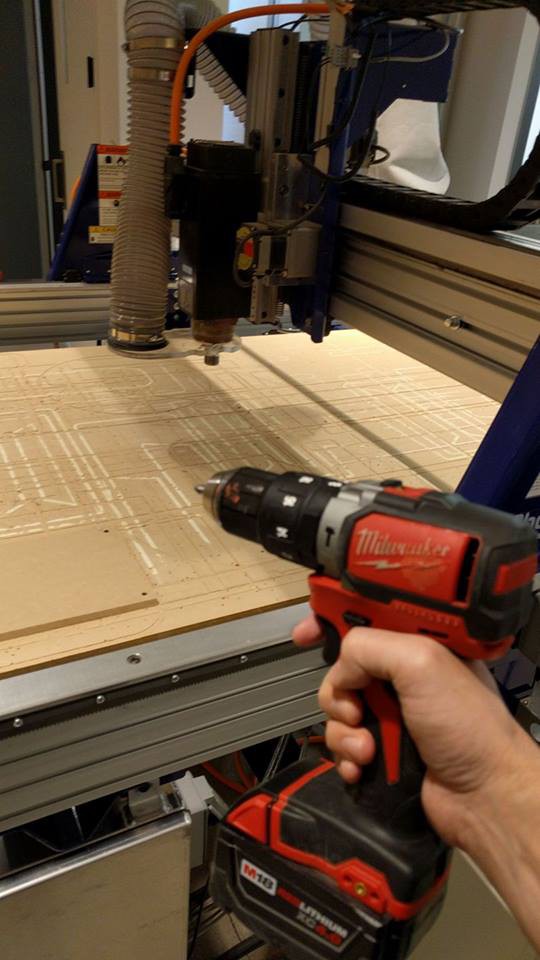
The first part of the project, having the wood components ready for pre-production is almost done. Today we received an end mill that is one of the few last steps.
![]()
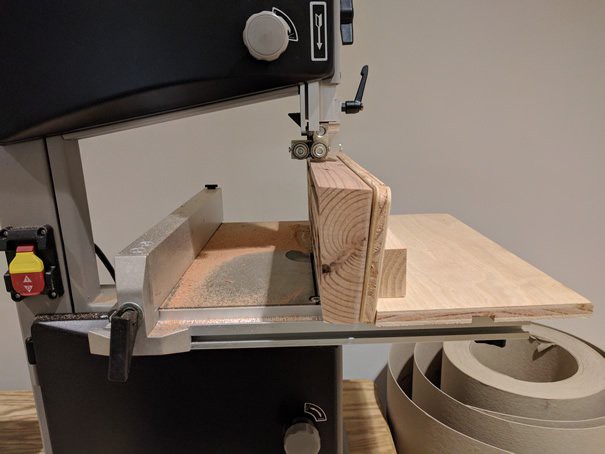
Right after the CNC cutting, A very practical jig made by Dan will help us cut the final part at the correct angle!
![]()
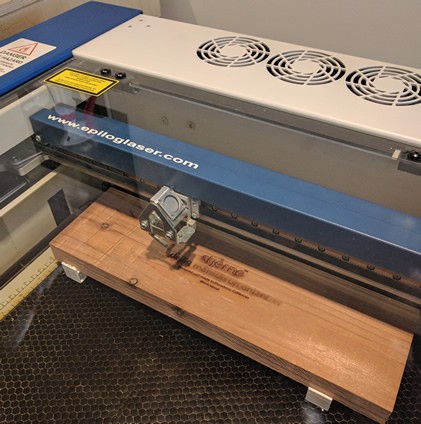
Branding. Now testing different power and speed for the laser cutter/engraver.
Now on to the plastic components...
3D printing goes wrong. The Rockstock has been giving us some trouble for a few days. Great printers with a really tall print space.
![]()
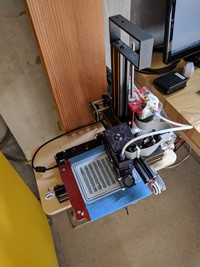
.... and the humble Bukito saved the day! It's a bit slower than the Rockstock but it made useful parts that allowed me to figure out a few measures.
![]()
-
04
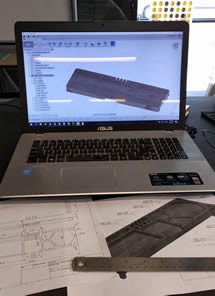
03/30/2017 at 17:40 • 0 commentsBoth the Makeup Organizer and the Desktop Organizer are ready now with all the findings after making the samples. Guys, CNC manufacturing optimization is a lot about feeds, speeds, and tool changing.
![]()
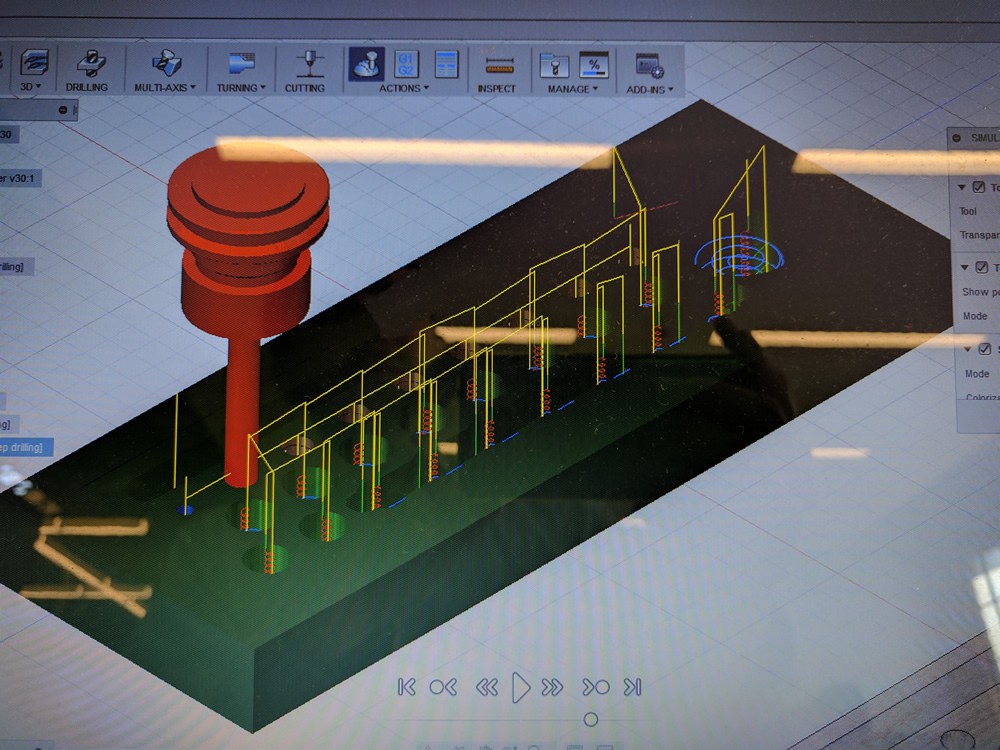
Fusion 360 makes life easier as it integrates a CAM module / simulation. This allows to update the design without having to export and move files back and forth. It still can't go to the lumberyard for you though.
Now it is just a matter of making the last prototype for each one, and on to the short run!
-
03
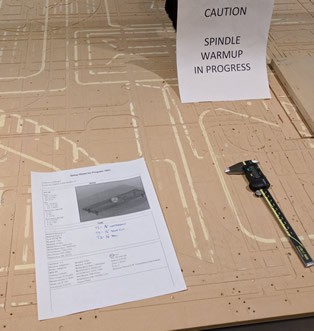
03/17/2017 at 01:47 • 0 commentsPrototyping week. We product designers fantasize about how easy and friendly we make our products for our manufacturers, specially when we have some degree of understanding of the machines used in the process. Reality hits hard most of the times.
![]()
Your CNC worksheet may be a single sheet of paper, but it is the result of A LOT of work. It details the paths your CNC will follow, feeds and speeds, and tools and bits to use. Here are a few of the tools we used.
![]()
We call this little tool "the beast".
![]()
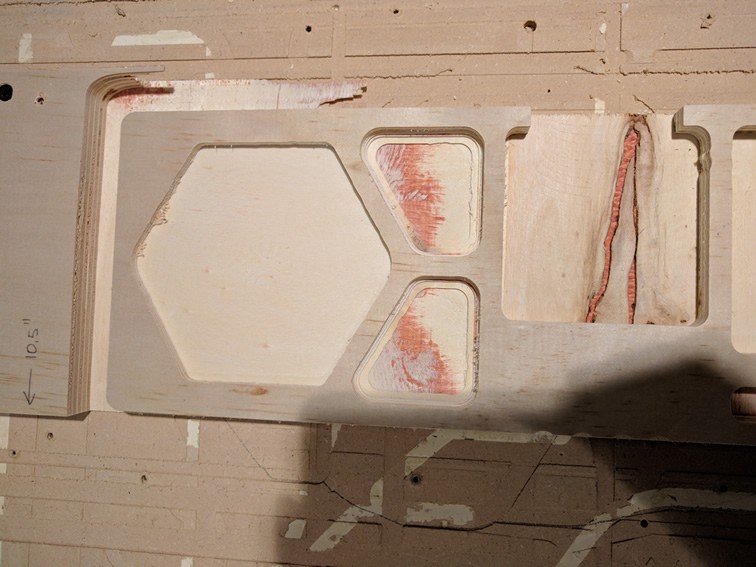
And here are some of the first results. It is fundamental to adapt paths, fillets and curves to the existing tools available at your shop. How will you know that? Well, simple inventory. Or buy'em as you need'em. Always test toolpaths with scrap material.
![]()
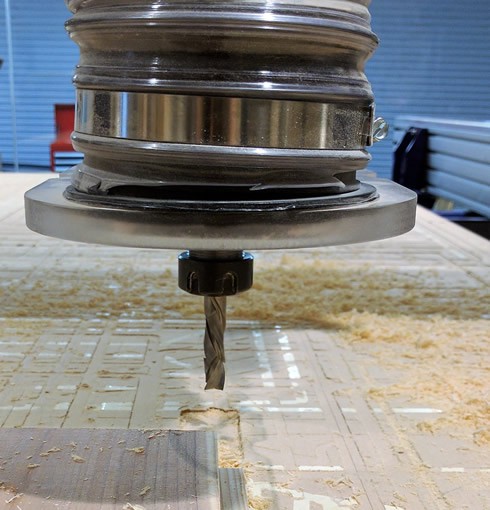
Dan's quick reflexes prevented further damage to the part and the router bit. Holes were bored in a one single step and this can't be good. You need chips and you need to take all that heat out! Next approach: Bore holes in a few steps, or ideally, use standard drill bits.
![]()
This next week we will be refining details on the models based on all the feedback gathered from the first models. And after that, it will be time to have working prototypes ready for the wood products.
![]()
-
02
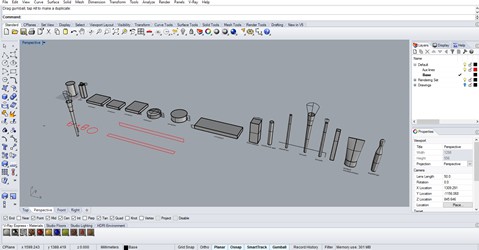
03/13/2017 at 04:47 • 0 commentsSo as mentioned previously, this last week we worked a lot on the Shopbot CNC and product development. Dan did most of the CNC legwork. One of the products in the Dejlig line involves organizing women’s makeup and understanding the various sequences involved when wearing it. It turns out I did know way less than I thought. But I got tons of really relevant feedback from my co-residents, and a special shout out to Hunter (https://hackaday.io/hunterfuto) as she really went above and beyond to help me understand quite a few things and gave me interesting tips. Yes I have measured and 3D modeled a ton of makeup, lipsticks, mascara, compacts and what have you.
![]()
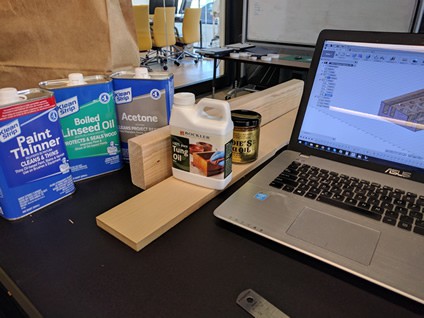
One of the main differences between design and development is that development is the assessment and execution from any given idea, to what you can actually achieve with the best possible balance of available resources and expected turnaround. Dimensions, design, processes etc., are carefully studied and optimized so that the transition from idea to reality is smooth. I love this phase.
![]()
The first designs are almost ready, so what is next? You can guess from the next picture: Actual-prototypes-manufacturing! Man I love those words. Can’t wait until Monday!
![]()
-
01
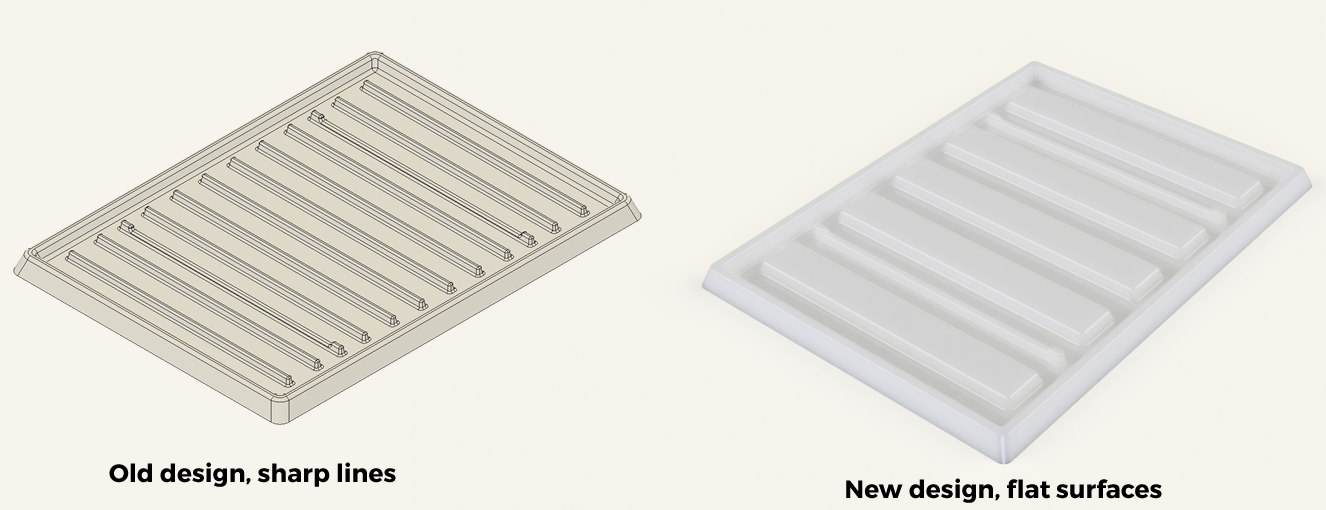
03/06/2017 at 04:36 • 0 commentsOn Thursday I printed the first models of the soap dish plastic tray, and the 3D printing revealed that the top ribs were too sharp. They would "shave" a wet soap bar and create a lot of buildup and waste.
![]()
I redesigned it that very same evening, and on Friday I happily printed the new model, right?
Not.
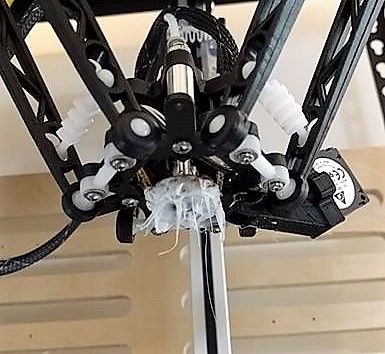
I sent my print job and got down to business without checking in on the printer. What could go wrong? 20 minutes later the printer arms were moving like Toy Story's Baby Head Spider and molten, tangled PLA was all around the printer's nozzle. I did not realize it at the time but feeding a Rostock printer with GCode for a Bukito really messes things up. Do not try this at home kids.
![]()
Trey (https://hackaday.io/Tpweber17) and Metal (https://hackaday.io/Metal) helped me fix this mess and in no time I was printing again. Yes I double checked before leaving the printer alone. I will update more on this next week, as a few adjustments still need to be made.
The Dejlig products are made in plastic and wood, so the next step was getting familiarized with the CNC. Next week we'll work on it and I will show some of the progress.
![]()
gs
Dejlig line
Home & office organization products. From idea to manufacturing and everything in between.