- 1-56KiB of RAM with software configurable mapping and size.
- SD card storage with transparent LOAD/SAVE integration.
- Embedded support commands in an overlay ROM for instant availability.
- Supports pseudo high resolution graphics.
- Supports true high resolution graphics, WRX.
- Supports user defined characters, CHR$64 or CHR$128.
- Dual emulated AY-3-8910 or YM2149 sound chips, model selectable.
- Sampled stereo audio output.
- Joystick connector, standard 9-pin ATARI compatible. Several modes of direct reading. Also sends data via keyboard injection.
- Serial IO via extension connector.
- ROM selectable: ZX80, ZX80 ZXpand, ZX81, ZXpand+ or Big Bang X2.
- A button to control soft, hard or factory reset.
- A button to enter the config menu.
- Configuration options via ZX81 keyboard & screen.
- Composite video output with backporch.
- Battery backed real-time clock with time and date.
- Firmware update via USB.
- Open source hardware and software!
0%
0%
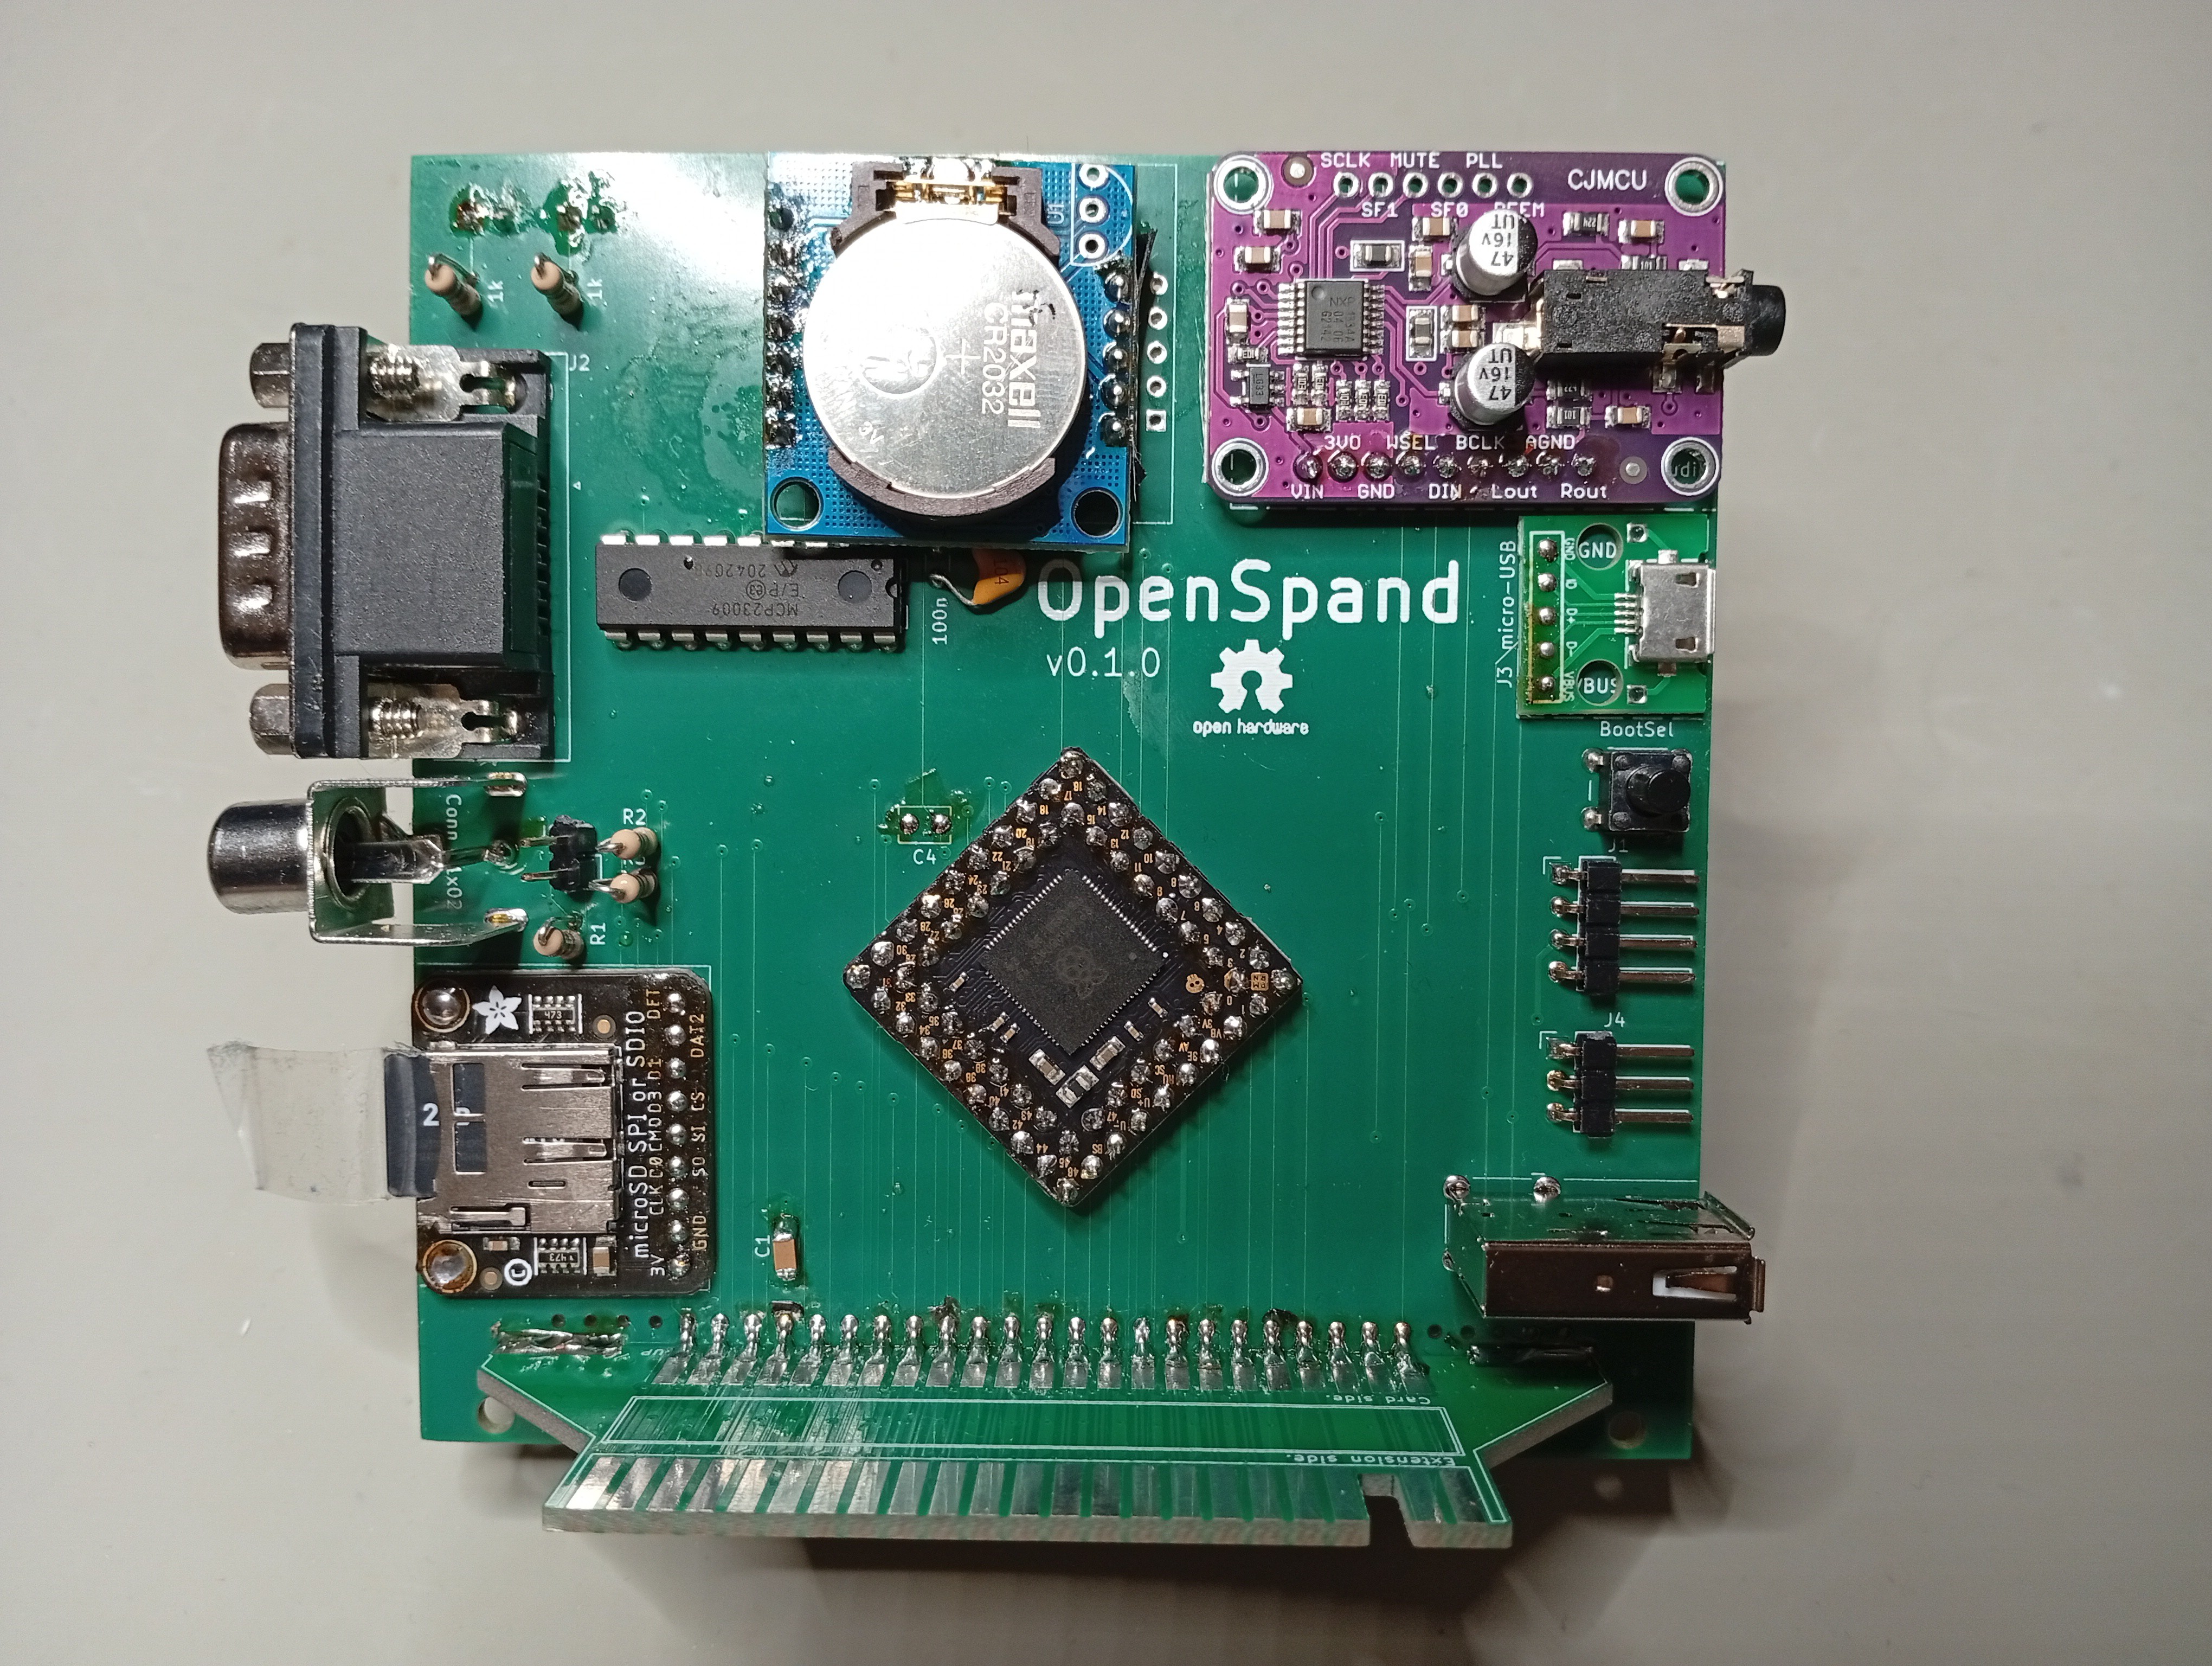
OpenSpand ZX81 expansion
OpenSpand is a ZX81 expansion cartridge based on an RP2350B chip. Like a ZXpand+ with extended functionality.
Become a Hackaday.io member
Already have an account? Log in.
Just one more thing
To make the experience fit your profile, pick a username and tell us what interests you.
Pick an awesome username
hackaday.io/
Your profile's URL: hackaday.io/username. Max 25 alphanumeric characters.
Pick a few interests
Projects that share your interests
People that share your interests
 Xasin
Xasin
 Eric Wiiliam
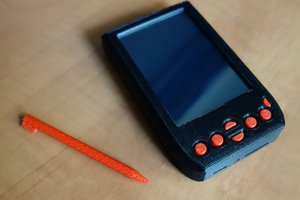
 brtnst
 J. Ian Lindsay