Close
0%
0%

OpenSpand ZX81 expansion

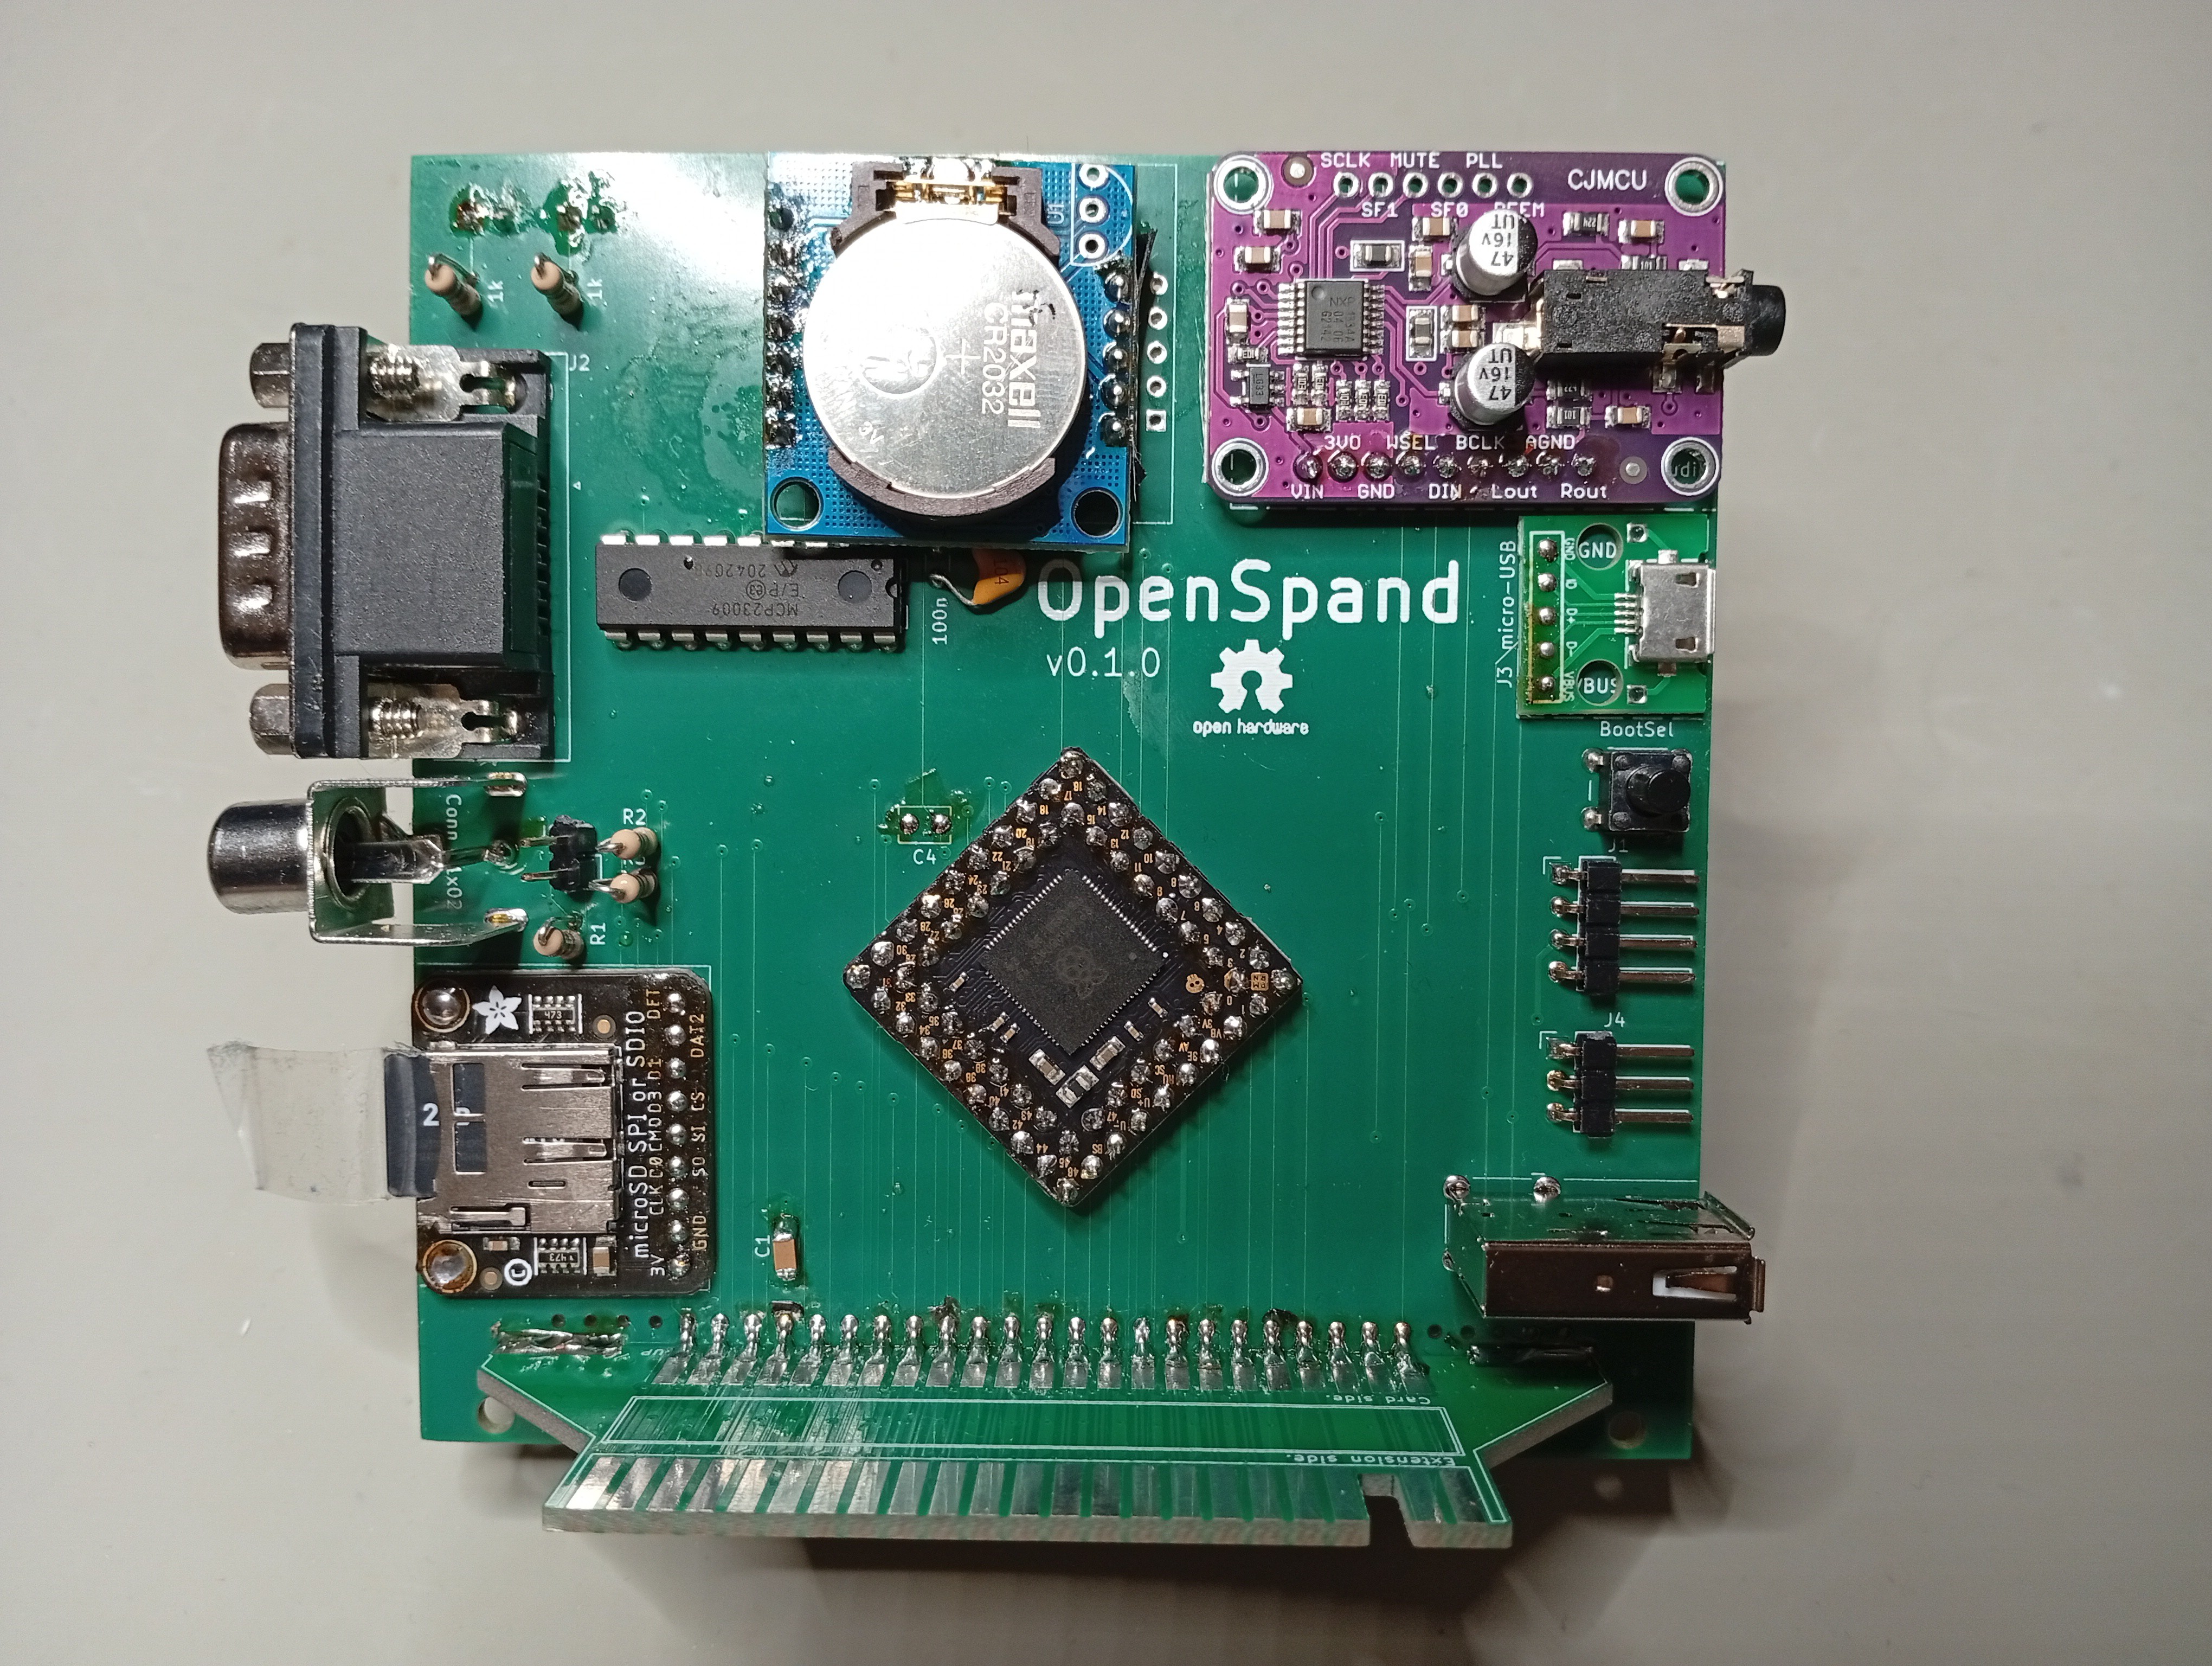
OpenSpand is a ZX81 expansion cartridge based on an RP2350B chip. Like a ZXpand+ with extended functionality.
Similar projects worth following
An expansion cartridge for the ZX81 to fill most needs of any user.
All open source.

* 1-56KiB of RAM with software configurable mapping and size.
* MicroSD card storage with transparent LOAD/SAVE integration.
* Embedded support commands in an overlay ROM for instant availability.
* Supports pseudo high resolution graphics.
* Supports true high resolution graphics, WRX.
* Supports user defined characters, CHR$64 and CHR$128.
* Dual emulated AY-3-8910 or YM2149 sound chips, model selectable.
* Stereo sampled sound output via the LEDs.
* Joystick connector, standard 9-pin ATARI compatible. Several modes of reading. Also sends data via keyboard injection.
* Serial I/O via extension connector. Connect to RS232-buffers, MIDI-buffers or Serial2USB module.
* ZX81, ZXpand+ or Big Bang X2 rom selectable.
* A reset button to control soft, hard and factory reset.
* A configuration button to enter the config menu.
* Configuration via ZX81 keyboard.
* Firmware update via USB.

The hardware design and software will be published as open source when closer to complete.

OpenSpand_manual.md

The fine manual for OpenSpand

text/markdown - 30.95 kB - 12/28/2024 at 18:19

Download

  • A colleague

    adam.klotblixt10 hours ago 0 comments

    Since writing about this project on the ZX81 forum the project now has a new member, Paul, who is very keen on doing both HW and SW. We had a long and very pleasant introductory video chat with lots of ideas and knowledge sharing. Feels good to not work alone any more!

    OpenSpand v0.0.1 card number 2 has been built and will go to Paul as soon as the post offices are open.

  • EEPROM woes

    adam.klotblixt4 days ago 0 comments

    For a long time I've had problem with starting the program ZXpand Commander, it would only flash by and reset the ZX81. ZEdragon had problem when ending a game and it tried to save hi-score to the EEPROM, it would hang or restart the ZX81.

    I really thought I had some serious debugging in front of me, but today I implemented EEPROM initializing, which cleared up the Commander problem. Faulty data in the persistent storage apparently.

    On a walk this afternoon I realized that the EEPROM emulation actually pauses the other core while committing the data. Of course that messes stuff up, since the other core deals with hard real time stuff like memory and I/O!

    A different approach was implemented: everything is saved in the EEPROM layer in RAM, and the user has to actively save to persistent storage in the config menu. This fixed the problem with Zedragon, wohoo!

    The remaining issue to do before serious testing is to make the joystick configuration better. Just some restructuring and better handling since I have 3 different ways/levels to config the joystick.

  • Oh joy!

    adam.klotblixt5 days ago 0 comments

    Today I extended the joystick configuration. There are quick options in the config menu, and in BASIC it is possible to set directions+fire with:

    CONFIG J=QAOPM

     Next up is saving the settings in EEPROM.

  • Refactoring

    adam.klotblixt7 days ago 0 comments

    I worked on refactoring the software quite a bit over Christmas, it is much better organized now.

    The manual has been heavily extended, with more to be added as the software functionality expands and finalizes.

    No nice pictures for this entry ;)

  • It's working!

    adam.klotblixt12/17/2024 at 15:58 0 comments

    After some beep-testing, ocular verification and soldering the only fault I found was a mirrored pinout for the USB module. No problem, just mounted it upside down.

    Software testing showed that the new joystick and soft-reset/config button reading worked as expected. Nice, hadn't really tested it before!

    The only major fault I found was that the micro-SD module I used had a different pinout compared to the datasheet I used. 3 patch wires solved that. Not very good looking but serviceable.

    Next up is trimming the LED resistors to give enough light. The LEDs come from my old stash, so I had no datasheet for them and will have to test my way to a decent current.

    The PCB was fault free and I had no problem soldering everything. All faults were my own. I'll fix all the faults, make some improvements and make a final version later. Now it's time to work on the software and think hard on all the possible hardware improvements.

    I certainly won't hesitate ordering from PCBX.com again, it all went as smoothly as hoped.

  • PCBs arrived!

    adam.klotblixt12/17/2024 at 10:14 0 comments

    The PCBs were delivered half an hour ago, wohoo! Time to verify some signals before soldering and testing everything. They look very good.

  • Prototype

    adam.klotblixt12/11/2024 at 12:56 0 comments

    This is what my prototype looks like, hooked up to a "naked" ZX81 version 3 board. All resting on top of a Sony PVR monitor.

  • Waiting for PCBs

    adam.klotblixt12/11/2024 at 12:46 0 comments

    I've been testing this project on bread board and later on vero-board. A few days ago I fulfilled an order for the first PCB prototypes.

    PCBX.com contacted me a few months ago, wanting to sponsor a prototype round and this was the perfect opportunity to test them out.

    The schematic and PCB layout was done in KiCad 8, which is starting to feel a bit more familiar each time I use it. A much better experience compared to the rather expensive DOS-based software I used 25+ years ago!

    Today I got an SMS saying the transportation has begun, so the boards are produced and on their way to me. Hooray!

    Ordering the boards was quite pain free, just making a compressed package with all the production files and uploading to their site.

    The deal with sponsoring this was made with the promise that I would document my experience, so I will write more posts about my experiences here as everything develops.

  • First entry

    adam.klotblixt12/11/2024 at 12:37 0 comments

    This project has been ongoing for some months, but nothing public yet. This is the start of documenting the progress so I don't forget it all.

    Everything will be made open source as soon as I see that it works properly. HW, SW and documentation will be available on github, with the hope that it will survive and thrive even without my involvement.

View all 9 project logs

Enjoy this project?

Share

Discussions

Similar Projects

Does this project spark your interest?

Become a member to follow this project and never miss any updates