Tom
TomDISCLAIMER: As most porjects go, I wasn't initially planning to publish a full guide to doing this (as I had no idea if it was going to work as expected or not)
I will be updating this project with more detail if I can get my hands on another iPod mini as there are some things I would like to change / improve.
If anyone would like to donate an iPod mini or if I reach £50 in donations to purchase a mini & components I'll be more than happy to do a proper step by step tutorial or video.
https://monzo.me/tomwarham
DISCLAIMER 2: I'm getting a bluetooth range of around 2-3 meters line of sight with this modification using 1st gen airpods, which is more than enough for me, if its not enough for you I do appologise.
DISCLAIMER 3: This bluetooth board actually works with with airpods "tap to control" features too! I've got my airpods right tap function as pause, and left airpods tap function as next song! both work fine with this mod.
A massive thankyou to Parts Plus Pods on Youtube for the heavy groundwork on this project! the majority of the mods here he covers, but I belive I've added some niceties / easily accesible parts alterantives to his project.
First of all All of the parts to complete this mod totaled less than £30 with shipping
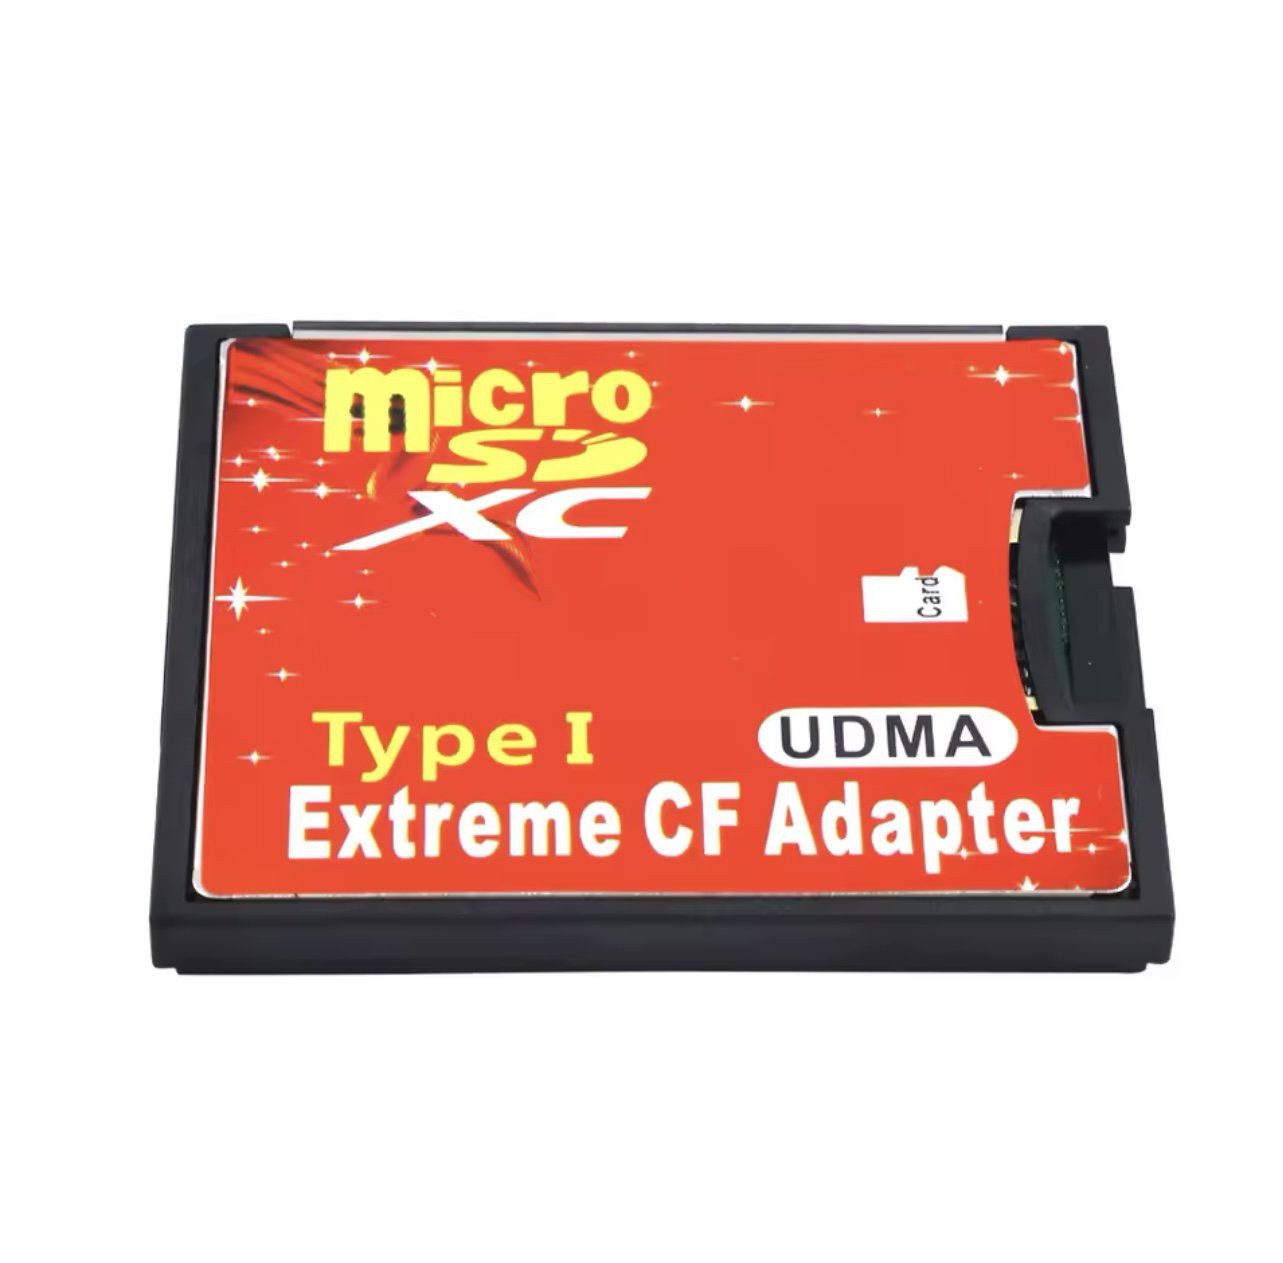
- Ali express SD Adaptor £5.80
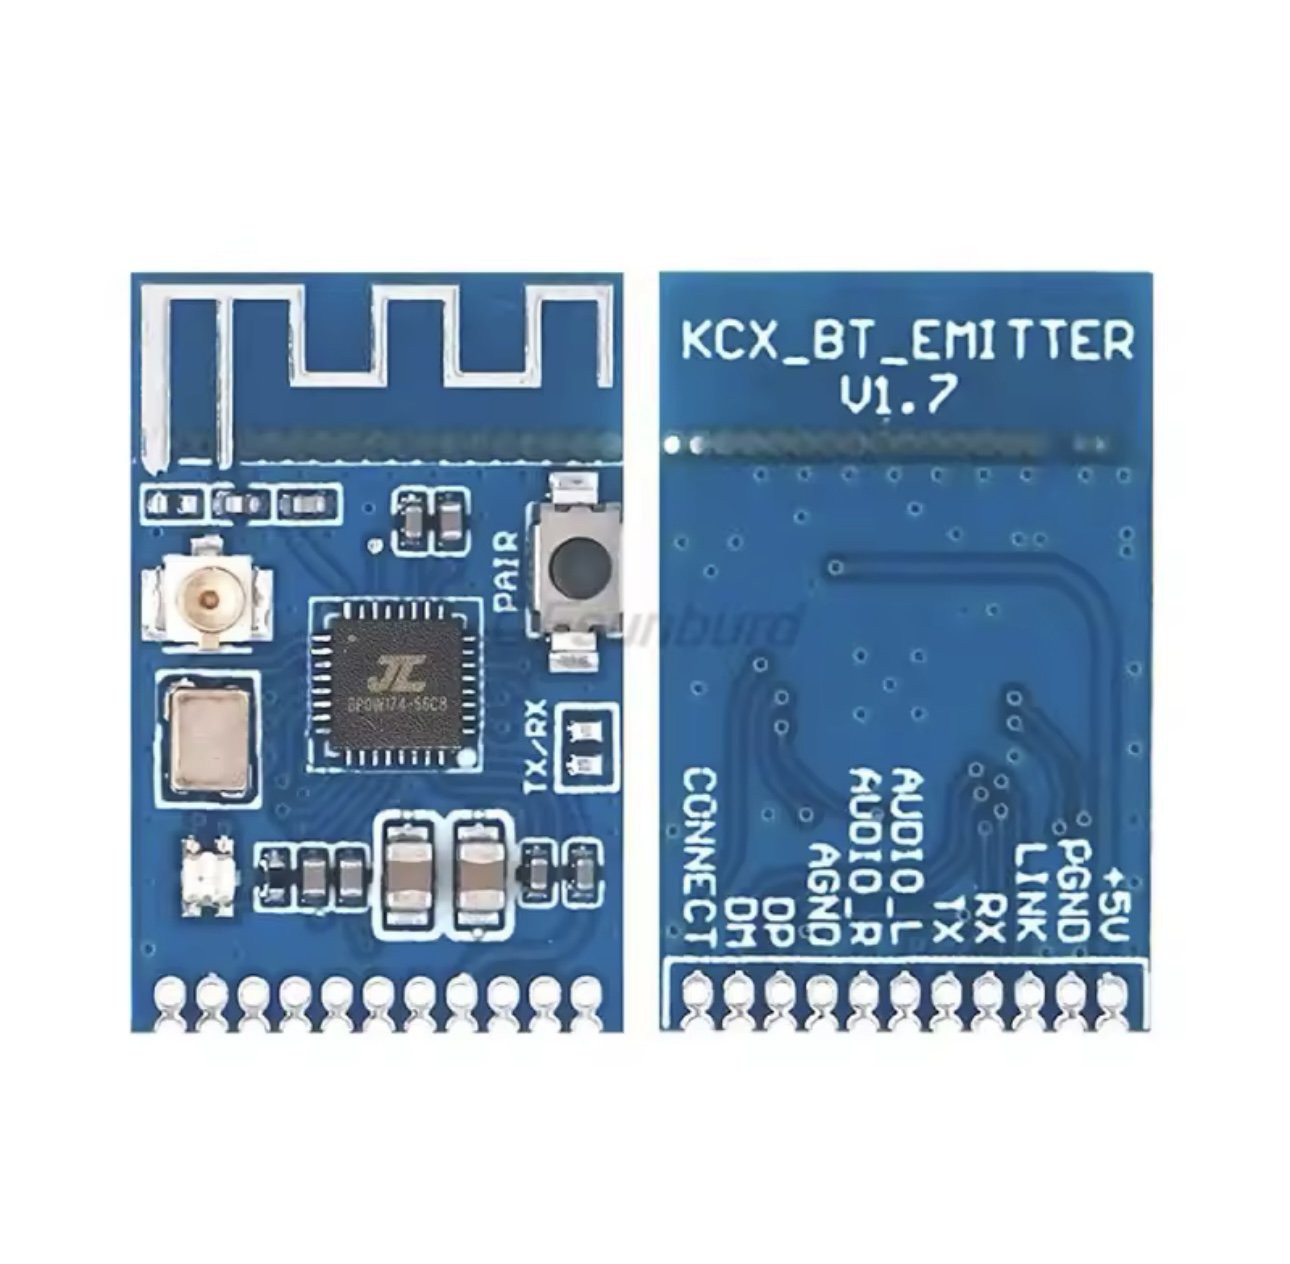
- Ali express bluetooth board £2.11
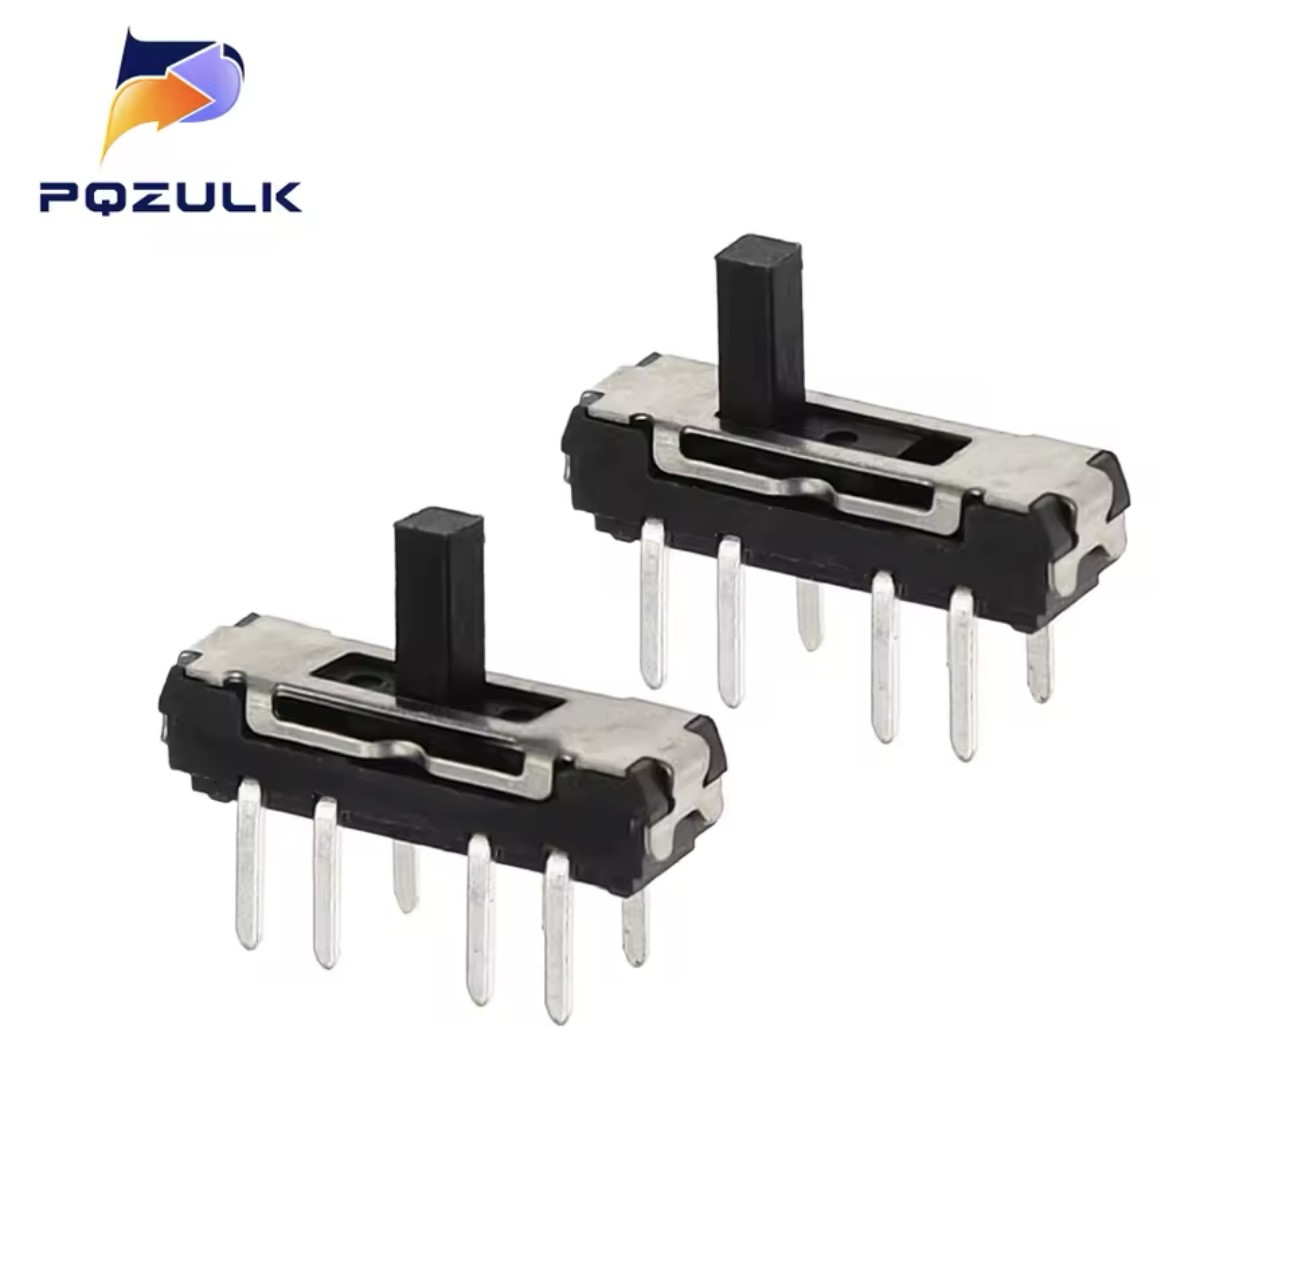
- Ali express ten 2P3T tiny swtiches £0.75
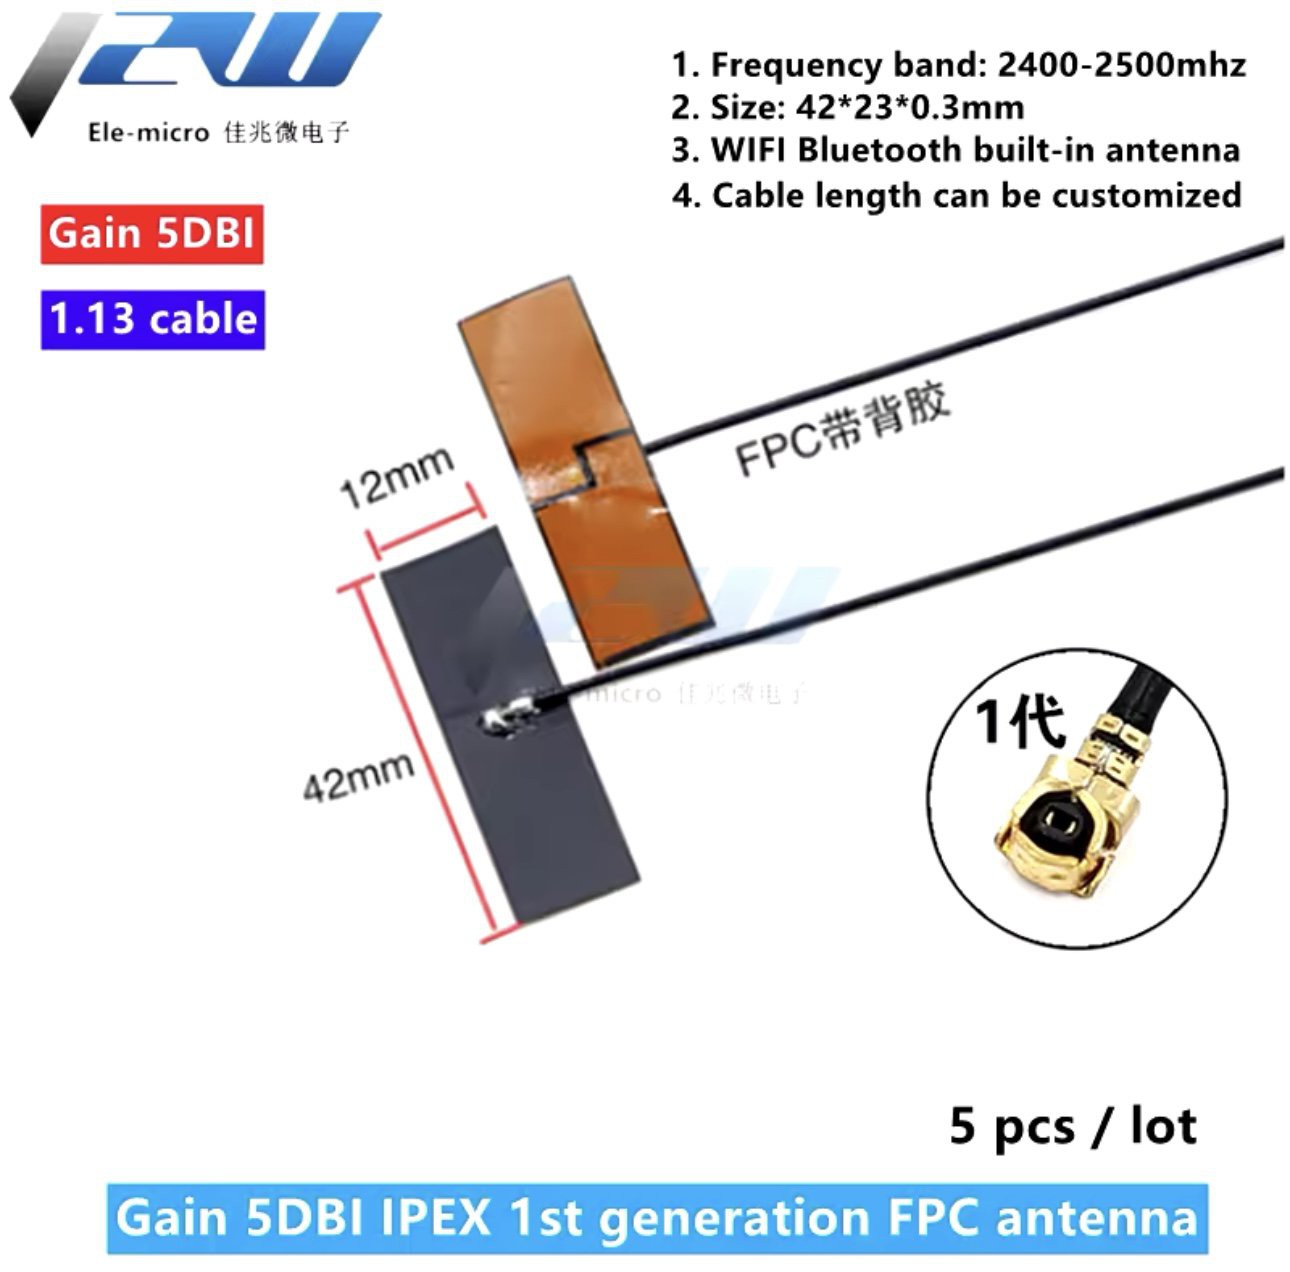
- Ali express five pcs high gain antenna £2.95
- Amazon samsung "256gb" evo sd card £15.99
Oh and a new battery costing £6 off ebay but this isn't essential to the modifications.
I'm aware there were a lot of negative reviews on using the cheap red CF to SD adaptors off ali express but as this project was just a throw away / purely for fun I decided I'd give the cheap red adapter a go. It has a minor problem with restoring but I will document how to get round this later on.
I won't got into detail about the flashmod as these have been well and truly covered for iPod mini's
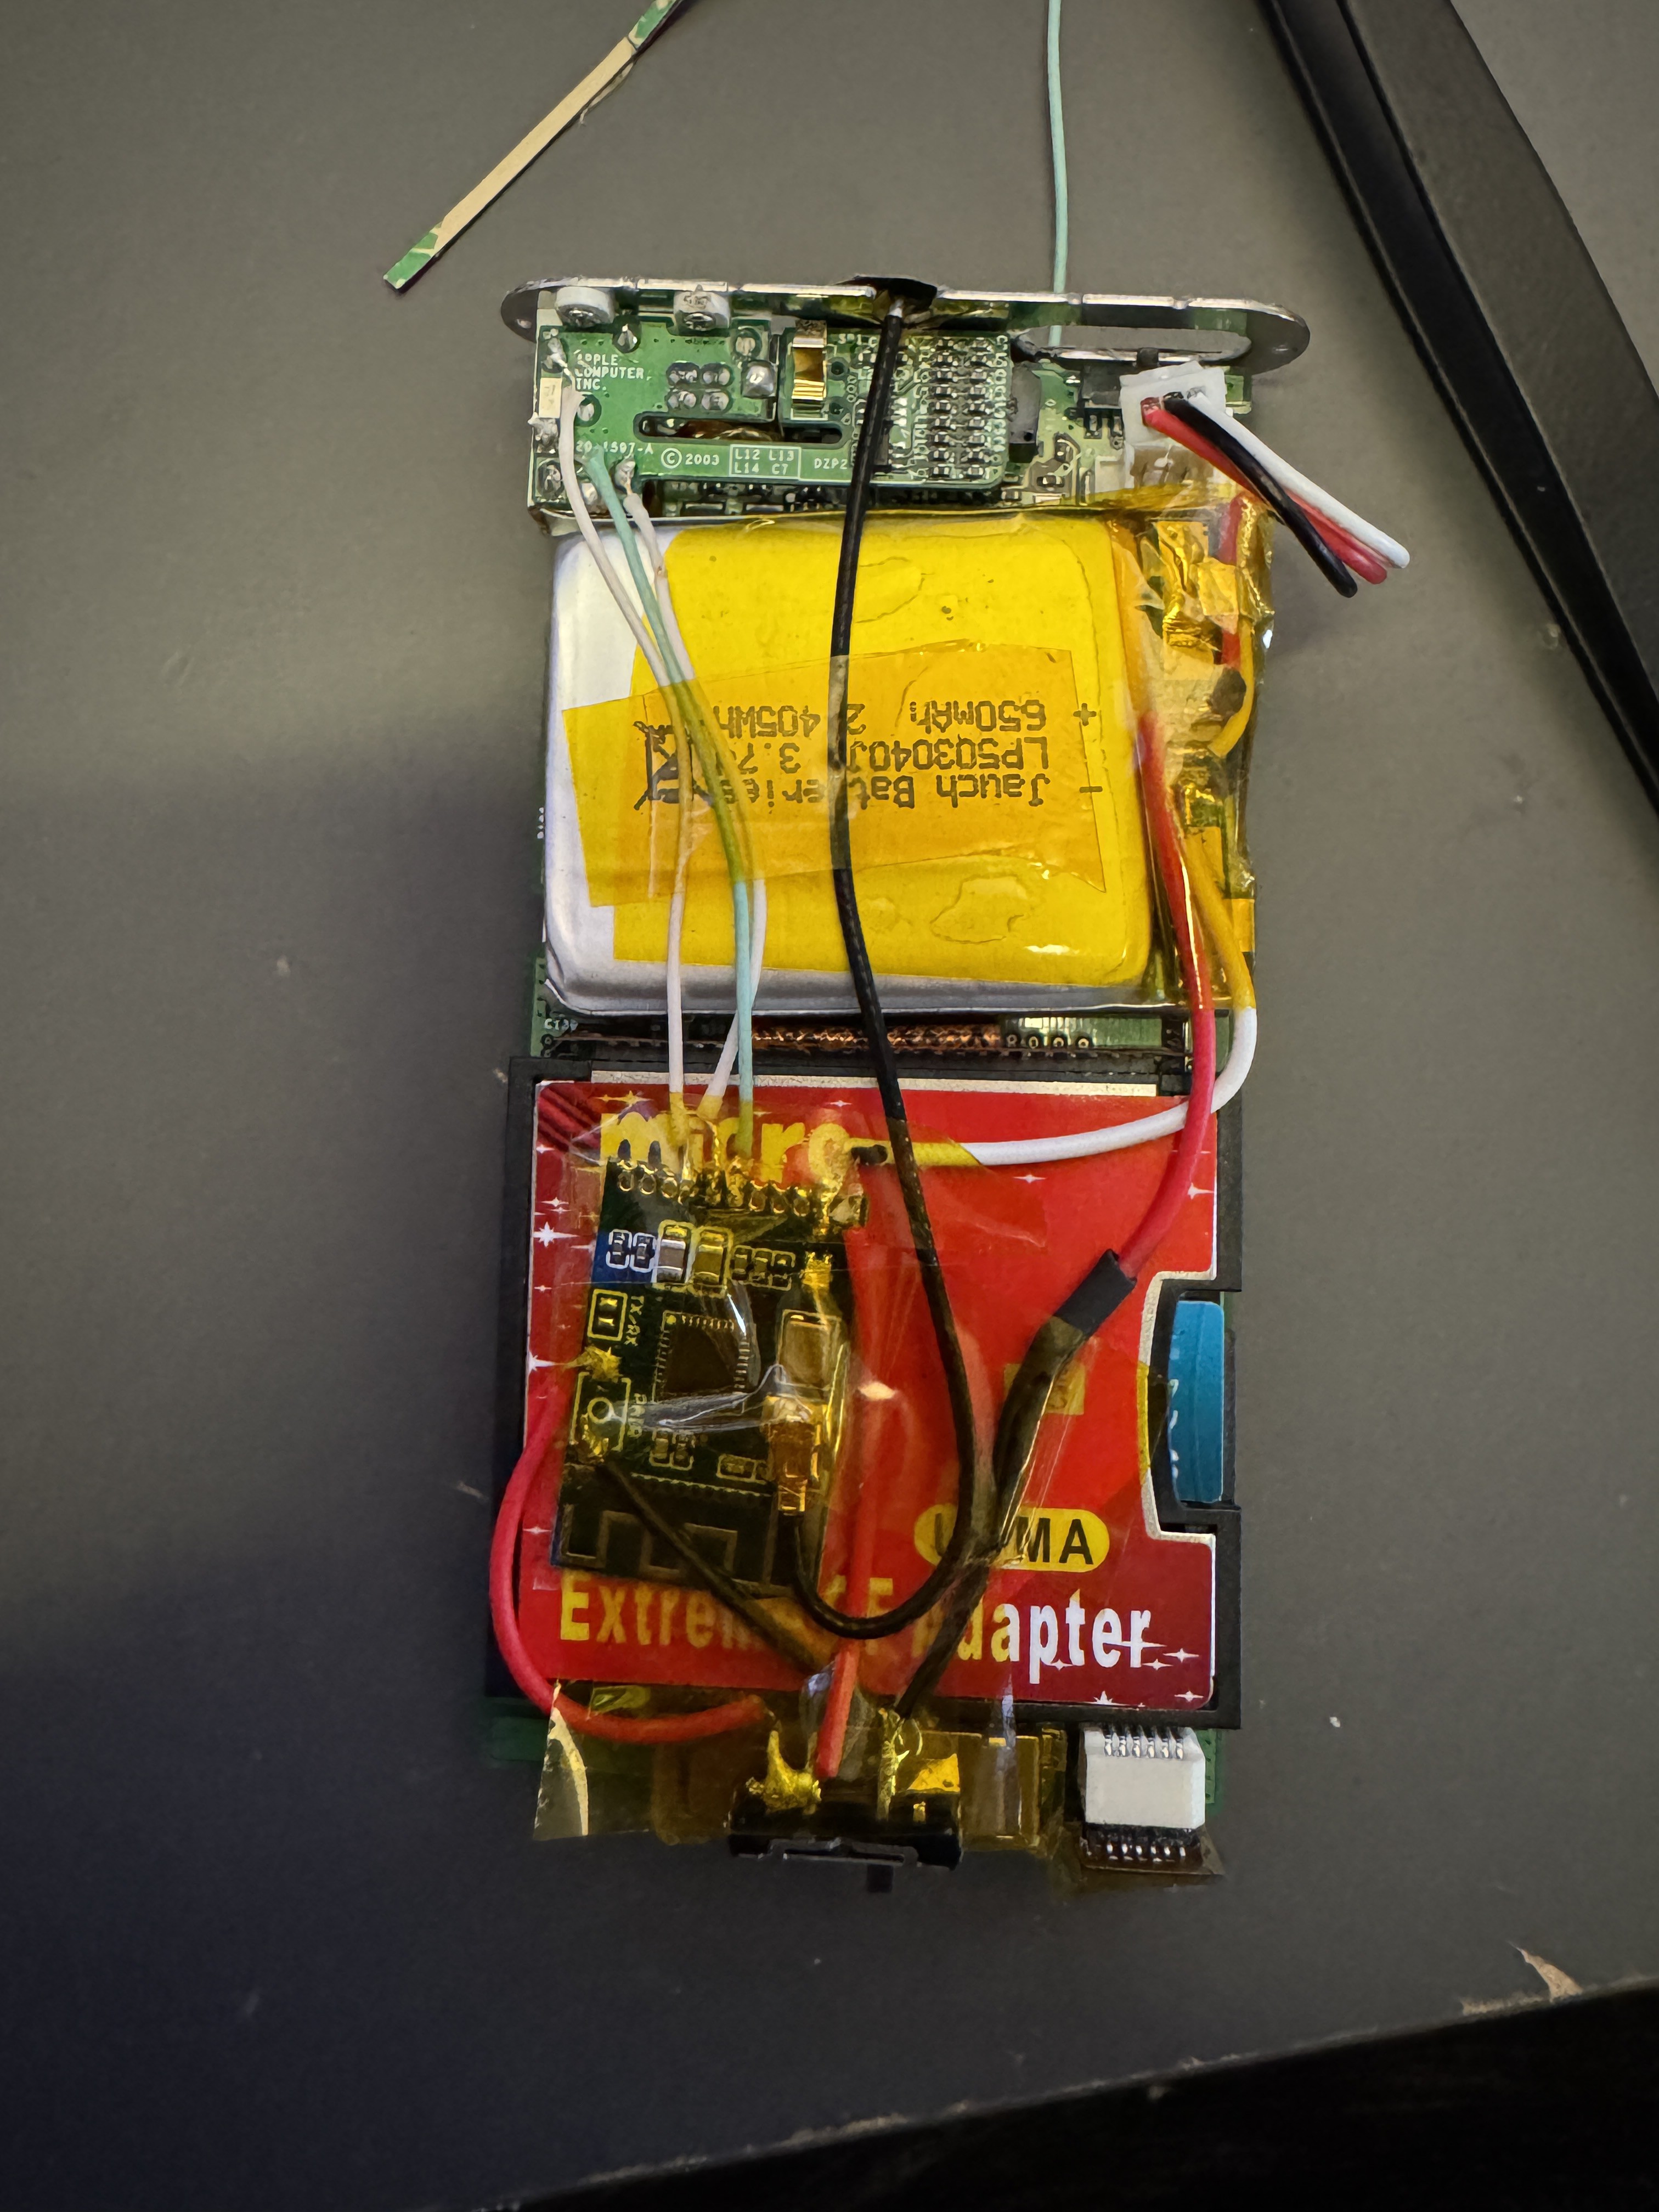
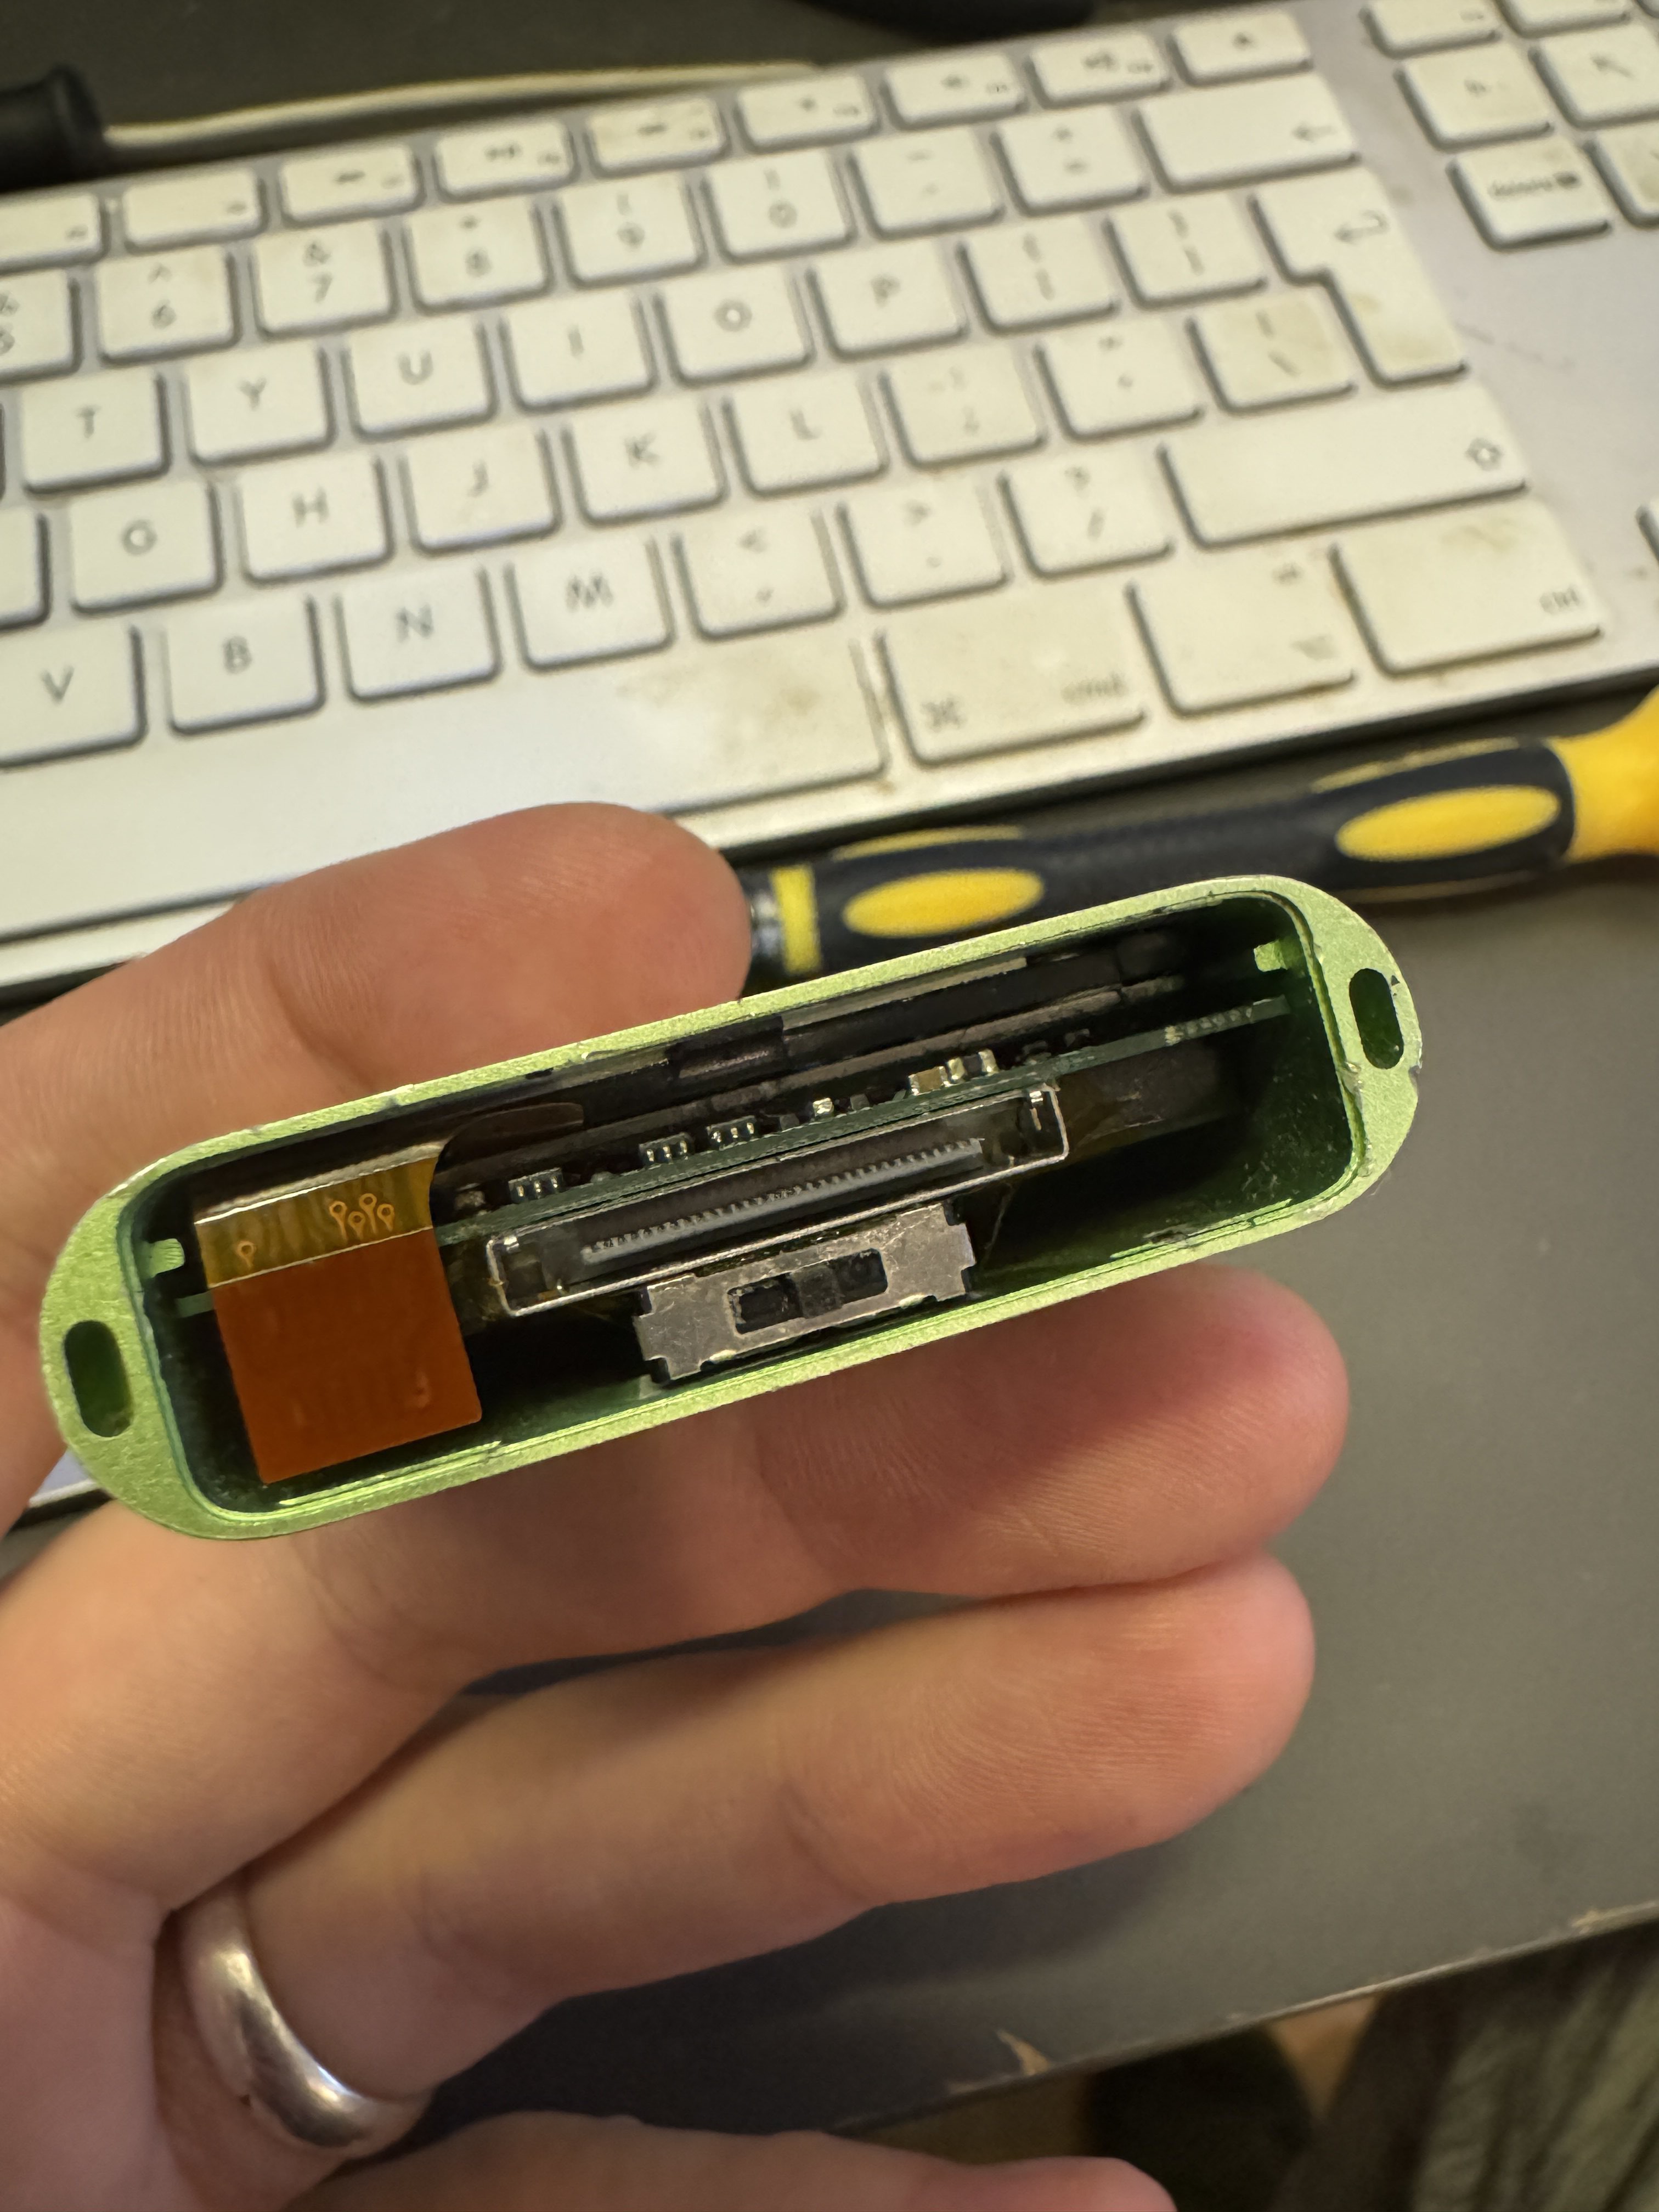
To start the bluetooth mod I positioned the components like so:
- Bluetooth board double sided taped to the left of the CF card adaptor
- Tiny Double Pole Triple Throw 2P3T switch super glued to the dock connector with a piece of kapton tape seperating / isolating them
- Power to the bluetooth board going via positions 2 & 3 of the first bank of switch poles.
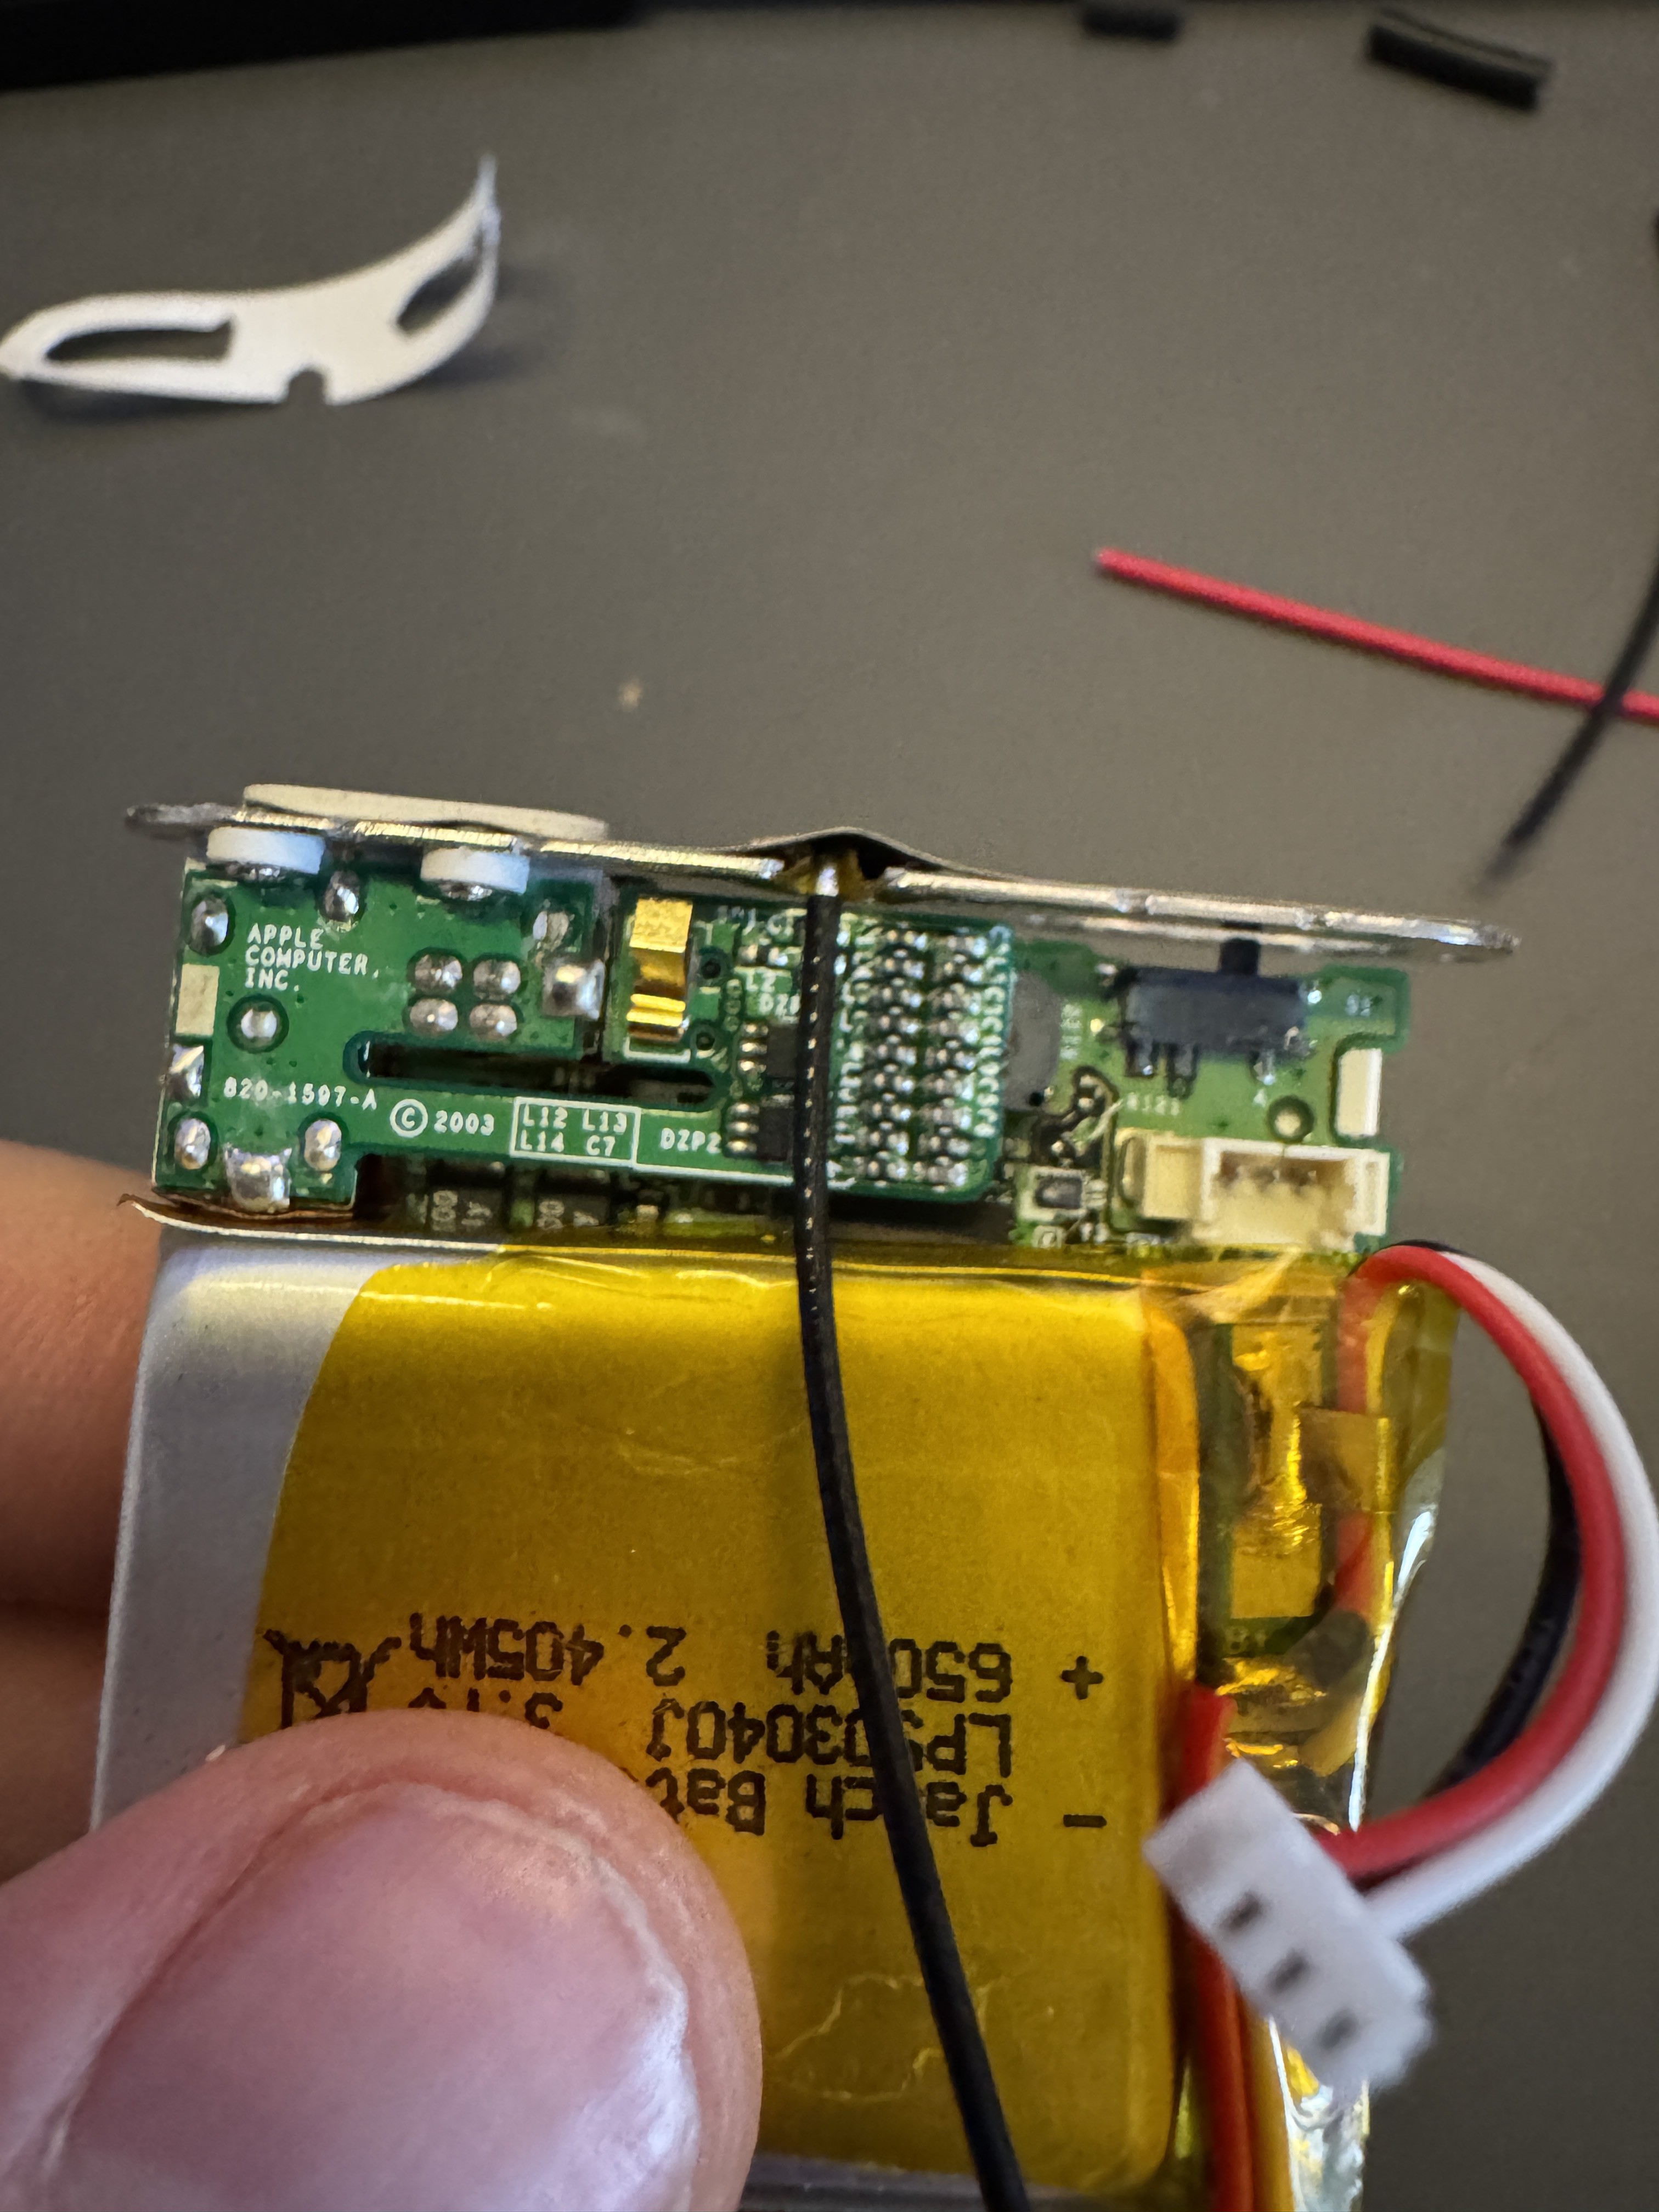
- Power taken from the batteries BMS board not directly off the battery tabs
- The pair button for the bluetooth board going to position 3 of the second bank of the switch poles only.
- My thought process here was position 1 = BT off, position 2 = BT on, position 3 = BT on & pair button pressed
- Antenna pad cut into a large "H shape" to avoid headphone and lock switch.
- Audio signal cables running directly from the bluetooth board to the headphone jack poles.
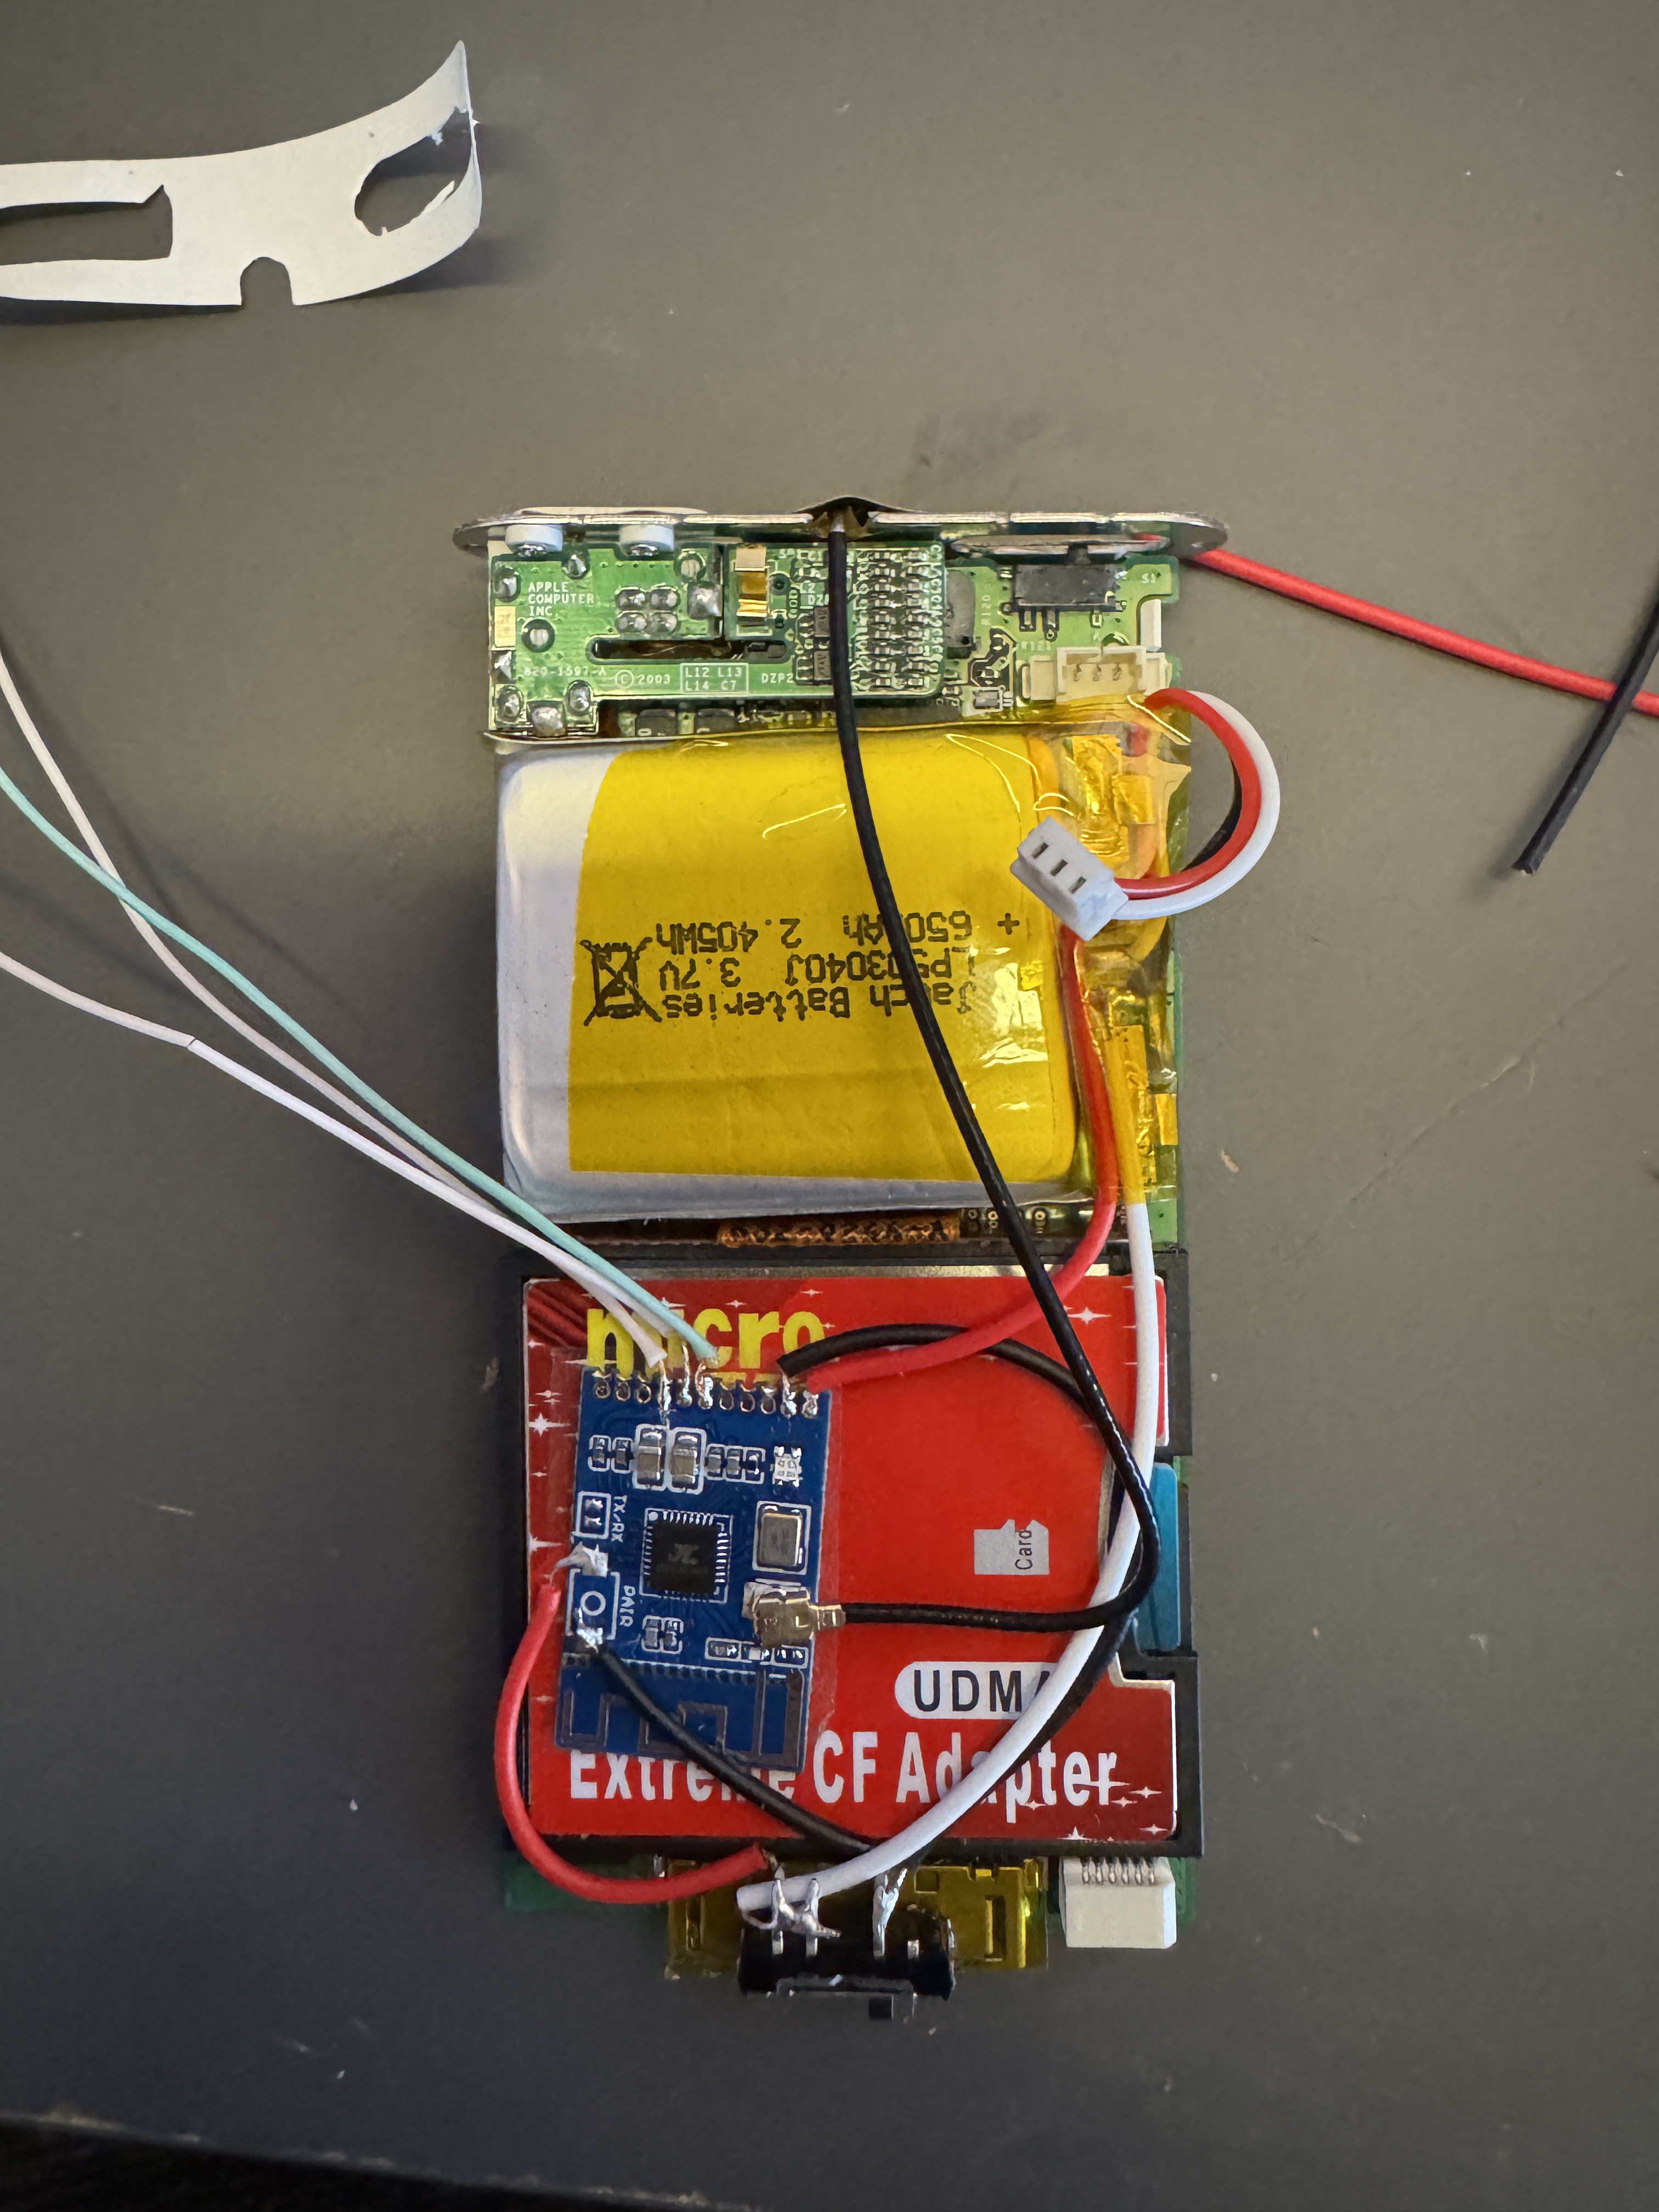
First attempt at arranging all the components
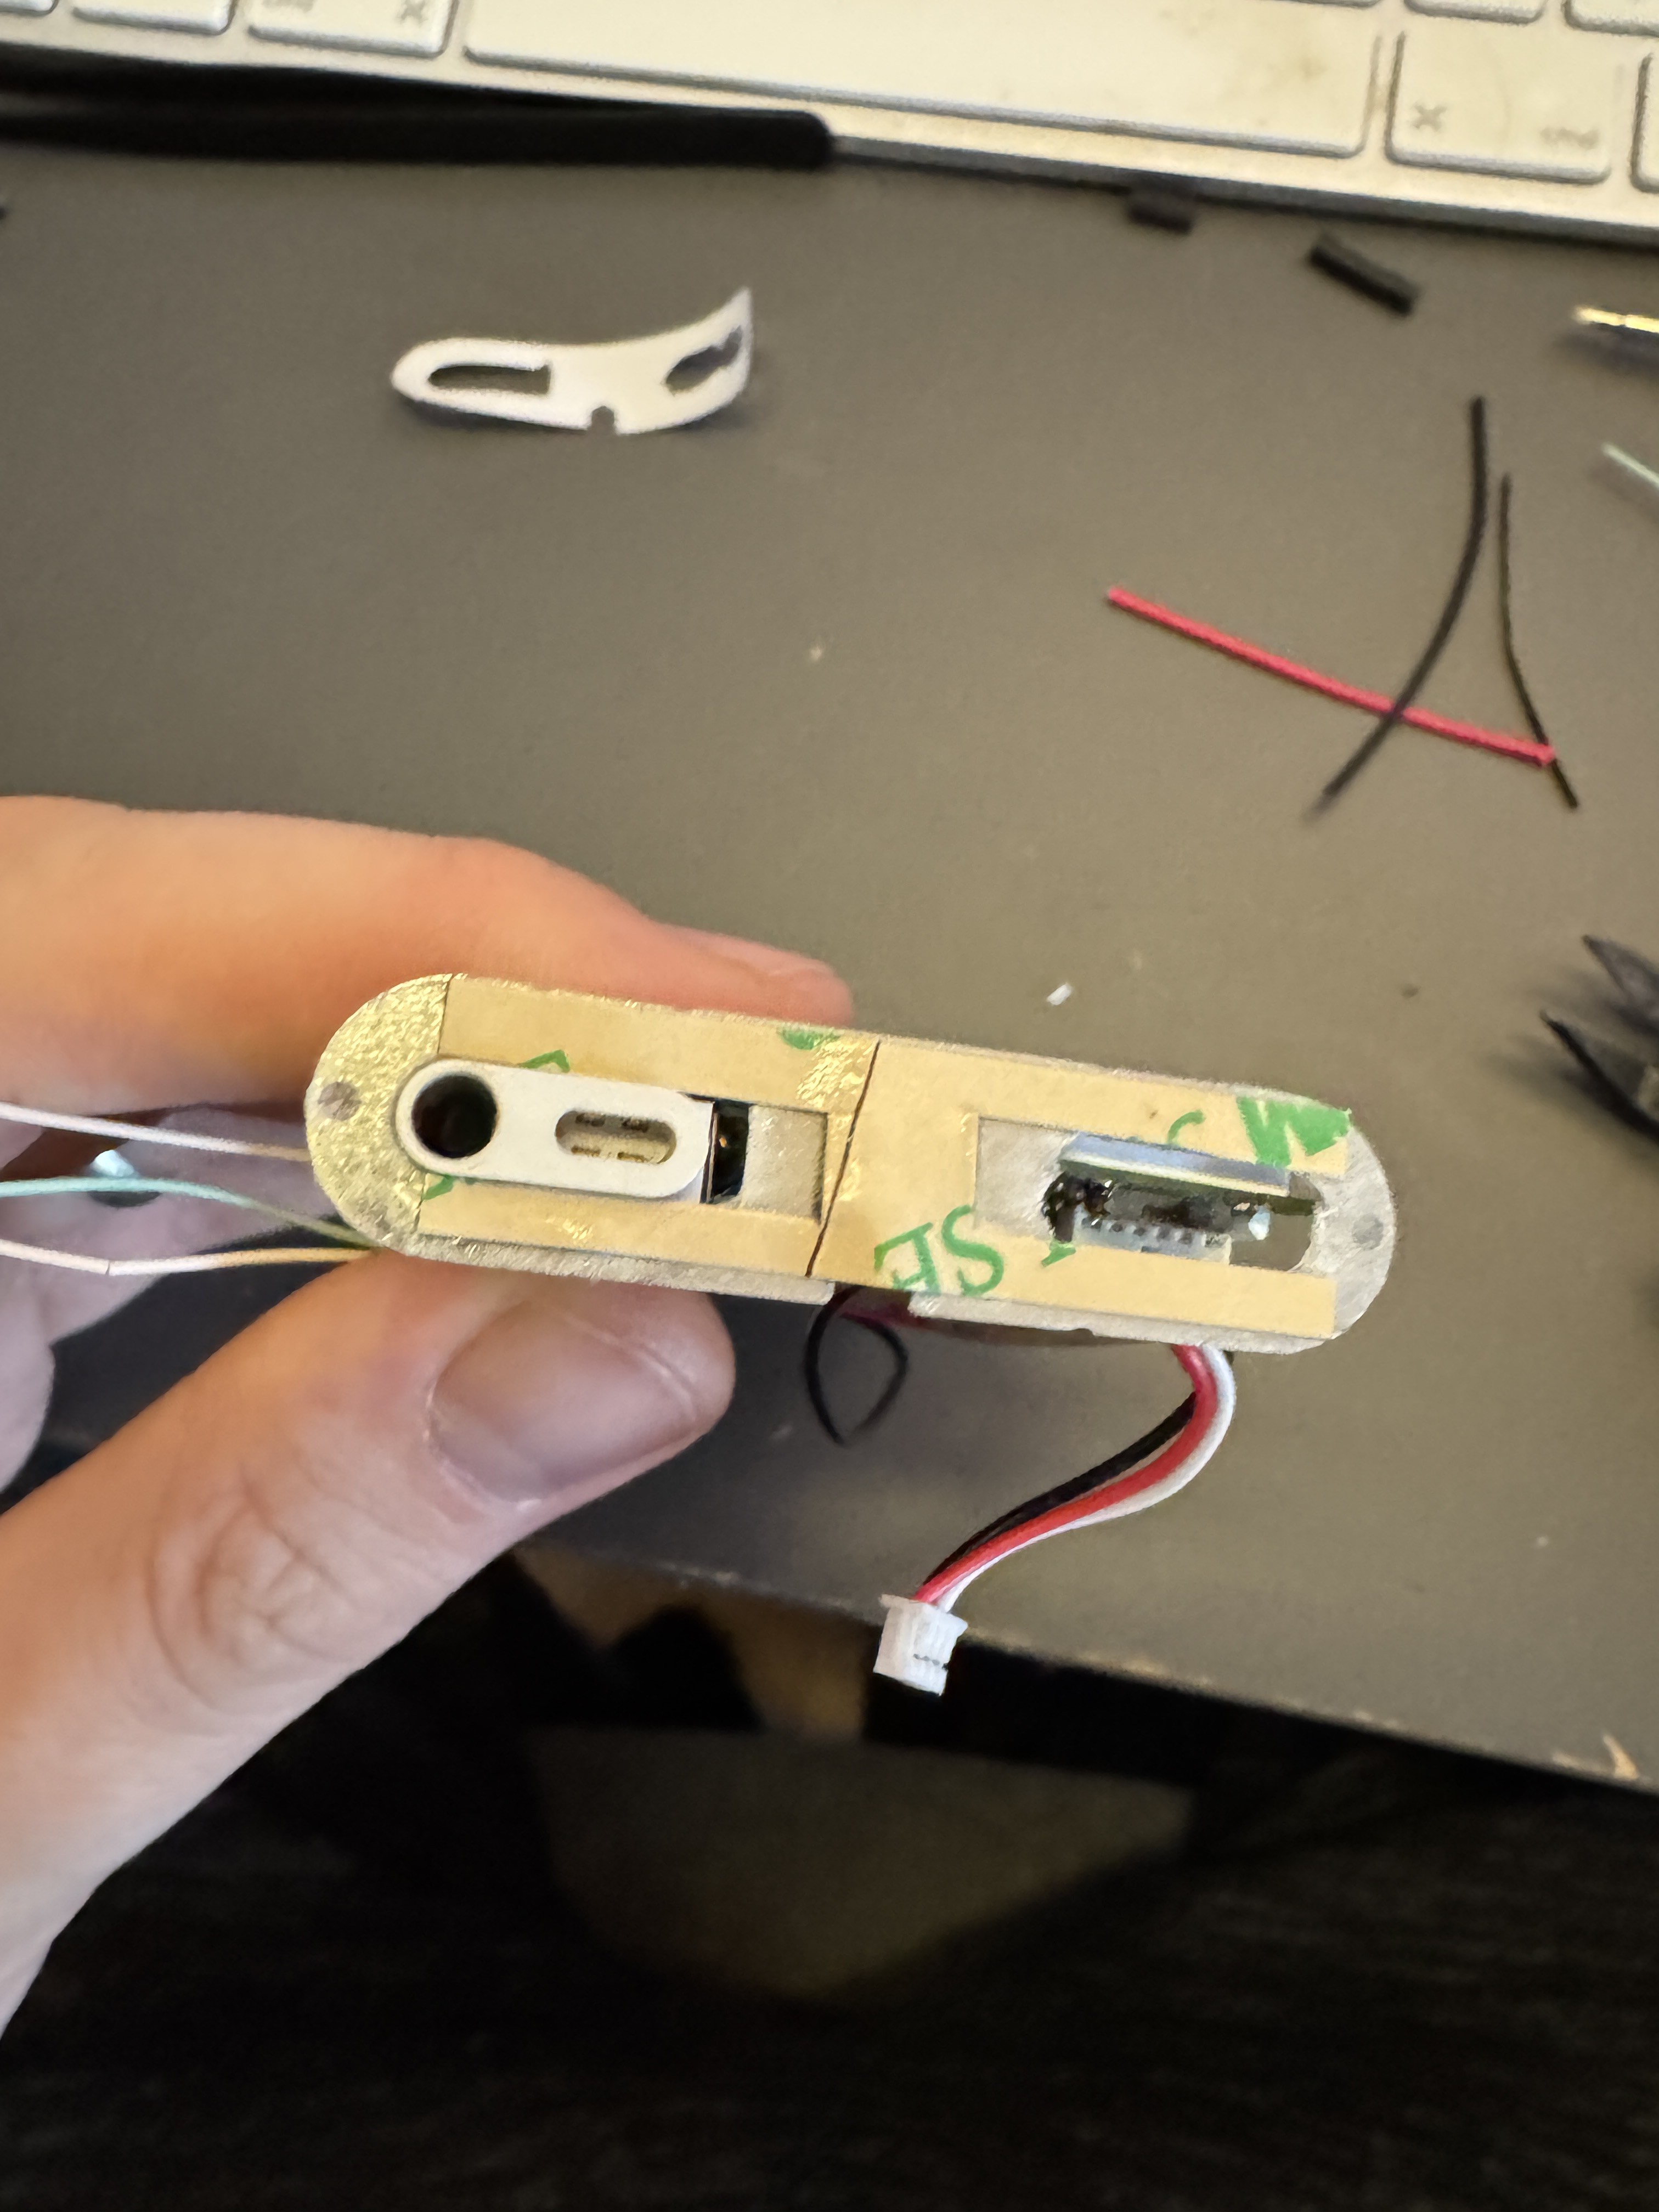
I "badly" cut the antenna with scissors into a H shape, to fit on the the top metal shield plate of the iPod mini.
The cable runs through the notch already on the metal plate. I added a small piece of kaptop tape to the edges where the exposed shield wire is on the antenna cable. Its fixed onto the metal plate with double sided tape.
The first mistake happened when I decided to put the power to the bluetooth board in the image above is "constant live" and switching the ground wire for power on / off.
The issue here was that in connecting up the audio ground this forced the bluetooth board to always be on when the battery was connected.
A bit of rewiring later and we swapped the bluetooth board to constant ground, which in retrospect makes a lot more sense, and eliminated ground loop noise when testing as the above setup.
This worked a treat and the bluetooth board only turned on once the switch was flicked, not every time the battery was connected.
I also realised that for some reason this cheap ali-express bluetooth board by default was always in pair mode after being turned on, and for this reason I decided to clip off the pair button wires just for simplicity.
I don't belive that the 3 position pair button setup I had would have worked anyway as when changing between positions 2 & 3 (BT on / BT on & pair) the switch disconnected the power momentarily, so I would need to apply a capacitor or some sort of power buffer circuit for it to remain on whilst switching.
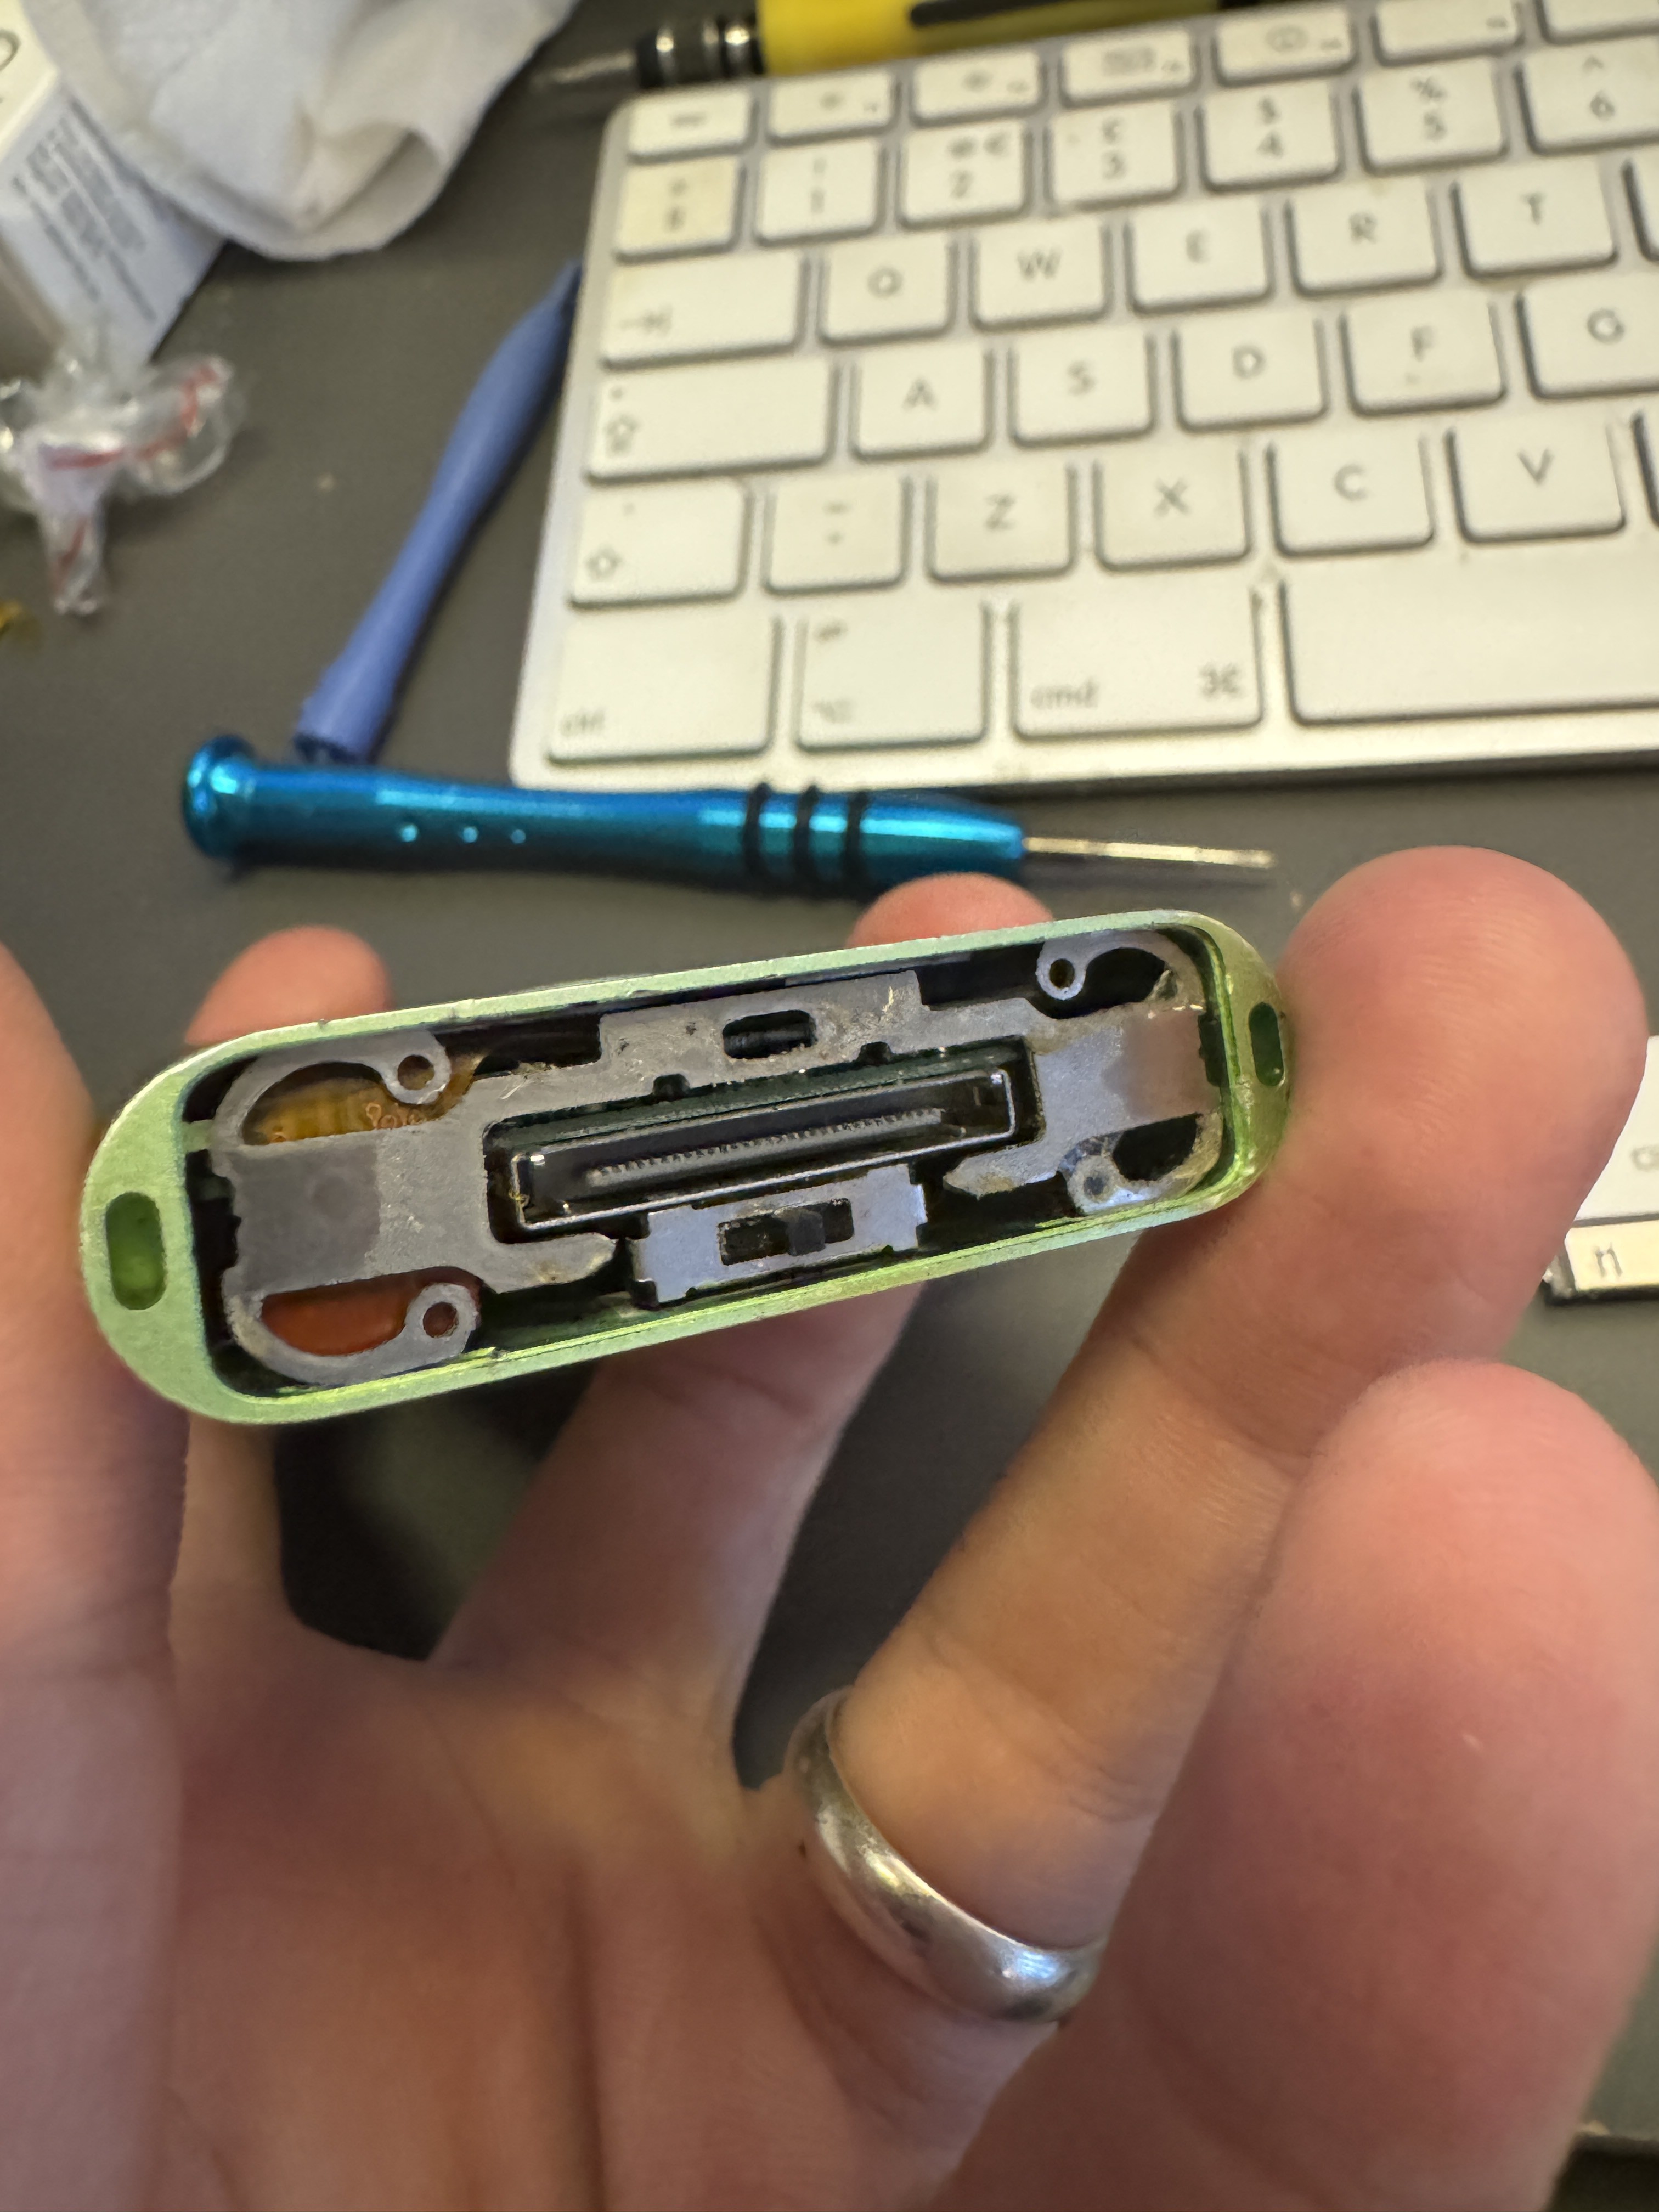
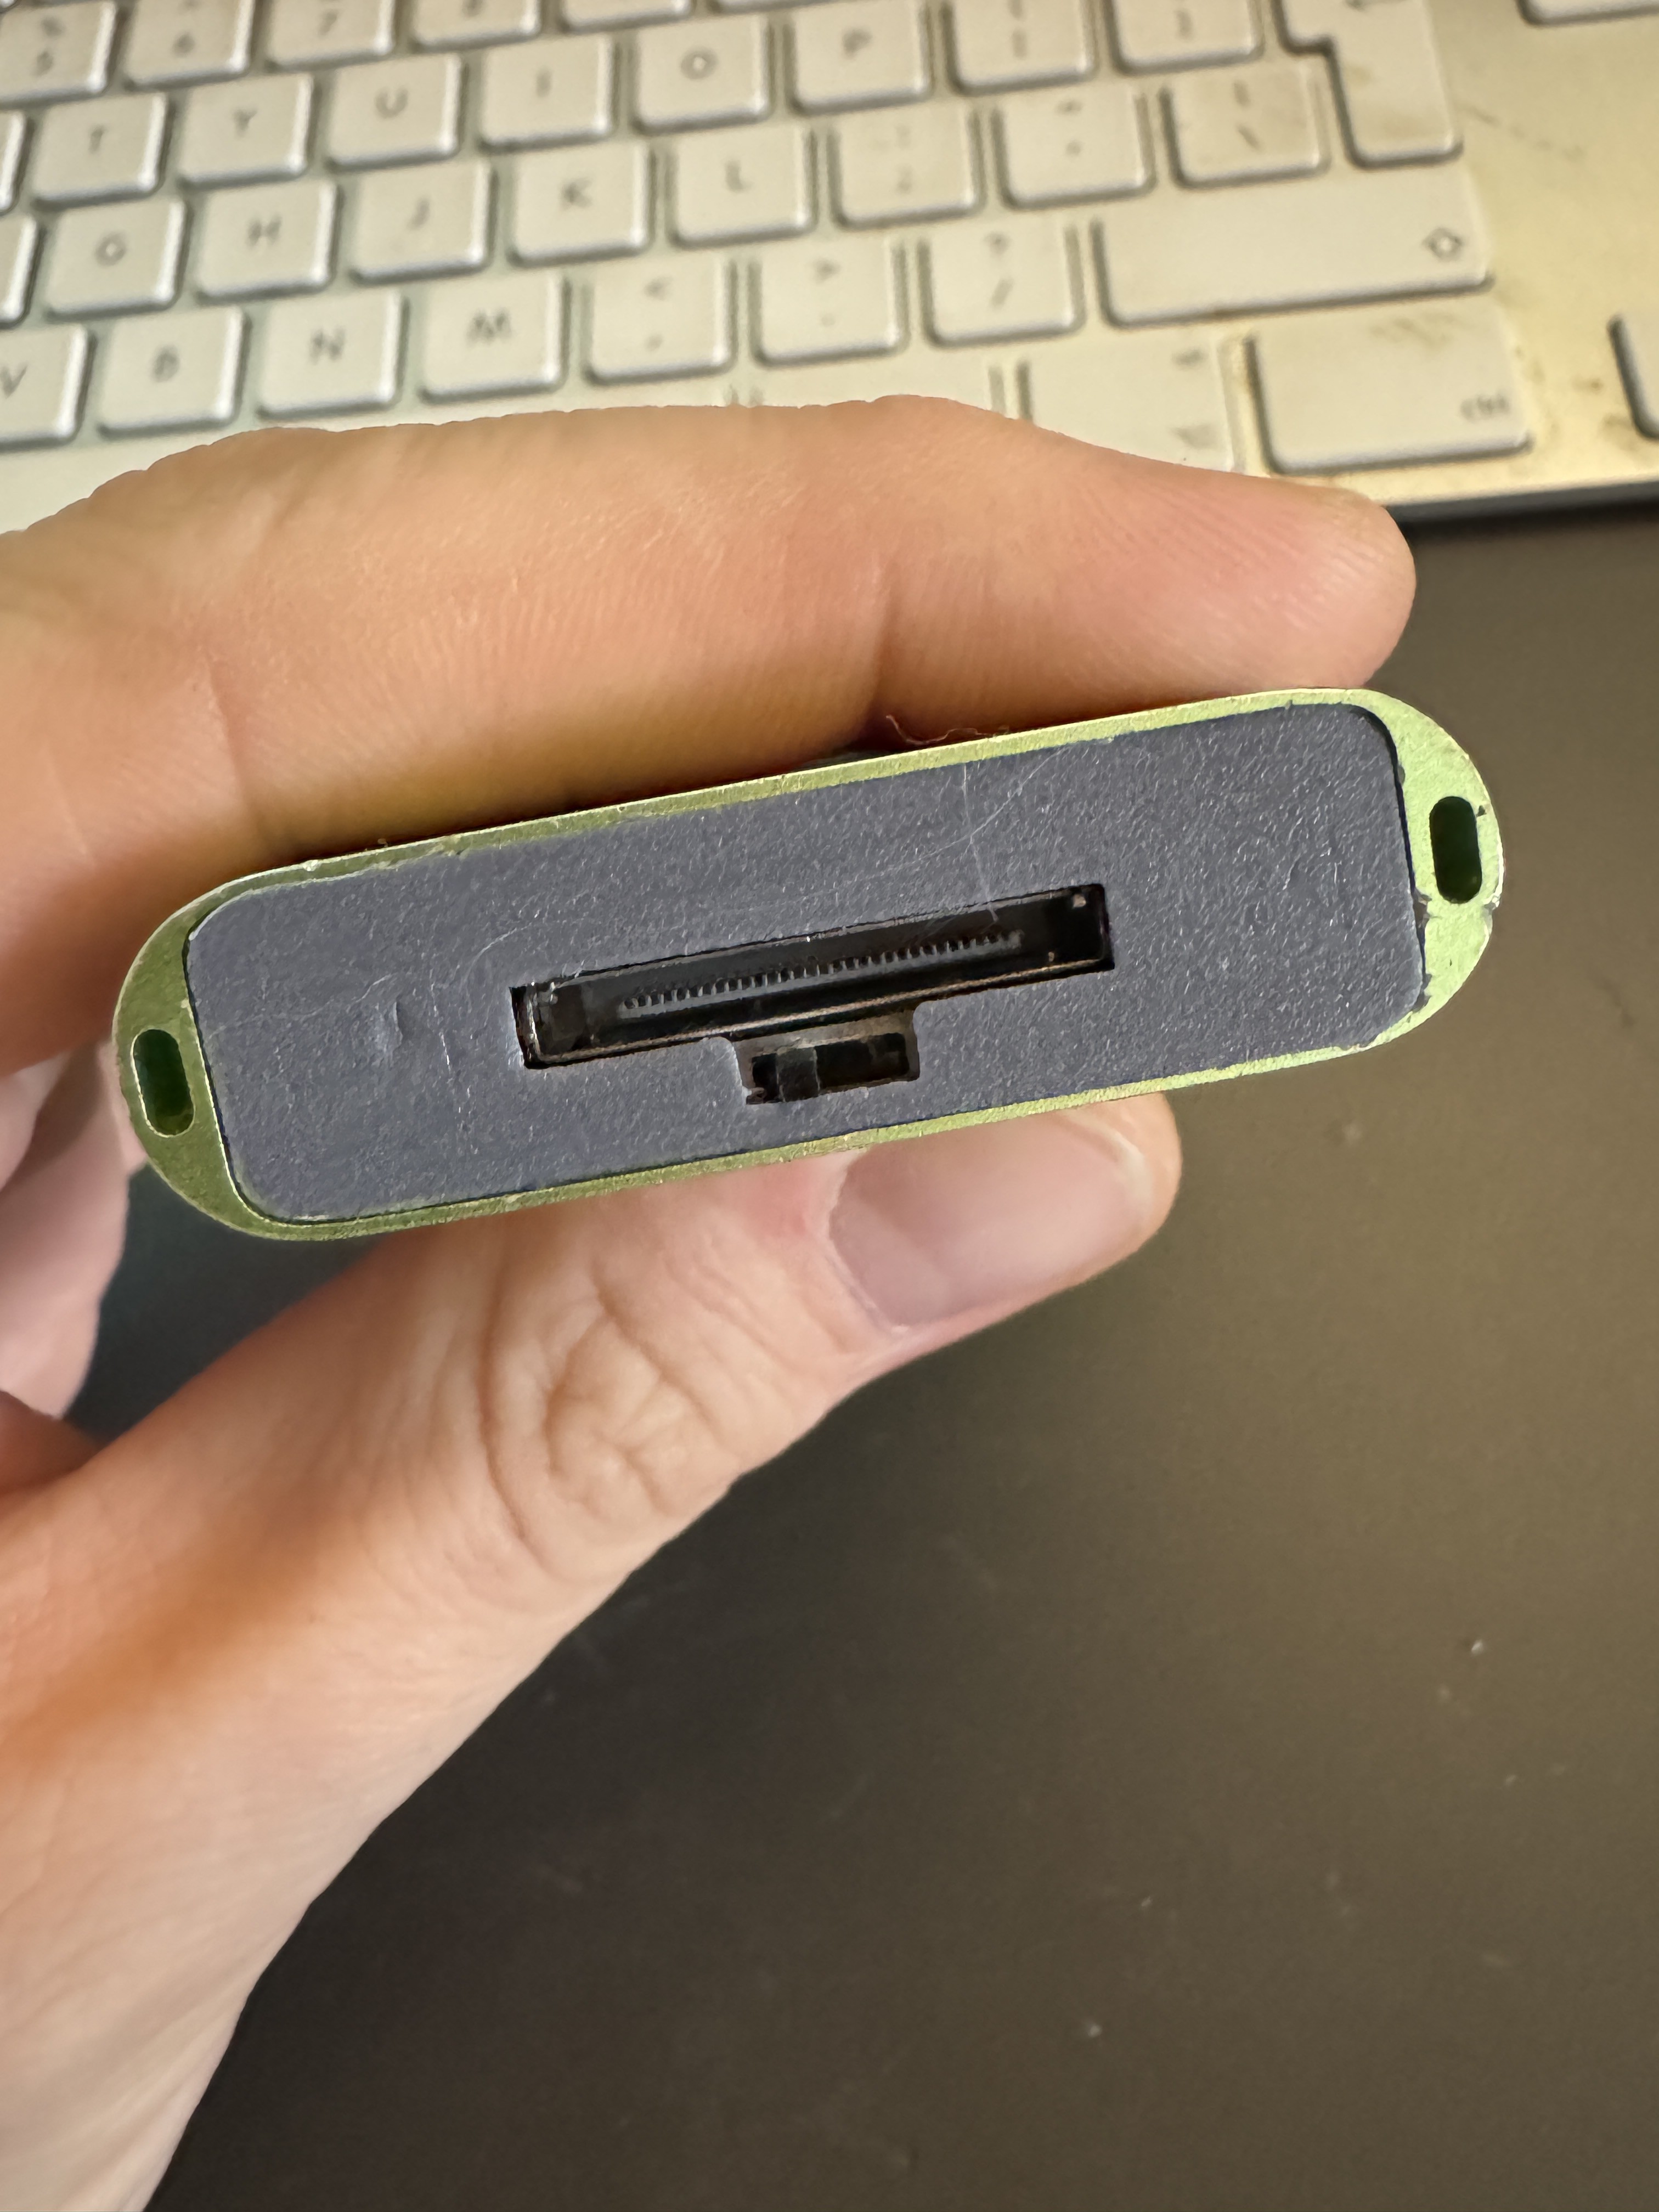
Finally I trimmed the bottom metal retaining clip with a pair of snips and reinserted it to allow access to the switch.
I didn't have my dremmel on hand at my desk so I just mocked up a new 3d printed bottom plastic just to keep some dust out until I have chance to make a better fitting bottom piece. This is just double sided taped on.
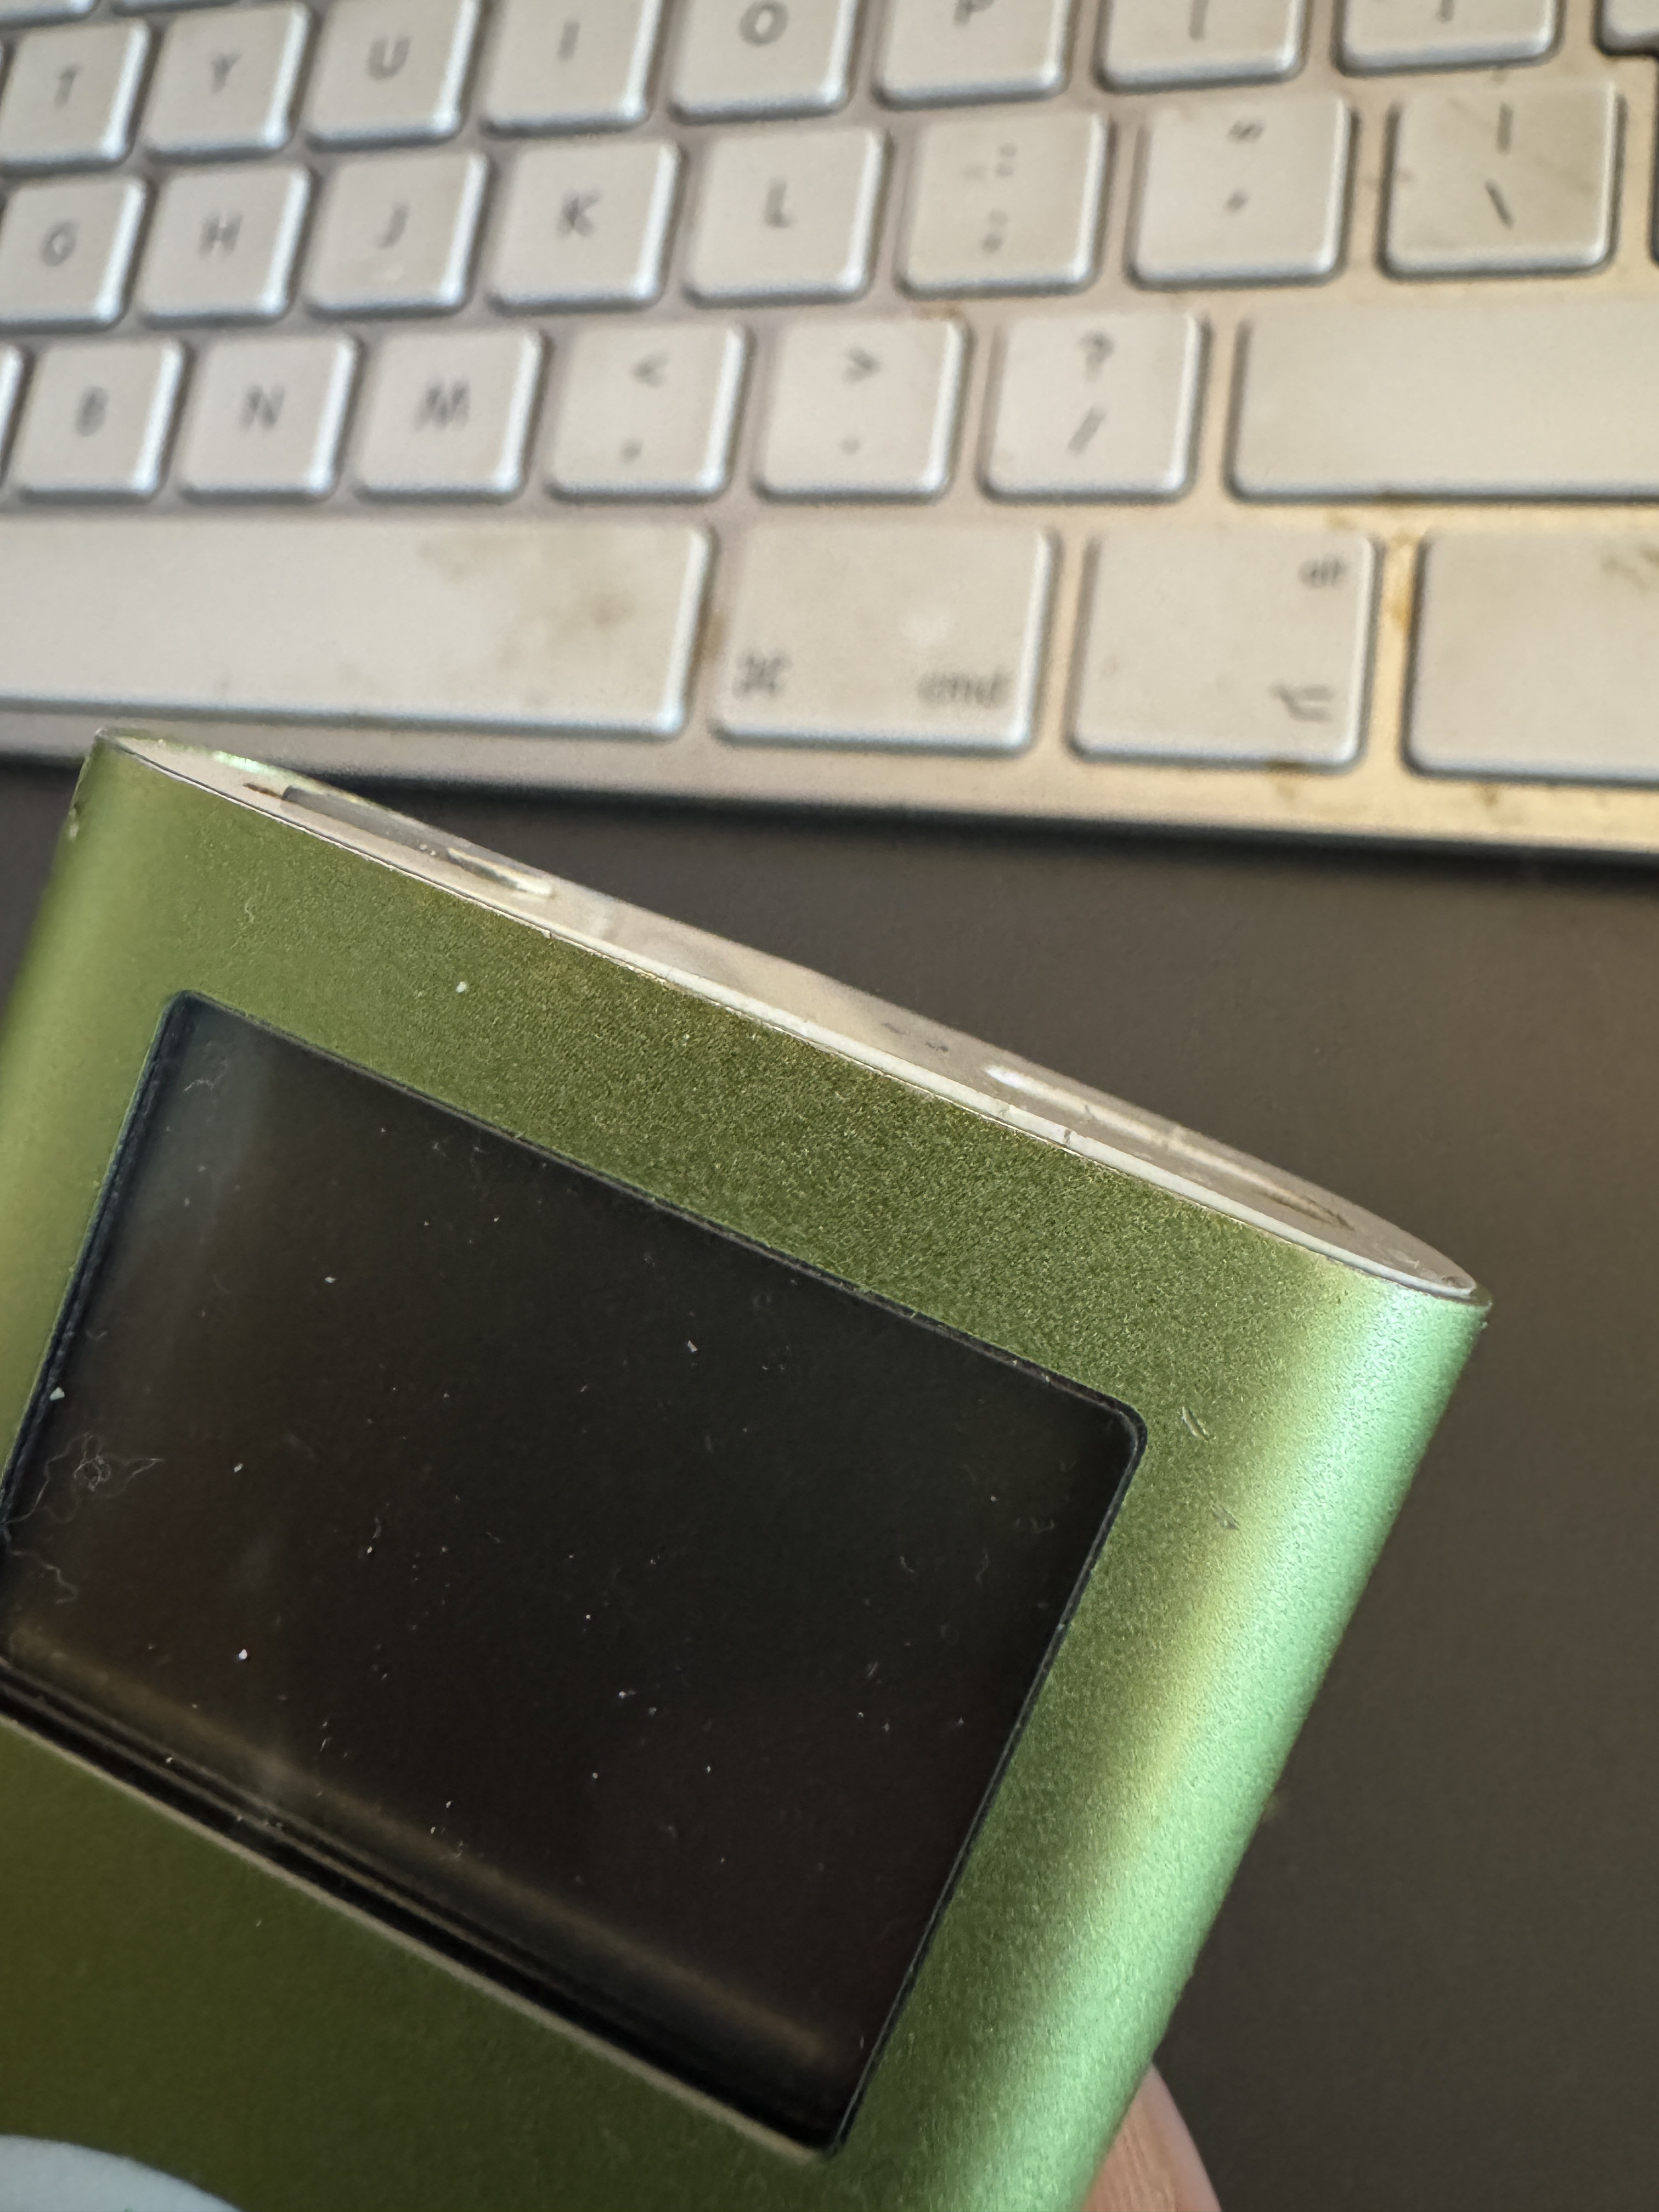
As the antenna makes the top cover slightly proud, I filed a square notch out of the underside of the top plastic cover. As this is only a very thin piece of plastic there wasn't much space and the top casing doesn't really fit flush as you can see here even when slightly filed down.
In future revisions I may 3d print a new top casing, or modify the metal plate attached to the headphone assembly to better fit the antenna.
Here are some screenshots of the parts I used off Ali Express, a full list is available in the parts list.