Close
0%
0%

Portable Air Quality Meter

Made a small handy air quality meter based around the MQ135 Air Quality sensor.

Similar projects worth following
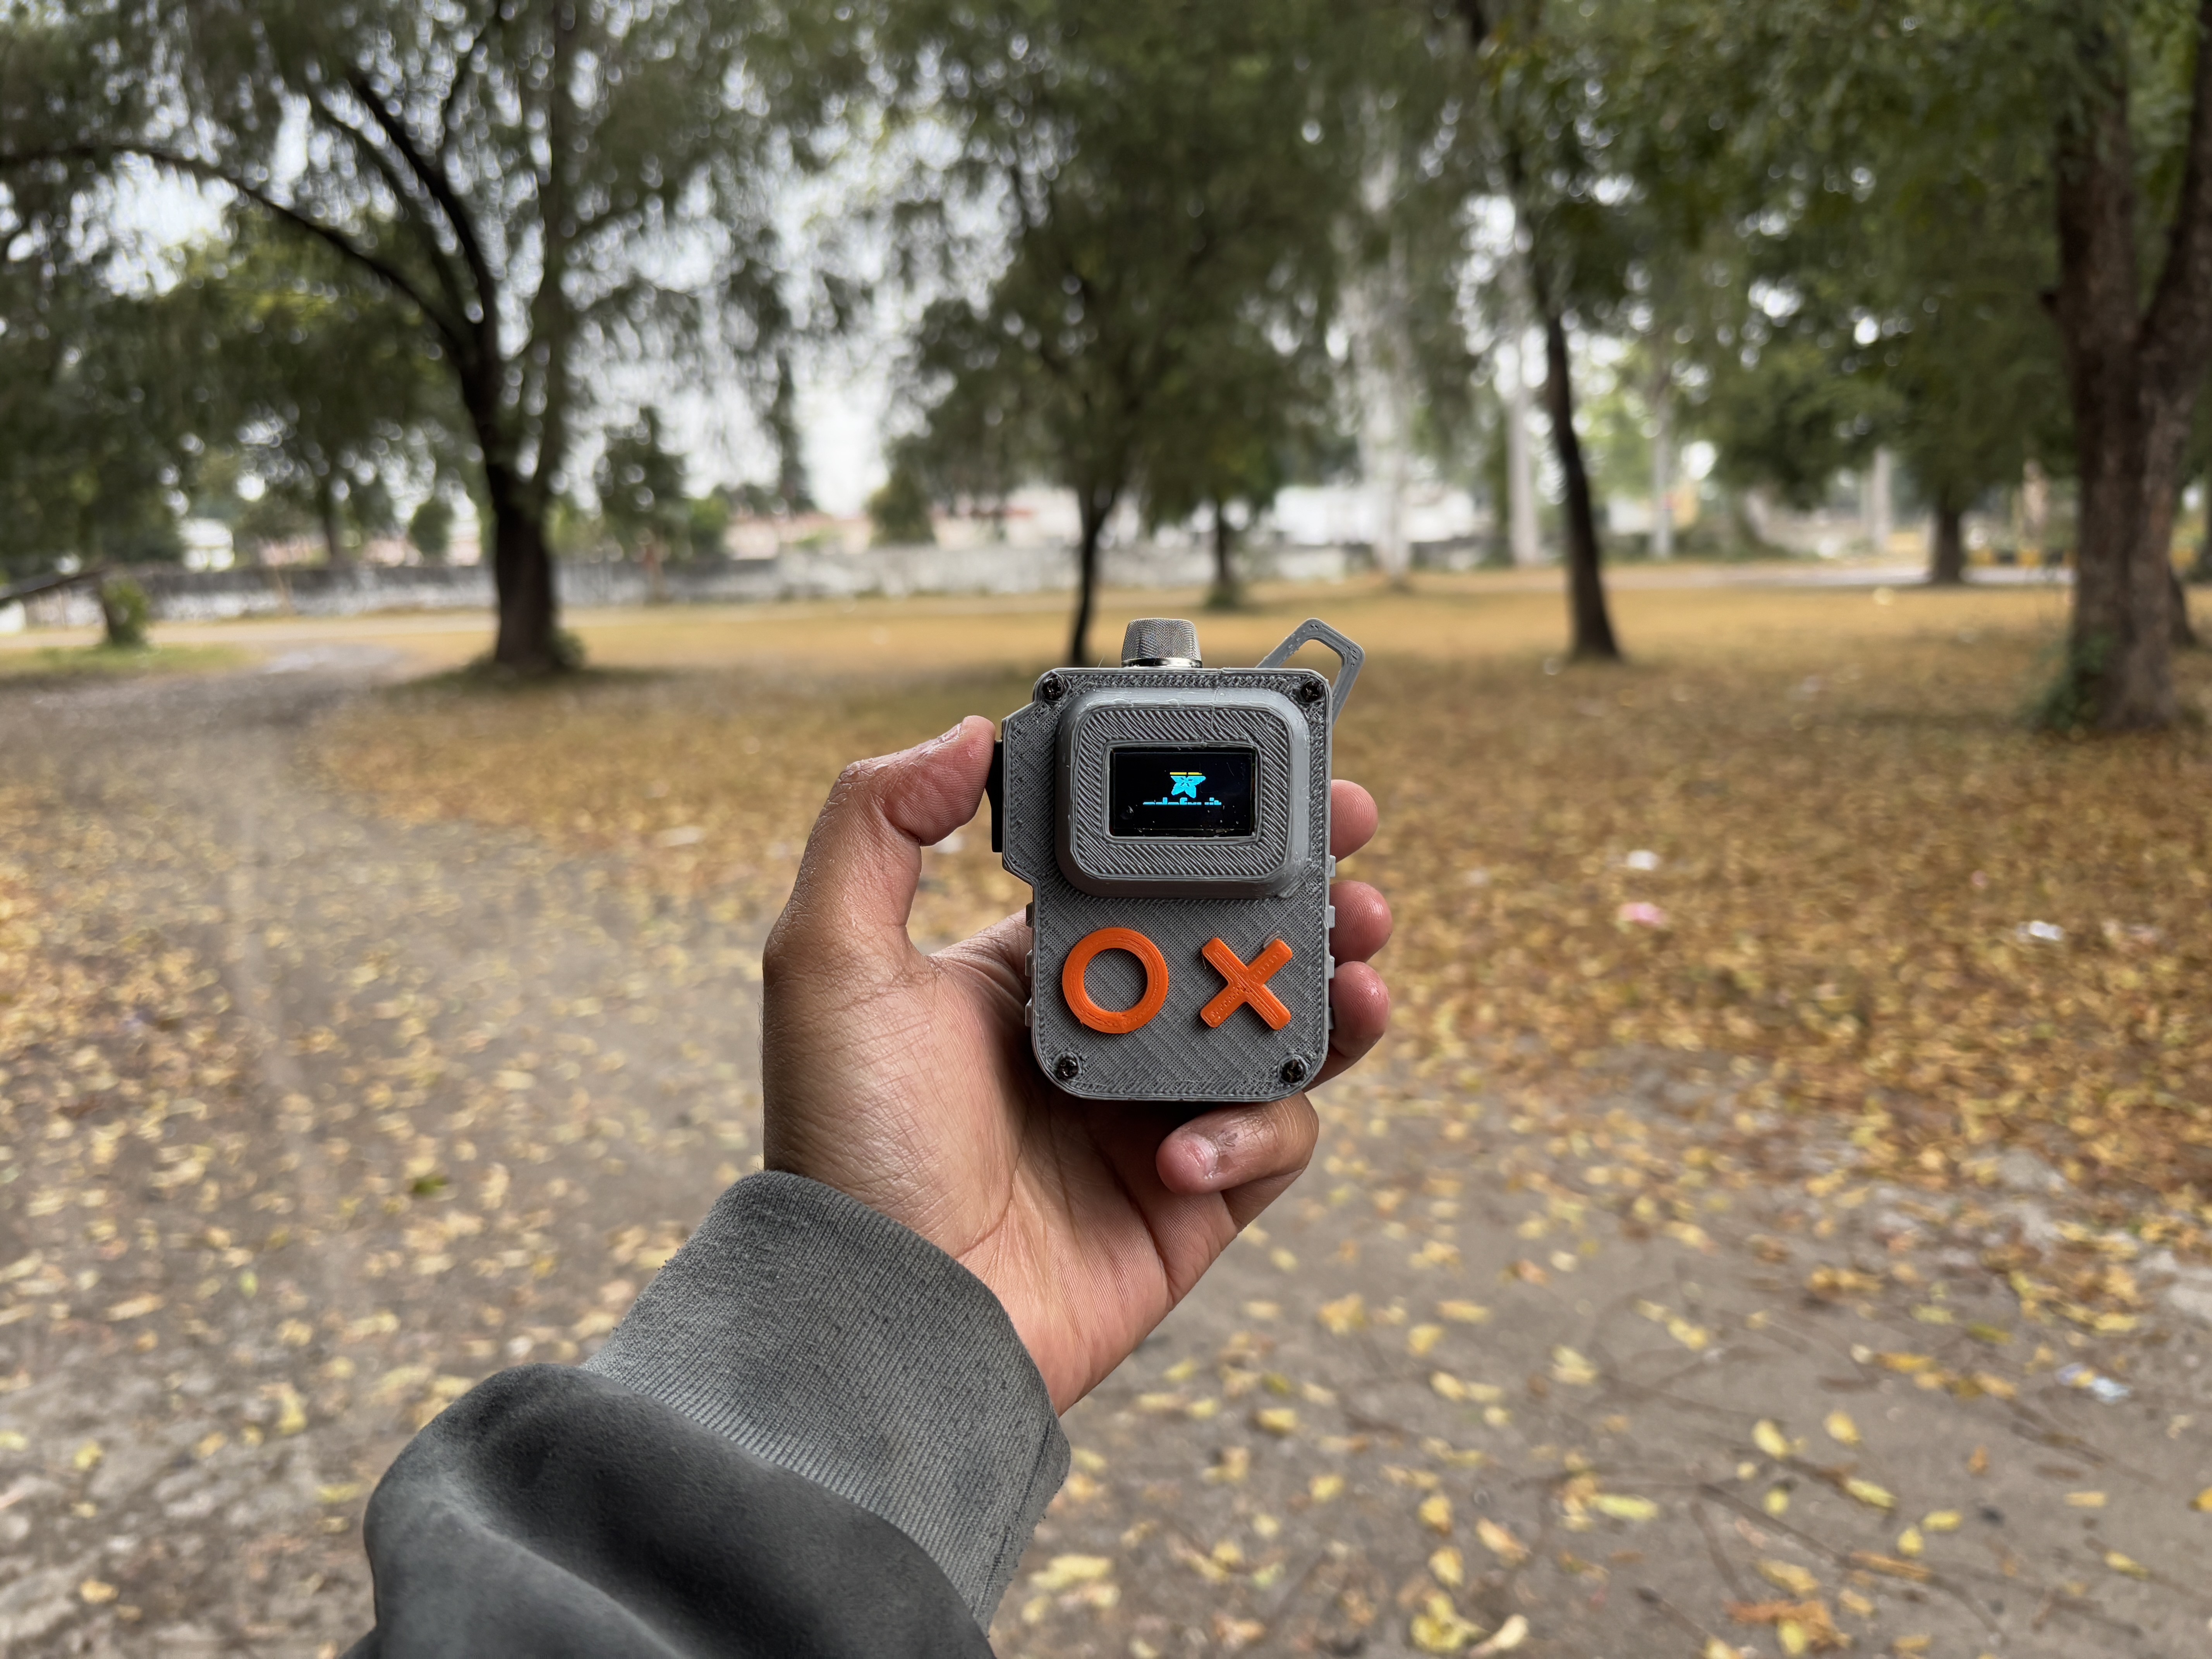
Hello everyone, and welcome back! Today, I have something incredibly useful for you—a portable air quality meter.

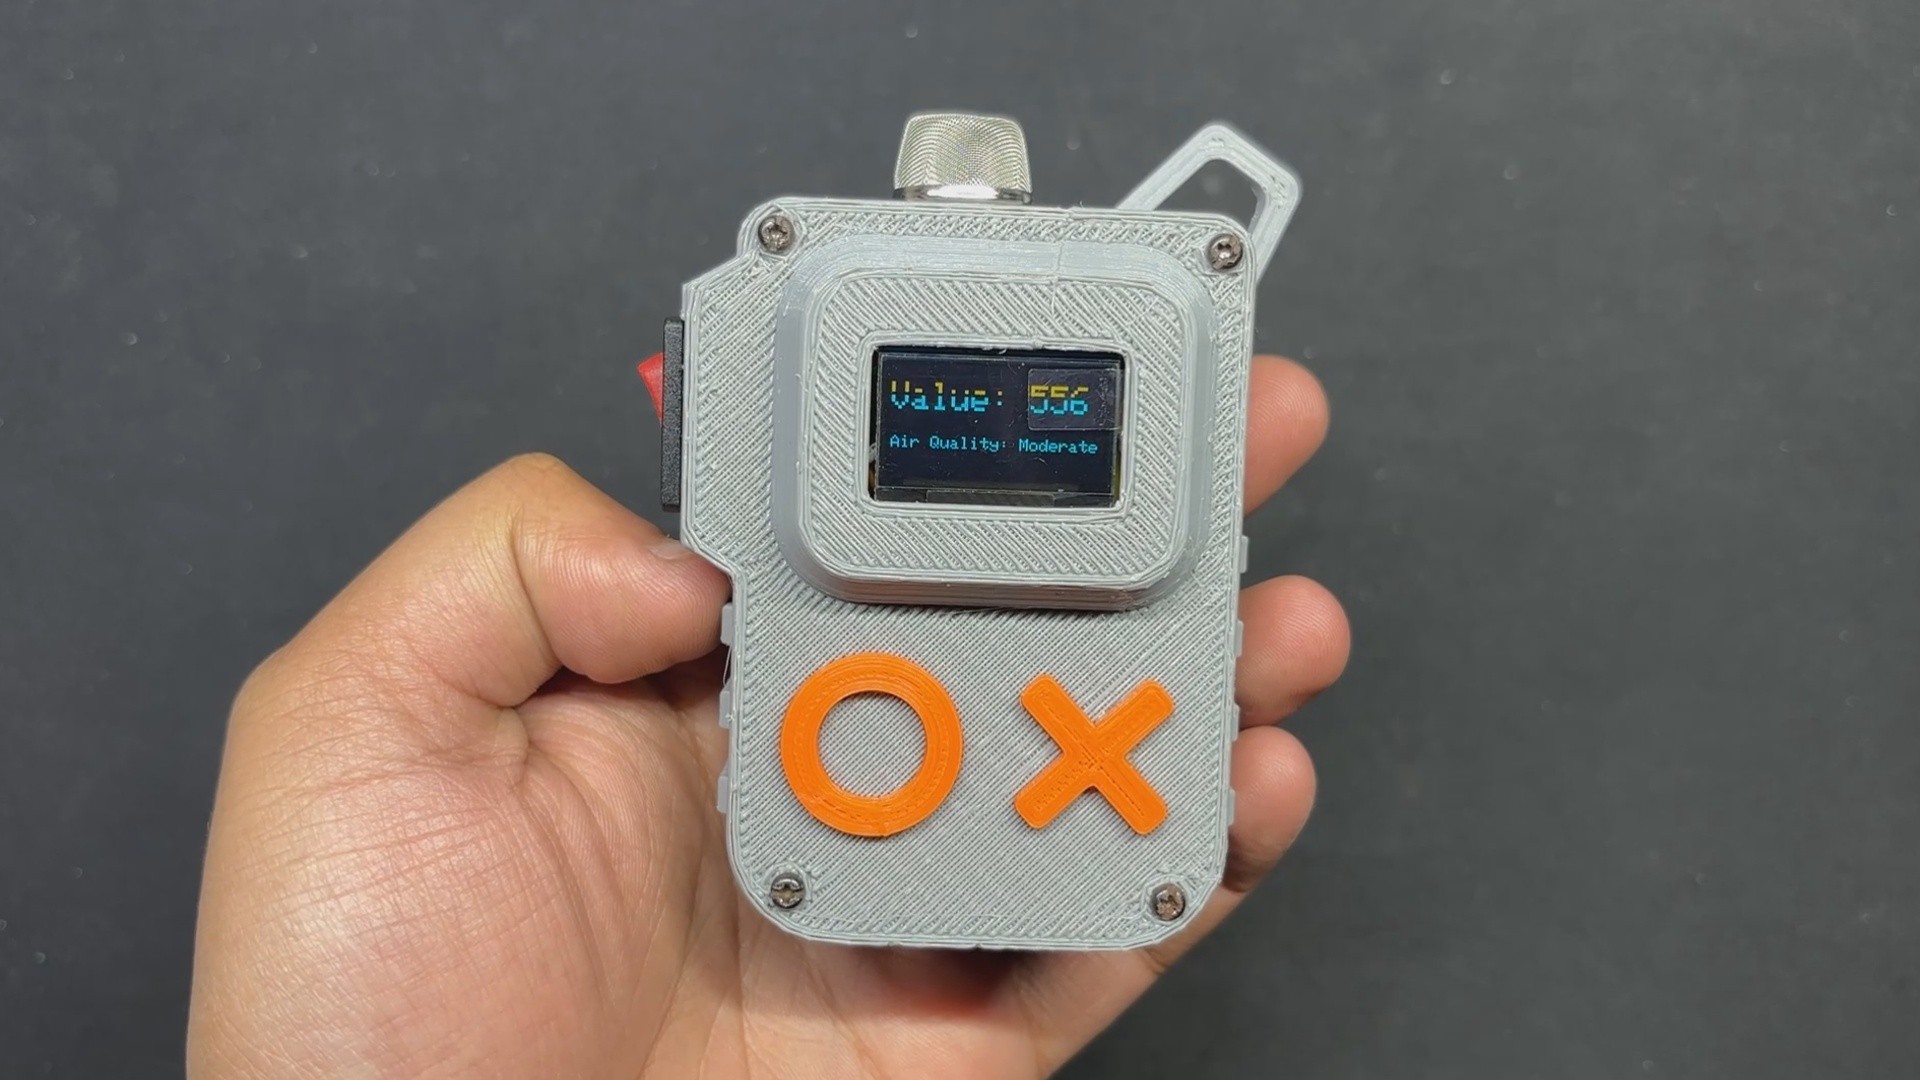
The Portable Air Quality Meter allows the user to monitor air quality using the MQ135 sensor and visually display the readings on the OLED display using the FireBeetle ESP32 E V1.

Because of its small size and built-in power supply, the user can gather air quality readings anywhere they go.

The concentration of specific gases in the air is indicated by this air quality meter; however, it is not the same as a complete Air Quality Index (AQI) evaluation. Initially, particulate matter (PM2.5 and PM10), oxygen, nitrogen dioxide, sulfur dioxide, and carbon monoxide are commonly monitored in air quality index monitoring. The only gases that our setup can detect are CO2, smoking, benzene, alcohol, nitrogen oxide, and ammonia.

The thorough and standardized AQI used for public health advisories is still the best source of information, but our air quality meter is a terrific tool for gaining a general understanding of the air quality in terms of specific gases.

The inside components of this project include the MQ135 Air Quality Sensor, the SSD1306 Display, a tiny 14500 3.7V 600mAh Li-ion cell, and the Firebeetle 2 ESP32 Microcontroller, which serves as the project's brain. All of these components come together in a customized body that we 3D printed.

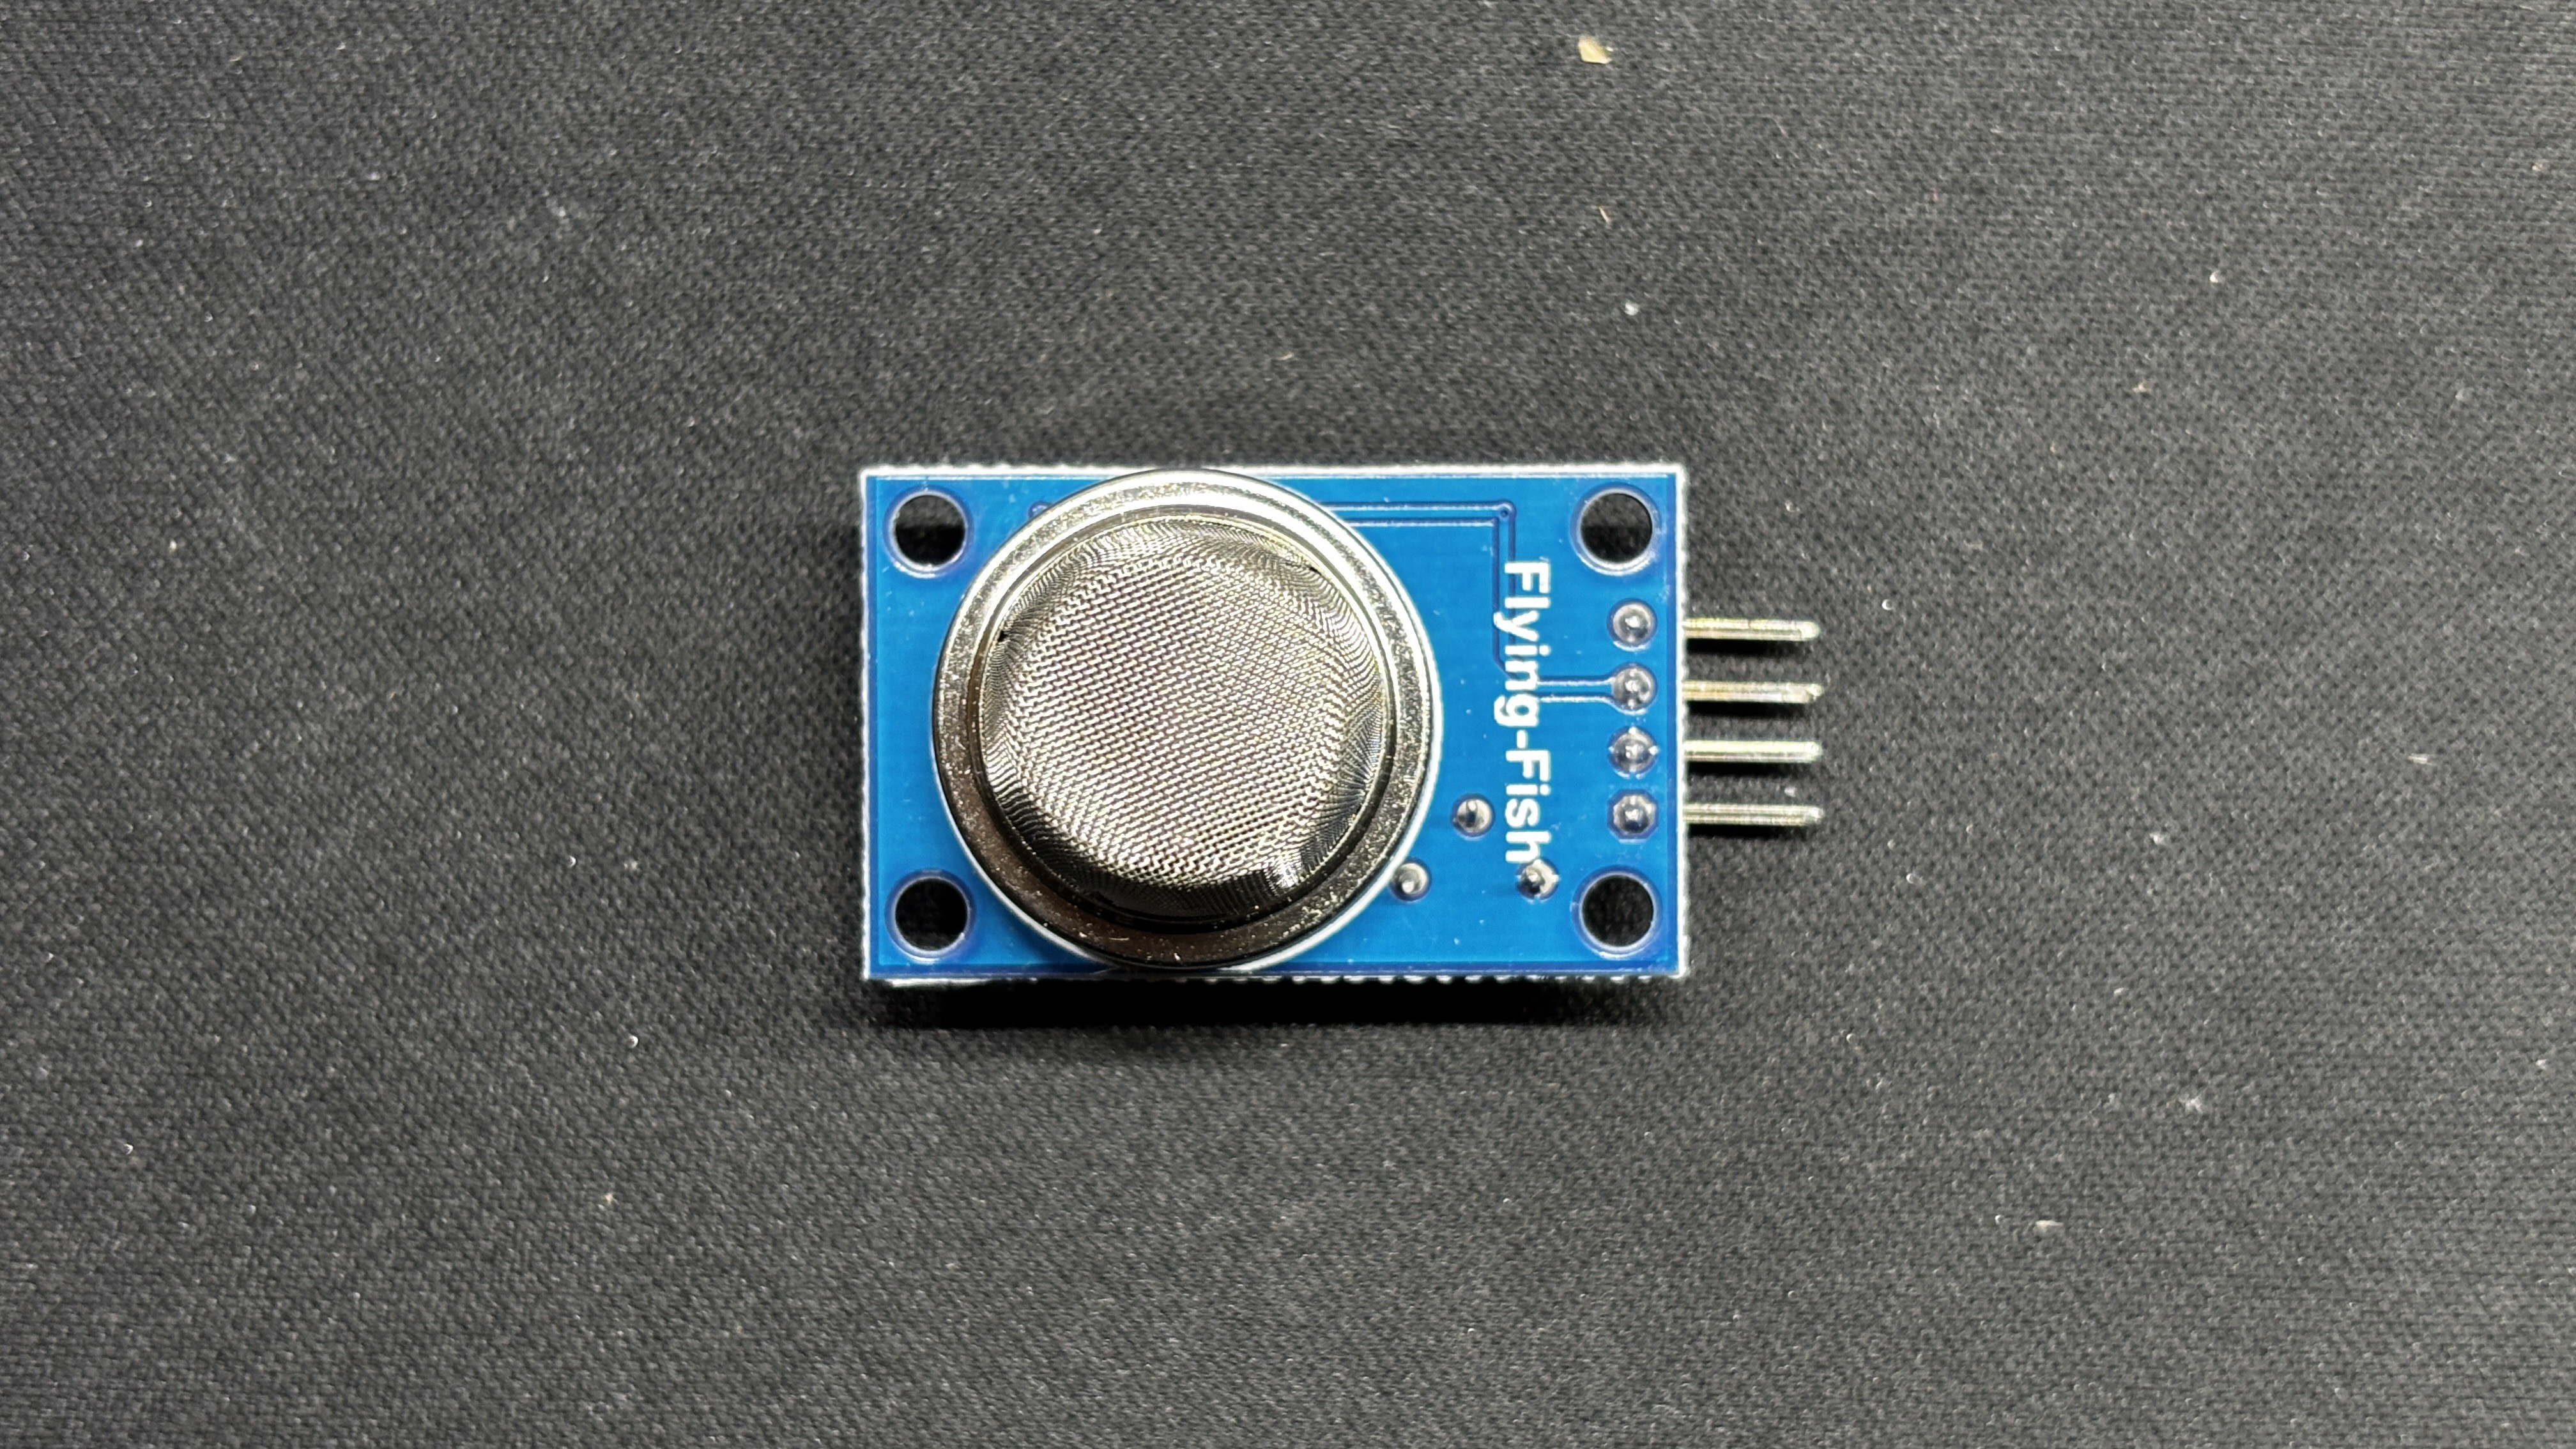
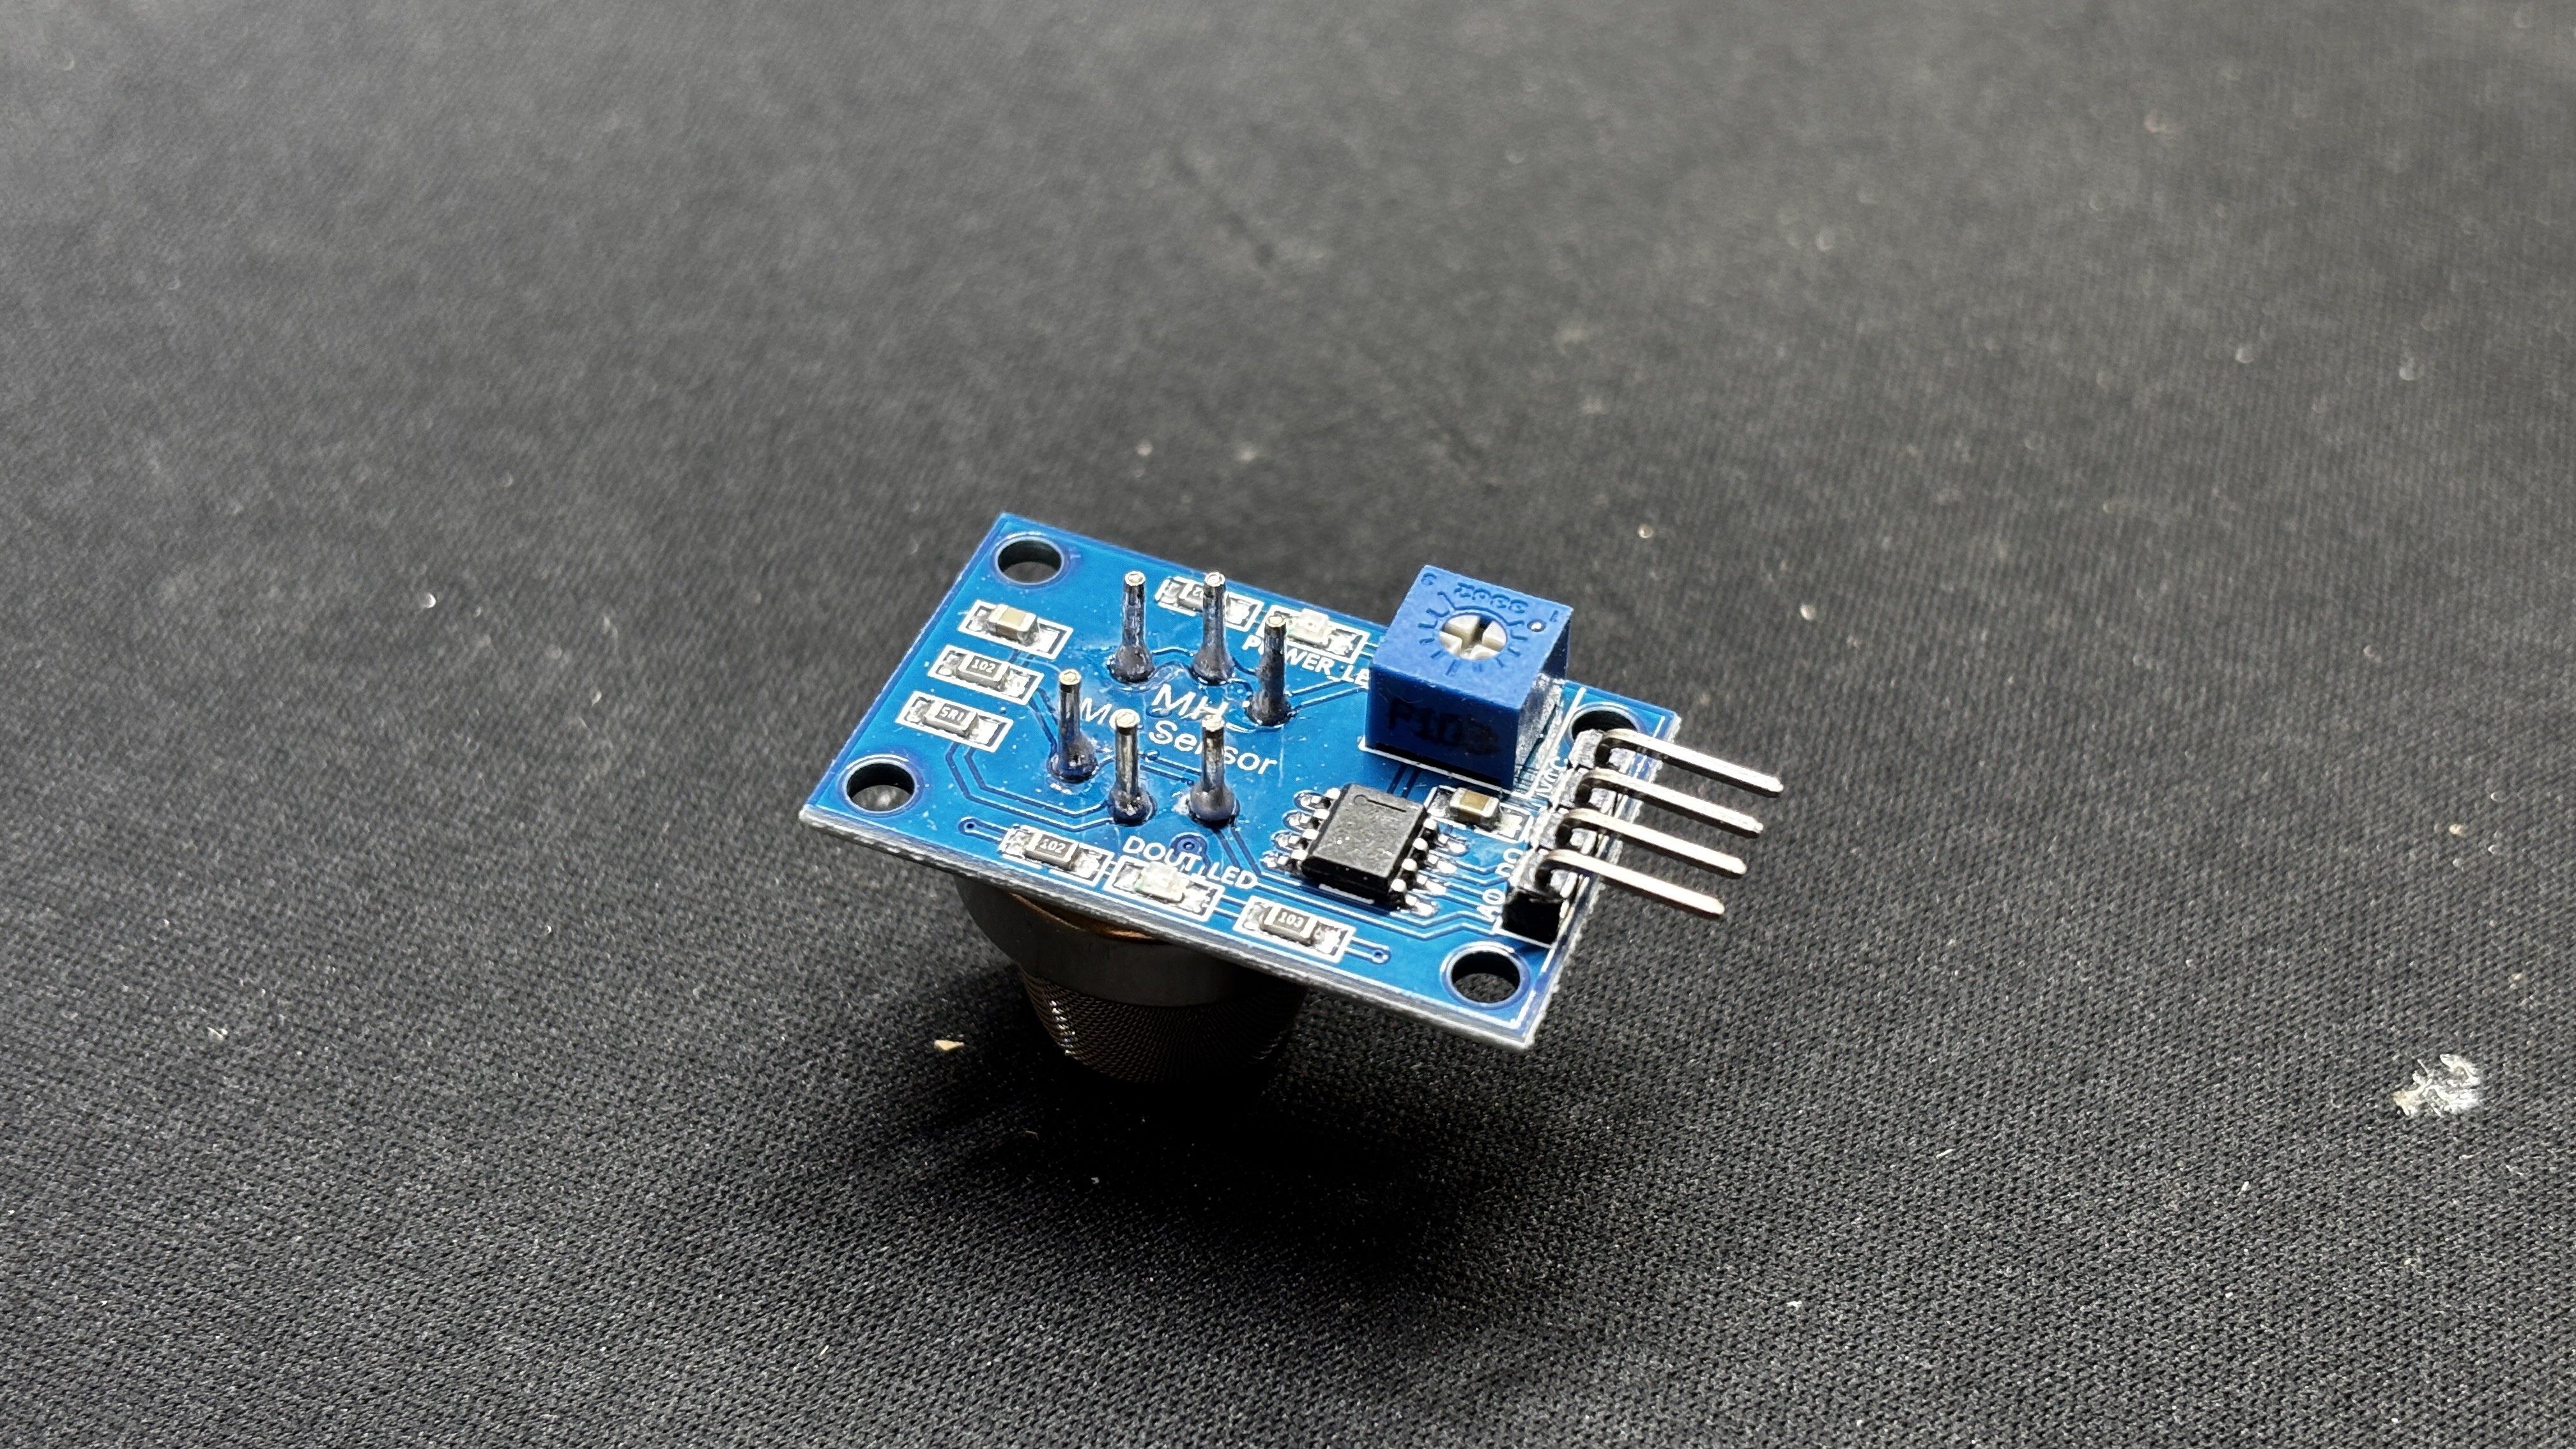
MQ135 Air Quality Sensor
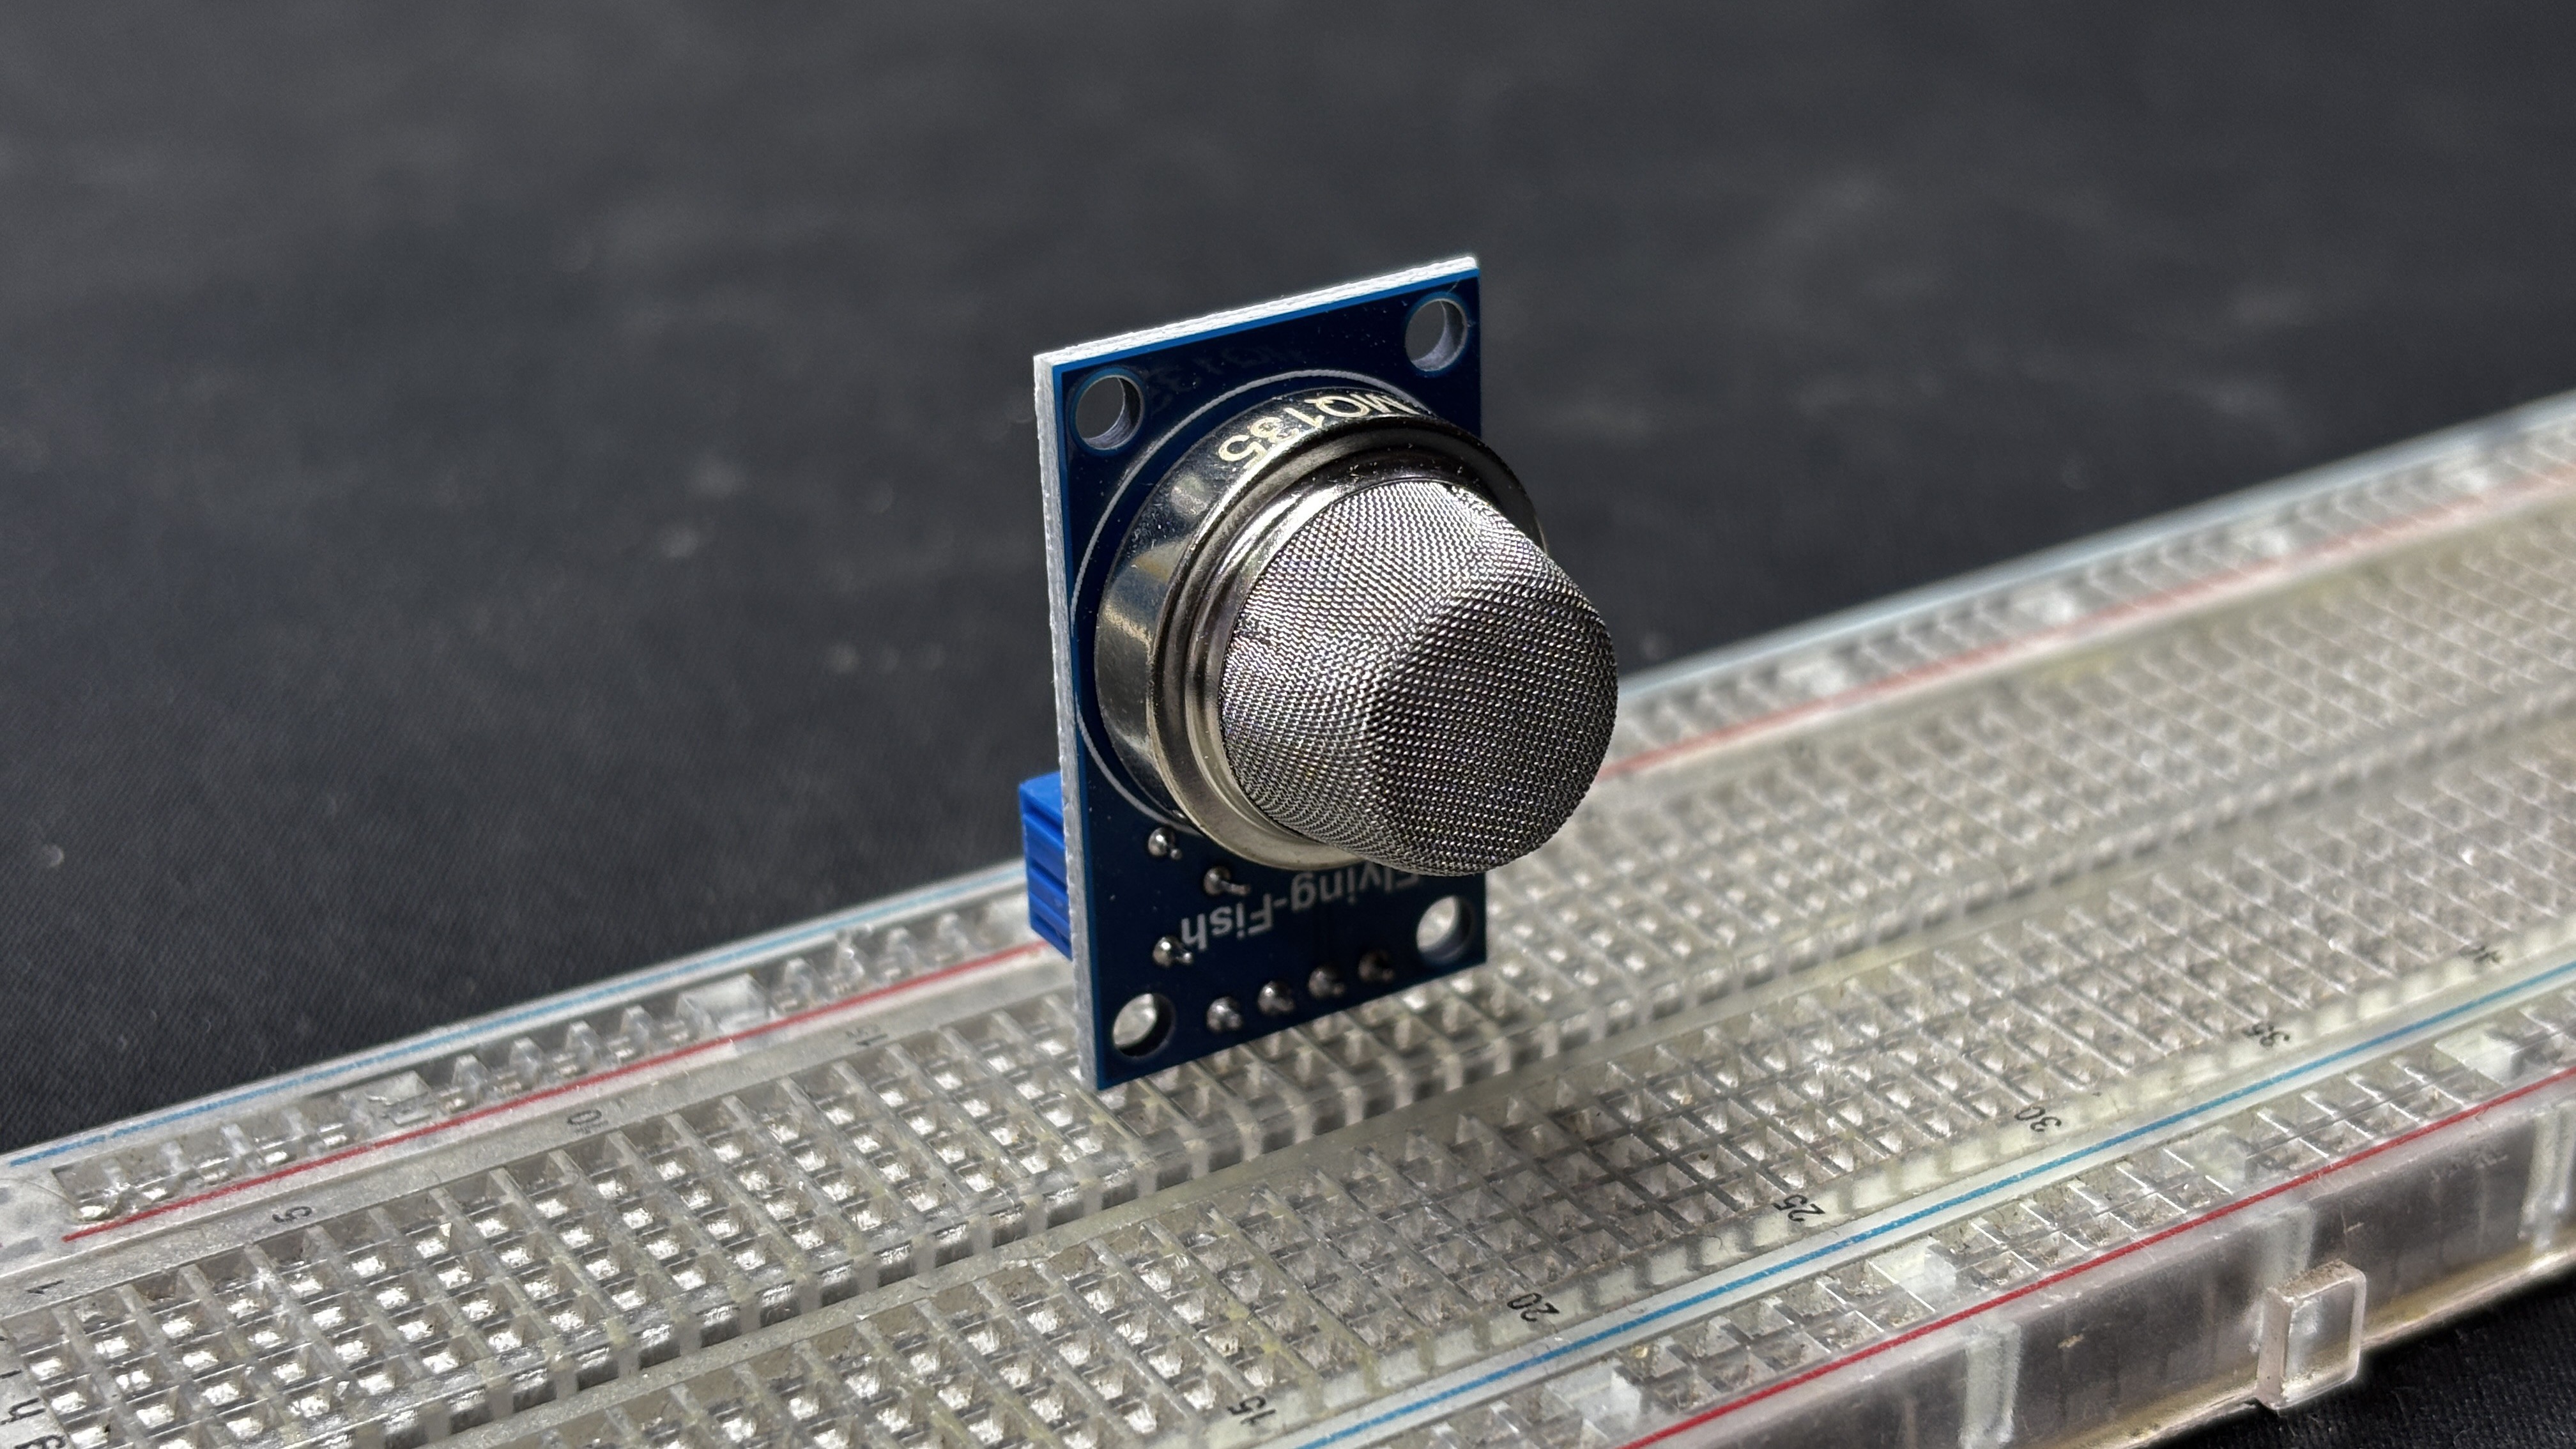
The MQ135 sensor finds numerous applications in pollution control, environmental monitoring, and air quality monitoring systems. It can be included in many projects to monitor air quality and is appropriate for detecting dangerous gases in the atmosphere.

Two outputs are available: an analog output that generates an analog voltage signal (0–5V) based on the gas concentration and a digital signal (0V or 5V) based on a gas concentration beyond a threshold. It runs from a 3.3V supply but can withstand 5V max.

The sensor needs to be preheated for 20 seconds in order to stabilize and provide accurate readings, and it uses 150 mA when in use.

Ammonia (NH3), nitrogen oxides (NOx), carbon dioxide (CO2), benzene, smoke, and other dangerous gases can all be detected with this sensor.

PCBWAY GIFTSHOP
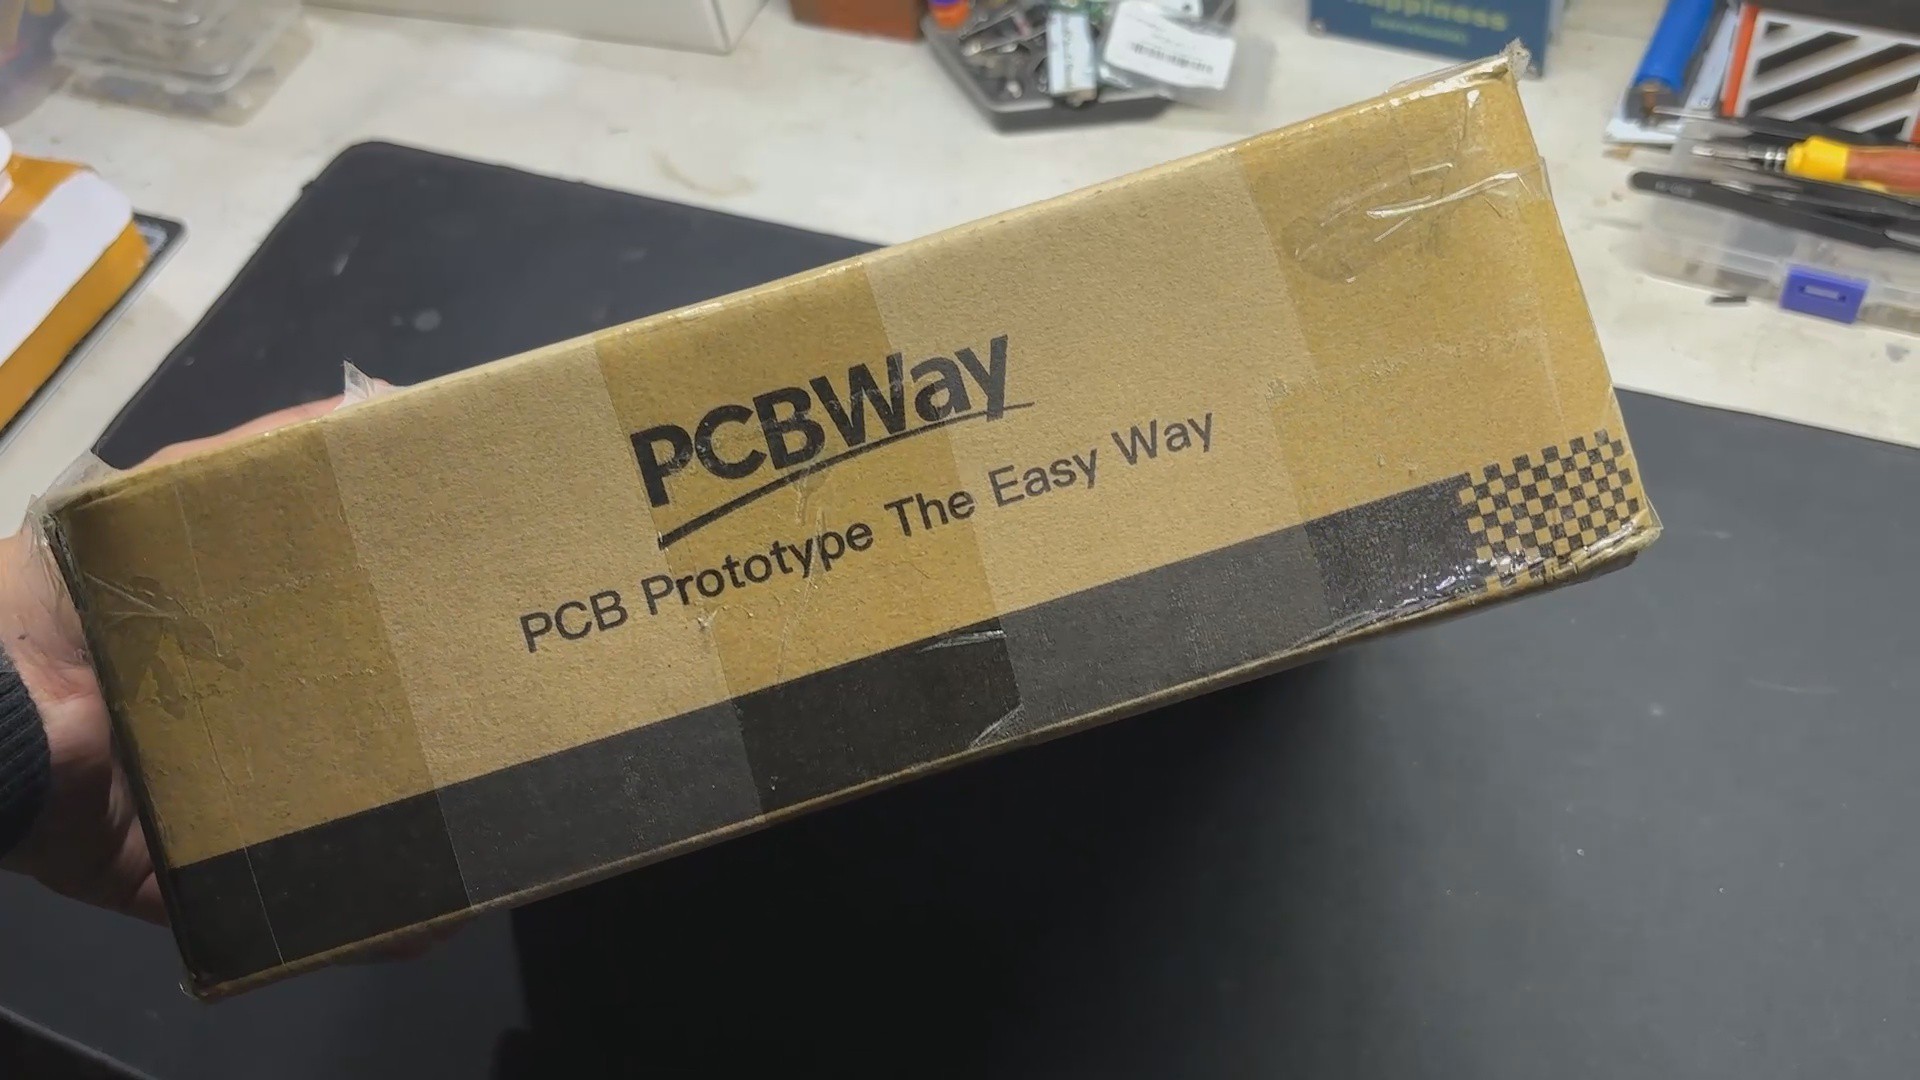
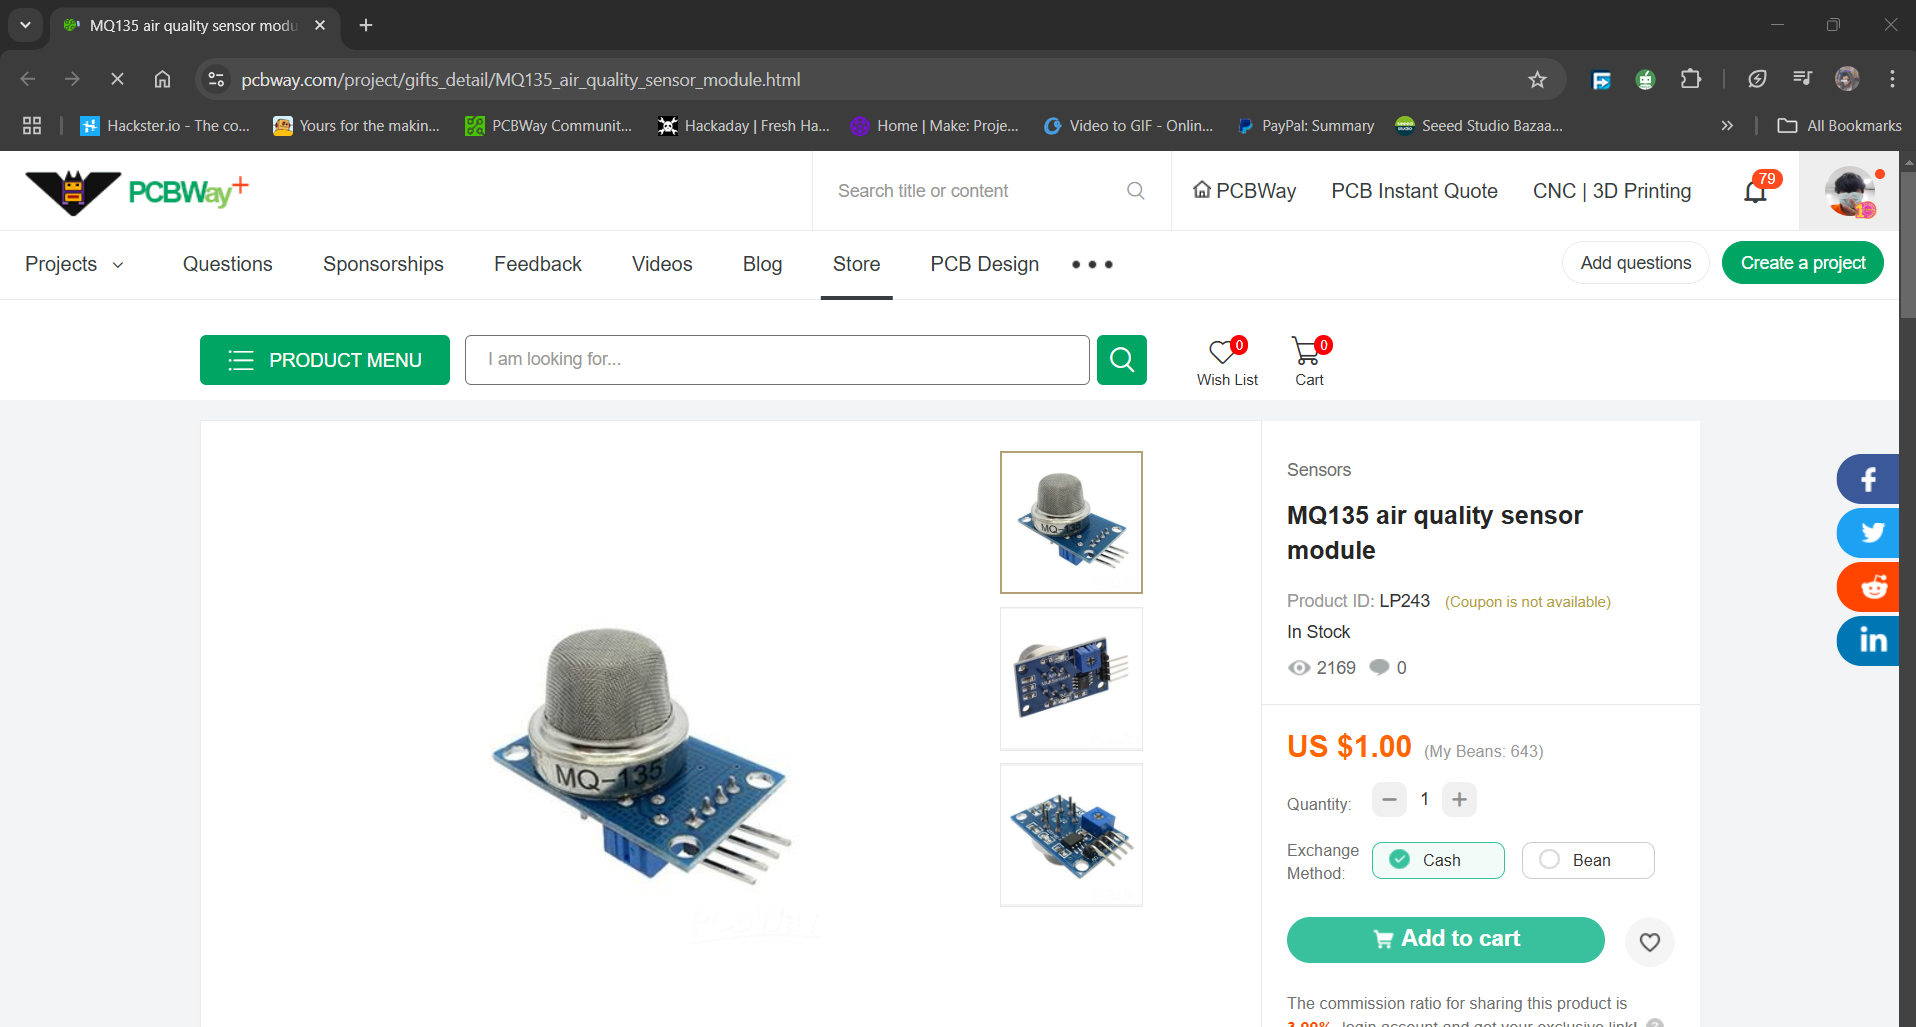
As for sourcing the MQ135 sensor along with the OLED display and PICO 2 we used in this project, we got them from PCBWAY's Giftshop.

https://www.pcbway.com/project/gifts_detail/MQ135_air_quality_sensor_module.html

https://www.pcbway.com/project/gifts_detail/Raspberry_Pi_Pico_2_a84bd81f.html

https://www.pcbway.com/project/gifts_detail/0_96_Inch_Oled_Screen.html

PCBWAY gift shop is an online marketplace where you can get a variety of electronics modules and boards for their genuine price, or you could use the PCBWAY currency, which is called beans.

You get beans after ordering something from PCBWAY as reward points, or you can also get them by posting any project in the PCBWAY community.

Also, PCBWay is hosting its 7th Project Design Contest, a global competition that invites electronics enthusiasts, engineers, and makers to showcase their innovative projects. The contest provides a platform for participants to share their creativity and technical expertise with the broader community.

This year’s competition includes three major categories: electronic project, mechanical project and SMT 32 project

With prizes awarded for the most exceptional designs, the contest aims to inspire and support innovation, making it an exciting opportunity for both professionals and hobbyists to gain recognition and connect with like-minded creators.

You guys can check out PCBWAY if you want great PCB service at an affordable rate.

AIR QUALITY SENSOR v6.f3d

fusion - 4.67 MB - 12/28/2024 at 09:12

Download

AIR QUALITY SENSOR v6.step

step - 3.31 MB - 12/28/2024 at 09:11

Download

BASE.3mf

3mf - 148.43 kB - 12/28/2024 at 09:11

Download

TOP.3mf

3mf - 107.64 kB - 12/28/2024 at 09:11

Download

O.3mf

3mf - 59.83 kB - 12/28/2024 at 09:11

Download

View all 6 files

  • 1
    Basic Setup using Raspberry Pi Pico

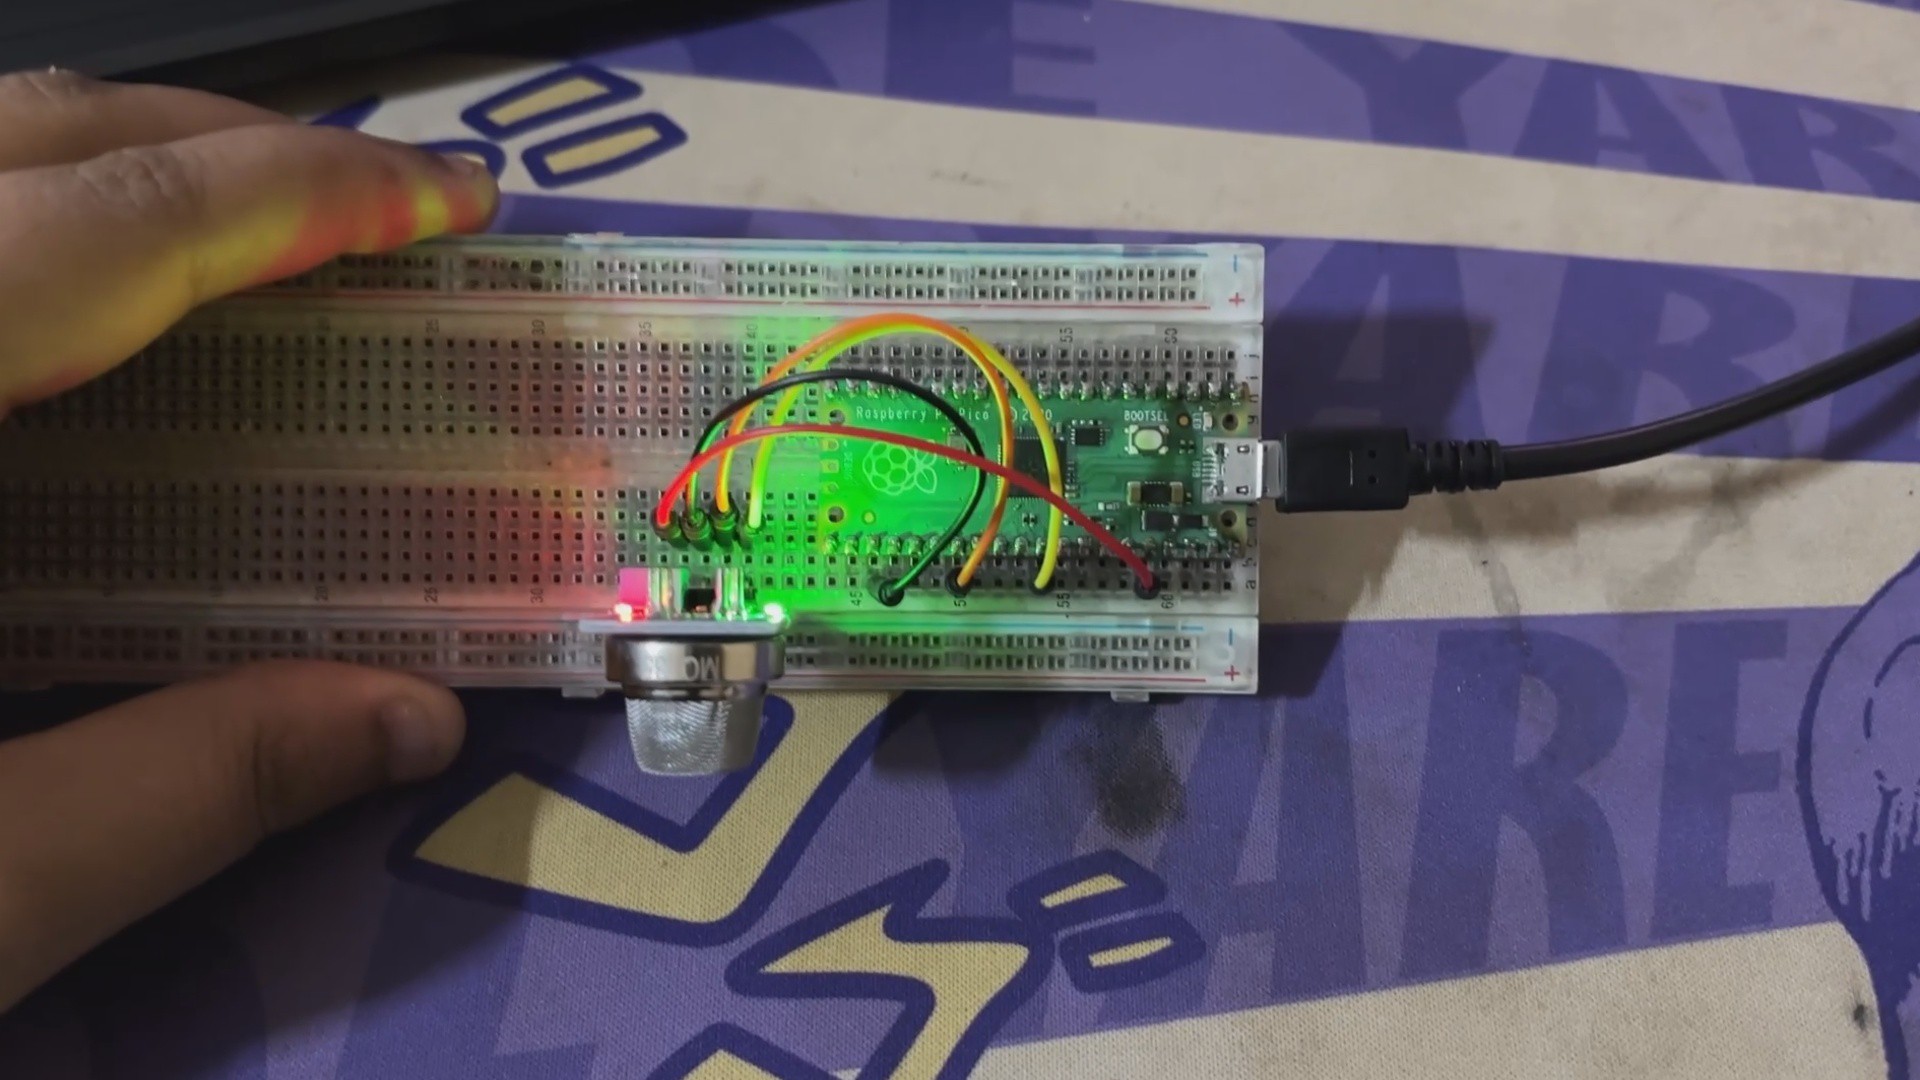
    We begin by putting together the simplest possible configuration utilizing the MQ135 Sensor and the recently released Raspberry Pi PICO 2.

    Here, we connected the MQ135 Sensor's VCC to the 3.3V Pin of PICO, GND to GND, and GPIO26 and GPIO21 for the analog and digital outputs, respectively.

    This was the sketch we used for Test.

    #include <Wire.h>
    // Define the pins
    const int analogPin = 26;  // GP26
    const int digitalPin = 21; // GP21
    void setup() {
    Serial.begin(9600);
    pinMode(digitalPin, INPUT);
    }
    void loop() {
    int analogValue = analogRead(analogPin);
    int digitalValue = digitalRead(digitalPin);
    Serial.print("Analog Value: ");
    Serial.print(analogValue);
    Serial.print(", Digital Value: ");
    Serial.println(digitalValue);
    delay(1000);
    }

    It takes about 20 to 30 seconds for the MQ135 Sensor to preheat before it provides precise readings. The sensor value in the Serial monitor can be observed by the user using the sketch above. 

  • 2
    Level 2- Design

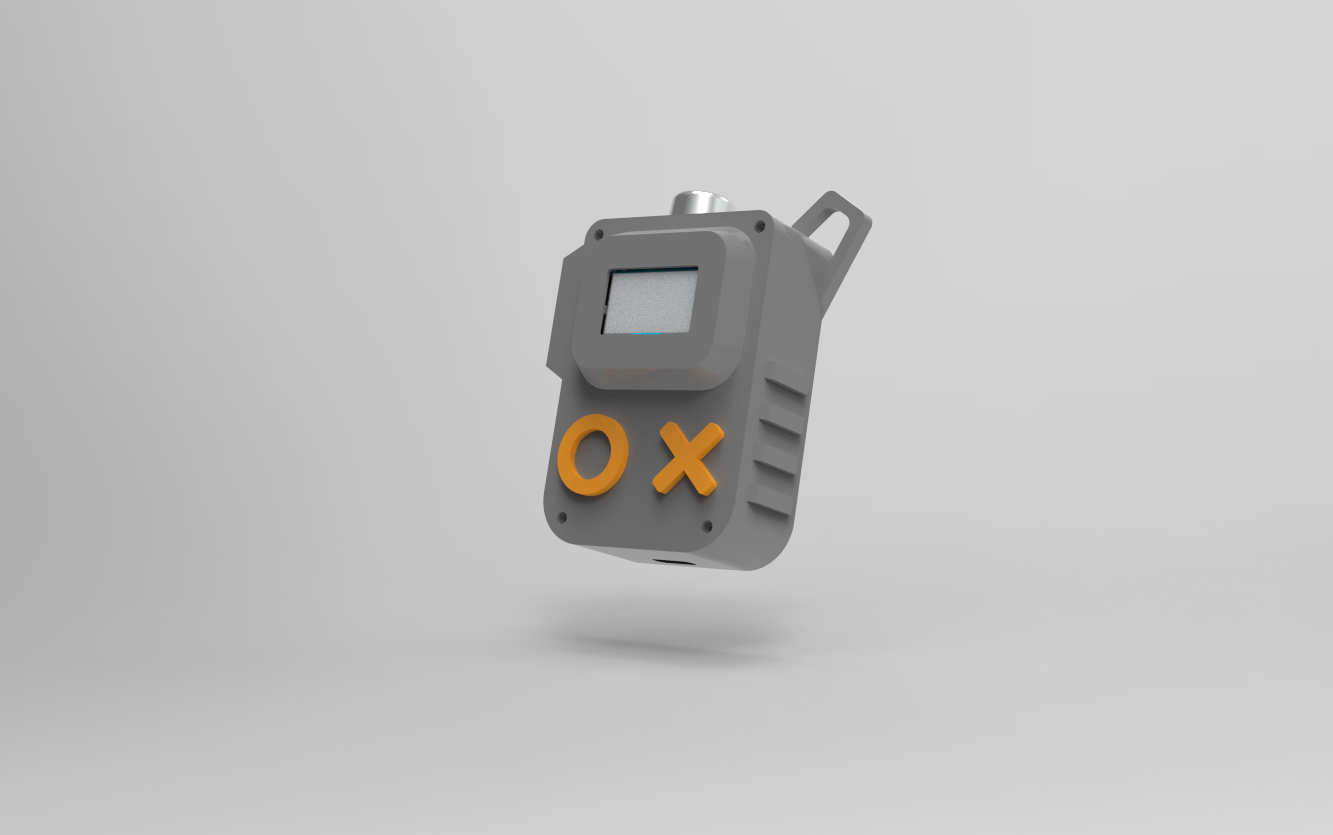
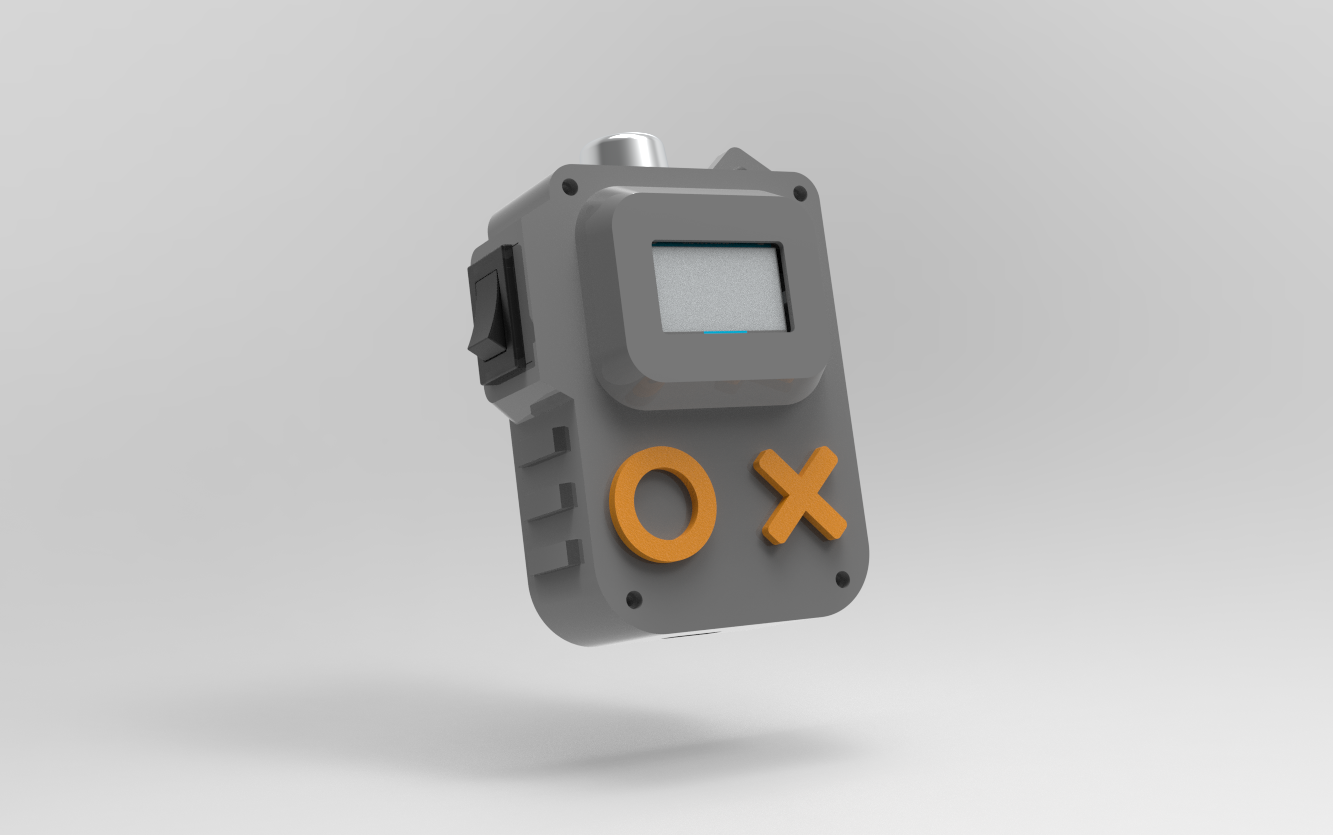
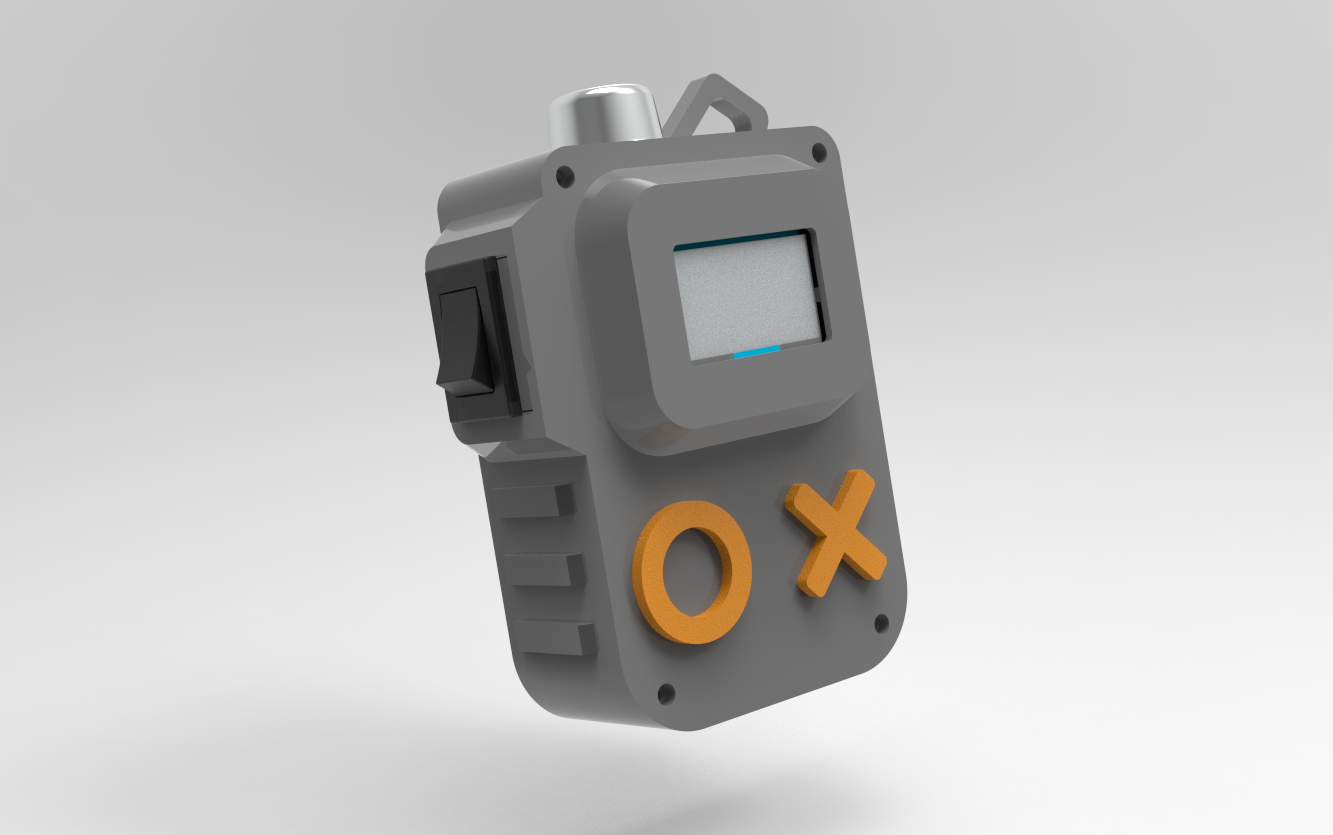
    We made a little enclosure in the Level 2 design that was just 80 x 55 x 30 mm in size. It was separated into two bodies: the Base and the Top Lid part. The OLED screen is mounted in place by the top lid, which also has four screw holes for attaching it to the base body with M2 screws.

    The Firebeetle 2 Board, MQ135 Sensor, Power Switch, and Battery are all housed inside the Base Body.

    We added handles to the left and right sides of the base body to make this enclosure comfortable and easy to hold.

    To make it easier to wear or carry around, we have included a hook-like component that can be used to attach an ID card strap or a keychain to this device.

    We created additional components that resemble the letters O and X and put them on the top lid part of the enclosure to increase its visual impact. To enhance the device's aesthetic impact, both of these parts will be printed in orange PLA, while the entire enclosure will be printed in grey PLA.

  • 3
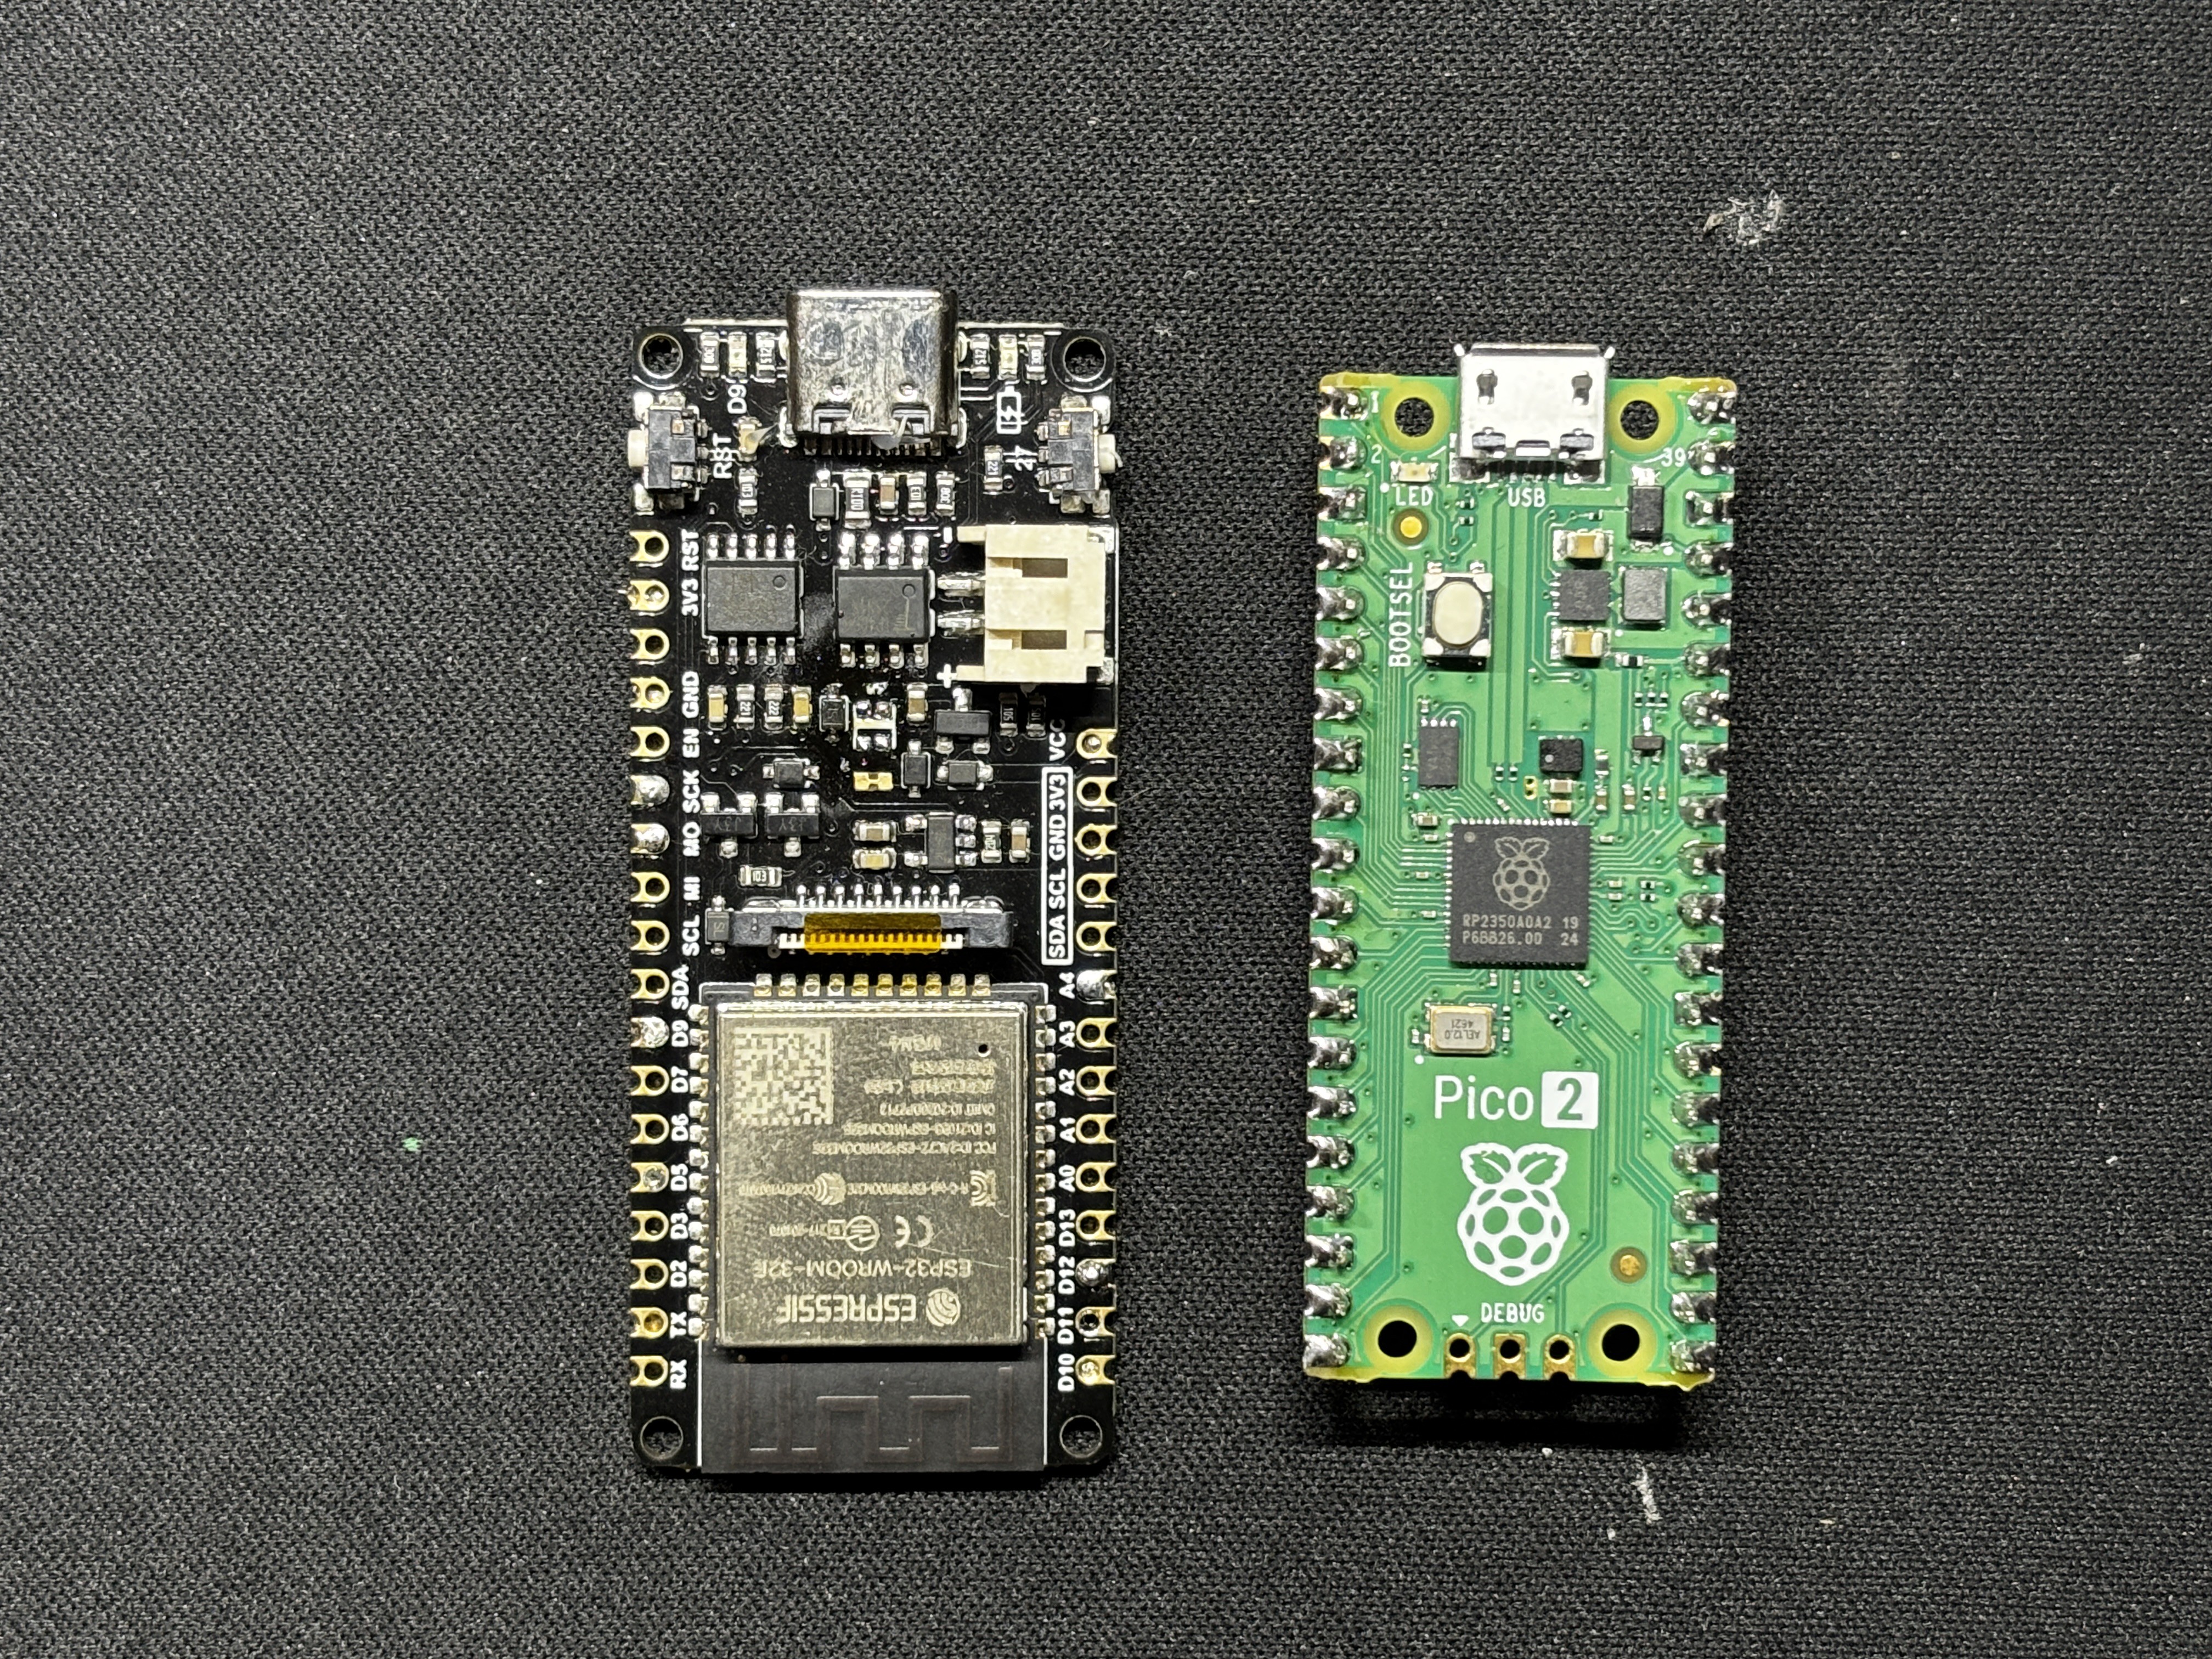
    Why Choose FireBeetle over Raspberry Pi Pico

    For level 2 of this project, we swapped the main microcontroller used, which was the Raspberry Pi Pico 2, to the Firebeetle 2 ESP32-E Microcontroller board.

    A minor space issue within the enclosure was the reason for this switch; 

    however, despite the fact that the two boards appear to be almost identical in size, the Pico is really smaller than the Firebeetle. We had to modify the enclosure's design and make it slightly larger because using Pico required the addition of a second board for charging the lithium cell.

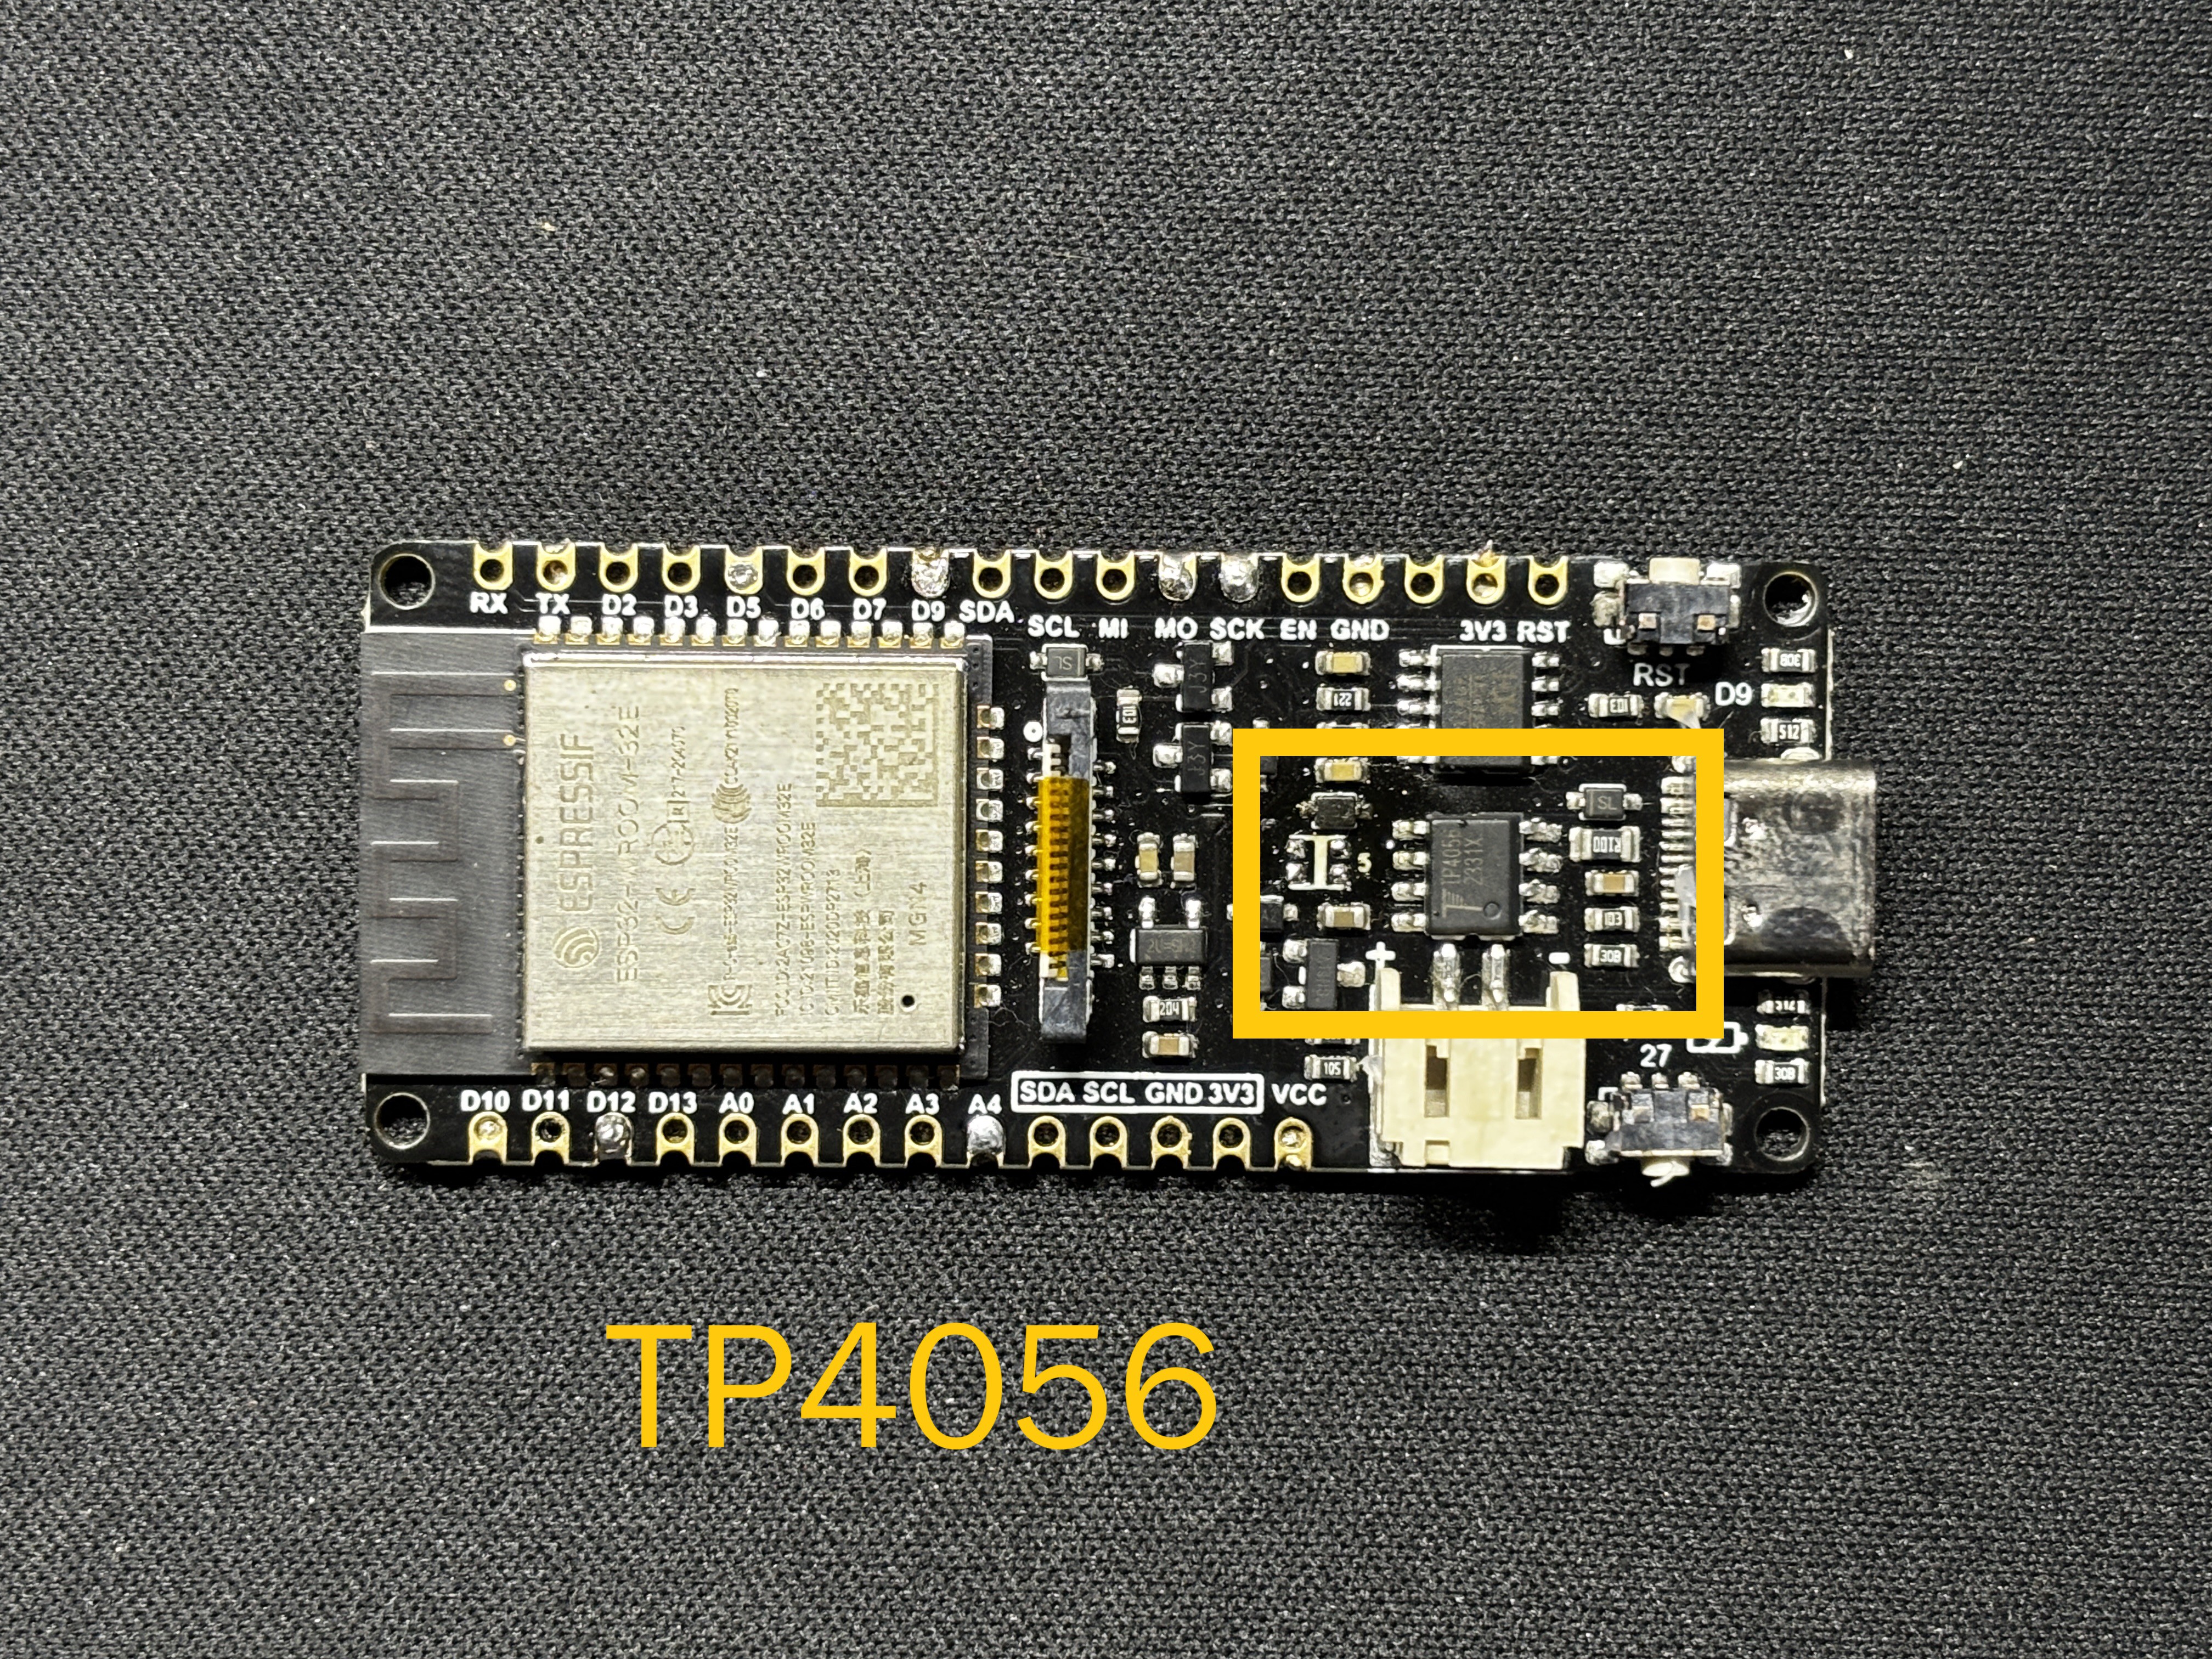
    We utilized the Firebeetle to address this issue since it has an onboard lithium-ion cell charging circuit that is driven by the TP4056, a full linear charger integrated circuit made specifically for single-cell lithium-ion batteries.

    The TP4065 was incorporated into the Firebeetle development board, which resolved our space issue. It is perfect for usage in portable devices that need a dependable and effective lithium-ion battery charging solution.

View all 8 instructions

Enjoy this project?

Share

Discussions

Similar Projects

Does this project spark your interest?

Become a member to follow this project and never miss any updates