 lion mclionhead
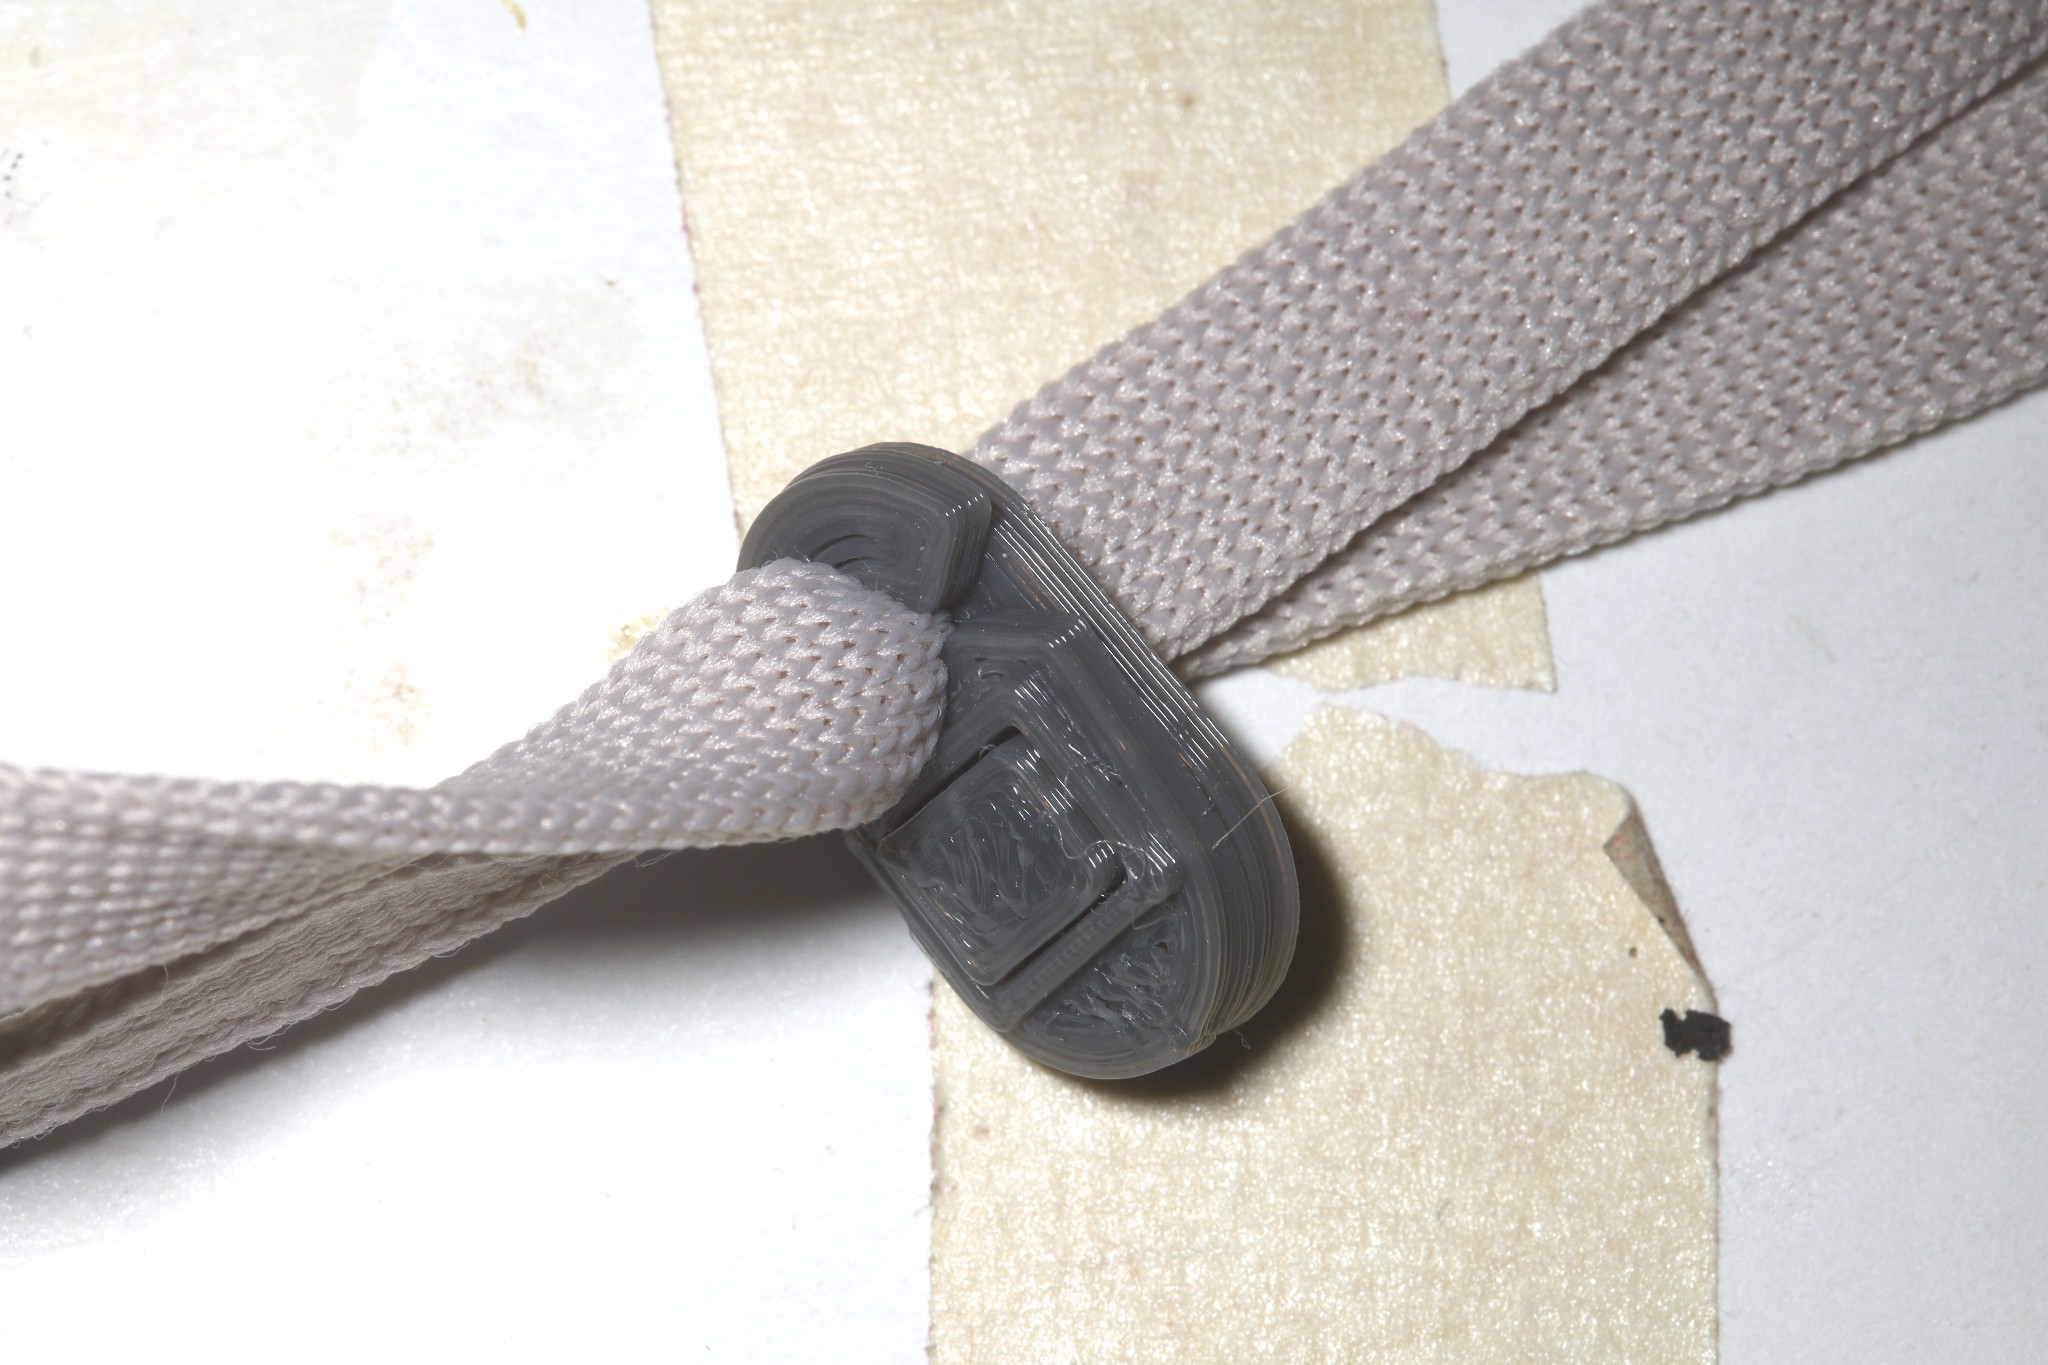
The sandal cord locks stayed in place without any welding, which made lions ponder if the single opening design couldn't be made removable. The sandal cord lock uses an unwelded tab to crimp the string. The pressure of the string & the rough laminations keep the tab in place.
The bed side needs to face away from the tension. It would need a radical redesign to prevent chafing but it would already be useful for non chafing situations.
-----------------------------------------------------------
Noted the clothing strings compress over time & loosen because the cord locks are sized for just 1 string. Meanwhile, the sandal strings expanded after 15 miles & became impossible to adjust. The ability to press a button to release the cord locks would be ideal.
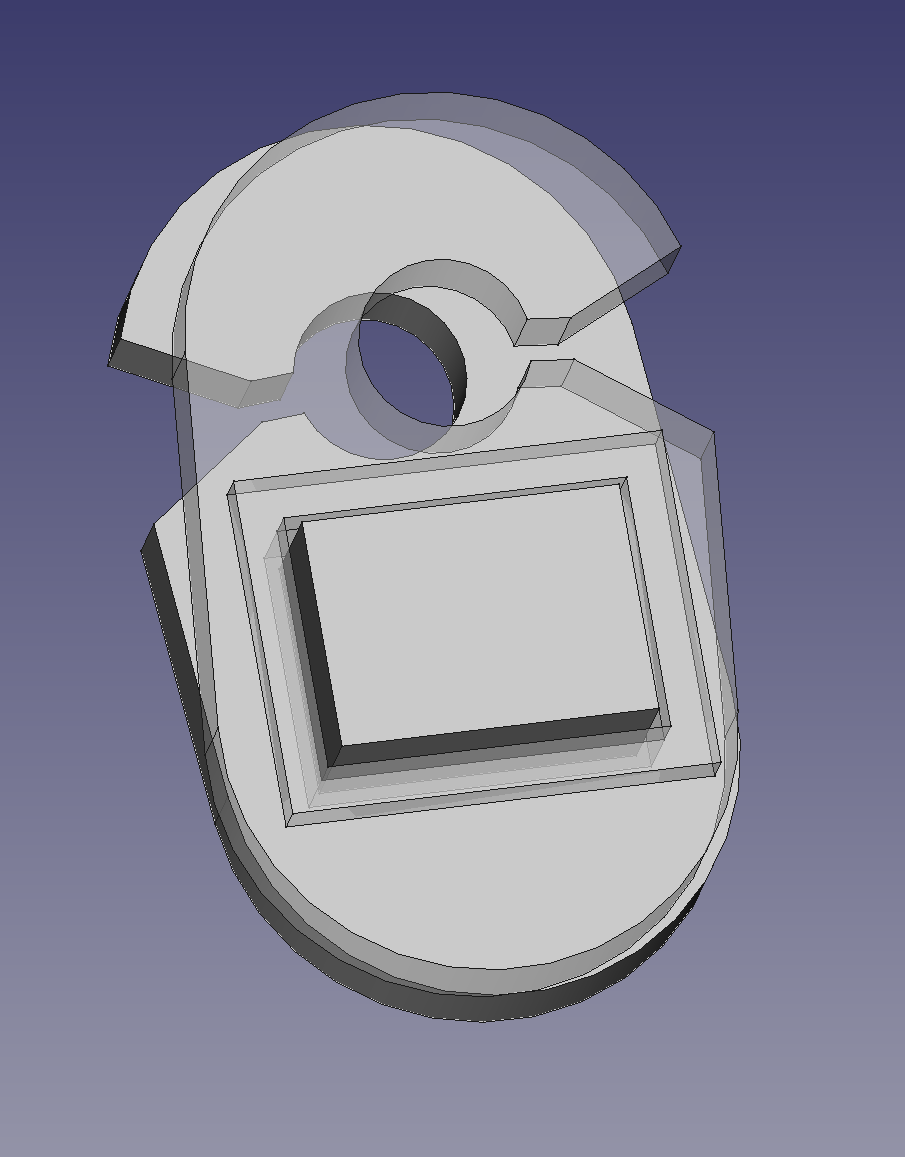
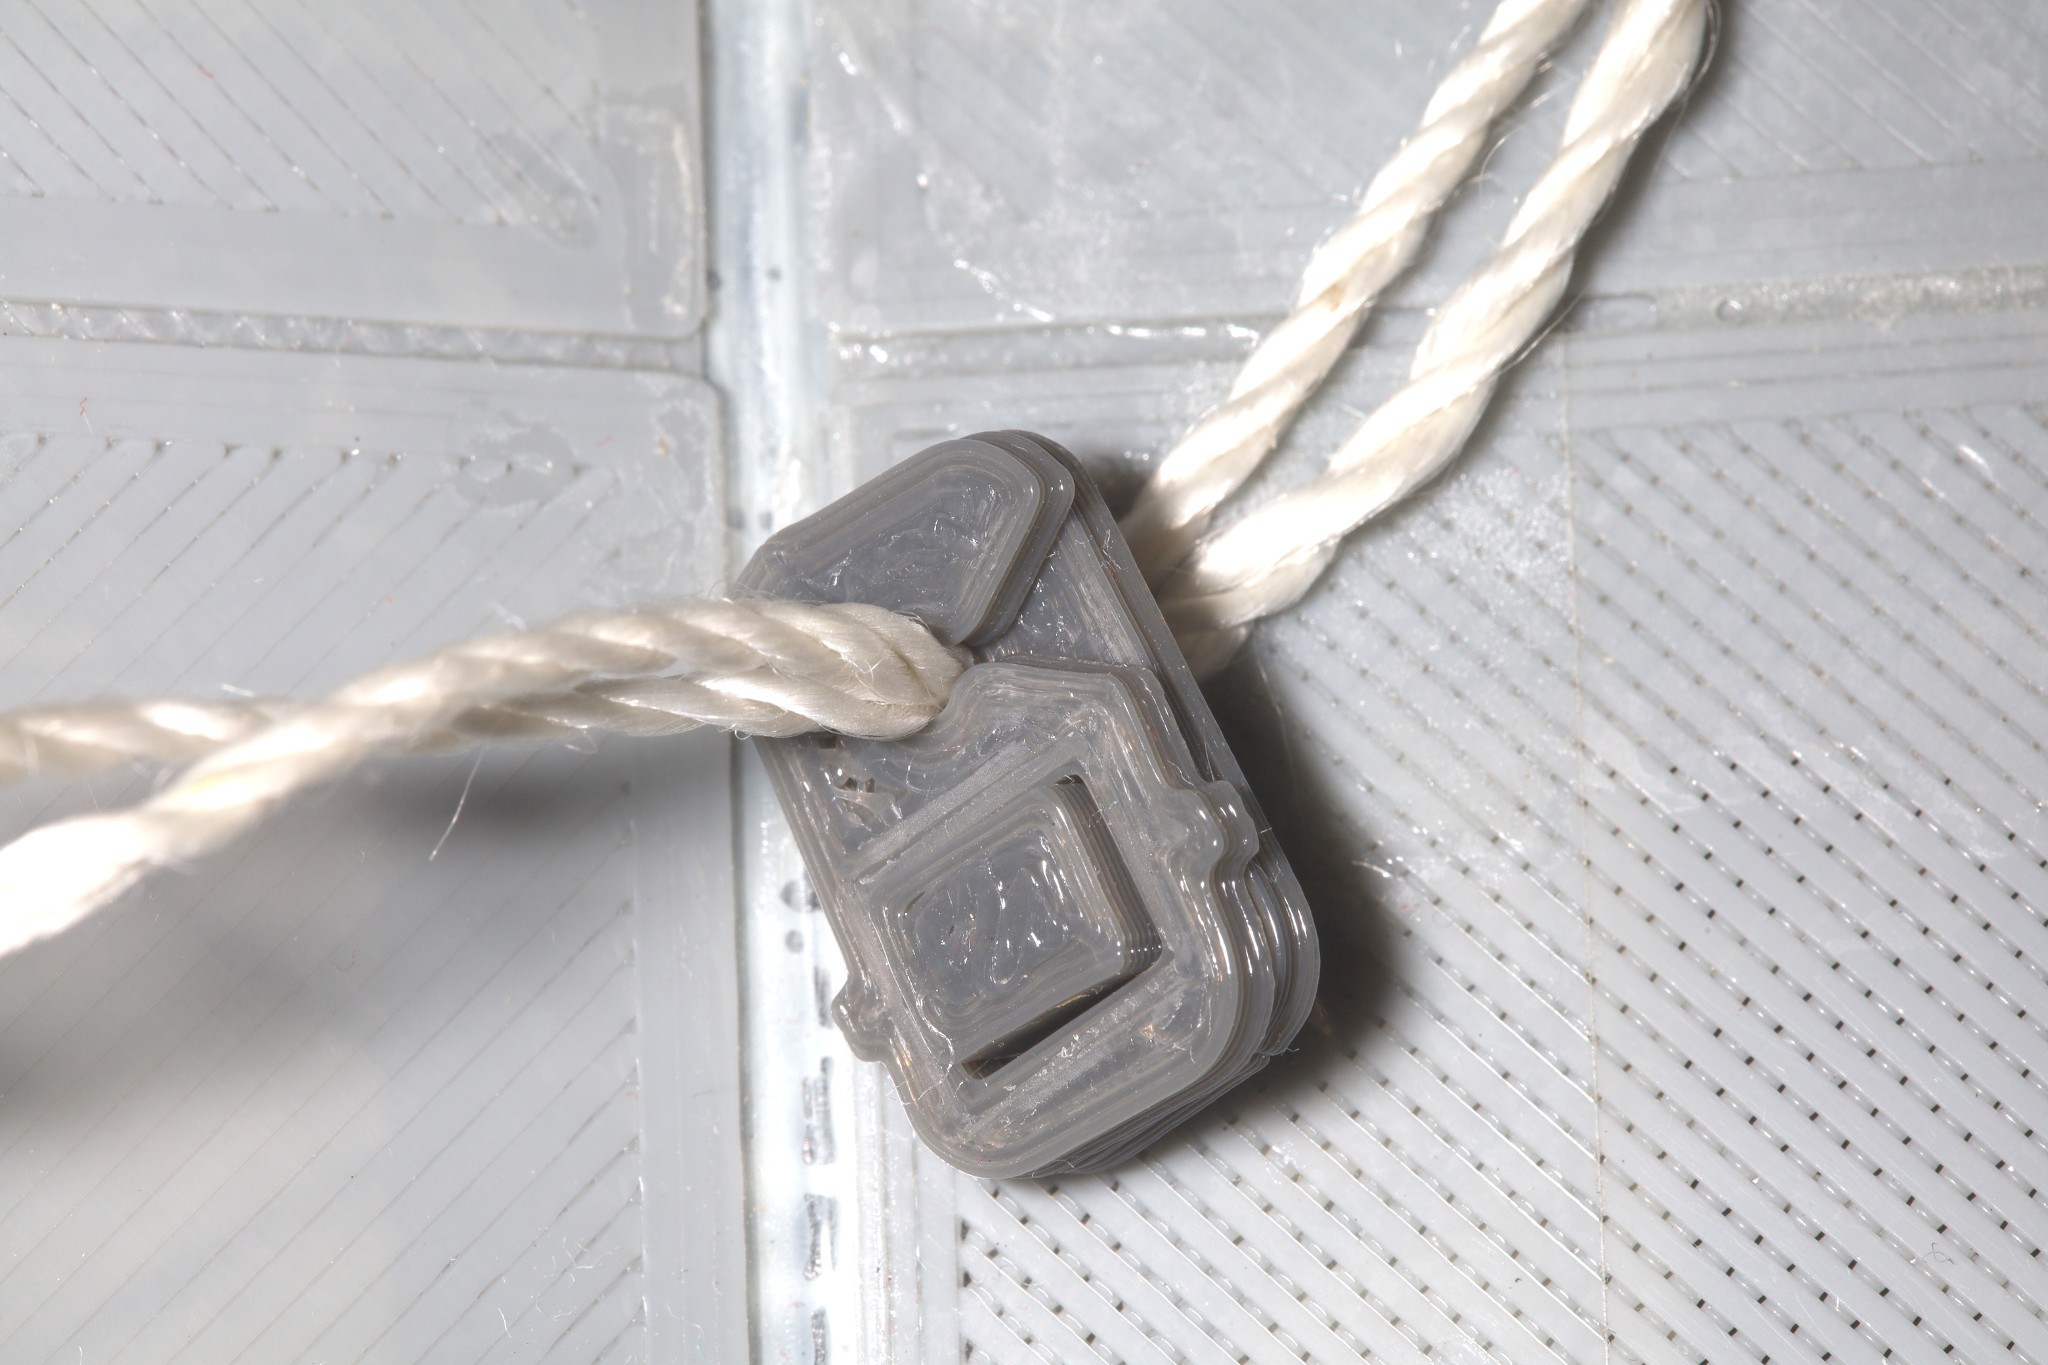
This design evolved to sort of a button which can be pressed in to remove the cord lock. It takes some fidgeting but it doesn't require tools. It's easier with 2 paws. There may be extra security from raising the sides of the button, but it makes it harder to press. Even impossible mason line which would never hold a knot showed signs of being tamed.
--------------------------------------------------------------------------------------------------------------------------------------------
A script for creating templates came to pass. The easiest design was a linear set of holes. A circular template would have looked neater but not been worth the squeeze & would have taken more material. It would require more filler between the openings. It could be done by converting the width of the linear template to a circumference, converting the circumference to a radius, then the x of each hole to an angle.
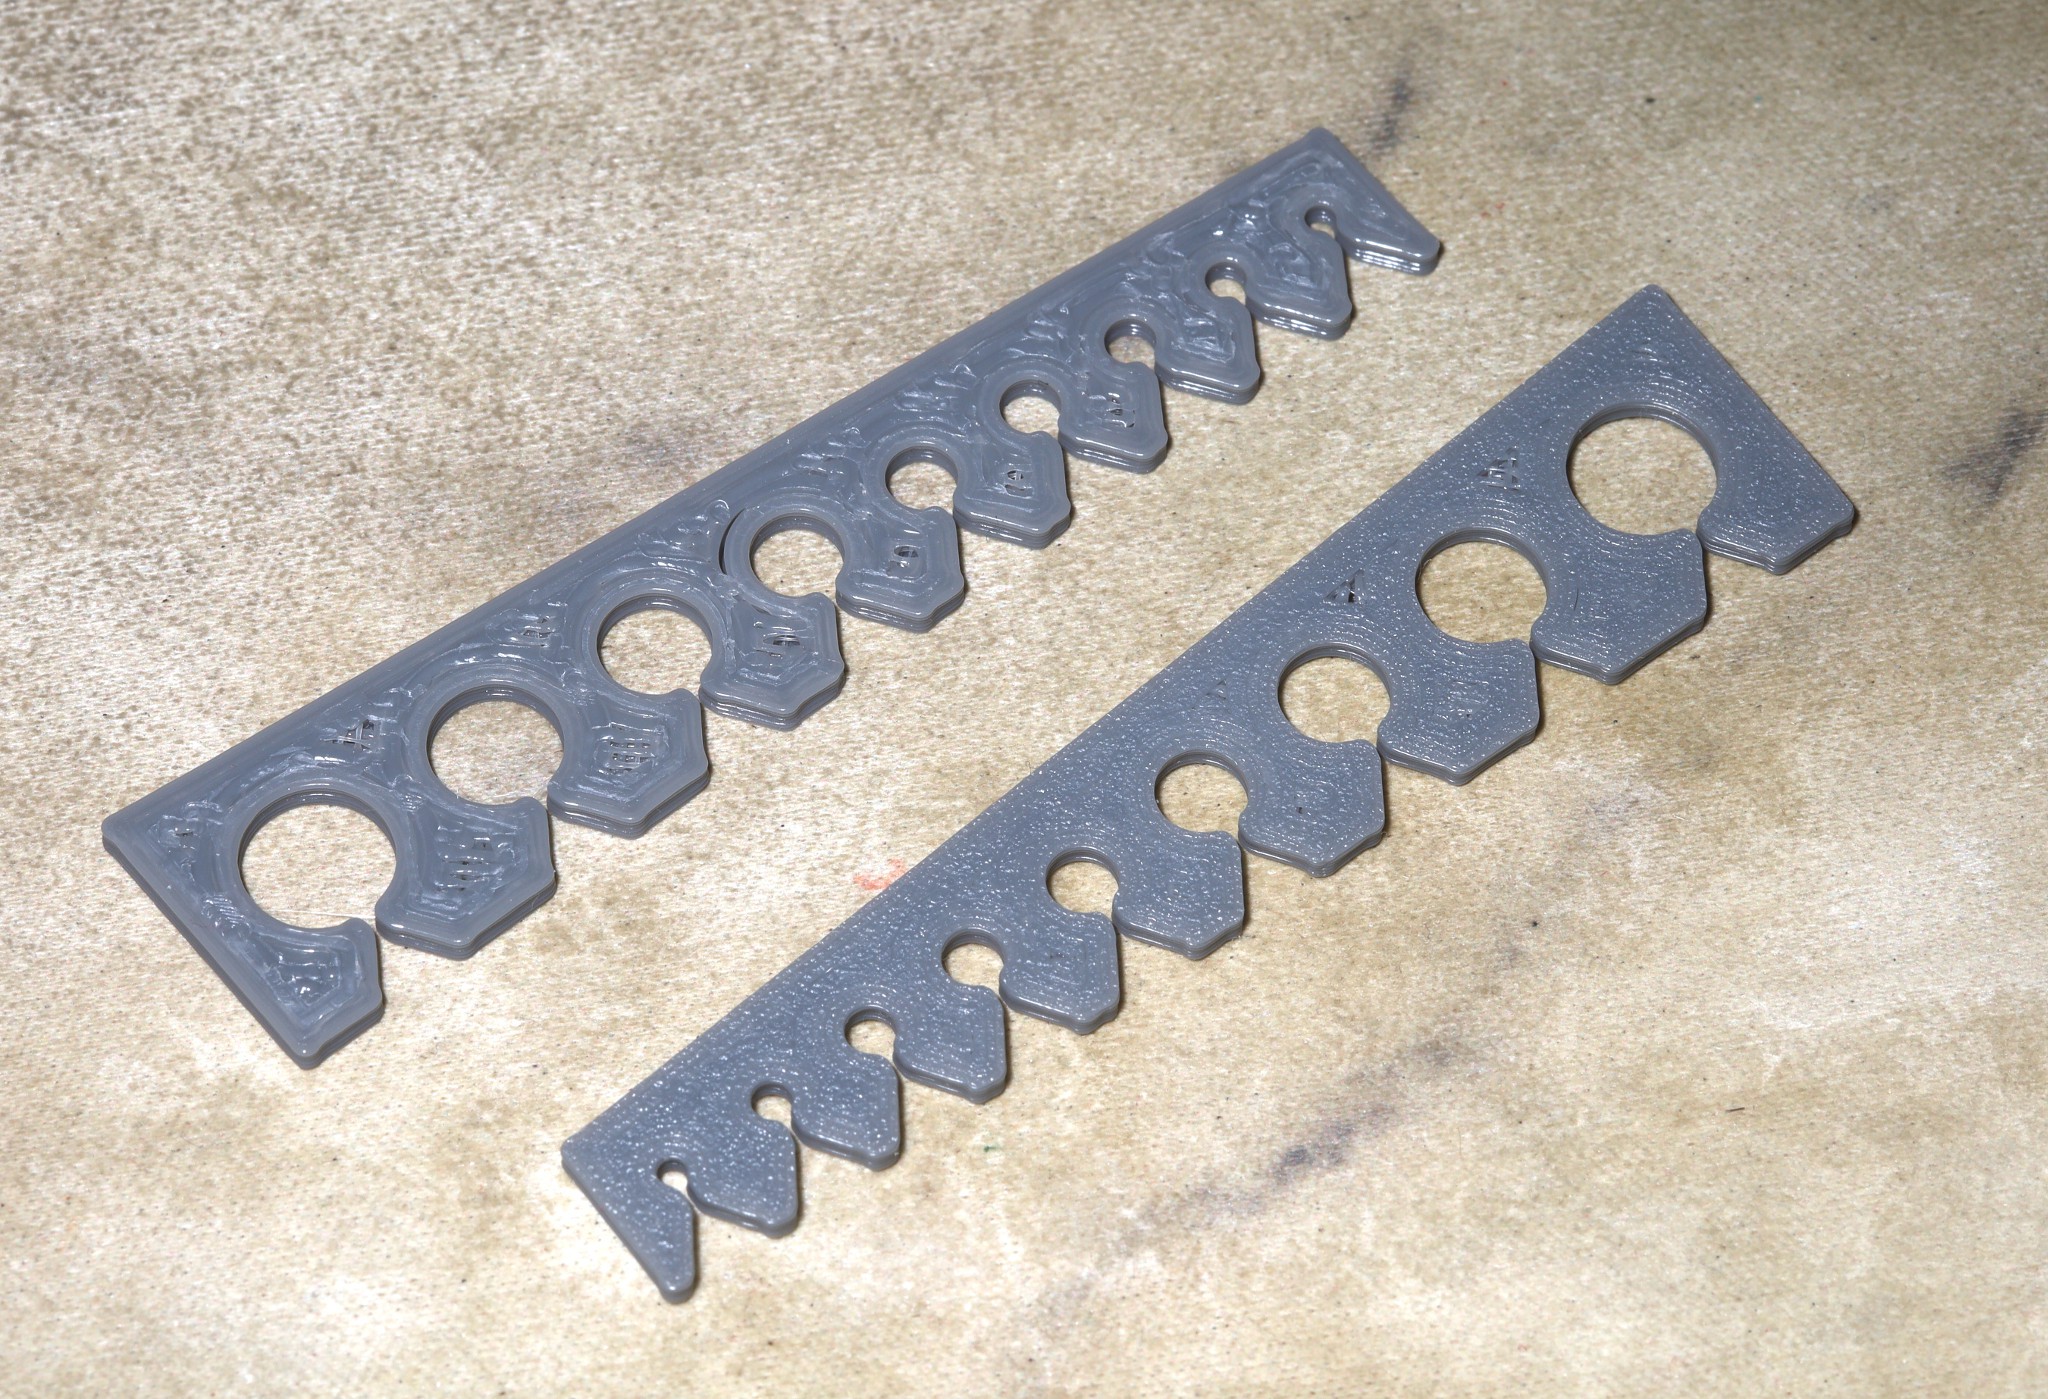
1mm opening sizes have been the standard. Larger openings have required trial & error despite the templates.
Lions have found a turtle graphics metaphore to be easiest for automating CAD drawings.
class Turtle:
    def __init__(self, x, y, angle):
        self.x = x
        self.y = y
        self.angle = angle

    def move(self, distance):
        self.x += distance * math.cos(self.angle)
        self.y += distance * math.sin(self.angle)

    def draw(self, sketch, distance):
        x2 = self.x + distance * math.cos(self.angle)
        y2 = self.y + distance * math.sin(self.angle)
        sketch.addGeometry(Part.LineSegment(App.Vector(self.x, self.y, 0.0),
                App.Vector(x2, y2, 0.0)),
            False)
        self.x = x2
        self.y = y2

    def rotate(self, diff):
        self.angle -= diff
Then you just call a bunch of simple drawing commands like the old days.
    turtle = Turtle(x, y, angle)
    turtle.rotate(toRad(90.0))
    turtle.move(-OPENING / 2)
    turtle.draw(sketch, OPENING)
    turtle.rotate(-toRad(90.0))
    turtle.draw(sketch, hole_r + 1.0)
    turtle.rotate(angle2)
    turtle.draw(sketch, distance2)
    turtle.rotate(-angle2)
    turtle.draw(sketch, 1.0)
    turtle.rotate(-toRad(90))
    turtle.draw(sketch, OPENING_W)
    turtle.rotate(-toRad(90))
    turtle.draw(sketch, 1.0)
    turtle.rotate(-angle2)
    turtle.draw(sketch, distance2)
    turtle.rotate(angle2)
    turtle.draw(sketch, hole_r + 1.0)
Discussions
Become a Hackaday.io Member
Create an account to leave a comment. Already have an account? Log In.