 mclien
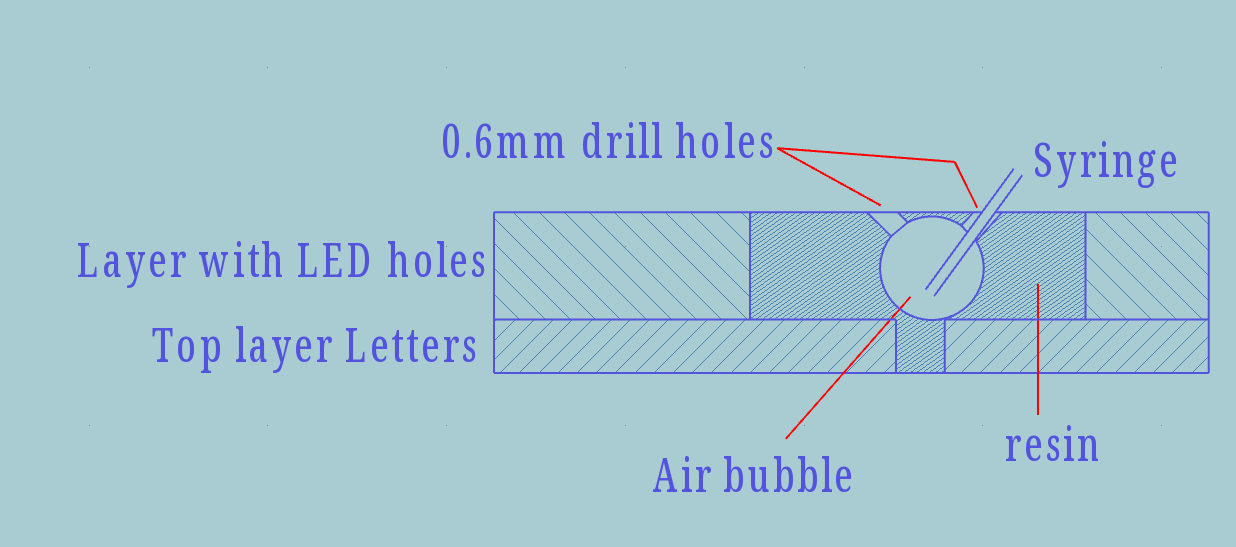
This was the firs idea for the repair:
That left me with still more than half of the bubbles still there, even if smaller.
So I figured, since the holes are 0.6mm and the syringe being 0.3mm in diameter, it might be better to try to hit exactly the "top" of the bubble with only one drill hole. like this:
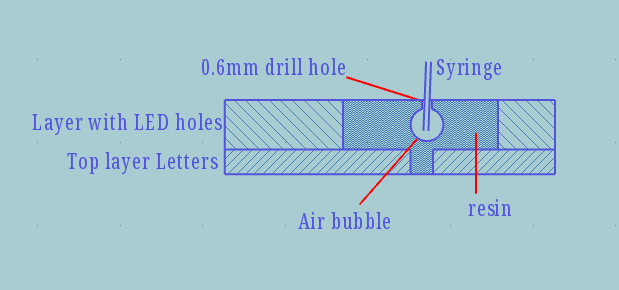
And while filling the bubble with resin carefully retract the syringe, while still pushing more resin slowly in and let e bit of it "overflow" on the top.
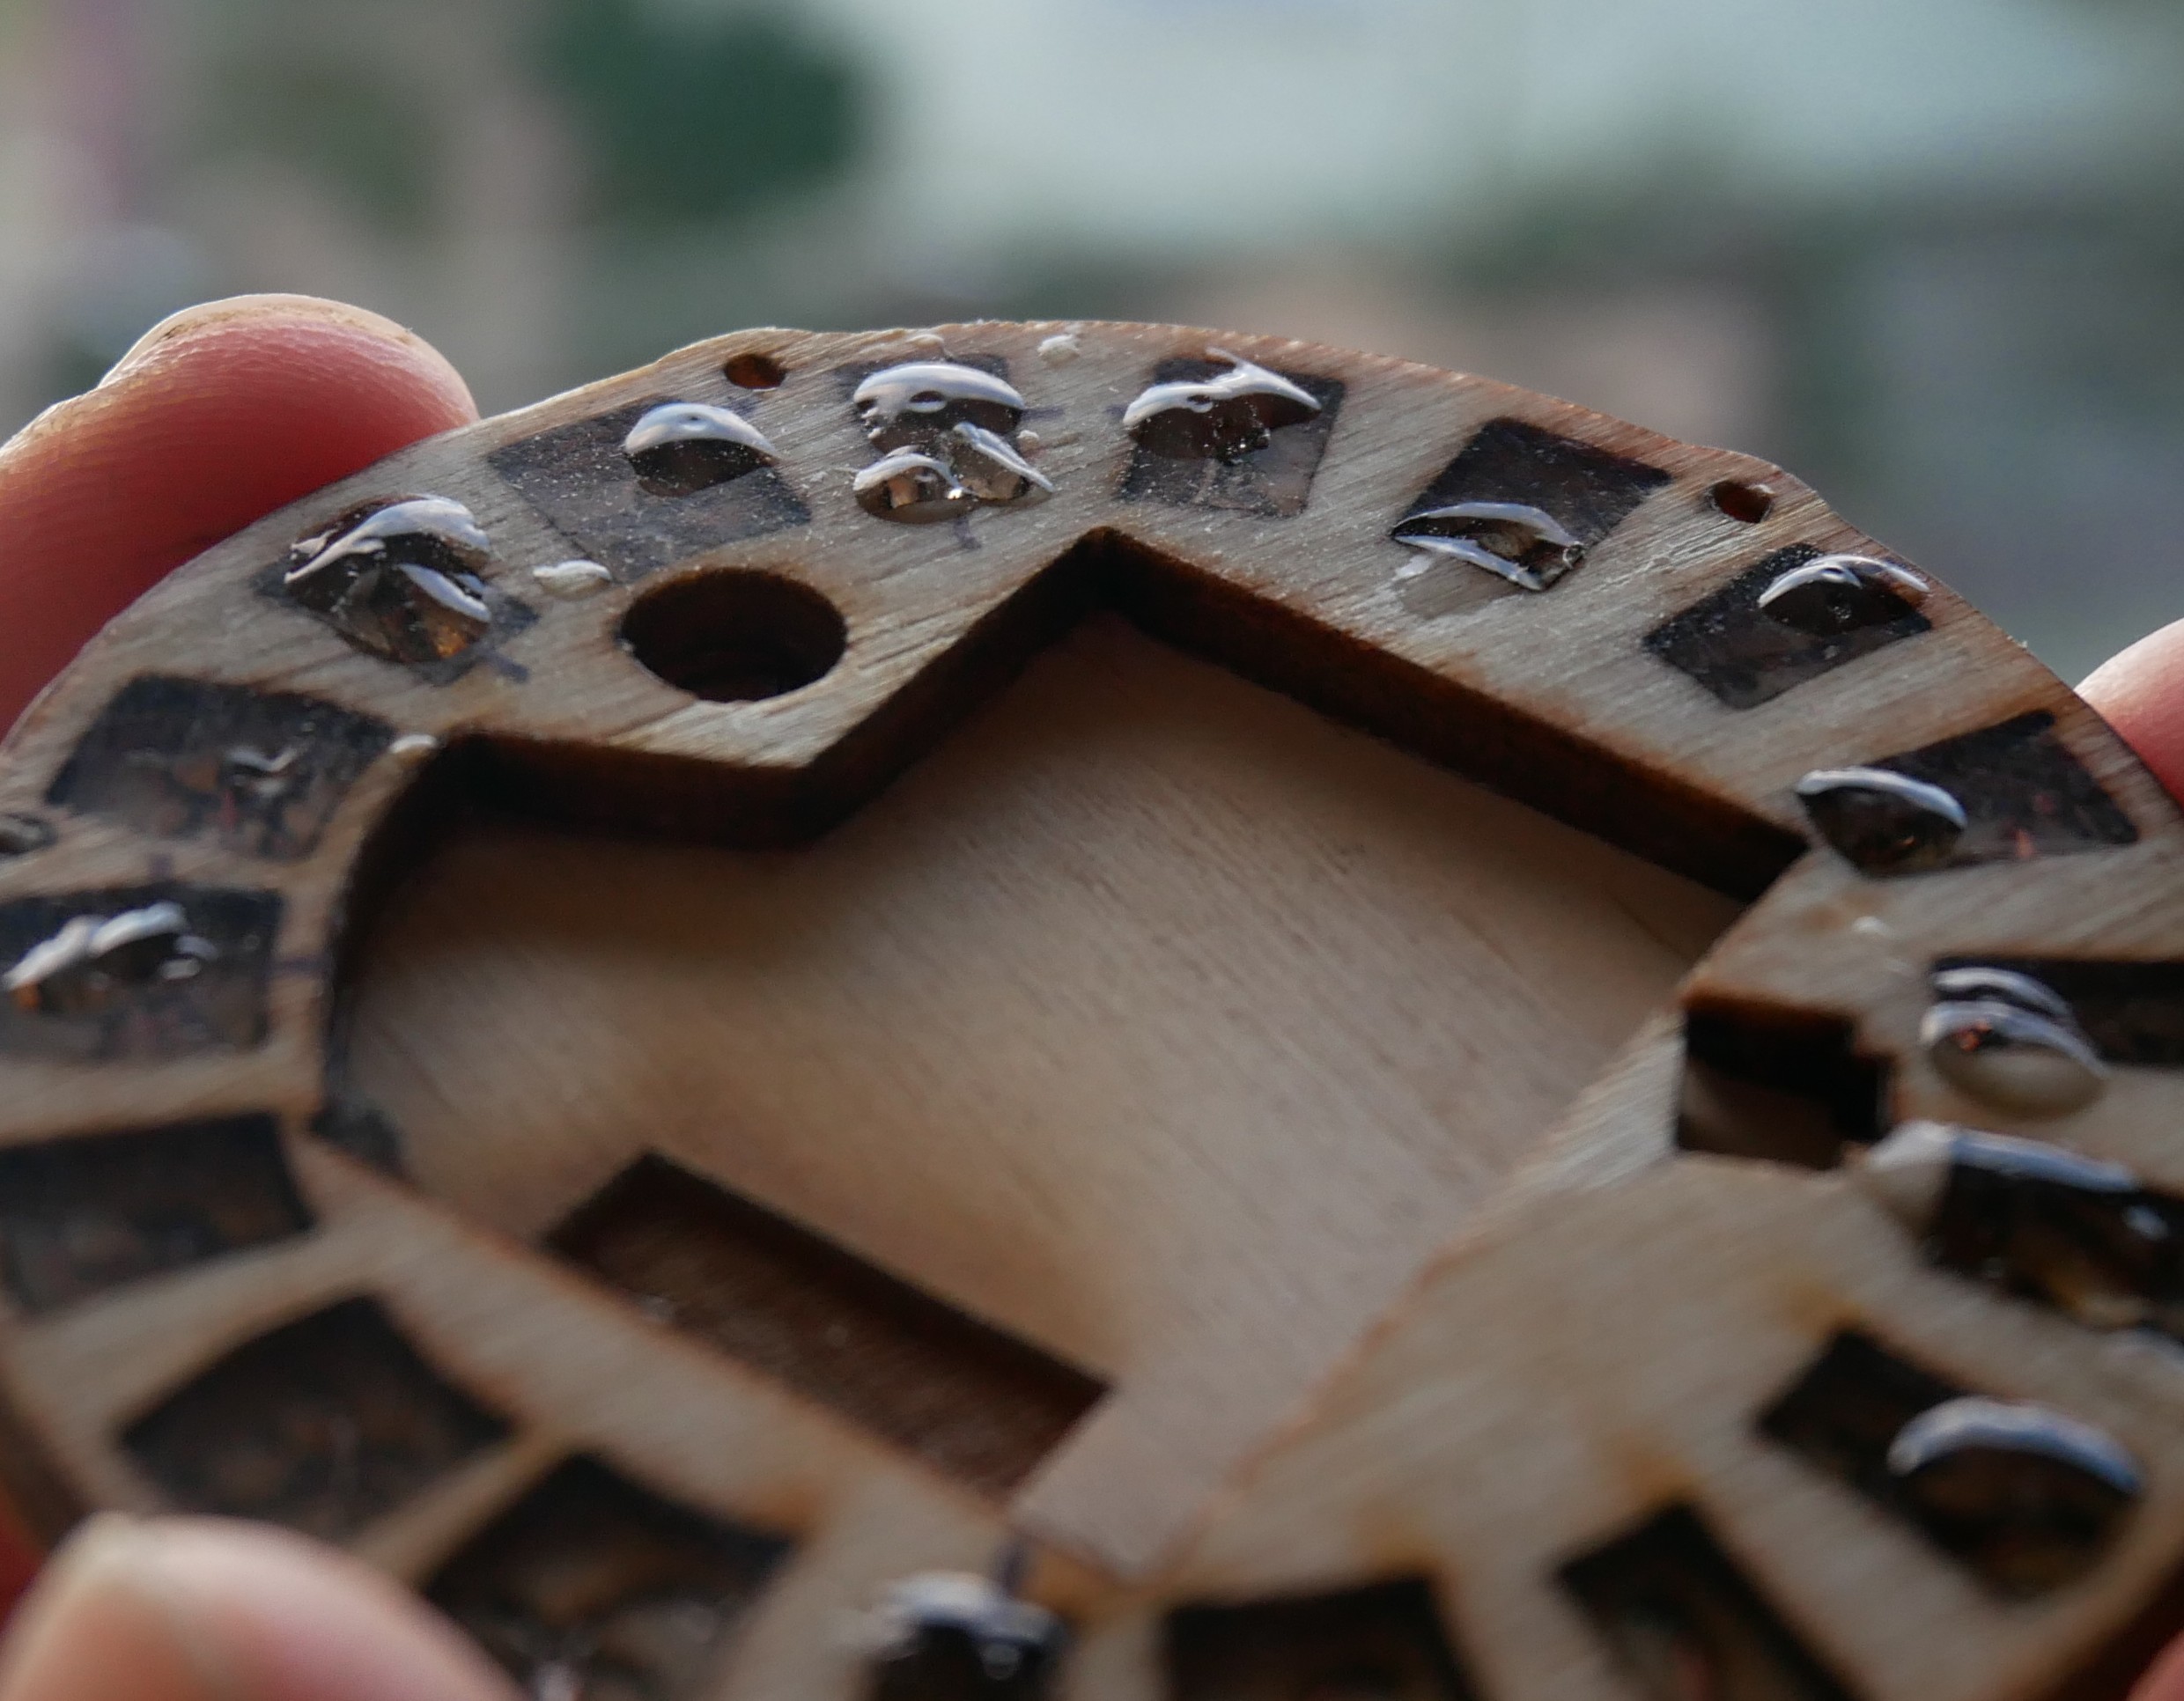
It took 2 additional attempts to get nearly all bubbles filled.
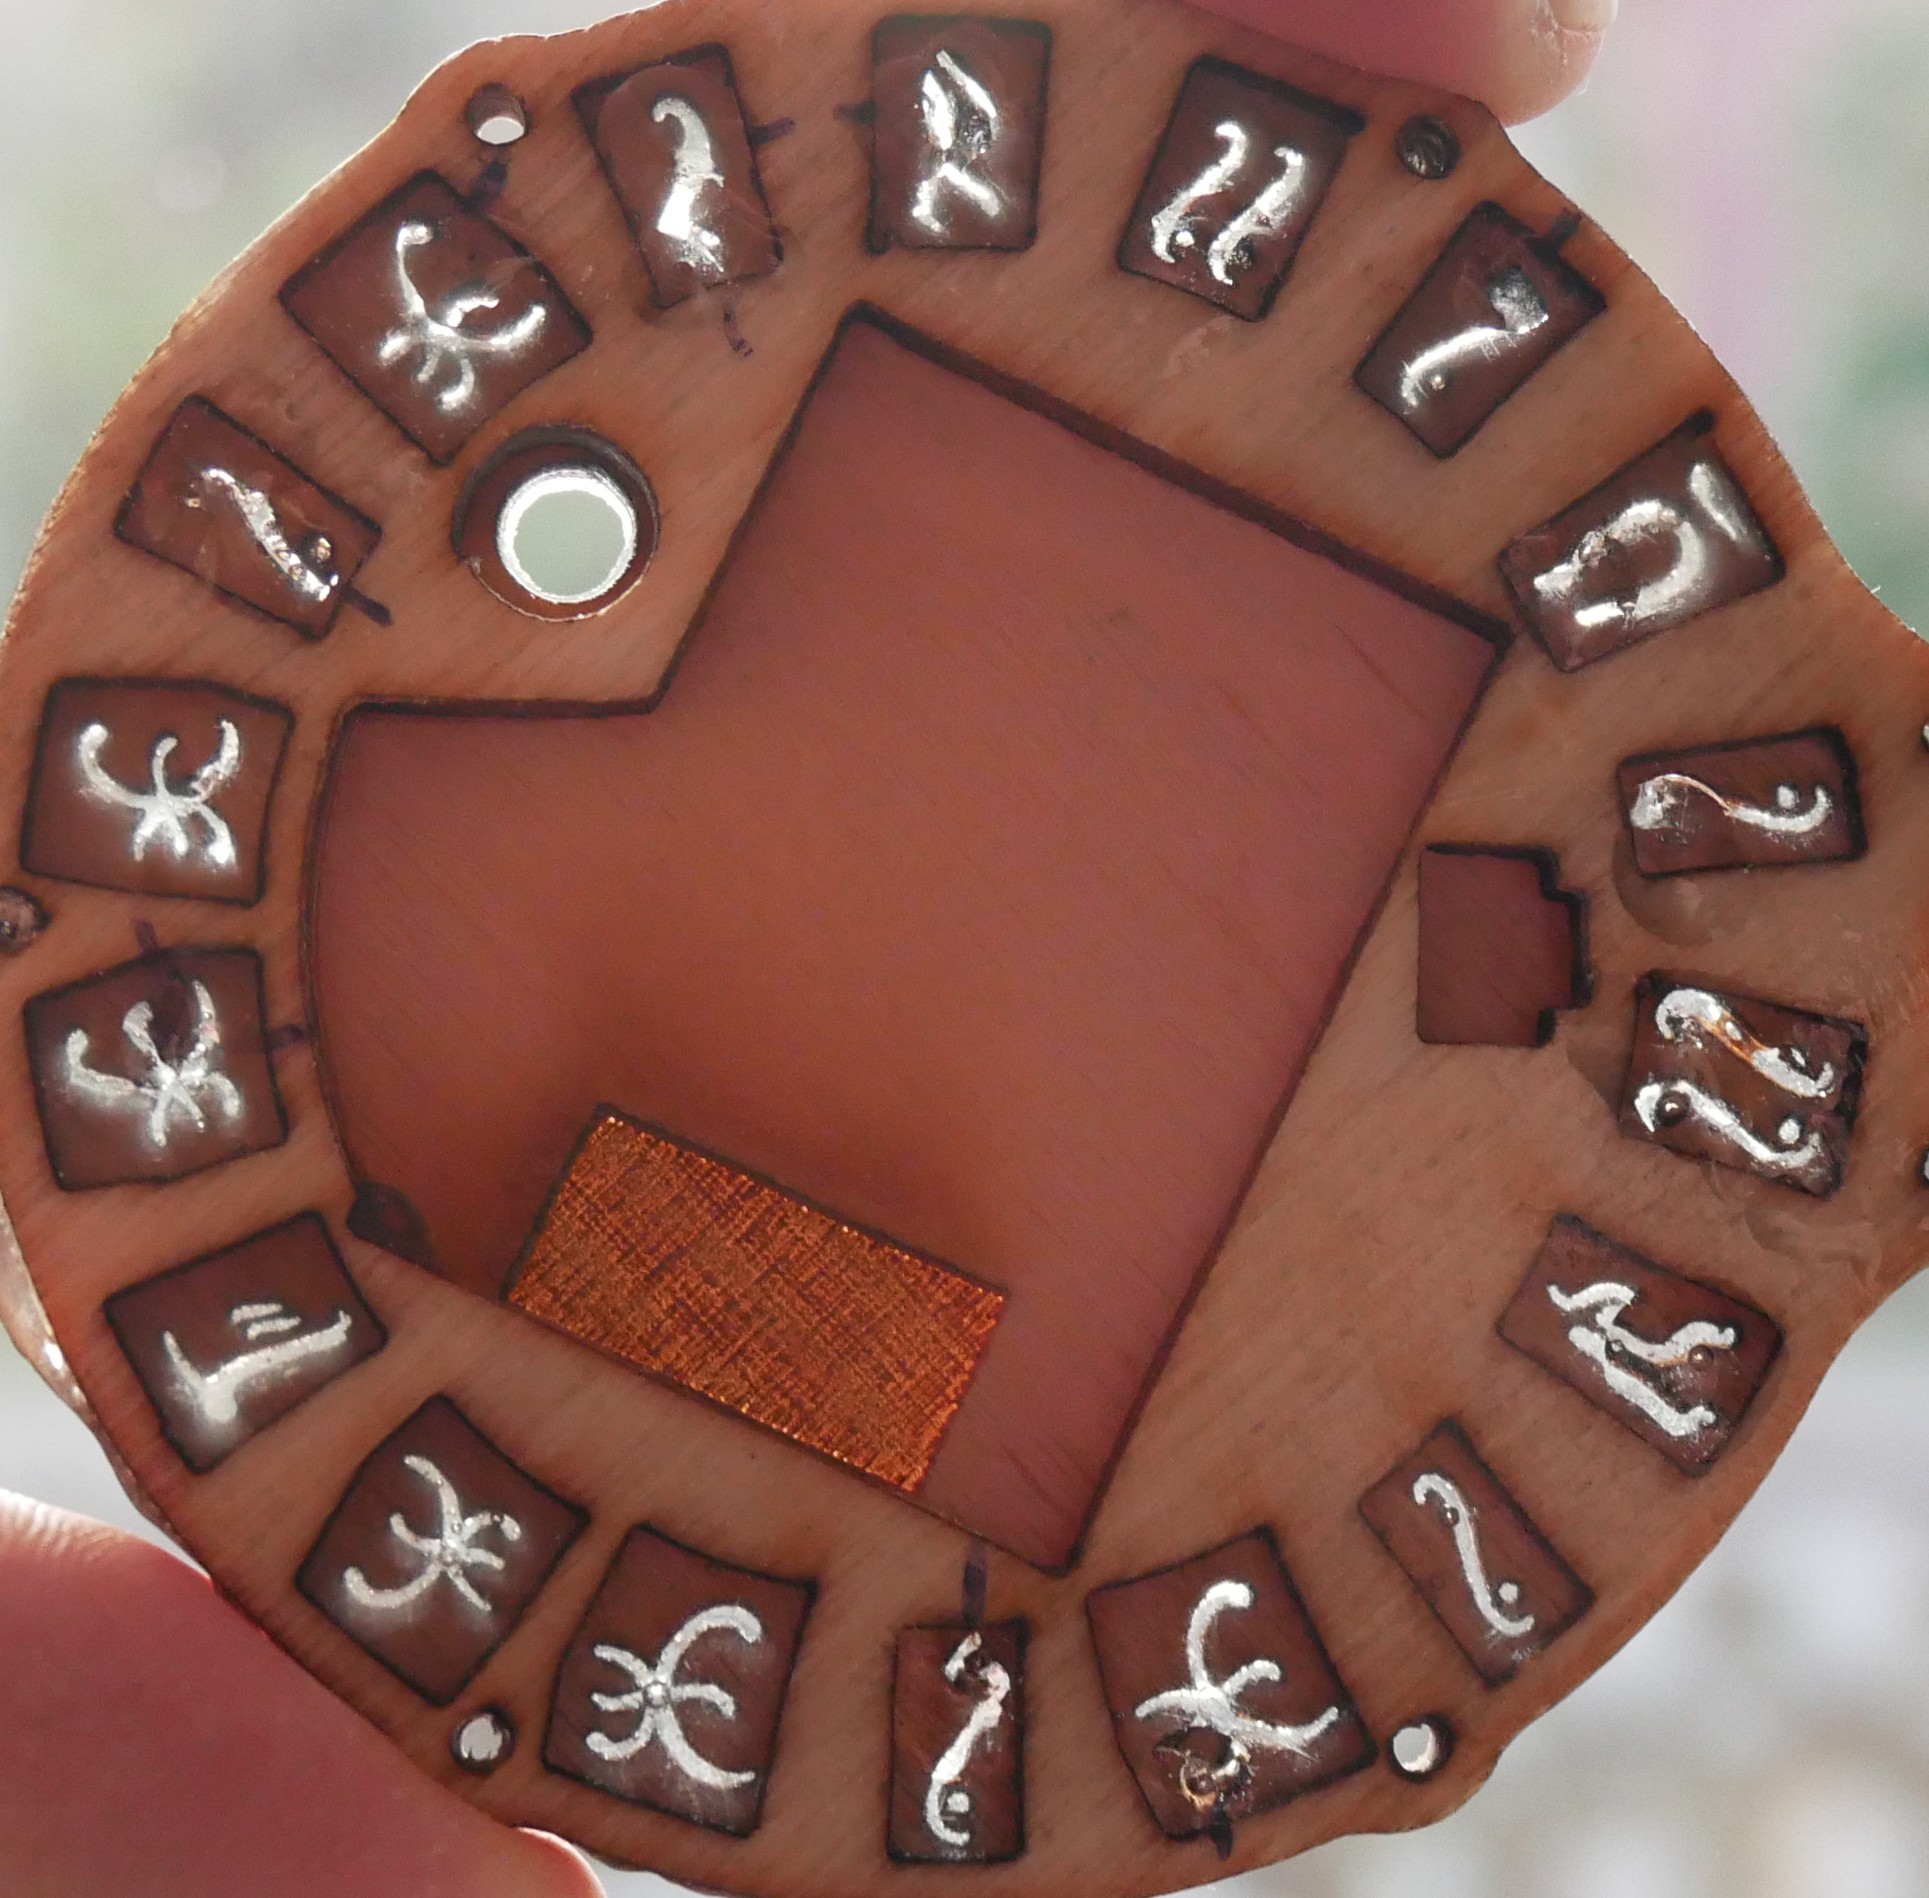
some very small ones are still there, but most of the parts that look wrong in this pic are actually optical distortions from the overflow, which forms little lenses:
Next planed steps: grinding the both sides flat, testing differed grains of sanding paper to see which give the best diffusion for the LED light.
Discussions
Become a Hackaday.io Member
Create an account to leave a comment. Already have an account? Log In.