1. General Process with Validation
2. Excuse Request:
The student submits a request by pressing Button 1 on the device.
3. Request Processing:
- The student chooses from several themes such as "transportation, alarm clock, funny."
4. Displaying the Generated Excuse:
The generated excuse is displayed on a screen so that the student can read or hear it.
5. User Validation:
Before proceeding to the next step, the student validates the excuse.
- Button 1: If the excuse is suitable, the student presses a button to validate it.
- Button 2: If the excuse is not suitable, the student can request the device to generate a new excuse.
6. Teacher Validation:
The message "Do you accept the student in class?" is displayed.
- Button 1: If the teacher presses Button 1, a paper with the message "You are accepted in class" is printed.
- Button 2: If the teacher presses Button 2, a paper with the message "You are not accepted in class" is printed.

 Ipsilon Developments
 Emerica
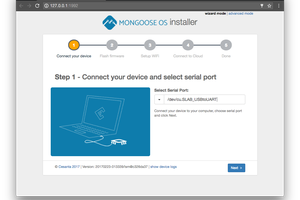
 MongooseOS