 Tony Francis
We're back with an exciting update on our DIY Fourier-Transform Infrared (FTIR) project! It's time to put those white light fringes behind us and focus on capturing robust IR interferograms. Our goal is to use a pyroelectric detector, which means we need a reliable, powerful thermal source.
🔬 MEMS Emitter & Our Full ZnSe Optical Upgrade
Our initial approach used a MEMS IR emitter. It seemed ideal for its fast startup and simpler electronics, which could also be reused for future pulsed NDIR (Non-Dispersive Infrared) designs.
To properly work with mid-IR light, we made major optical changes:
- Full ZnSe Optics: The entire optical path—including the beam splitter, focusing, and collimation elements—is now made of Zinc Selenide (ZnSe).
- Hollow Retroreflector: We replaced our standard retroreflector prism (made of BK7 glass, which would absorb the entire IR signal) with a hollow retroreflector. This ensures the IR radiation remains unimpeded.
- NIR Alignment: Since ZnSe is opaque to visible light, we switched our alignment source to a Near-Infrared (NIR) laser diode.
- Co-Axial Alignment: To merge the NIR laser and the IR light, we experimented with a mirror that had an elliptical center hole. Tilted at an angle, this created a circular aperture, bringing both sources onto the same optical axis.
- Verification: We used a thermal camera to visually confirm the presence of fringes, ensuring our alignment was correct before moving to the final pyroelectric detector.
We intentionally avoided expensive Off-Axis Parabolic (OAP) mirrors for this stage, focusing on validating the basic alignment necessary to capture IR fringes.
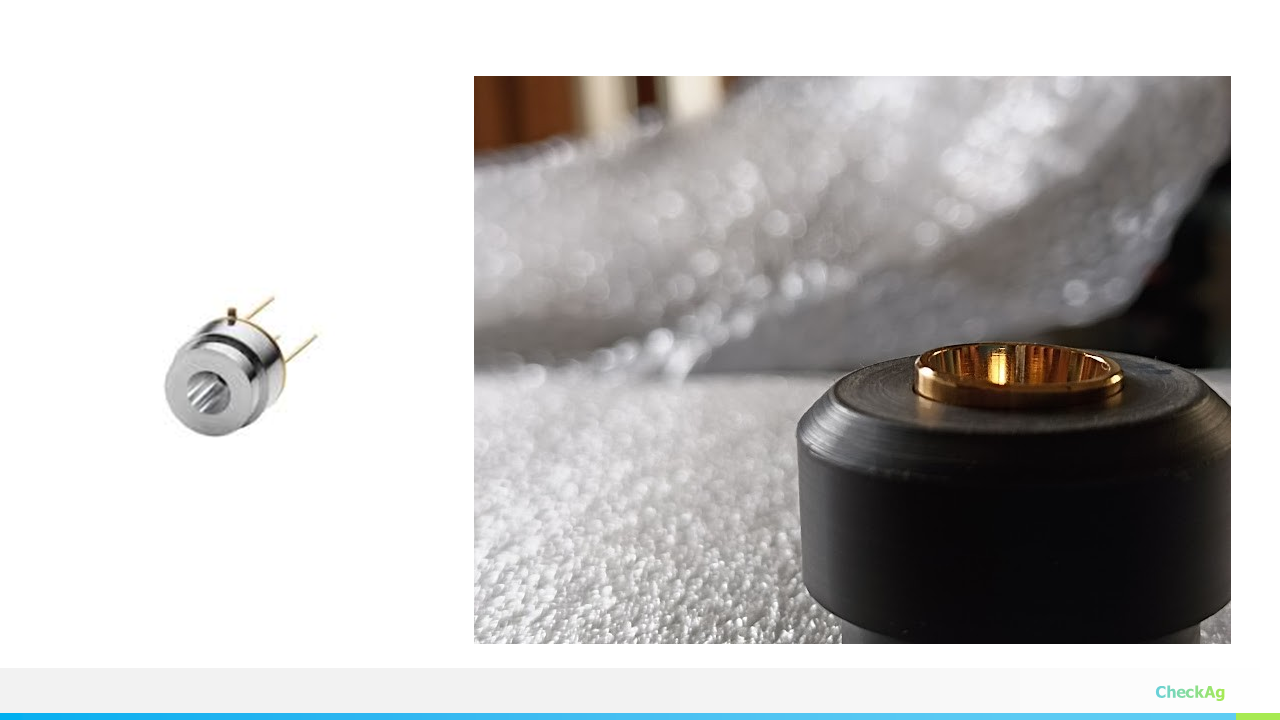
MEMS Emitter
Hollow Retroreflectors
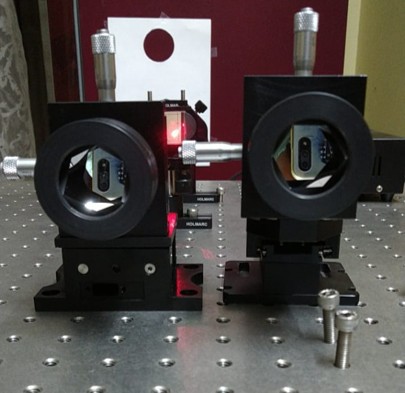
Initial Setup with MEMS IR emitter
💥 Catastrophic Failure and the Component Abuse Solution
The precise alignment was brutal, forcing us to run the MEMS IR emitter in continuous, constant-power mode for hours on end. Ultimately, the stress proved too much for the driver board, and it failed, leaving us without our critical light source.
We needed a replacement—fast and cheap! After considering alternatives like tungsten lamps, we stumbled upon the perfect hack that perfectly fits the component abuse spirit: a 3D printer heater cartridge.
Why a 3D Printer Cartridge Works Better
Replacement 3D printer heater cartridges are incredibly cheap and widely available. Though likely a Nickel-Chromium (Nichrome) alloy, the key advantage is the sheer power. Where the MEMS emitter offered minimal power, these cartridges are rated for 12V, 40W or 24V, 70W. For an FTIR, we actually need that increased thermal power for a higher signal.
We designed and printed a custom holder to swap out the failed MEMS unit for the cartridge. For now, driving it is simple: a DC bench power supply is all we need to get the heat for alignment. While we know the resistance increases with temperature (meaning an ideal design would have a constant power driver), the cartridge is a fantastic, high-power, temporary source.
This inexpensive part proved to be our savior, providing the thermal output needed to continue the project.
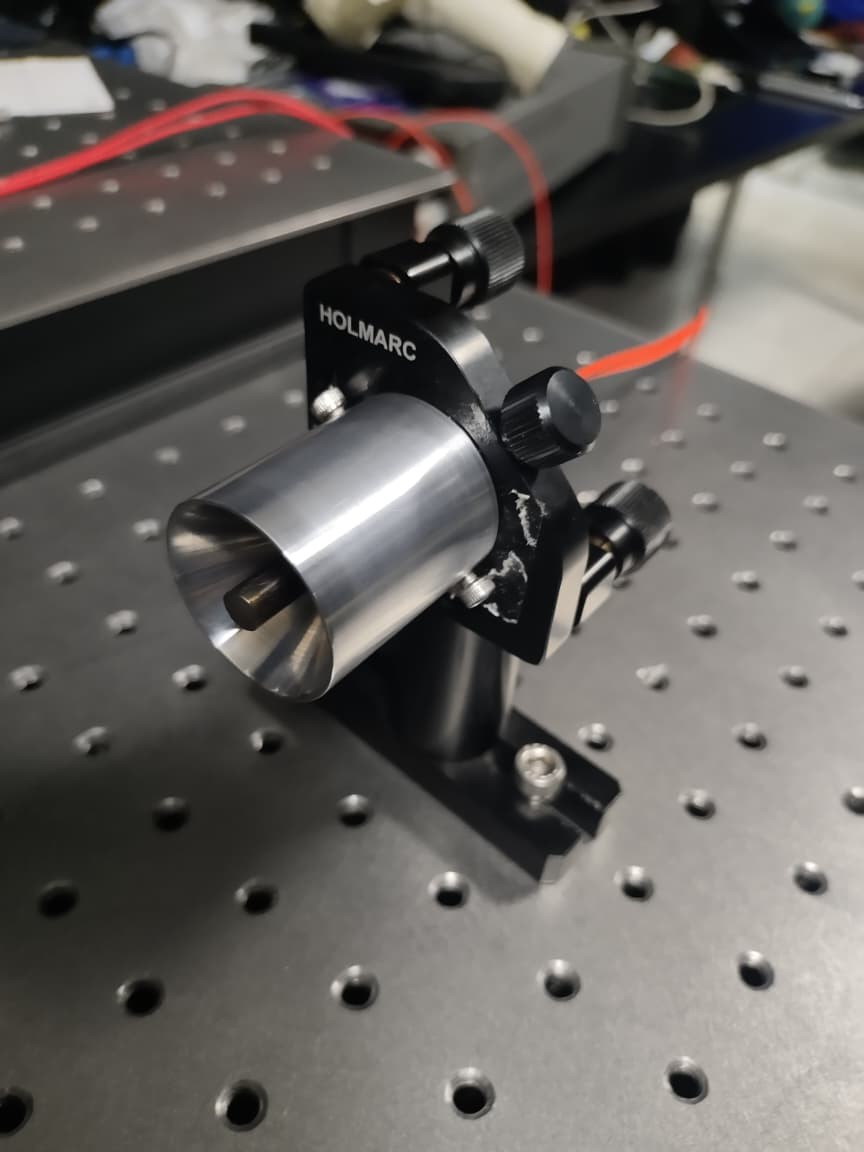
IR Source with 3D Printer heater element
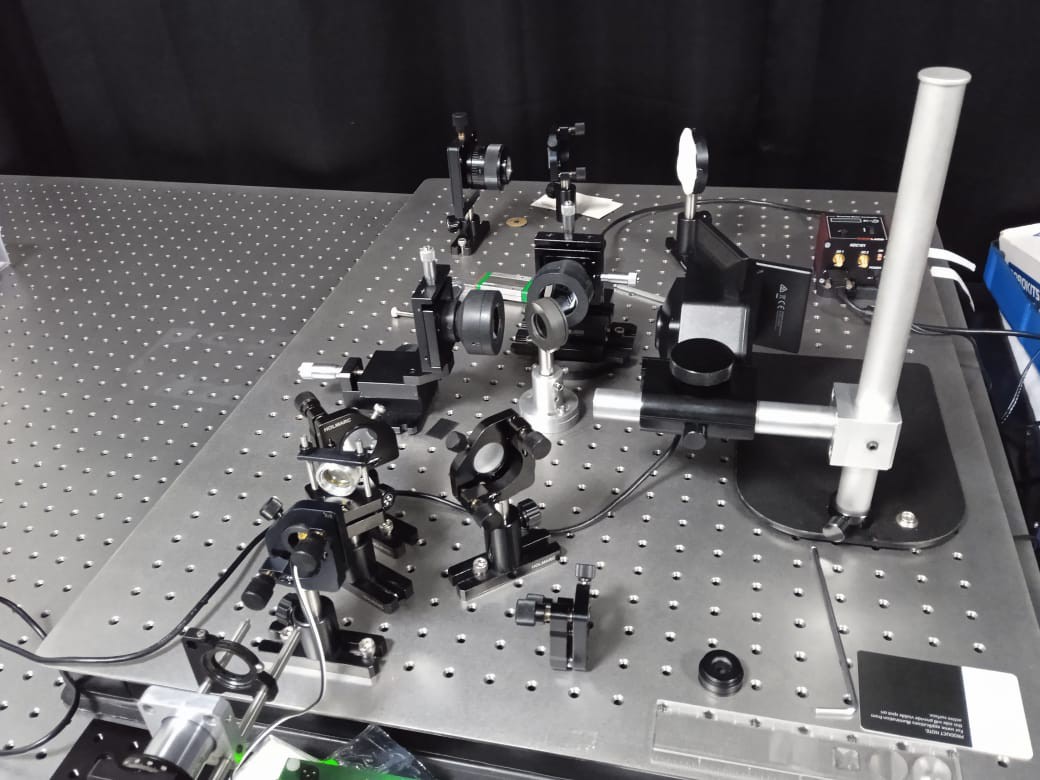
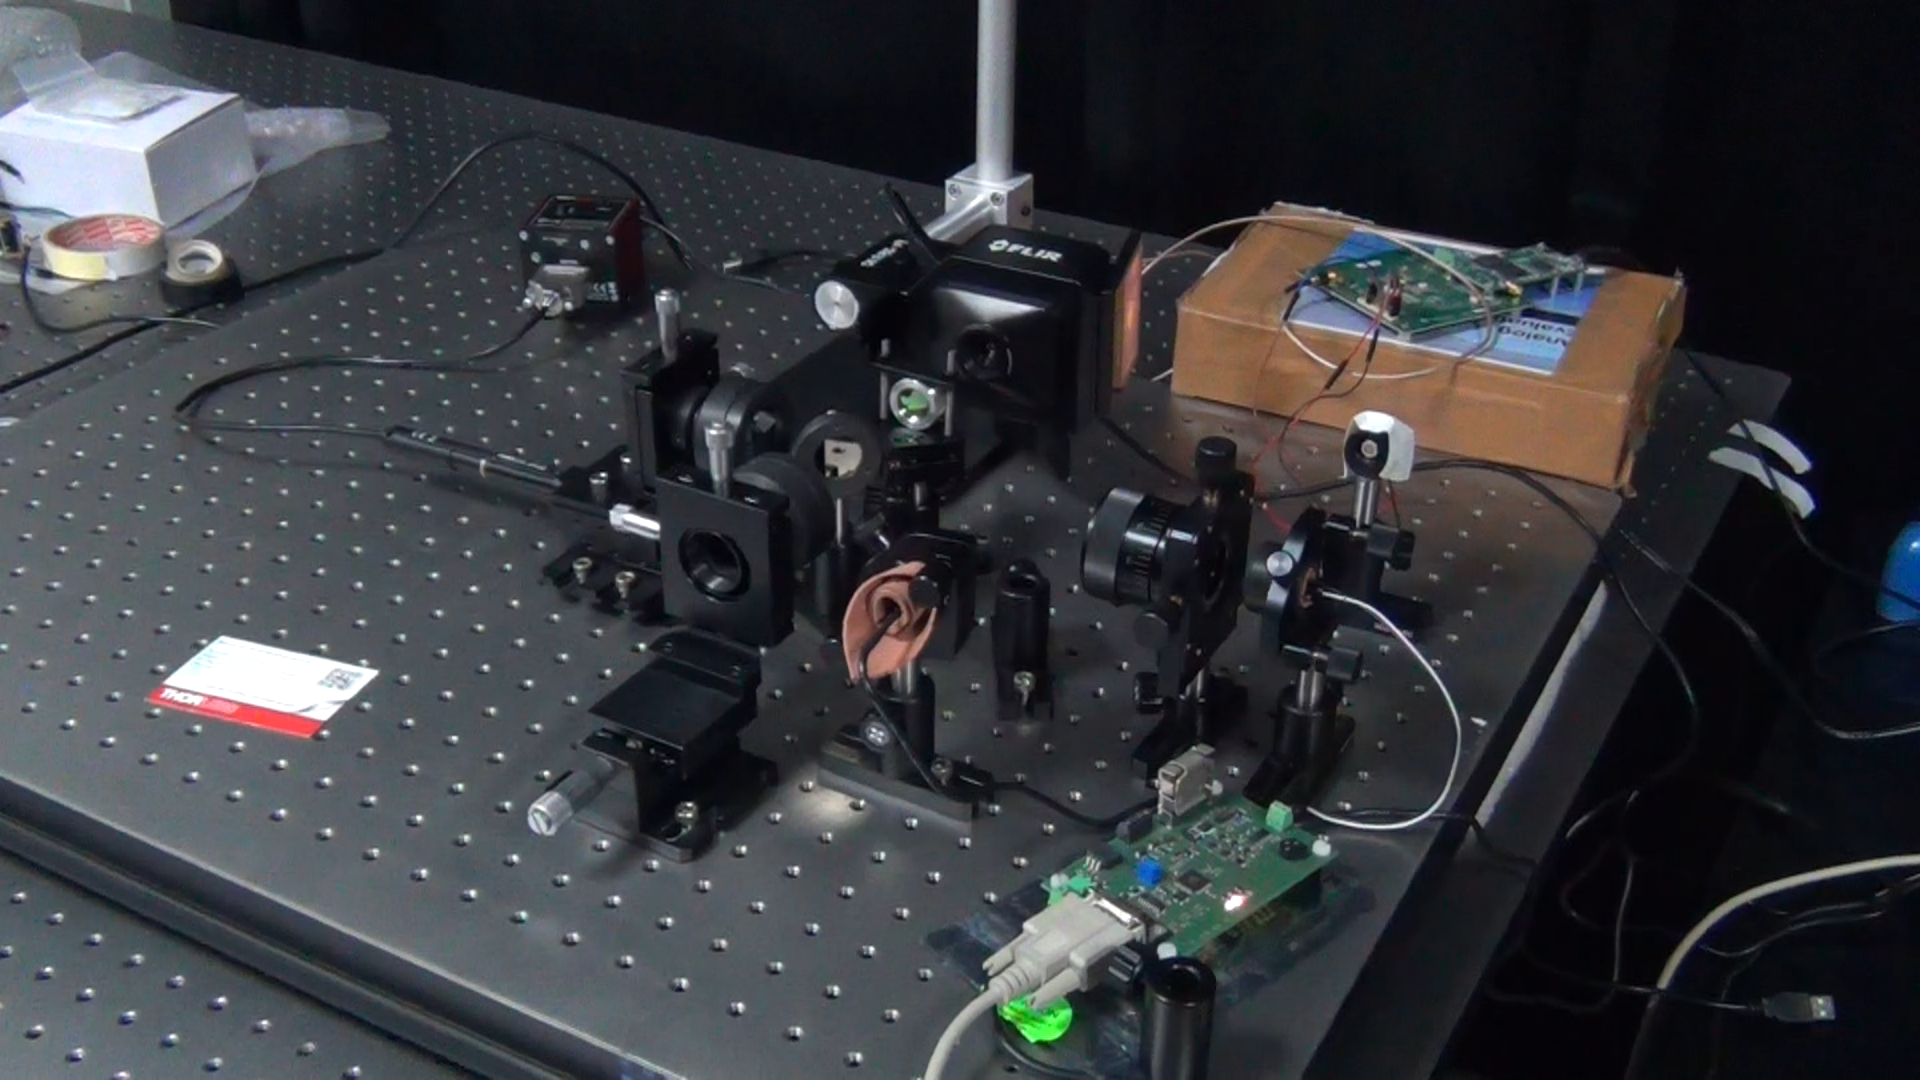
One of Our Iterative Optical Configurations
✨ Thermal Fringes Confirmed!
With the 3D printer heater cartridge in place, we successfully recorded the first thermal fringes using our FLIR thermal camera!
This beautiful thermal interferogram confirms our full ZnSe optics setup is aligned and working.
This success raises an intriguing question: Could an affordable thermal camera (a microbolometer, typically operating in 8-14µm region) be used as the actual detector for a budget spectrometer? While intriguing, for true FTIR resolution and speed, it's necessary to stick with specialized pyroelectric detectors like DLaTGS or LiTaO3. These offer a much smaller thermal time constant (critical for scanning mirrors) and cover the entire far-to-mid IR spectral range, ensuring the best possible interferogram quality.
Next Step: We'll dive into the math and software required for the Fourier Transform—the critical step that converts the spatial (or temporal) interferogram fringes into the final infrared absorption spectrum. We also need to start designing the electronics for the pyroelectric detector data acquisition system. More details on the transform and the hardware design are coming in the next posts!
Discussions
Become a Hackaday.io Member
Create an account to leave a comment. Already have an account? Log In.