 Gabe (He/Him)
Background/Inspiration
Making a cyanotype print had been on my list of projects for a while. I was given the idea by the likes of Mathieu Stern and Nile Red. You only really need three things to make a cyanotype: a sensitized medium (usually paper), a negative of what you want to image, and a source of UV light. The UV light converts the chemicals into prussian blue pigment and the negative selectively exposes the medium to create the image. Old school blue prints and so called “sun prints” use a similar process. I am not going to dive into the chemistry here because I don’t really understand it. ¯\(ツ)/¯
Typical Process
Typically custom negatives are made by printing a black toner onto a transparency sheet and this is the approach I initially tried to take. This should have been doable, but I was struggling to get this to work without smearing.
In the midst of this struggle, hands stained black with toner, I started working on the other side of the problem, the UV light. I could have tried the sun, but the sun is rather variable. I could have bought a UV lamp online, but I am a h̶o̶a̶r̶d̶e̶r̶ hacker at heart, so I looked around to see what I had in my workspace. I had an old (what I believed to be functional) Phrozen Sonic Mini resin printer collecting dust in my closest that has a nice bright array of UV LEDs inside.
That is when it hit me, what is a resin printer but a source of light with a programmable negative? Screw trying to print a transparency, we are going digital!
First Pass
My first pass at convincing my 3D printer to print a 2D image involved writing a python script to make an OpenSCAD program that would generate a STL from a TIF image where each pixel is converted into a rectangular prism whose height corresponds to the greyscale value of the pixel. This was horrible to run and I had to tweak the settings in the nightly version of OpenSCAD to get it to run at all. But eventually I had my STL of Inigo.
from PIL import Image
from pathlib import Path
import PIL.ImageOps

im = Image.open("inigo-montoya_01.png").convert()
invert = PIL.ImageOps.invert(im)
PIXEL_SIZE = 0.063
WIDTH = invert.width
HEIGHT = invert.height
with open("myfile.scad","w") as file:
  file.write("pixels = [")
  for i in range(WIDTH):
      for j in range(HEIGHT):
          file.write("["+str(i*PIXEL_SIZE)+ ", " + str(j*PIXEL_SIZE)+ ", " + str((invert.getpixel((i,j)))*0.001) + "],")
  file.write("];\n")
  file.write("for (pixel = pixels){\n")
  file.write("   translate([pixel[0],pixel[1], 0])\n")
  file.write("      linear_extrude(height = pixel[2])\n")
  file.write("         square([{size},{size}], center = false);}}\n".format(size = PIXEL_SIZE))
After generating the STL, I still had to scale and slice the file. I set the layer speed targeting about a ~10 minute total exposure time based gut feeling. I went to upload the file to my printer and to my surprise, the screen had stopped working. Even worse, I was hoping to submit my application to be an OpenSauce Exhibitor and the application was due that day. I submitted what I had, and fortunately they were generous enough to let me update them if I got it working in the next week or two, and they would reconsider my application. Now I just had to prove that it worked.
I rushed over to my friends apartment who had a much nicer printer and convinced him to let me place some paper on the build platform and give it a shot. To my surprise, my first attempt worked! It was tiny and inverted, but the image was totally there! As far as I know, this was the first ever cyanotype made with a 3D printer.
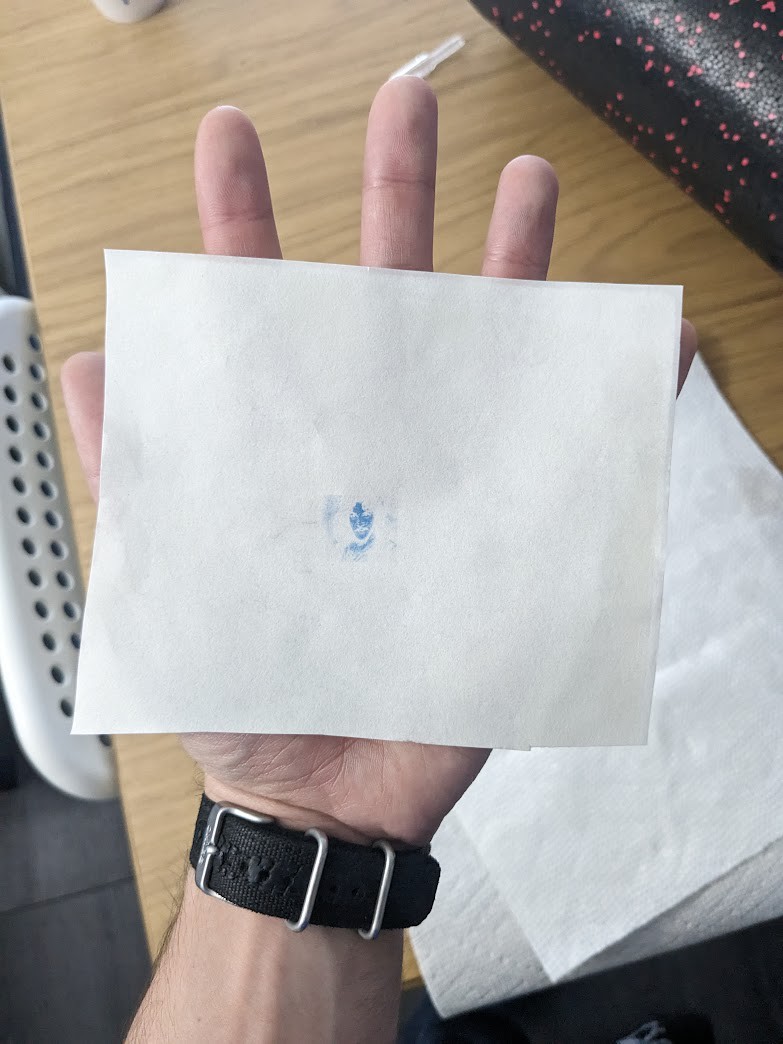
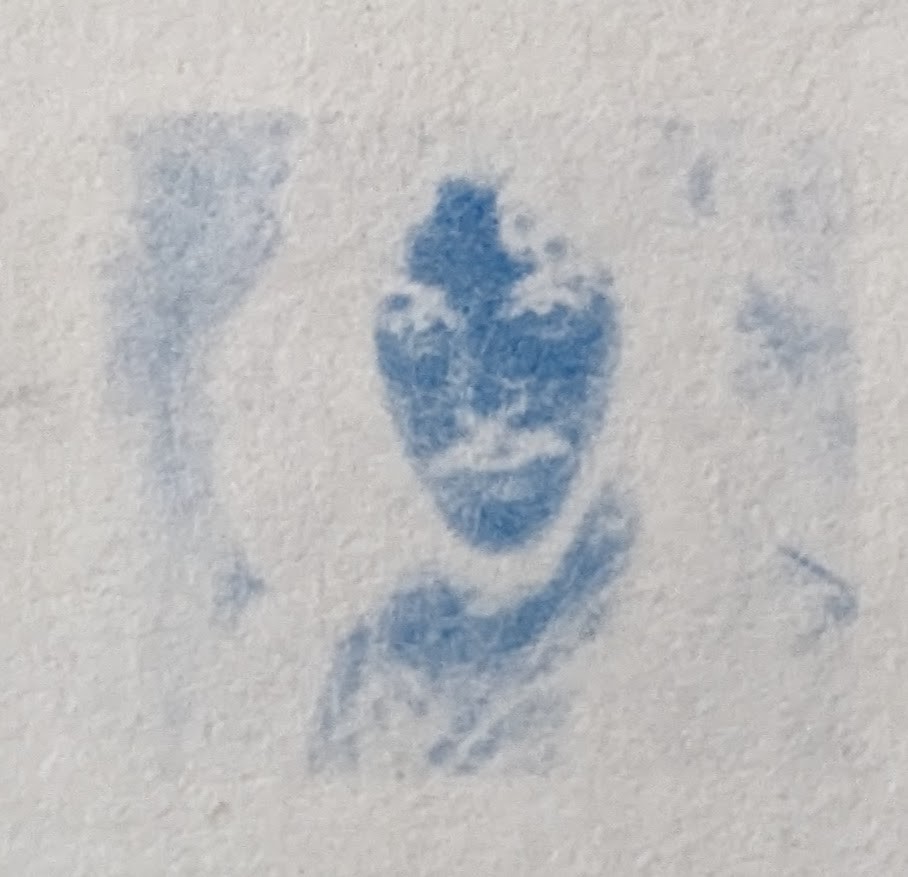
With a few tweaks I managed to fix the size and inversion issue and got a nice looking image.

I sent my results off to the staff at OpenSauce and to my surprise, I was accepted!
Optimizing the Process
Now that I proved that this was possible, I needed to optimize the process if I wanted to go to OpenSauce. Just having a few prints would be rather boring in an exciting and loud...
Read more »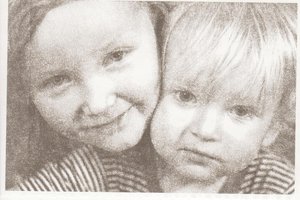
 lukasz.iwaszkiewicz
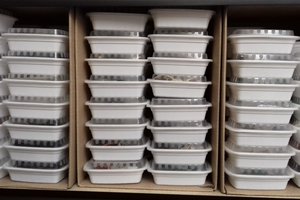
 JLAM
JLAM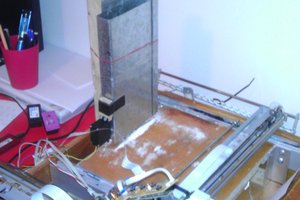
 Peter McCloud