 yousuf.hosny
Today marks an exciting phase in our WALL-B project, where our team focused on designing and prototyping the exterior of our robot. Utilizing tools like Inkscape for design and preparing for laser cutting, we took significant steps in materializing our conceptual designs into tangible models.
Design Process:
-
Inkscape Design:
-
The designs were structured to accommodate all necessary components such as sensors, wheels, and internal circuitry, ensuring each piece fits perfectly with the others.
-
-
Material Testing with Cardboard:
-
Our initial prototyping material was cardboard. This choice was strategic; it’s cost-effective and easy to work with, allowing us to quickly test and modify designs without significant resource drain.
-
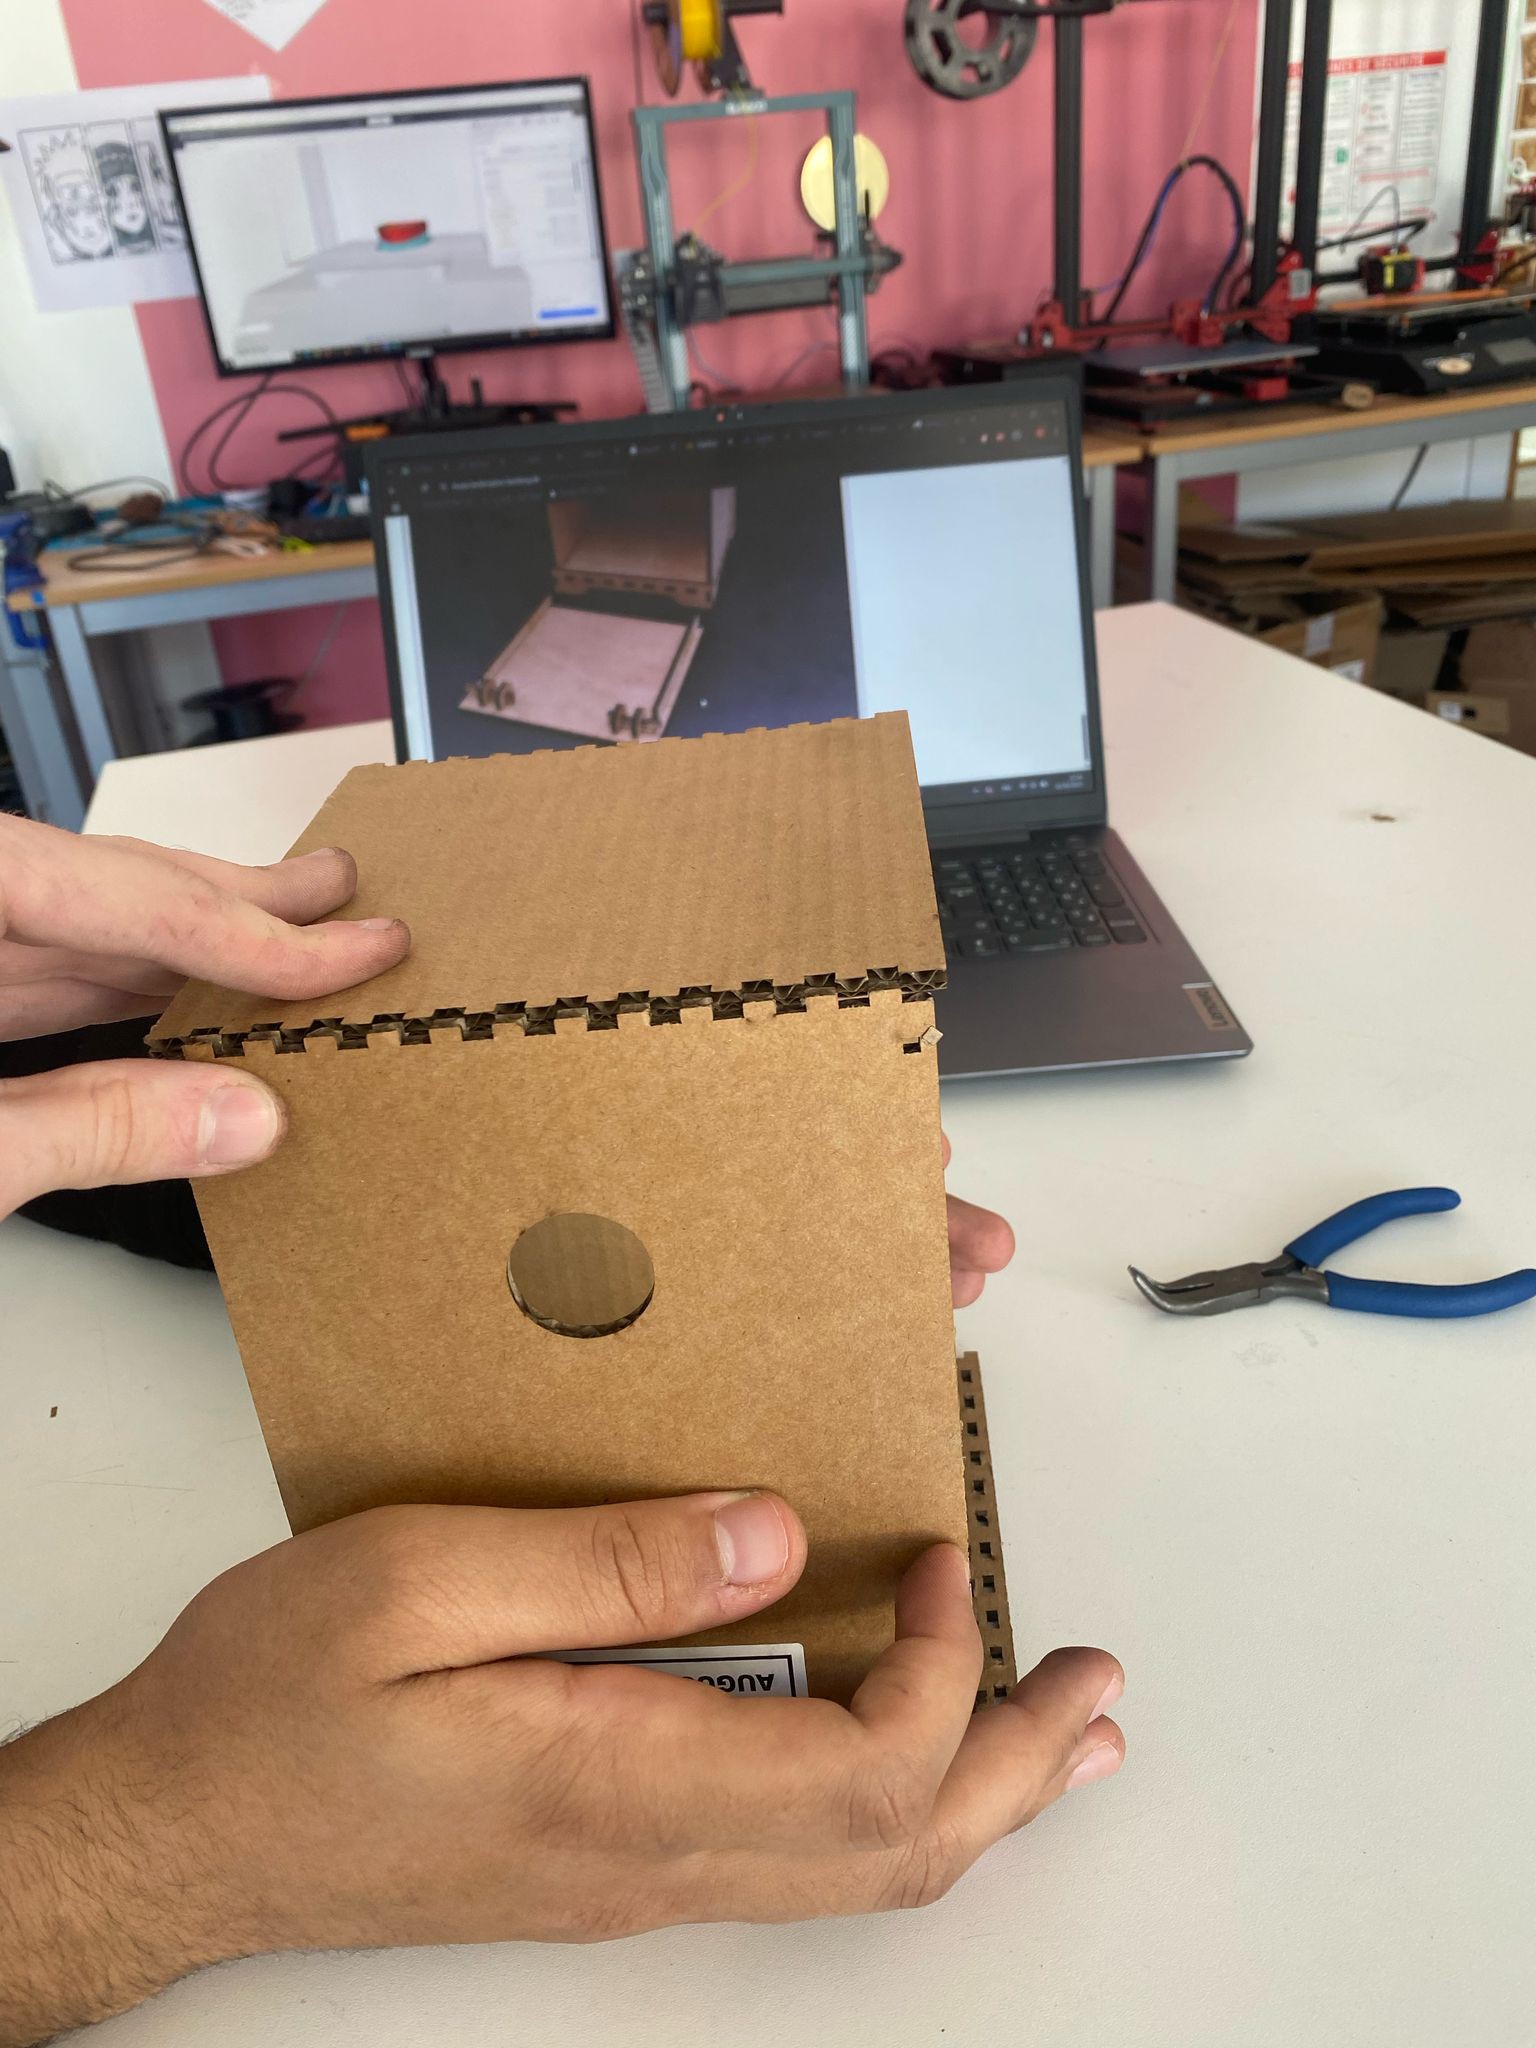
Using the laser cutter, we executed our designs on cardboard, creating various parts such as the body panels and wheel housings. This step was crucial for visualizing the spatial arrangement and mechanical fit.
-
-
Assembly Testing:
-
Post-cutting, the team assembled the cardboard pieces to form a preliminary model of WALL-B. This assembly process was pivotal in identifying any misalignments or design flaws.
-
Adjustments were made to the digital designs in real-time to correct any issues observed during the assembly.
-
Next Steps:
-
Transition to Wood:
-
Encouraged by the success with cardboard, our next step involves replicating the design using wood. Wood offers greater durability and a more robust framework for WALL-B, which is essential as we move towards more advanced testing and eventual deployment.
-
We will be revisiting the laser cutter with our revised designs, cutting the wooden pieces for another round of assembly.
-


Discussions
Become a Hackaday.io Member
Create an account to leave a comment. Already have an account? Log In.