 Nasser
With all wooden and 3D-printed components ready, we entered the assembly phase—where each subcomponent of the robotic chessboard came together to form a fully integrated system.
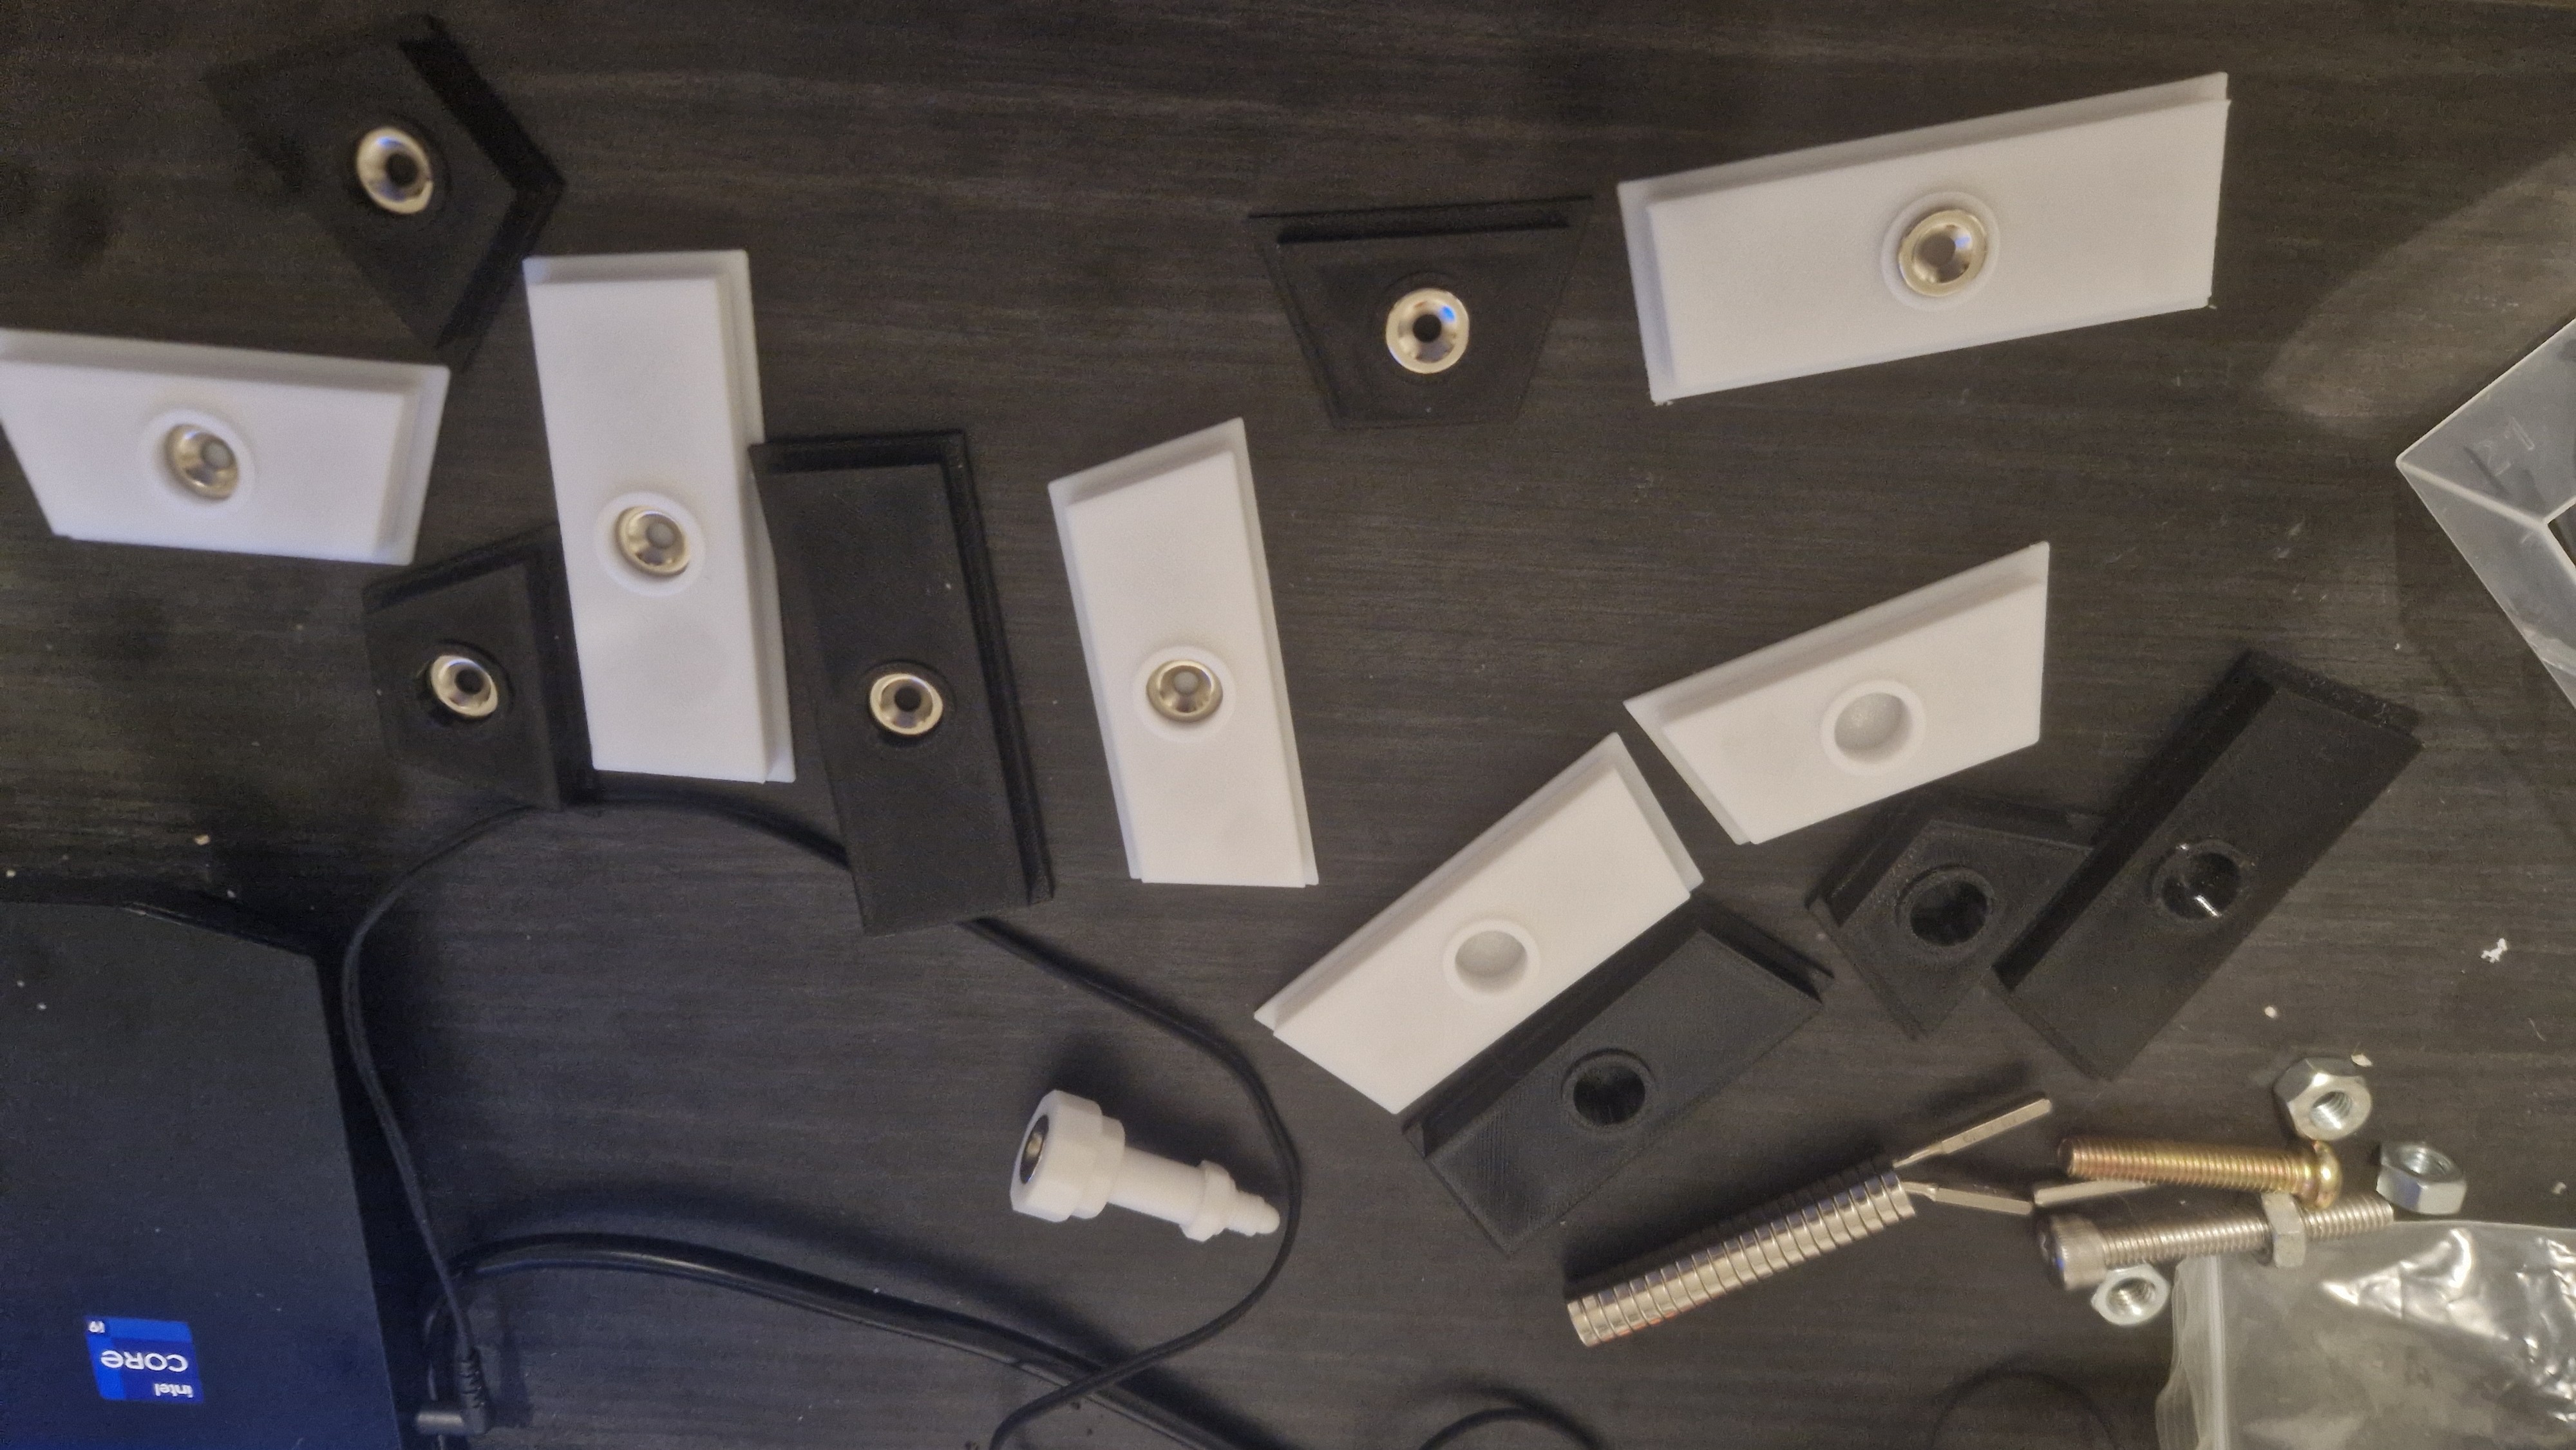
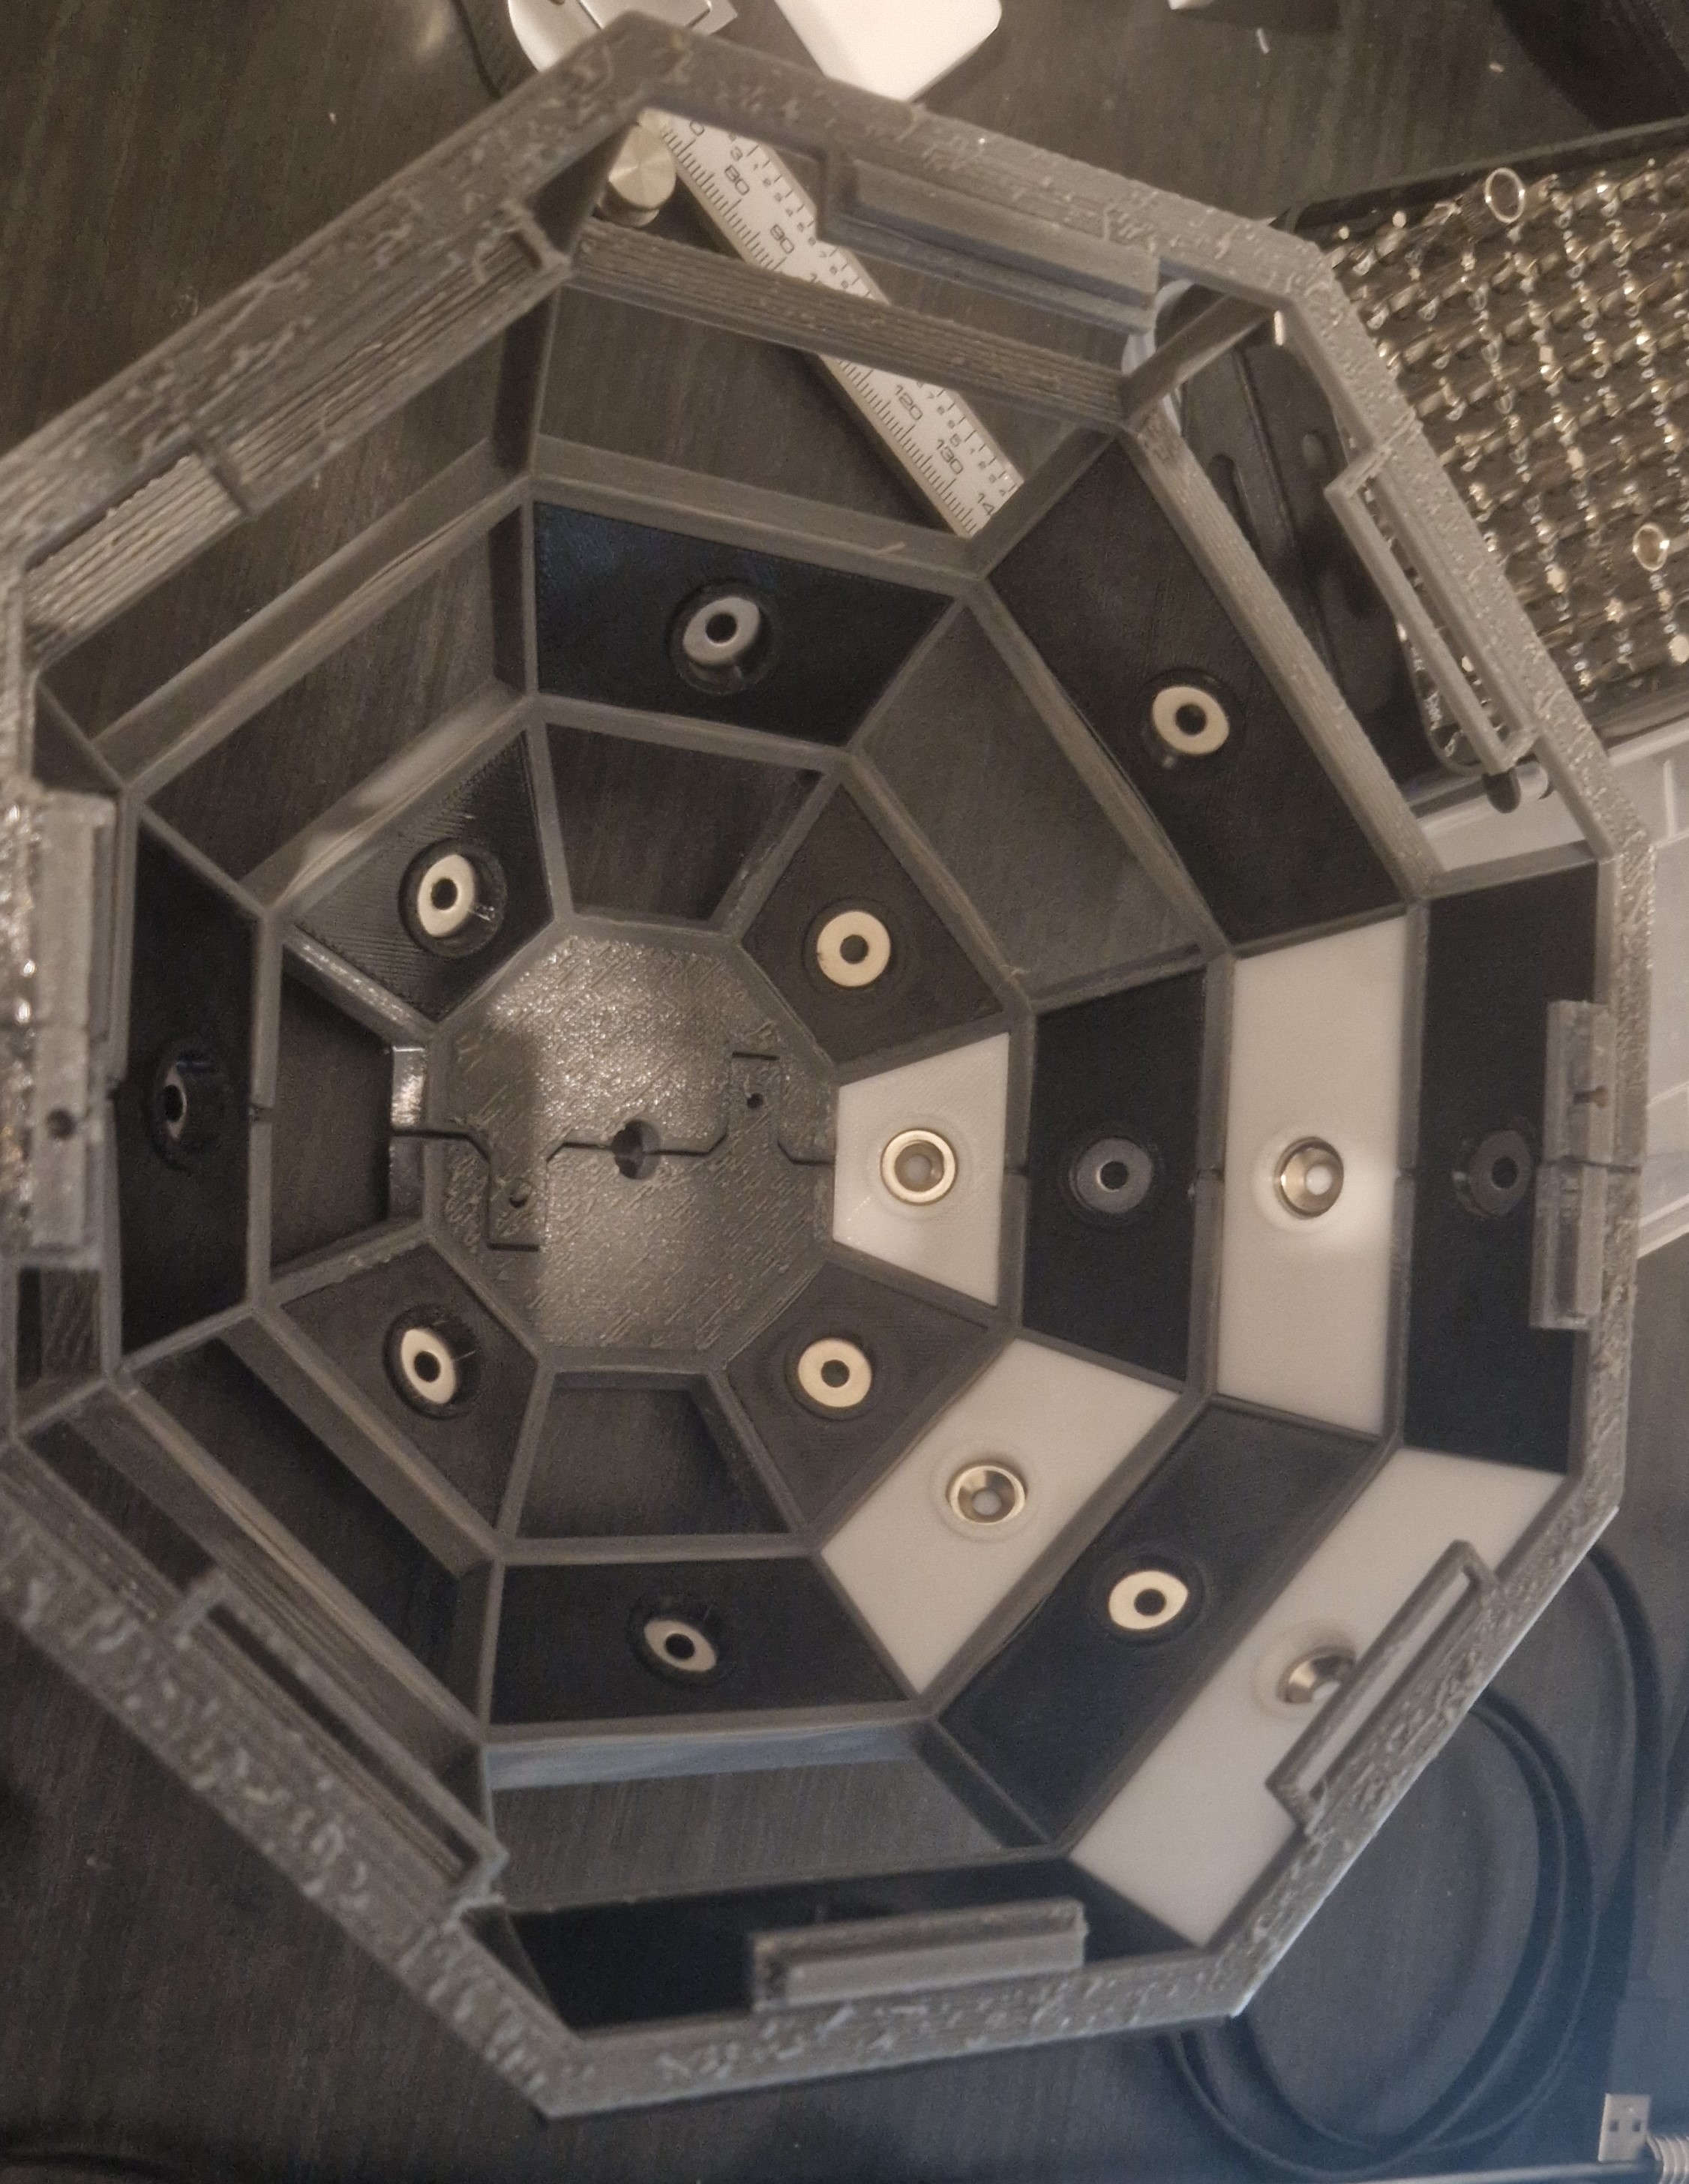
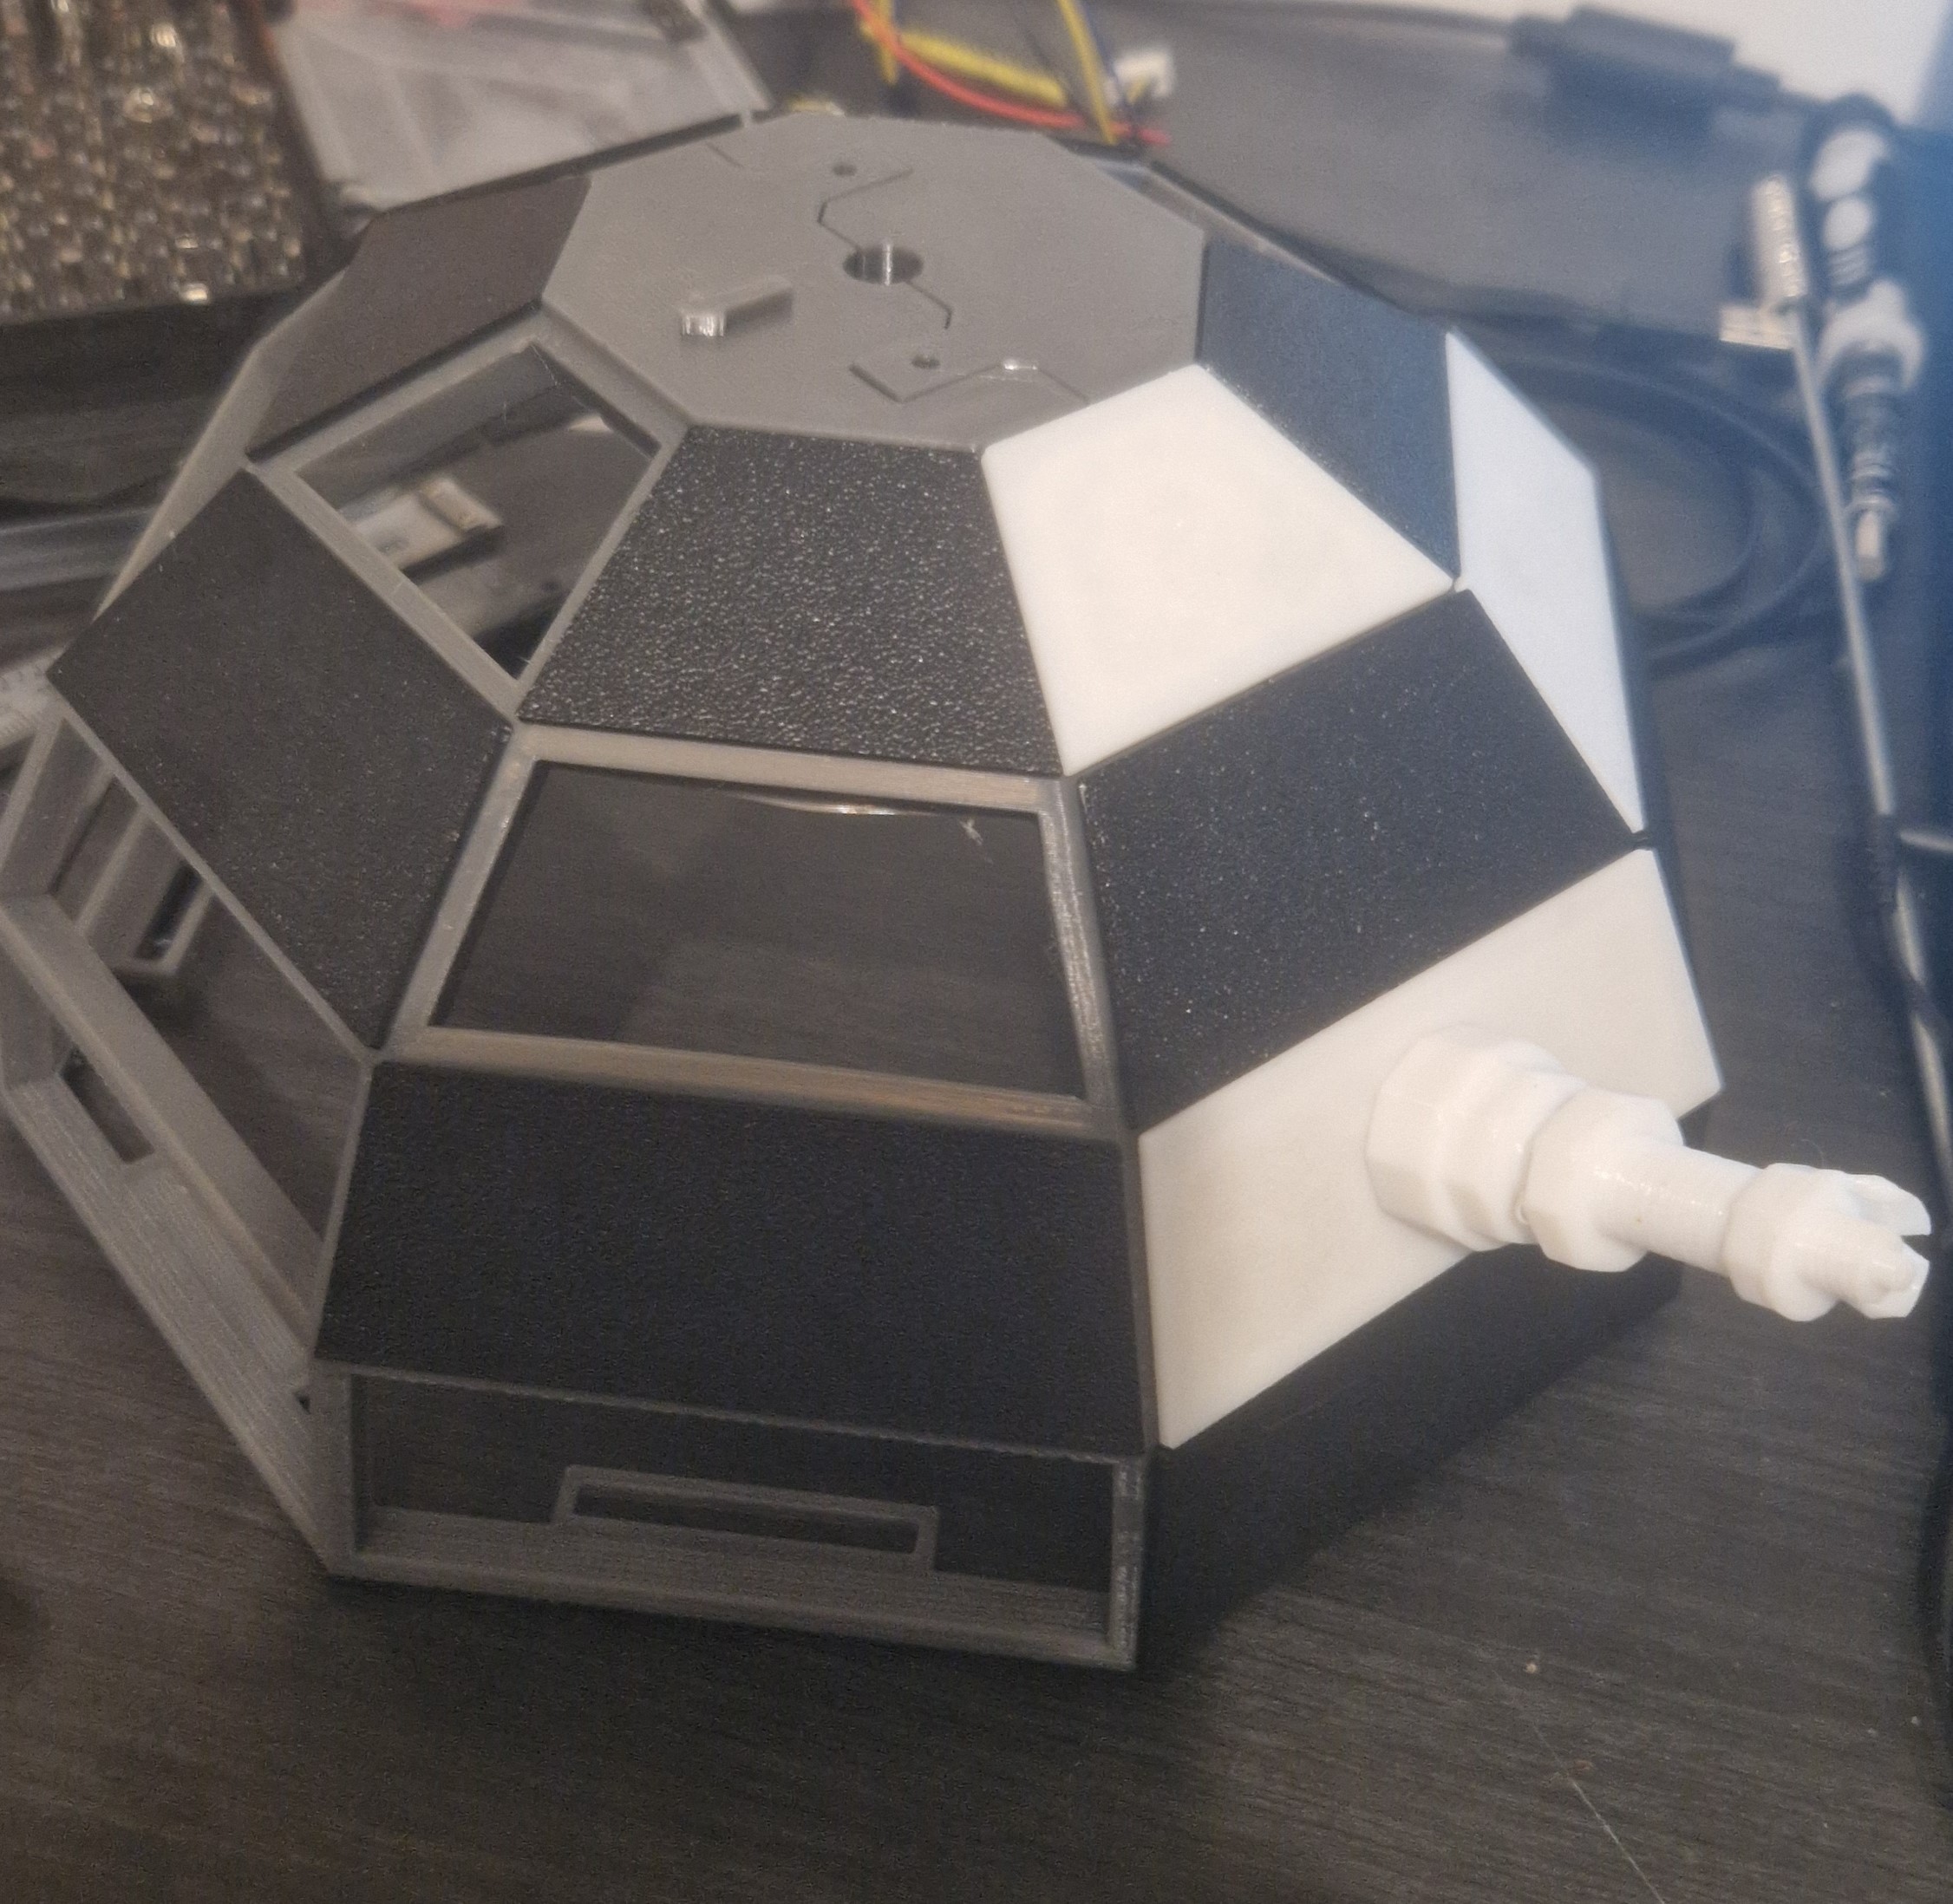
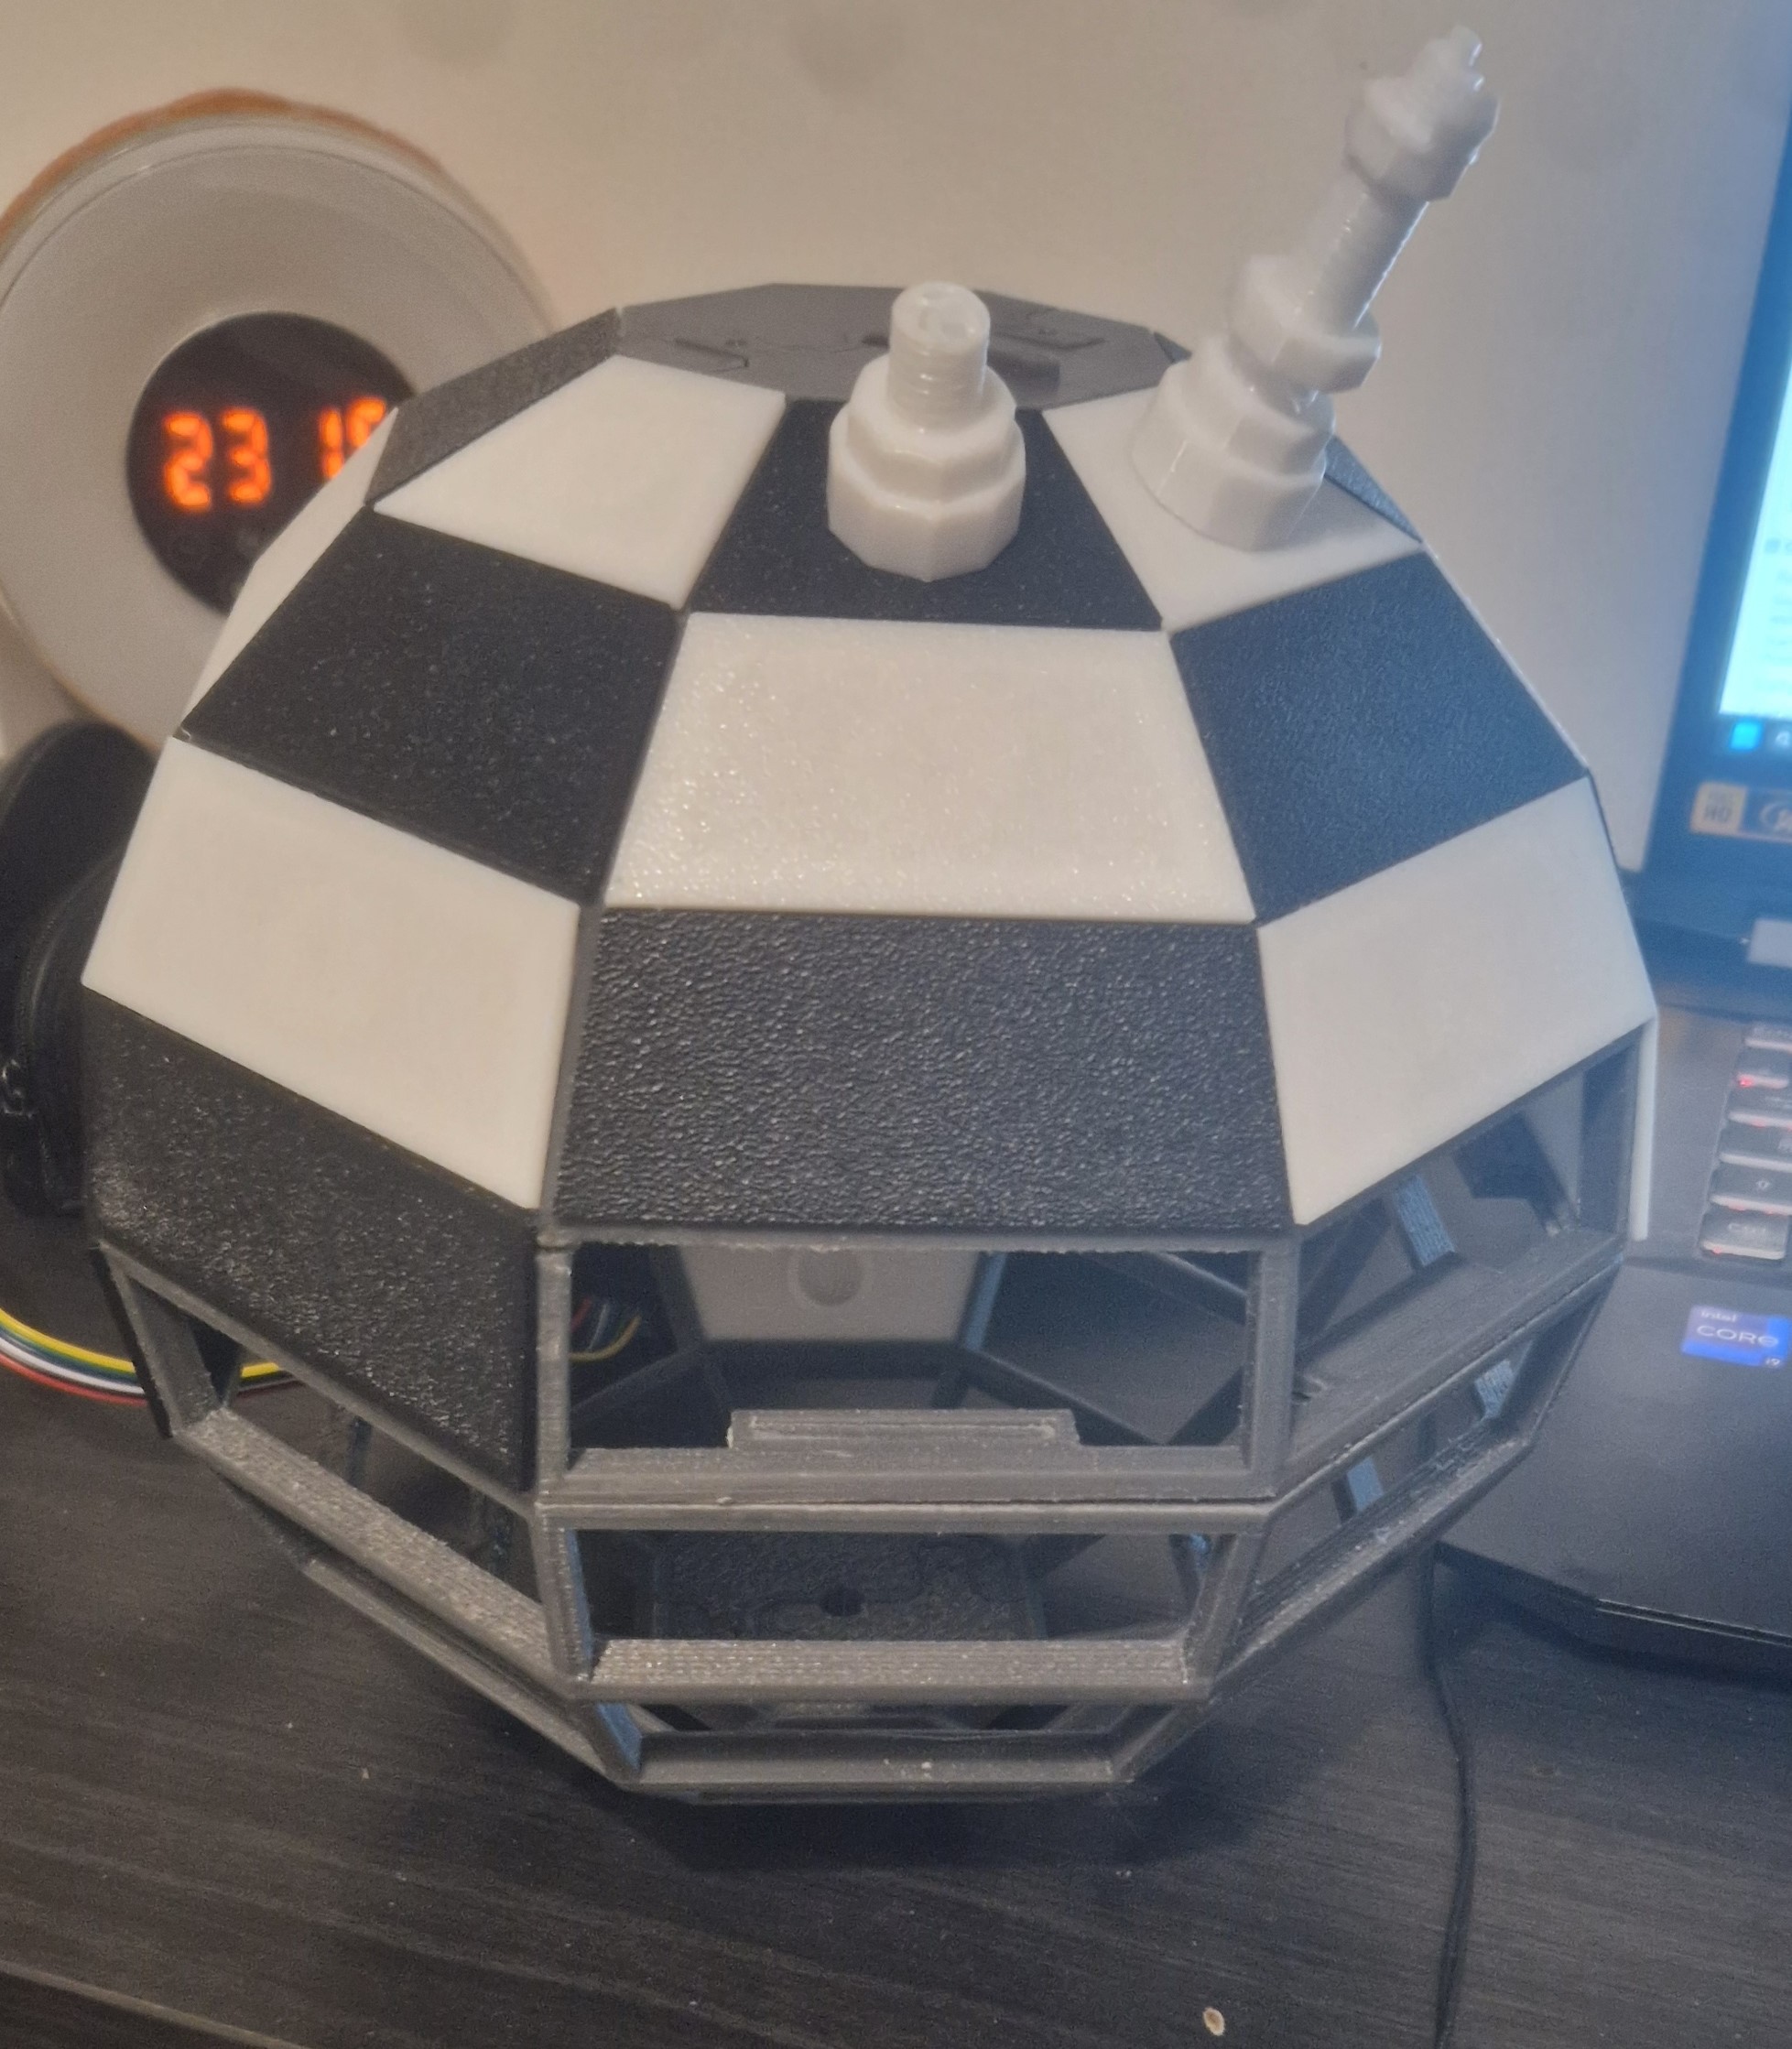
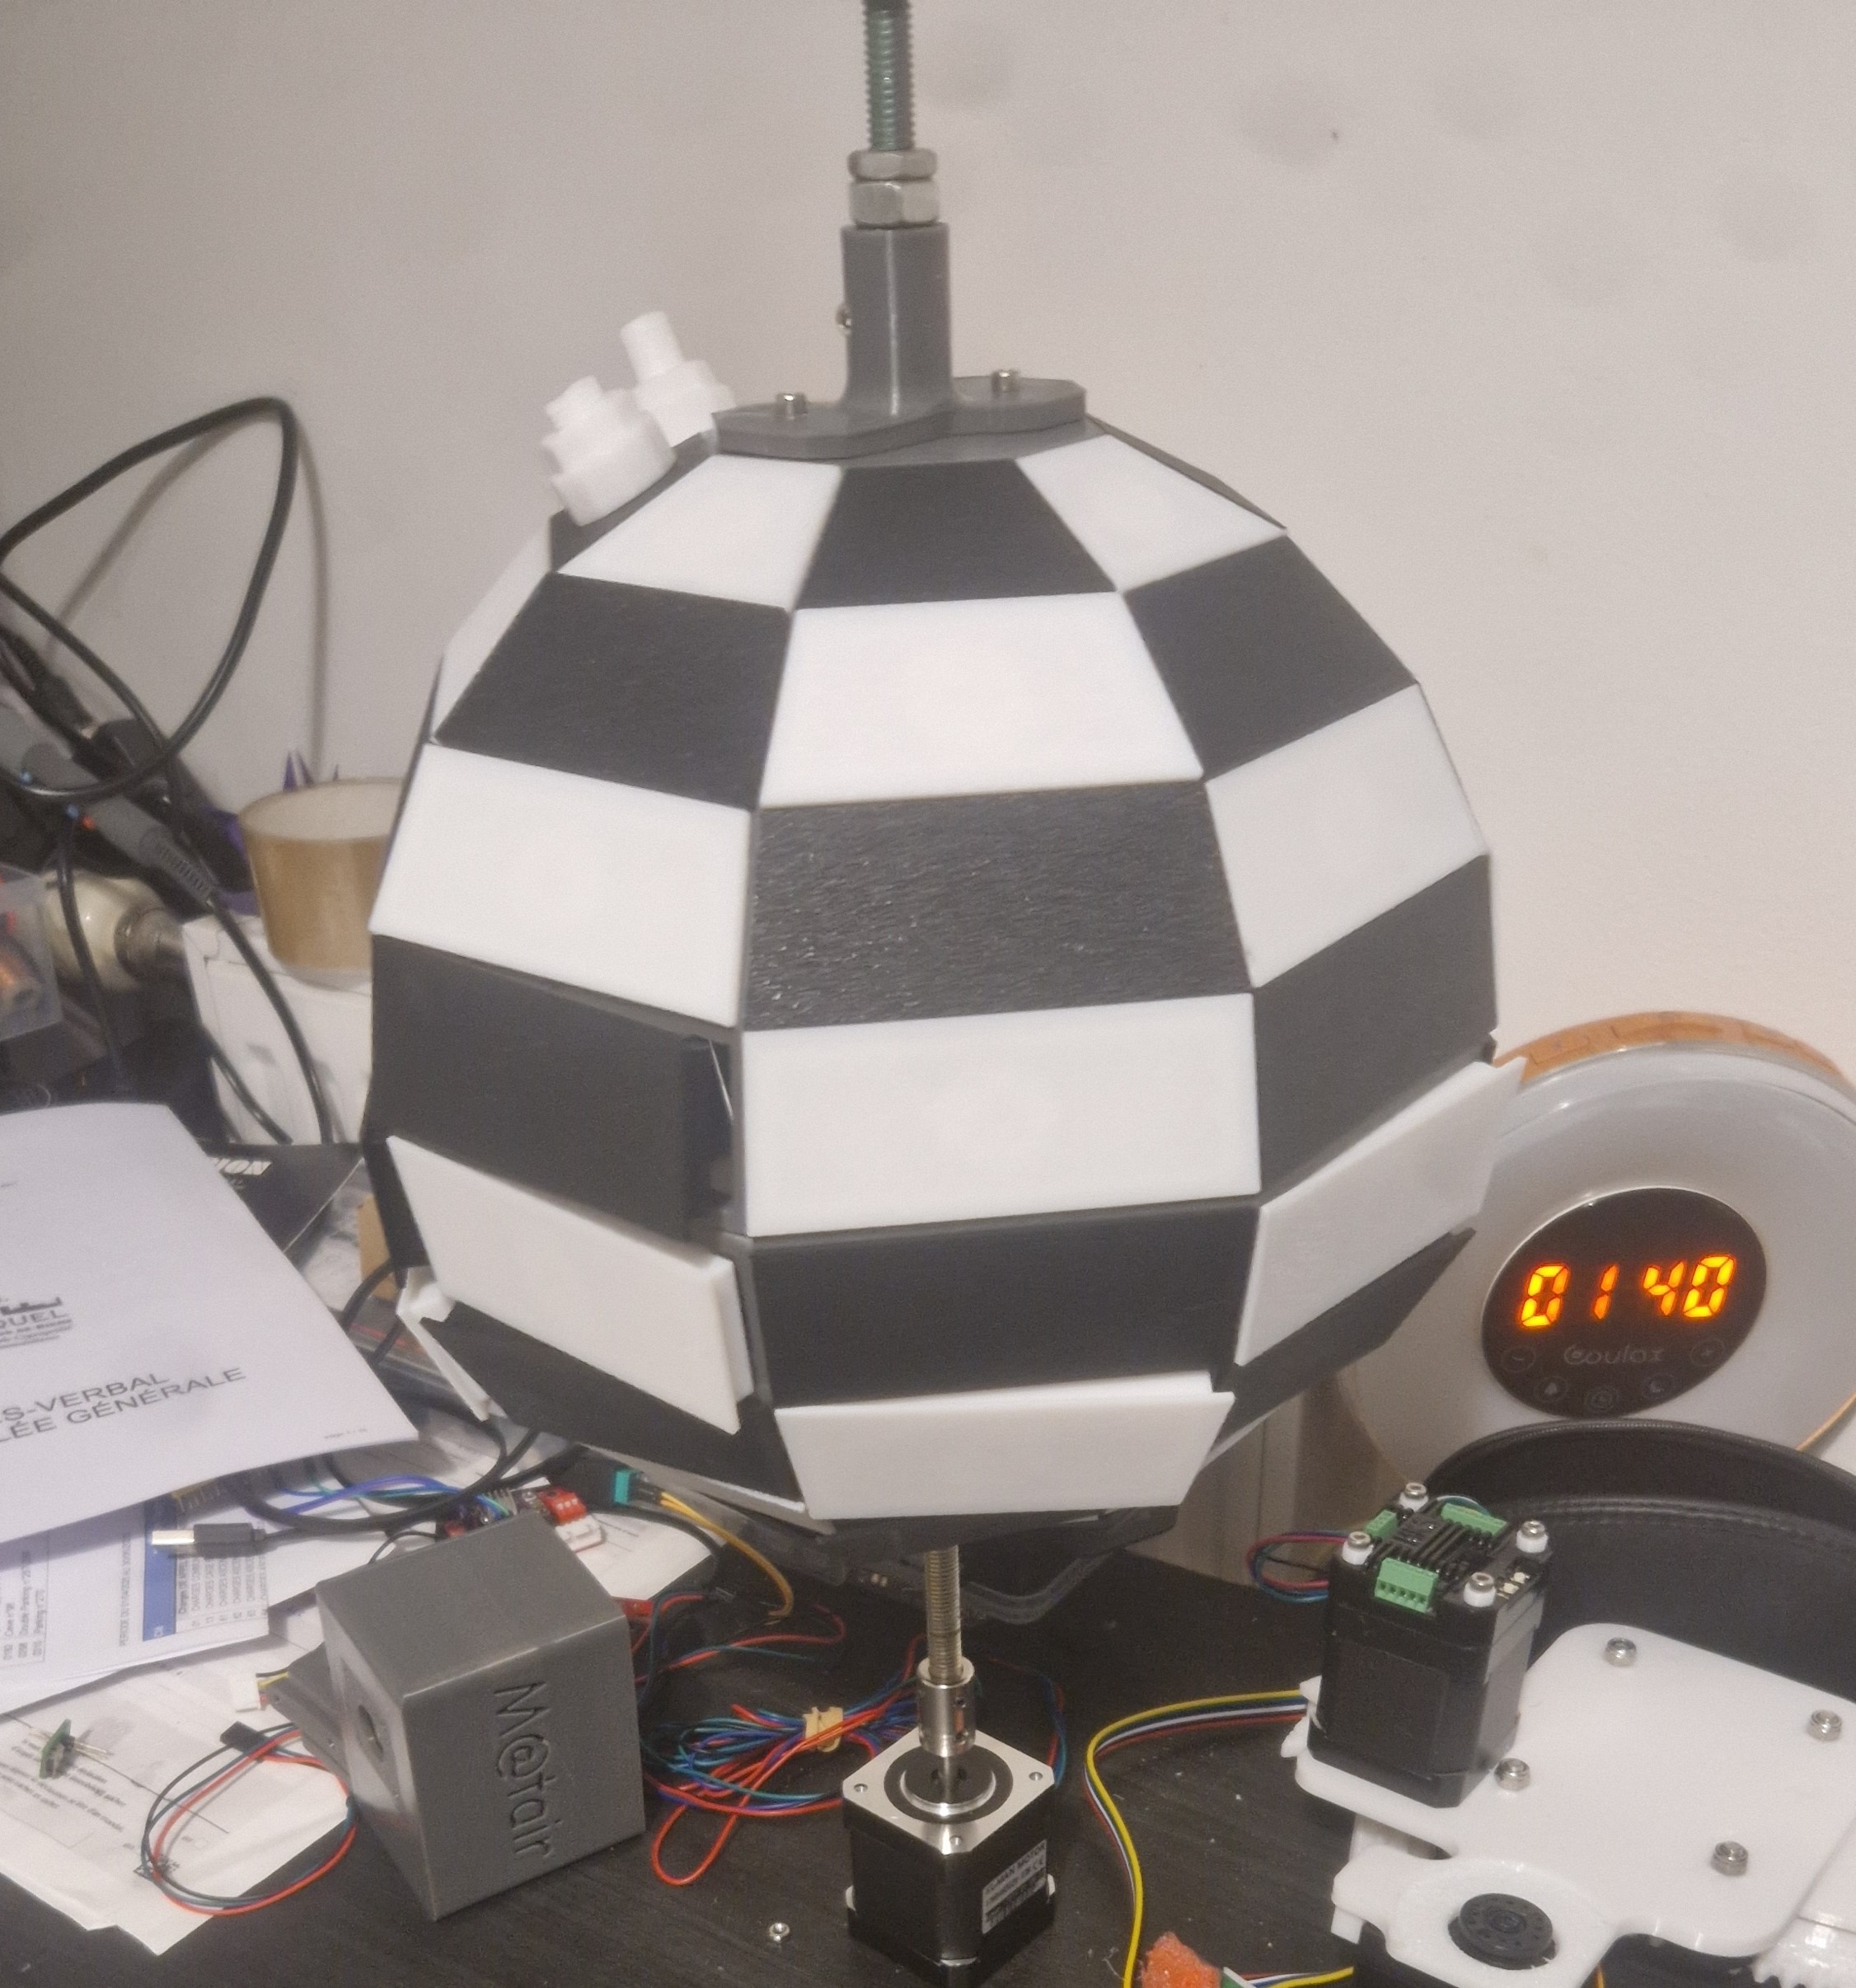
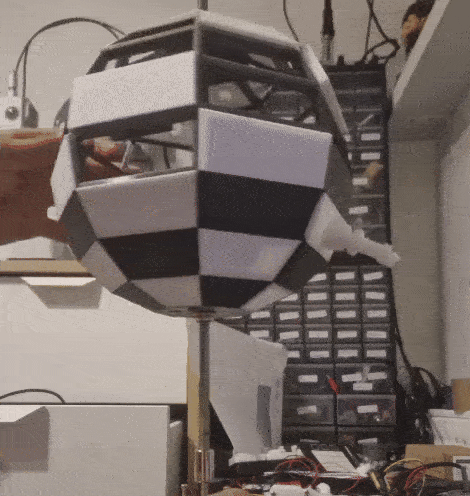
We began by assembling the spherical chessboard. The four 3D-printed dome part were aligned using built-in hinges (and some epoxy glue).Each square was then inserted into its designated slot on the sphere, forming the playable surface. Magnets were added to each square to allow chess pieces to attach.
 |  |
 |  |
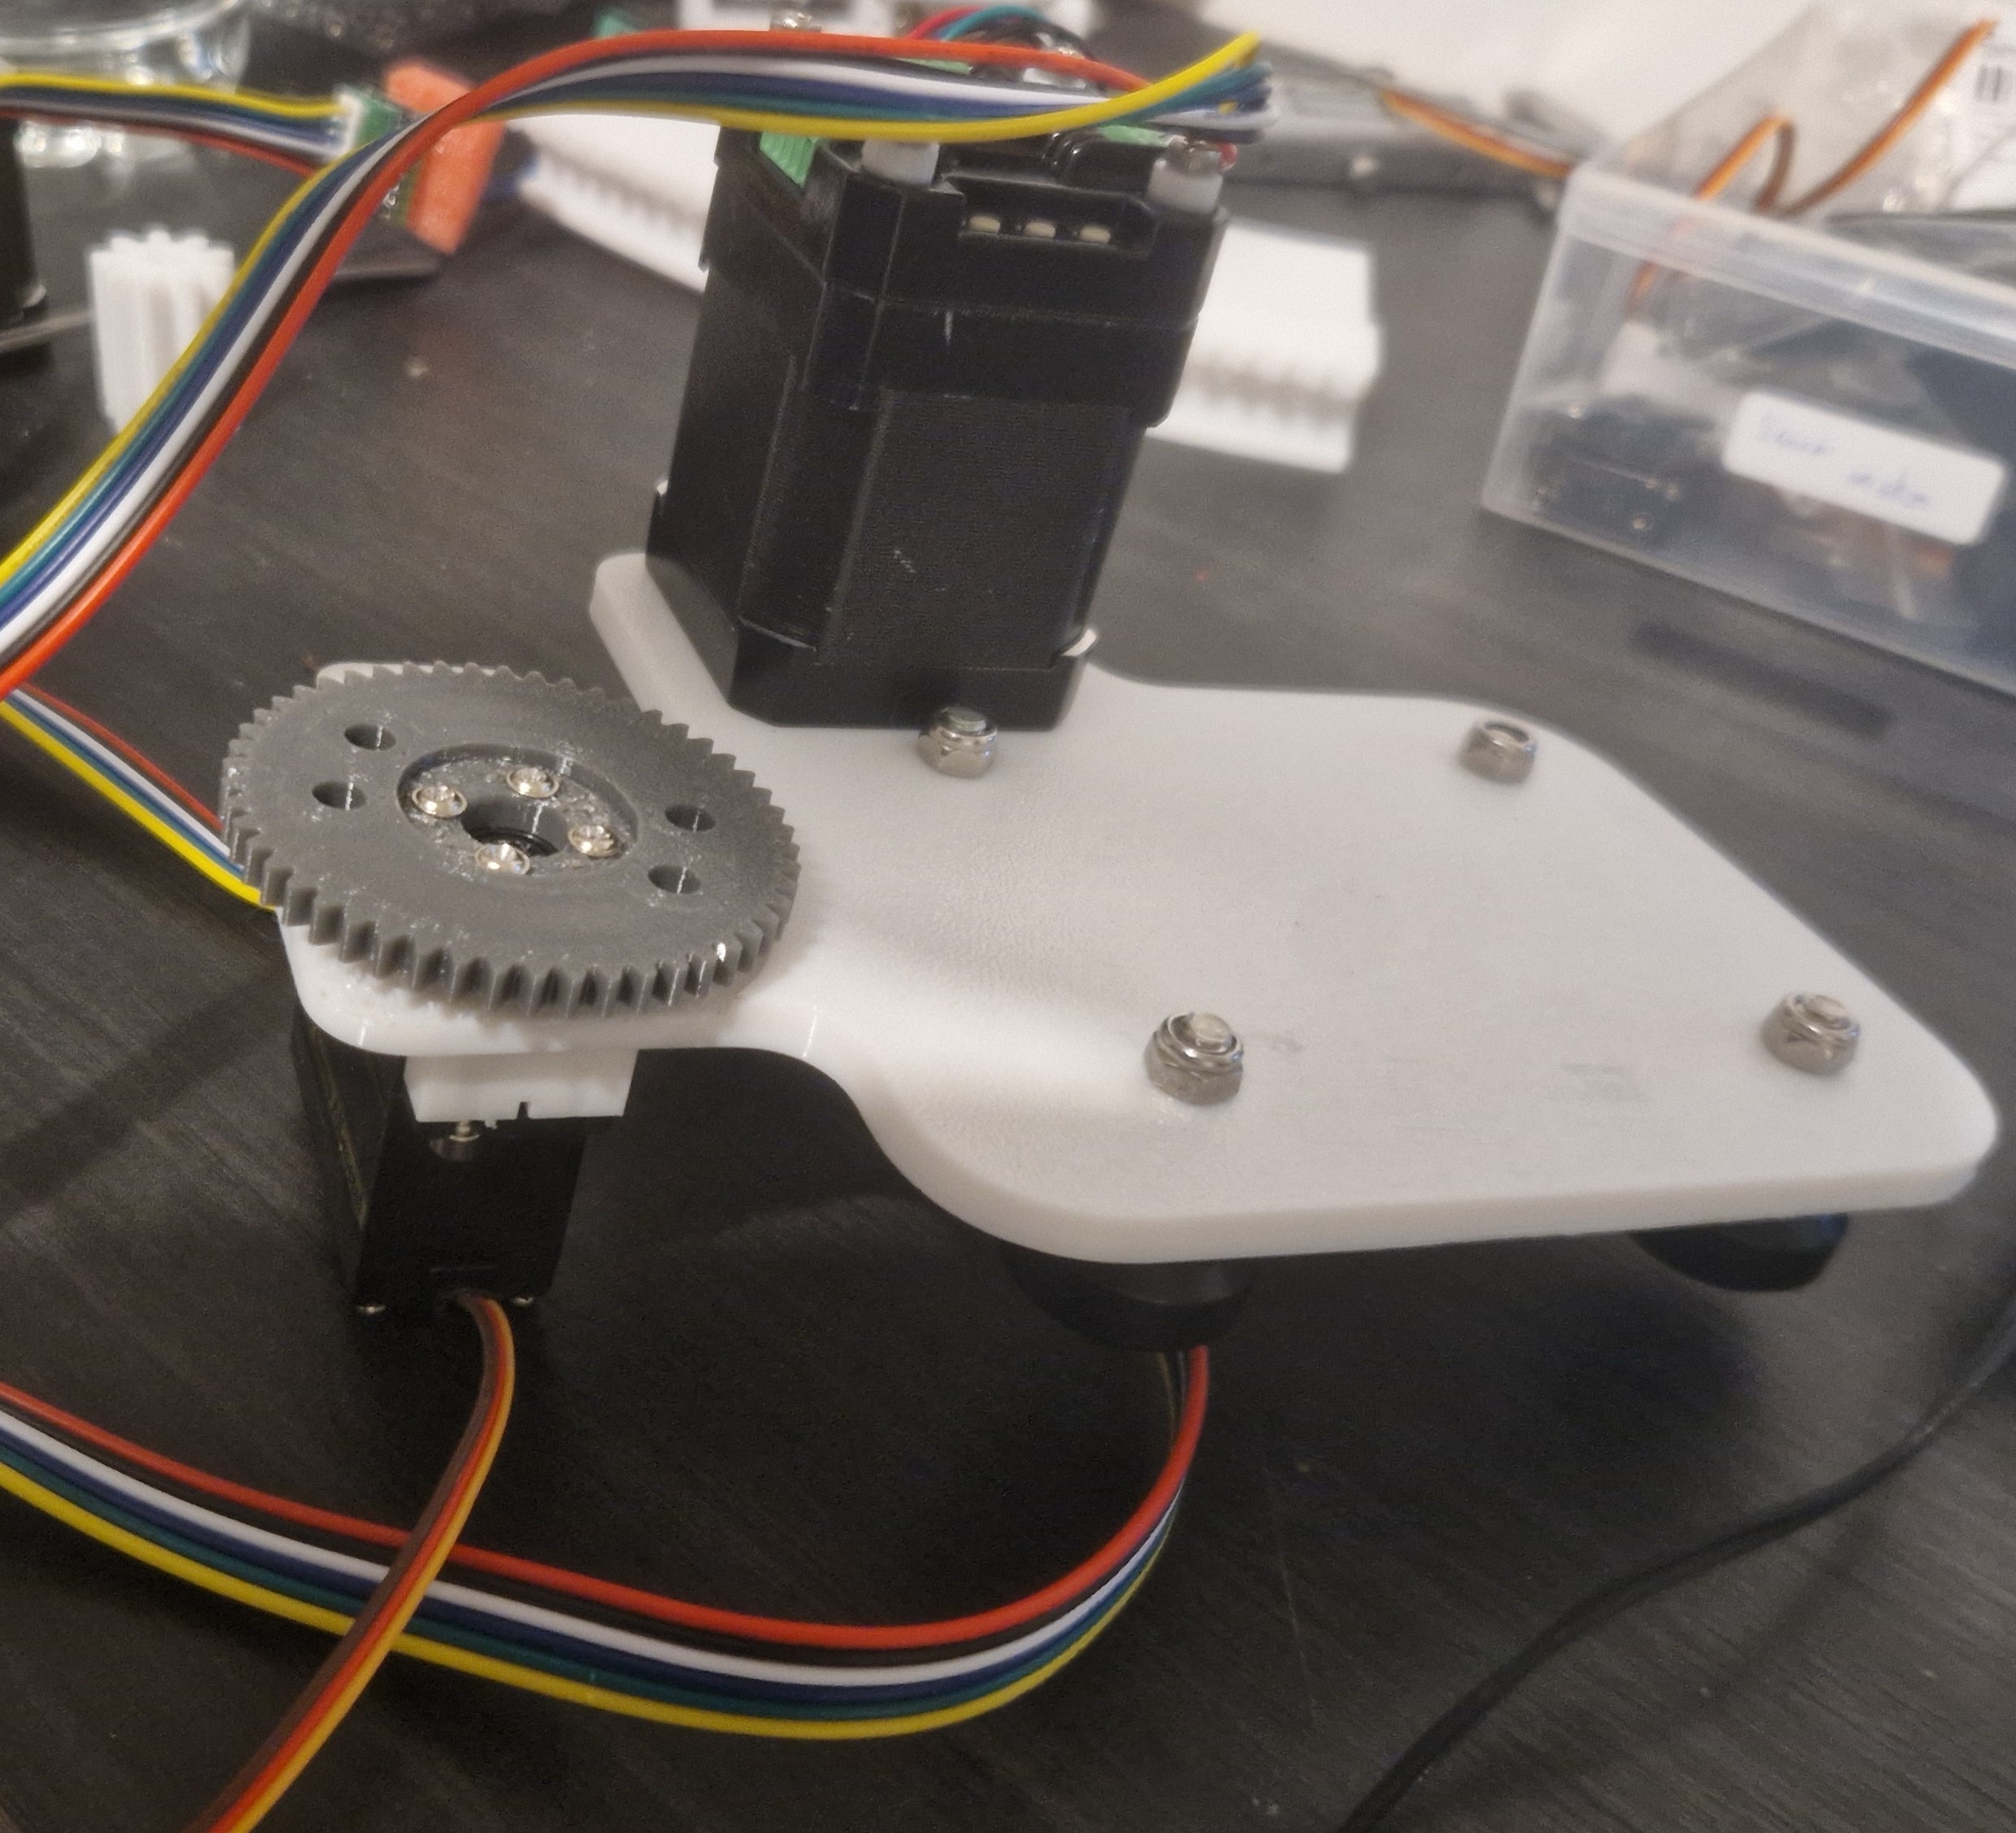
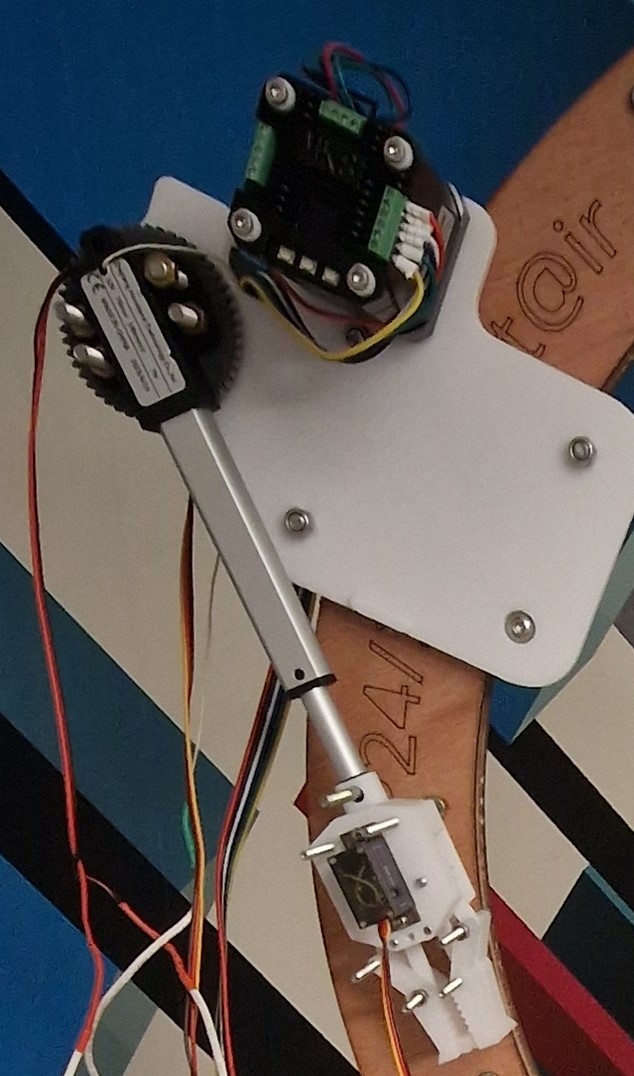
The cart subassembly was then put together. All components—stepper motor, linear actuator, rotating servo, gripper servo, and gripper—were integrated into the 3D-printed cart body.
Next, we assembled the curved rail, made of multiple laser-cut plywood layers:
These layers were aligned and fastened together using M5 screws. The 3D-printed top and bottom rail supports were then bolted in place using M8 bolts, completing the rail structure.
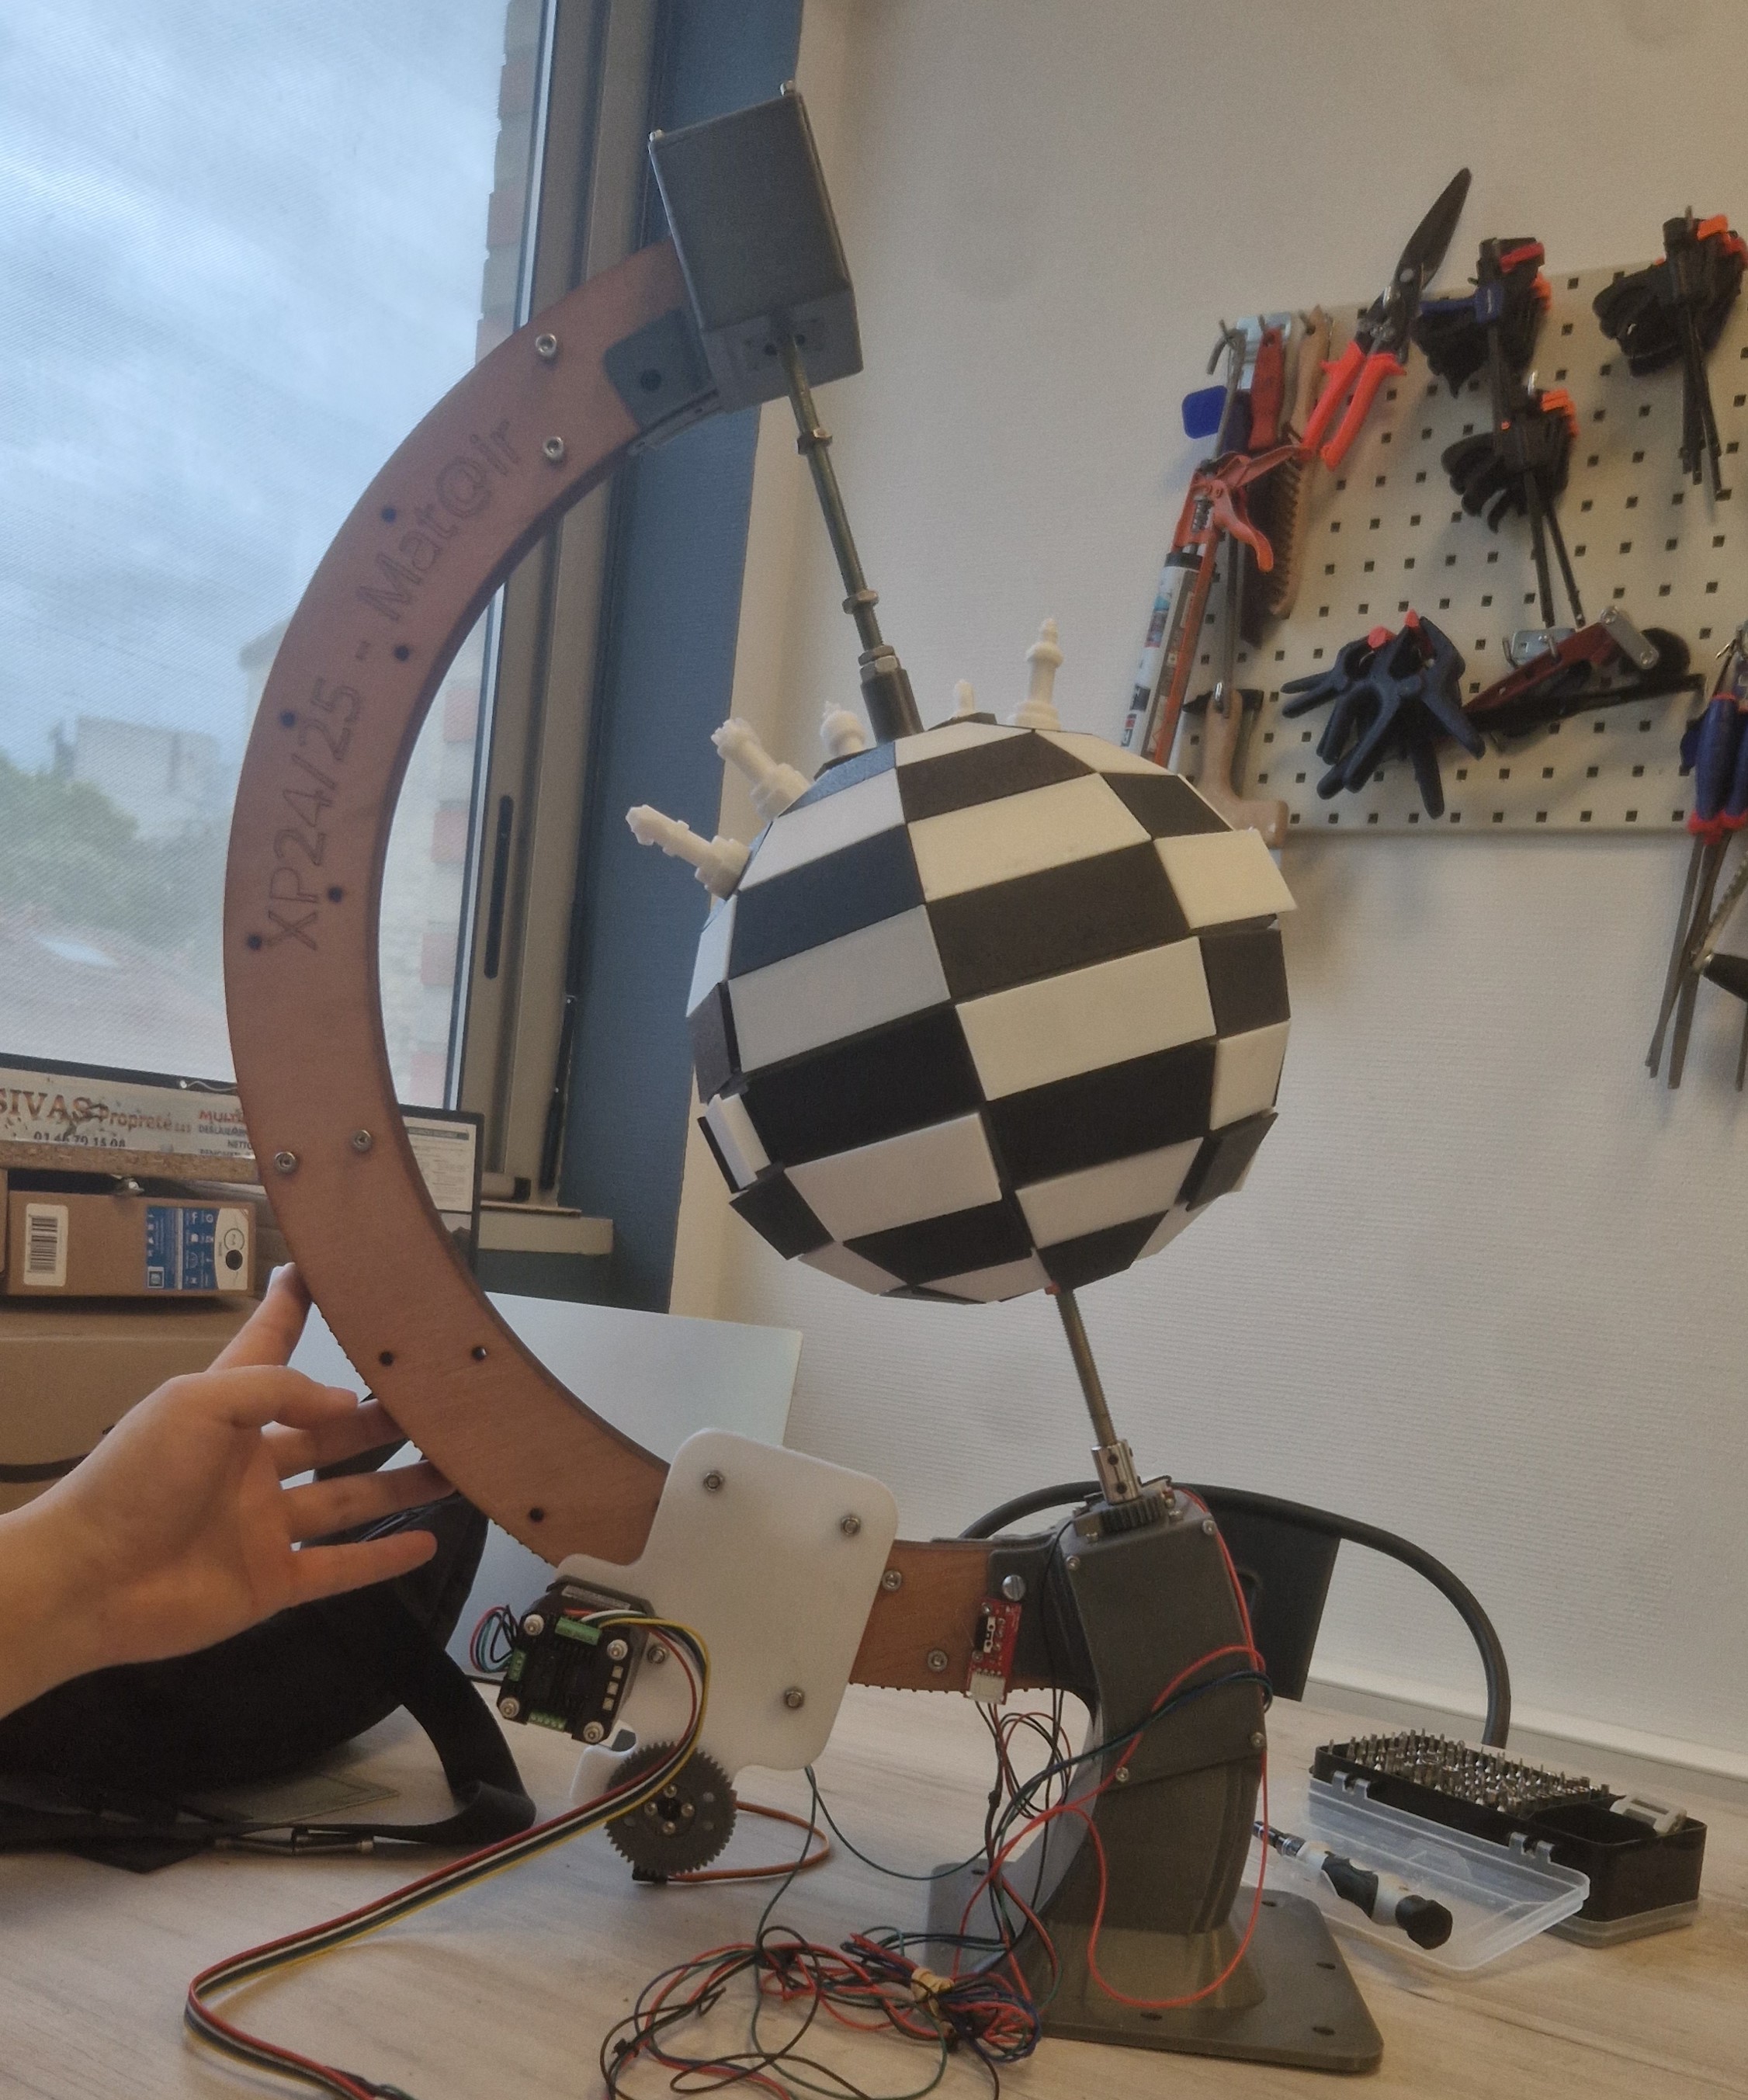
Finally, we mounted the cart onto the rail and the bottom support to the wooden base.
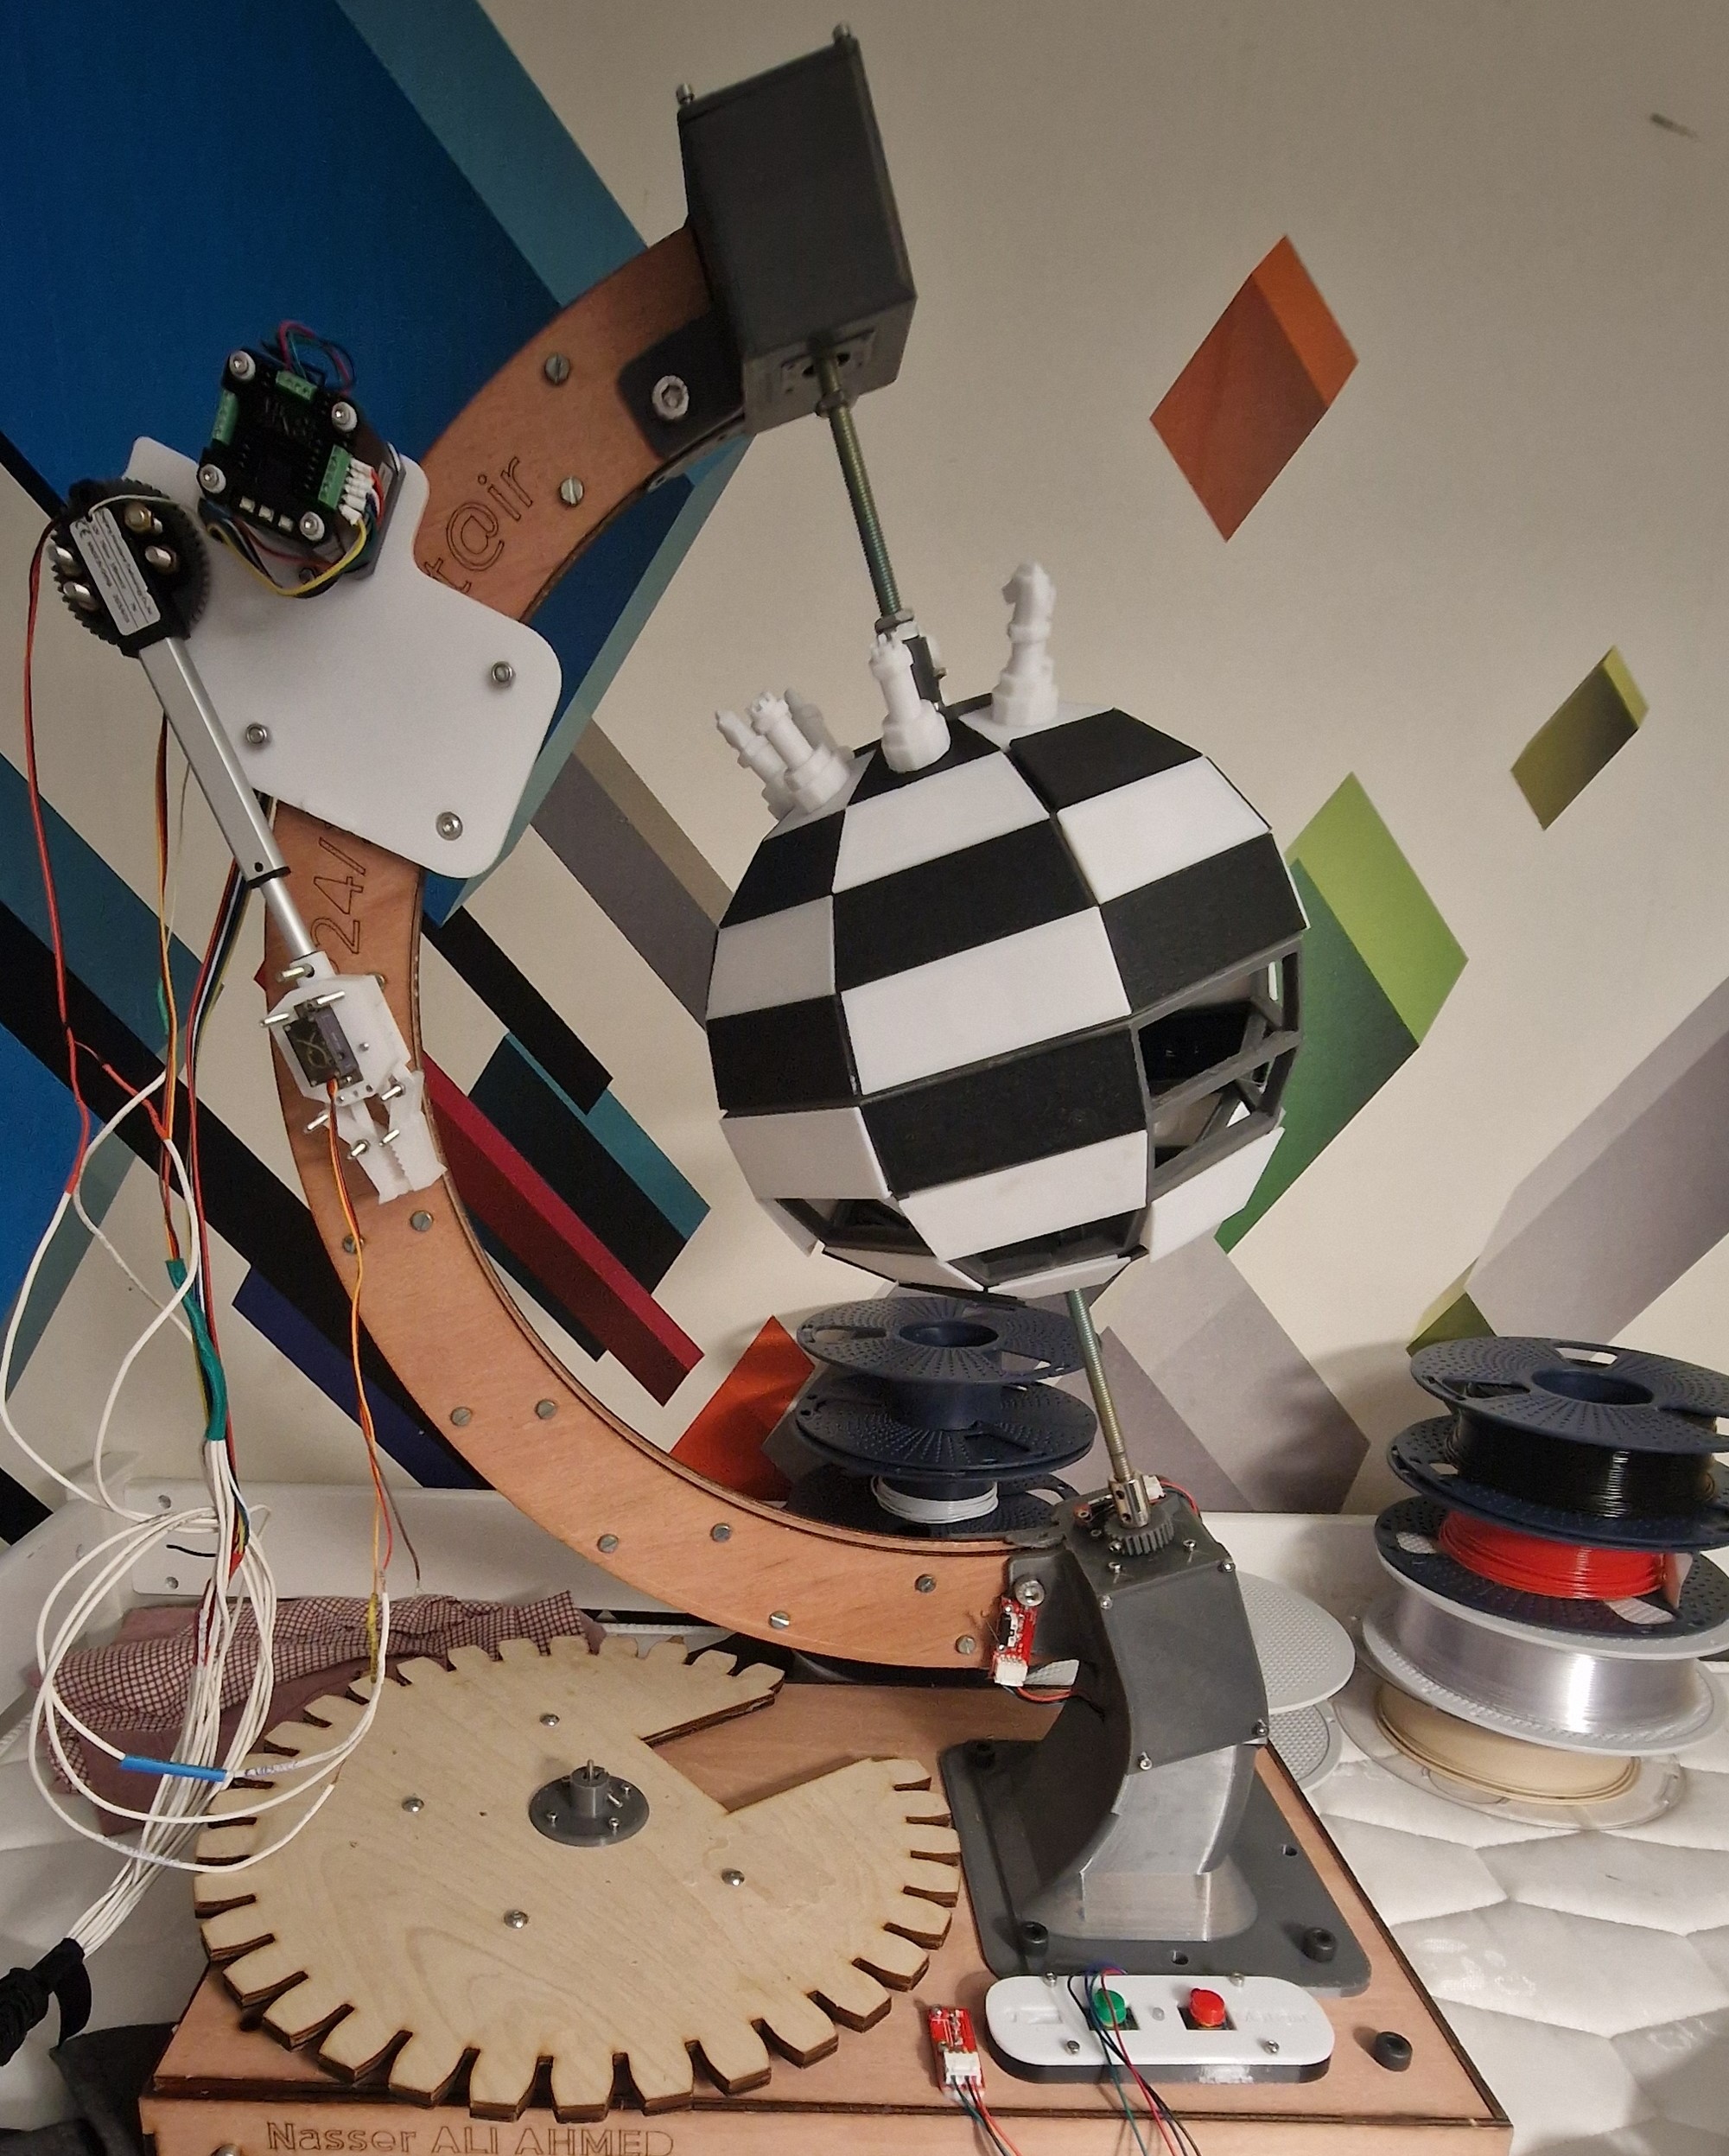
This phase marked a key milestone, as the physical form of our robotic chessboard was now complete. The next step will be wiring all components and beginning system integration, programming and finally testing.
Discussions
Become a Hackaday.io Member
Create an account to leave a comment. Already have an account? Log In.