 imanolink
Hi,
We decided to continue working on our project during the final exams period so that we would be able to finish everything before the final session. Even though it meant adding some pressure to an already intense period, we felt it was worth wrapping things up properly.
During the first session, we printed the E-shaped blocks designed to hold the inner dial and provide structural support for the rest of the assembly. At first, everything seemed to be going well. However, we quickly ran into a problem: we had printed the blocks as solid pieces, and we hadn’t planned for any internal cavities. As a result, we had to manually drill holes into them—a task that slowed us down quite a bit.
Then came the second issue: two of the E blocks didn’t enable the internal gears to fit and rotate properly. These gears are essential for the functioning of the entire mechanism, so we had no choice but to file the inside of the blocks down. This took a lot of time—several dozen minutes—because we had to be extremely careful not to damage the pieces or make them unusable.
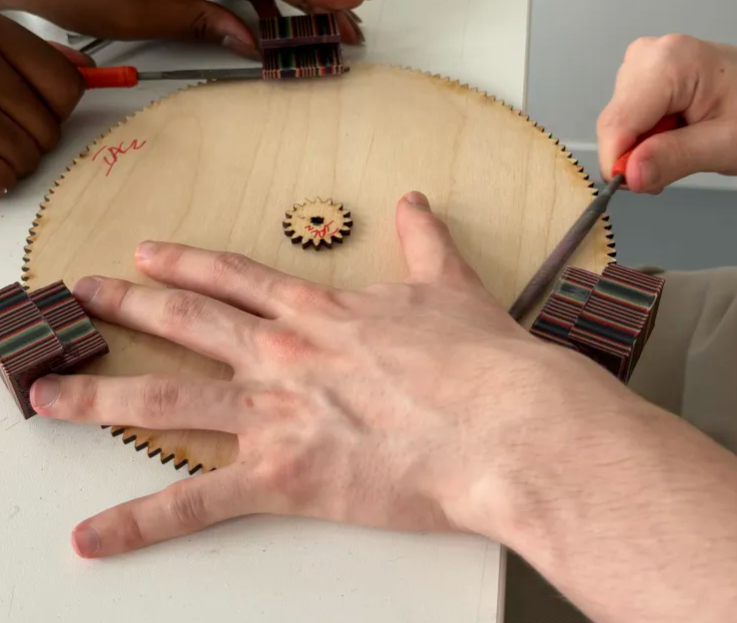
Unfortunately, our frustrations didn’t stop there. When we finally tried to insert the dial (with the numbers and clock hands) into the E structure, we realized it didn’t fit entirely. It stuck out slightly and didn’t sit properly. That moment was quite disappointing for all of us, and we ended the session feeling a bit disheartened.
The next day, we talked to Arnaud about the issue, and he made a simple but very logical suggestion: just remake the dial slightly larger so it would align better with the structure. In hindsight, it made perfect sense—we just hadn’t thought of it ourselves in the heat of the moment.
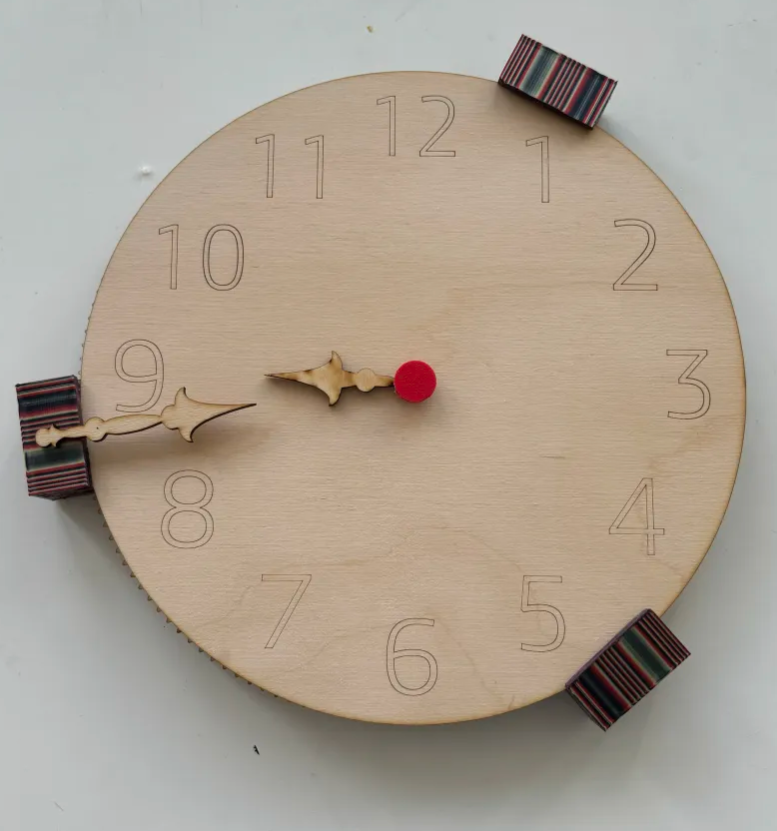
So in the final session, that’s exactly what we did. We redesigned the dial and even came up with a new, more realistic design for the clock hands. However, that part came with its own set of challenges. Since we didn’t know the exact dimensions the dial needed, we had to make multiple attempts before finding the right fit. Designing the hands was also tricky—we tried using online models, but most of them were either not suitable or couldn’t be directly imported into the lab’s PC application.
Despite all these hurdles, we managed to get everything assembled and functioning. The final result turned out to be quite satisfying, especially considering all the difficulties we faced along the way.
And that brings our work sessions to an end. We hope you enjoyed reading about our journey as much as we enjoyed (and struggled!) working through it.
Discussions
Become a Hackaday.io Member
Create an account to leave a comment. Already have an account? Log In.