 nurdamla
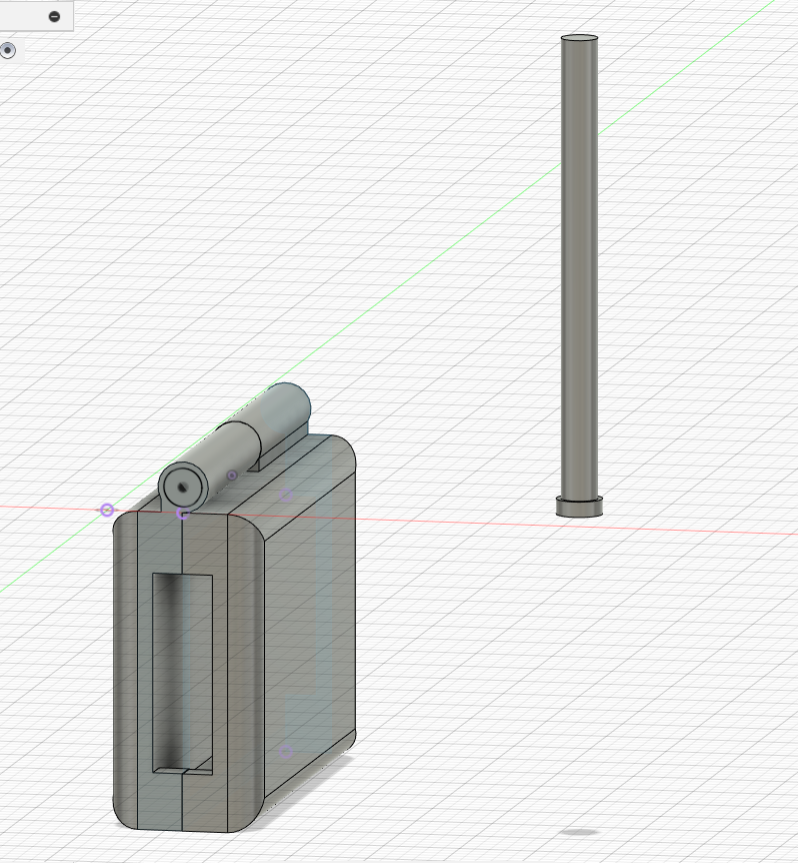
We met Diego who is a 12 year old kid with a malformation in his left hand. After discussing a bit with him, we decided to try to make an object to help him tie his shoes. Then, we came up with an idea, which is to create a clip that will hold the laces in place and also allow him to tighten his laces. We got the inspiration from multiple objects such as; plastic boxes and bracelet clips.
0%
0%
Project To Simplify Tying Shoelaces
This project aims to make tying shoelaces easier. The target users are disabled people with hand deformities.
Become a Hackaday.io member
Already have an account? Log in.
Just one more thing
To make the experience fit your profile, pick a username and tell us what interests you.
Pick an awesome username
hackaday.io/
Your profile's URL: hackaday.io/username. Max 25 alphanumeric characters.
Pick a few interests
Projects that share your interests
People that share your interests
 aurelie.pavy
 Audrey Robinel
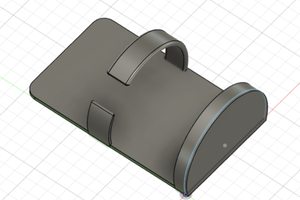
 Scott
Scott