 MoCo Makers
We have determined that there will be at least one, and possibly a second more refined version of the project. For sure in the first project, we largely continue to get inspiration from MechPanda and Dan Berard's work, meaning that we are only doing minor tweaks to update components.
We are fighting the urge to dramatically rework any systems until we have a baseline. The bare circuit board for the controller board remains largely the same, though the BOM has been updated. We identified the following boards:
- Controller Board (CAD documented)
- Preamplifier Board
- Power management module (to clean signal prior to entering the system power input terminals, allowing us to work with noisy wall AC adapters)
- Microcontroller adapter board (simple pins breakout for a Arduino Teensy 4.1 done with protoboard)
- A motor controller board (not shown, you can use a commercially available board here!)
See those elements here:
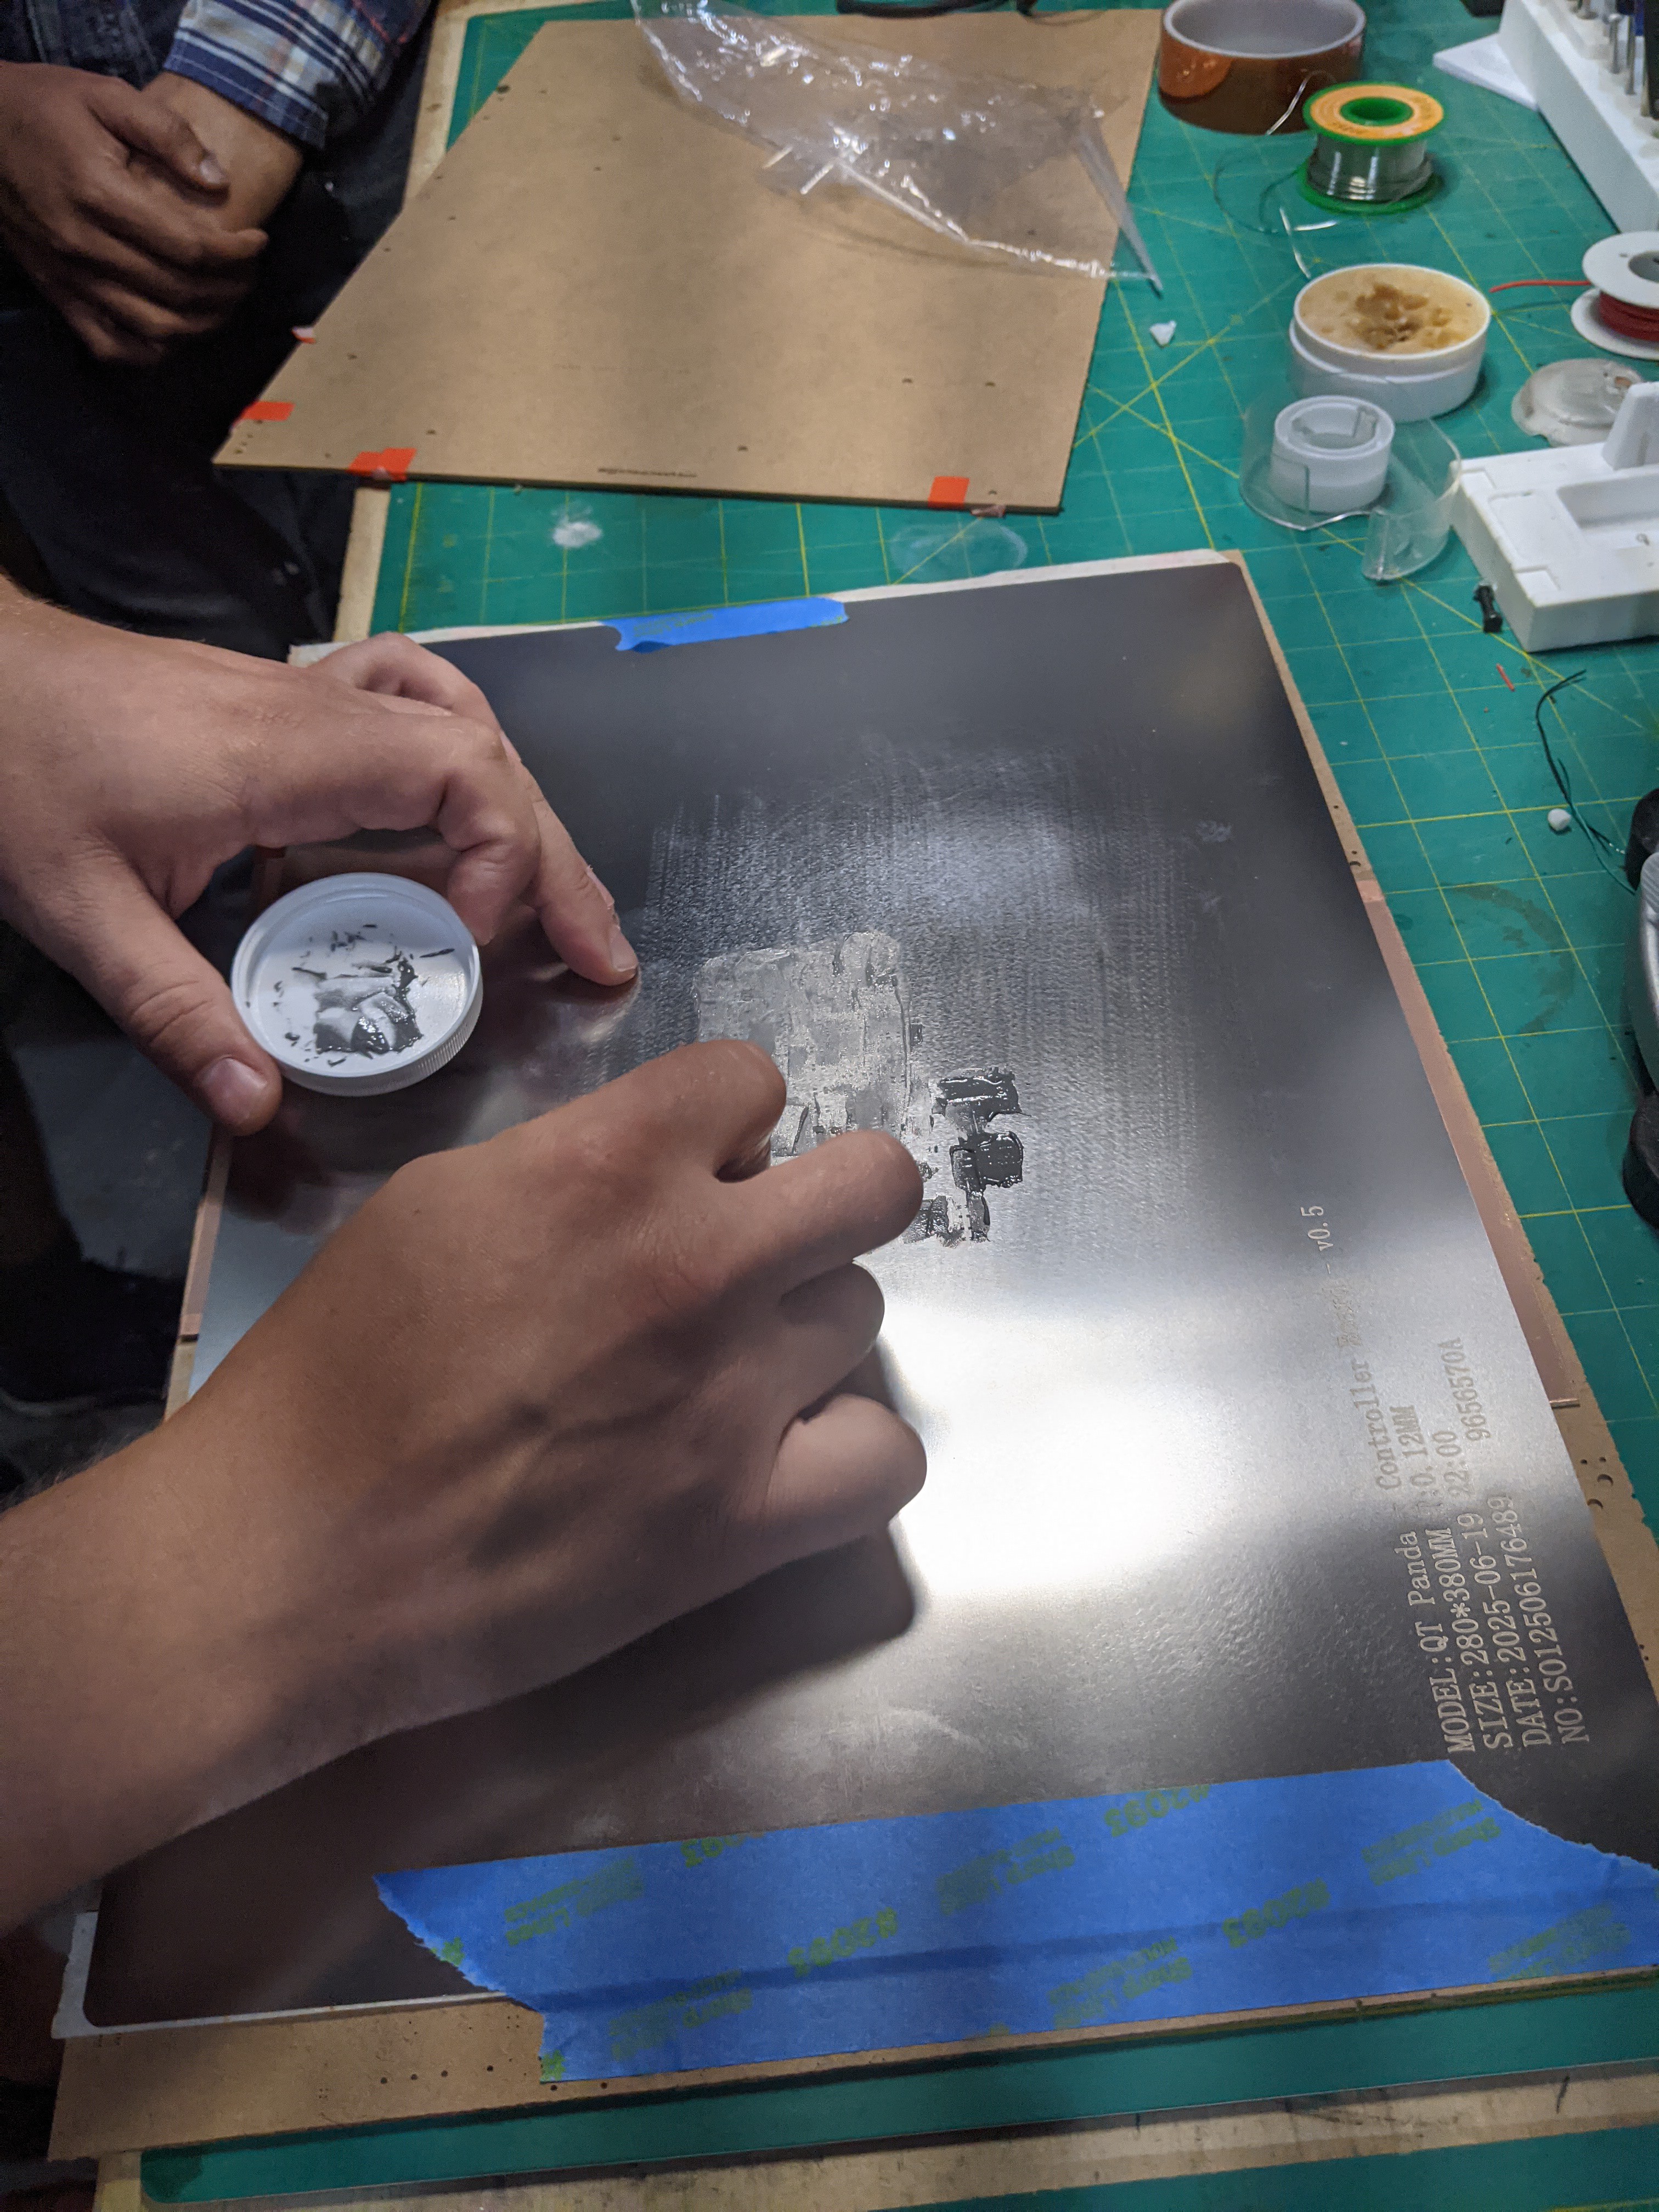
Controller Board
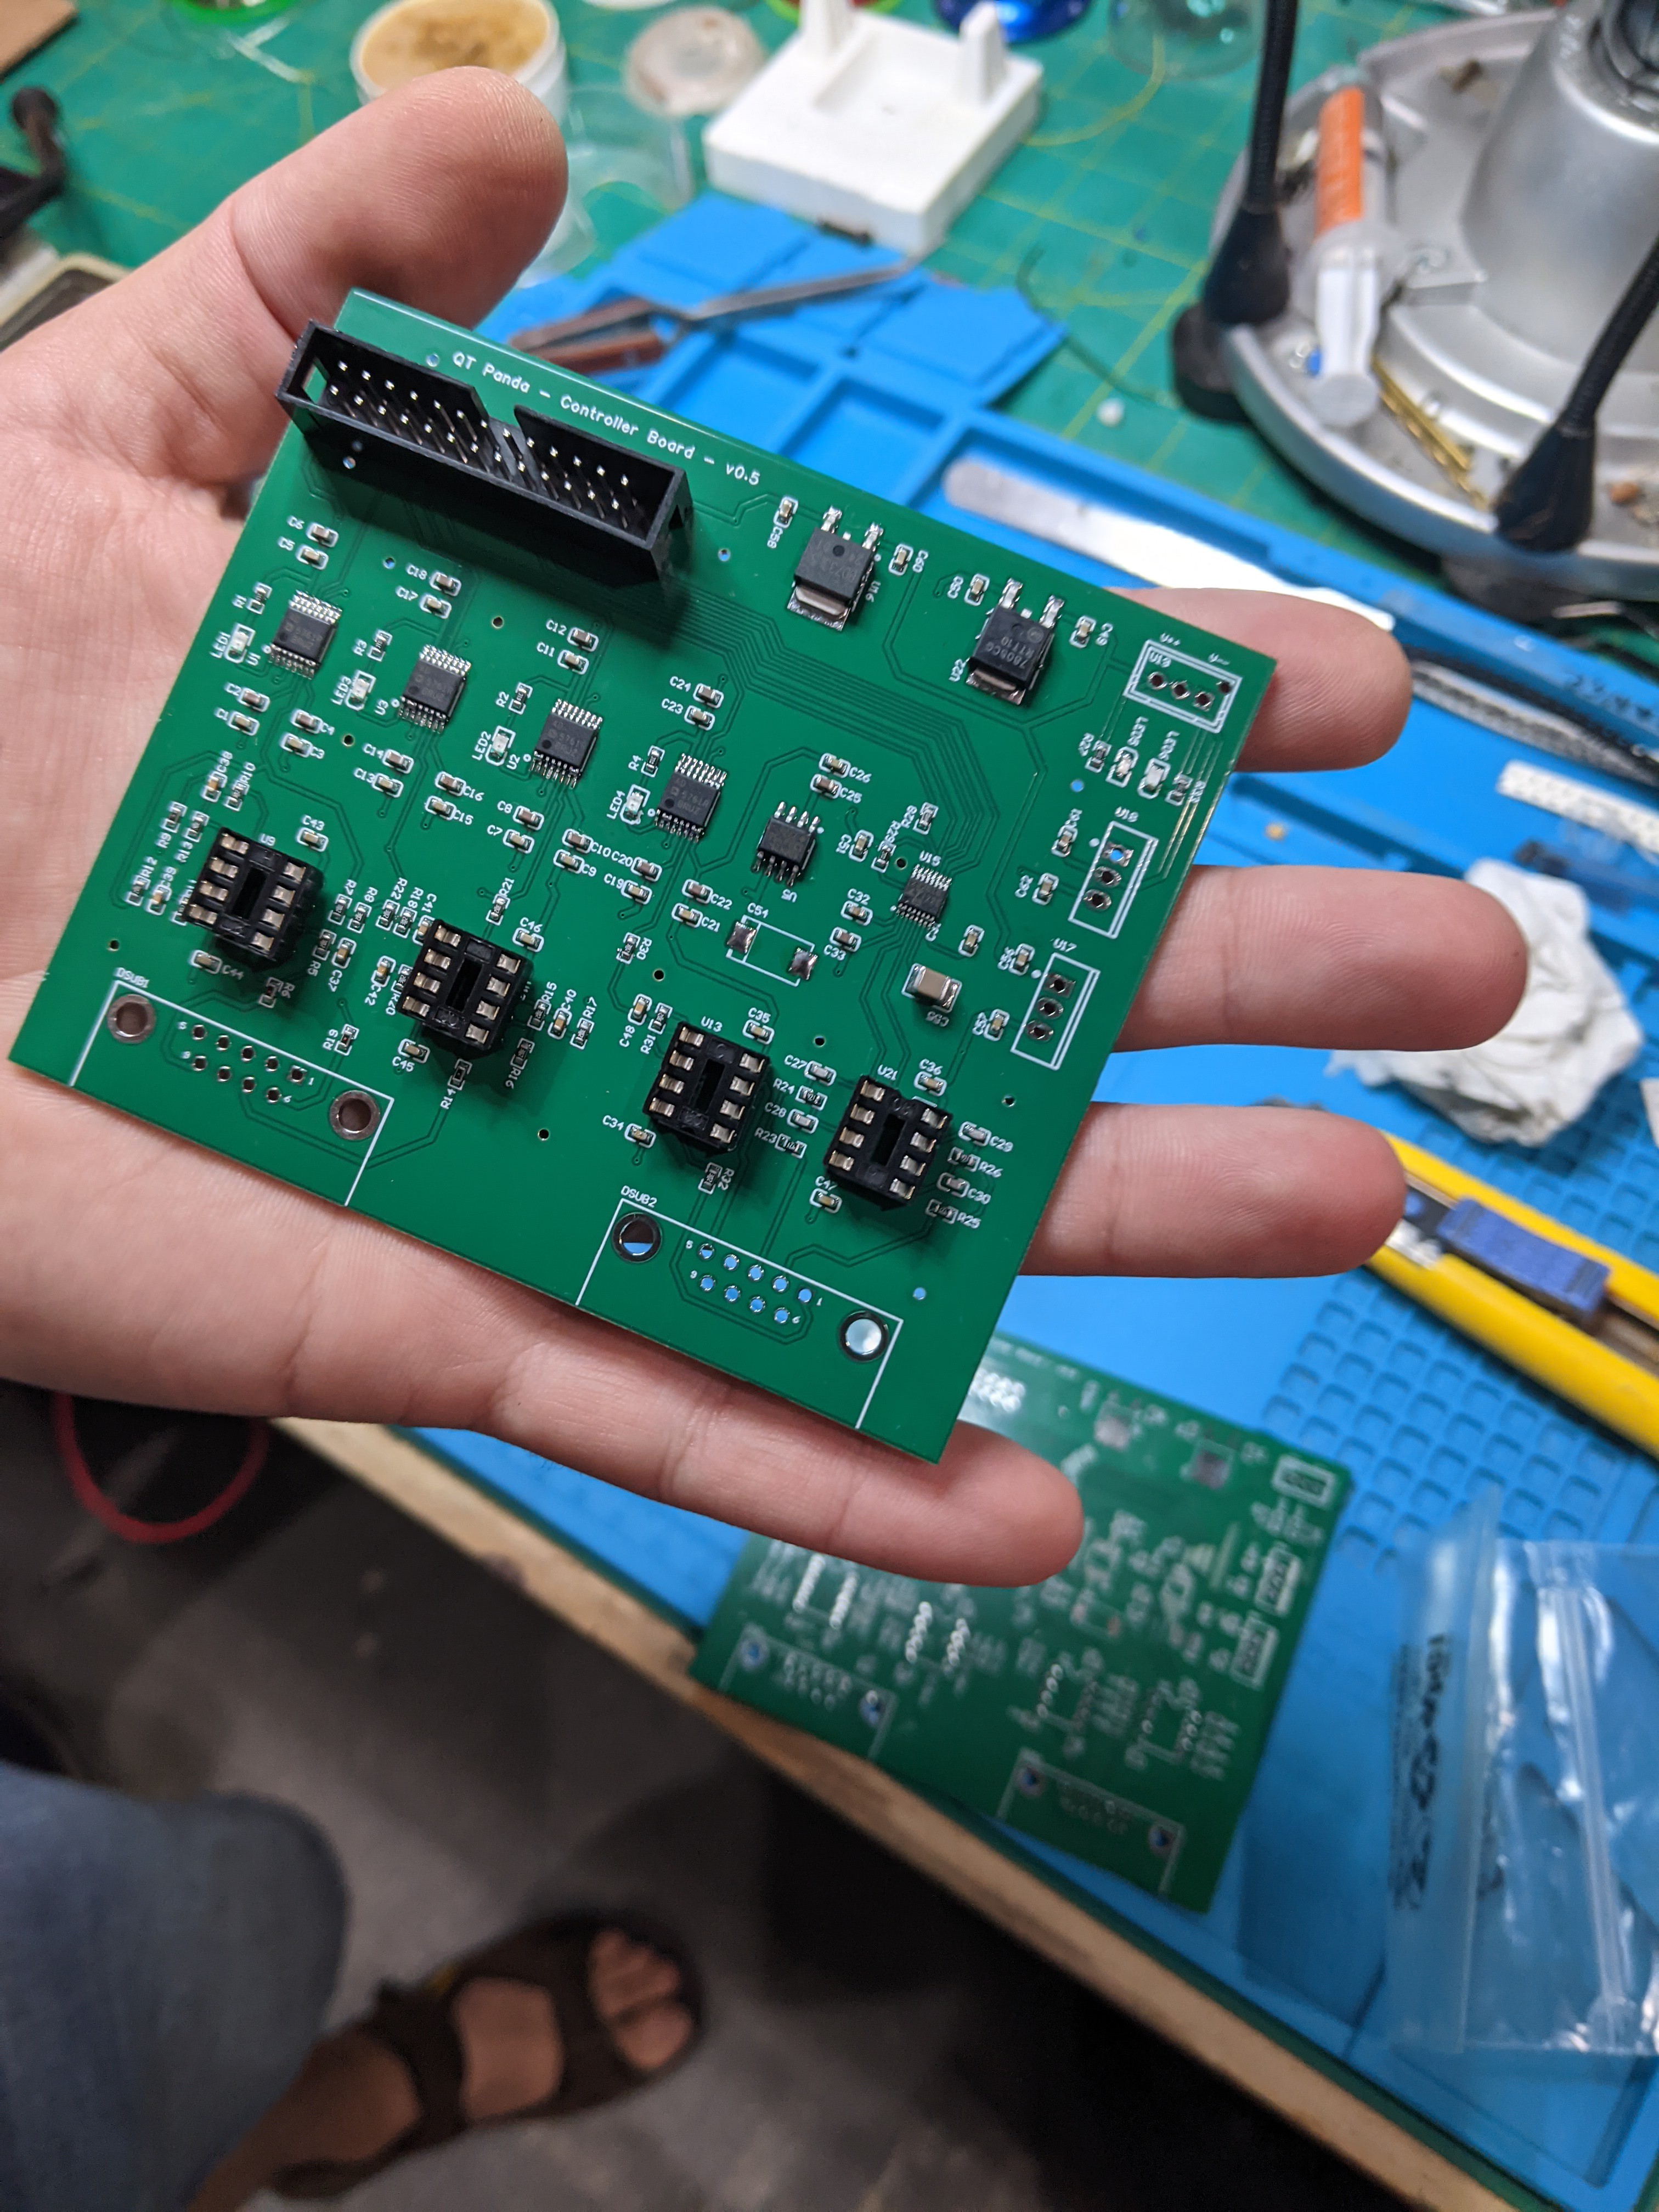
The bare board was largely unchanged from Dan's design. However as mentioned components were updated. We will release an updated BOM and project files when we are further along in our testing, but feel free to reach out and ask for it any point.
Preamplifier Board
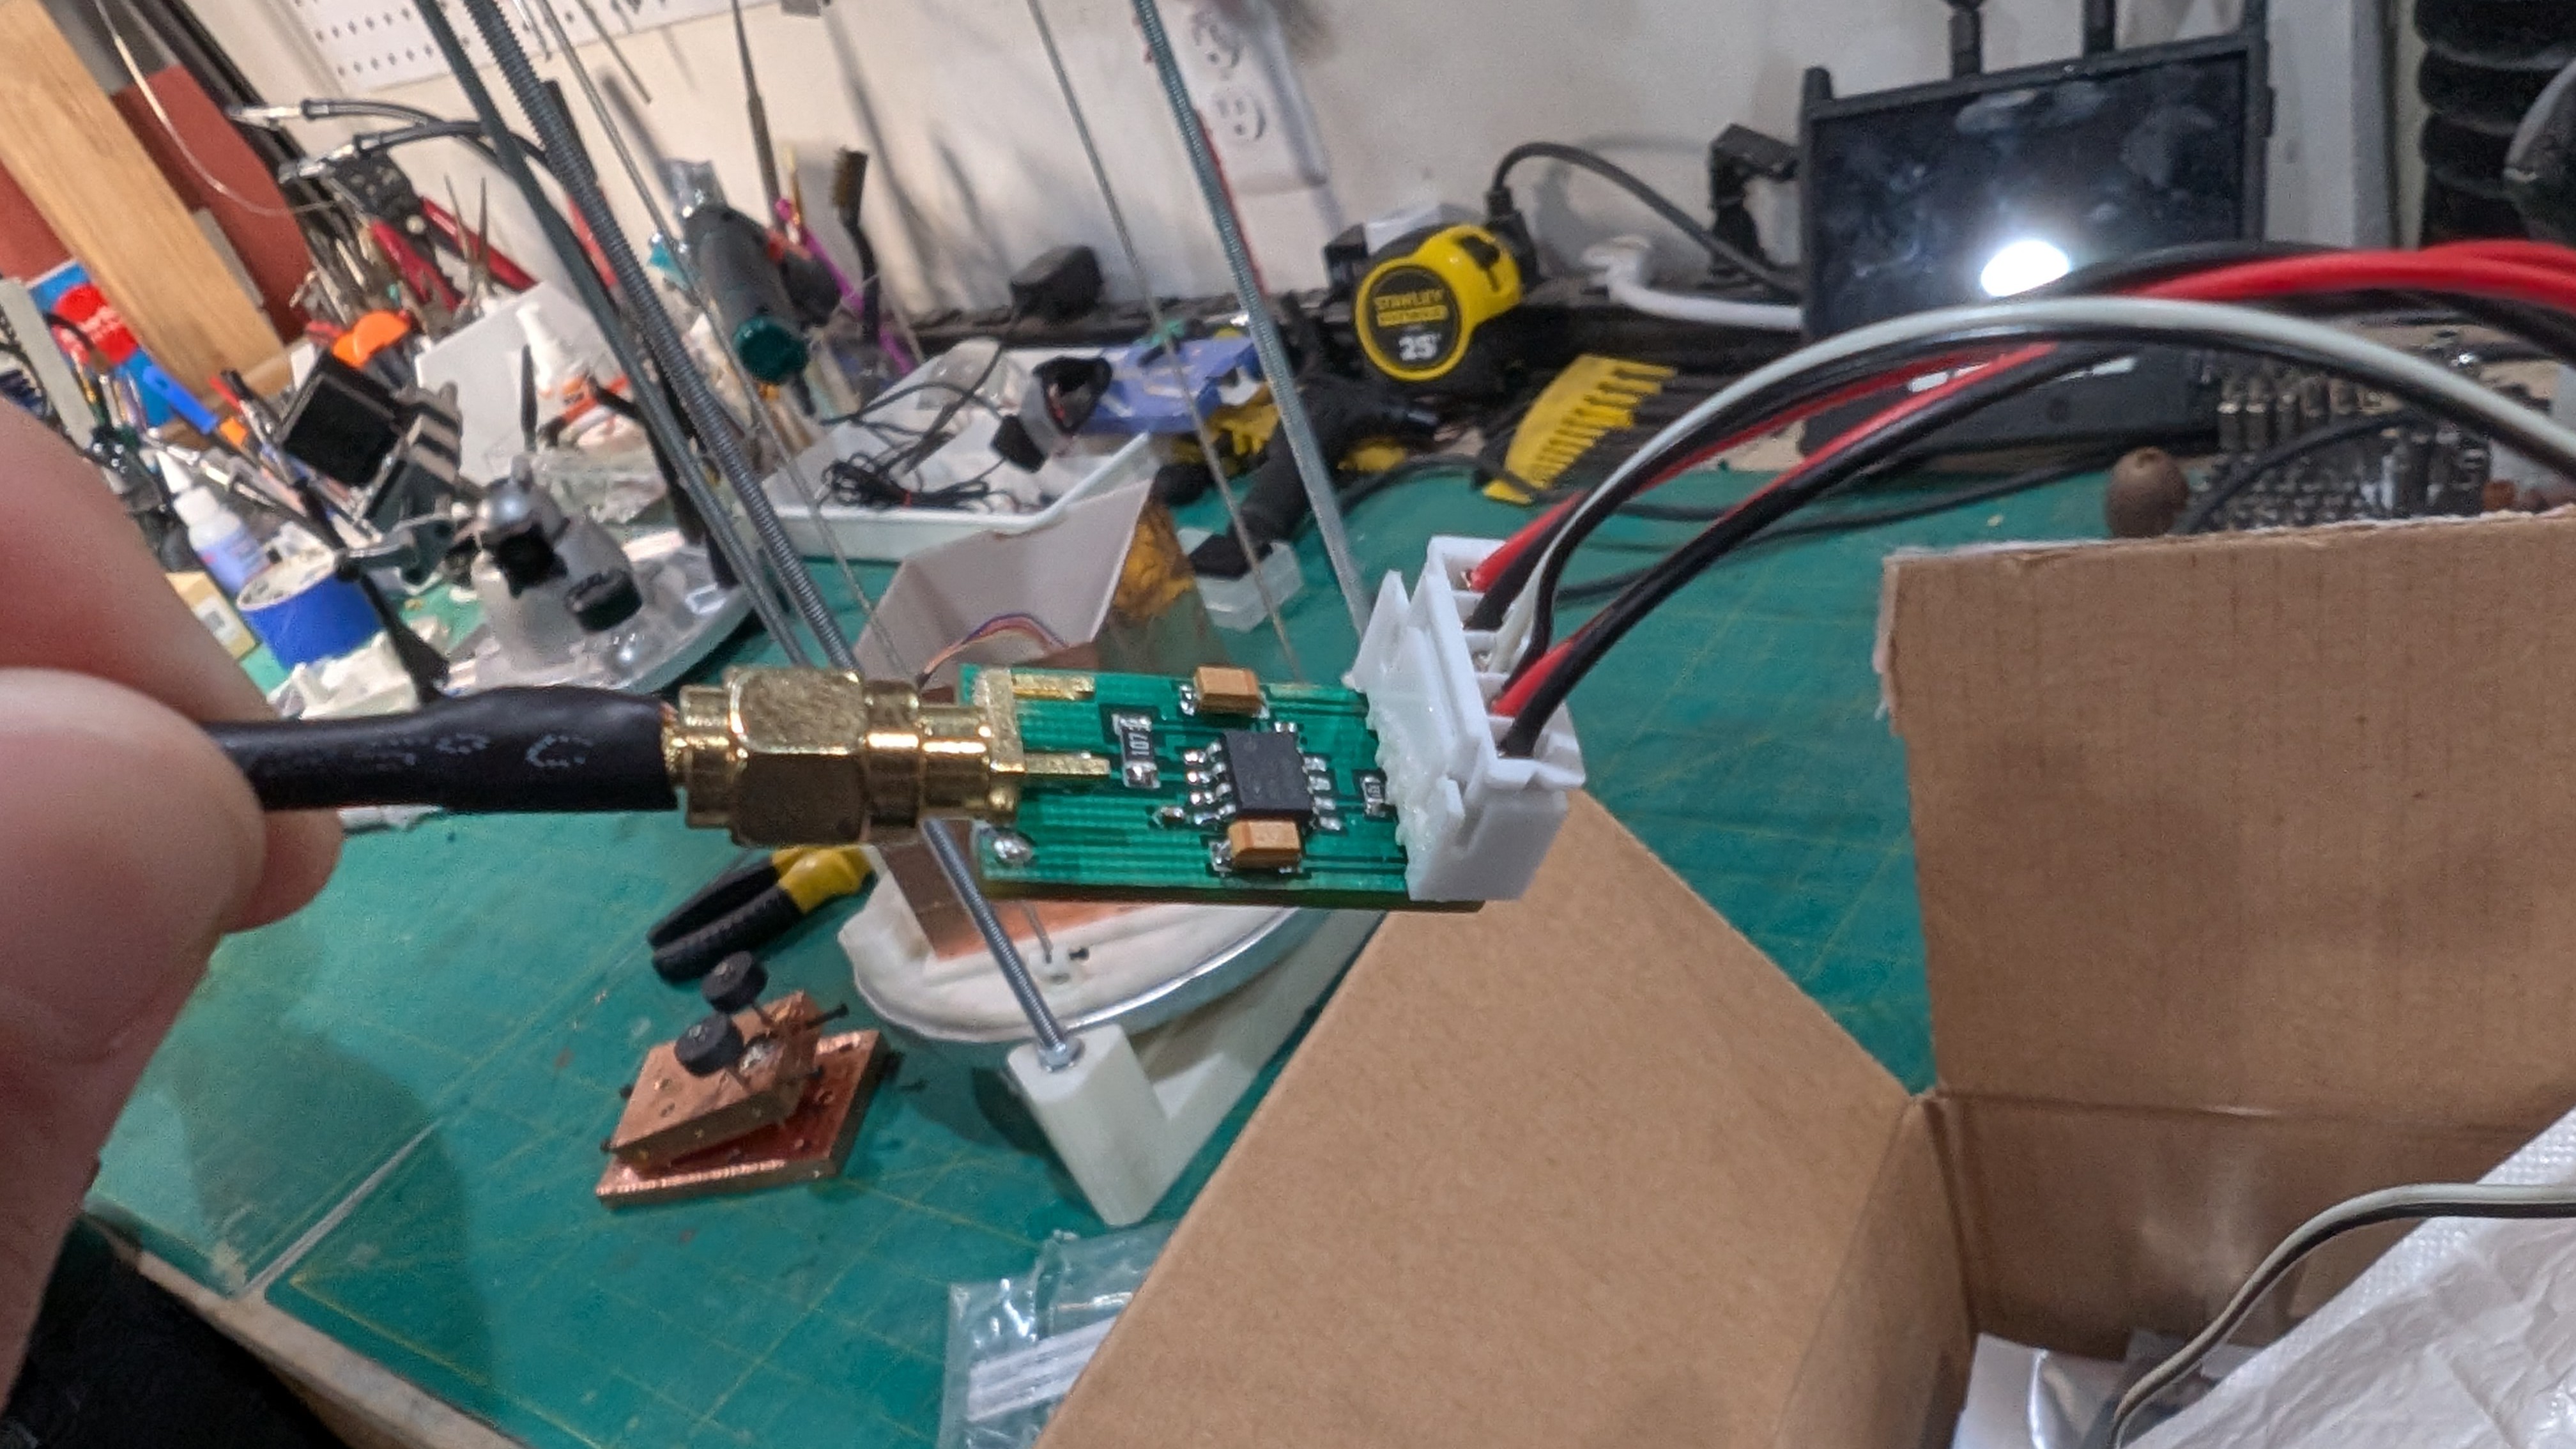 Note that we are testing out using a coaxial cable for the sense wire. Otherwise this board was made manually from bare copper stock board, using at-home PCB design techniques. We'll circle back and have a CAD-style version in a final files release.
Power management module
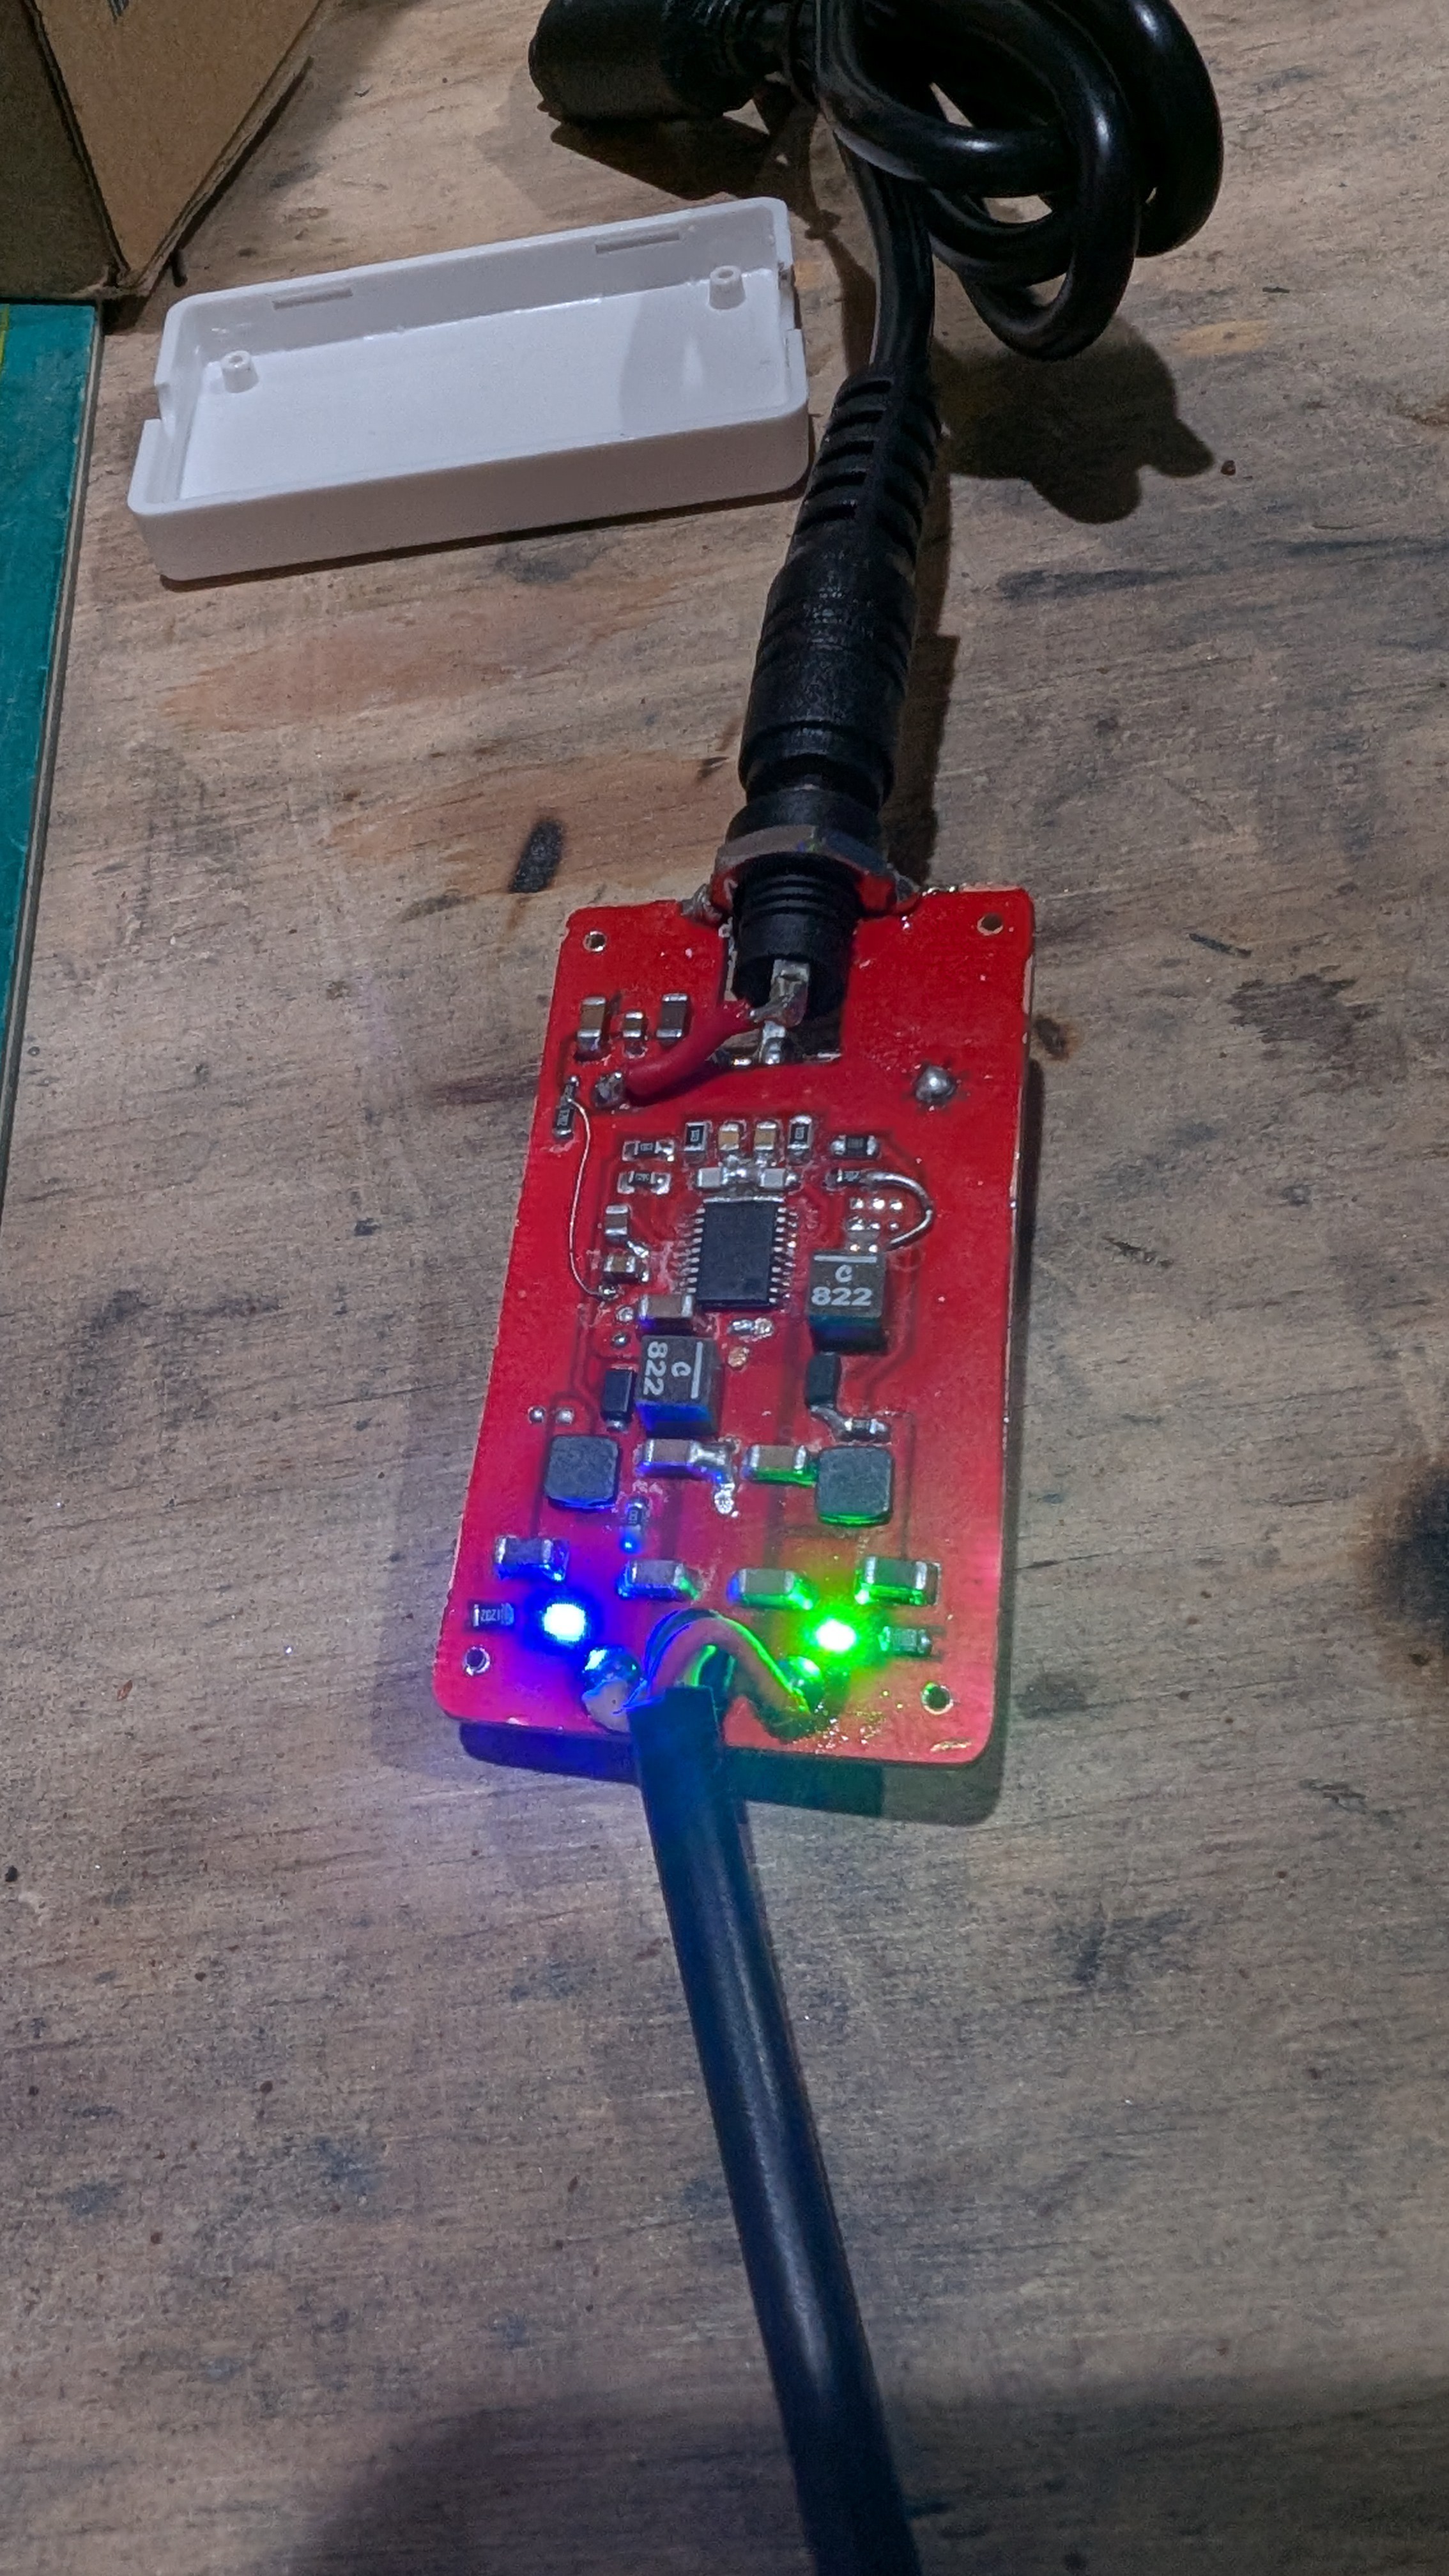
Notice that this is now a barrel jack power input from a wall outlet. This power chip is net-new for our project, and we'll be releasing the design files for this as well! This was also an at-home crafted circuit board prototype.
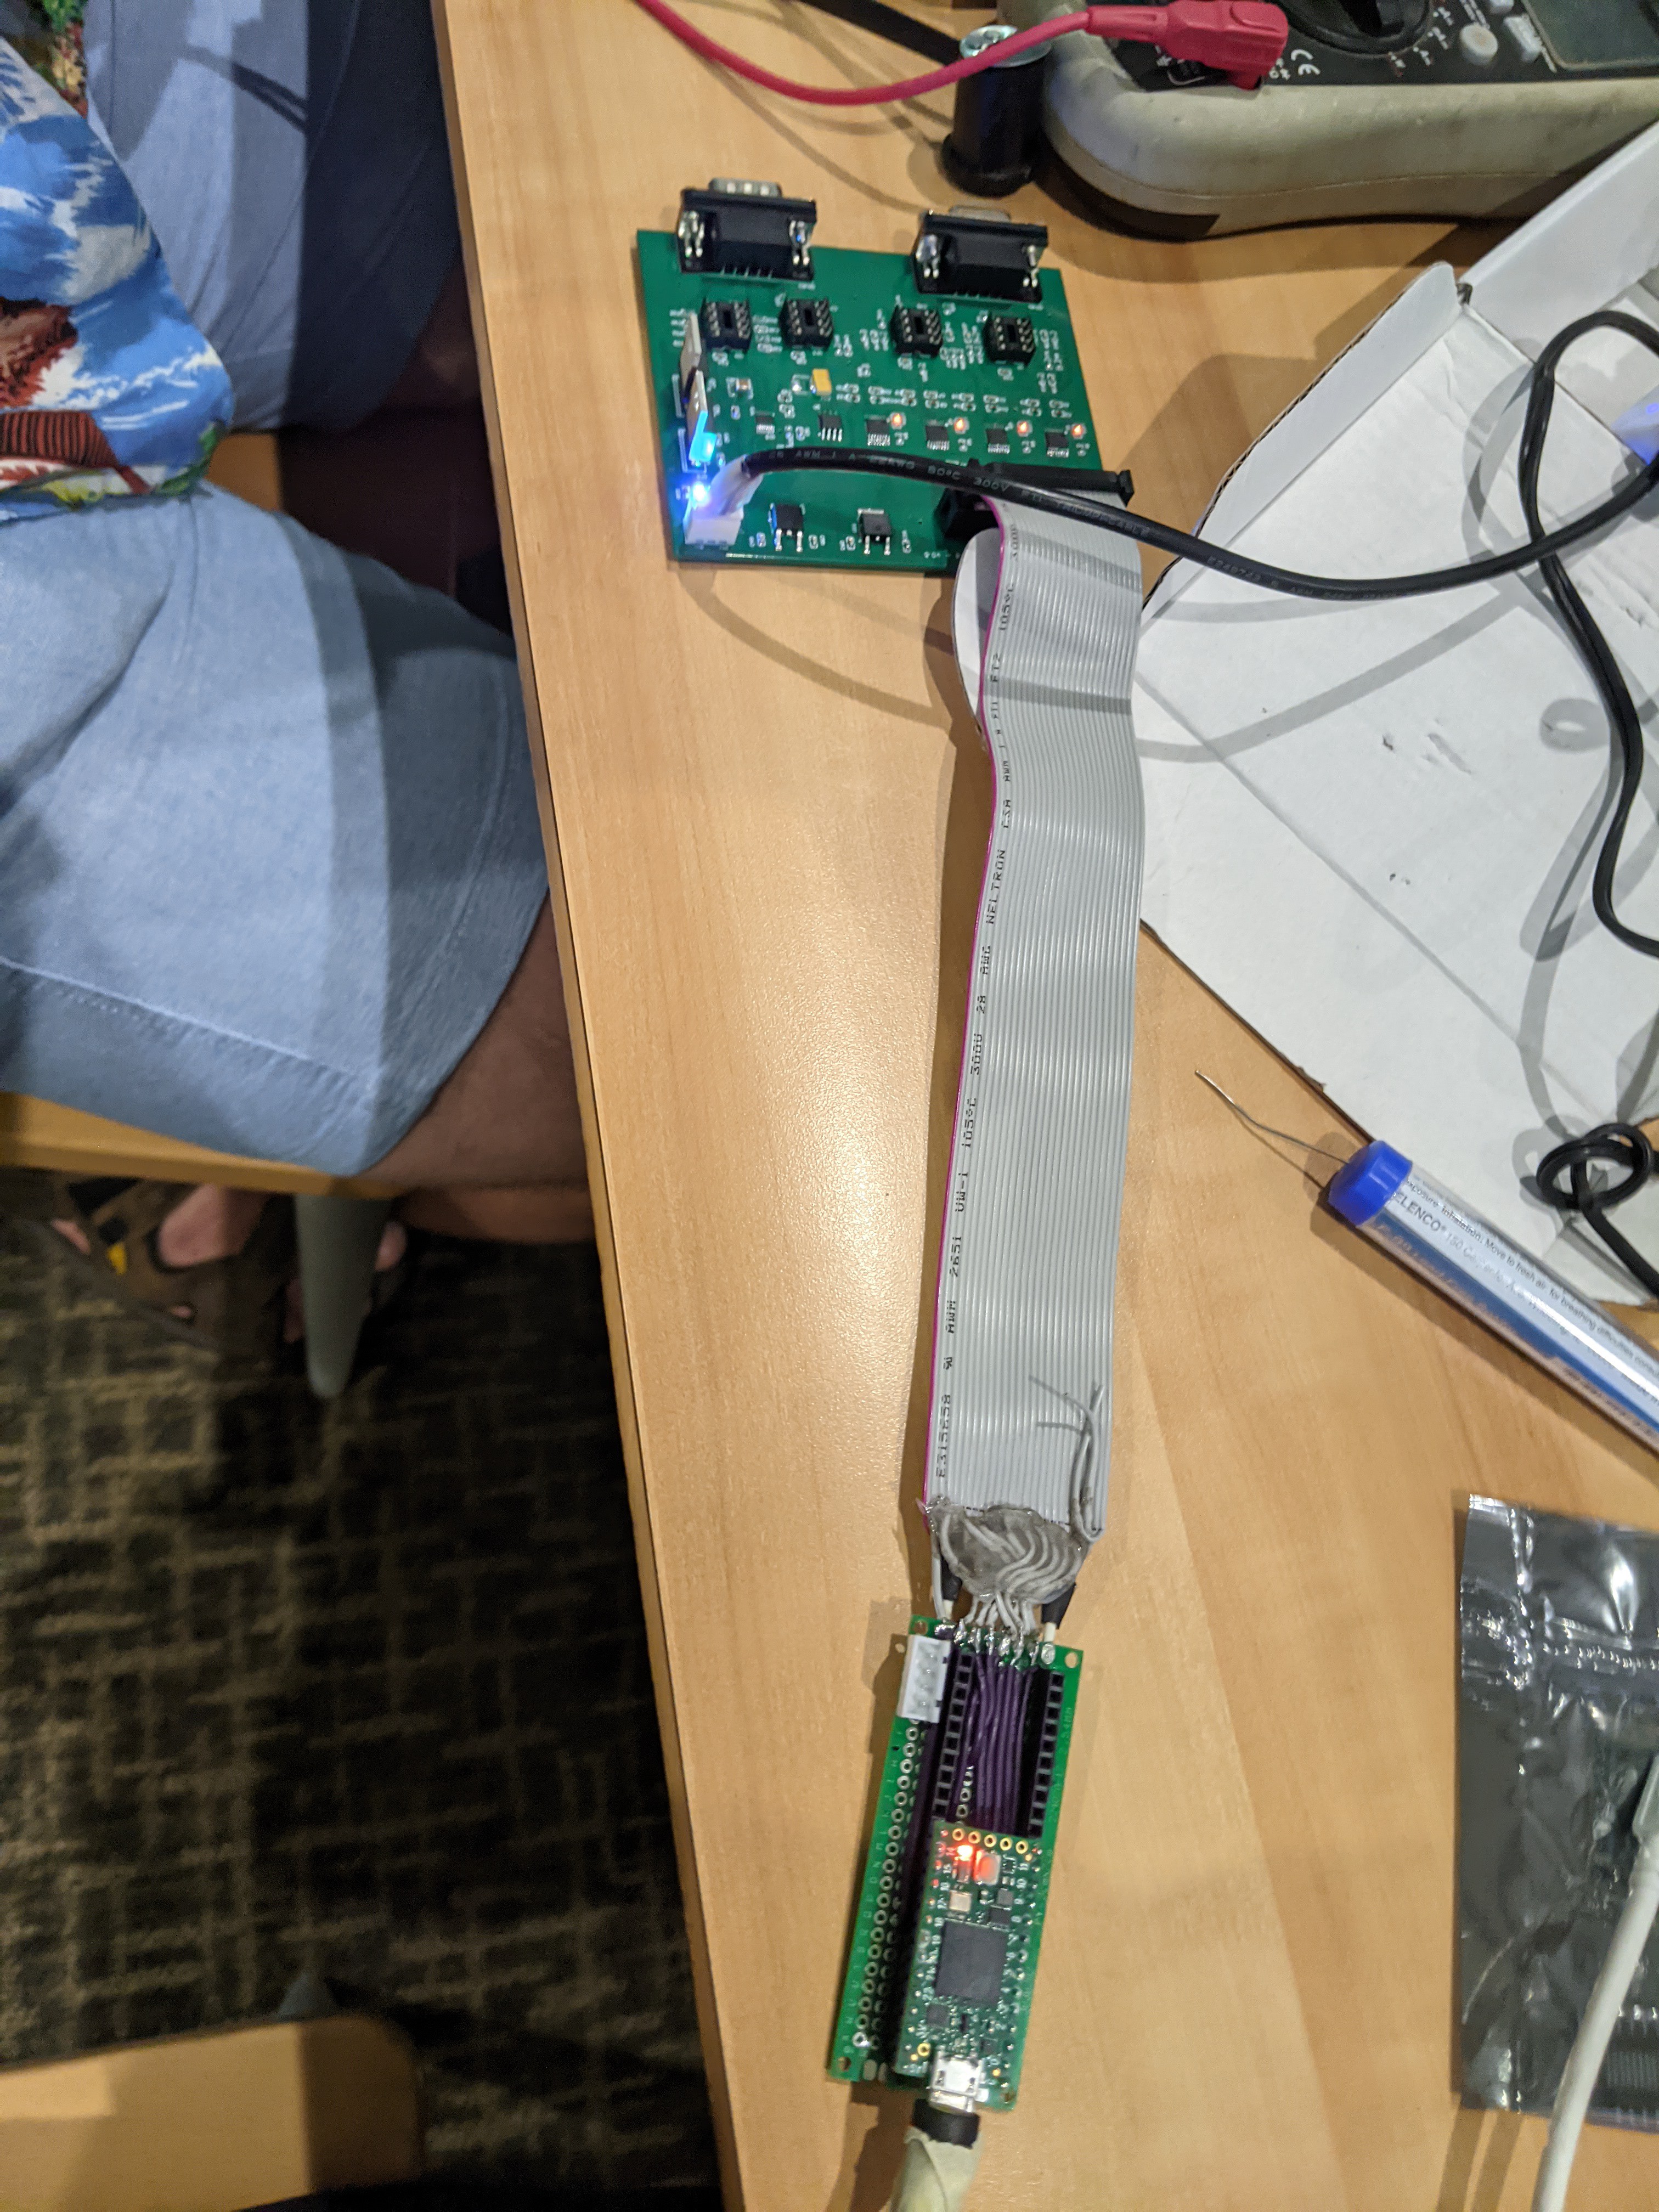
Microcontroller adapter board
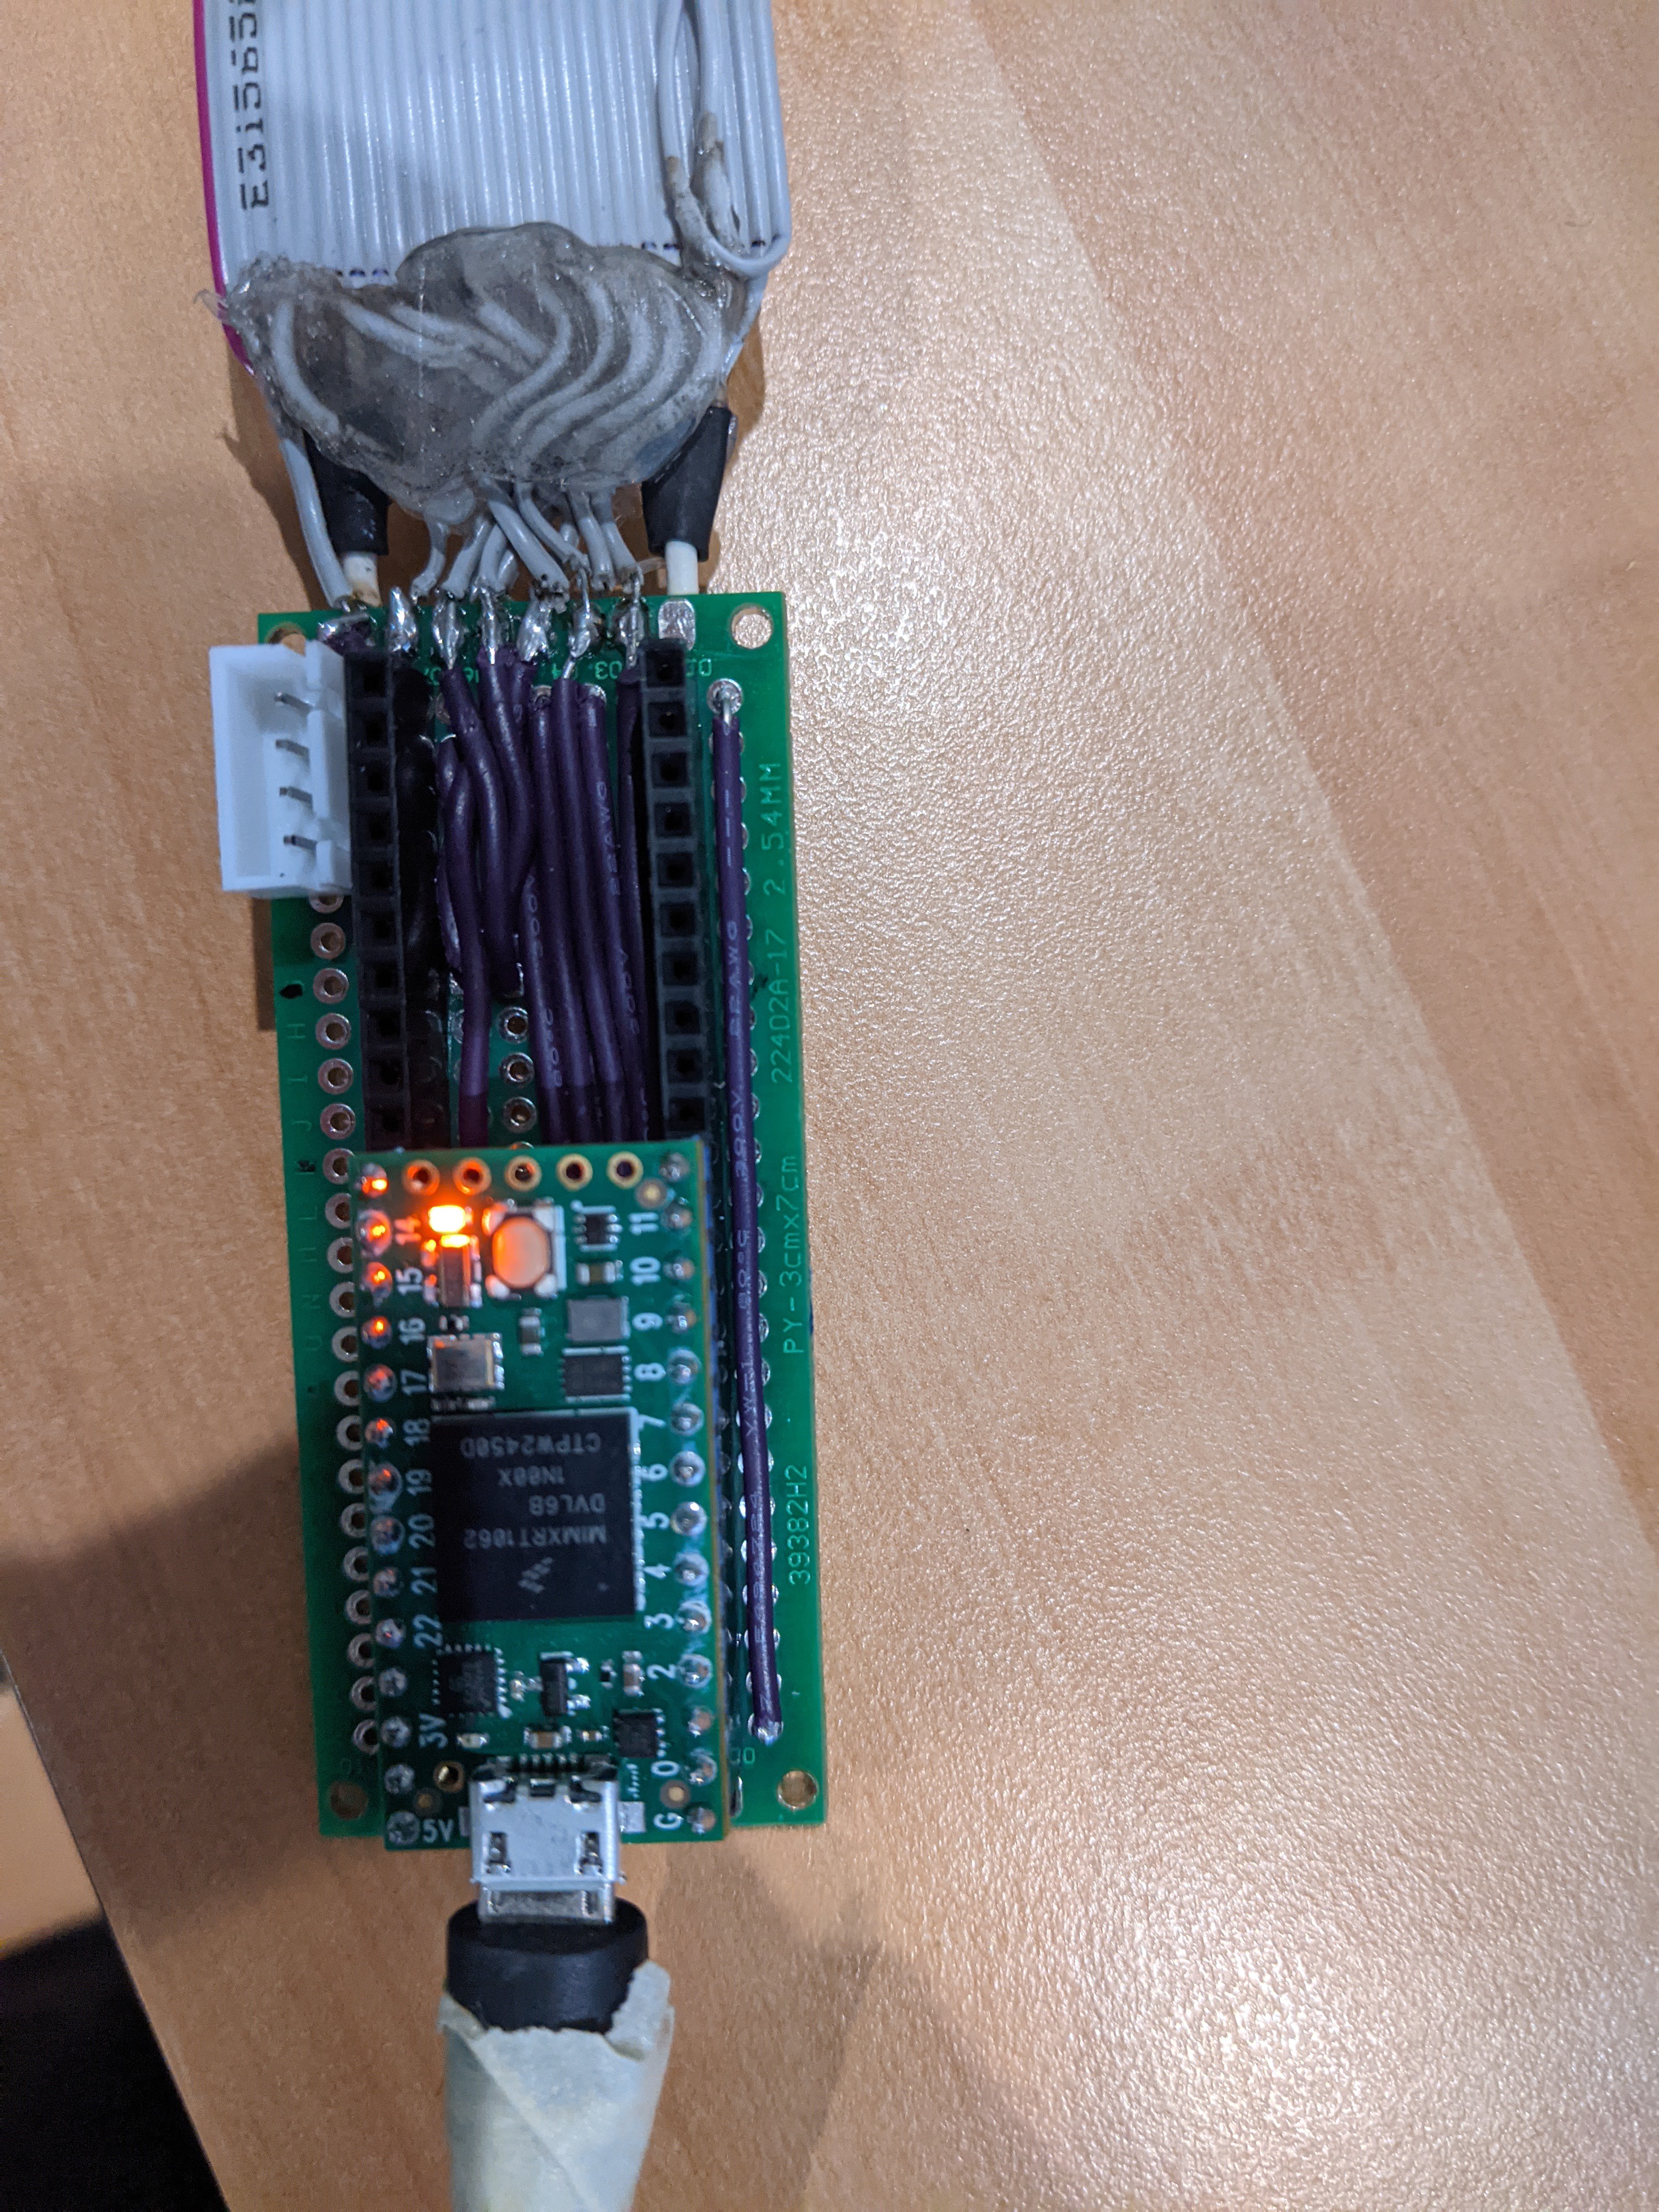 This is just mapping the Teensy pins to the Controller Board through a cable, and this can be done by referencing the Teensy code, and the Controller Board schematic.
Overall, it's been a pure joy to work through the prototype assembly process, and learn about what's available, and what's missing. There were a number of 'hidden' steps beyond prior documentation we are excited to release.
Full system integration photos (unshielded now for rapid testing):


- This is also a sneak preview of a planned rework of the probe assembly (what holds the both the sample and the coarse approach motor). More details on this in future postings :D

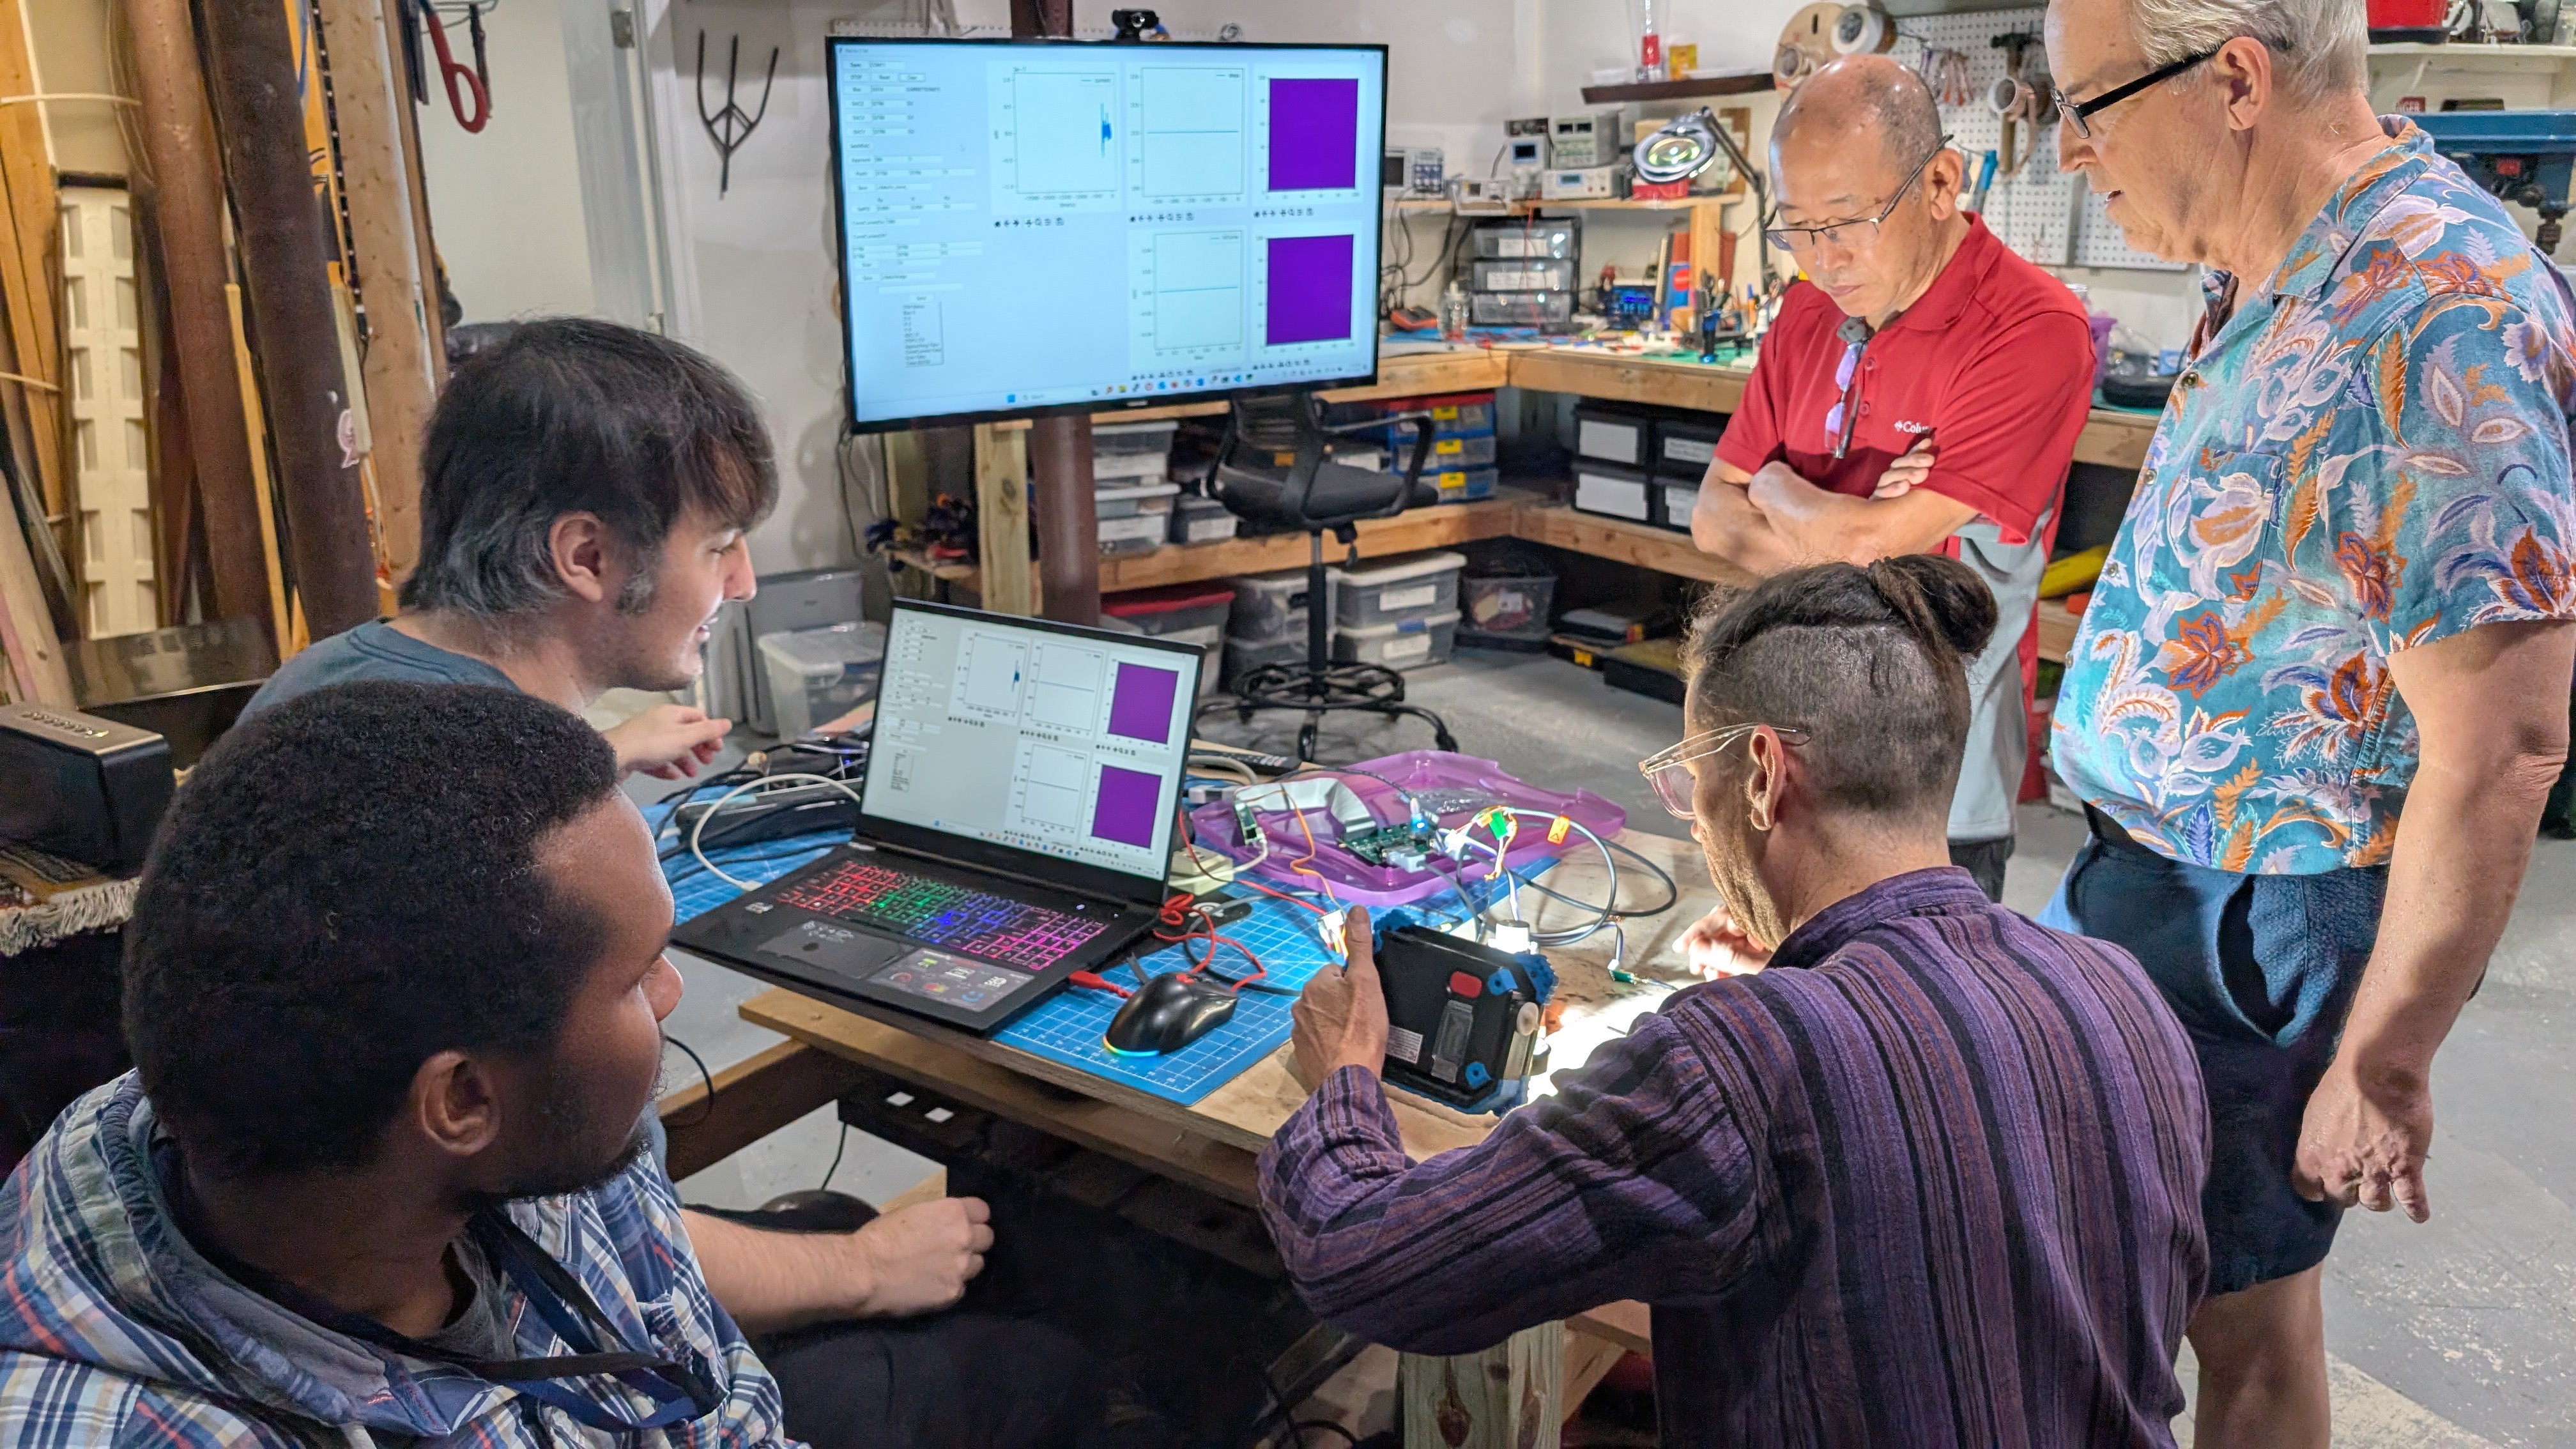
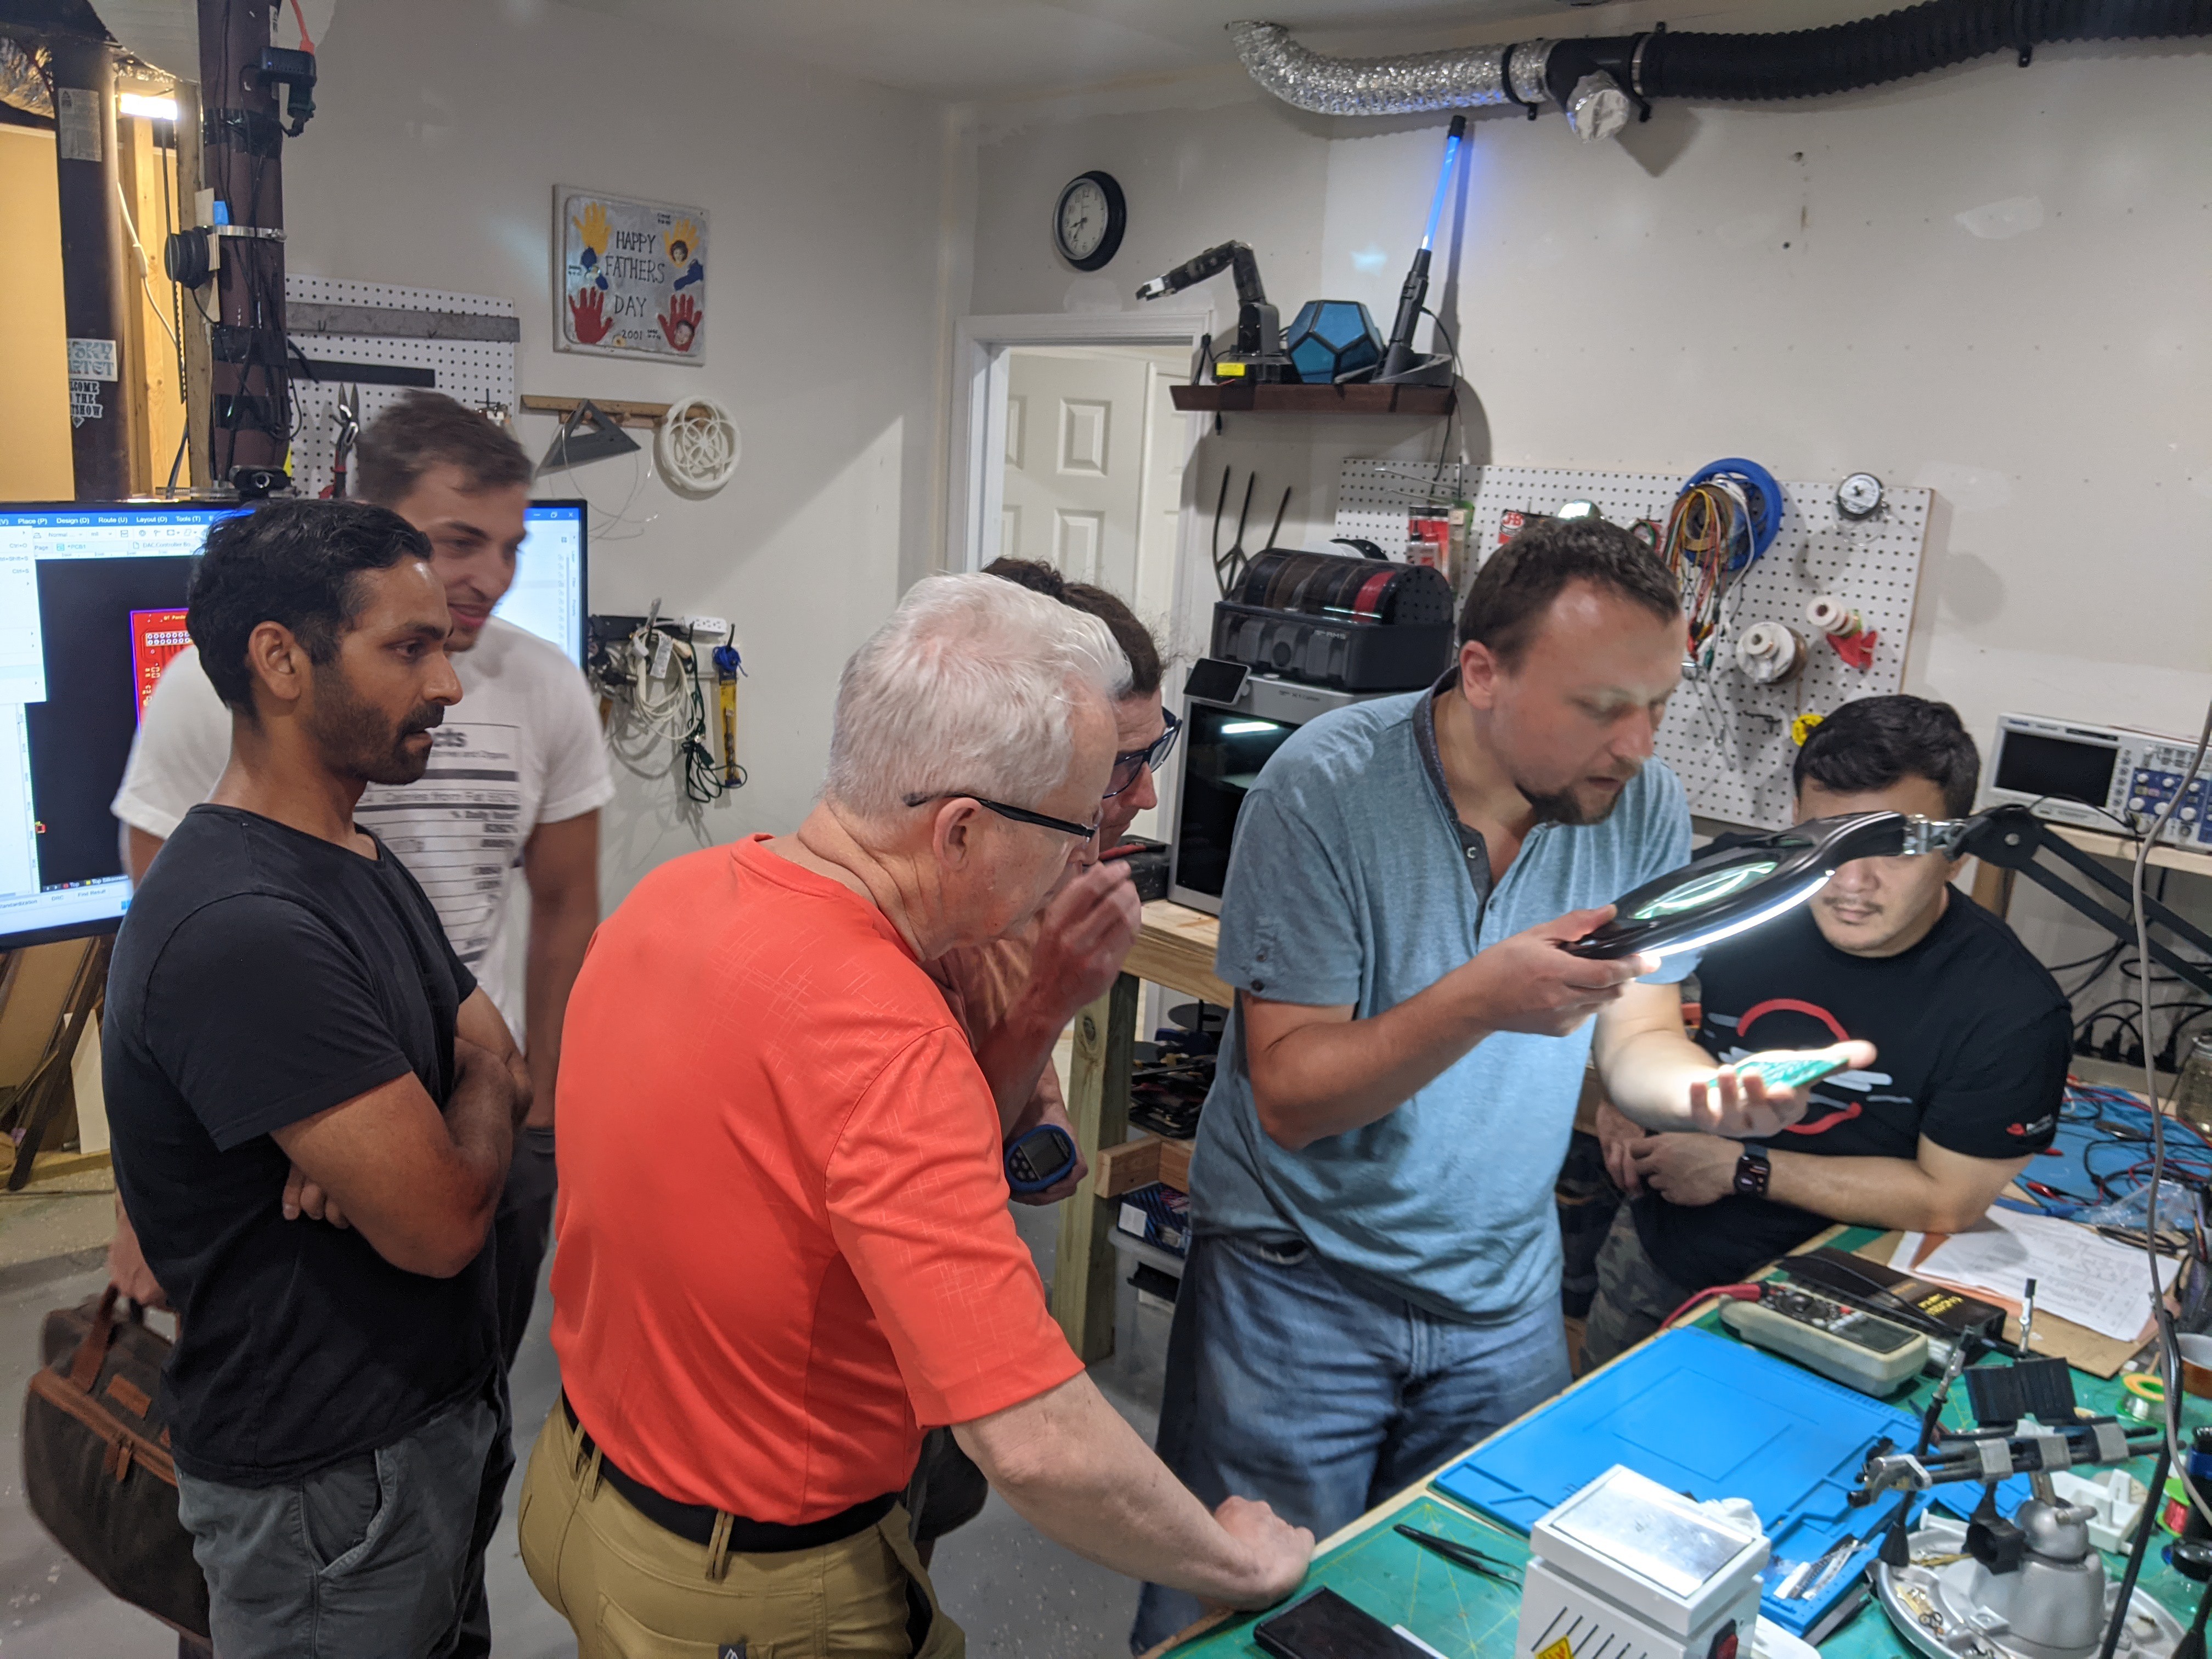
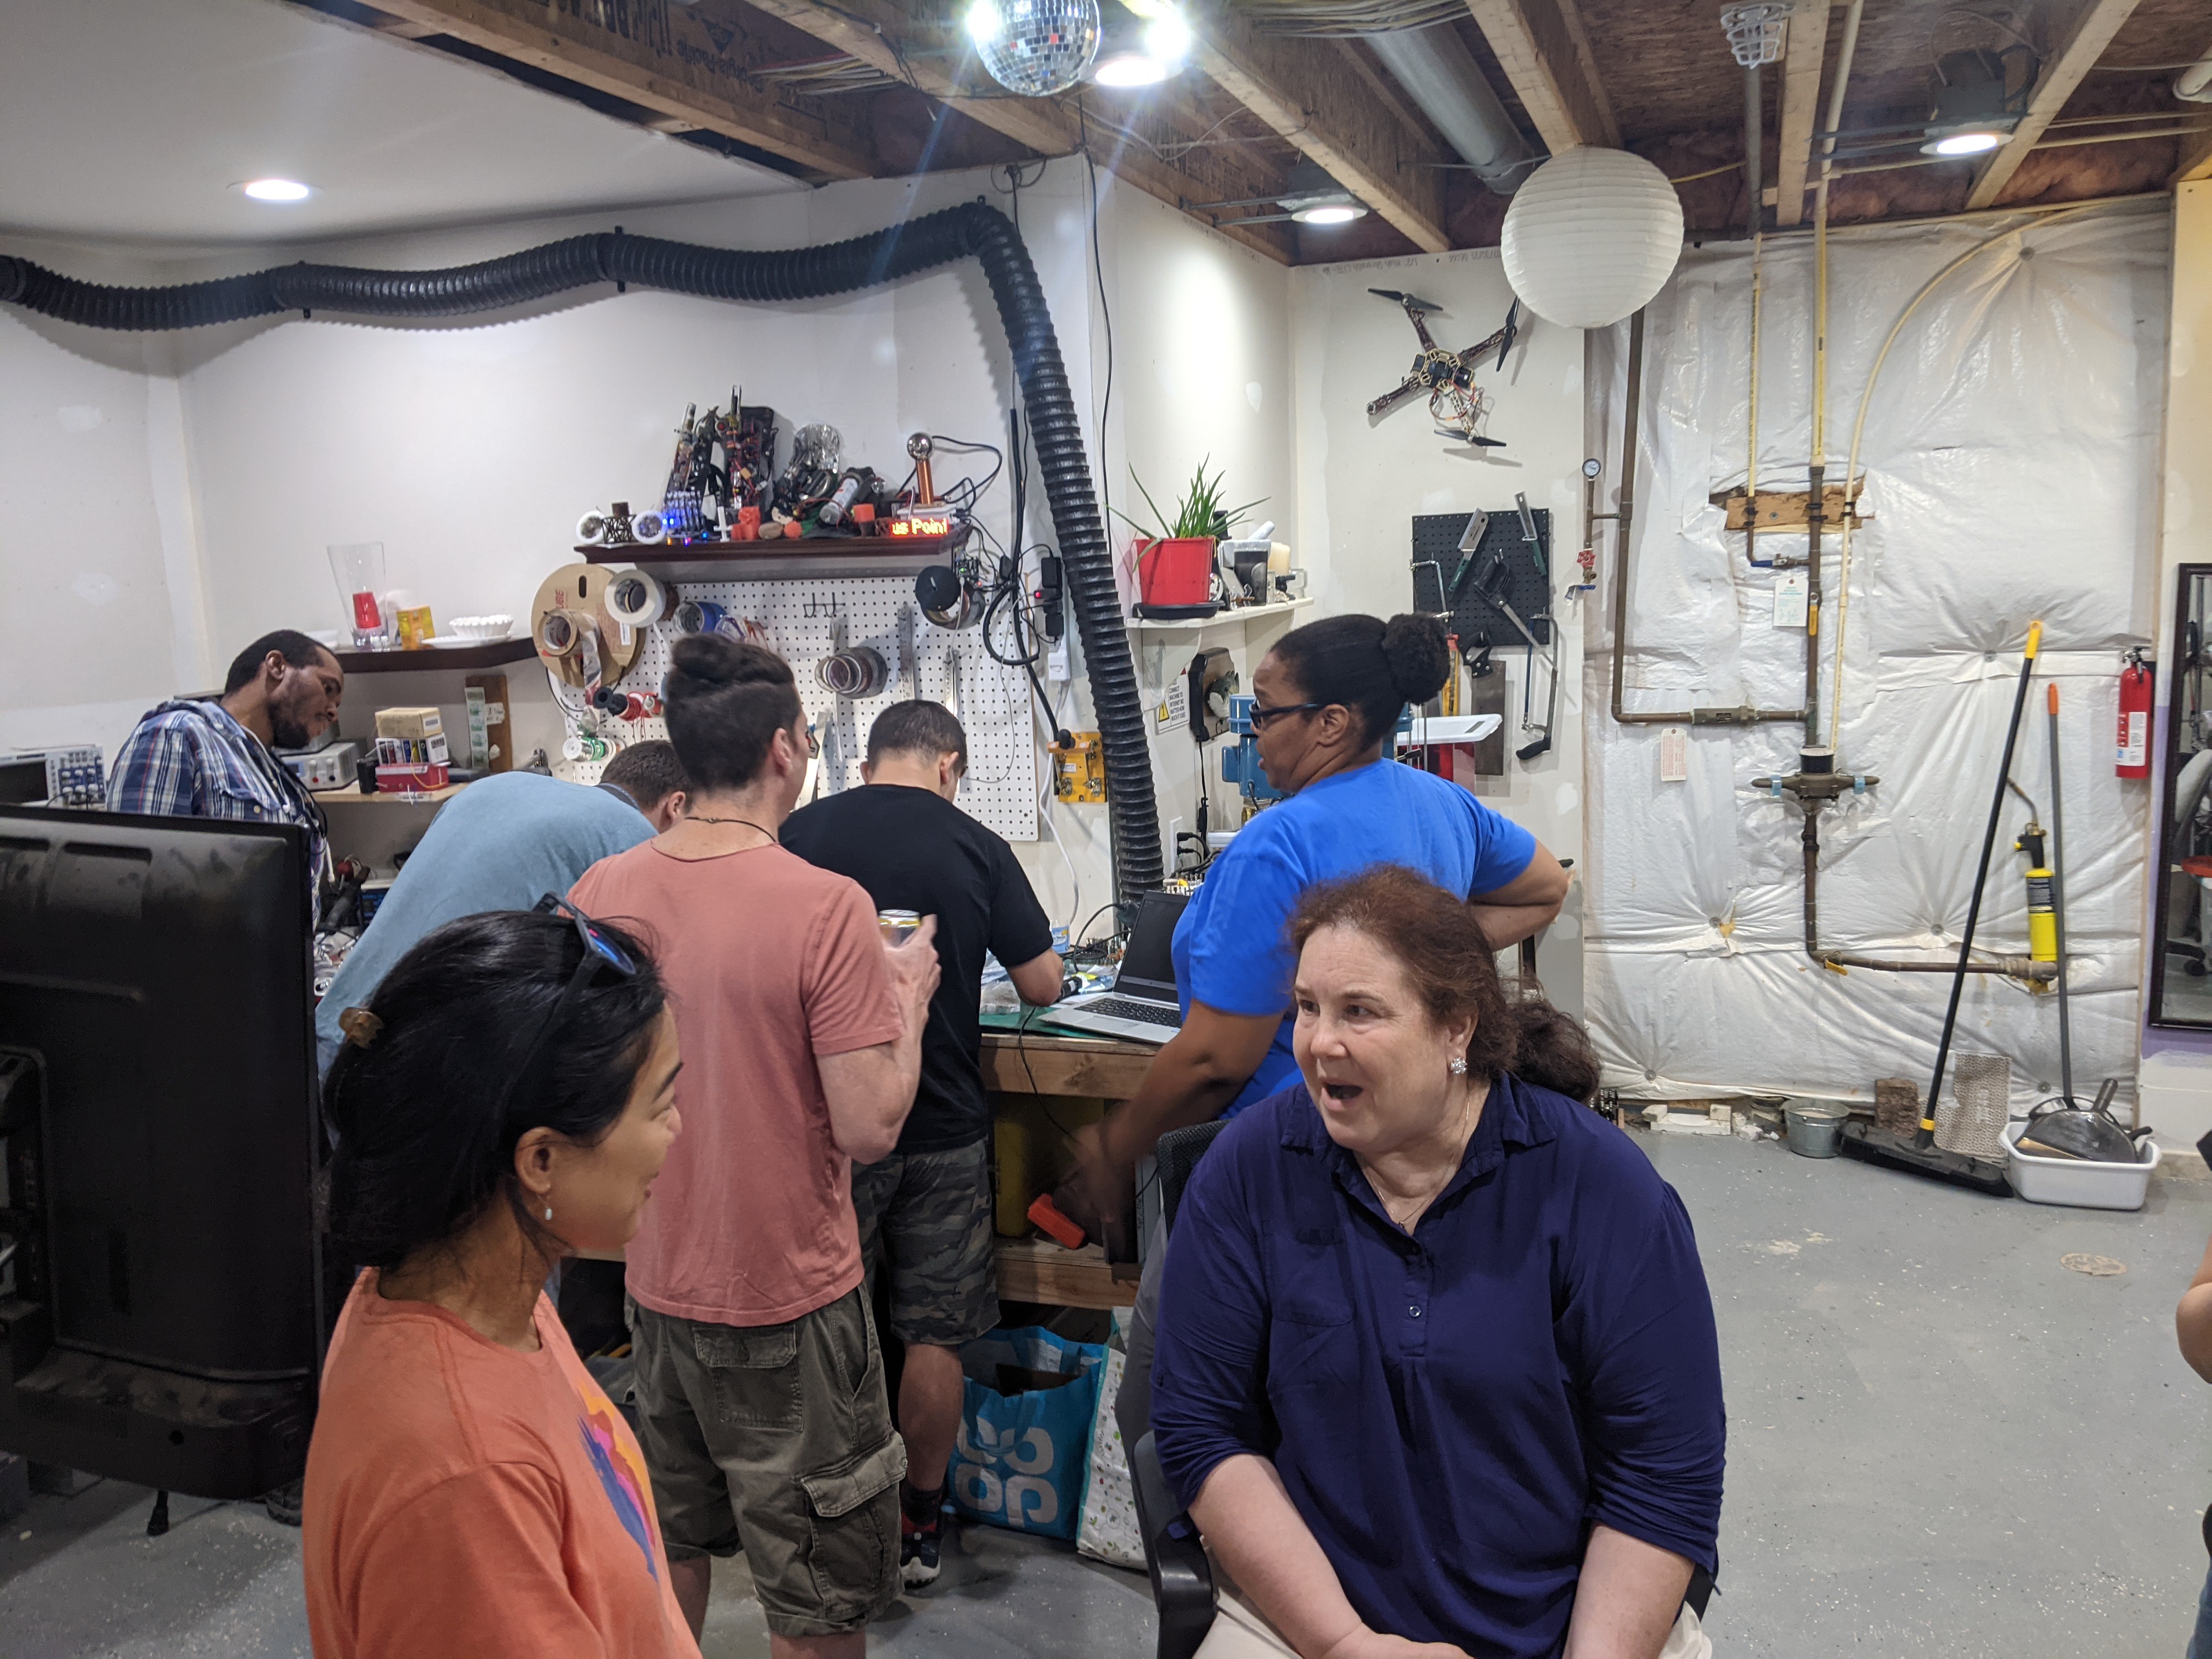
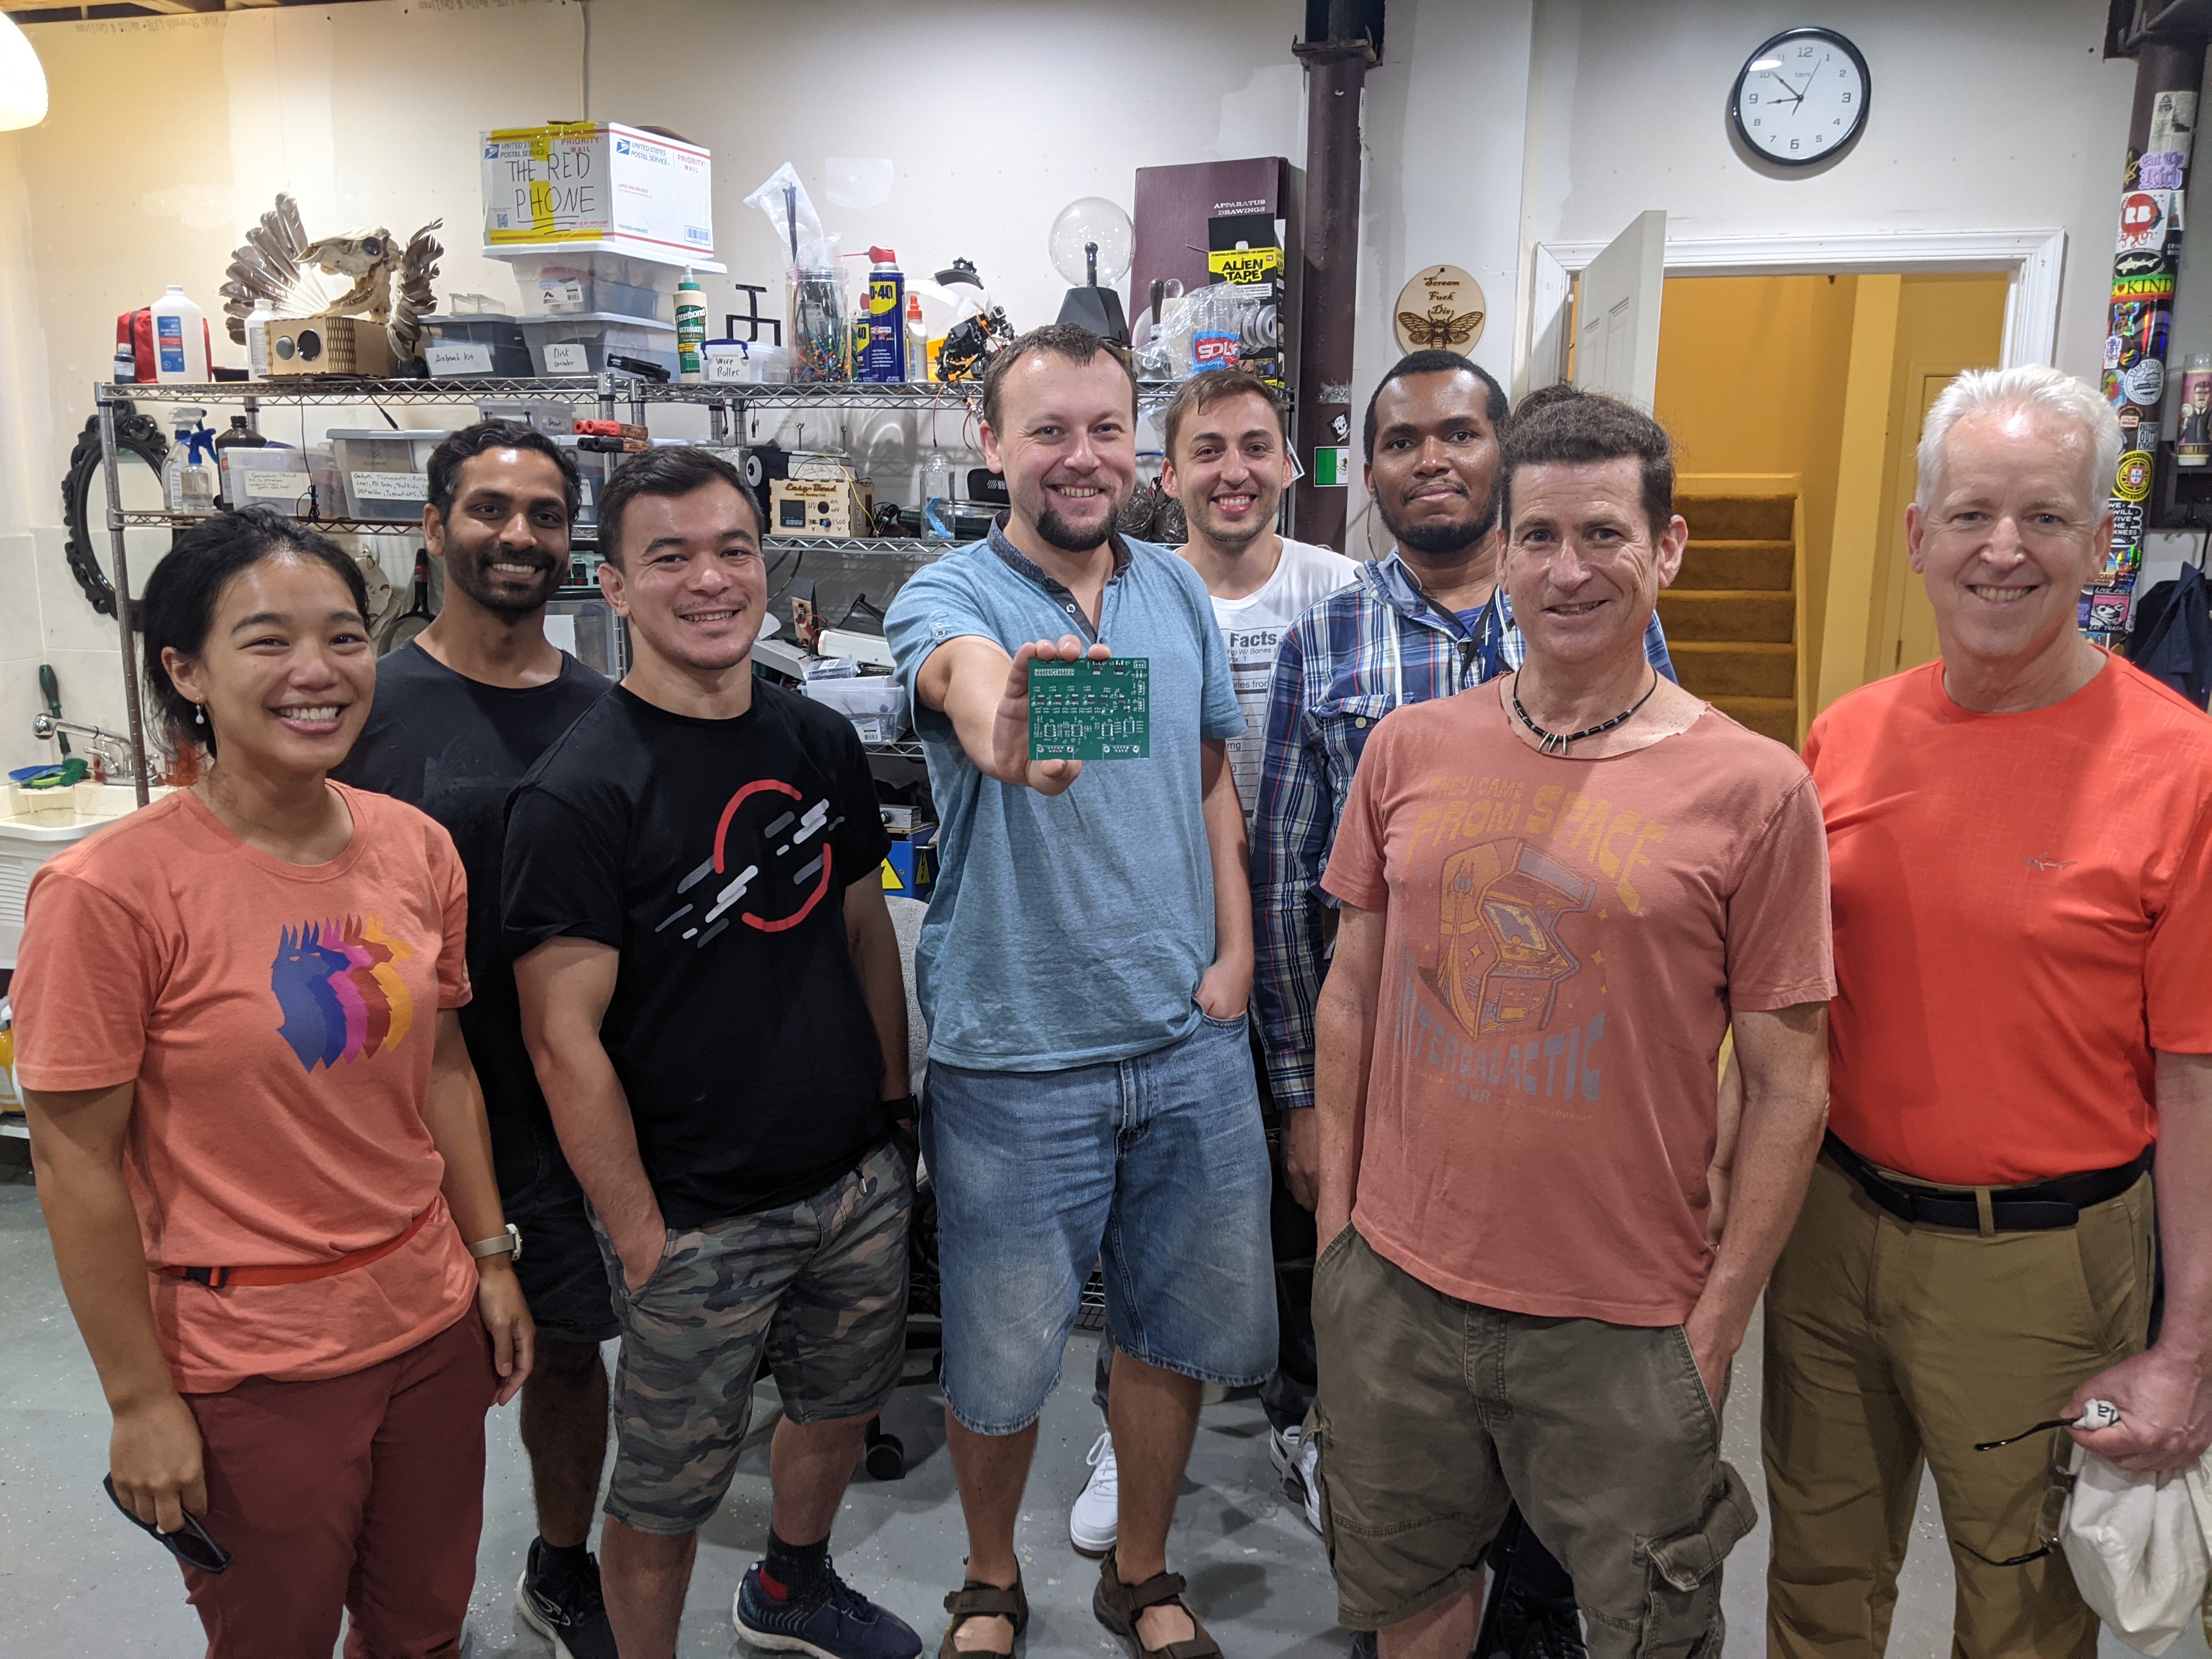
Our group has been having tons of fun, so here are some action shots and highlights:
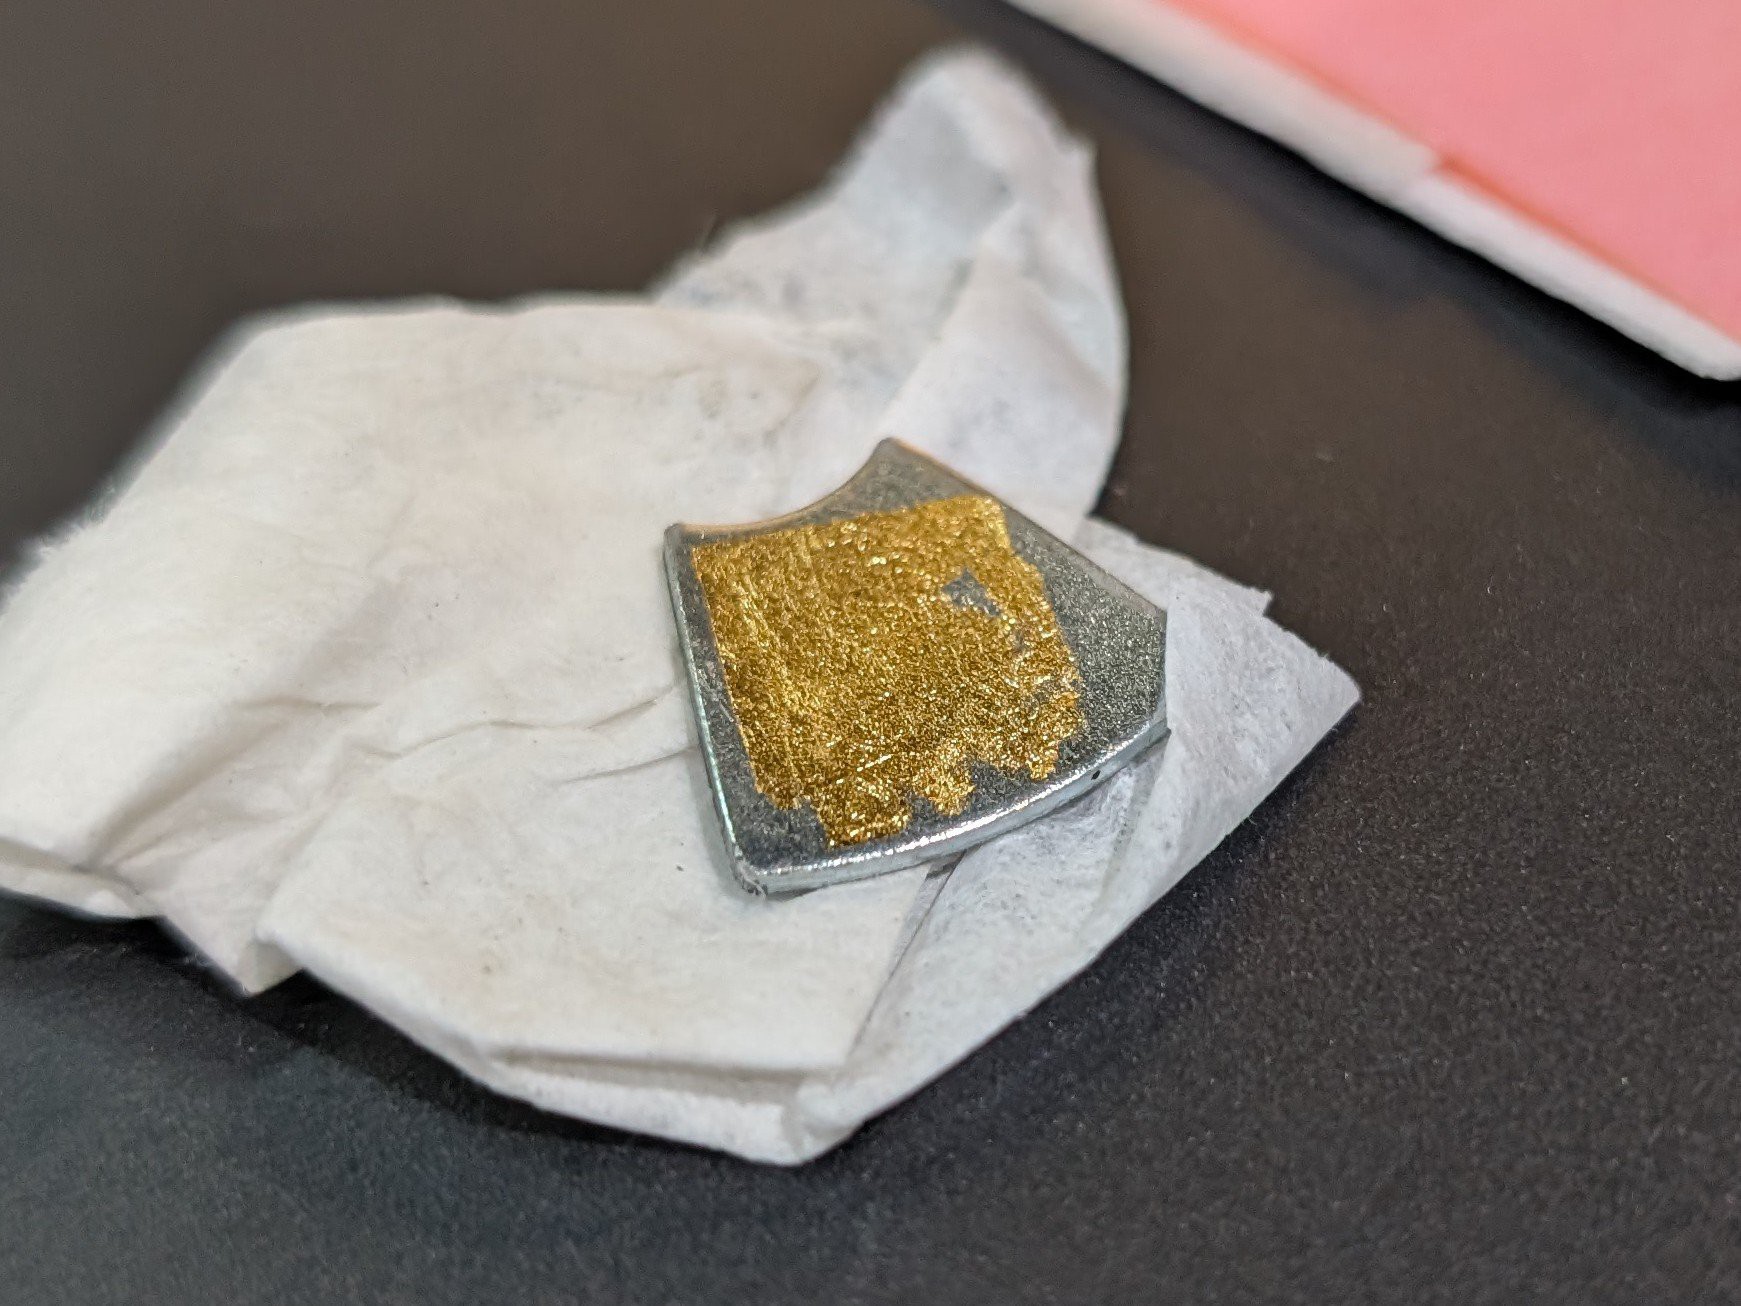
- Planning ahead for sample prep - we are looking at possibly gold leaf statically clung to metal (no glue).


Discussions
Become a Hackaday.io Member
Create an account to leave a comment. Already have an account? Log In.