 Yakroo108
inspiration
The inspiration for this project came from my habit of frequently
checking paper desk calendars. But every time I wanted to see the date or holidays, I had to manually flip through the pages. That got me thinking… why not combine a clock and a calendar into one screen?
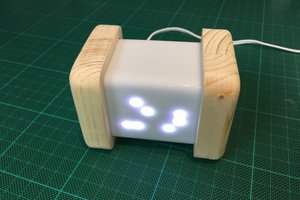
A screen that can show the date and time automatically—no more flipping pages!
Then I thought, why not add some smart features too, like air quality info and a greeting system?
And that’s how Pi Digital Clock was born—a smarter, paper-free upgrade for your workspace!
Key Features of This Project
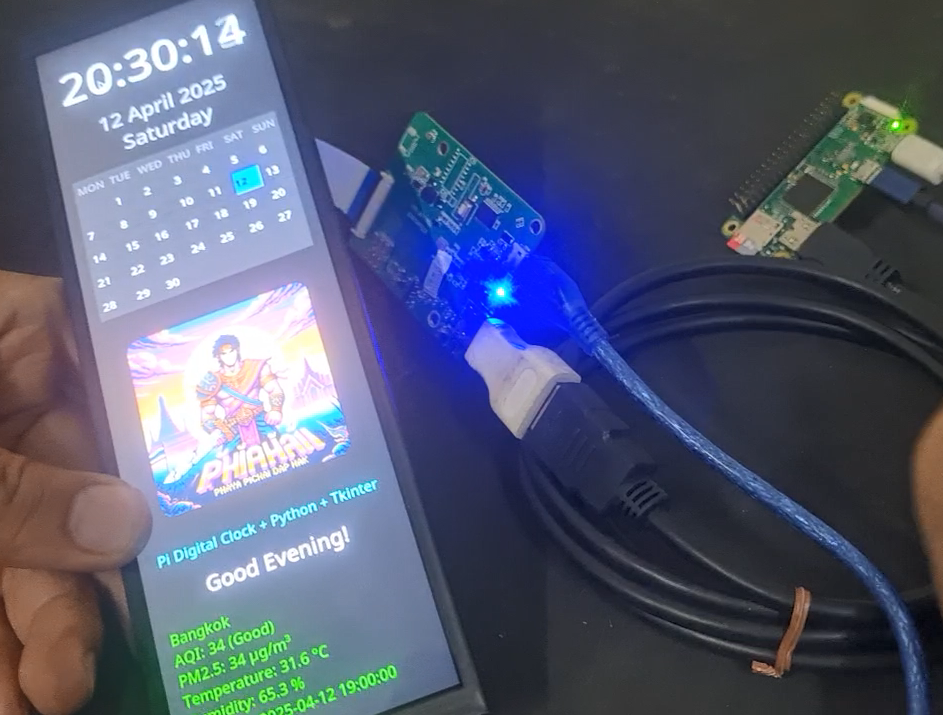
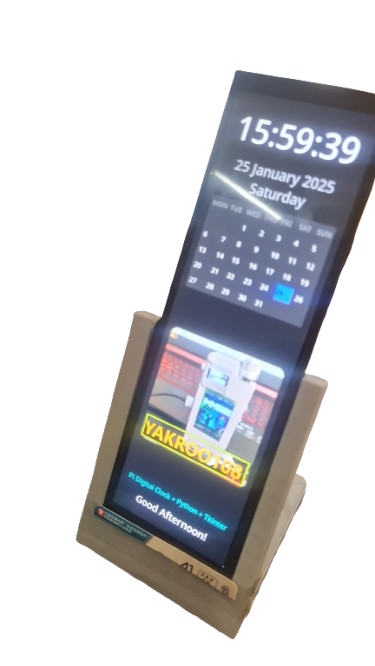
- Displays a real-time digital clock
-Includes a clear calendar showing day, month, year
-Greets with morning, noon, afternoon, evening messages based on time
-Shows real-time PM2.5 / AQI values, fetched from Weather API
-Photo Frame
STEP 1:Setting up to run automatically on boot
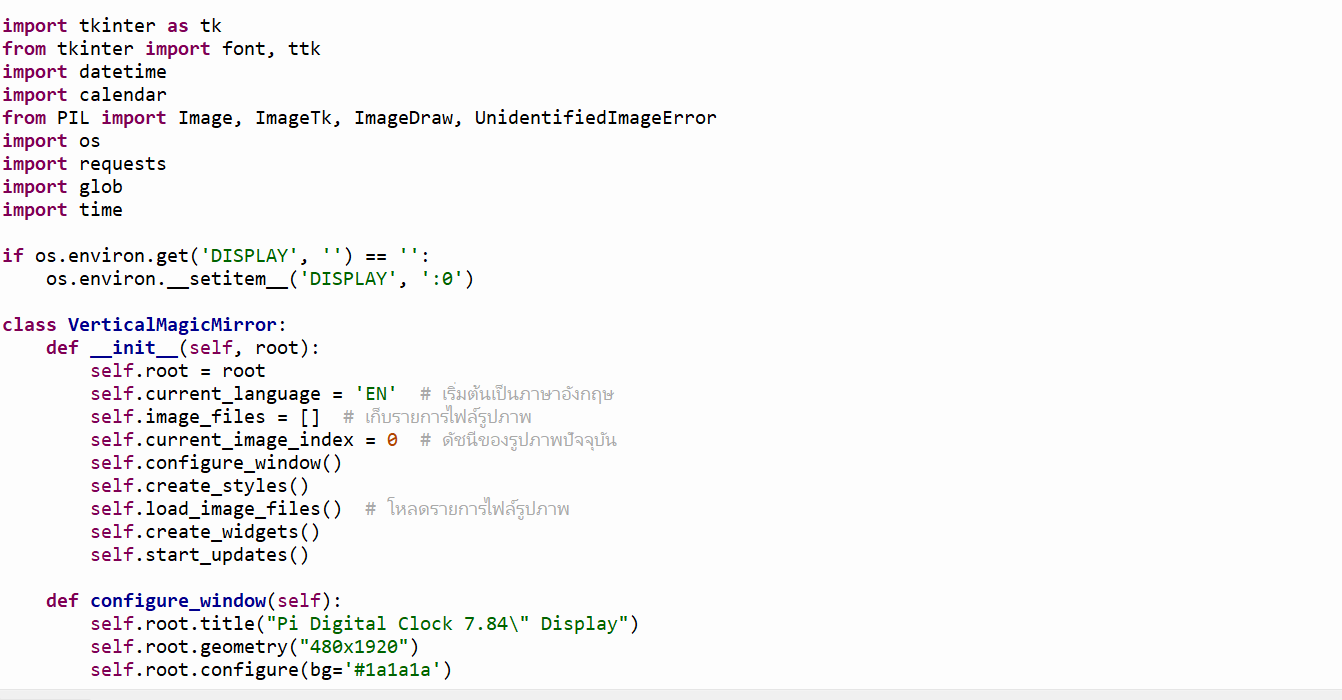
In this step, we will edit the ~/.bashrc file to add commands that automatically run Python scripts when the Raspberry Pi boots and enters the specified terminal (/dev/tty1). Using ~/.bashrc is suitable for executing commands in the user’s environment and can be configured to run only under specific conditions, such as when logging in through the first terminal.
nano ~/.bashrc
if [ "$(tty)" == "/dev/tty1" ]; then
DISPLAY=:0 python3 /home/pi/pidigi2.py &
fi
Press Ctrl+X to save and exit, then sudo reboot.
STEP 2: API AQI,PM2.5
Visit https://aqicn.org/data-platform/token/ to request a free API token by entering your email and confirming via the link sent.
Use the token in the URL: https://api.waqi.info/feed/{city}/?token={your_token}, e.g., https://api.waqi.info/feed/bangkok/?token=your_token.
The API returns AQI, PM2.5, temperature, humidity, etc., in JSON format, with a quota of 1,000 requests per second.
STEP3: Folder 'pic'
Creating the pic folder allows you to store image files in an organized and easily accessible location. Python scripts that run automatically on boot may be configured to read from or save images to this folder. For example, if picaren2.py is a script that uses the Raspberry Pi camera to capture photos, the pic folder will serve as the storage location for those images.
How to Create the Folder
To create a folder named pic in the user's home directory (e.g., /home/pi/ on a Raspberry Pi), use the following command in the terminal:
mkdir pic
- mkdir: The command to create a new folder (make directory).
- ~/pic: Specifies the location and name of the pic folder in the home directory (e.g., /home/pi/pic)
Code:
https://github.com/YakrooThai/RaspberryPiZERO/blob/main/PiDigitalClock/picaren2.py
3Dprint FILE : Case
https://grabcad.com/library/pi-digital-clock-7-84-display-1
https://www.thingiverse.com/thing:6920898
https://www.printables.com/model/1158056-pi-digital-clock-784-display
https://cults3d.com/en/3d-model/gadget/pi-digital-clock-7-84-display
Coming Sooon!!
You can contact
Please follow my YouTube channel. Still a newbie to make a YouTube channel.
by just clicking on SUBSCRIBE button. Thankyou

 Phil
Phil
 Andrew Lee
 AlfredC