 jeremy.geppert
Why:
E-Bike batteries seem to come mostly in large capacities claiming ranges of 150 miles. For someone who will use their E-Bike in a small town on rides to the store or with the family at under 10 miles per outing hauling that extra weight seems unnecessary. This does beg the question of why I need an E-Bike in the first place? Having been a life long motorcyclist an electrified bicycle is appealing for how light and quiet it is. It's really fun!
Batteries:
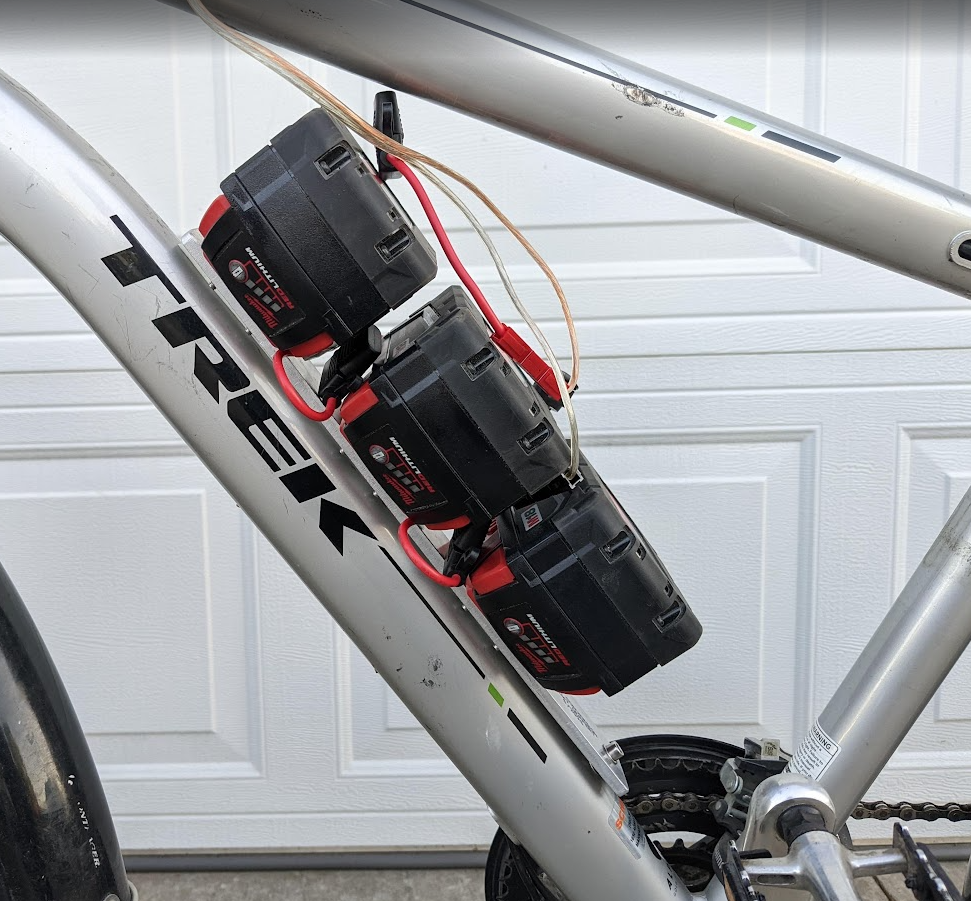
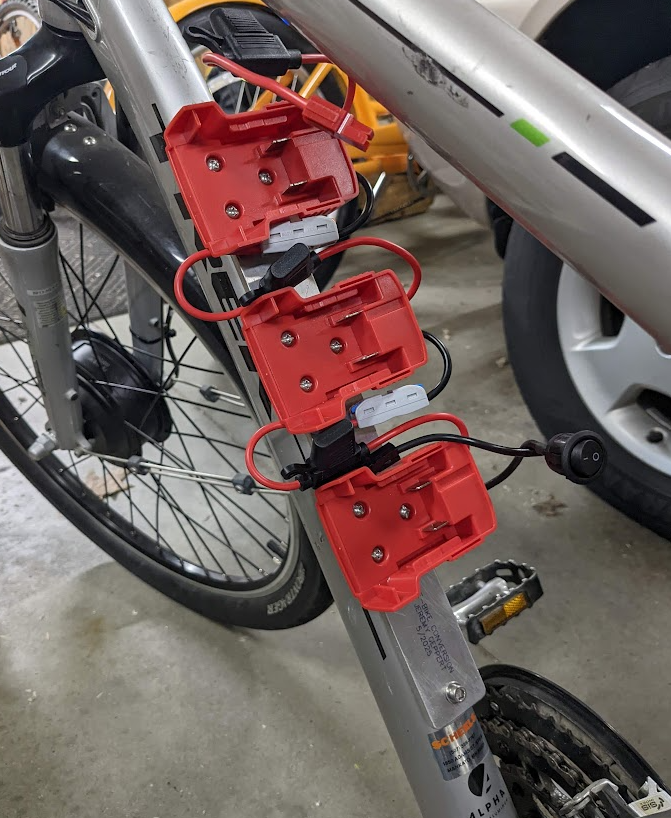
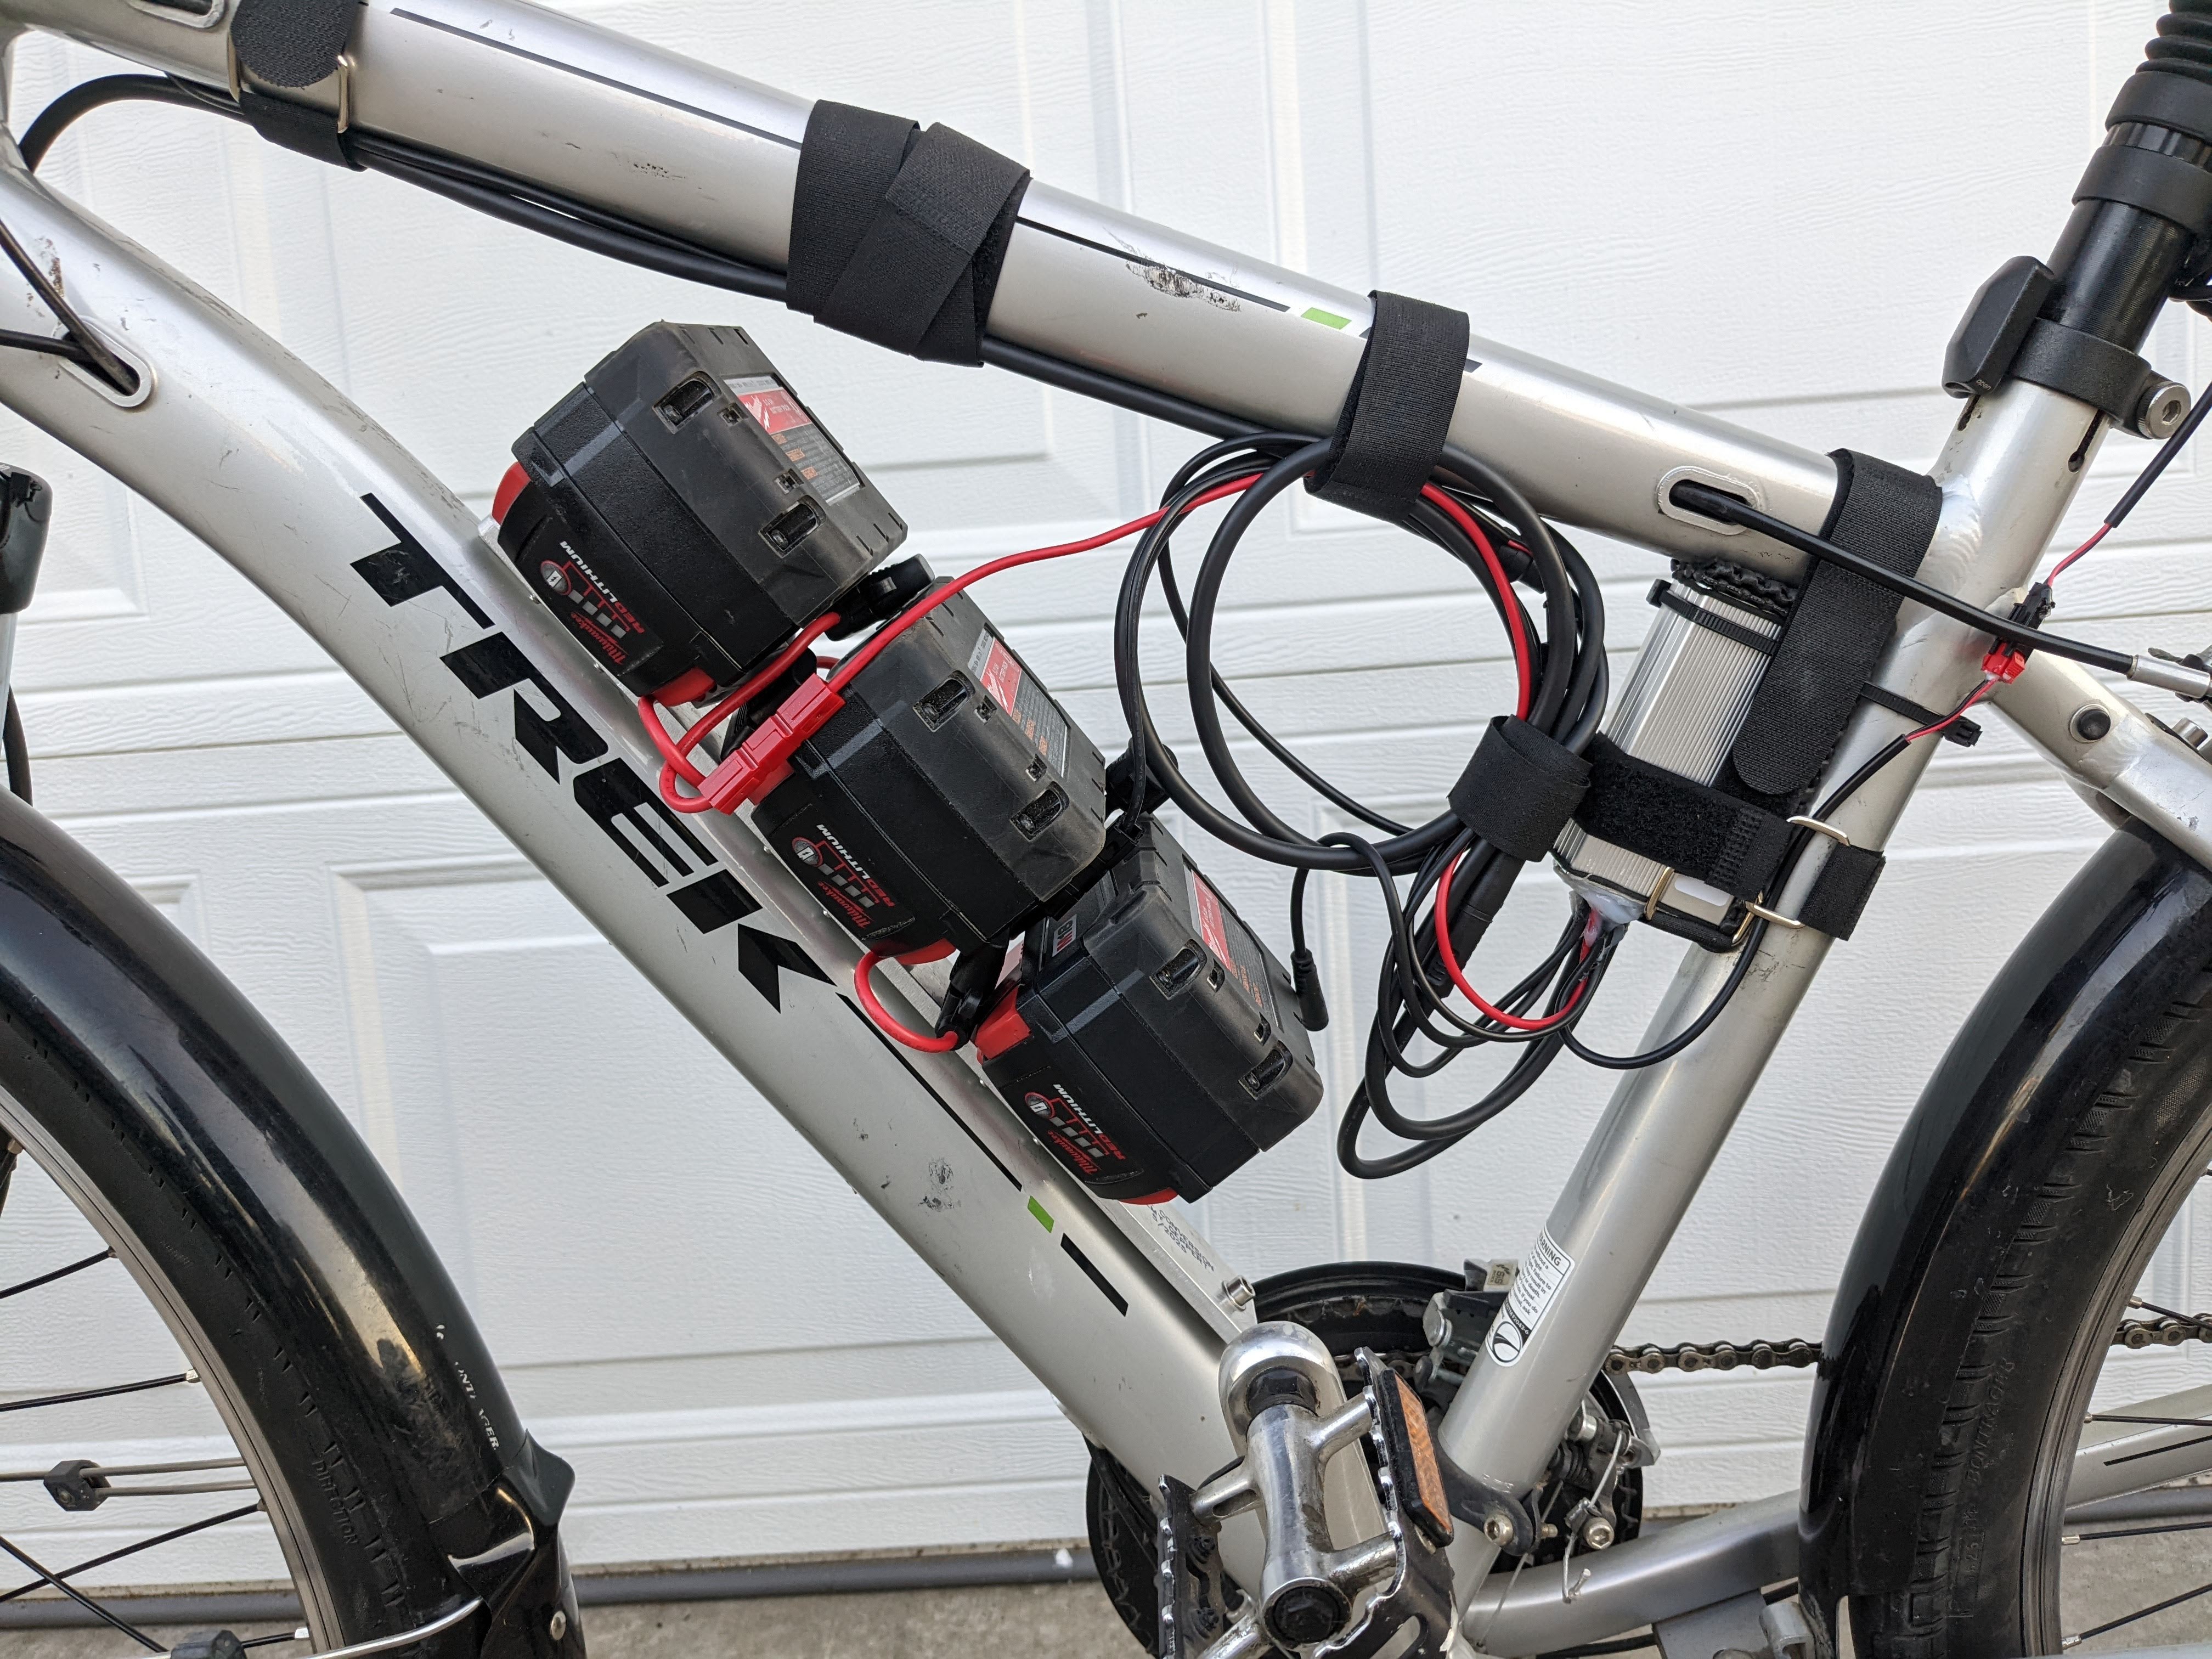
My approach is to use three 5 Ah M18 batteries in series to keep things light and practical based on what I have. There is enough clearance for larger batteries if desired.
Kit Details:
The kit I purchased is a BAFANG 48V 500W front hub motor/controller. I checked with the manufacturer for the maximum input voltage on the controller and learned it is 62.4 vdc. There is a cut-out voltage of 39 vdc. Three M18 batteries fully charged are a little over 20 vdc each with the series total staying under the 62.4 vdc. Perfect! The controller is quite smart as it uses the source voltage to help determine capacity remaining. There are some settings to tell it what battery voltage you are using or just use the source.
Bike:
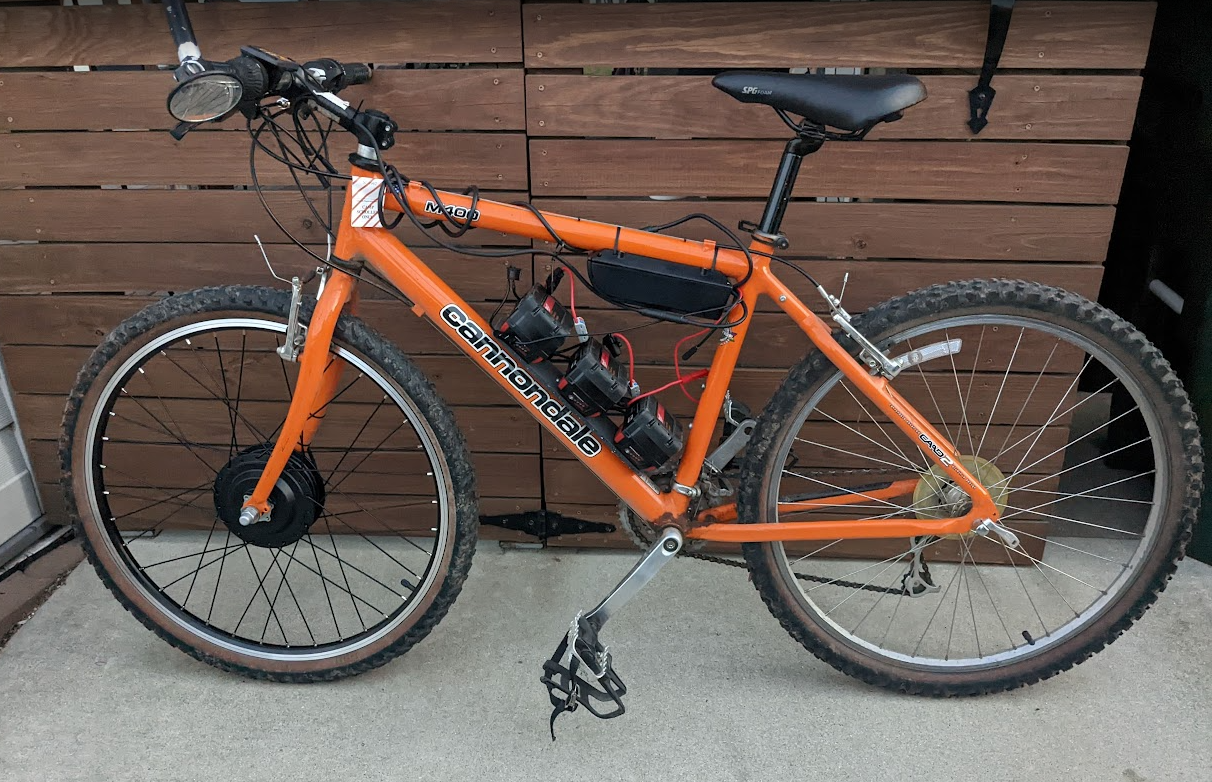
I originally hacked this kit onto my 27 year old rigid frame Cannondale mountain bike. It worked great but I am physically not the same person I was 27 years ago in regards to tolerance for discomfort. Ouch. Just ignore the rushed janky mount and wiring situation.
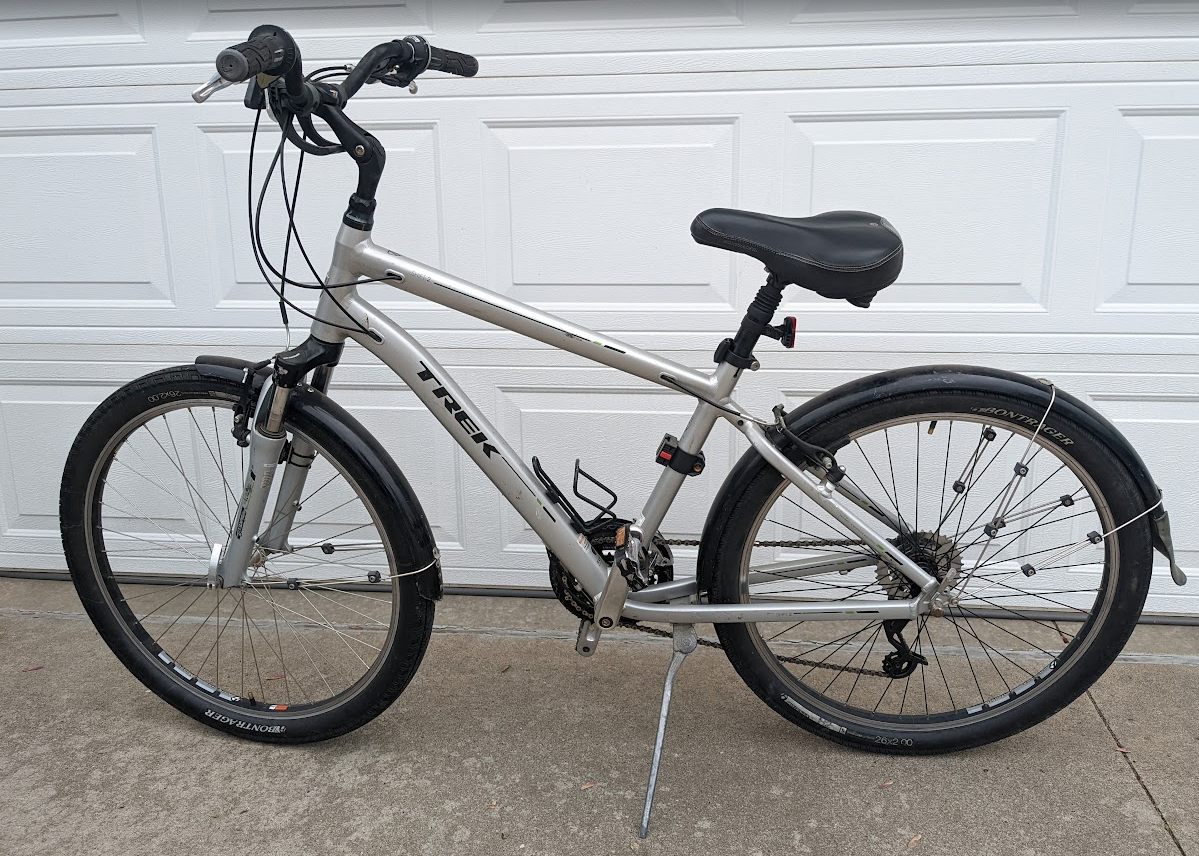
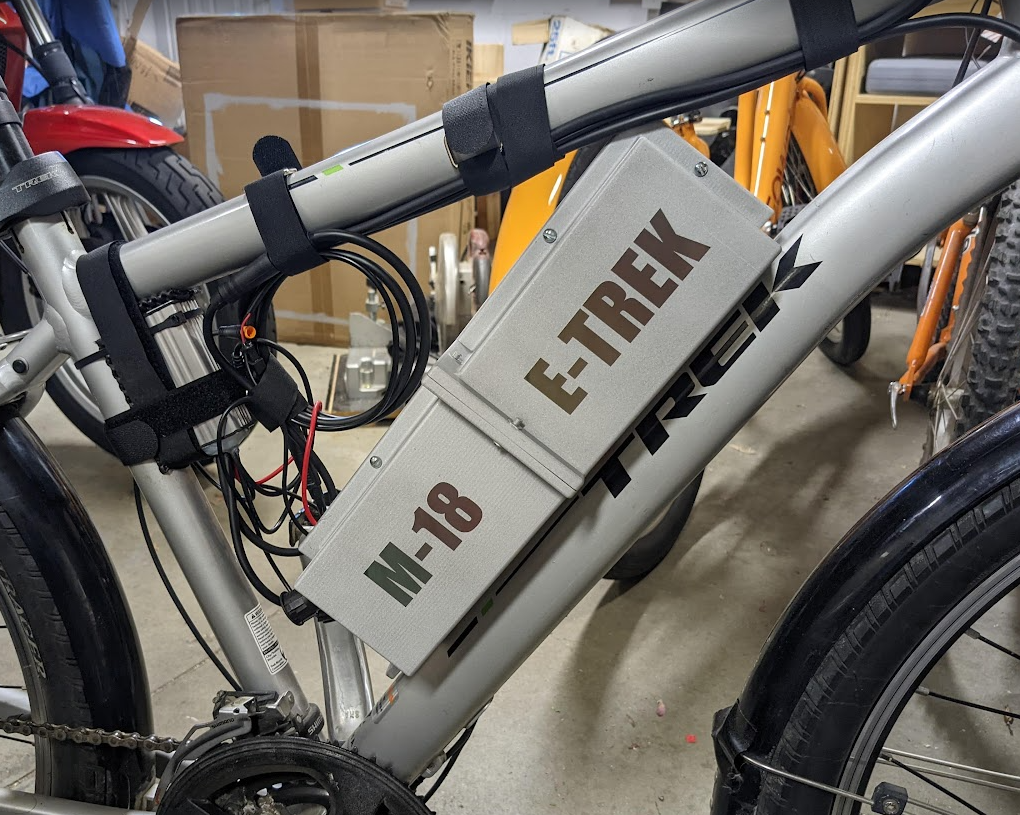
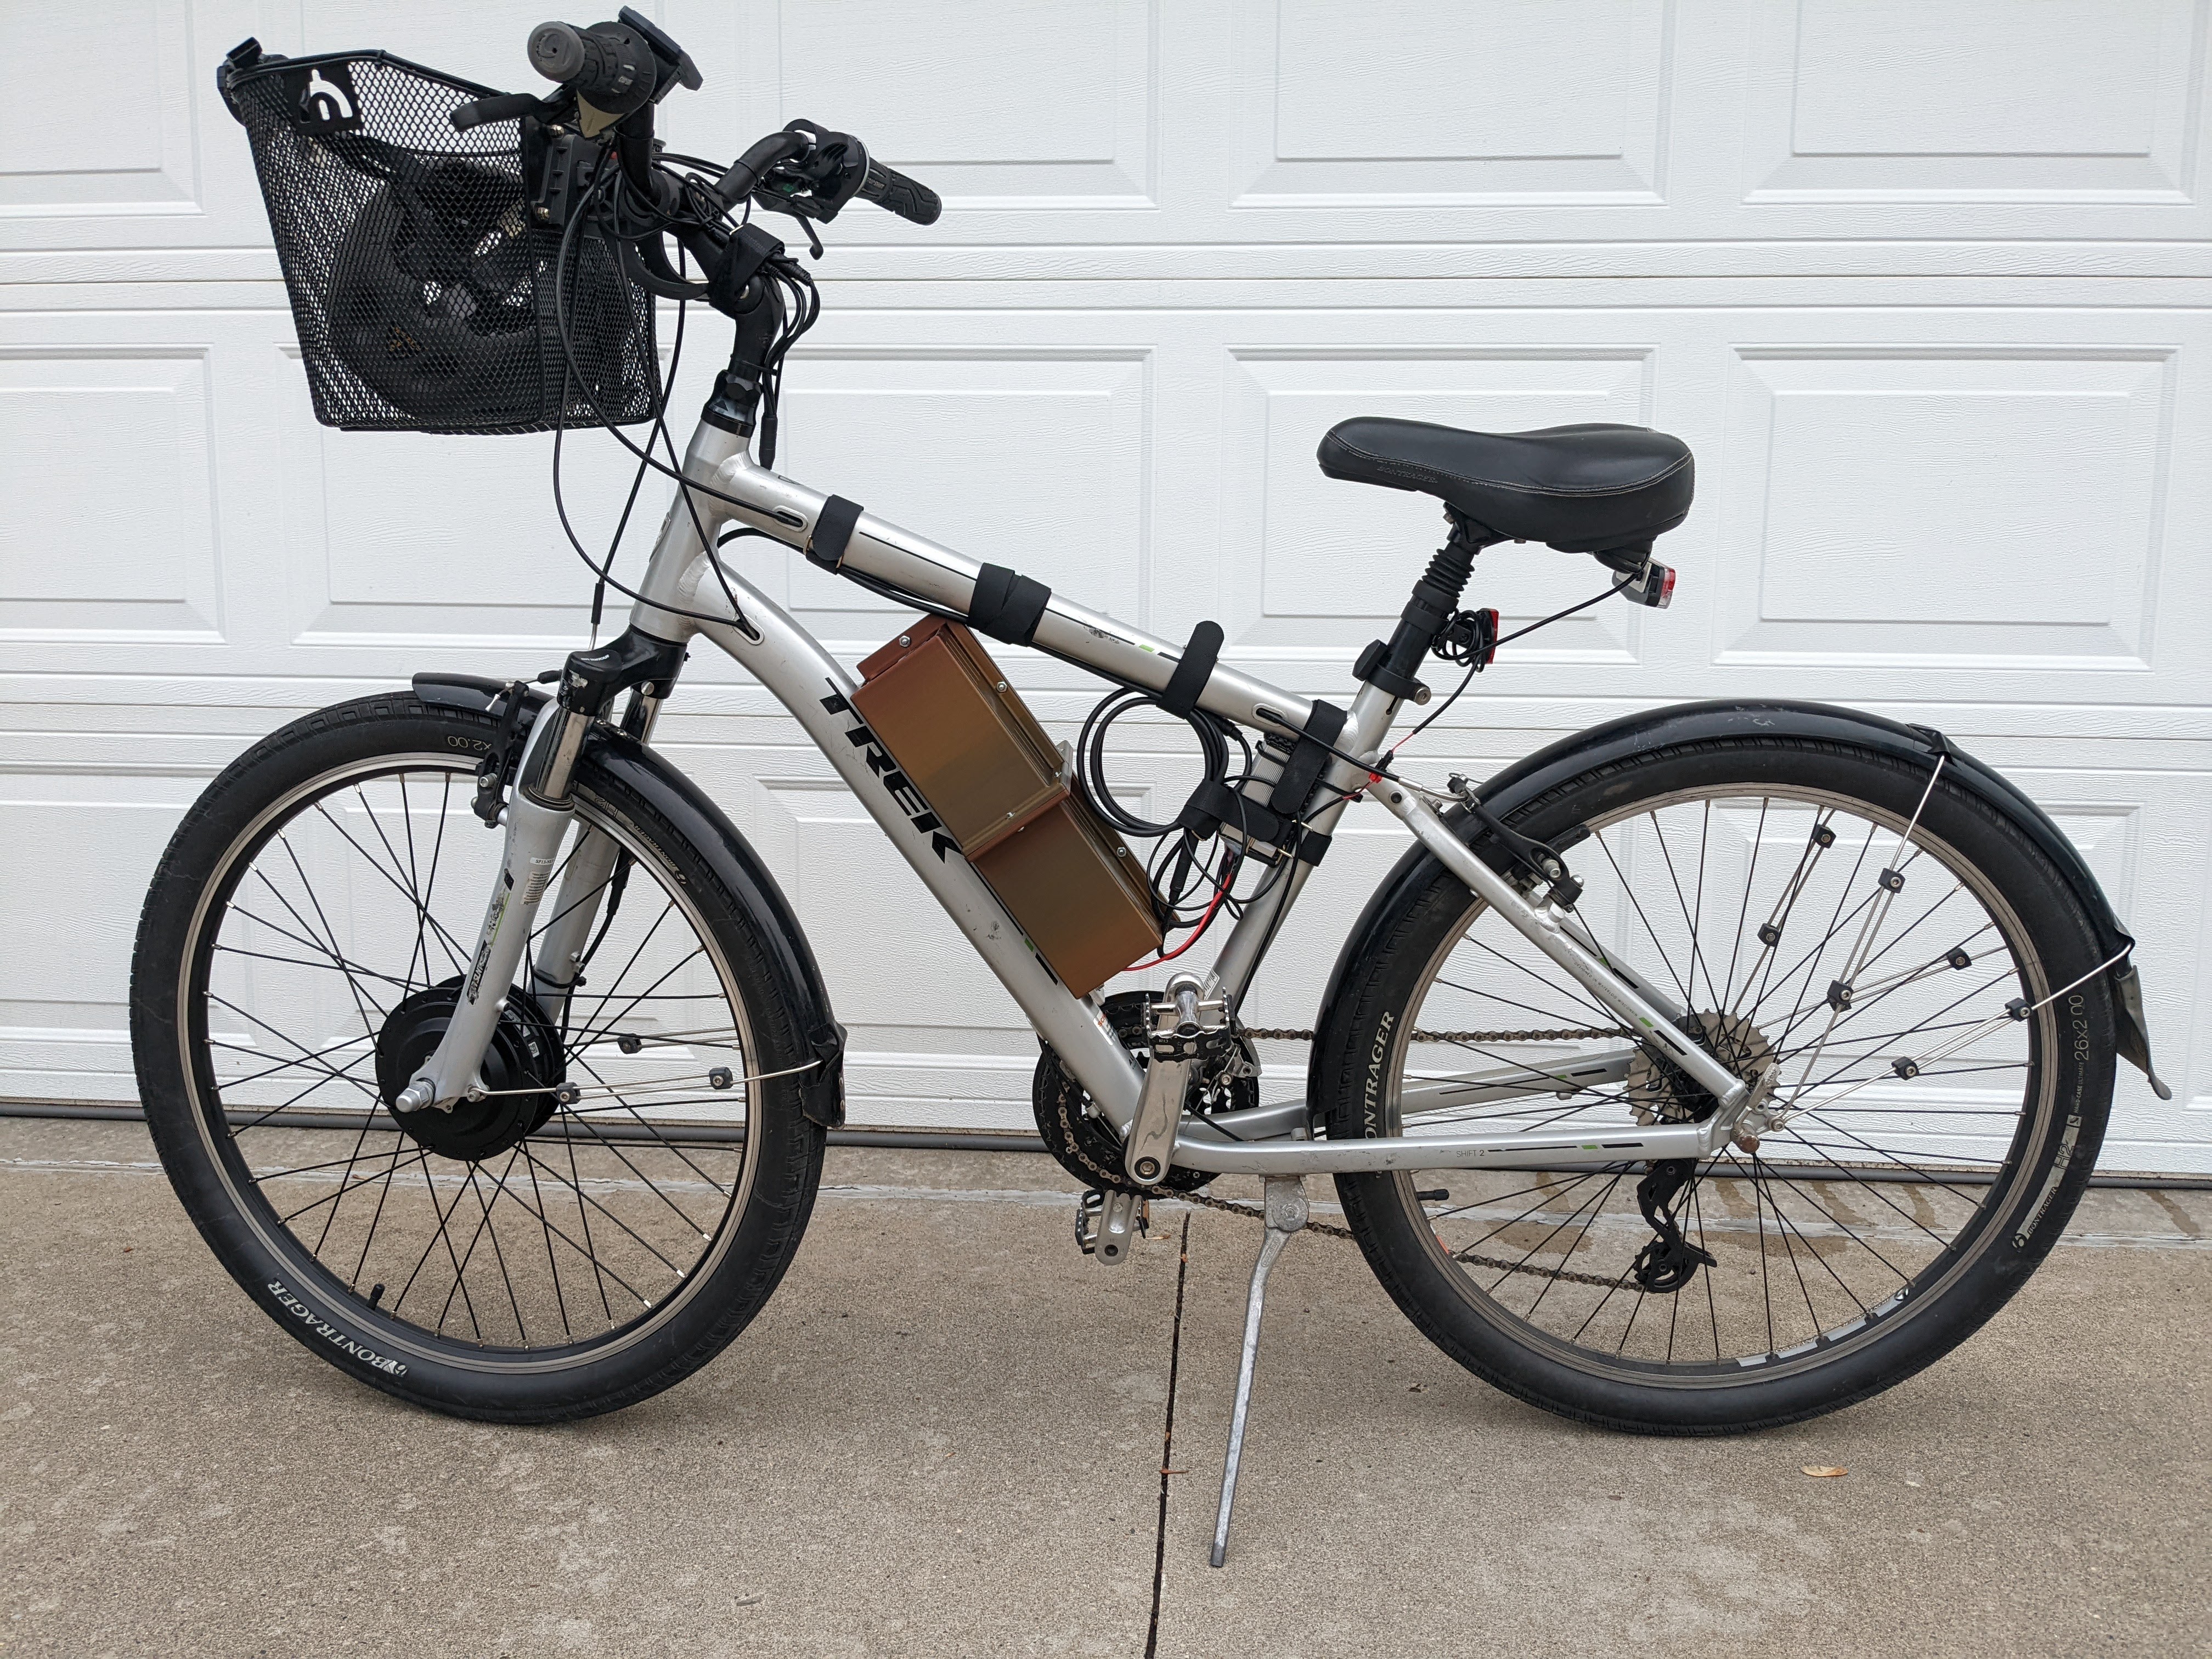
Time to find a different base bike. Marketplace is flooded with really nice older "meat powered" bikes. I picked up this 10 year old donor bike for $180 locally. That might have been a little high but it didn't require me to drive a long ways to get it wasting time and fuel. It checked all the boxes: Upright riding position. Front suspension. Comfy seat with suspension seat post. Fenders and the basket were a bonus.
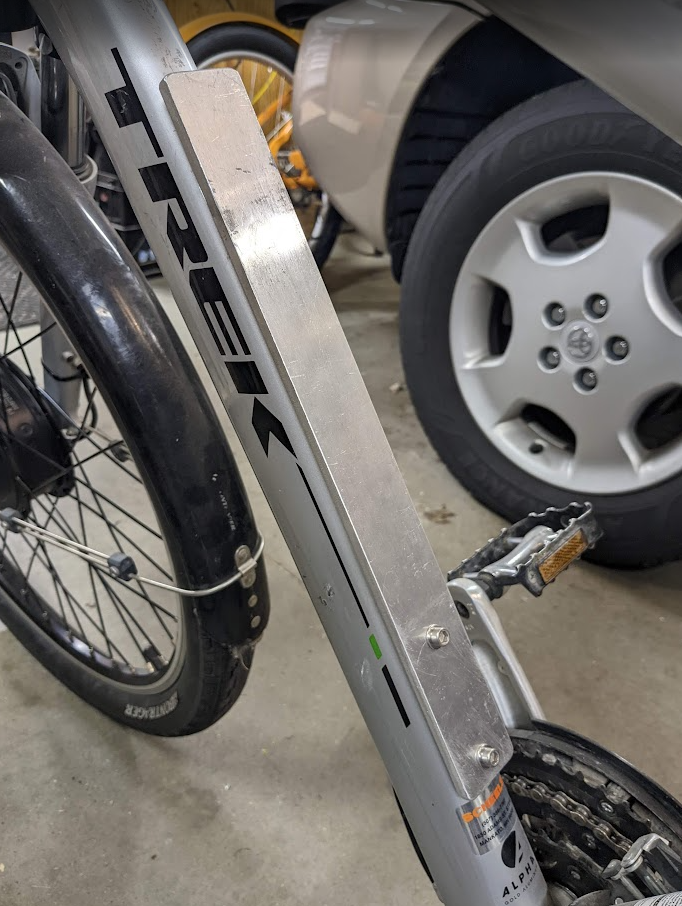
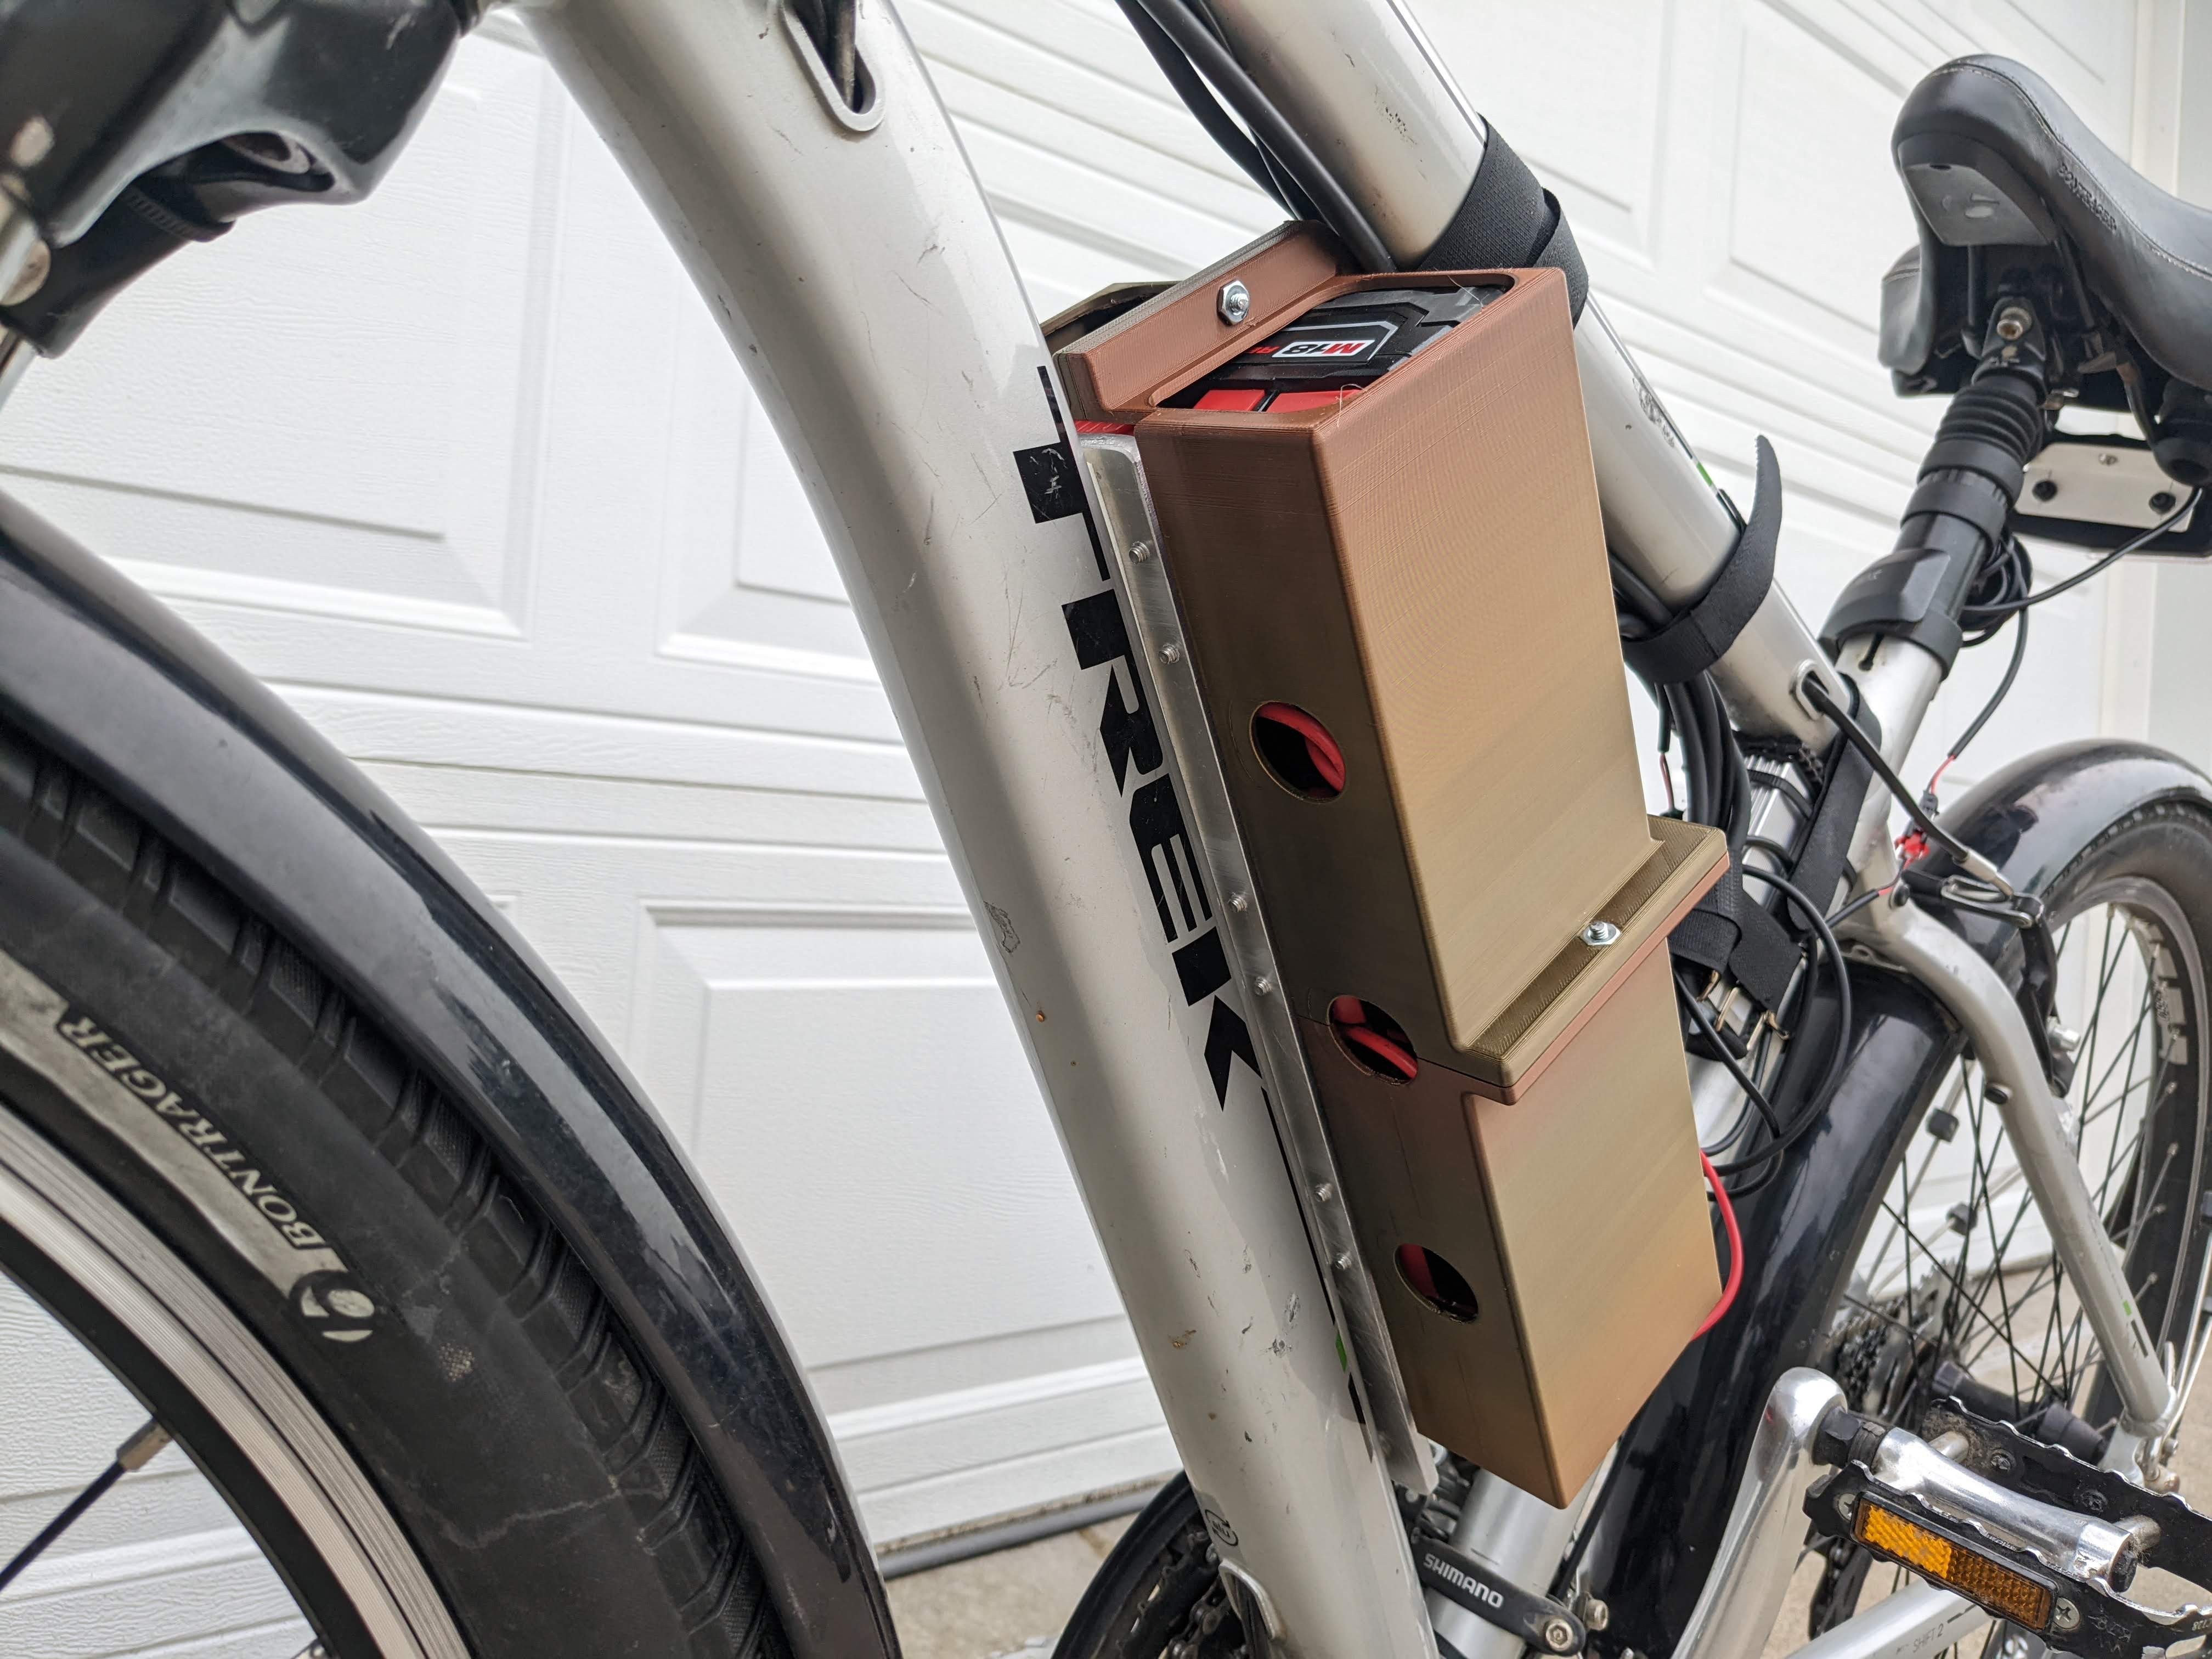
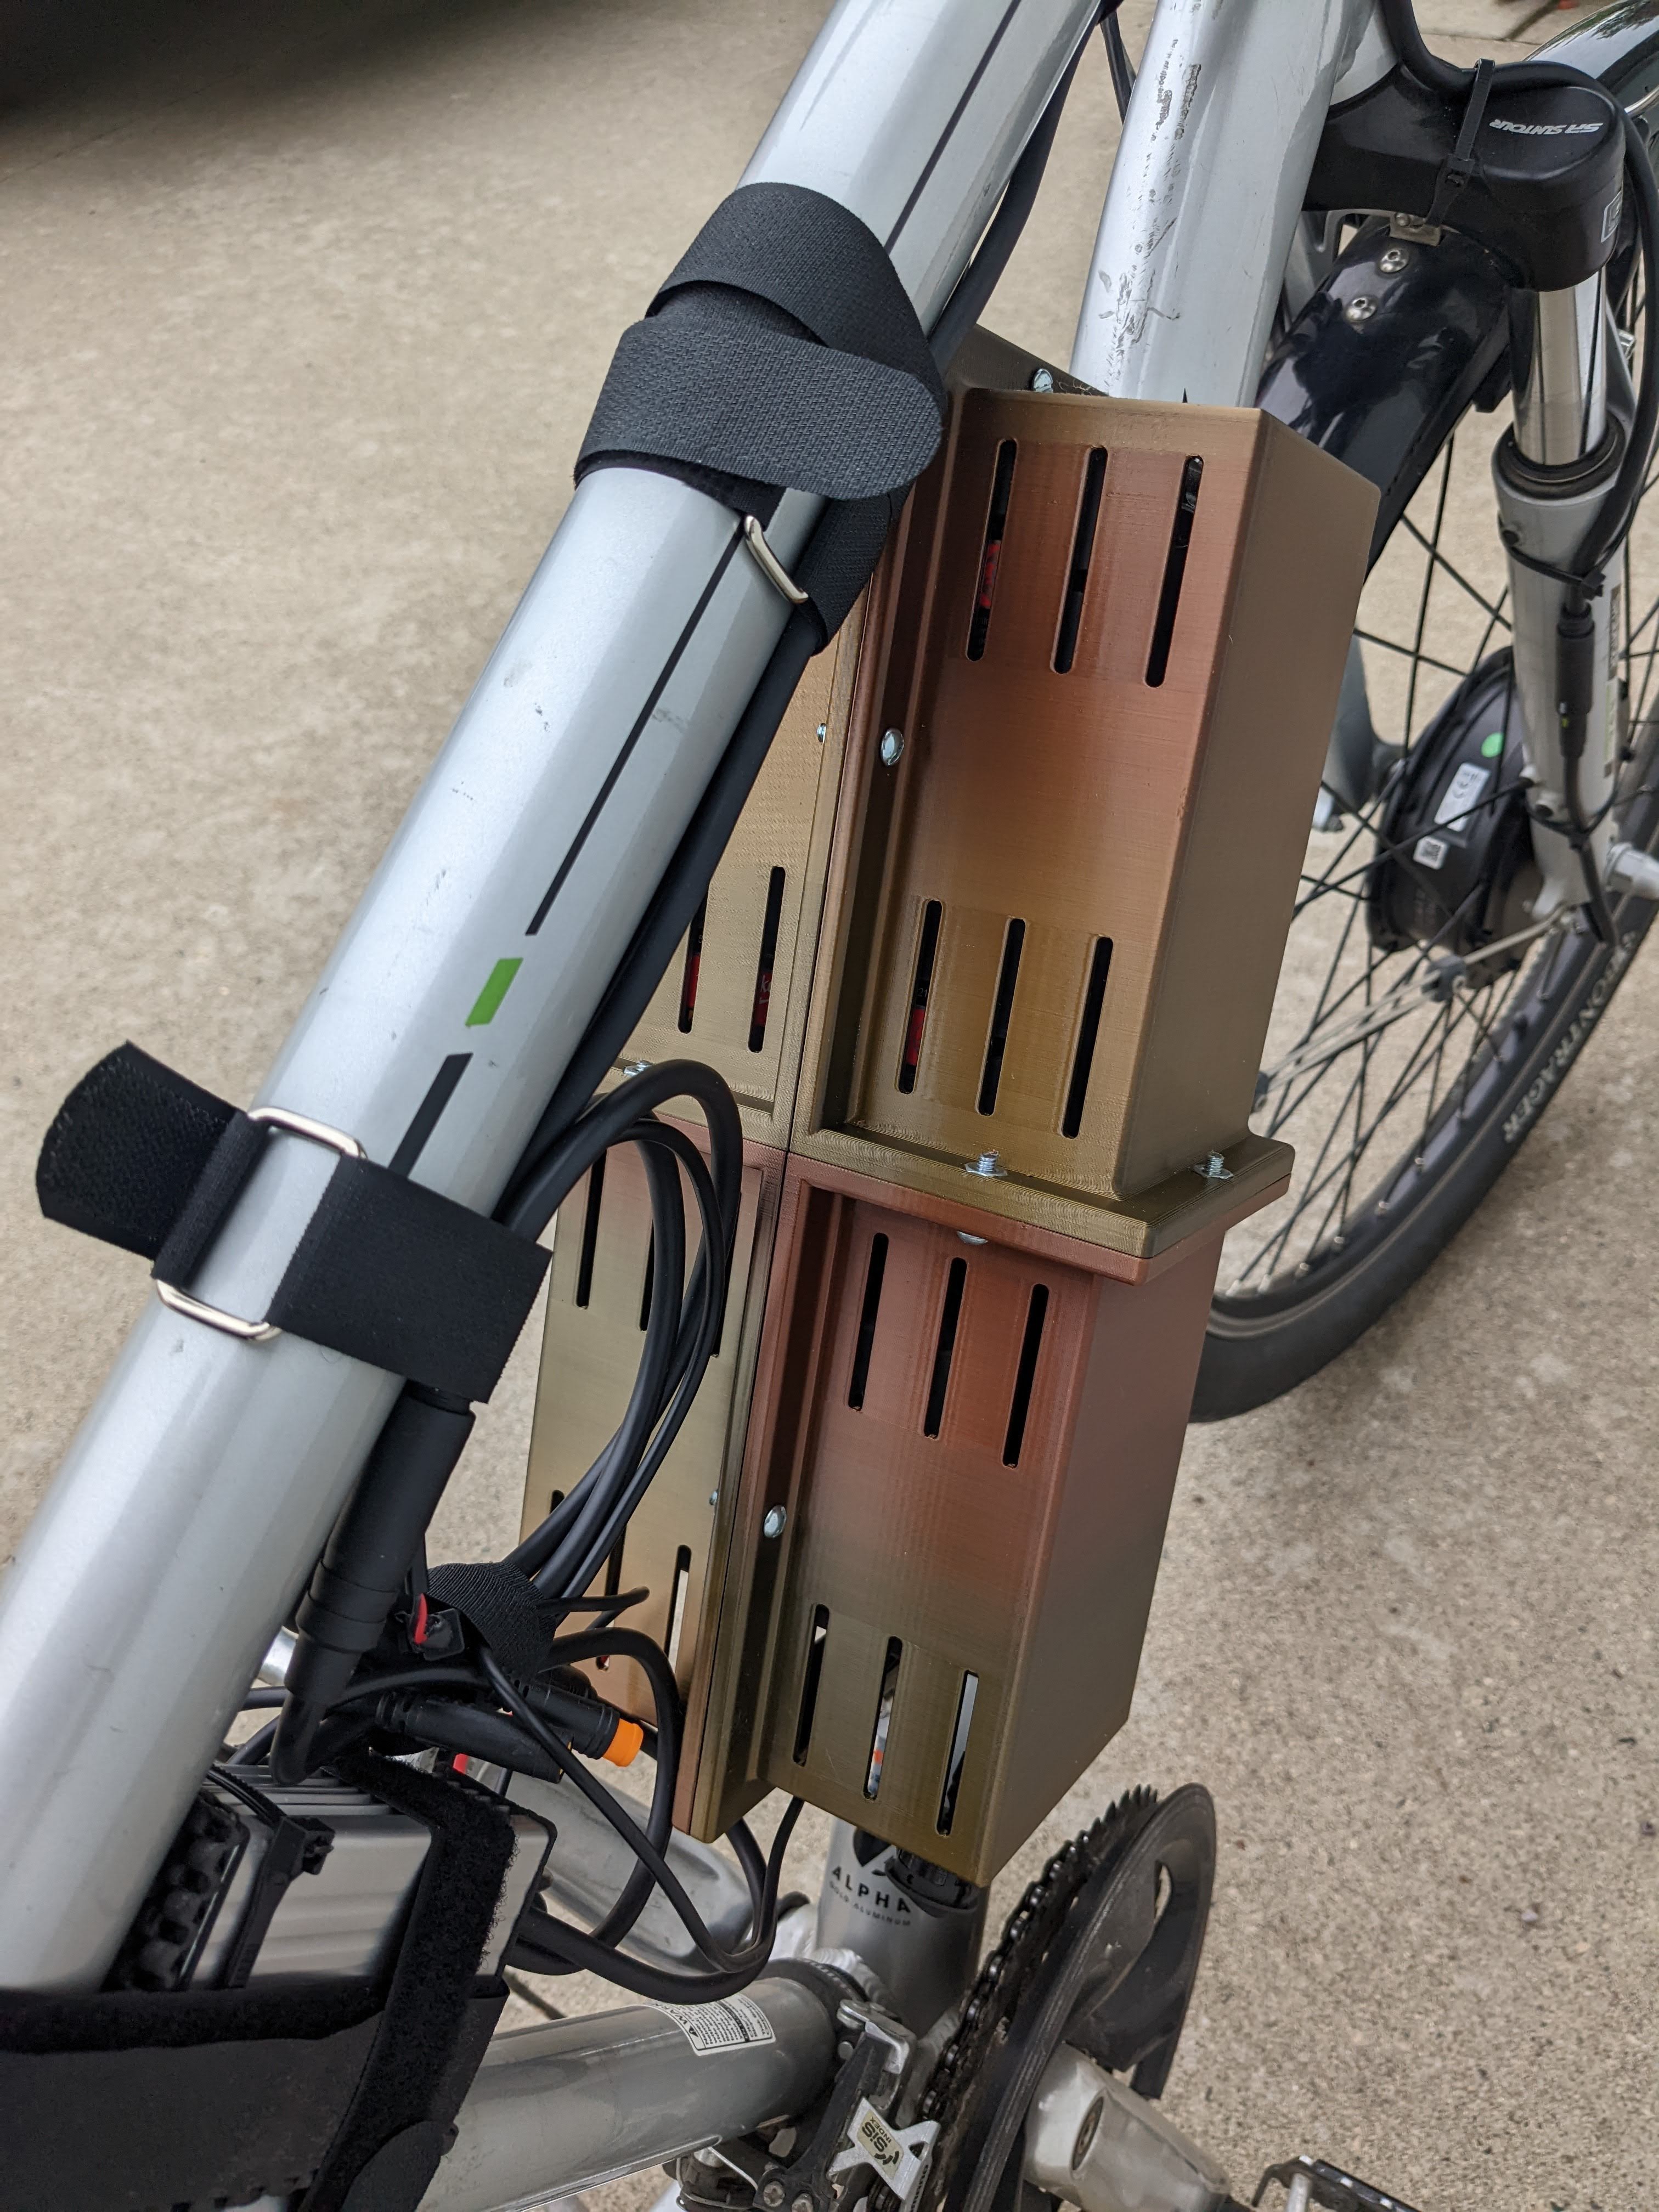
Battery Mounting:
I used a hunk of 1/4" aluminum plate that I had in the scrap pile and drilled holes that let me mount it on the water bottle holder points. I then mounted the battery holders/adapters to the aluminum plate by drilling and tapping them for 8-32 stainless machine screws. There is a piece of foam tape between the aluminum and the bike frame to keep things tight. It's very solid.
Controller and Wires:
This isn't super pretty but it's definitely out of the way and secure. This is probably how it will remain. Function before fashion. It stays out of the way and gets plenty of air for the little heat it produces.
Test Ride:
It works great. It goes 25 mph if you give it full throttle and will spin the front tire if you are not careful. I had originally considering hacking the controller to go faster. Nope. 25 mph is plenty fast on a bicycle. Plus, I think there are some laws on e-bikes some cities are putting in place. I need to install the pedal assist sensor yet so for now it's just a thumb throttle.
The first cycle of the batteries was me doing lots of aggressive acceleration showing off to and racing the neighbor kids. BTW, they think this middle aged gray hair guy is cool now because of this project. Additionally, I tried out the steepest hill in town multiple times from a dead stop to see what it could do. It eats hills and even accelerates up them. The last part of the test was a 6 mile ride with the family. 50% meat powered bikes and 50% e-bikes. The batteries lasted 10 miles with all that testing and riding.
I estimate that if I actually pedaled some and was easy on the throttle it could easily go double that.
I do have a problem though... If there is a throttle I will use all of it. That isn't great for efficiency.
[Update]: I was able to get 19.5 miles out of a charge by mixing in maybe 25% pedaling and avoiding any huge hills and only a couple full throttle speed runs.


 ric866
 Dimitar
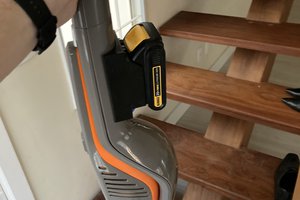
 Drew Pilcher
Damn, and here I am invested in M12!