 caspar
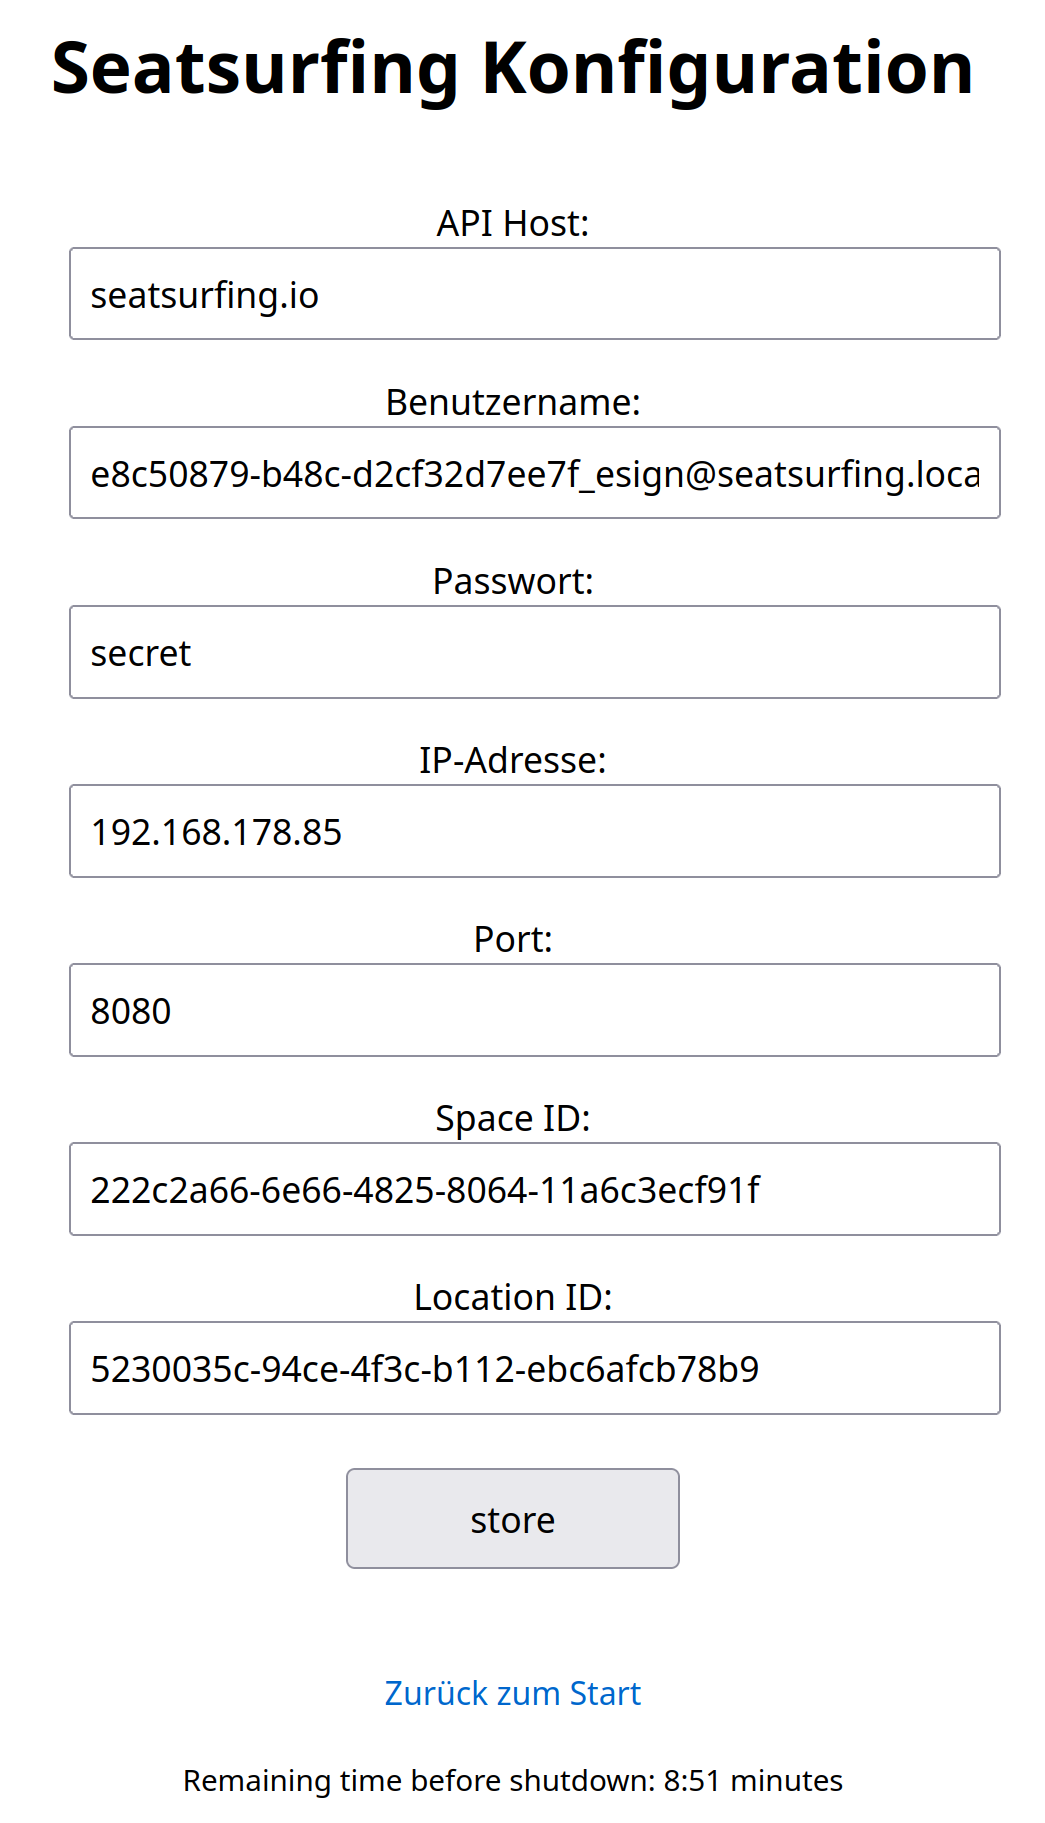
The main point of the inki devices it that you can hang them on the wall, no cables needed, and information is automatically retrieved and displayed on the epaper. However, you also might want to change the settings from time to time, when using desk sharing such as seatsurfing, for instance, you might want to change the room or the logo, when using homeautomation such as ccu-historian maybe you want to query a different parameter. Or simply set the realtime clock. It would be nice to be able to change settings and also upgrade the device in place without the need of a dedicated development setup, and without the need to move the device at all.
For this I implemented a wifi access point mode with lw ip: inki can be started in this mode, it will show the display with the access information (see below) and stay on for 15 minutes. You can now simply connect to inki with your cell phone, tablet or pc to the corresponding access point "inki-setup" and go to 192.168.4.1 in your local network. This will bring you to the setup page:

A short walk through the pages:

Set the wifi credentials for the client mode. This will be needed in the usual client mode.
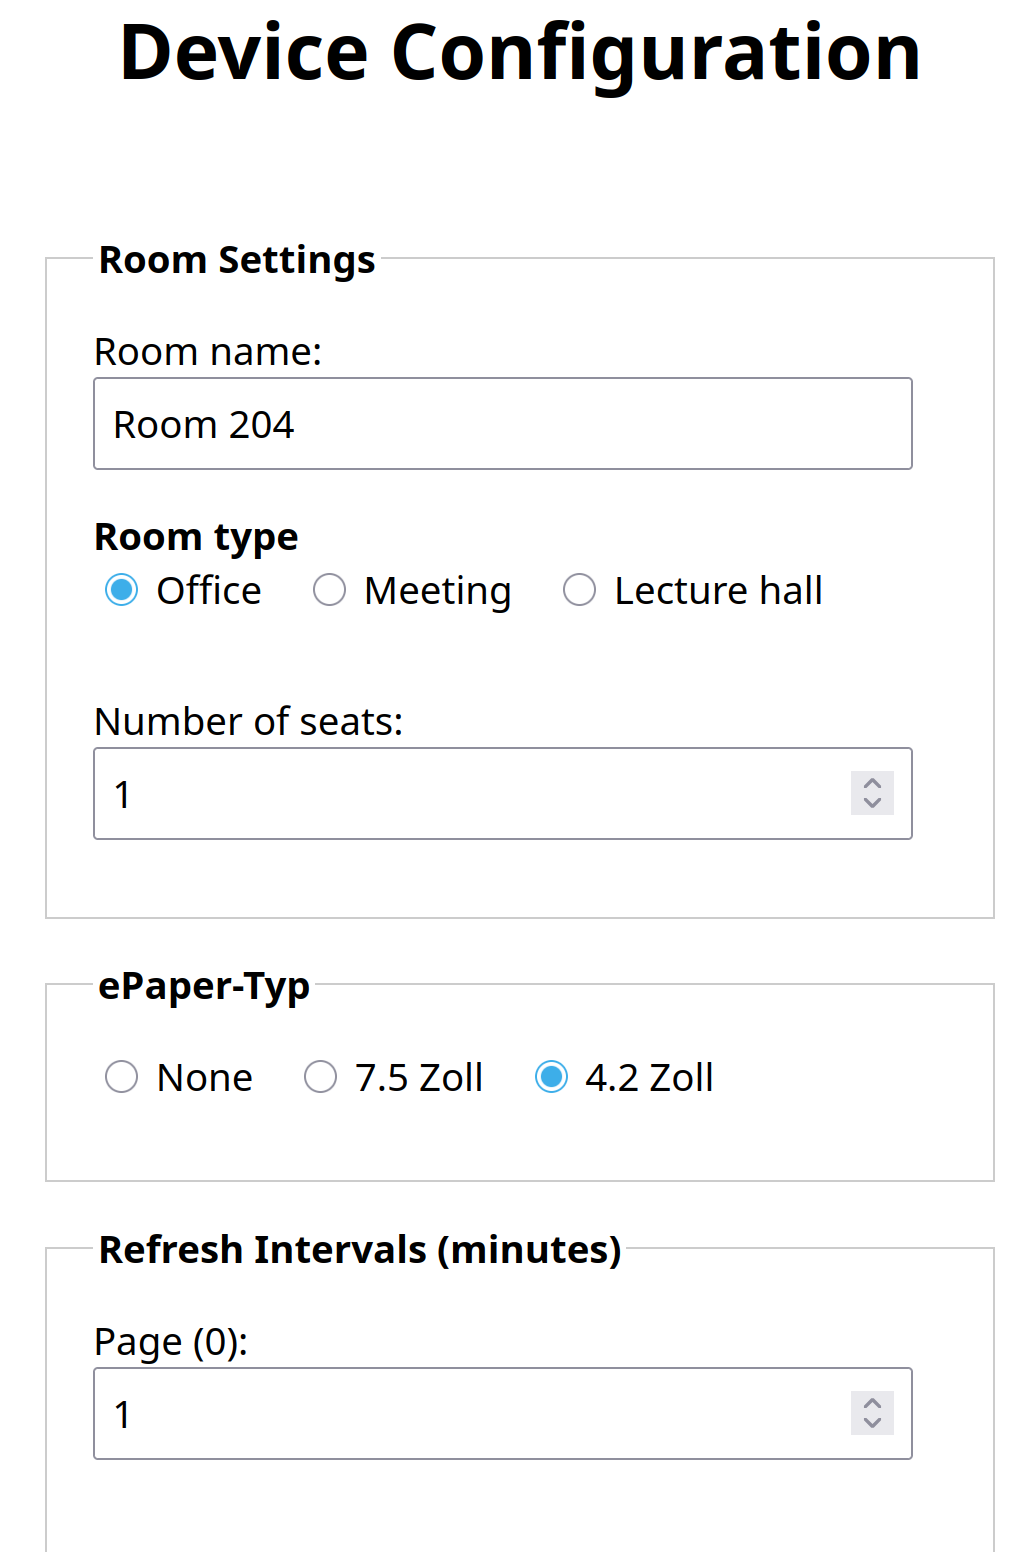
Configuration of the device itself (not all shown): refresh times, timeouts, adc conversion factor, etc.
Upload your own logo, will be written into the pico's flash and show up instead of the small octopus.

Device status page.

Firmware update: Choose the new firmware and upload. The file will be written to the pico's flash, crc checked, and, if valid, and more recent than the current firmware, the device will boot from this version after the next power cycle. This is using a small custom bootloader https://github.com/c0de111/pico_bootloader I wrote. No additional hardware needed, only your cell phone / tablet / laptop / pc.

Set inki's realtime clock using the time of your device. This will use the current date of your device (cell phone / tablet / pc) and set inki's clock to that time.
The webinterface thus gives access to the relevant aspects that are organized in the pico's flash as follows:
RP2040 Flash Memory Map (2 MB = 0x200000)
┌──────────────┬──────────────────────┬────────────┬──────────────────────────────────────┐
│ Address │ Region │ Size │ Description │
├──────────────┼──────────────────────┼────────────┼──────────────────────────────────────┤
│ 0x000000 │ Bootloader │ 64 KB │ Custom bootloader │
│ 0x010000 │ Firmware Slot 0 │ 940 KB │ FIRMWARE_FLASH_SIZE = 0xEB800 │
│ 0x0FB800 │ Firmware Slot 1 │ 940 KB │ FIRMWARE_FLASH_SIZE = 0xEB800 │
│ 0x1E7000 │ Config & Reserved │ 100 KB │ Configuration, logos, OTA buffers │
│ 0x200000 │ Flash End │ │ End of 2 MB QSPI flash │
└──────────────┴──────────────────────┴────────────┴──────────────────────────────────────┘
Firmware slots start at XIP_BASE + offset:
- Slot 0: 0x10000000 + 0x010000 = 0x10010000
- Slot 1: 0x10000000 + 0x0FB800 = 0x100FB800
Notes:
- Bootloader includes 256-byte boot2 at the start of the binary.
- Firmware binaries include a 256-byte firmware header at the start of the binary.
- "Config & Reserved" includes all flash-persistent settings and data.
It was fun setting this up and I am pleased about how much you can do with a bare-metal microcontroller for a few Euros / Dollars today!
Discussions
Become a Hackaday.io Member
Create an account to leave a comment. Already have an account? Log In.