 Arnov Sharma
VIDEO-
Concept


Guessatron is based on the well-known online guessing game Akinator, which amazes players by using AI and huge datasets to guess what they are thinking. However, I wanted to create something that seemed solid, grounded, and local rather than depending on machine learning or cloud-based intelligence. A guessing game that only uses embedded logic and doesn't use the internet or artificial intelligence.
Guessatron makes no claim of being intelligent, in contrast to Akinator. It isn't real-time adaptation or learning from millions of players. It does, however, provide a delightful, standalone experience: an ESP32-powered guessing game that selects your object from a carefully selected library of 70 objects (and counting) and poses yes/no questions.
This project is also a technical playground—combining a custom 3D-printed enclosure, onboard power via a 3.7V 2000mAh LiPo cell, and a crisp display interface. It’s designed to be held, played with, and expanded. Guessatron may not be as smart as Akinator, but it’s something you can build, hold, and proudly show off.
DESIGN
We began the project's design or development process by first importing the screen into Fusion360, along with the models for the slide switch, lithium battery, and switchboard with three push buttons.
The objective was to design a very portable and robust device that anyone could hold in their hand. It will include three buttons that users can press to operate the device.
Following the guidelines, we positioned the switchboard below the display with a slight leftward shift and the display in the center. The sliding switch was positioned on the right side of the model, aligned with the switchboard, and the lithium battery was positioned on the opposite side of the display.
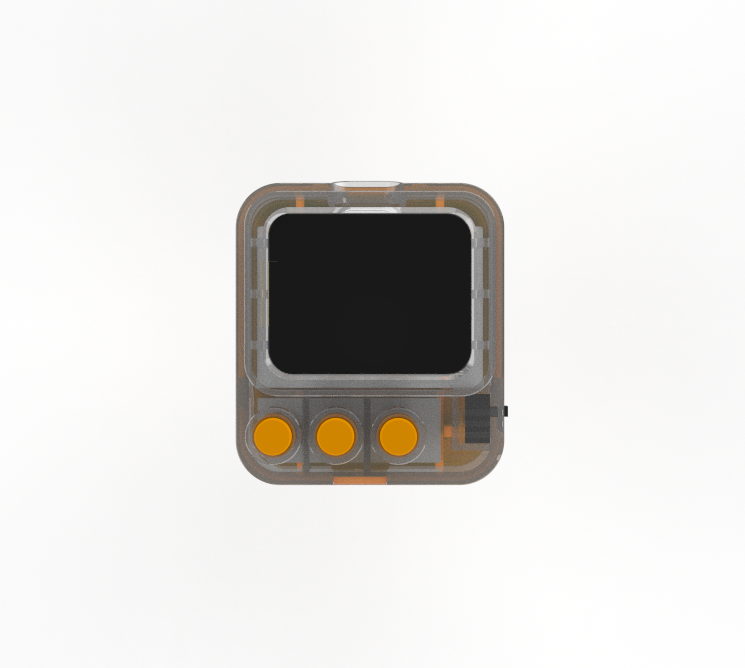
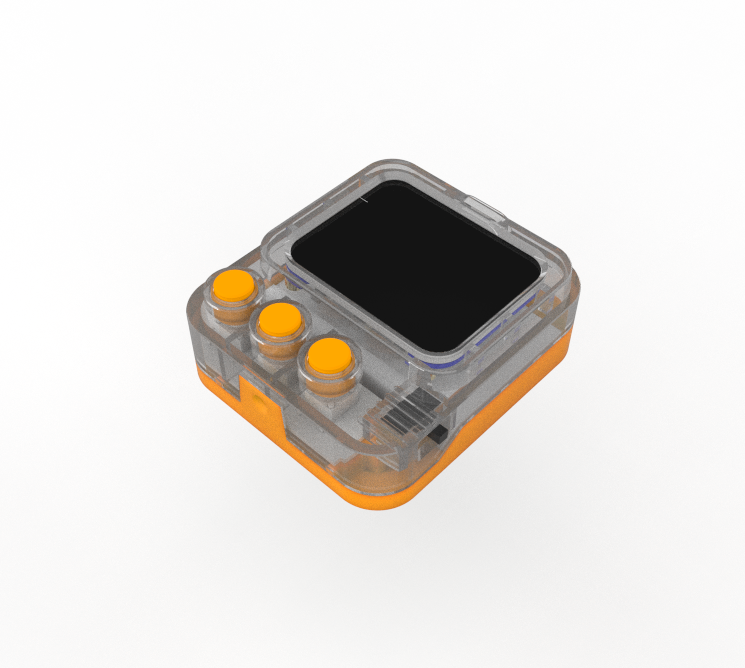
Now comes the design part; We created a shape that resembles a cuboid with rounded corners, drawing inspiration from an old television. The ESP32 display was raised just above the switchboard's level, and we created a box-like part around it that creates an illusion that the screen is positioned slightly outside. This created an intriguing design element and enhanced the device's visual appeal.
Similarly, we modeled the buttons that are positioned above the enclosure boundary for switch actuators.
Following the completion of the design, we proceeded to accurately model the entire device by splitting it into two parts: the front and back ends, shelling out both bodies, creating ribs that line up with the display and switchboard, and even creating a holding part for the slide switch.
The front and rear enclosures were joined together by three holes on each body; we essentially assembled them and fastened them together with three M2 screws. Since we didn't have much room for screw bosses, we decided to use hot glue to secure the remaining components in place.
By the way, if you're diving into plastic part design, I strongly recommend checking out design guides from companies like DuPont, 3M, and GE Plastics. These resources offer deep insights into the entire engineering process—from proper part construction to critical factors like shrinkage, tooling, and material behavior. Studying these guides can significantly simplify the design workflow and help you avoid common pitfalls.
We exported the mesh files for every component after finishing the design; the front enclosure was printed in transparent PLA. The back enclosure and switch actuators were printed using our Creality K10 Max with orange PLA.
ESP32 S3 Display
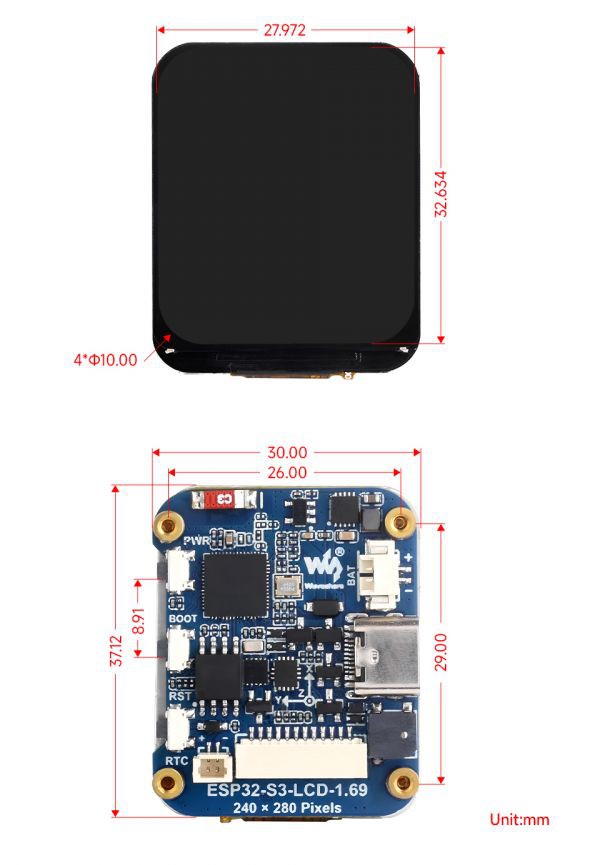
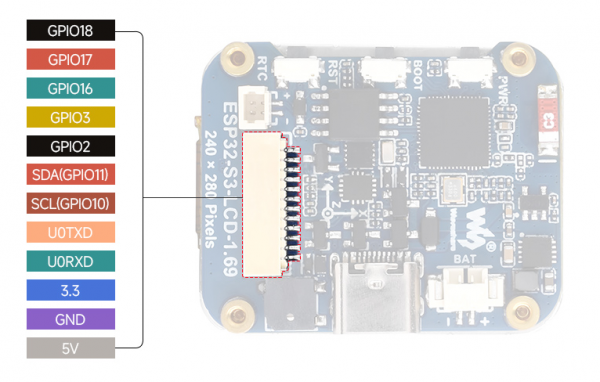

The ESP32-S3-LCD-1.69 is the real star of this setup. Despite its small size, it is incredibly powerful. Its dual-core Xtensa LX7 processor, which can run at up to 240 MHz, provides seamless performance for everything from input handling to display rendering. With its integrated Wi-Fi and Bluetooth 5, it can connect without the need for additional modules or complicated wiring.
Memory-wise, it’s stacked: 512KB of SRAM, 384KB of ROM, plus 8MB of onboard PSRAM and 16MB of external Flash.
This board is loaded with features that enhance our Guessatron, including a 1.69-inch capacitive LCD screen, a lithium battery charging chip, and a six-axis sensor with a three-axis accelerometer and gyroscope.
It has an ETA6098 lithium battery charging chip for long-term power management, a QMI8658 inertial measurement unit (IMU) for motion tracking, and an RTC chip for clock functions.
Audio feedback can be provided by the integrated buzzer; demo flashing is made simple by the Type-C interface. Furthermore, the BOOT and RST buttons make firmware downloads and resets easier, and a function button that may be customized allows for single, double, and long pushes, among other input ways.
Although the ST7789V2 LCD controller's active display area is 240(H) × RGB × 280(V), it offers a 240 × RGB × 320 resolution. It is compatible with RGB444, RGB565, and RGB666 color formats; for best visual results, our project uses RGB565.
The display's smooth corners add to its elegant, small appearance, and the four-wire SPI interface guarantees effective GPIO usage and quick communication speed.
you can check out more about this display from its Wiki page: https://www.waveshare.com/wiki/ESP32-S3-LCD-1.69
PCBWAY GIFTSHOP
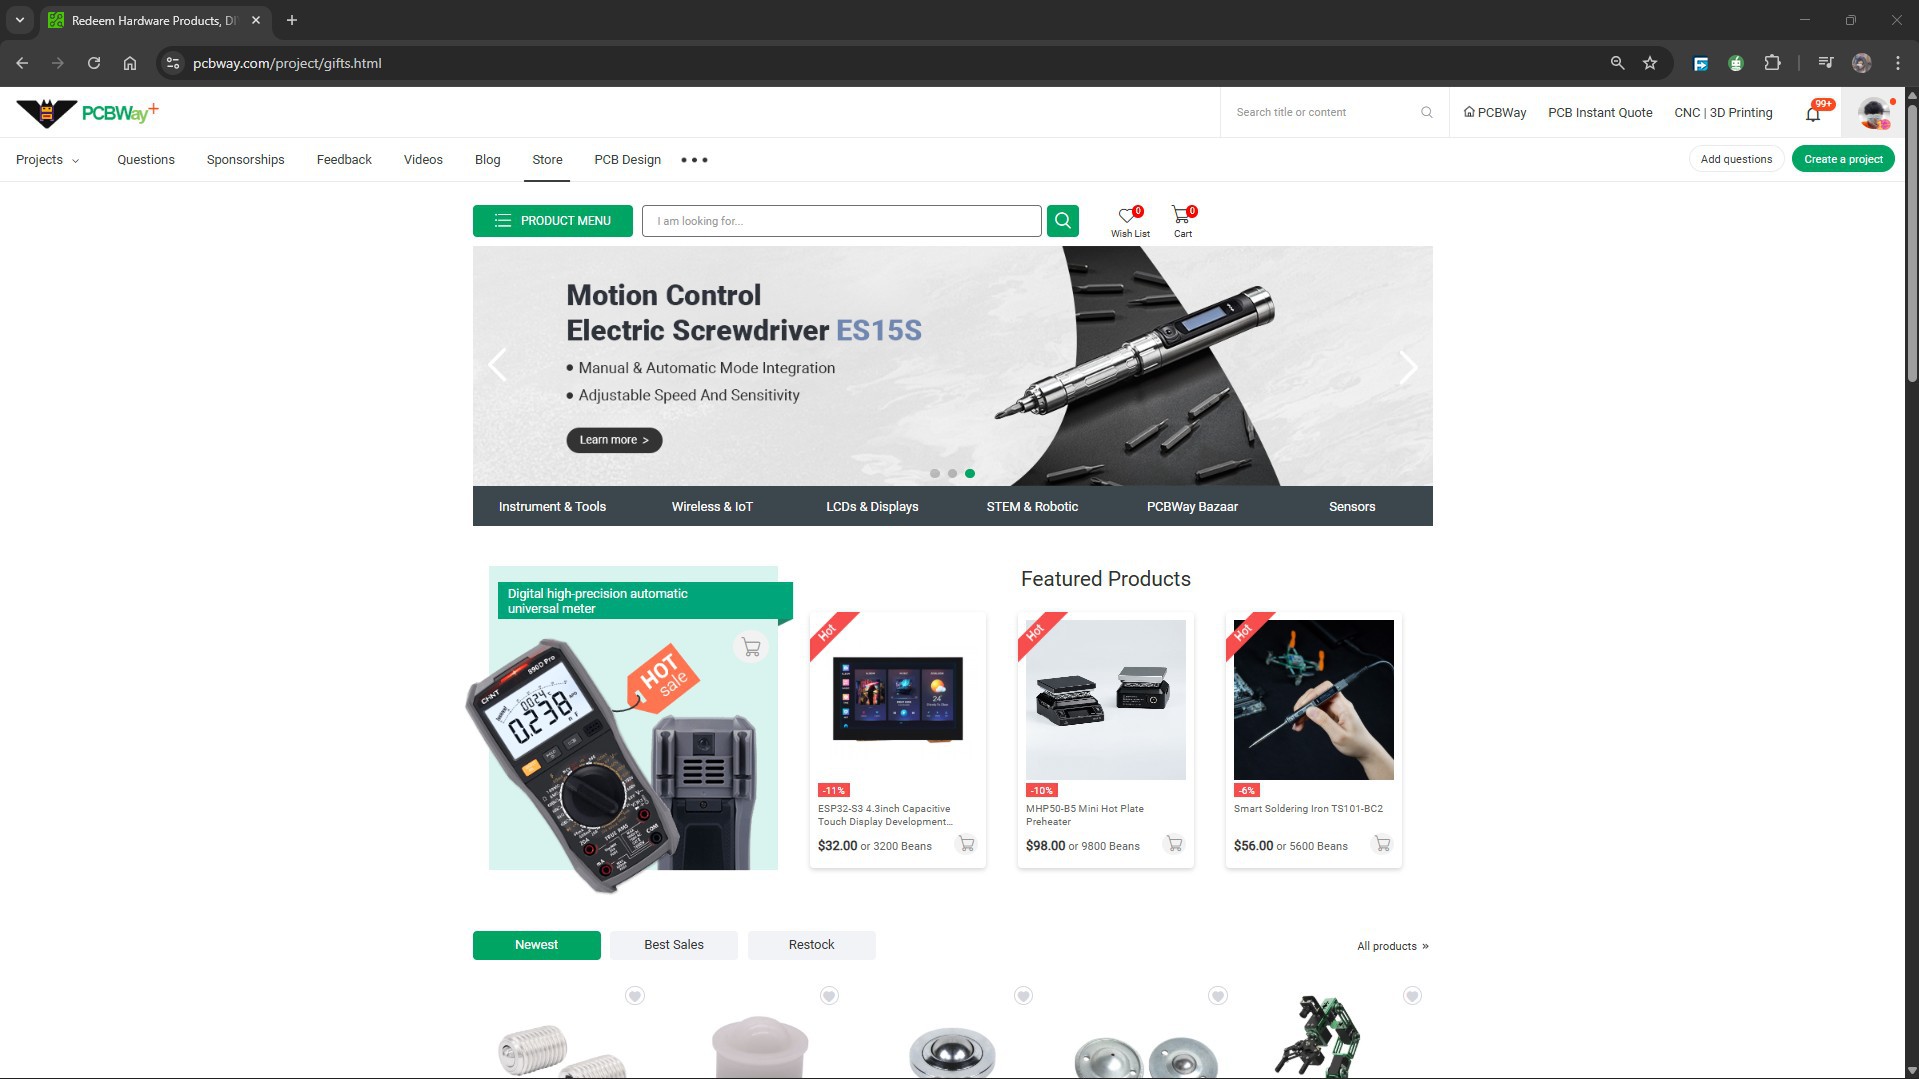
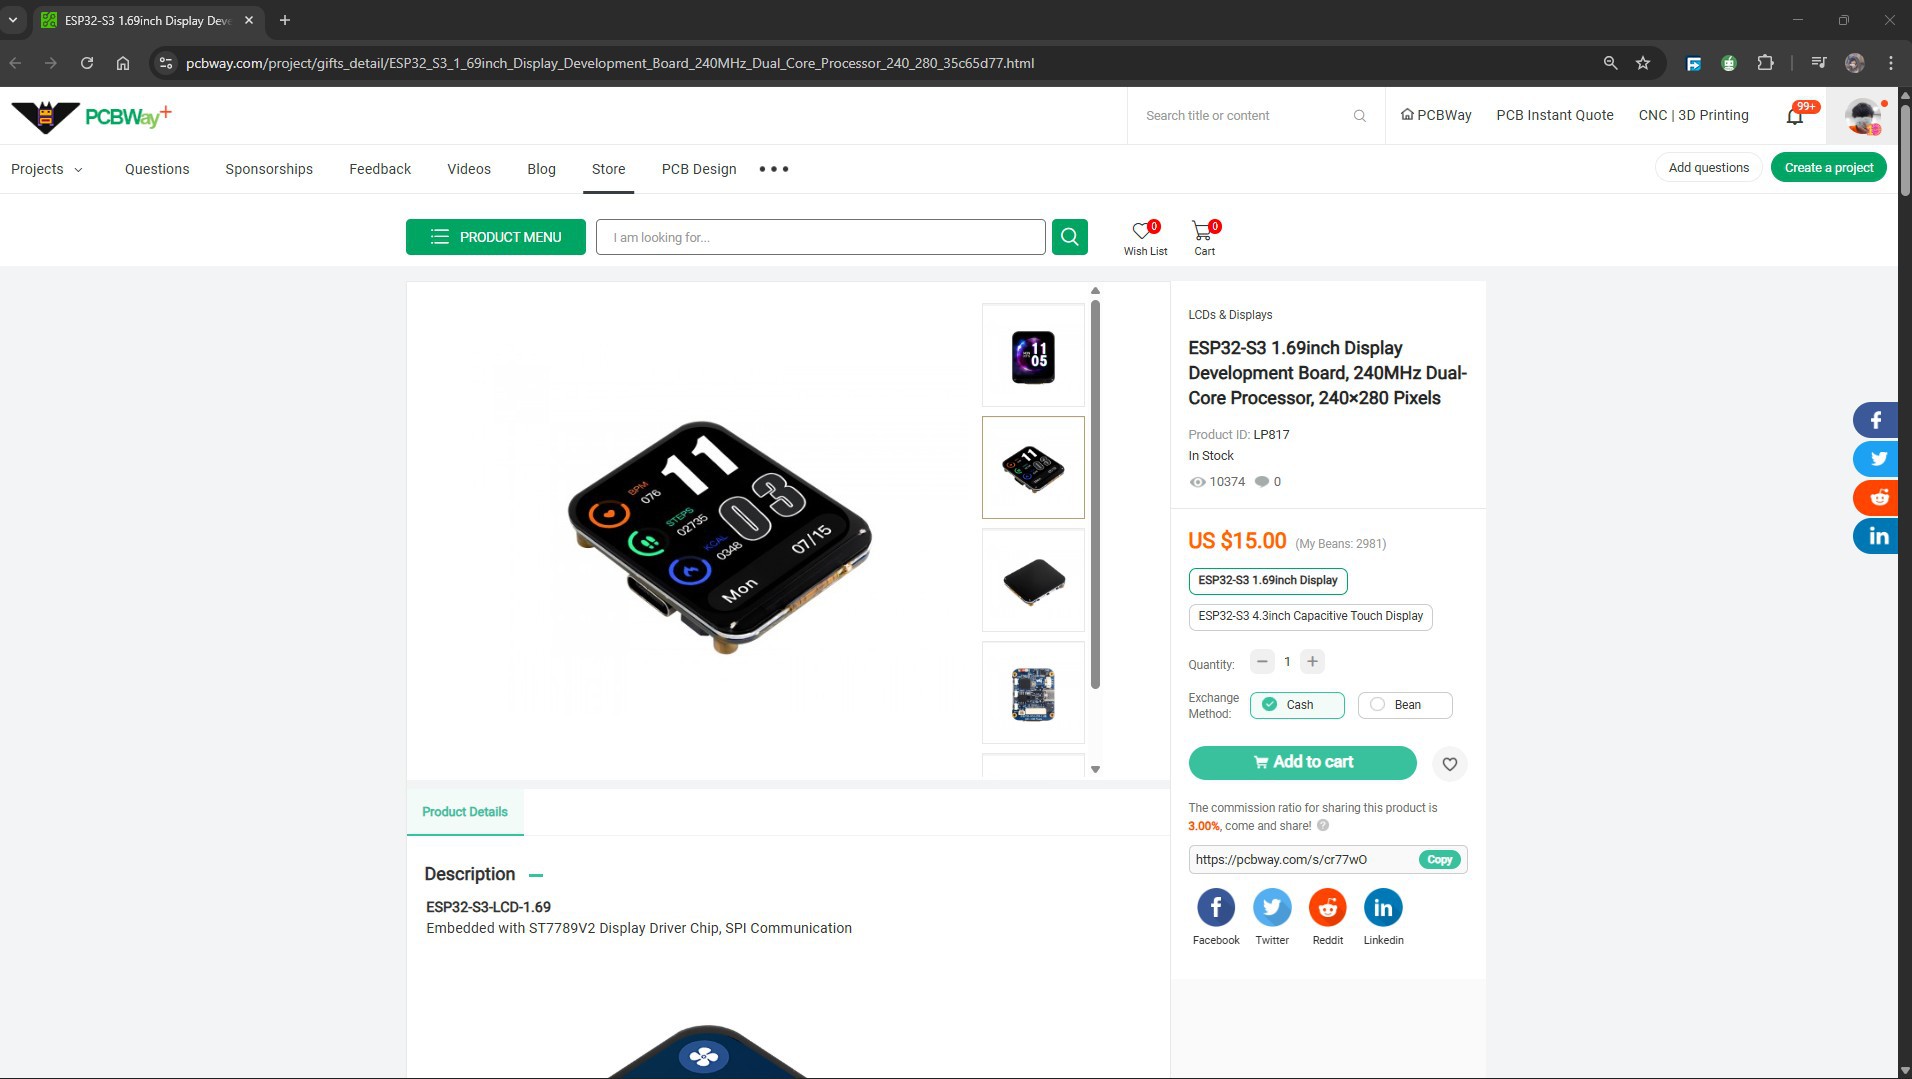
As for sourcing the ESP32-S3-LCD-1.69 we use in our project, we got it from PCBWAY's Giftshop.
The PCBWAY gift shop is an online marketplace where you can get a variety of electronics modules and boards for their genuine price, or you could use the PCBWAY currency, which is called beans.
You get beans after ordering something from PCBWAY as reward points, or you can also get them by posting any project in the PCBWAY community.
Over the past ten years, PCBWay has distinguished themselves by providing outstanding PCB manufacturing and assembly services, becoming a trusted partner for countless engineers and designers worldwide.
You guys can check out PCBWAY if you want great PCB service at an affordable rate.