 Ethan Zhang
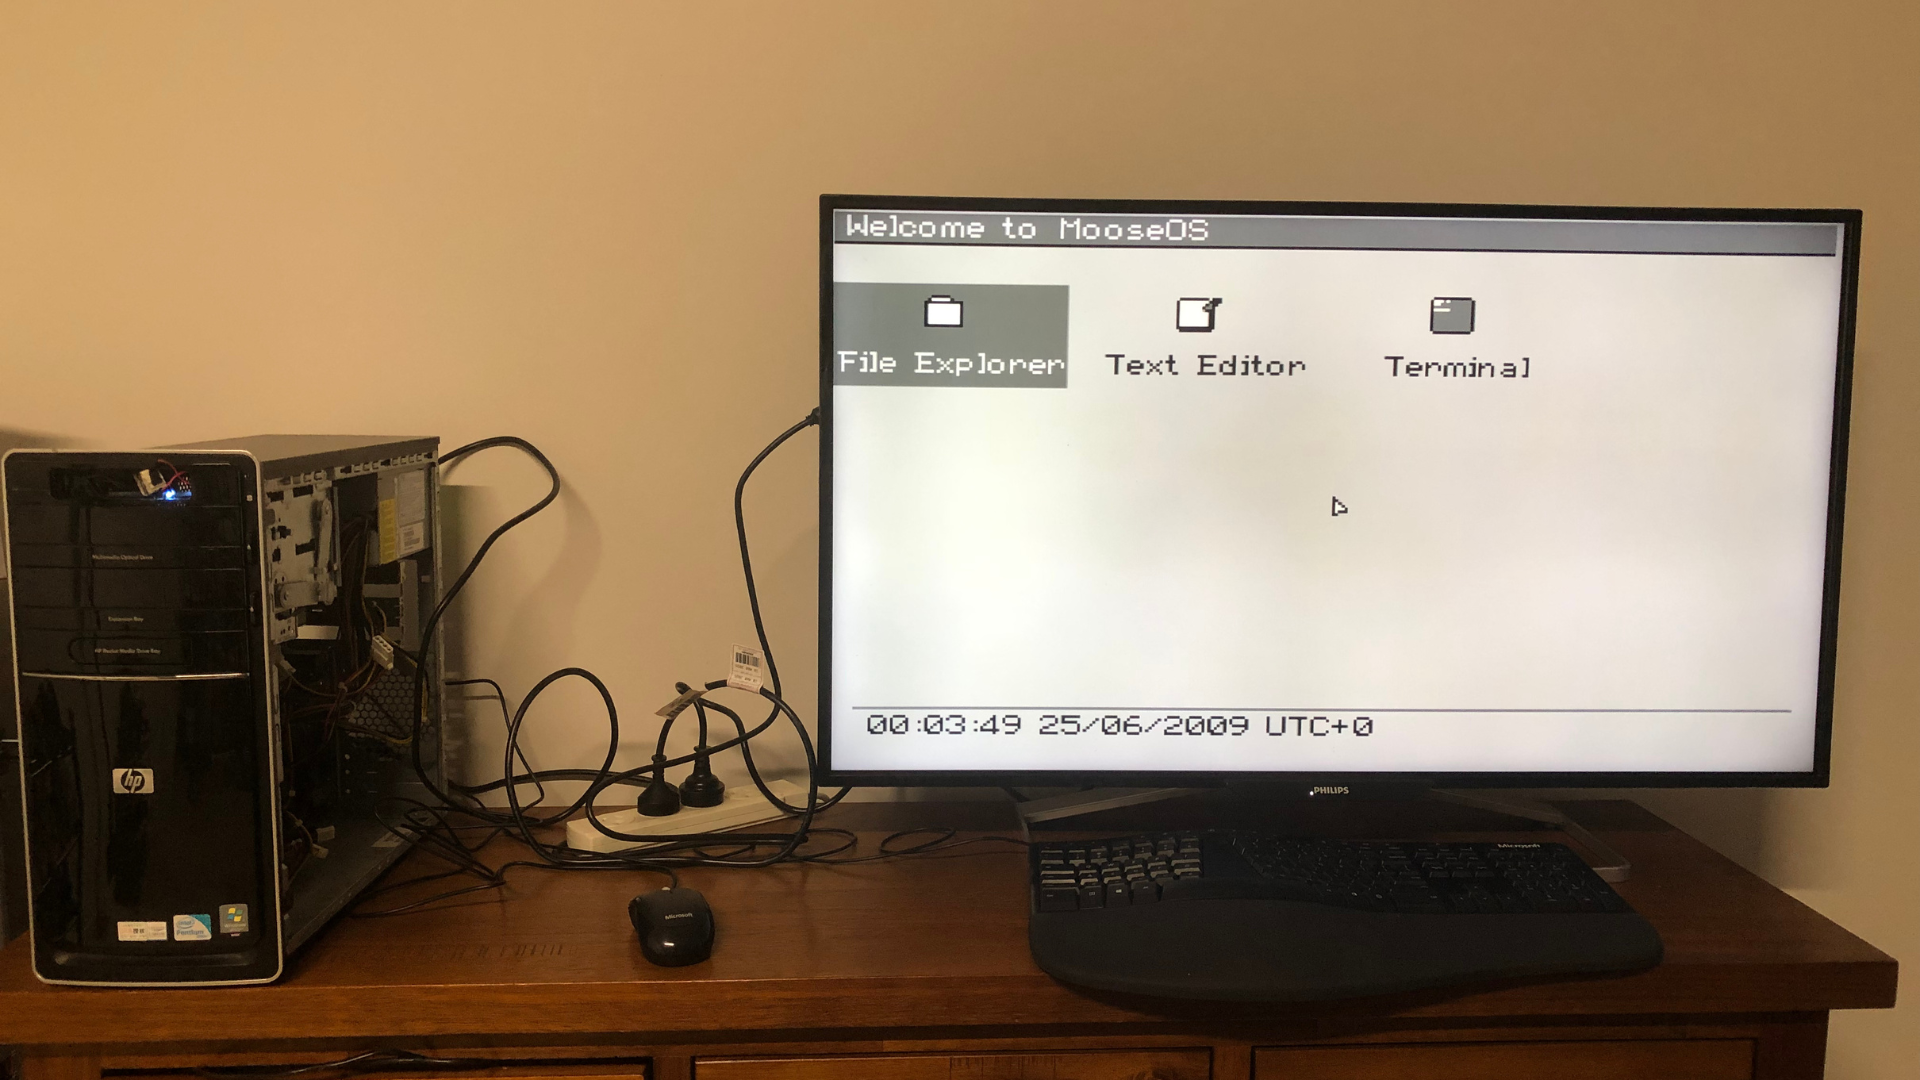
I started this project in June 2025 with no experience in OS development and C. Over the course of a few months, I have developed this. This is a small 32-bit operating system that primarily runs on QEMU, though it can also run on Bochs and even bare-metal PCs. Some features include 320x200 VGA Graphics mode, ATA disk support, custom filesystem, paging, ELF file loading, parsing and validation, and much more. For more information, please check out the GitHub repo or the blog post I wrote about this project.
0%
0%
MooseOS
x86 Operating System that runs on QEMU, Bochs and physical PCs.
Become a Hackaday.io member
Already have an account? Log in.
Just one more thing
To make the experience fit your profile, pick a username and tell us what interests you.
Pick an awesome username
hackaday.io/
Your profile's URL: hackaday.io/username. Max 25 alphanumeric characters.
Pick a few interests
Projects that share your interests
People that share your interests
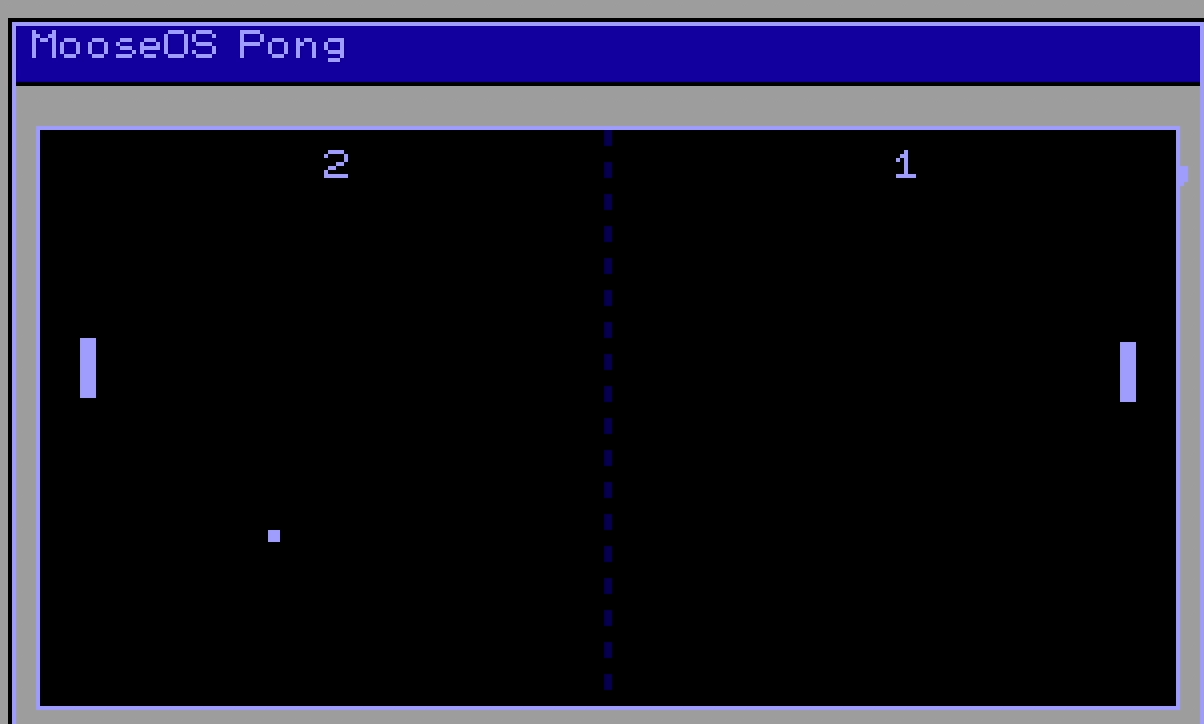 Caption: Pong demo


 ziggurat29
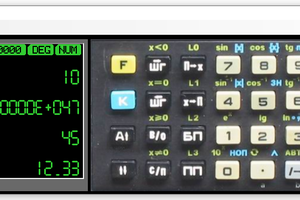
 ptrav
ptrav
 brtnst
 Stephen Holdaway
Well done, this is on my nerdy bucket list :-)