 Dylan Radcliffe
This was a quick build, so I didn't take too many photos, but I assume if you have these scraps around, you can probably fill in the details.
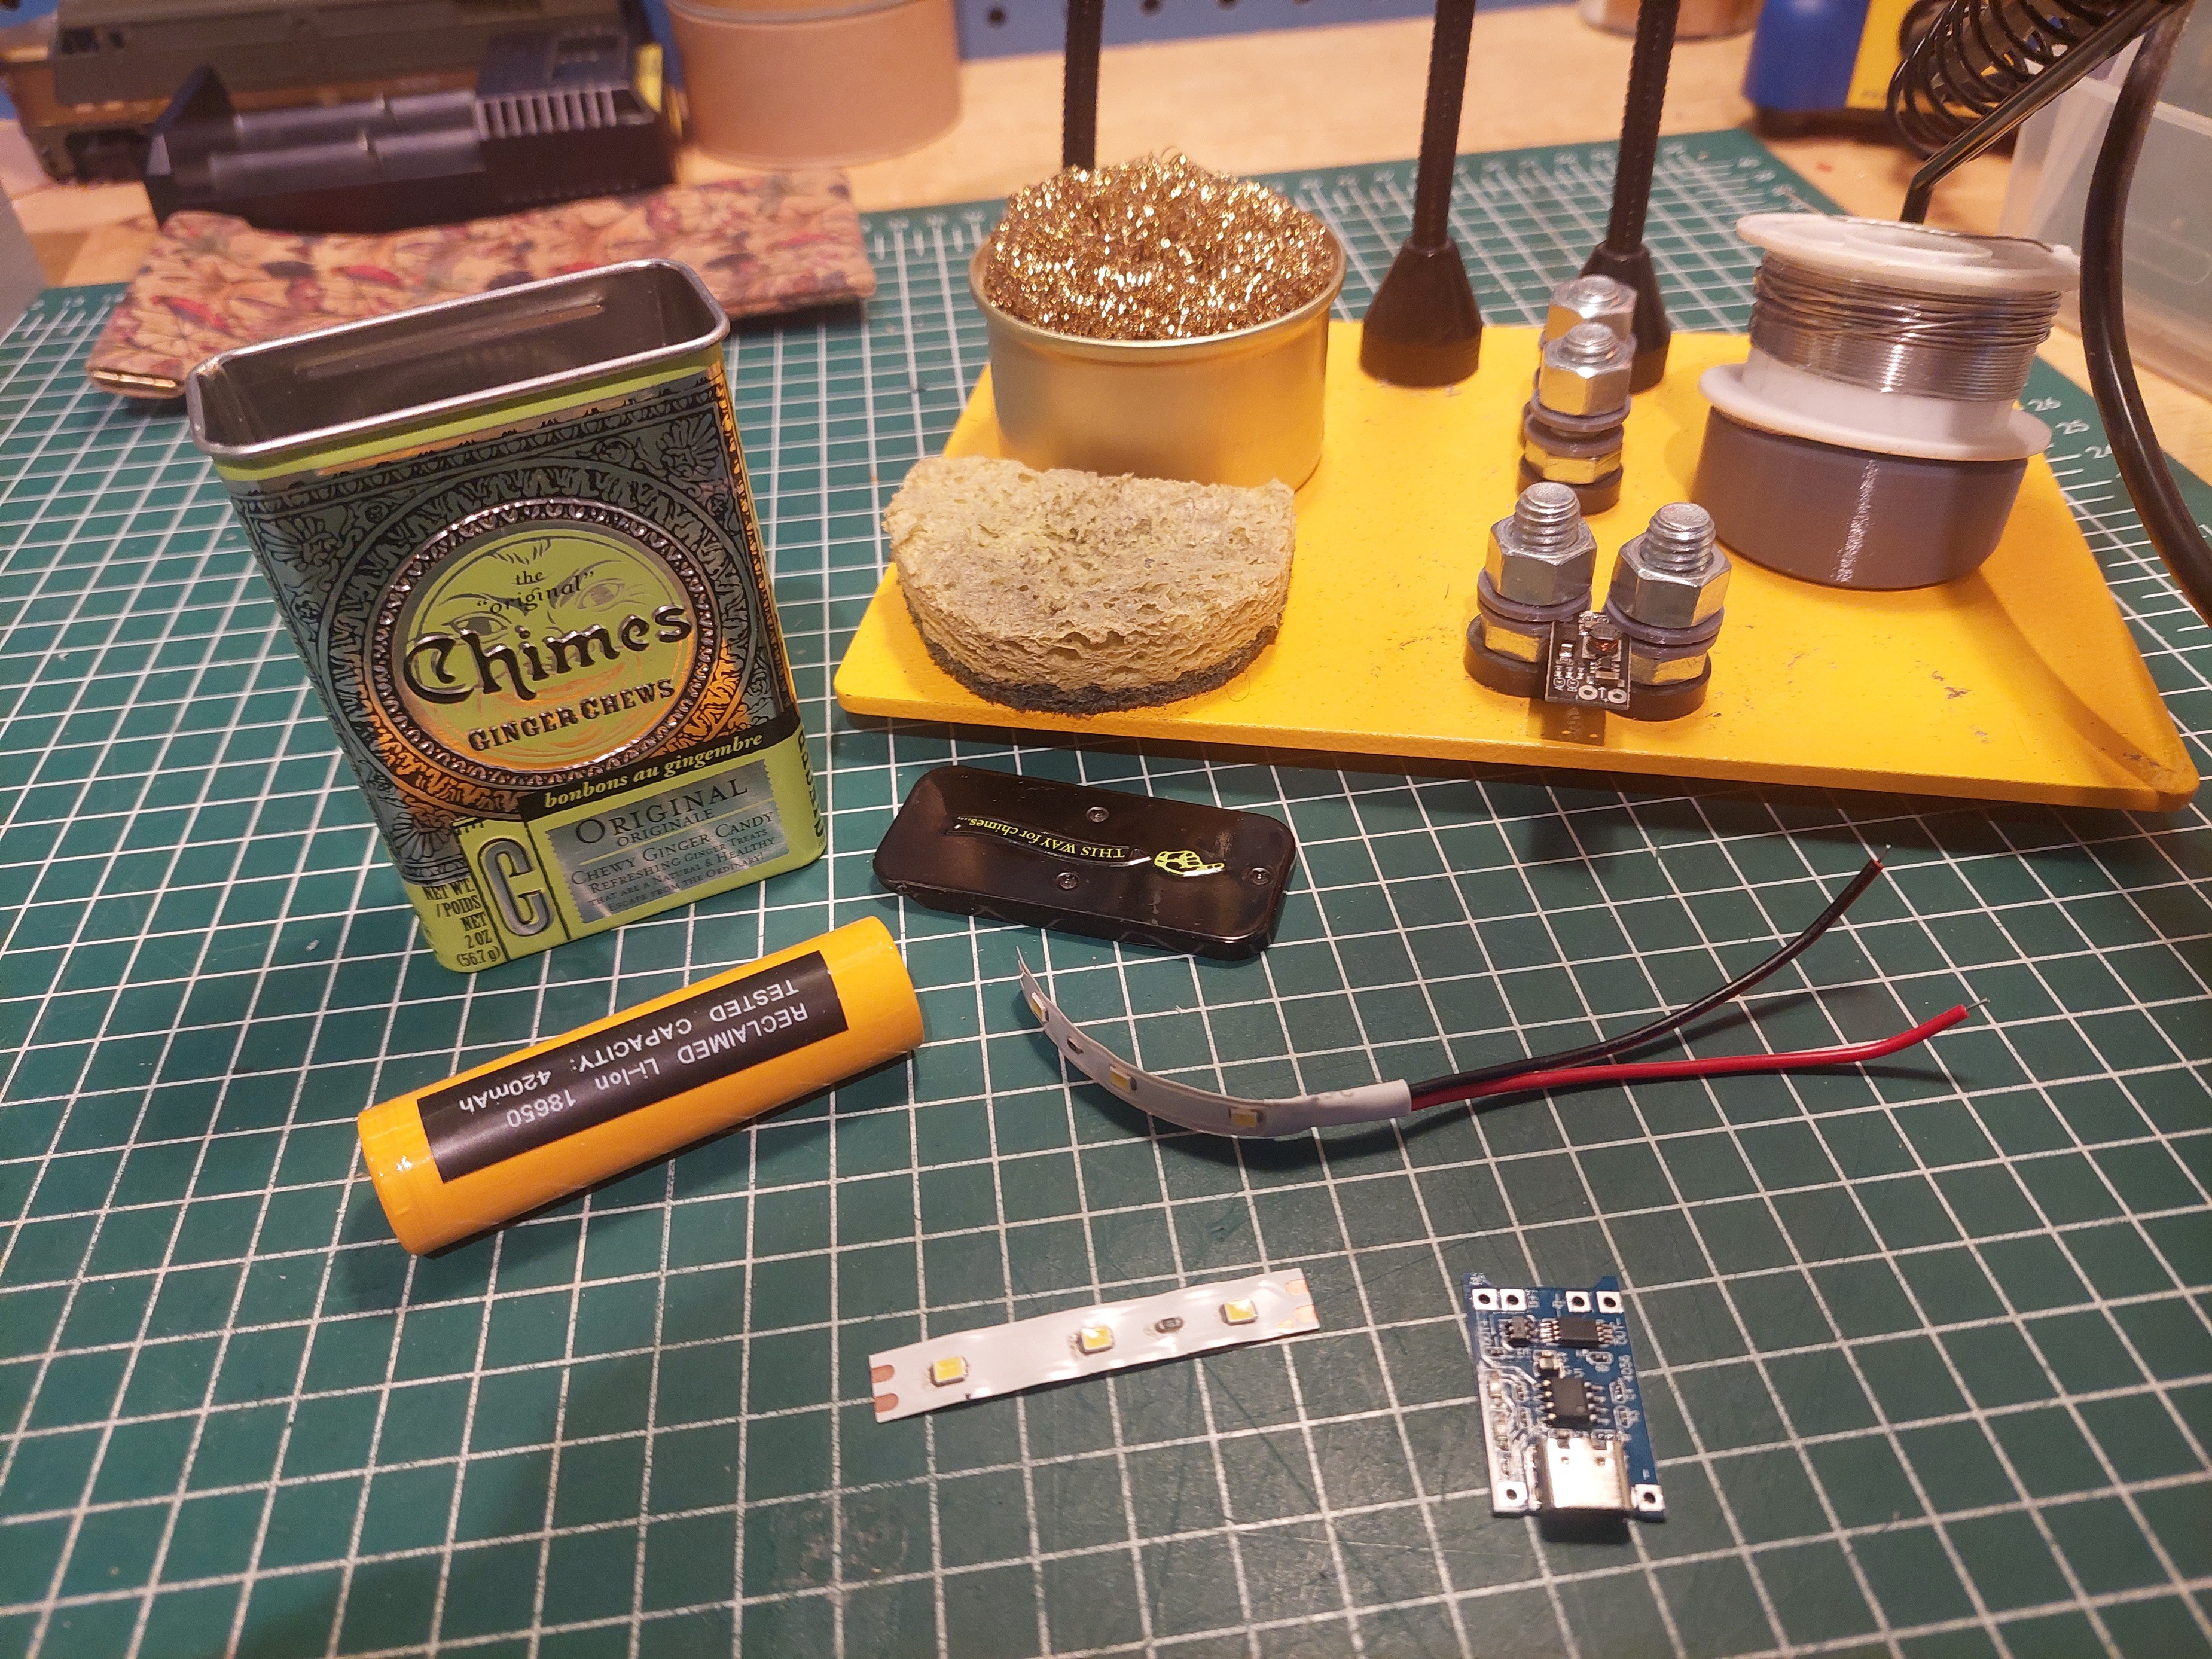
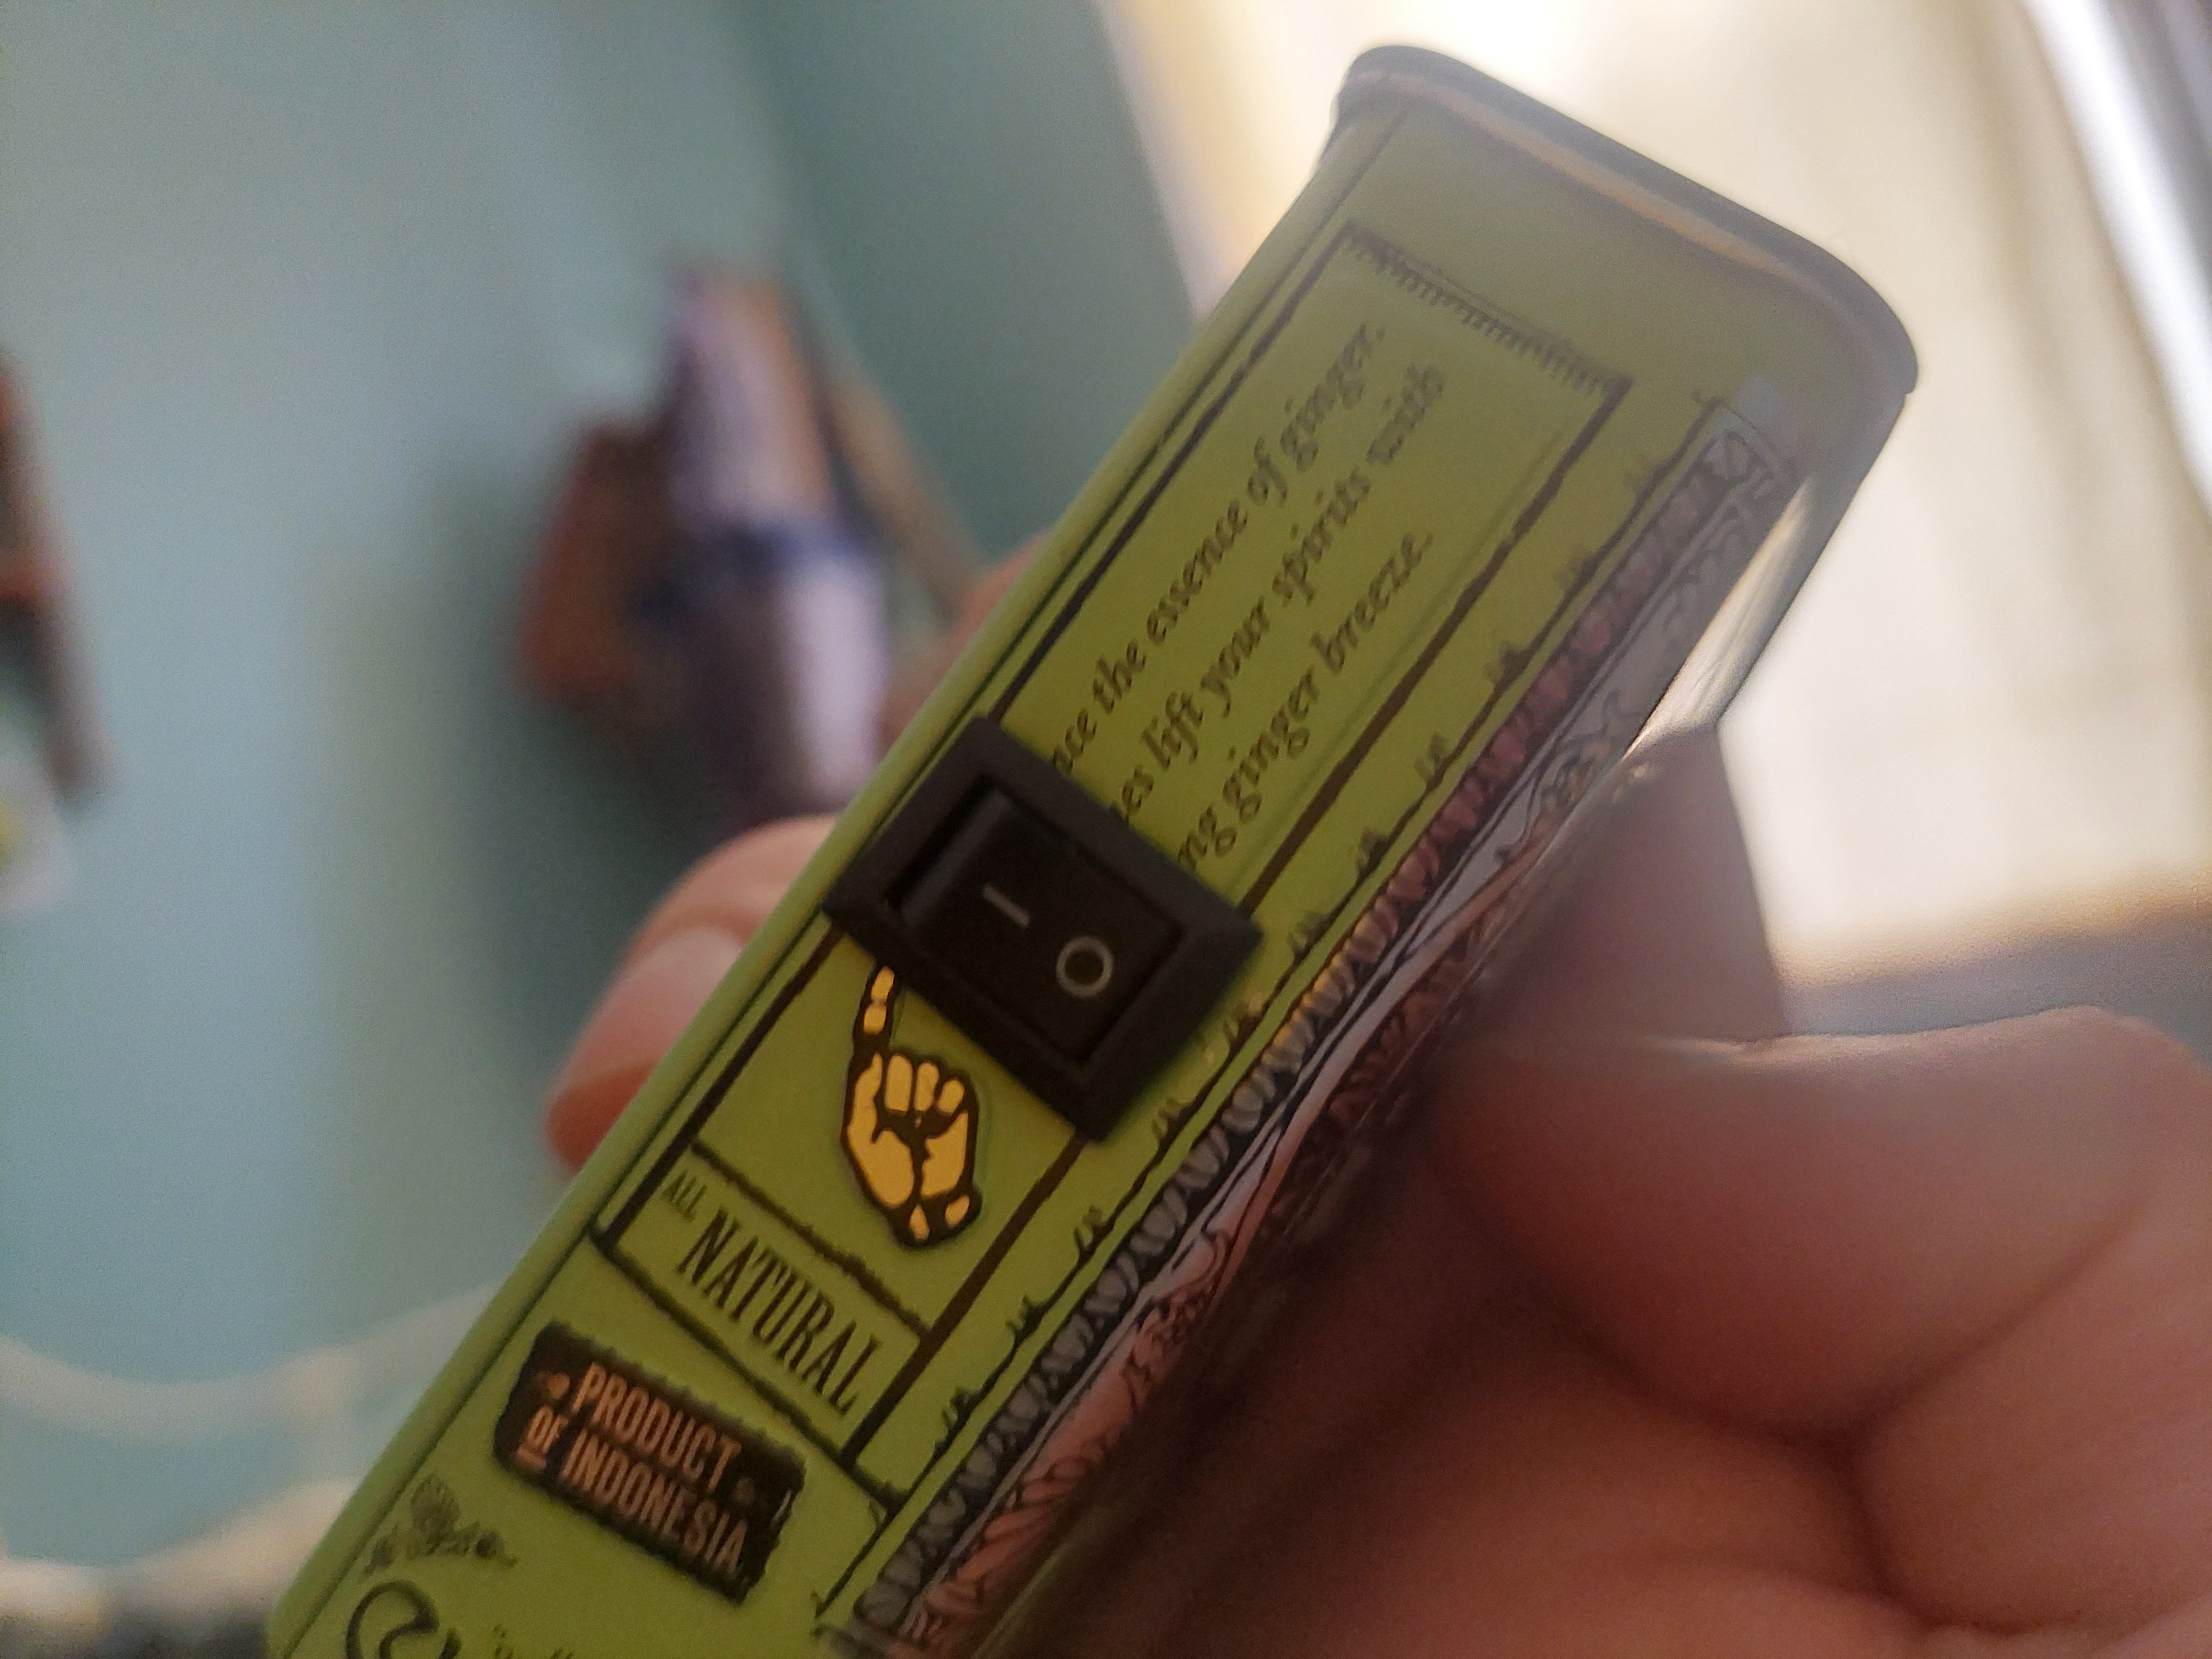
I started by drilling and filing a hole in the tin for the toggle switch to fit inside. Took a few minutes to get it to the correct size, but definitely a satisfying click once it was all in place. Felt like I was friggin clickspring for a minute :). I thought it would be fun to orient the switch so that it lined up with the finger on the tin :P

Following the hole filing. I Soldered together a quick harness with the 18650 battery, charge controller, and the DC boost converter. I could have made my life a bit easier and added some extra length to the wires, but whatever, I was just going full steam on this project. You can see in this next picture what a PITA soldering the harness to the switch was. Worst part of this project, even if it only took a minute or two. Thank god I had a mini vice to hold it in place.
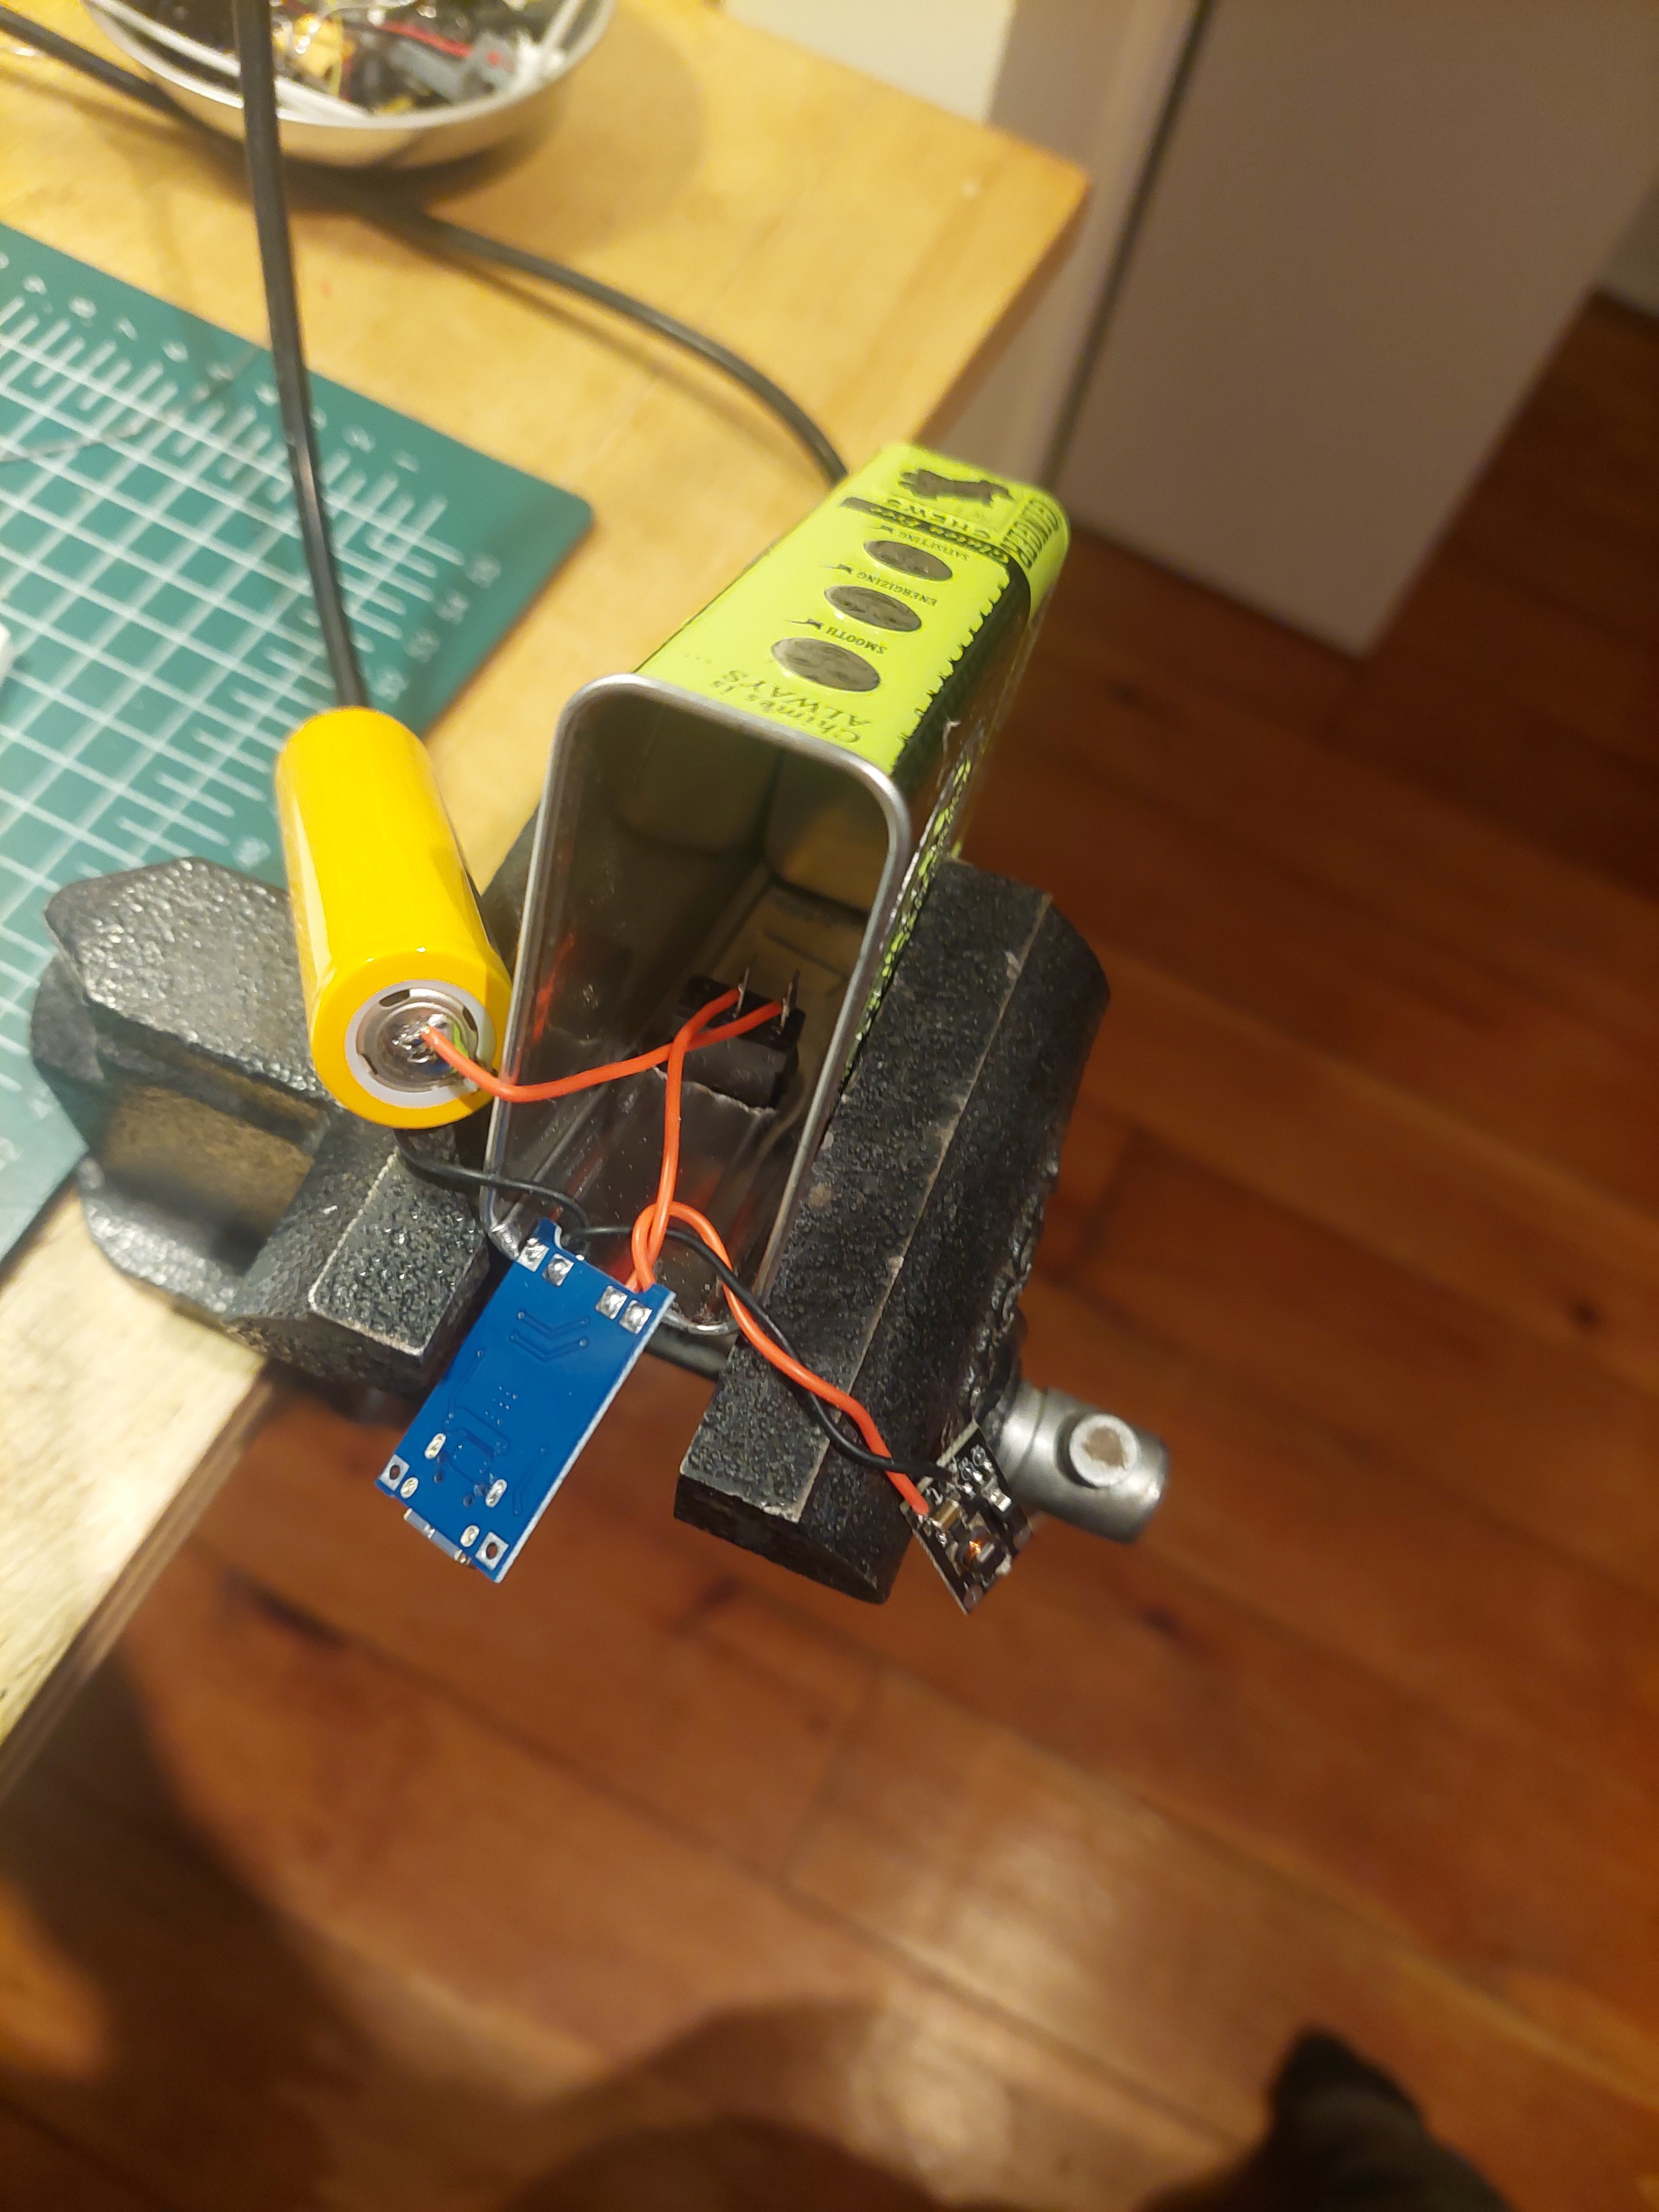
Before jamming everything in the tin, I put some heat shrink and electrical tape around some of the exposed wires and components to make sure things didn't short out on the inside of the tin. I also used some scrap foamboard to insulate the components inside the tin. To make up for my lack of engineering on this project, I just crammed the container with hot glue and foamboard to stop things from jiggling around inside.

Finally I soldered to two little LED strips to the boost converter, and sealed it all up. If I was a smarter man, I would have drilled the holes ahead of time, but if you're like me and didn't plan ahead, you can put a wooden shim up into the tin and drill out the holes that way. I tried to keep them somewhat in a pattern, but I quickly gave up. After all, this was an evening build.

Fun little project. With a bit more care it could be a nice little gift for someone. Hope you like it and get some good inspiration!
 Mike Szczys
 Mattia Dal Ben
 Miroslav Zuzelka