Overview
When looking around the net, I found a few projects that allowed arcade sticks to work on consoles, but nothing really did everything I needed. I made a USB adapter using an Arduino and it worked great for a while. After a few months, I wanted it to work on my Atari as well — and making USB talk to anything non-USB turned out to be a pain.
Discovering LLAPI
While researching alternatives, I came across something called LLAPI. There was a lot of confusion about it online, but I found out it was a protocol created by a company called Bliss-Box.LLAPI uses USB lines but communicates differently. Both the host and the device can speak LLAPI and exchange controller data. The catch was that you had to write code to use it.Bliss-Box already had a device called the Bridge, which worked on every console — exactly what I was looking for.
Why This Matters for the Project
With LLAPI support, I could use my DIY arcade-stick USB adapter with the Bliss-Box Bridge. My device can speak LLAPI, and the Bridge can understand it. But while adding LLAPI to my Arduino project, I discovered something else…
Finding the Gamer-Pro
Bliss-Box also made another device called the Gamer-Pro. It reads direct wires and maps them to buttons. The Gamer-Pro’s main purpose is to support any wired controller: SNES, Sega, Dreamcast, PlayStation, and more. It also supports single-wire controllers like Neo Geo — basically an arcade stick. It can handle 4 directions and 10 buttons, which matched exactly what I needed.
You can read about each adapter here but its an all in one type of device.
- Virtual Boy To USB
- Super Nintendo To USB
- Nintendo To USB
- Dream Cast To USB
- Wii Accessory Port To USB
- DB9 (retro and Atari) To USB
- PlayStation To USB
- Saturn To USB
- TG16 To USB
- PCE To USB
- GameCube To USB
- Atmark Pippin To USB
- Jaguar To USB
- N64 To USB
- NeoGeo/5200/Famicom To USB
- Vectrex To USB
- Gameport To USB
What I did to make this work
1) Use the Bridge and the correct cable to connect to your console. If you are like me, you can buy all the cables( I think I got 10 of them). A Bridge cable looks like this
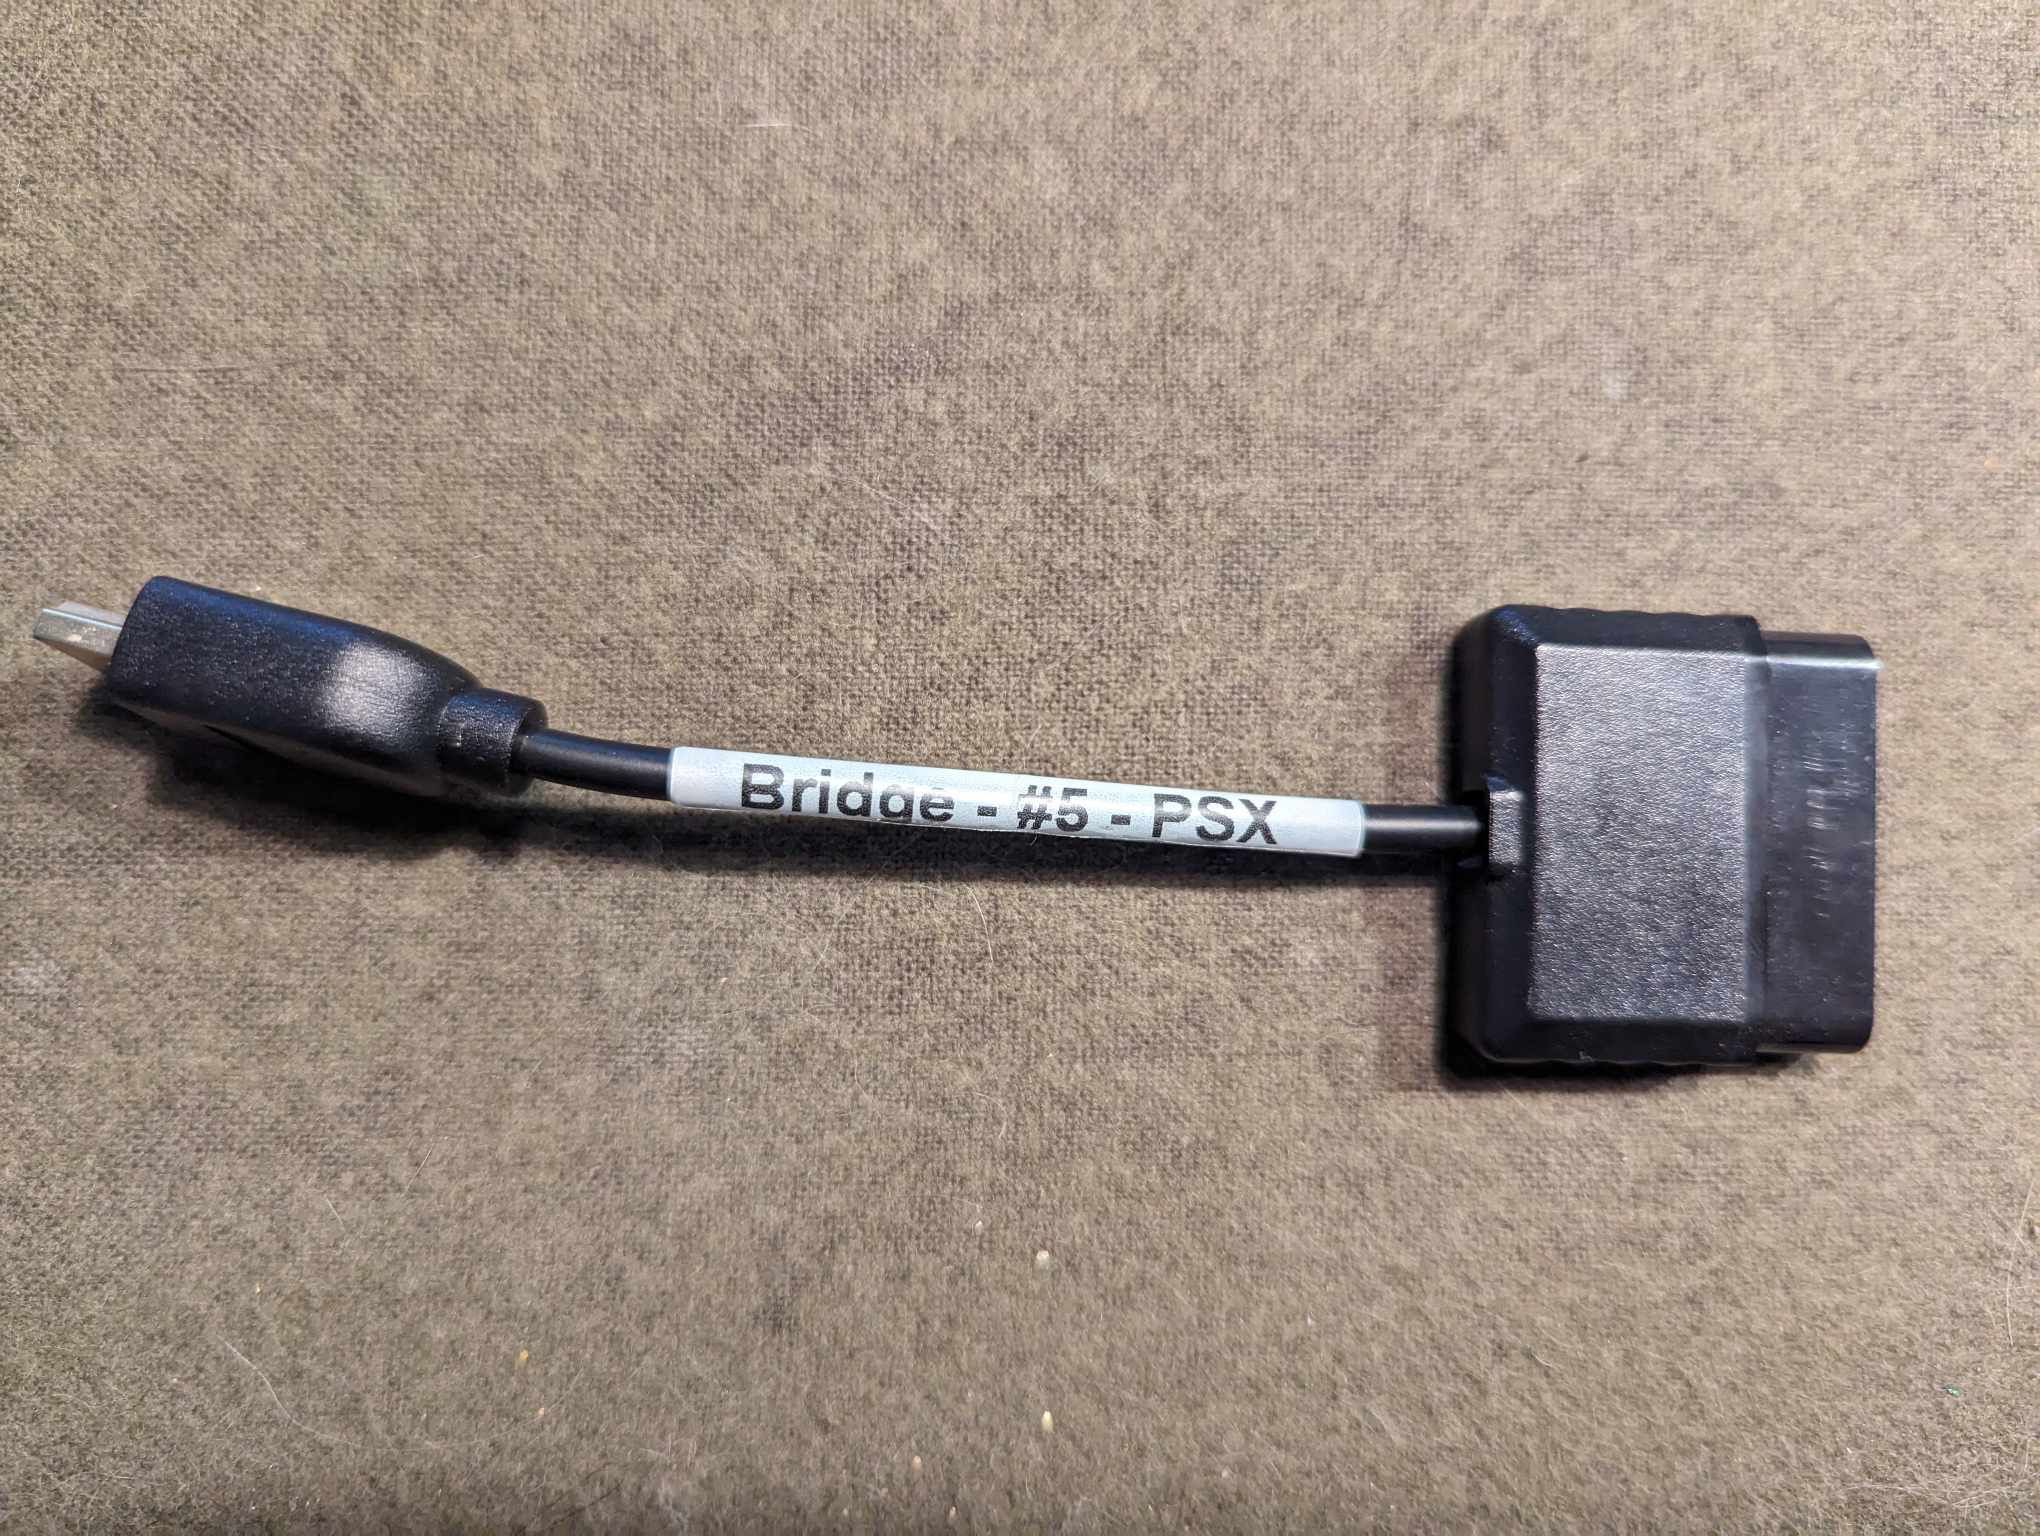 there is one for each console, some reusable. This image is for ps 1 and 2.
 Here is what the Bridge looks like. The dongle is for setup and programming it. One end goes to the input USB and the other is output to console.
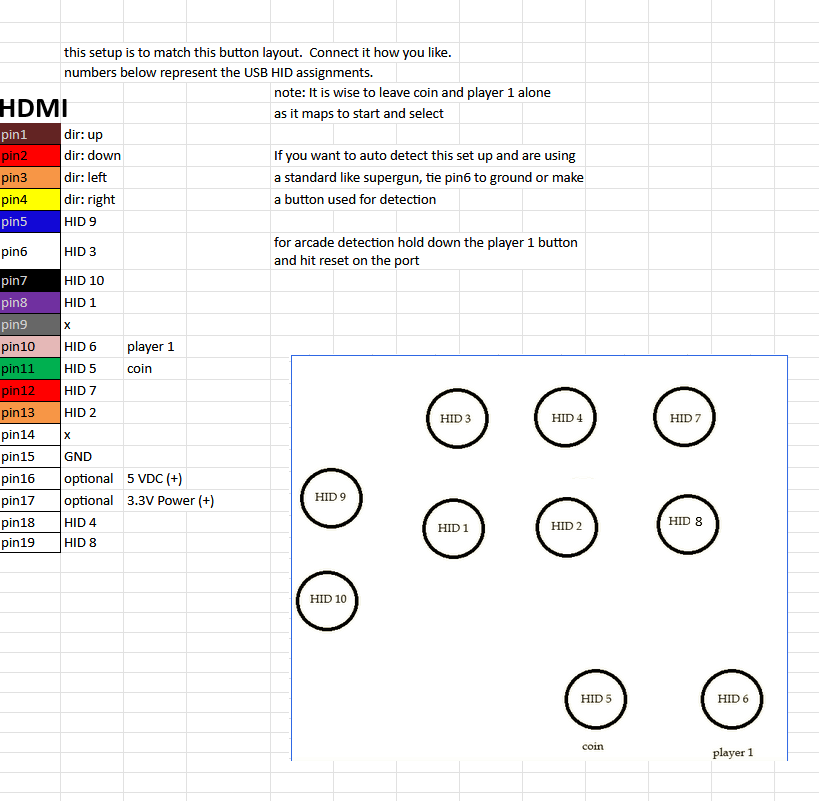
 2) Use a Gamer-Pro to get the arcade stick inputs. You just need to follow this pinout. The Gamer-Pro uses an HDMI style connector and I used a common break out in my arcade setup.
Here is the back of the arcade

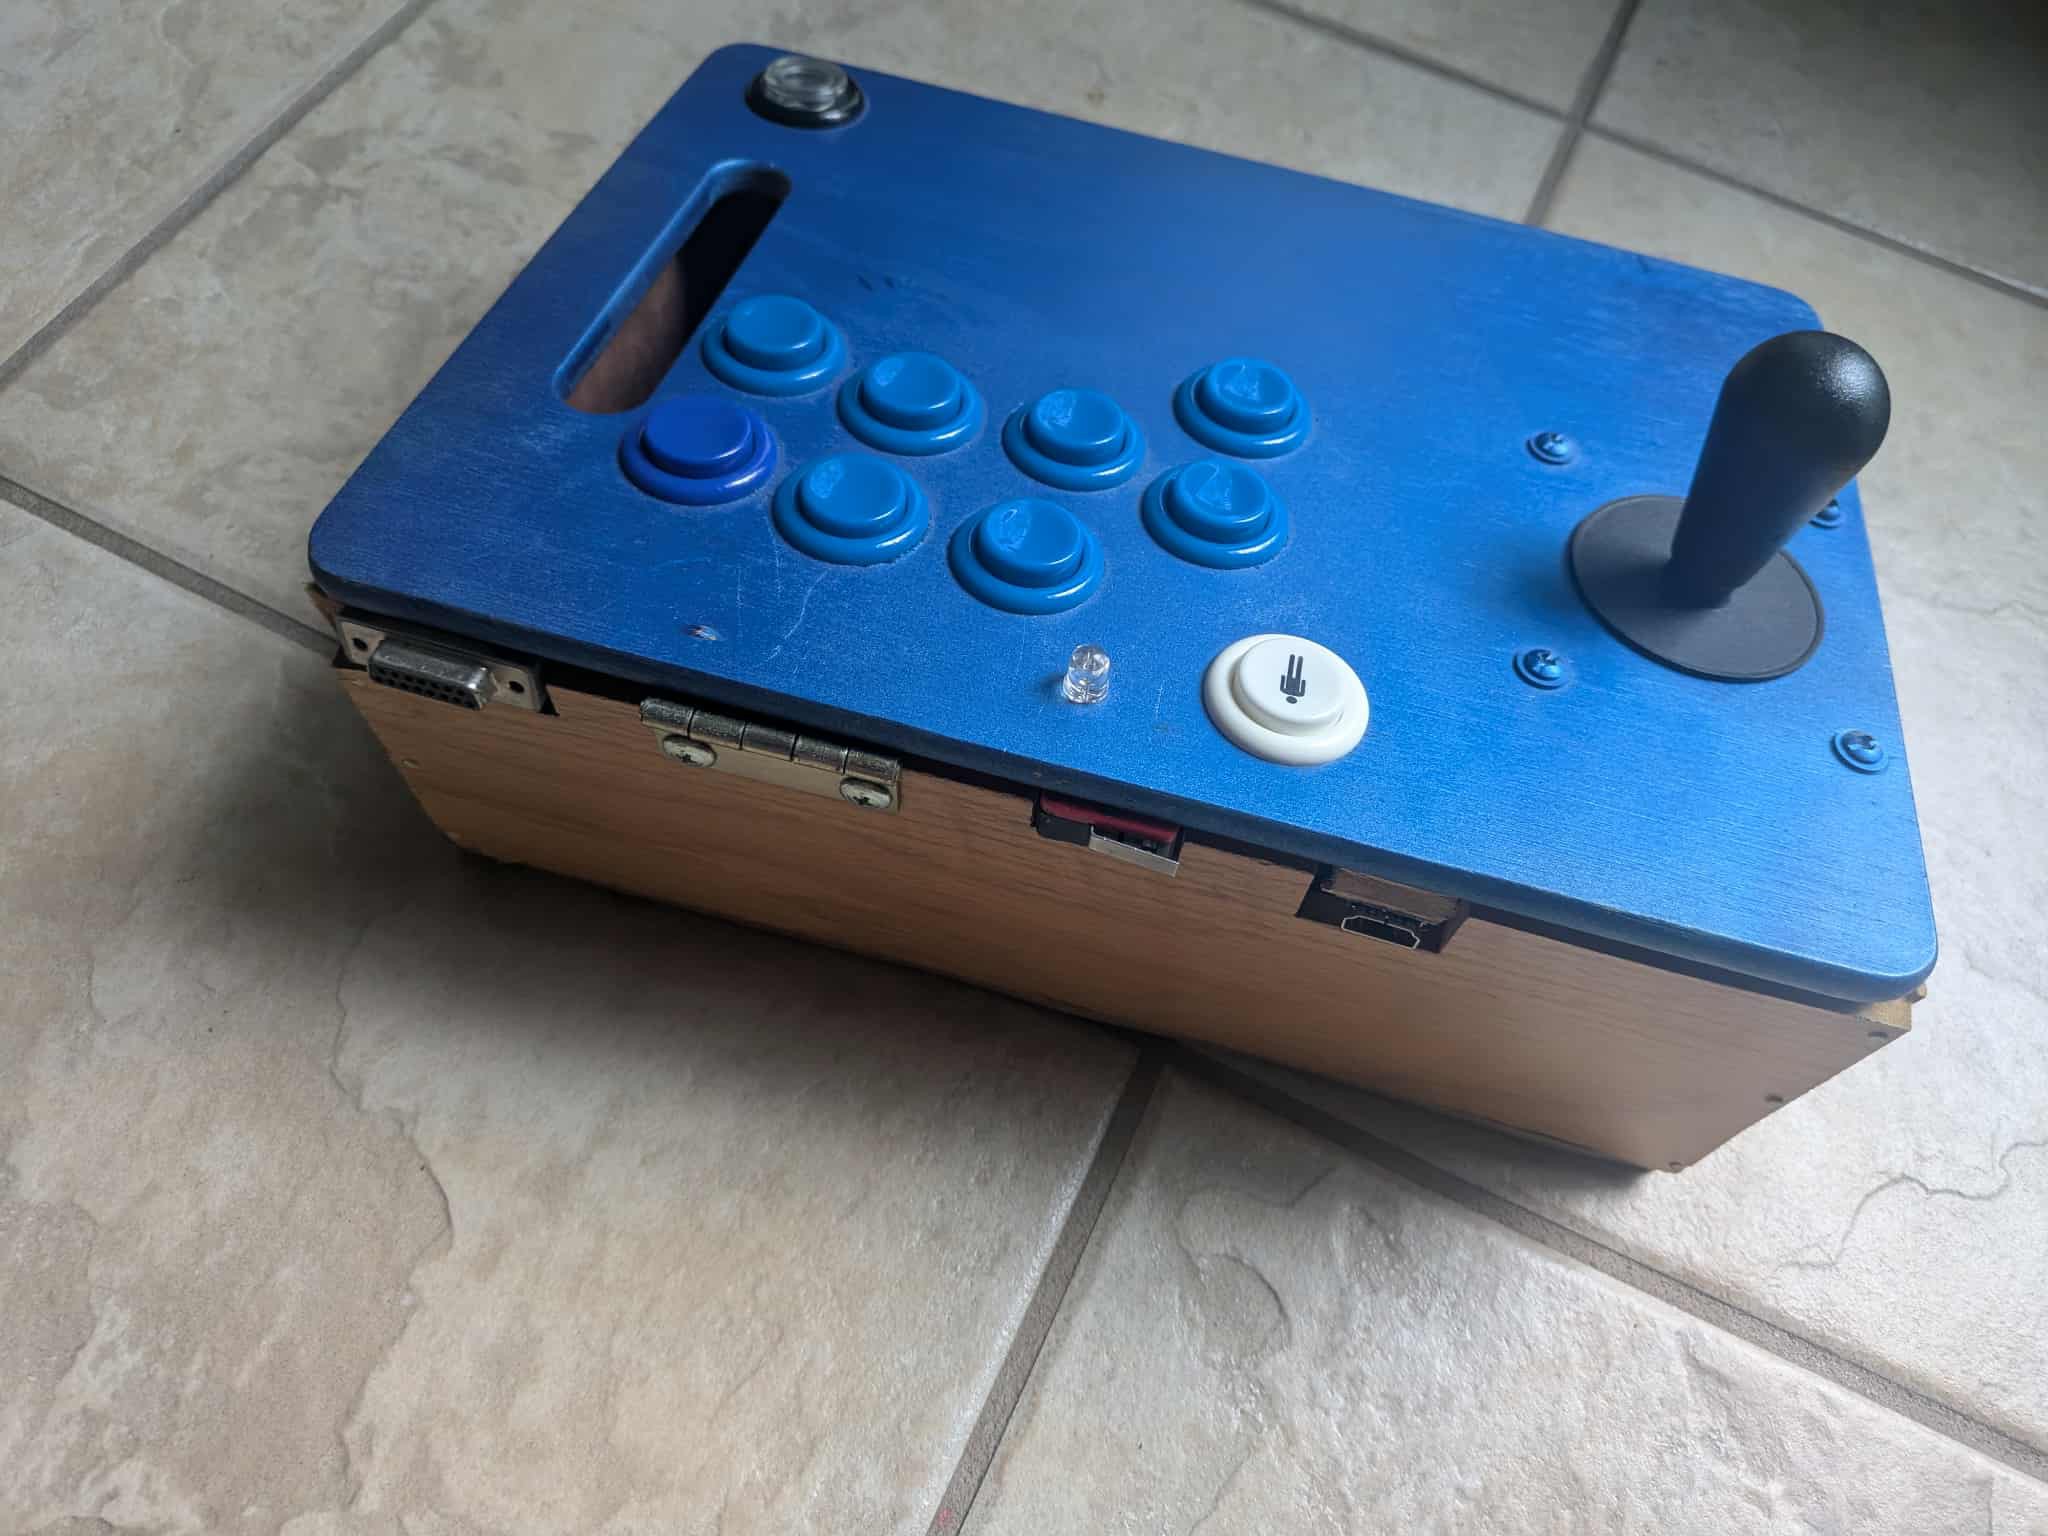
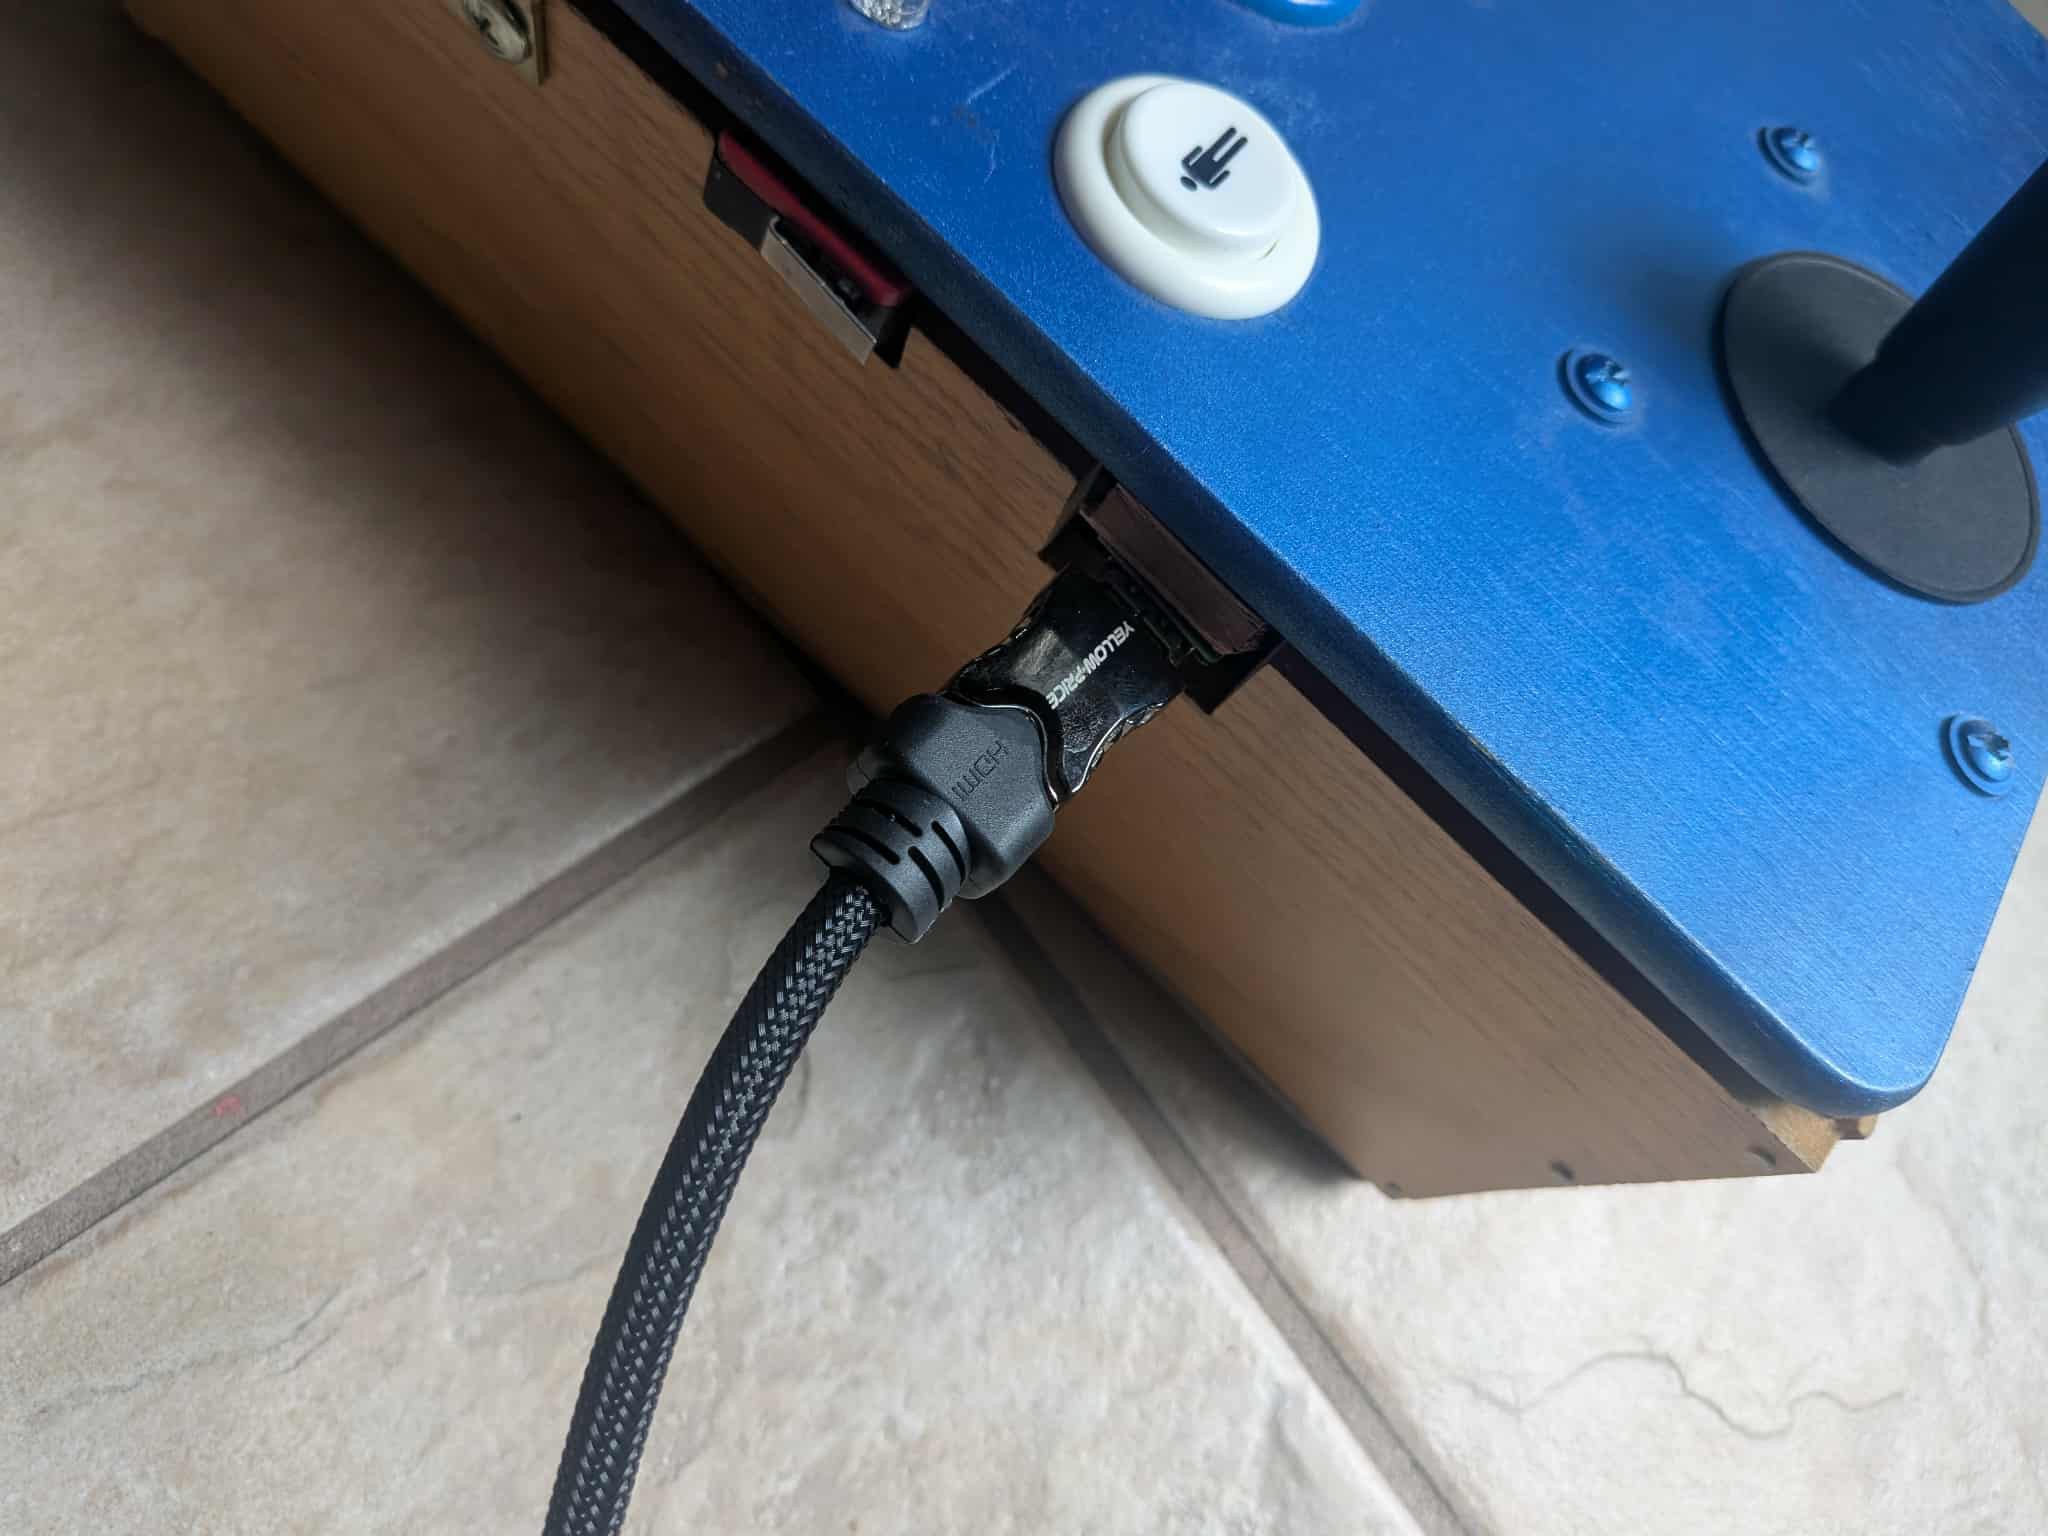
Once I wired that all up I could connect my HDMI cable from the Arcade to my Gamer-Pro. The Gamer-Pro detection controllers so to tell it this is an Arcade I hold down player 1. and hit my reset button that I put on the box. The reset button was PIN9 of the HDMI. you just short it to ground.
After this was all complete my arcade stick worked on all of my consoles.
notes:
Always use the latest updates. Sometimes changes are made to both the GP firmware and the Bridge so you want to update both.
There is a auto remapped per consoles and you have custom mappings.
There is also a turbo button feature, directions can be digital or analog, Latency is very low, IIRC < 2ms for both adapters. And there is also a Wireless kit. If you really want to go crazy you can get the Blender add-on for advanced mapping, but I didn't need it.
Why this over the other options?
It was all plug and play for me, all I had to do was make the arcade stick, and if you want to use a common ready made it psx, saturn, and DC have any options. I really like the fact it was all done and thought out, I never woudl have imagines a company put this all together. Seems very niche so I was very happy about that.
Final thoughts.
Something like this has a lot of potential. With this set up you can use all 14 wires to completely control any video game. One could make elaborate racing setups, remote game play, use anything to control the game, or assist people with special needs. The wide range of consoles support by the Bridge is really what caught my eye. There is a lot of support out there for USB based consoles, but not so much tetro stuff. I made update this with the A.I.R add-on and the Blender, if I buy them.