 Brian Brocken
A video of this project can be found here:
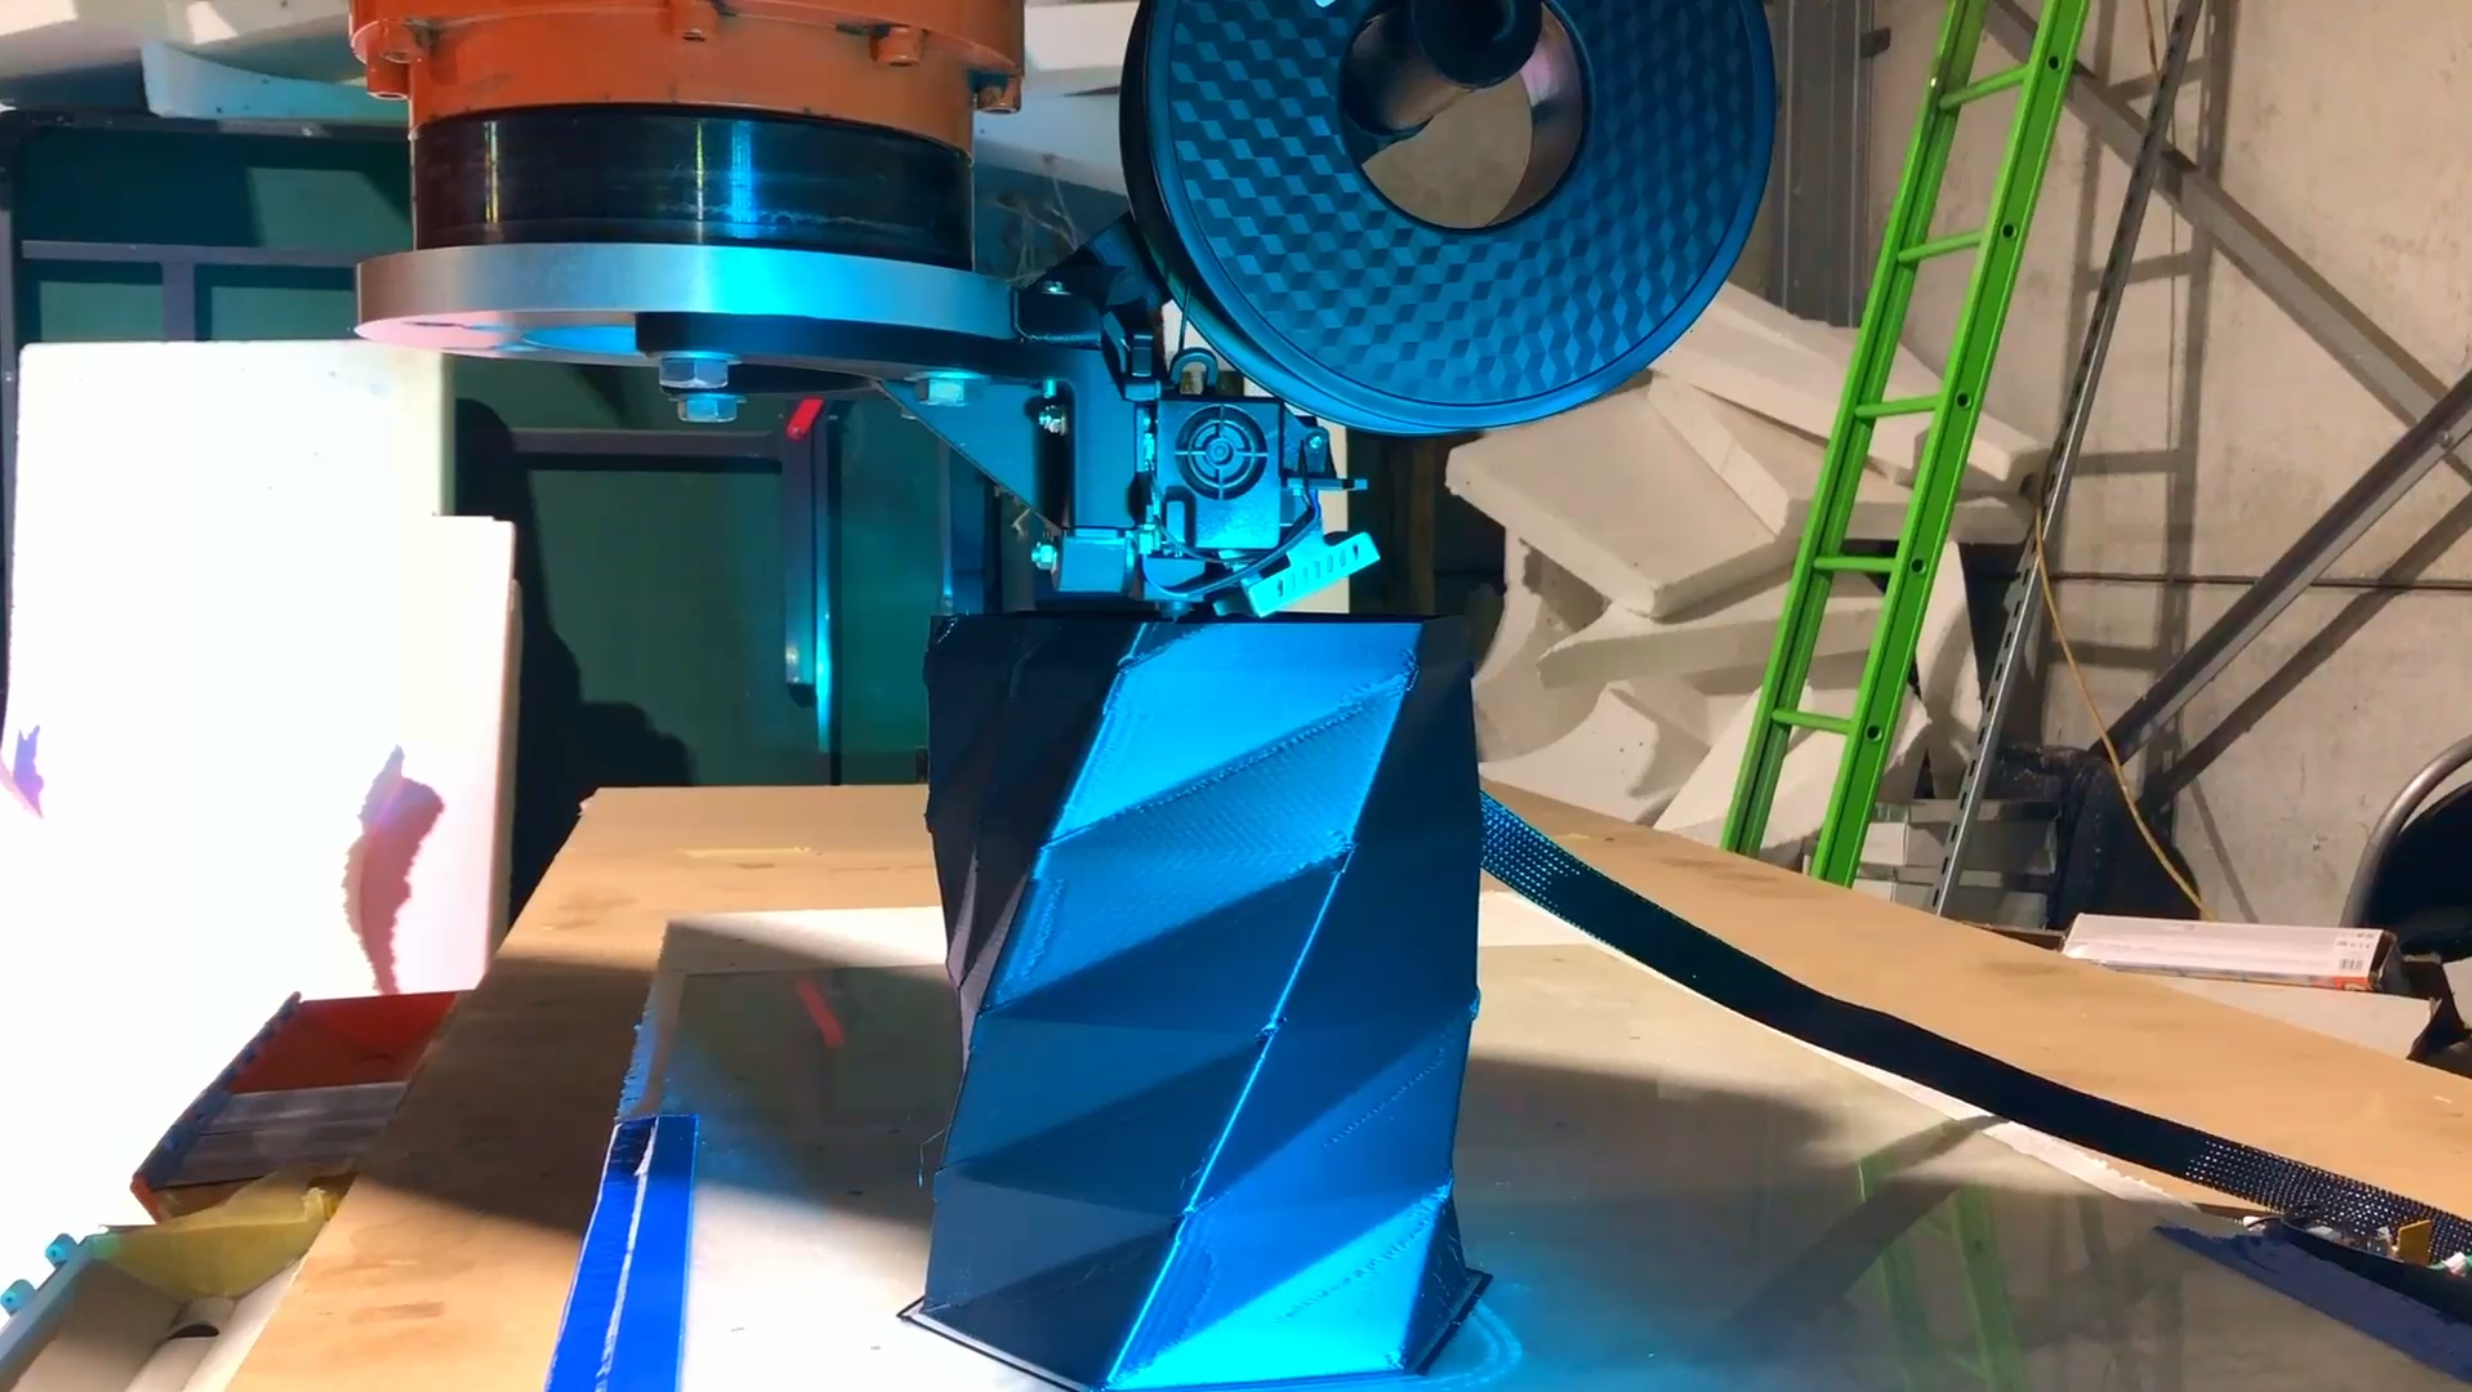
In this project I'm turning my industrial robot, an ABB IRB6400, into a 3D-printer.
Mechanical design
For this test project I'm using a Creality Sprite Pro direct drive extruder. To mount the extruder to the robot I designed a bracket and spool holder which are 3D-printed out of regular PLA plastic. A 3D-printed part to hold the extruder is no problem in this case as the extuder doesn't experience any excessive forces (under normal circumstances) and should just support it's own weight and the weight of a 1KG PLA spool. The part is printed with 5 outer layers (0.4mm nozzle) and a 20 percent infill.
Electronics
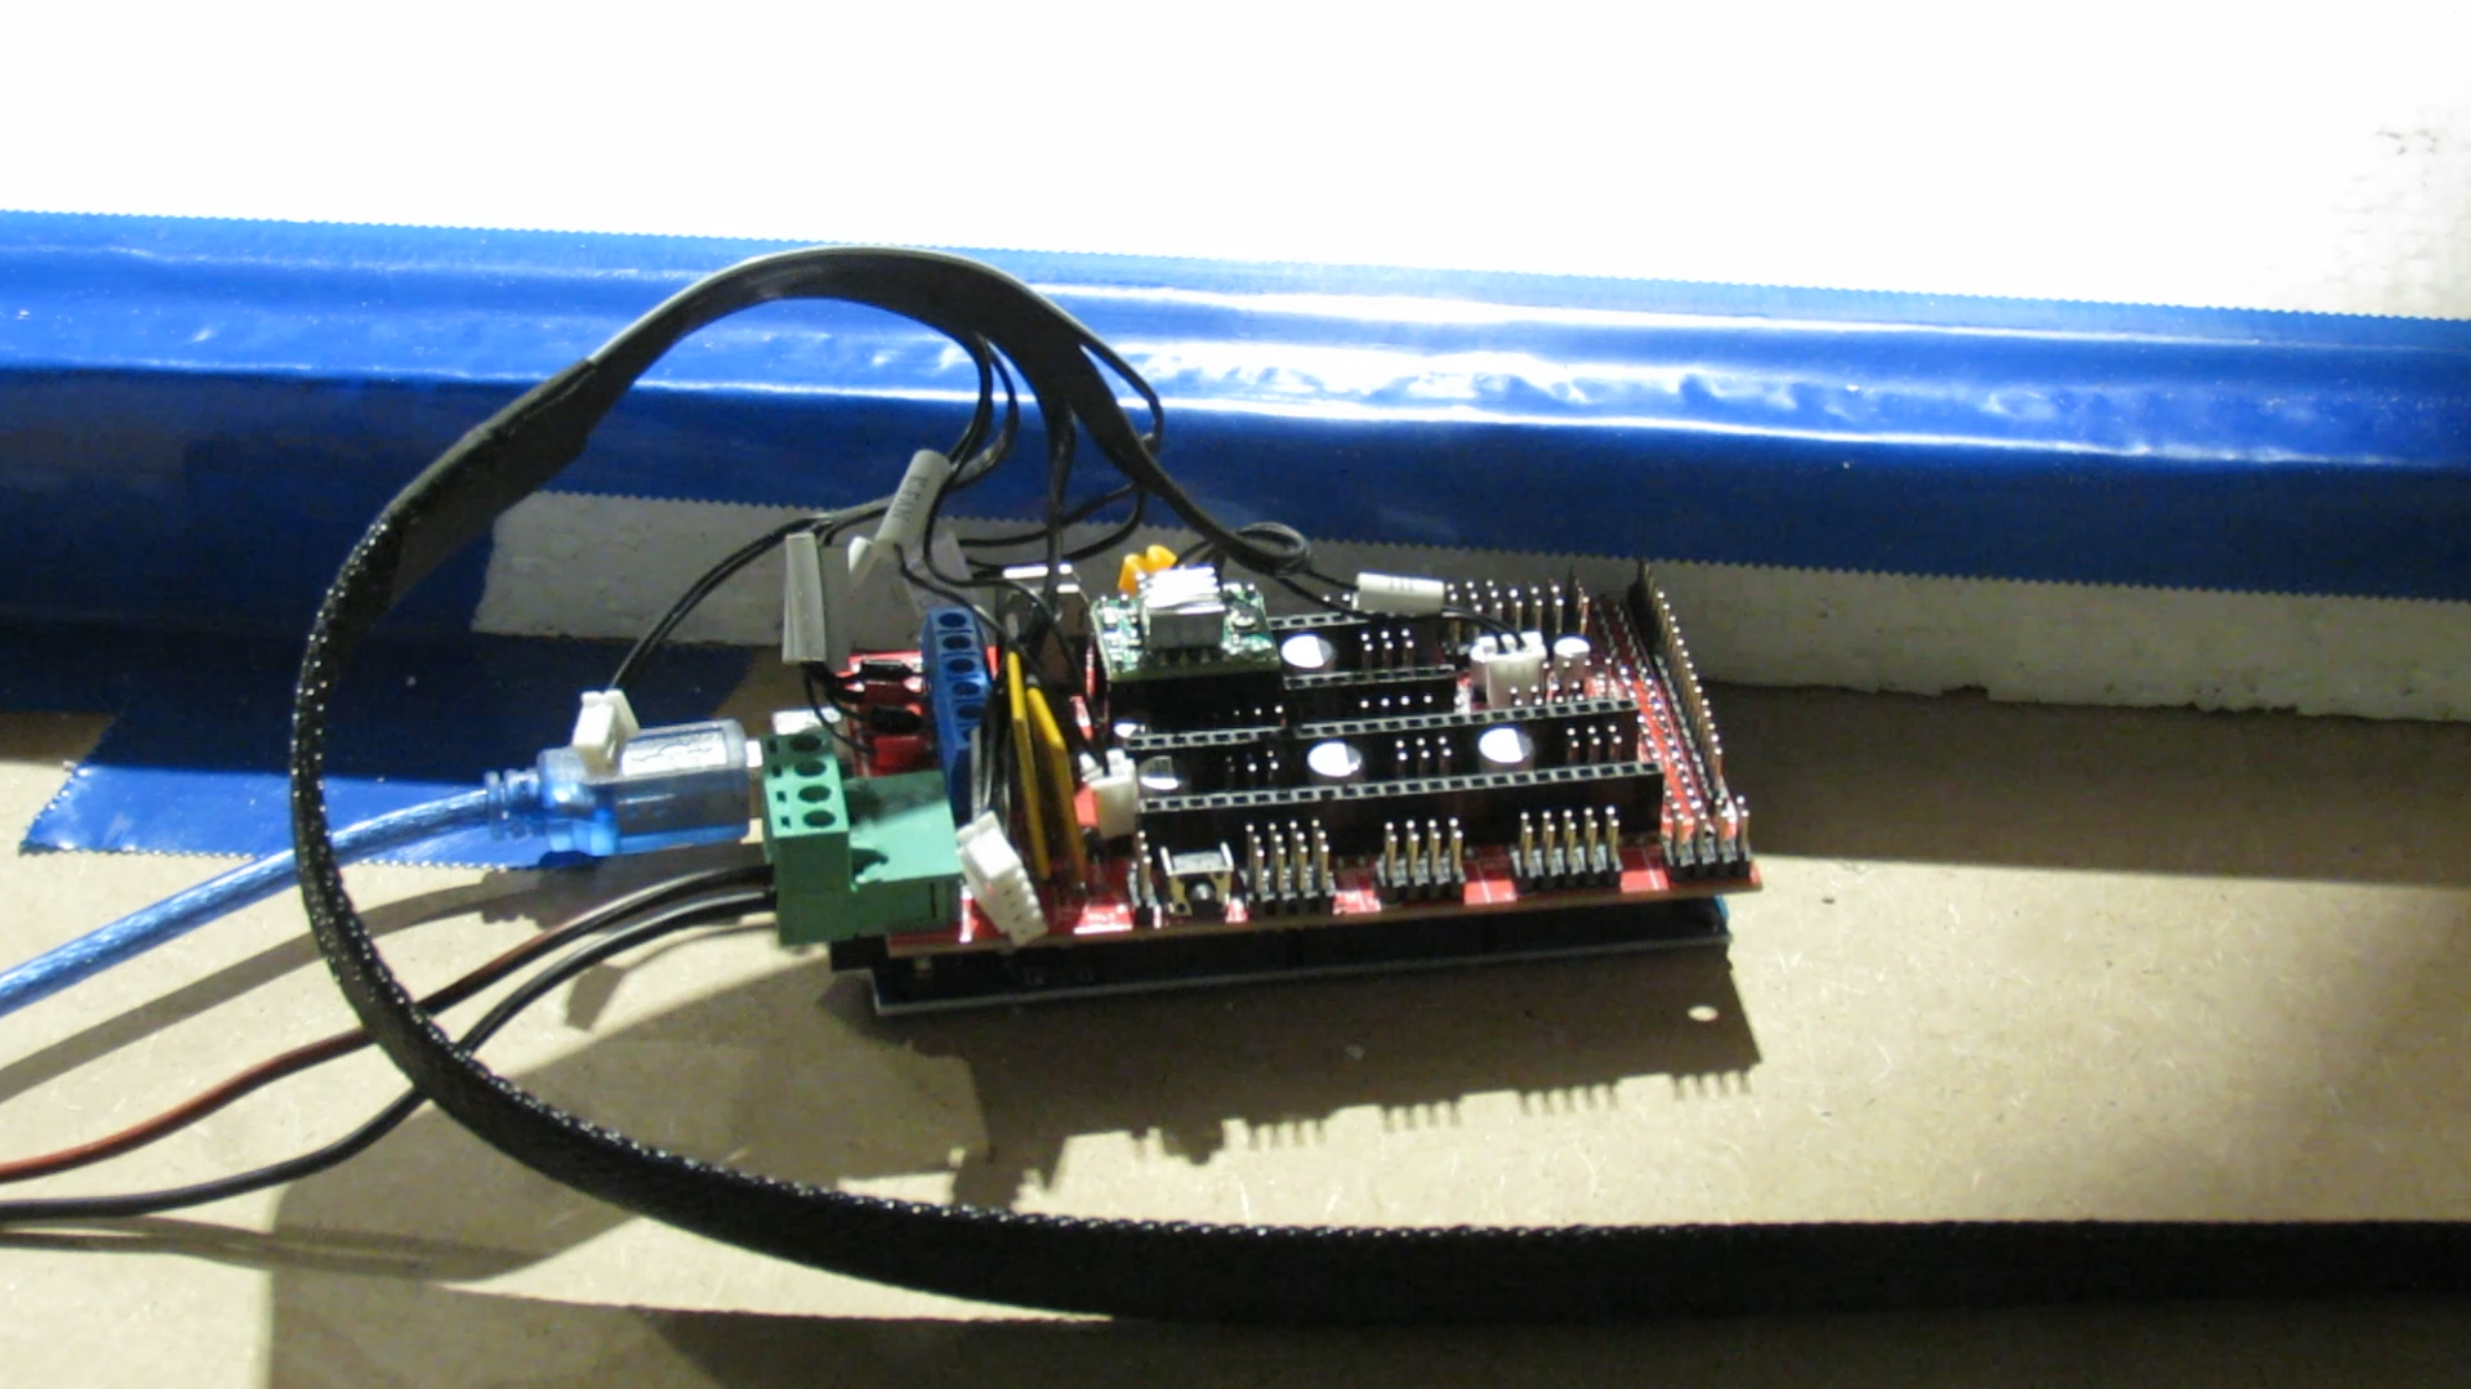
To control the extruder, I'm using a RAMPS 1.4 board, combined with an arduino Mega. The RAMPS board is a bit outdated but should be good enough to control the extruder. It only has to control the temperature of the hotend, some fans and control the stepper motor of the direct drive extruder, which it's doing fine at the moment. Nothing to fancy.
Software
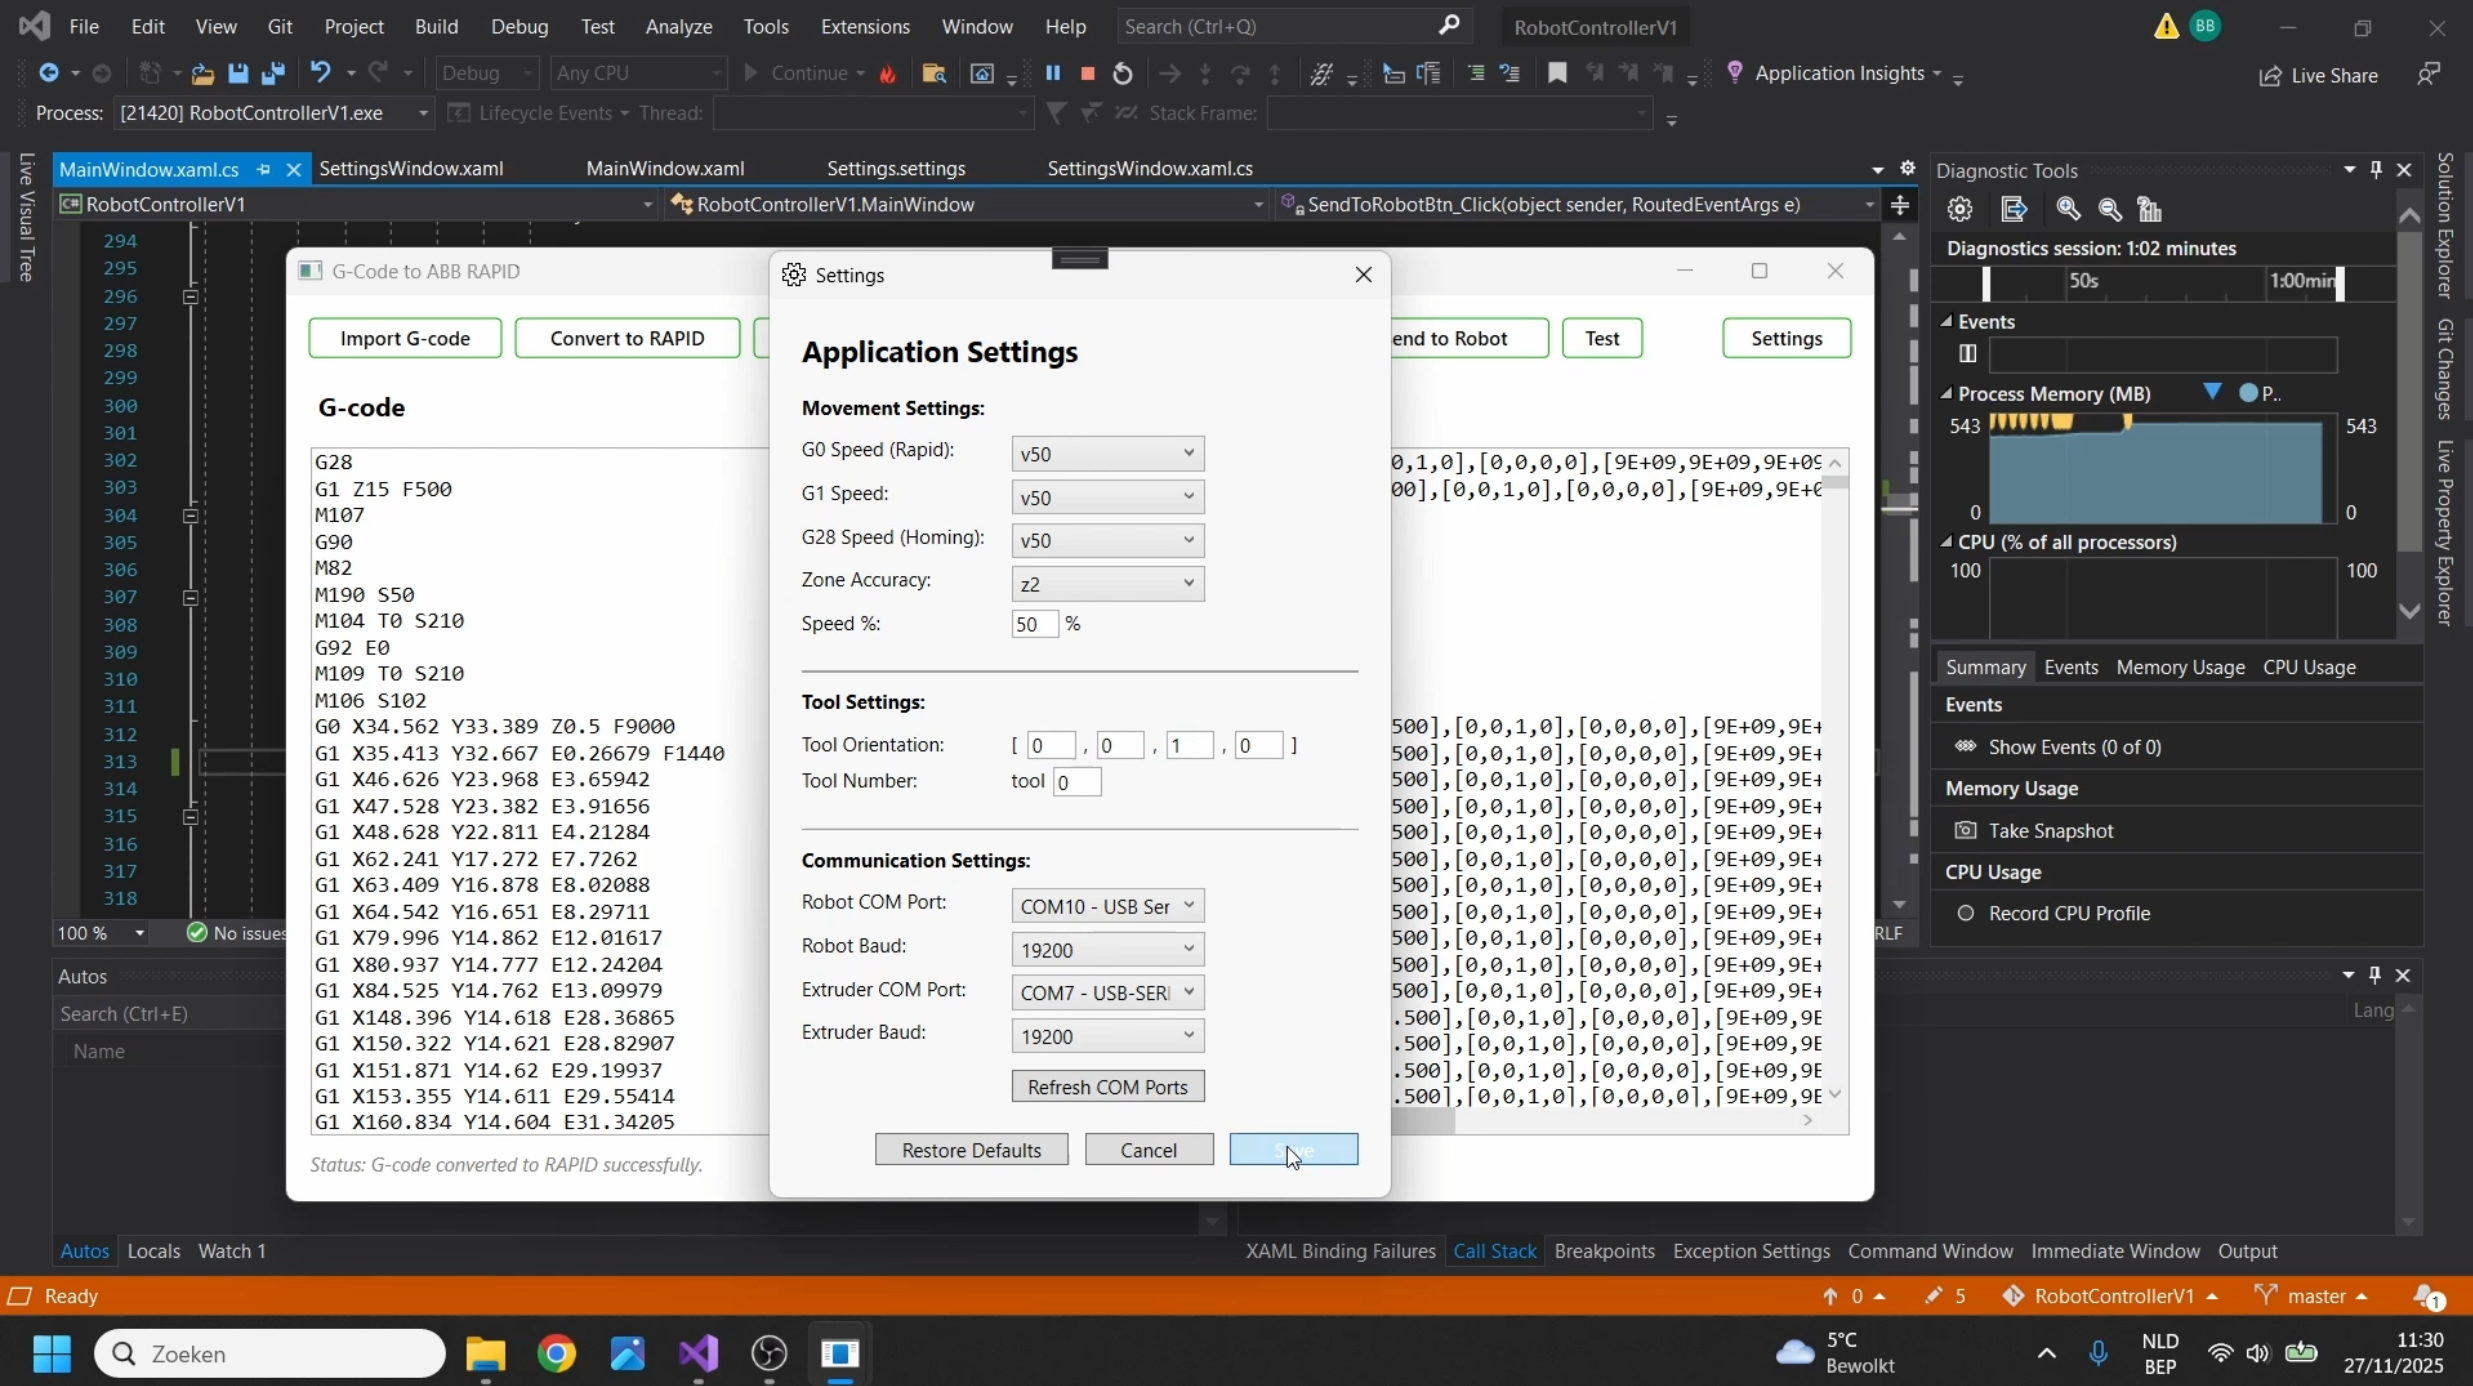
Because the memory of the robot is to small (it originally used floppy drives, the robot is 26 years old) I had to create a program that sends the coordinates to the robot's controller and the RAMPS board line by line. As the robot's controller uses the ABB RAPID language instead of G-code, we also have to convert this G-code to the correct format. This is also done by my little program. The G-code itself is generated by a regular 3D-printer slicer like Repetier Host, Prusa slicer, Orca slicer or similar.
This program is similar to the one I made to CNC-machine with my robot but the main difference is that we now also have to control the extruder and also have this synced up with the robot's movements, which was the hardest part of the project.
With the CNC-milling program i could just send 5 lines at once at the start and have these lines buffered in the input buffer of the robot controller (ABB S4C). I tried to do the same with this program but this resulted in synchronisation issues with the extruder. So i had to send the lines one by one to the robot and extruder without having lines buffered in the input buffers. This resulted in some stop-and-go movements when printing more detailed models (like the pietà sculpture) with a lot of points close to each other. This is mainly because the motion planner of the robot needs the next points in order for it to interpolate the motion between the 2 point. This was however not so much of an issue with simpler models like the vase model.
Even when all the lines were send line by line to the robot and extruder, we still needed to implement timers to sync up the motion. The acceleration settings in the robot and the extruder also had to be an exact match in orderfor them to stay somewhat synchronised.
3D-scanning
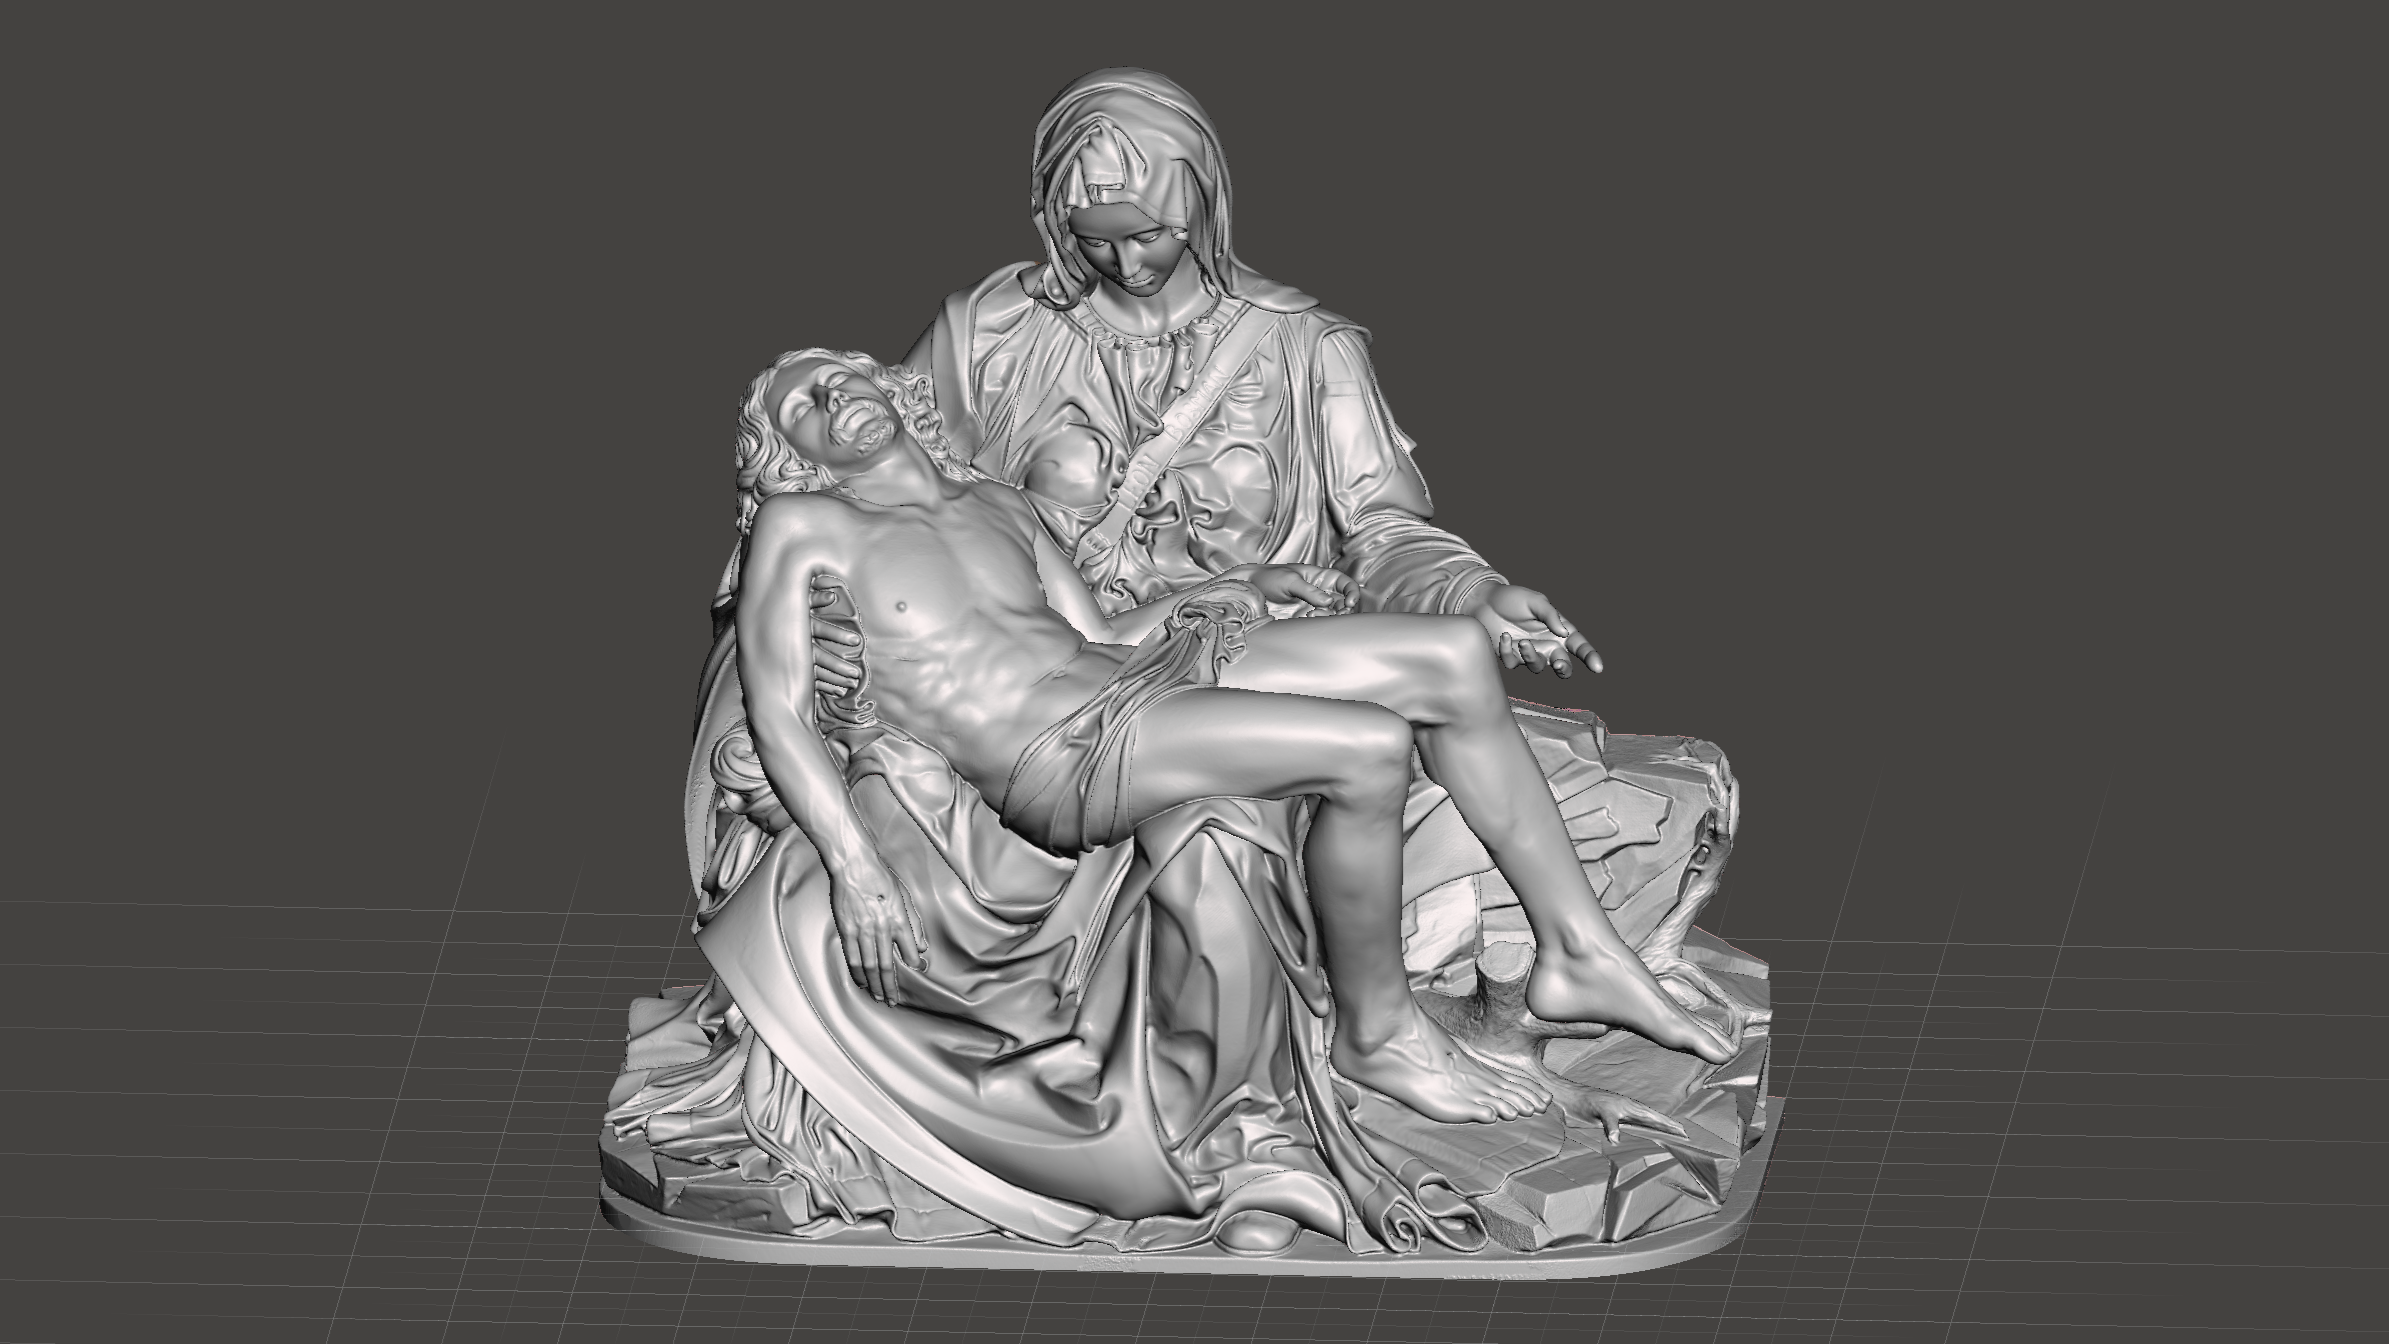
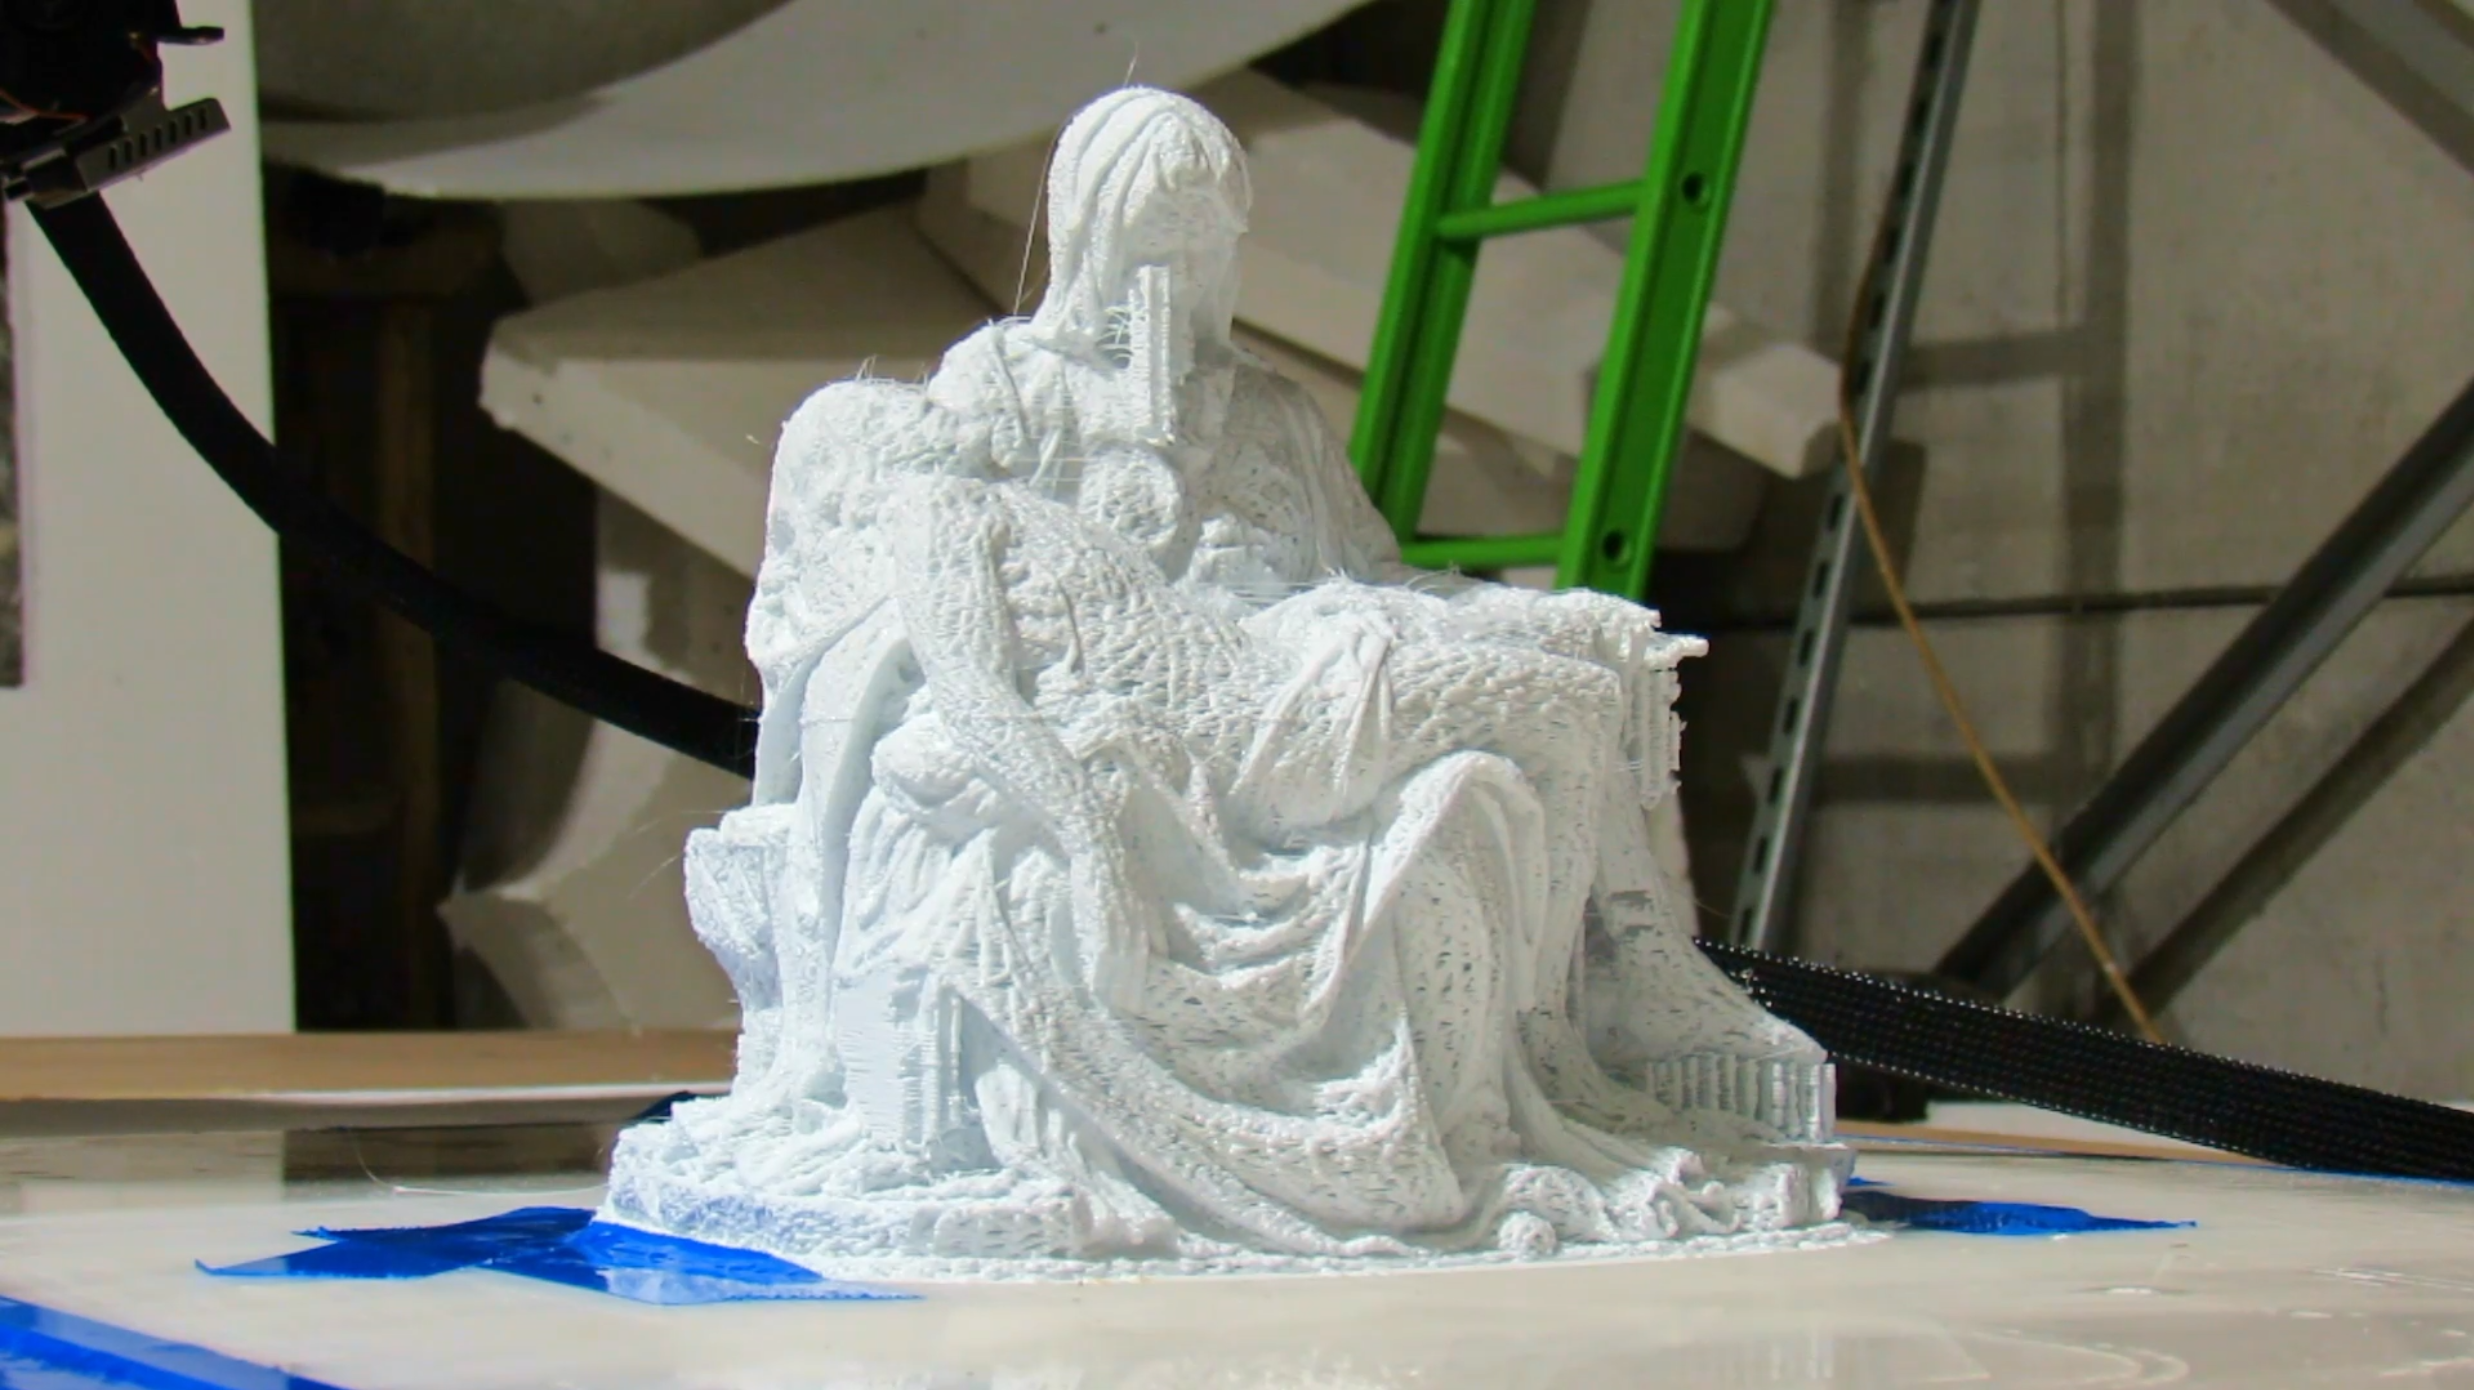
To test the robot to it's limits I decided to 3D-scan a sculpture my grandfather made (the Pietà) and try to 3D-print this model with the robot. To scan the sculpture I used theRevoPoint Metro Y 3D-scanner. The model turned out to be very detailed and was exactly what we needed fot this test. The model was printed to 20 percent of it's original size. Because of the details in the model and the large amount of points very close to each other, we could see the stop and go movements of the robot clearly. This also resulted in a rougher surface finish. All in all not bad for a 26 year old robot but there is still some room for improvements.
Future improvements
The issues we are now having with the print quallity of the robot are mainly due to the lack of lines buffered in the input buffers of the robot. I'm looking to send all the information first drom the computer to the robot and let the robot control the extruder instead of having the computer sending lines to the robot and extruder. this way we could have lines buffered in the input buffer of the robot and still keep synchronisation between the robot and extruder...
Read more »