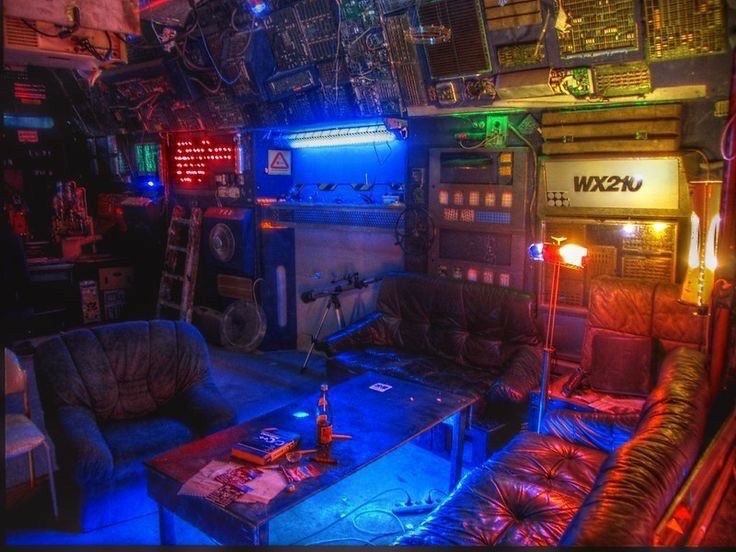
 Quackieduckie
I've given up on formatting Hackaday project pages, hopefully the instructions below will be readable enough.
I first had this idea after catching a cold while visiting my old hackerspace in Berlin, c-base, and having to spend a few days in bed. I thought it would be cool to have a robotic screen that can track faces, and that you can reposition using hand commands. I could also see this as a kind of digital assistant in the times of clawdbot although I personally don't see the usecase for myself yet.
Thanks to PCBWay, this project is now becoming a reality. They sponsored the sheet metal backing for the screen and speaker as well as the sls printed aluminum covers for the tower. The project is based on a Waveshare camera module and should be fairly easy to reproduce using the guide below.
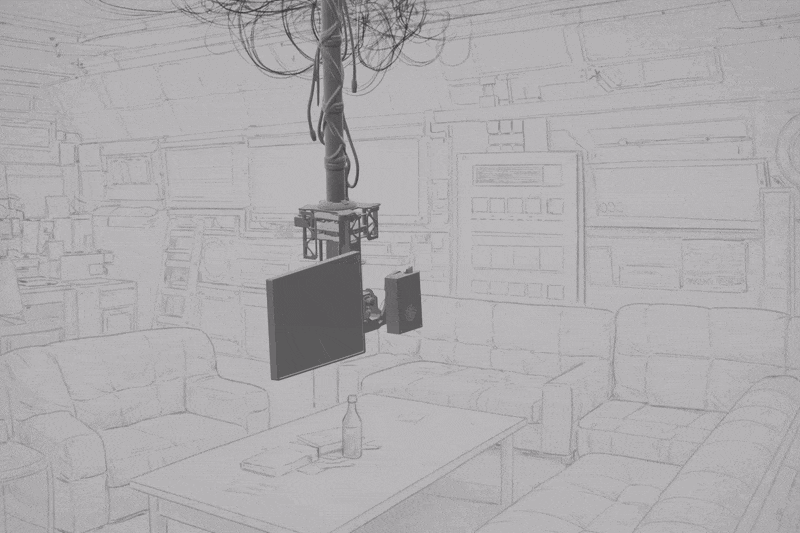 This build is based on the Waveshare 360° Omnidirectional High-Torque 2-Axis Expandable Pan-Tilt Camera Module. I’ve essentially turned the module upside down and mounted it to a projector holder.
For audio and the screen I’m using an IKEA FREKVENS speaker (Teenage Engineering) and a small portable monitor which I will get more into below.
Video above showing hand commands moving it to each side, facial tracking also works in decent enough light, camera can be upgraded for better range and low light performance.
I’ve attached the SVG for laser-cutting the mounting plate from 4mm aluminum sheet. Surprisingly, this is very affordable (under $30 at the time of writing) and significantly more stable than the 3D-printed PETG-CF backing I used before. If you’d rather print it at home, I’ve also included the 3D model version.
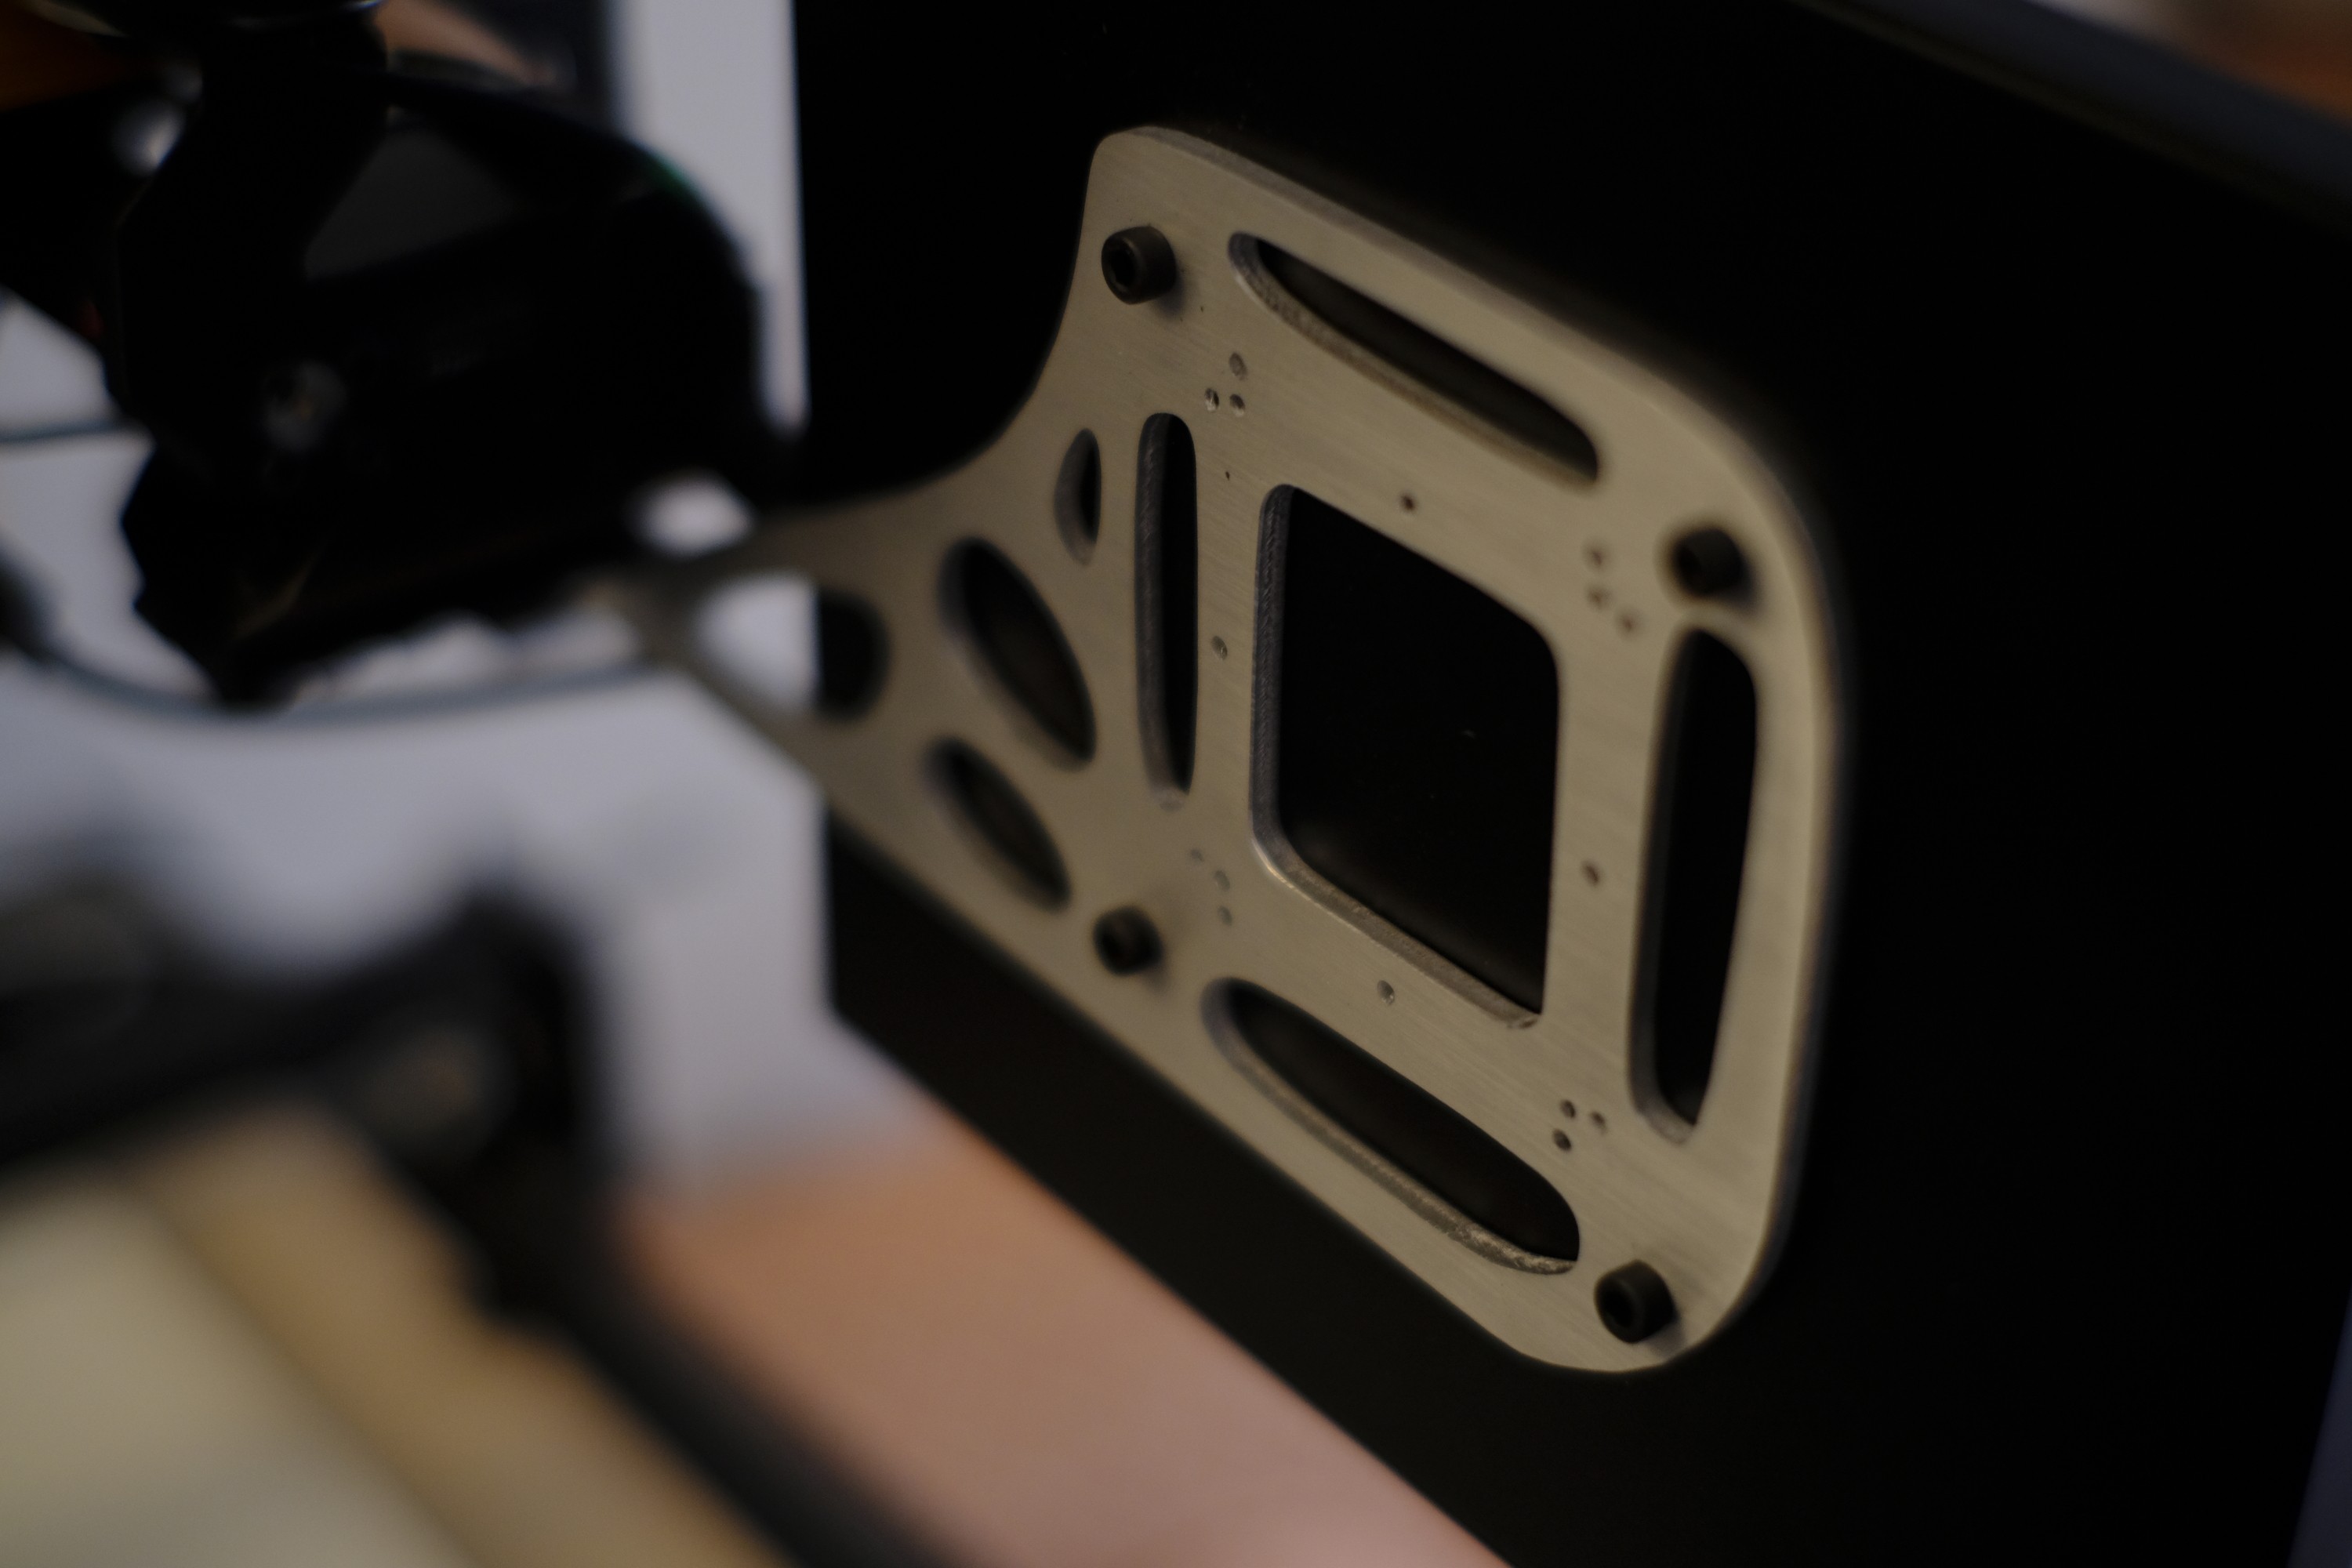
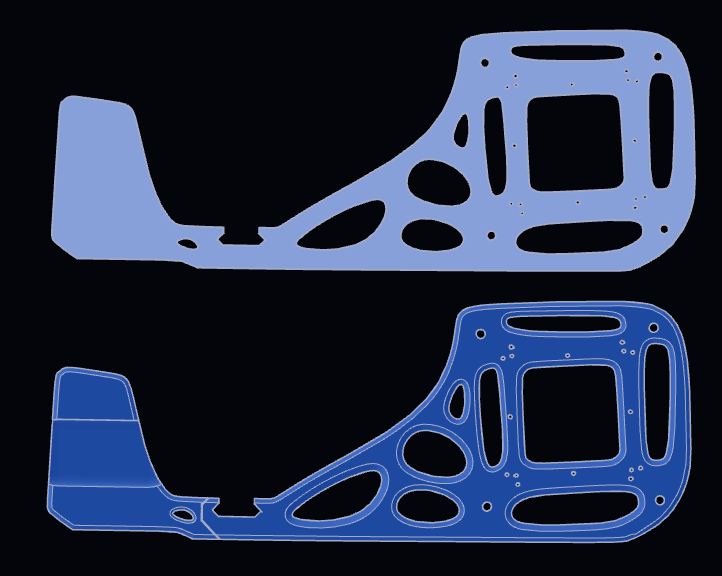 The bracket uses a simple topology-optimized design. It works well and gives the build an organic Y2K aesthetic. The 3D-printed version can be printed in two parts on my A1 Mini and superglued together — not perfect, but it holds up well enough if you don't have a large enough build plate.
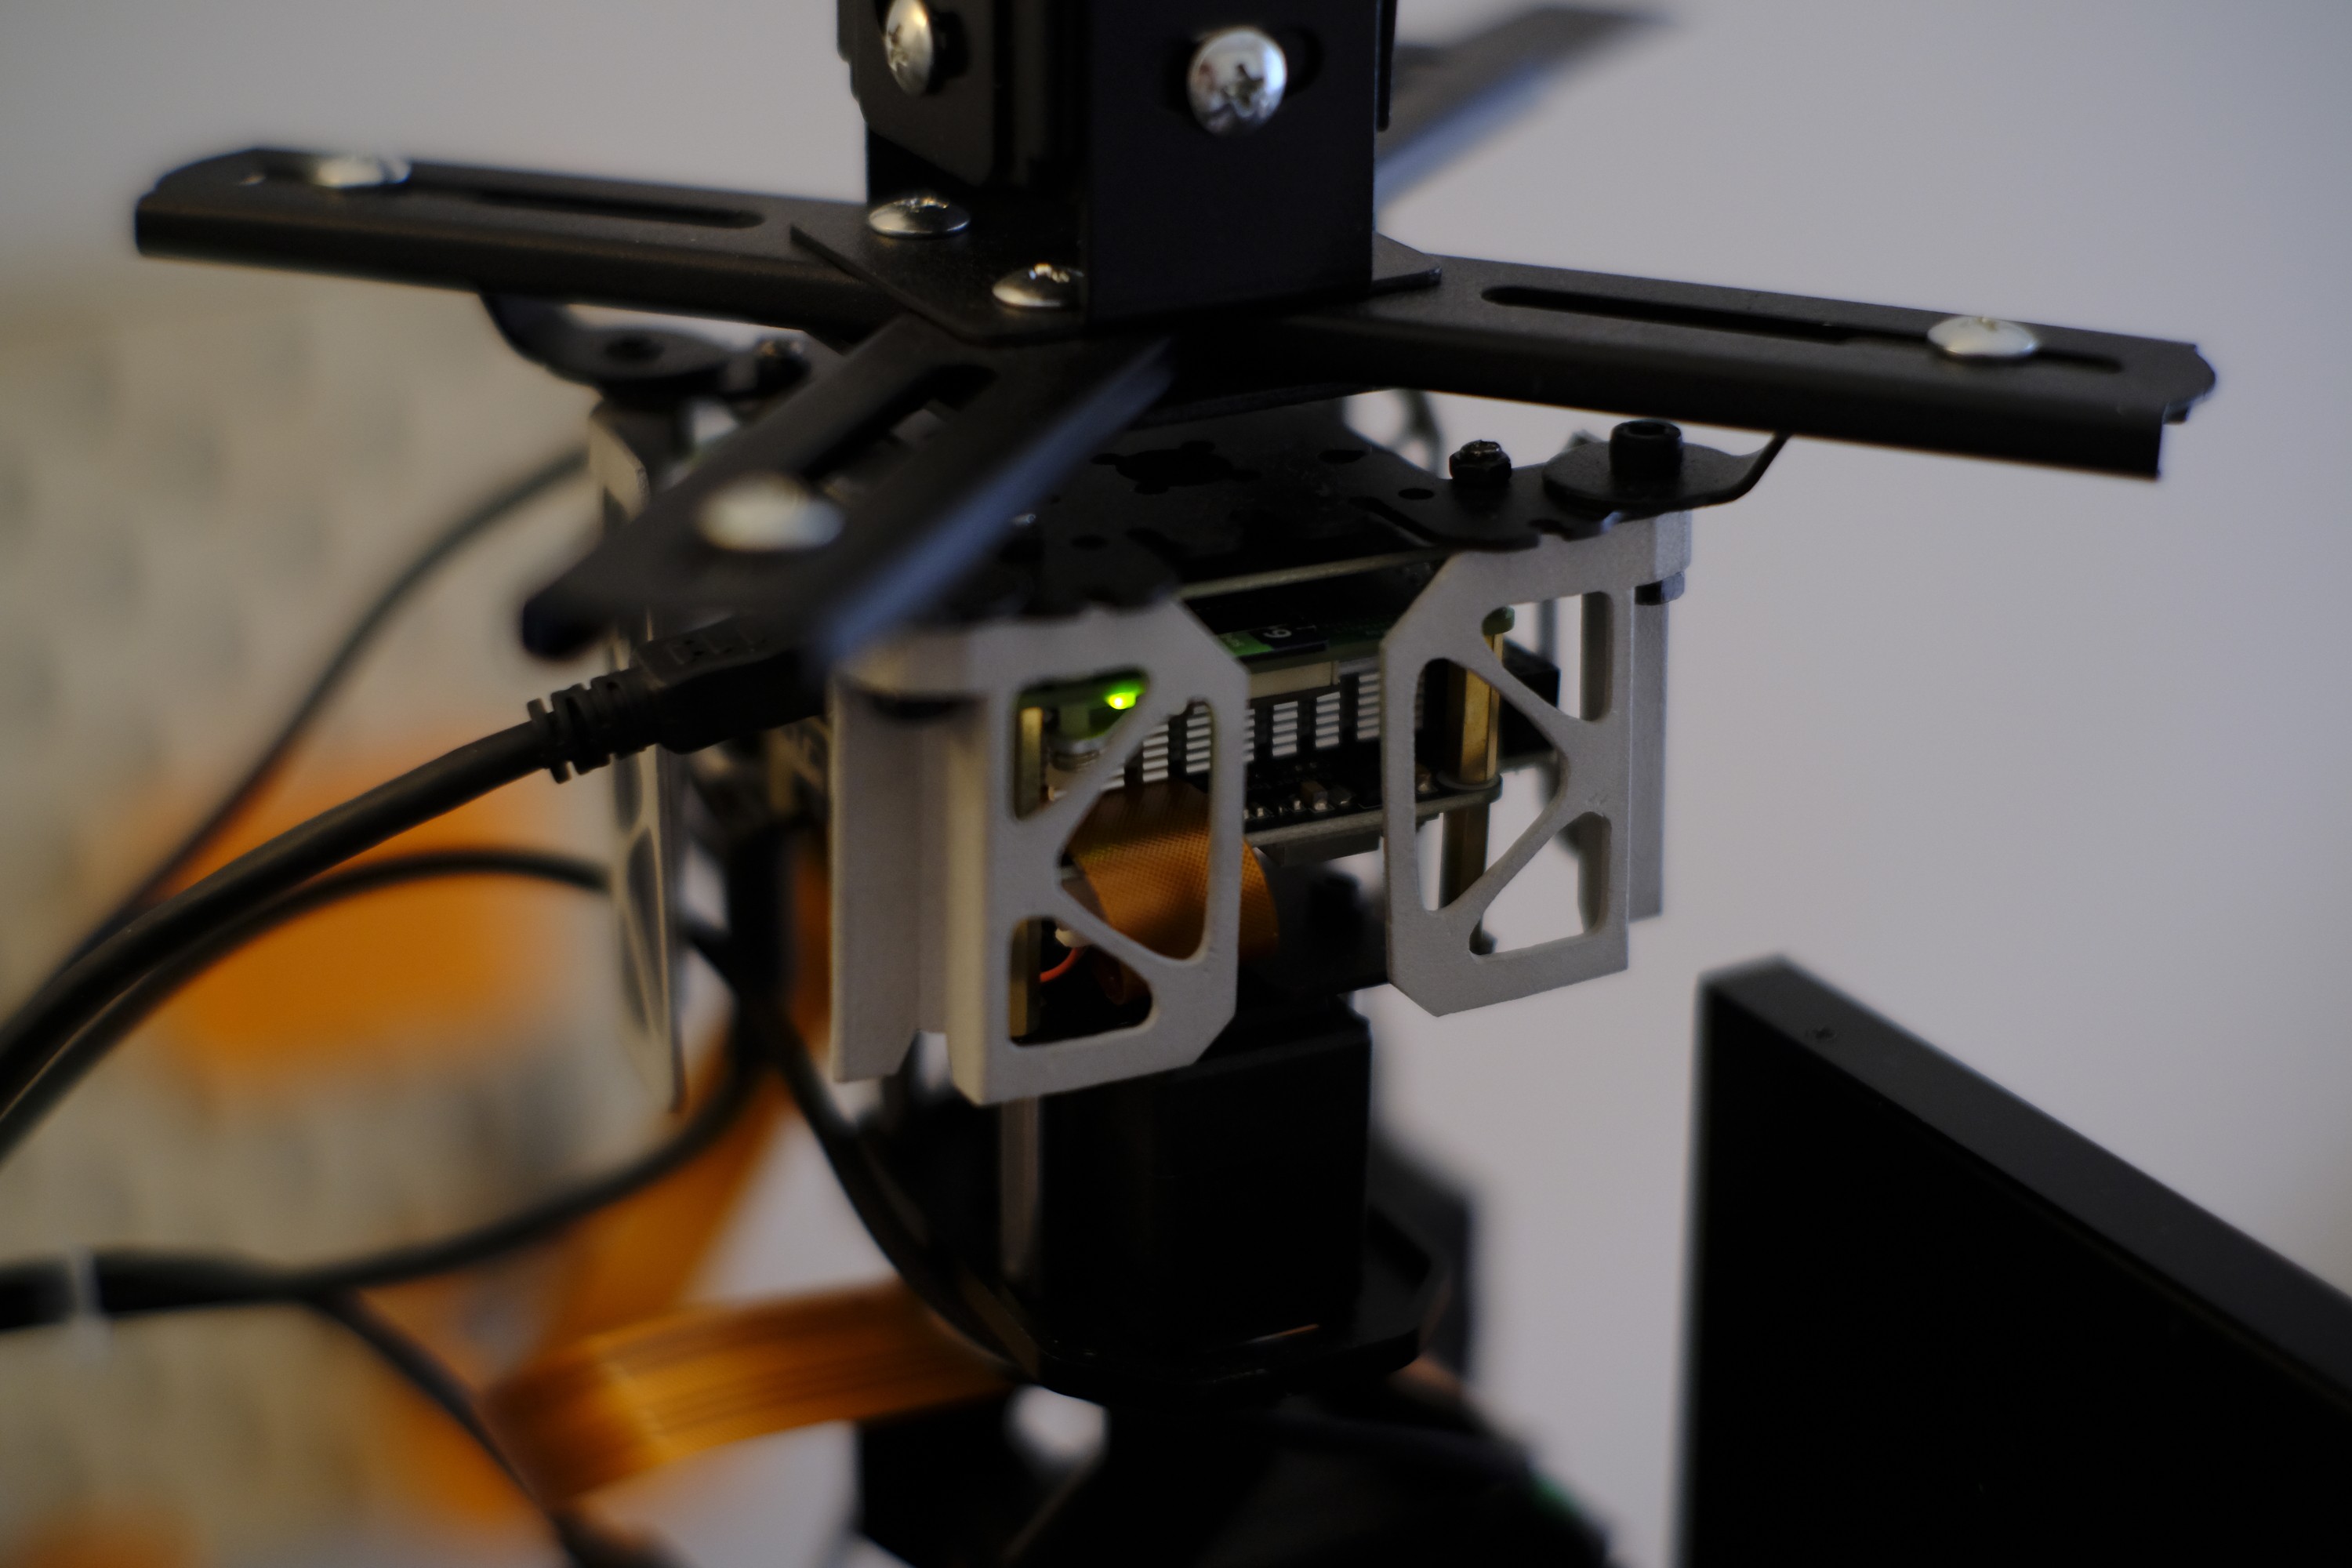
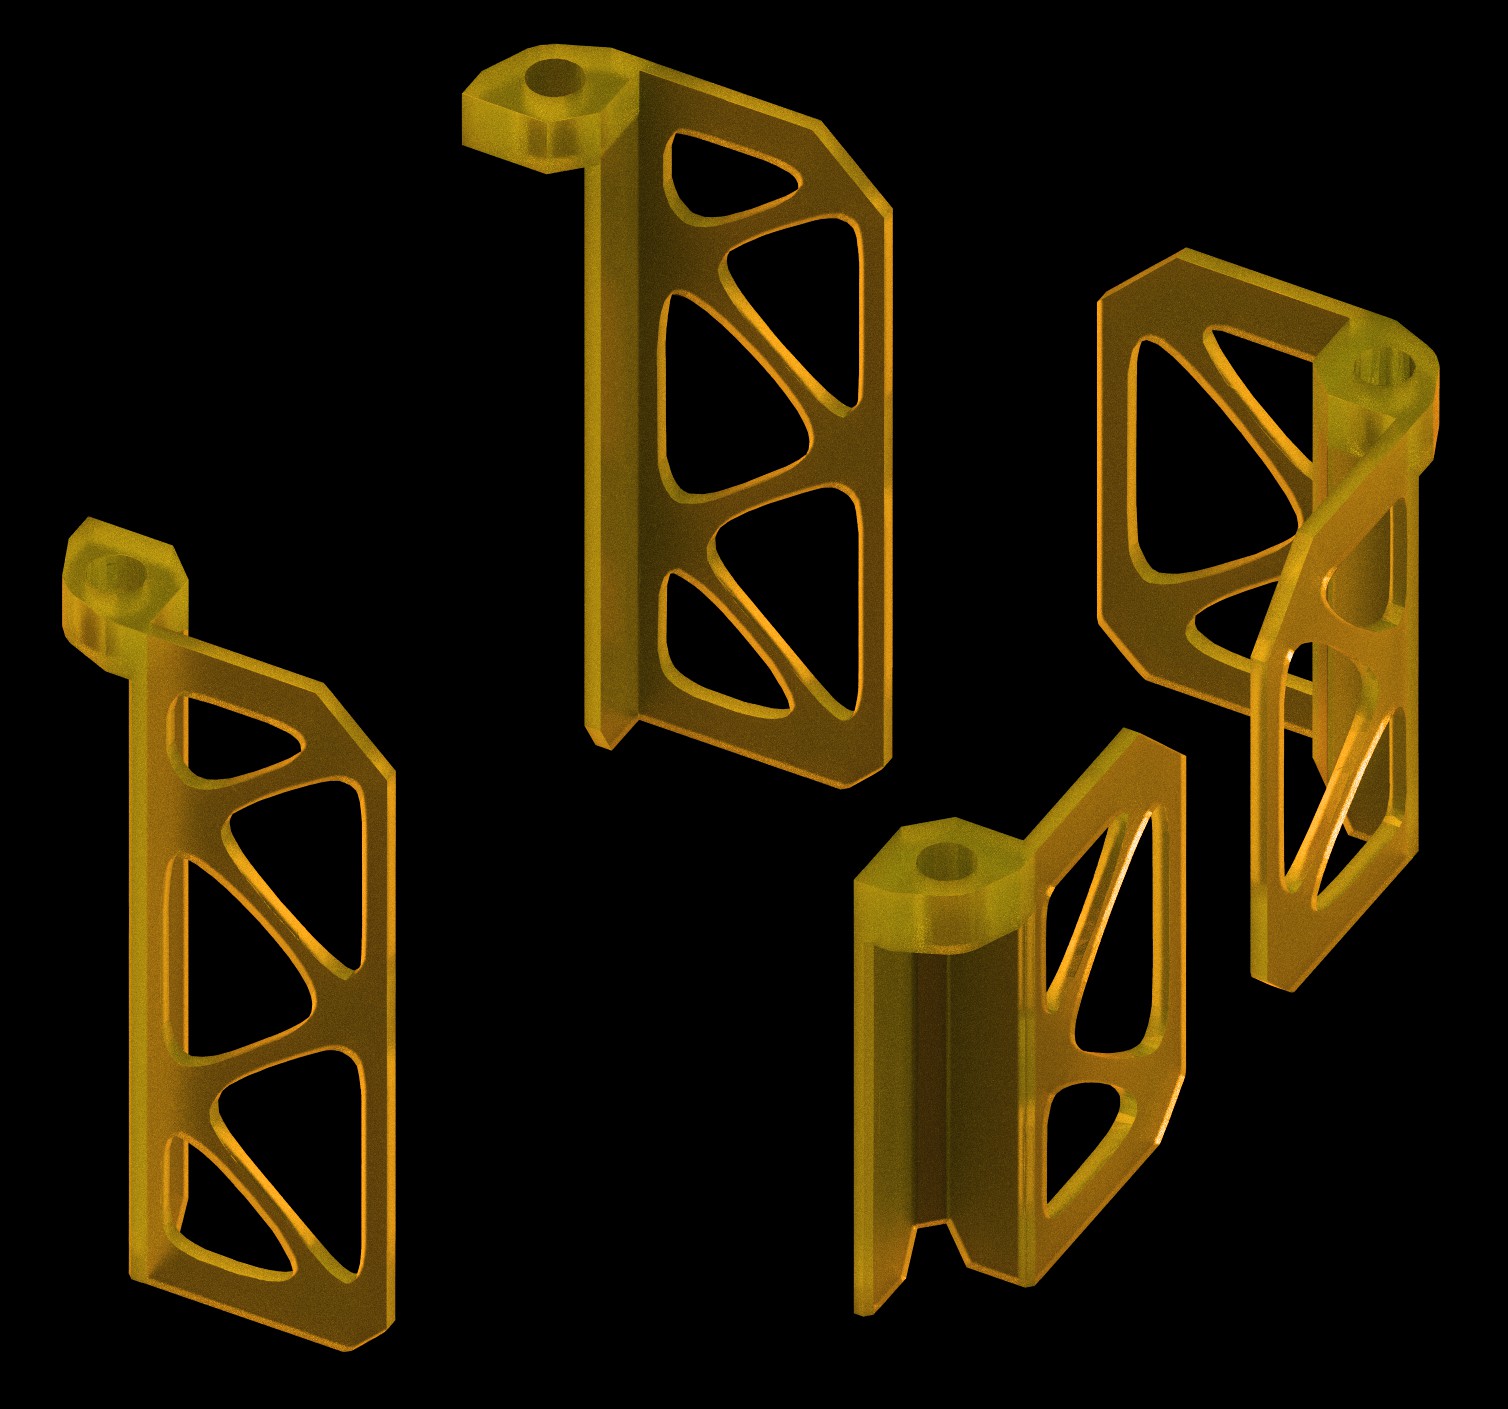
I’ve also included a few optional secondary parts you might want to print. Originally I planned to fully encapsulate the hardware in an organic protective shell, but because of the moving parts I had to simplify the design for now. I may attempt a more complete enclosure in a future revision. For now, these parts look great when printed in UTR Thermal resin or SLS aluminum.
This video should provide most of the assembly instructions. You’ll need to buy a 9.7" portable monitor(or something similar), preferably one with VESA mounts, so you don’t have to glue anything. The whole assembly is attached to a projector mount but everything stable enough with a VESA connection should work.
For cabling, I recommend using an angled HDMI cable (mini male to micro female), since the screen connection needs extra clearance to fit next to the camera. If you can’t find that exact cable, use an adapter on the Raspberry Pi side instead. I ended up shaving down the rubber strain relief on my HDMI cable to make it fit, but there are definitely cleaner solutions.
If you enjoy this project you can find more of them on my site enjoythed.biz
 Moritz Walter
 Gonzalo P. Chomon
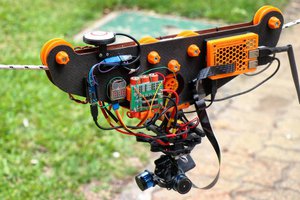
 Maximiliano Palay
 jdelbe