 Mikhail Belkin
To use this programmator connect the STMF103 board and run the application in result folder.

The almost all application is in toolbar.
- connect button - try target. For atmega it is register read and connect command.
- erase - full erase of target. For flash write erase before write runs automatically.
- read - read flash or eeprom or re-read fuse bits (reads the dump for current tab).
- write - write and verify flash or eeprom from the opened file.
- open hex - open file to write. For every tab there are separate files. So, if you change the tab, open file again.
- save as - saves current readen data by read button to binary file.
- family choice - choosing the type of IC, today atmega only.
- chip choice - list to choose the IC from current family.
- speed choice - connect to the target interface speed in kHz.
- progress bar - read/write current percentage.
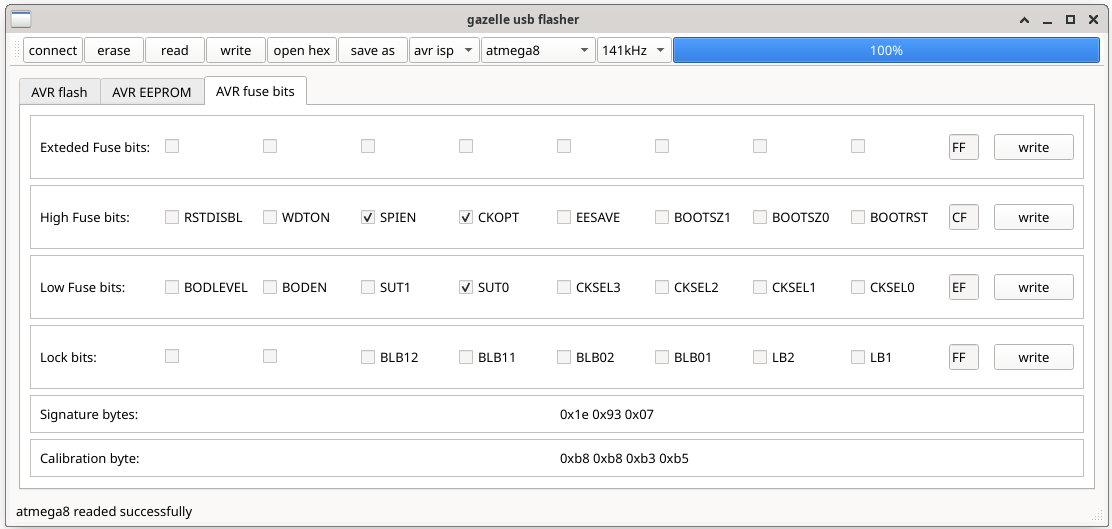

On the center here are usually the current dump. Or fuse bits for atmega. In the bottom left corner the status bar with status message. If operation or connect to the programmator device is success you can detect it by statusbar message.
Hardware usage:
For hardware, you need any board on stm32f103, then you can flash gazelle_fw file with flasher firmware to you board from the same result folder. For AVR pinout is: PA3-RST, PA5-SCK, PA6-MISO, PA7-MOSI. Connect target to STM and STM to PC through USB, run the app on PC, wait for "portName" connected message on stBar.
 Vasilii Chumakov
 seasonalvegetables3
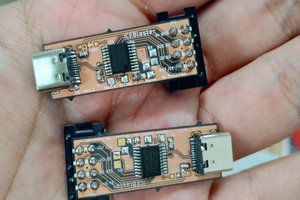
 TinLethax
 Lutetium