 mircemk
In this video I want to present you another unusual clock to add to my large collection of such DIY devices. Characteristic for this project is the fact that are used three displays on which appears different content.
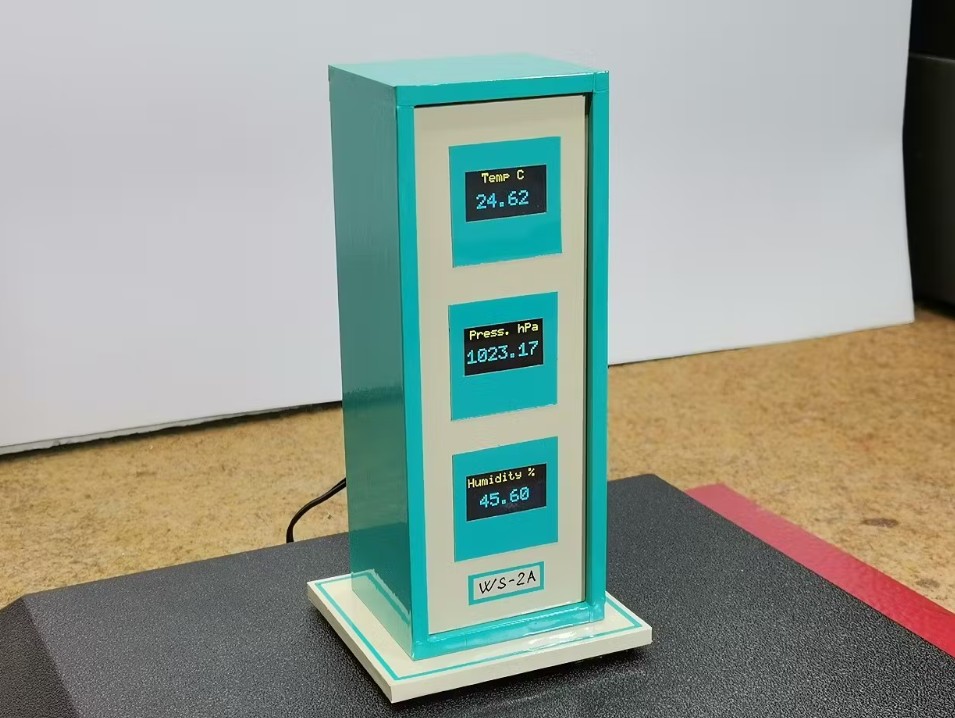
The three displays are with I2C communication protocol and are controlled by a single microcontroller, but with the help of an I2C multiplexer module. I used similar hardware in one of my previous projects but now instead of a BME280 module I use a Real Time Clock module.
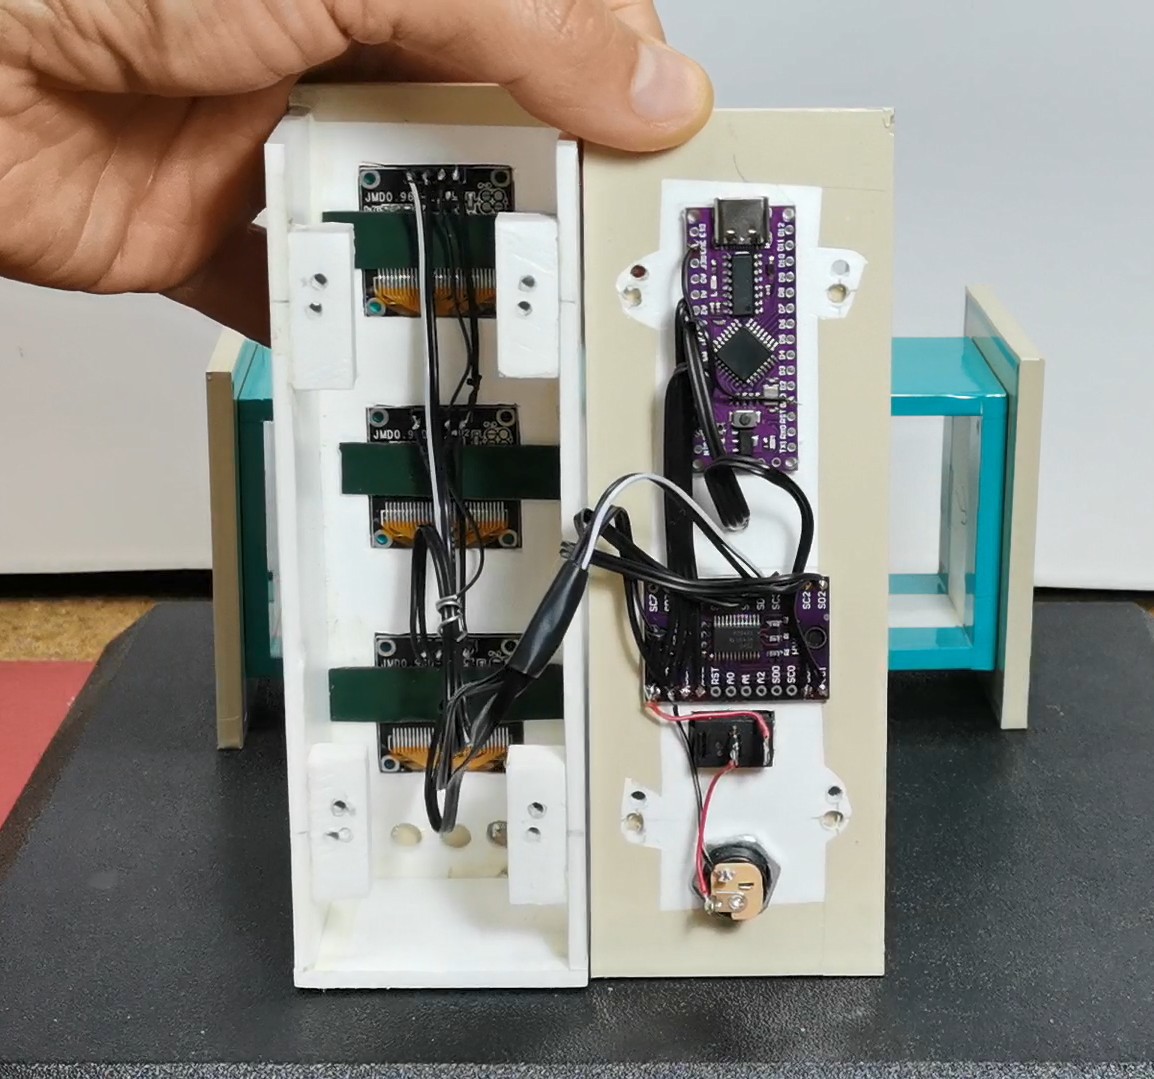
The device is really simple to operate and consists of only a few components:
- LGT8F328P microcontroller board (here I would like to emphasize that without any changes in the code in the project, you can use Arduino Nano or Arduino UNO board)
- TCA9548A I2C multiplexer module
- Three OLED displays SSD1306 (Specifically in this project I am using a Blue-Yellow display, but another color or combination of colors can be used without modification.)
- and DS3231 Realtime clock module
This time I also use the case from the previous project, which, unlike then, is now placed in a horizontal position.
Now I propose to see how the clock works in real conditions. After switching on, the text "three display clock" appears sequentially on the three displays, an appropriate animation when writing the text, as well as rising and falling bars on the sides. Let's see how it works.
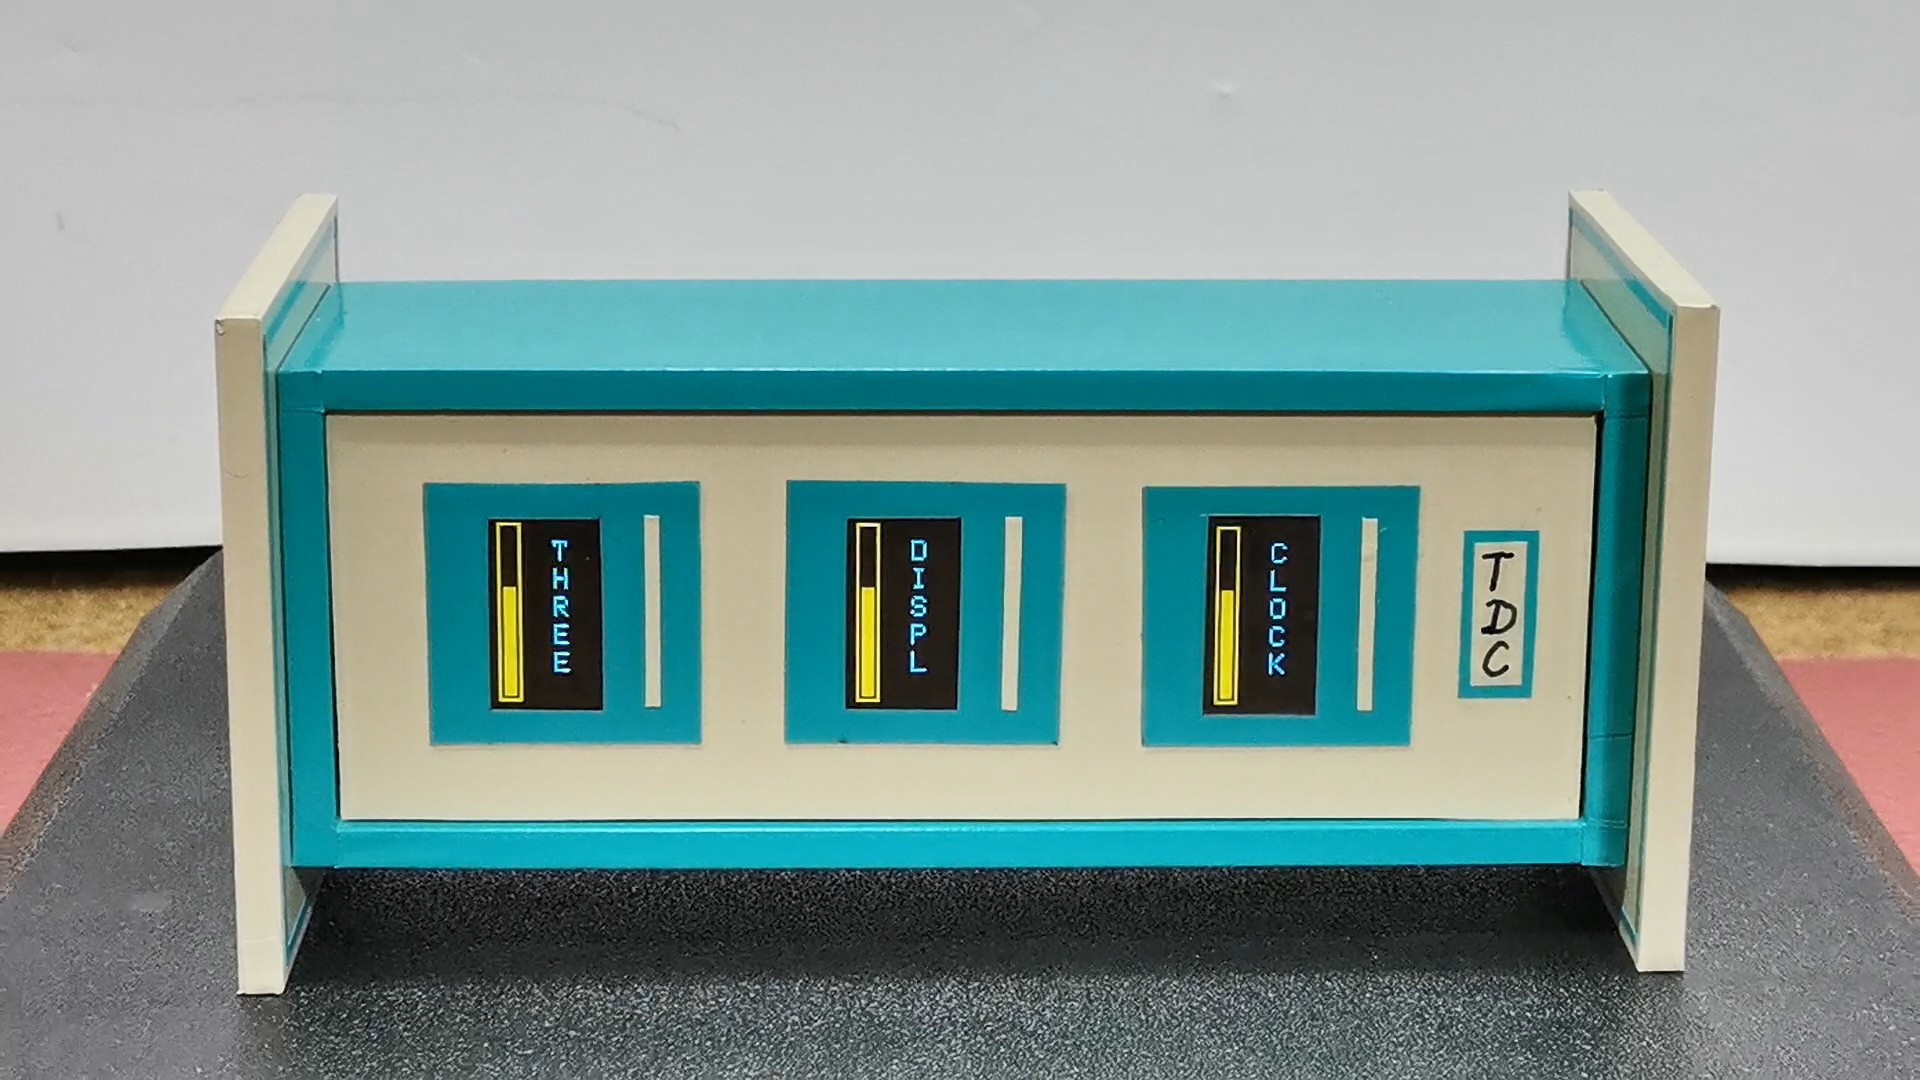
After this, the clock starts working. On the first display, in the blue field, the hour is displayed, on the second the minutes and on the third the seconds, which are marked on the top with "H", "M" and "S". On the bottom blue part the tens are displayed and below them the units respectively.

On the left yellow part of the screen there are three bars. The first one displays the elapsed time of the current Day in Hours (from 0 to 24), then the second one displays the elapsed time of the current Hour in Minutes (from 0 to 60 minutes), and similarly the third bar displays the elapsed time of the current Minute in Seconds (also from 0 to 60). Unfortunately, on video it's hard to capture the original image, which is crystal clear and without any flickering.
Let me mention that the exact time is downloaded from the personal computer automatically when uploading the code, but there is also an option to enter it into the code yourself.
And now a few words about the code.
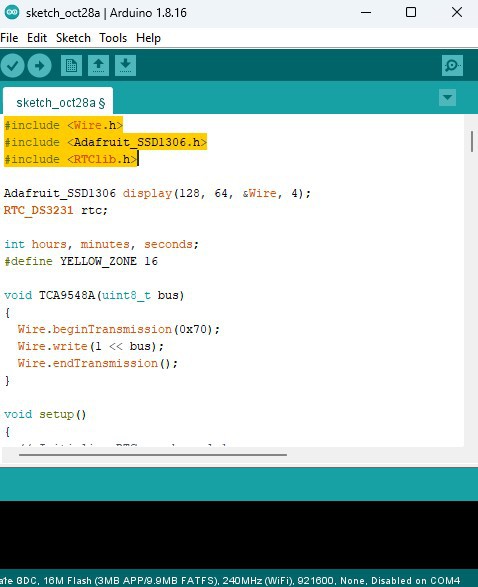
It is relatively simple and uses only two libraries, one is support for OLED displays, and the other controls the Realtime Clock module.
At the beginning, the three displays are initialized and the exact time is downloaded from the PC. Then we have the showIntro function, which is intended for displaying the intro at the beginning. And finally the basic drawDisplay function, which draws the content of the three displays. Here we can easily change the parameters such as the font, size and borders, so the visual part of the clock can be easily modified.
And finally a short conclusion. This DIY clock successfully uses an I2C multiplexer to show the time across three OLED displays, complete with clever progress bars that visually track the elapsed time for the current minute, hour, and day. Code can be easy modified to customize the visual look of the OLED screens.

 M. Bindhammer
 Randy Elwin