 Florian Wilhelm Dirnberger
0. Outline
The idea is basically copied from this project:
Raspberry Pi Thermal Imaging | Hackaday.io
It was created ten years ago, meanwhile there is a better sensor and an advanced Raspberry Pi available.
My main project can be found here:
Infrared Home Intrusion System | Hackaday.io
1. Prototype
Not really much to tell, you see how it works in the video hopefully.
You can do some fine tuning, smoothing out the color transitions for instance.
If you look closely, you may recognize the ice in the glass gets rendered in a light blue. More important is, however, that temperatures above thirty degrees gets rendered in red for the system is meant to detect living creatures (warm-blooded creatures more exactly, hence mammals such as human beings).
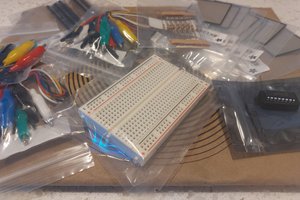
2. Hardware components
Beside the IR-array and the Microcontroller board that controls it (Raspberry Pi Pico W), I am using a Raspberry Pi 5 and the quite oldish Raspberry Pi Camera Rev 1.3.
It is somewhat of a challenge to map the 24x32(=768 FIR) pixels/sensors to the 300x400 camera pixels because the angle of vision of either component does not really match (actually not an issue with the geometry of the assembly itself, see this picture).
3. Program development
Everything is programed in Python, and I've relied on the picamera2 github resources (see link, mostly the "overlay" examples).
Notwithstanding, my code is right now just an ad-hoc construct and presently it would be kind of embarrassing to share it. But I'll upload my scripts to github as well soon.
Also it would be much easier to connect the sensor directly to the I2C-bus of the Pi, and not divert the data flow through an additional Microcontroller. Yet this is owed to this project being a spin-off of my other thermal imaging project.
4. Improvements
As usual, you can improve all sorts of things, such as making the color transitions smoother, as said, or speeding things up in general. Thinking one step further, you can also use Tensor Flow for overlaying real-time object detection. I won't discuss those subject-matters further on this project page.
 Bret Bernhoft
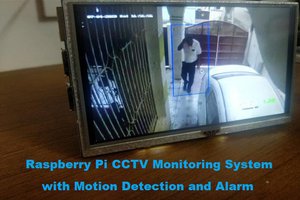
 Aswinth Raj
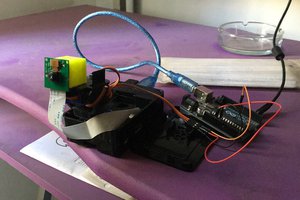
 Marcelo Valeria
 Arya
Arya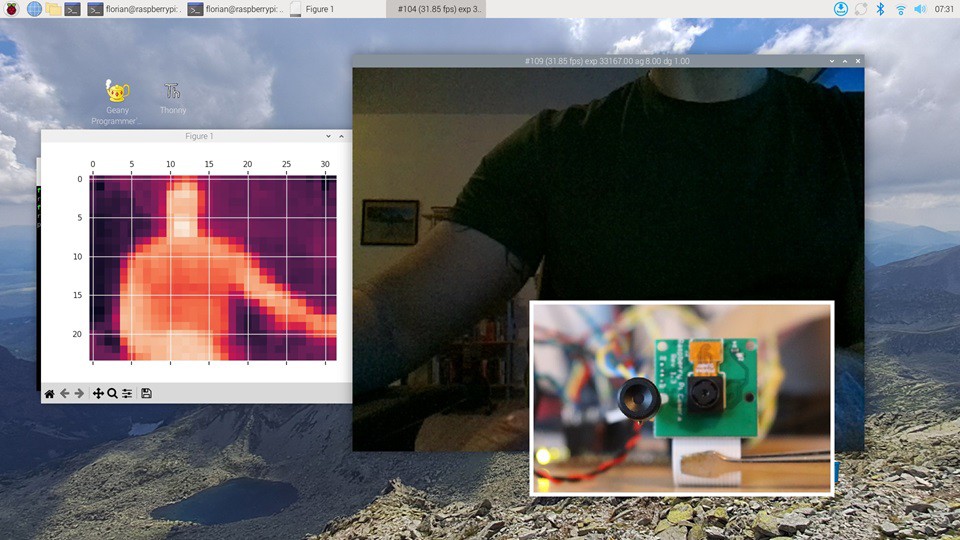