 Exercising Ingenuity
Full Build Video
Build Overview
This build can be split into into 5 sections.
- CRT Display - Panasonic TR-003C
- Robot Body and Housing
- Animatronic Eyes
- Power and Wiring
- Carrying Box
- Code
More details in the works in the instructions section of the project.
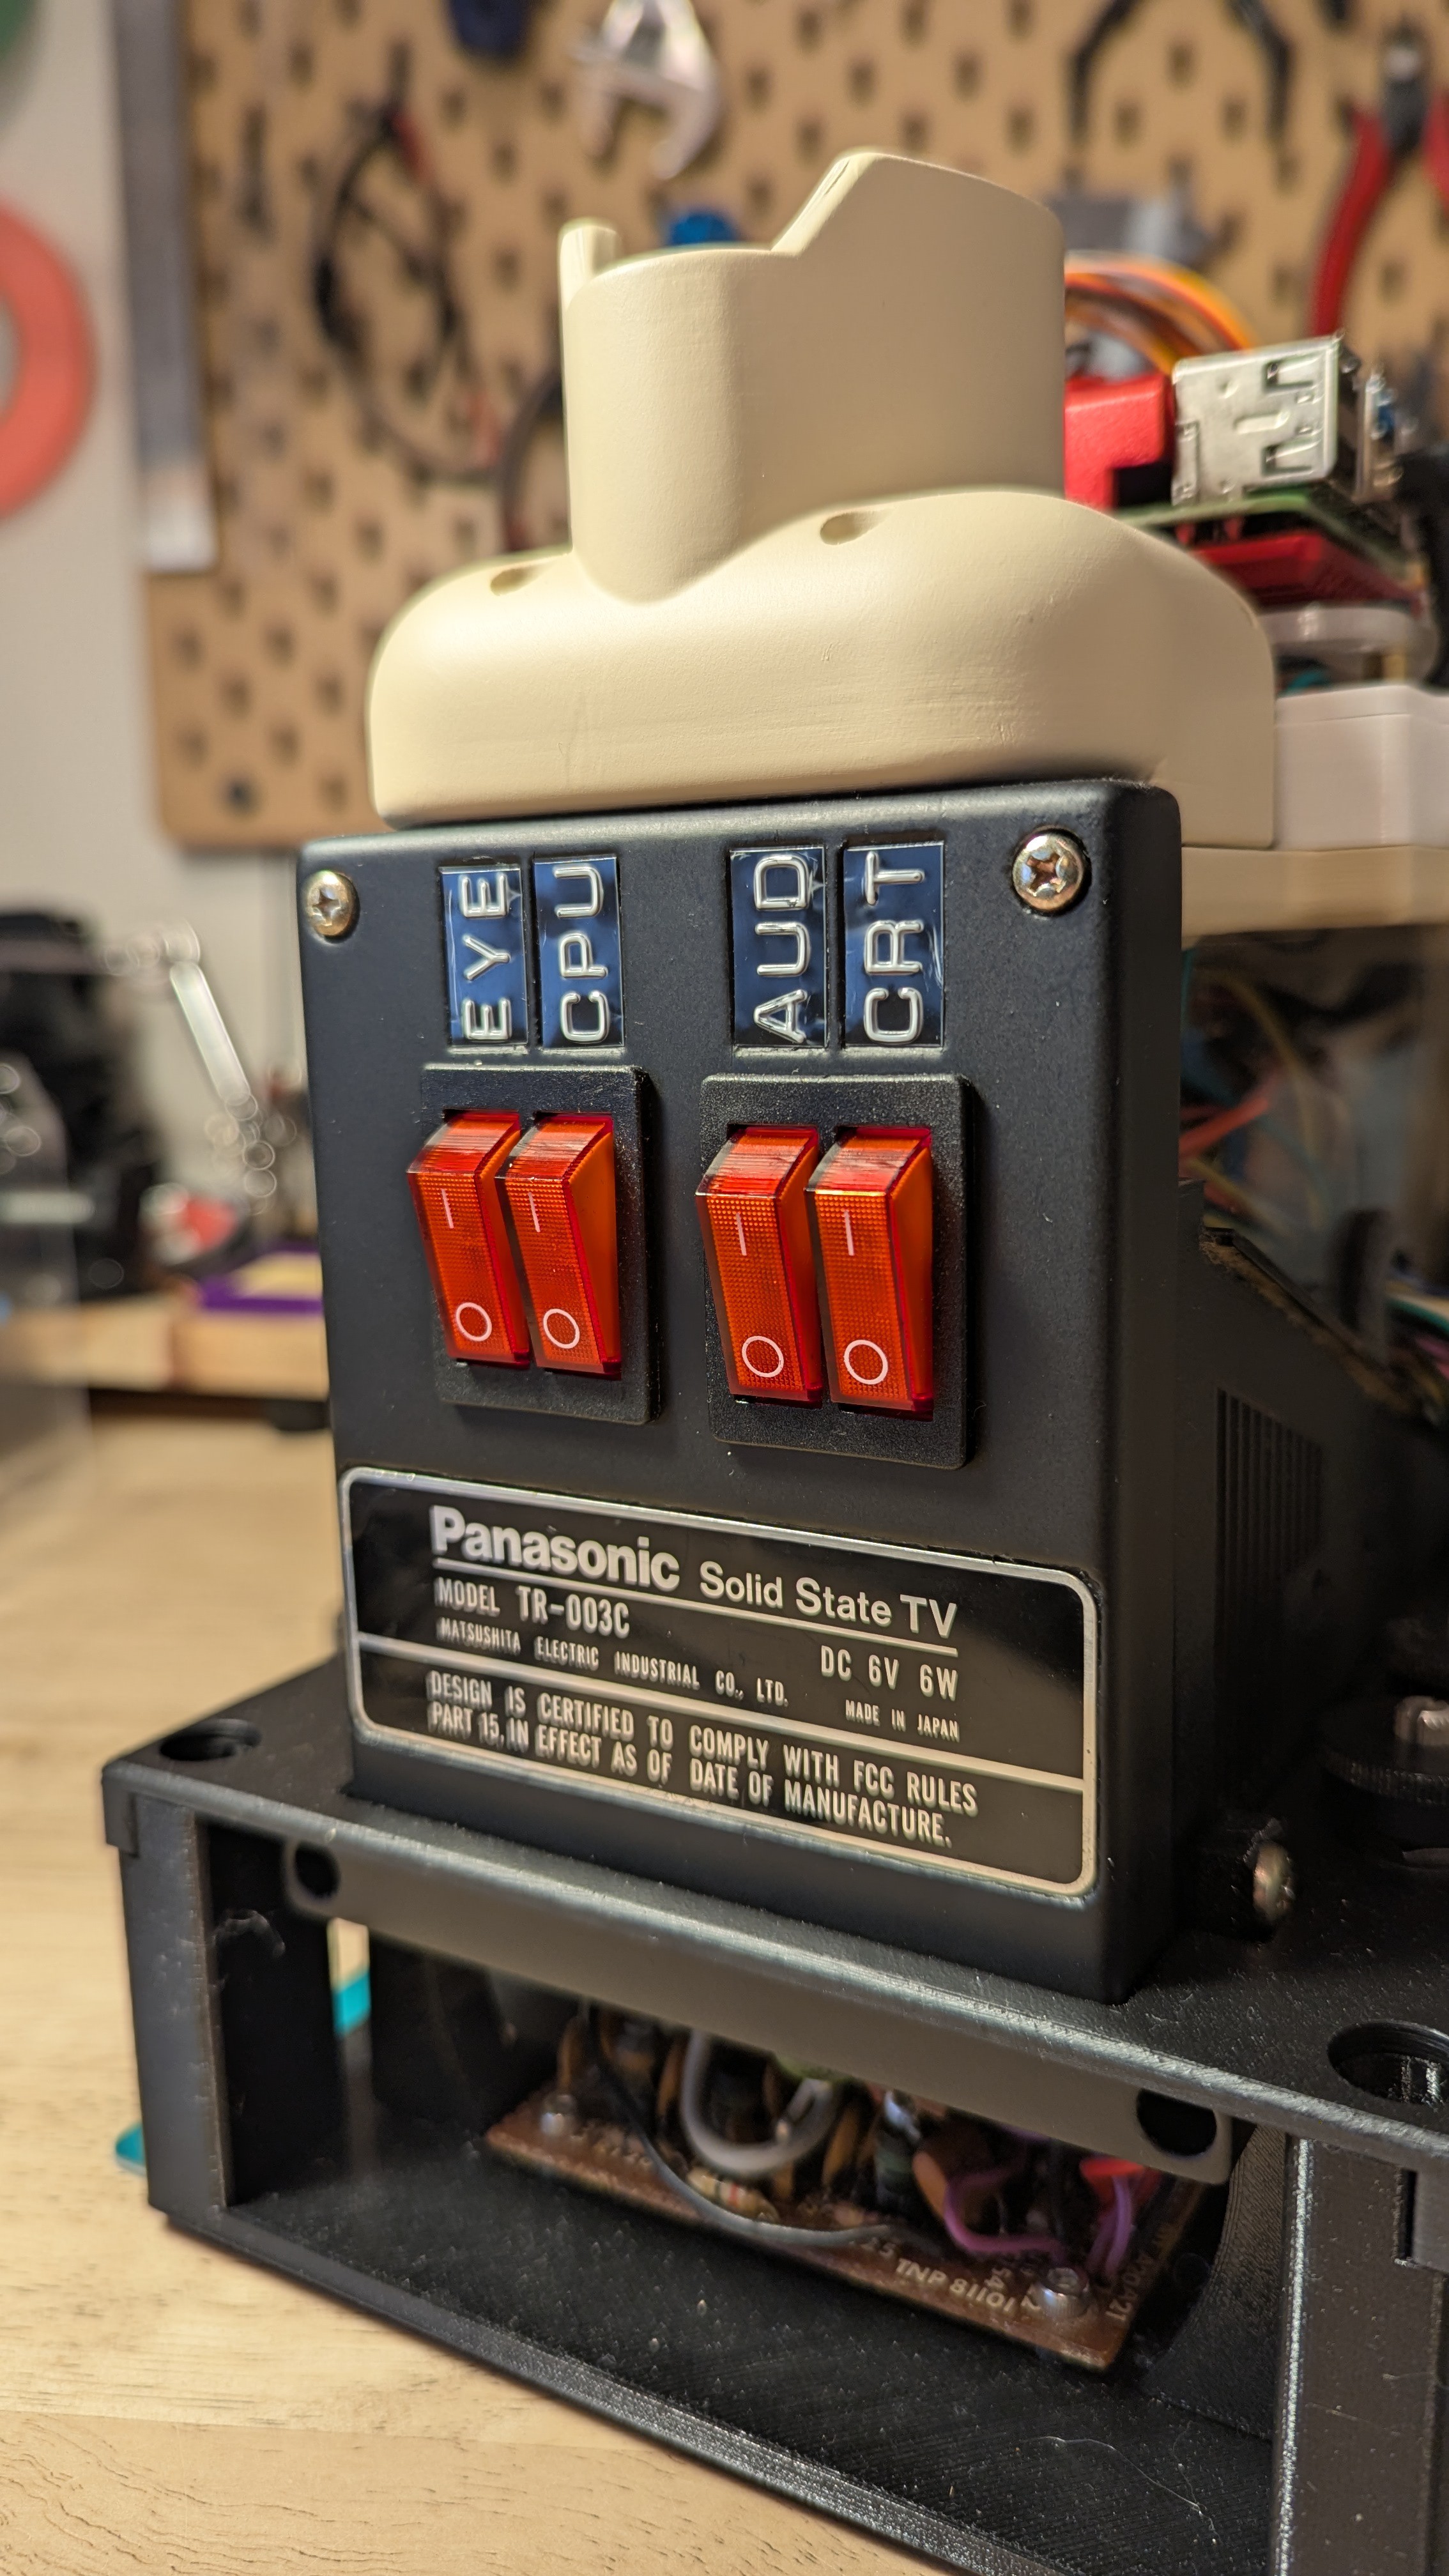
1. CRT - Panasonic TR-003C
One of the major components of this build was the CRT television. I was lucky enough to find a Panasonic TR-003C at a thrift store. This unit is probably over 50 years old, as they were built in the early 1970's. While this one is in fairly rough shape, it is still functional! It had a couple of neat features:
- 3-inch pop-up black and white CRT display
- Cassette recorder and player
- AM/FM radio receiver
- Over-the-air broadcast TV receiver
Since this model was a bit worse for wear, I didn't feel too bad disassembling it and turning it into something new, though I did feel some regret in repurposing rather than repairing it. I take a look at this old treasure and then take it apart in this teardown video:
From the original device I kept:
- The CRT tube, its transformer and control board
- The tuning and CRT adjustment board
- The pop-up housing
- Several knobs and switches
See the instructions section for details on disassembly and CRT wiring.
!! Note CRT's can be dangerous !! They can hold thousands of volts, and the vacuum tubes themselves can be dangerous if they break. Always follow proper safety protocols when handling them.
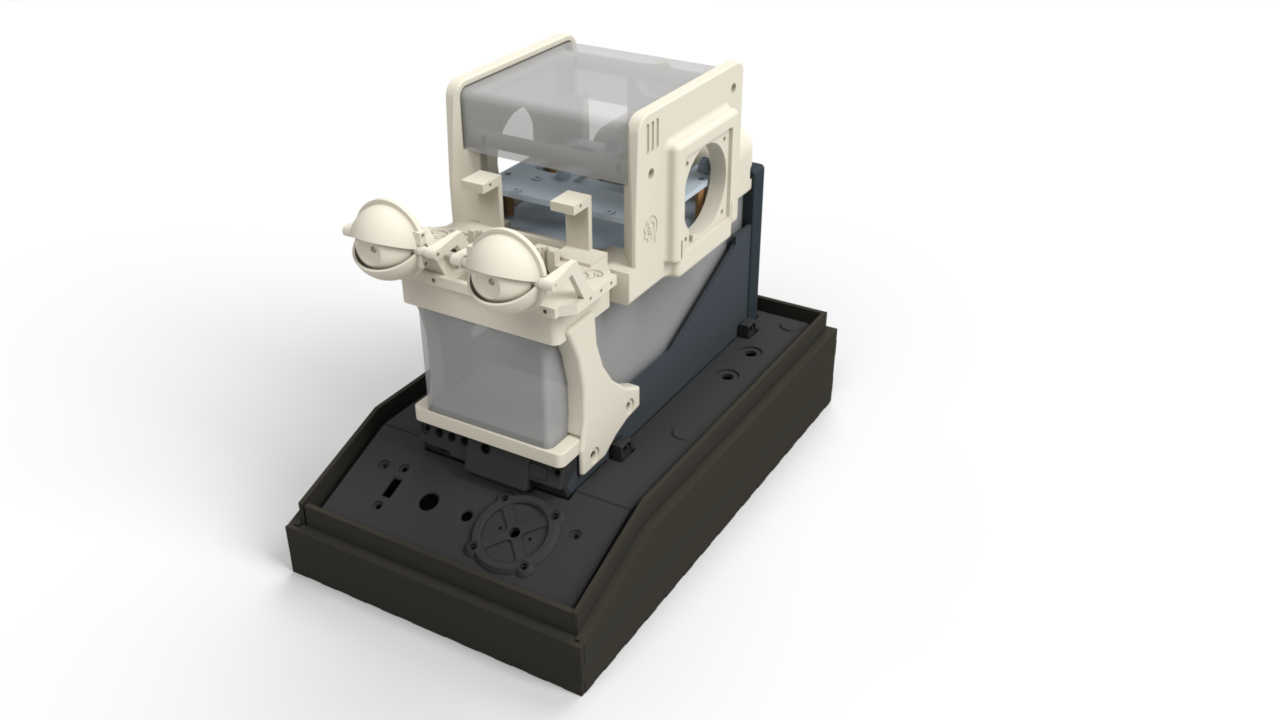
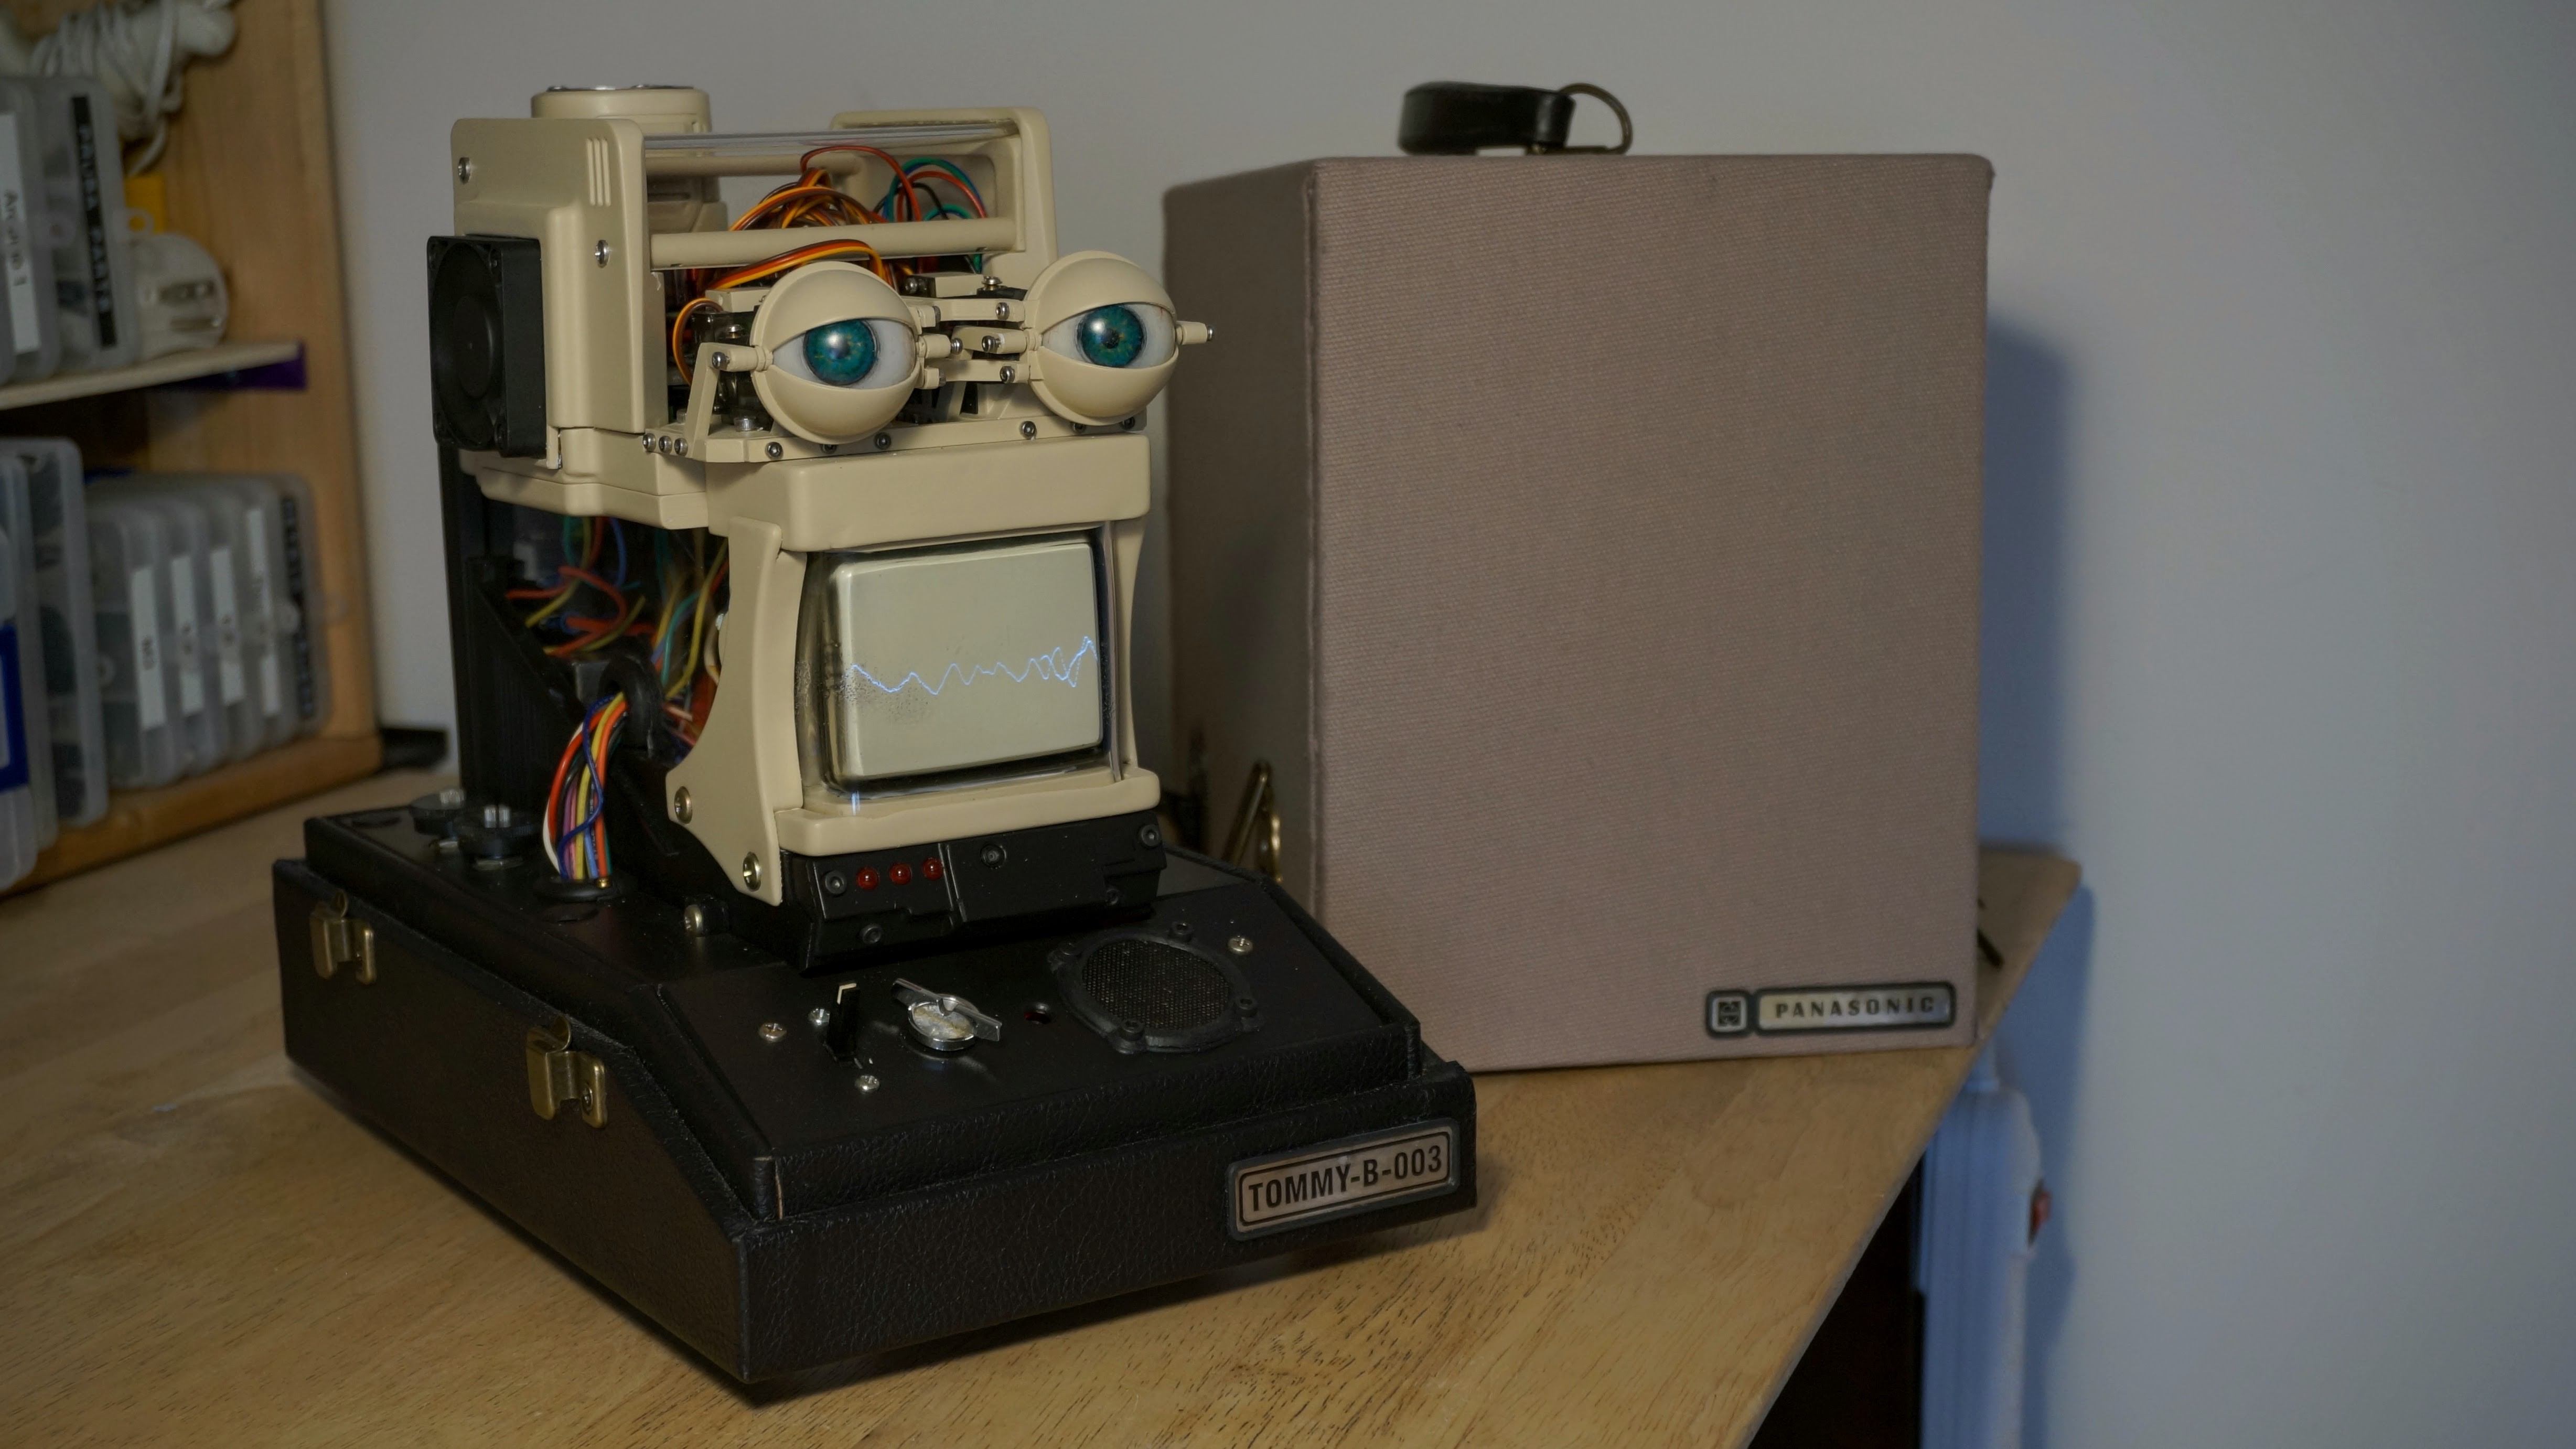
2. Robot Body and Housing
To make the robot portable, I wanted it to be in as compact a form as possible. This was a challenge given the size and shape of the original CRT and boards, as well as the battery and other components. The other aspect that influenced the design of the robot was the desire for it to feel like a product. I wanted it to feel commercial, like you could have bought it at a store. Something along the techno-futuristic style of Fallout. I wanted it to have a semblance of a body, and framed this around the pop-up housing taken from the original TV. The "brain" and electronics would sit on top.
- The majority of parts were 3D-printed out of PETG or PLA.
- The clear covers used 3 mm acrylic
- Part of the enclosure utilized the pop-up housing taken from the original TV
All 3D printing files attached below as well as available on Printables here.
The entire CAD model is publicly available on OnShape here.
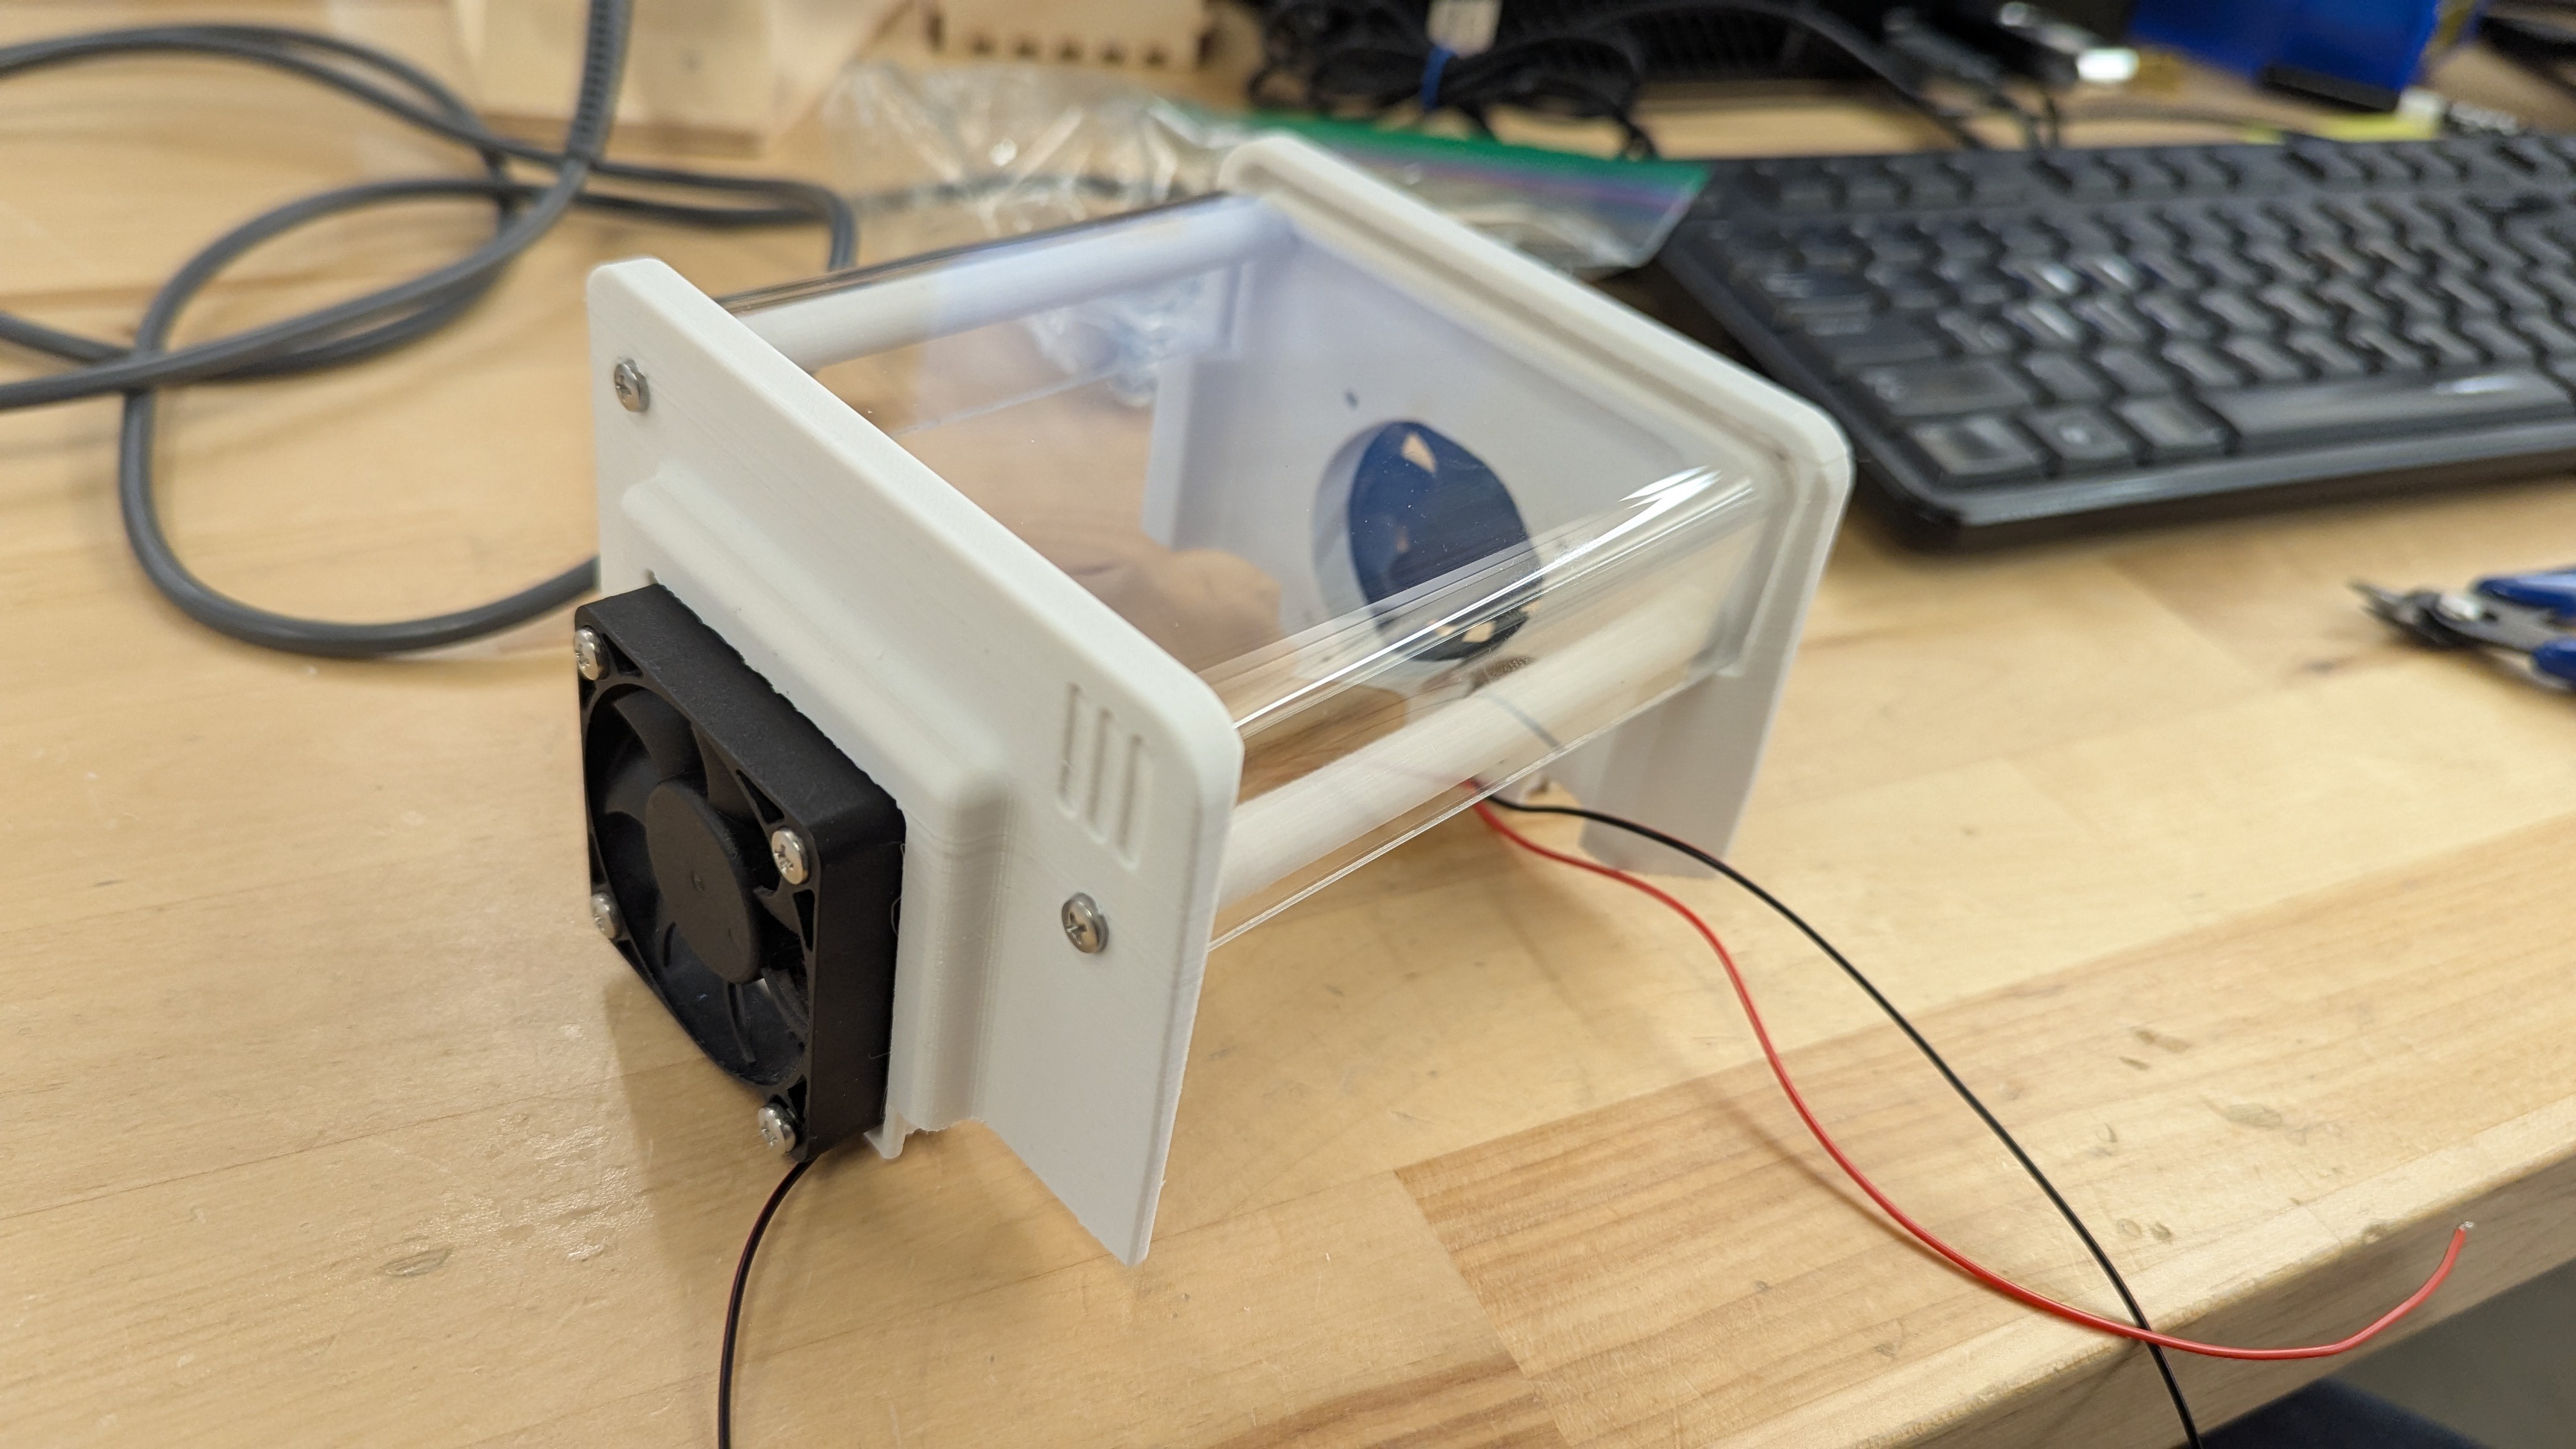
The top of the robot was made to be removable, to allow easy access to the "brains". This removable top also houses the cooling fans. This section is held in place by 4 magnets, and re-purposed battery contacts provide power for the fans.
The rear of the robot has panel of labelled switches, so individual systems can be switched off and on. This area also allowed me to include one of the original Panasonic TR-003 C labels. See the Power and Wiring section for more details.
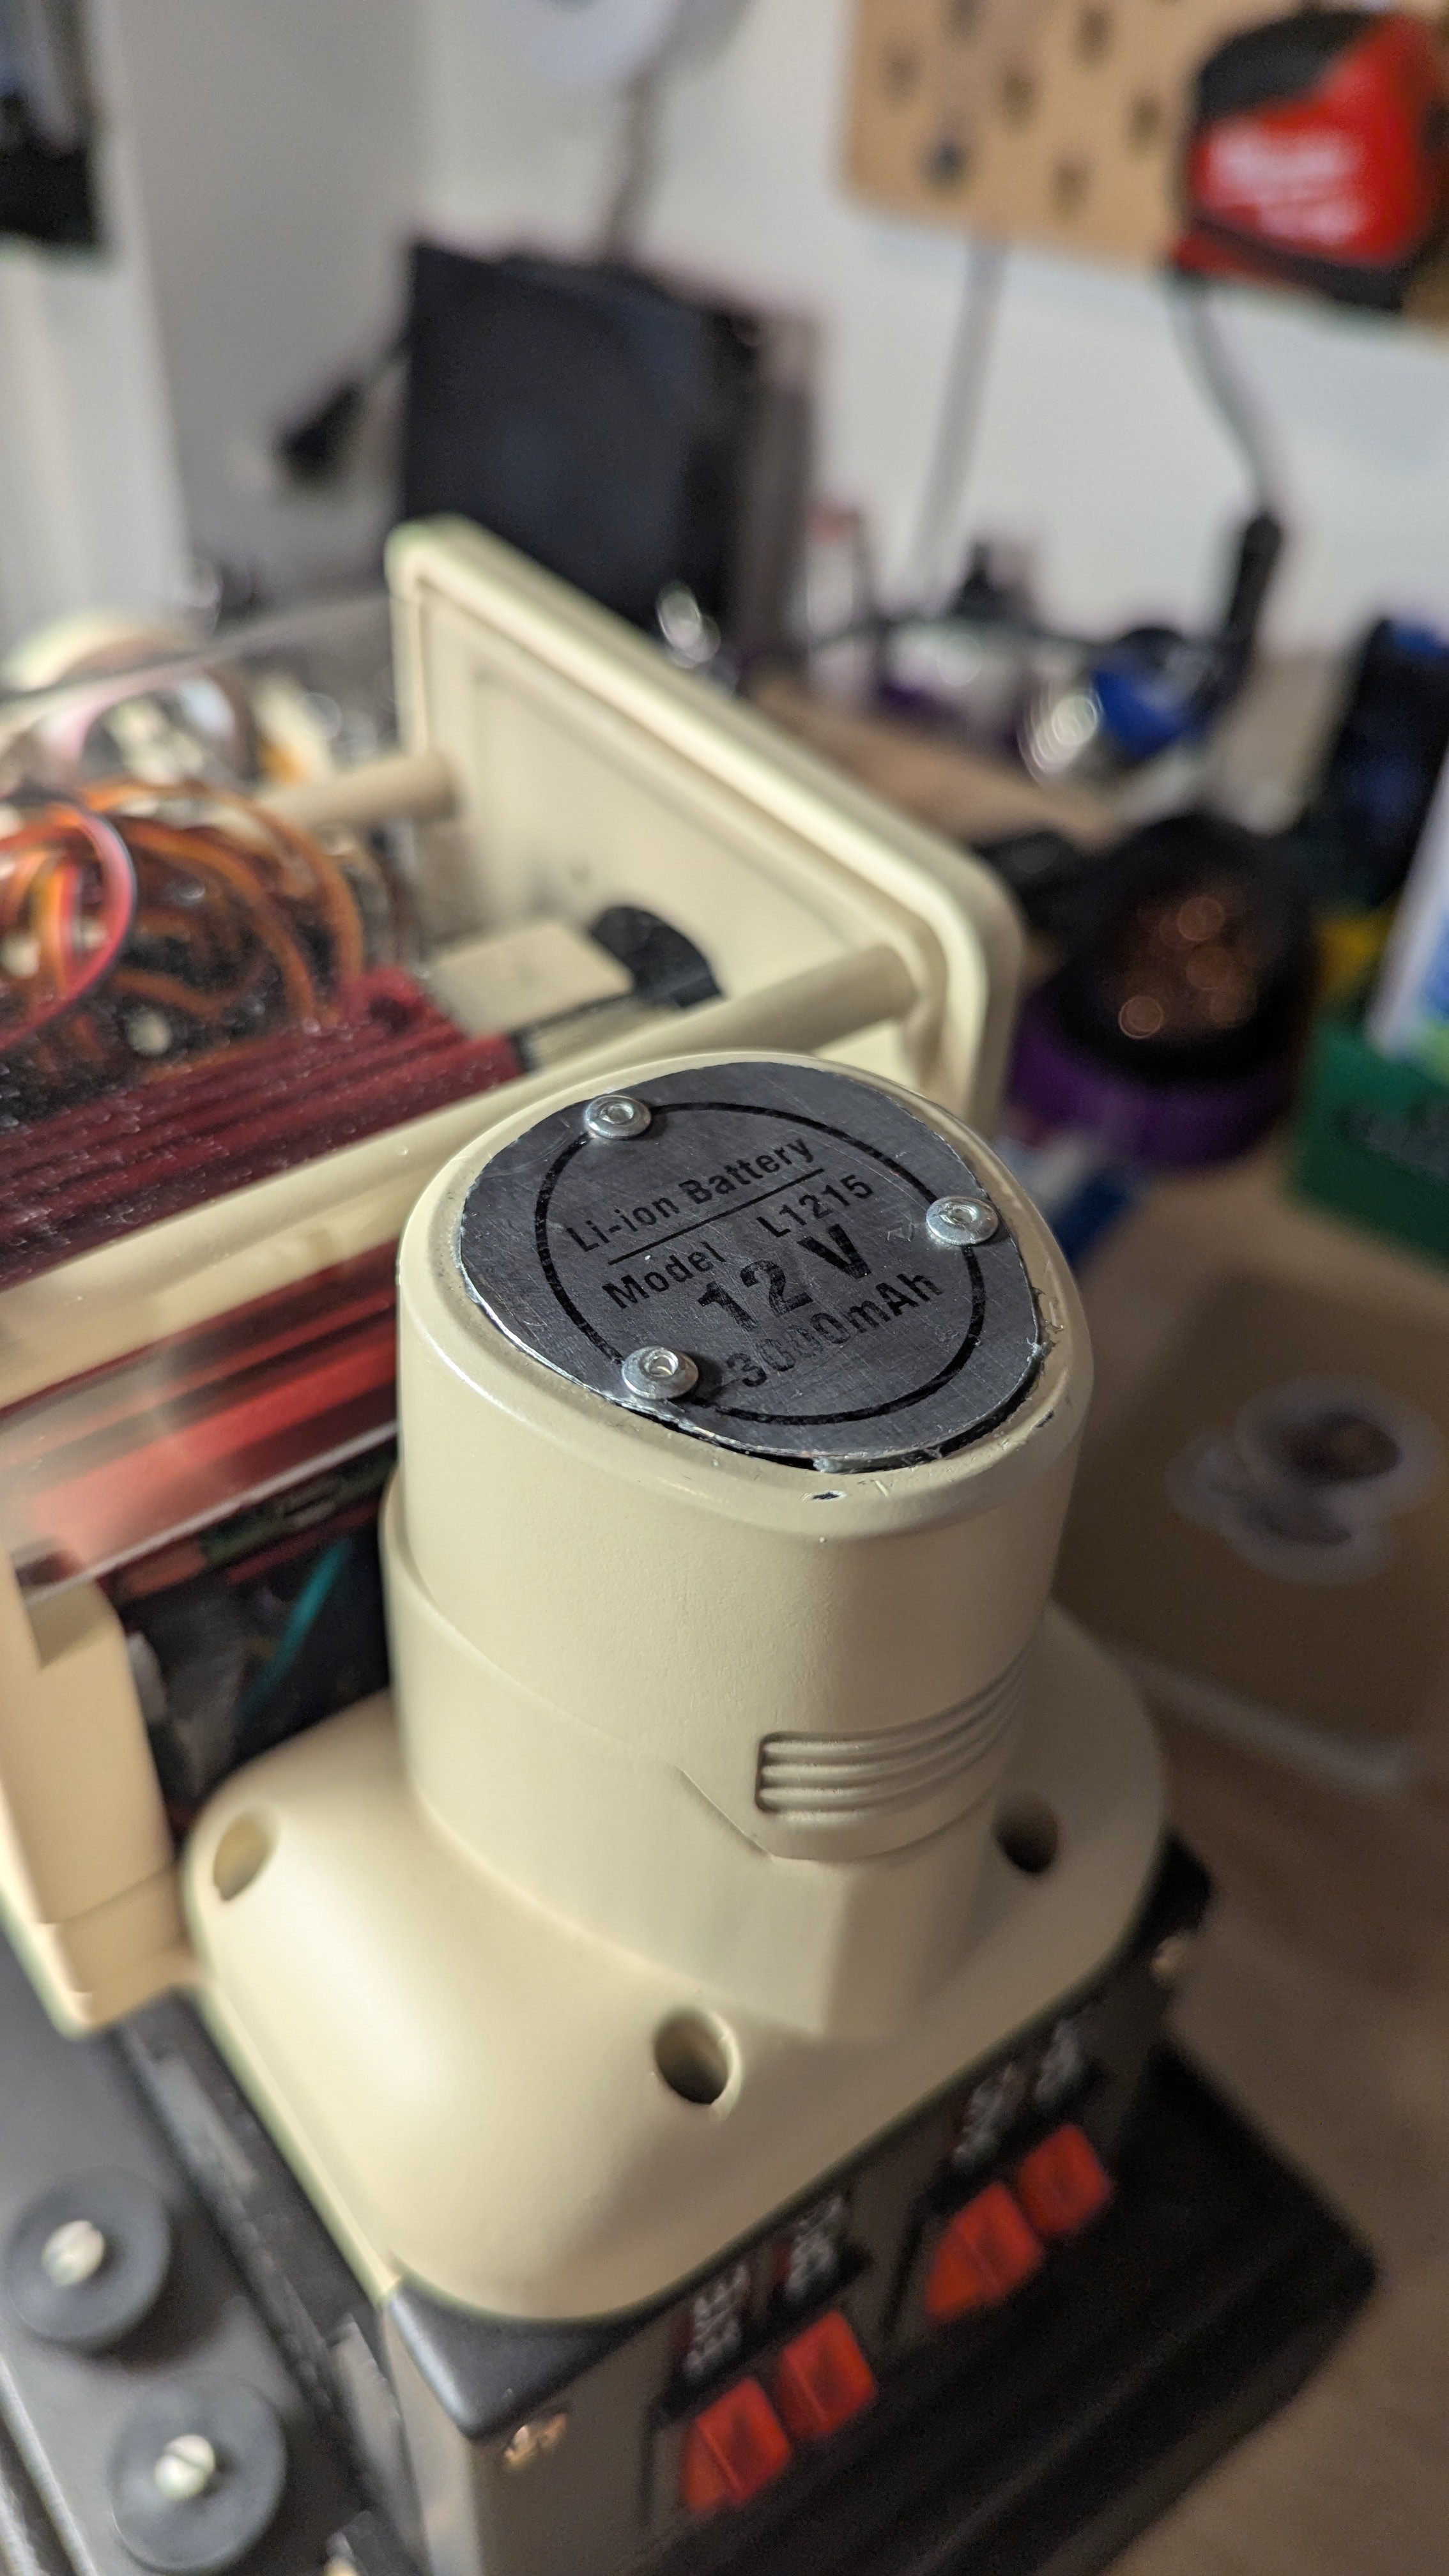
I felt that a removable battery fit the aesthetic of this build. I liked the idea of being able to unplug/plug in a battery, and swap out replacements. I chose a 12V Rigid battery, since I already had a charger for these. I added a metal label plate on the top, to keep it inline with the overall look of the robot.
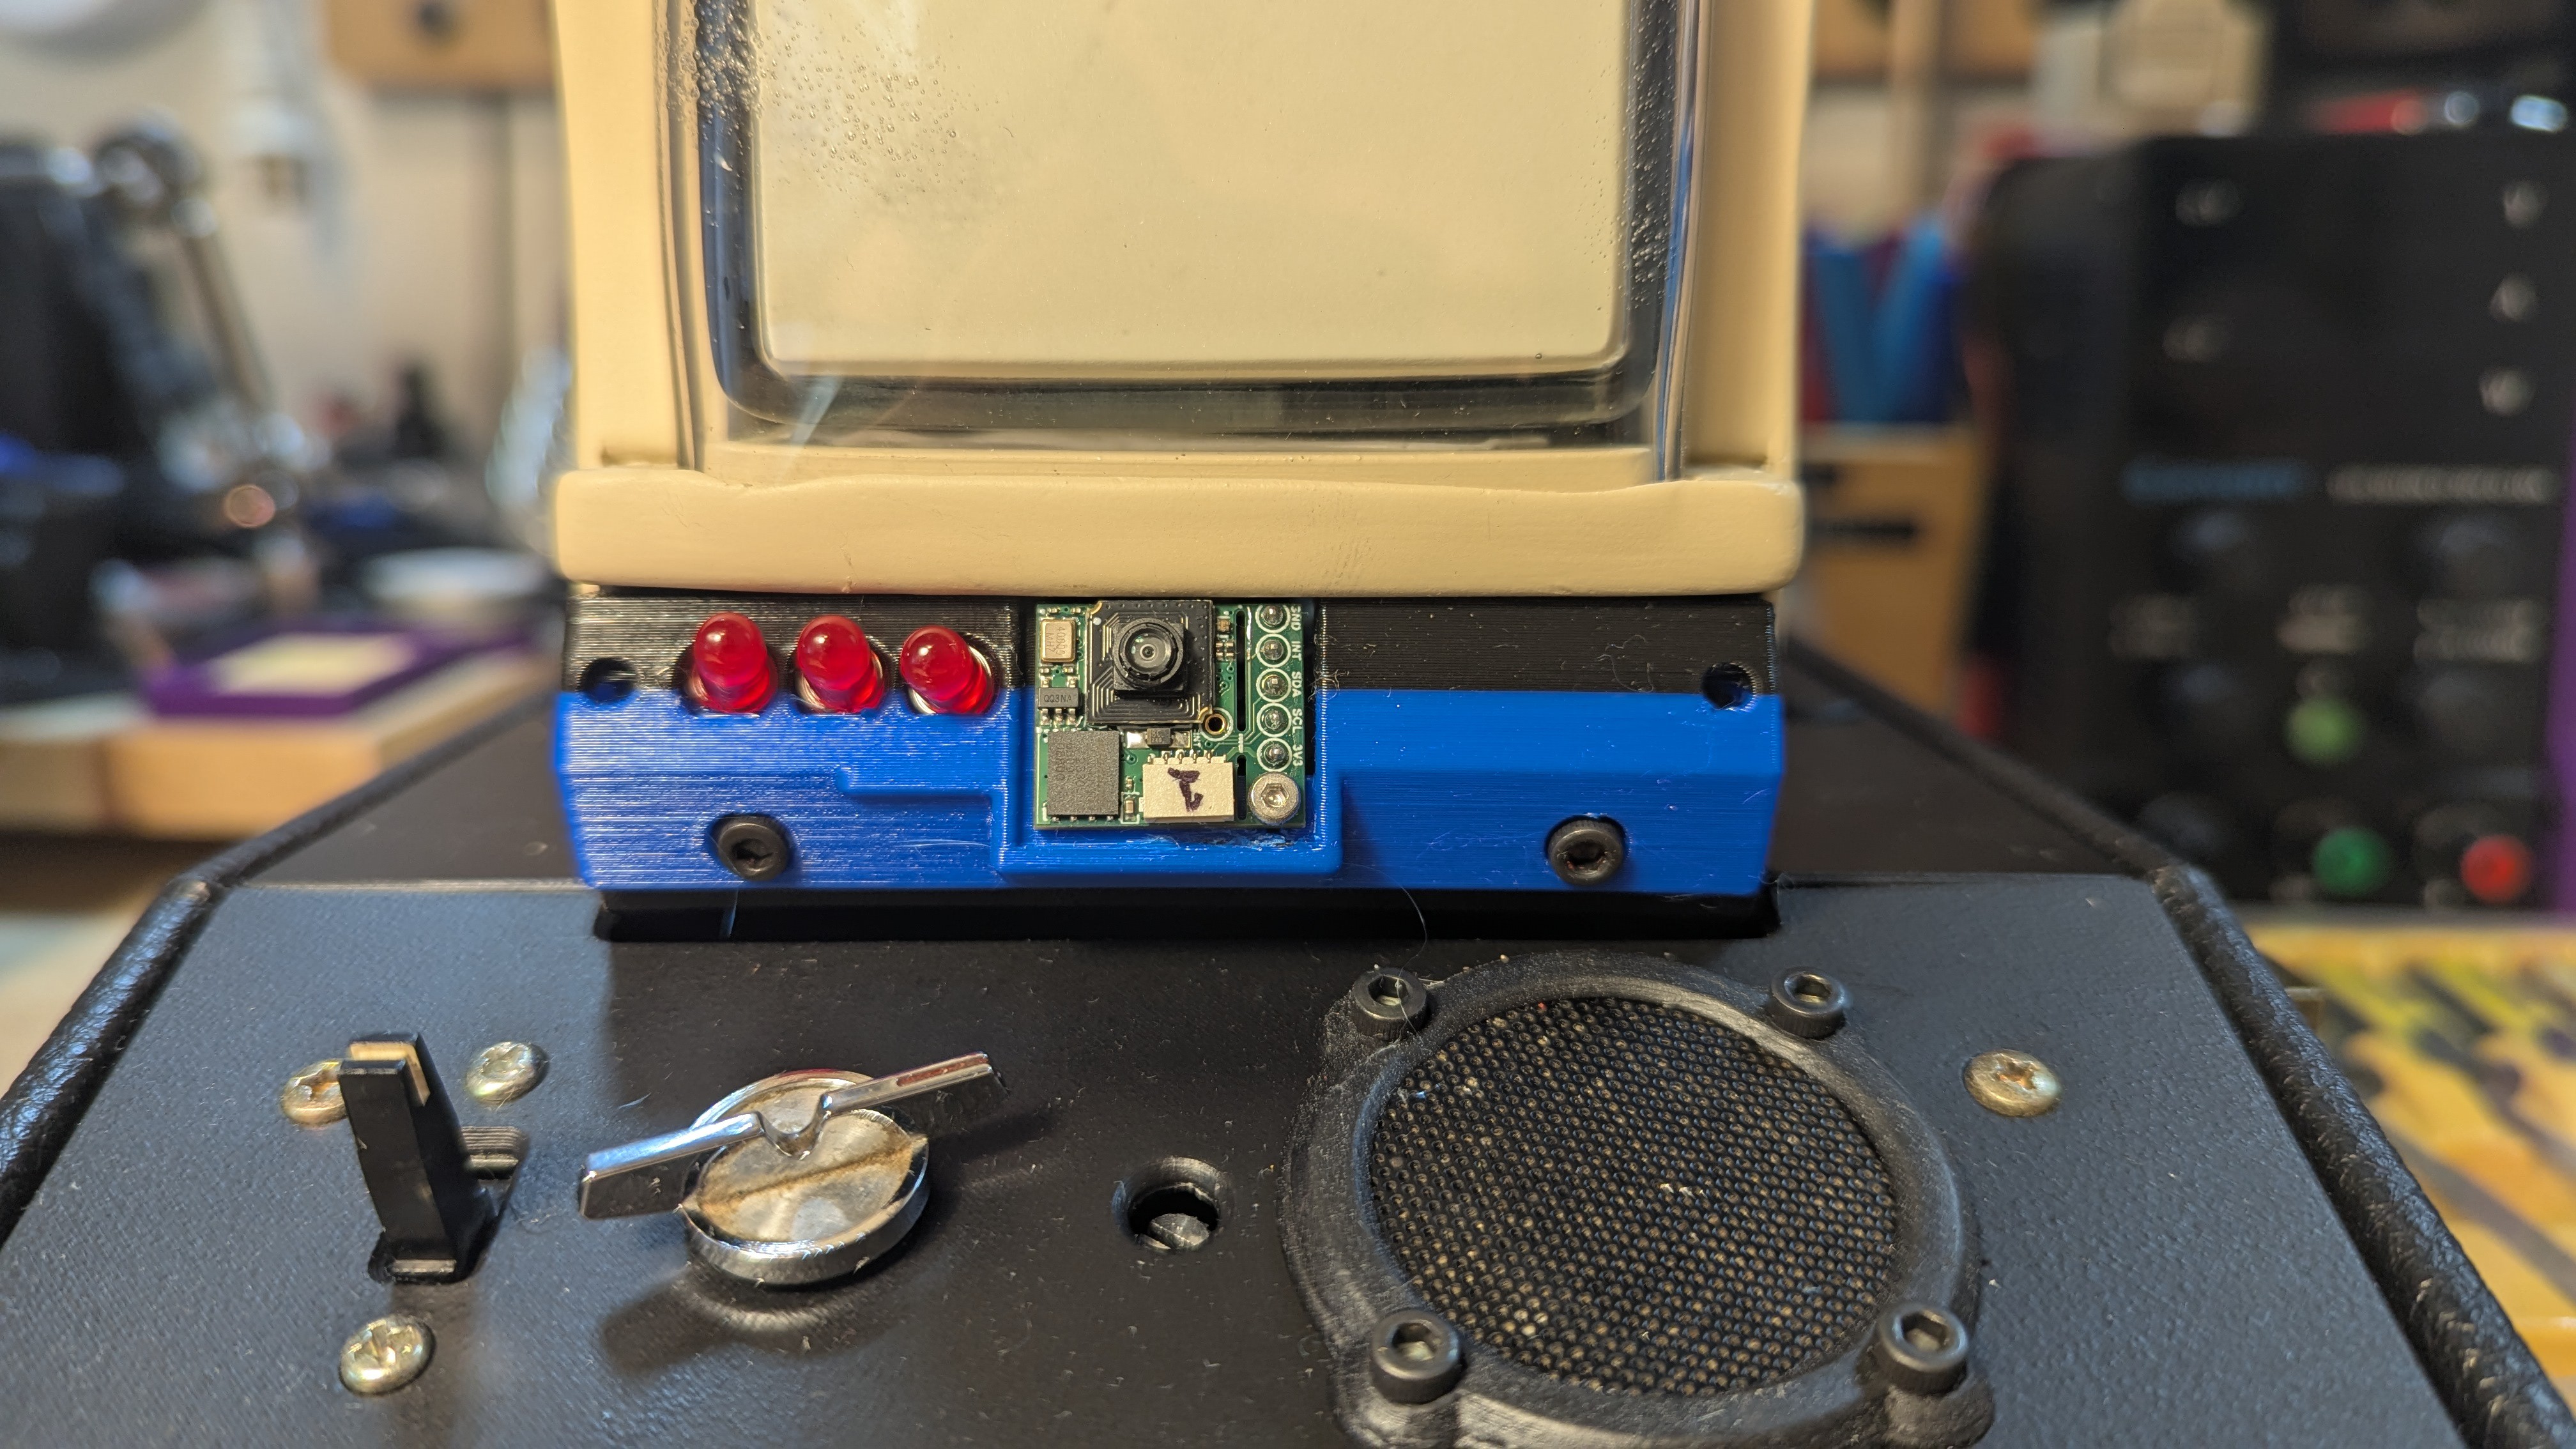
Finally, the front panel of the robot has the main ON/OFF switch, a dial for speaker volume, and a mesh cover for the microphone. The person sensor, which is used for facial tracking, is concealed above the front panel next to a row of LEDs. These are currently unpowered. I hid the person sensor here because I didn't want it to be an obvious camera. I wanted the user to see the robots eyes and believe that was how it was seeing the world.
The external sections of the robot were painted wither black, to match the original pop-up housing and a beige colour I felt was reminiscent of old PC towers and monitors.
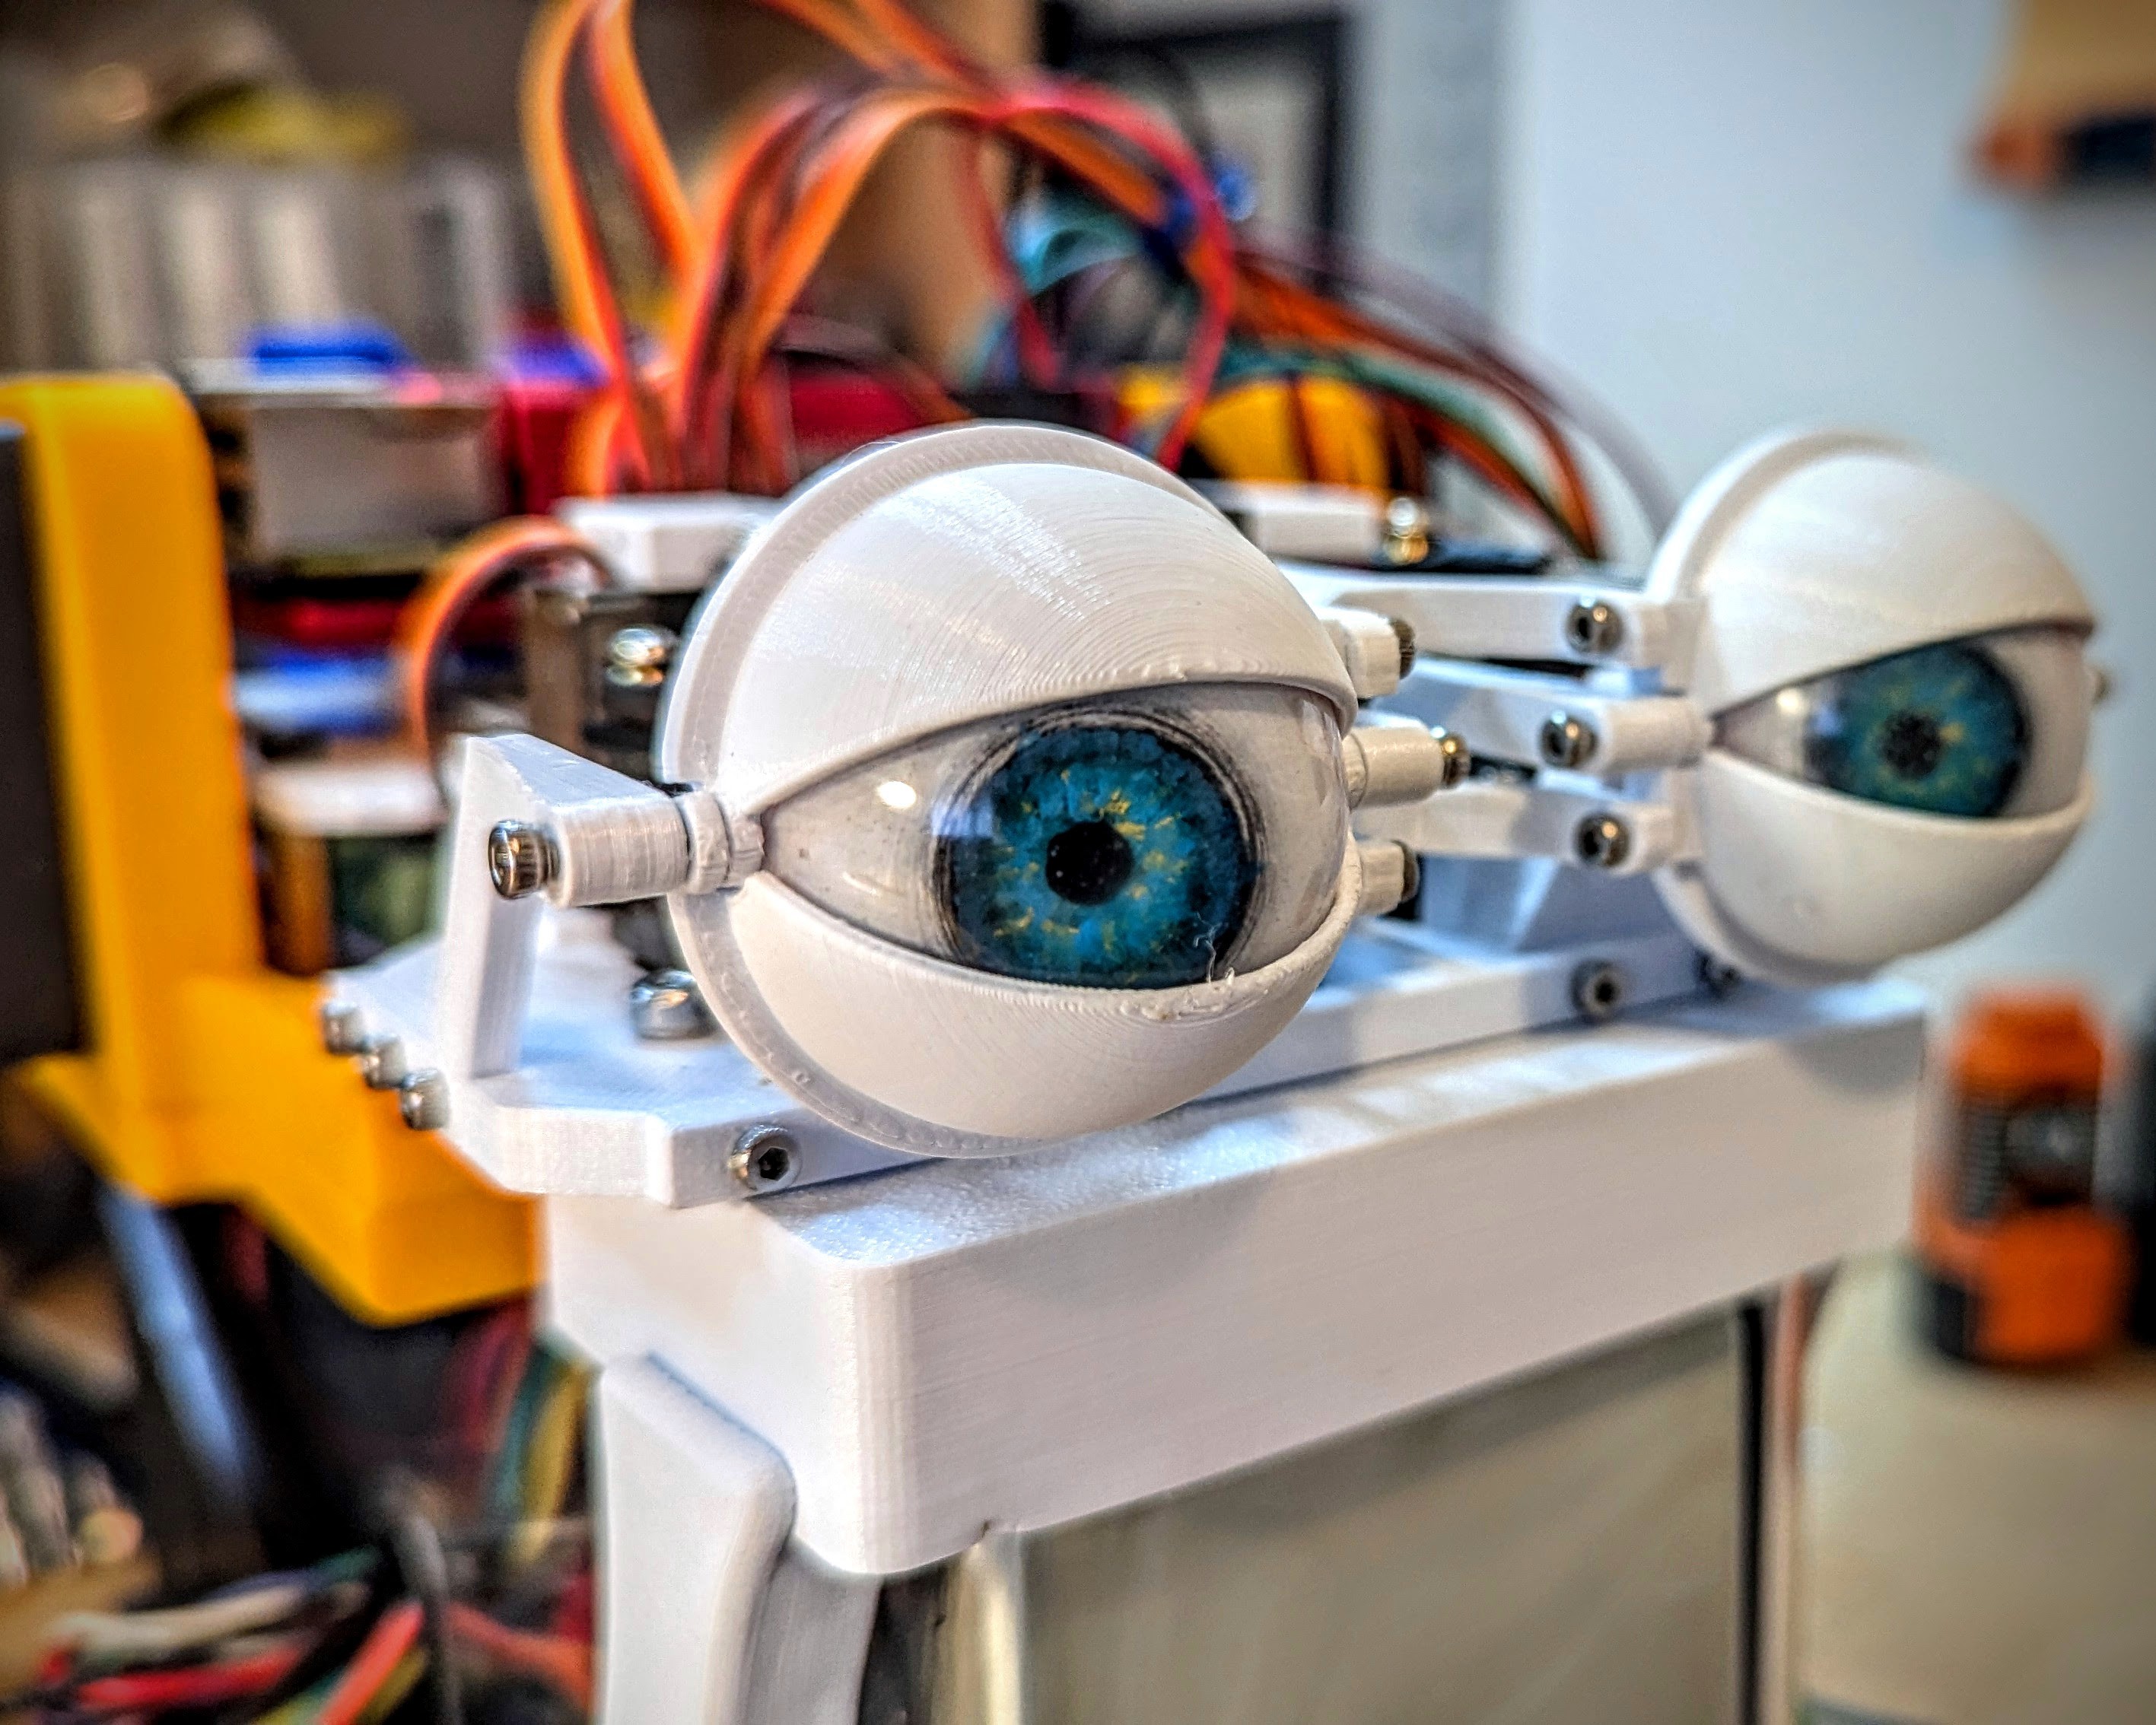
3. Animatronic Eyes
The animatronic eyes in this video use Will Cogley's Advanced Eye Mechanism. Will Cogley is a maker who has designed a wide range of animatronics. I followed his guides for creating realistic eyes, and used his design for the animatronic eye mechanism. Since I started this project he has also made a new eye mechanism that incorporates a camera directly into the eye. See his Instructables projects for more details:
DIY Compact 3D Printed Animatronic Eye Mechanism
How to Make Ultra Realistic Eyes Using 3D Printing and Casting
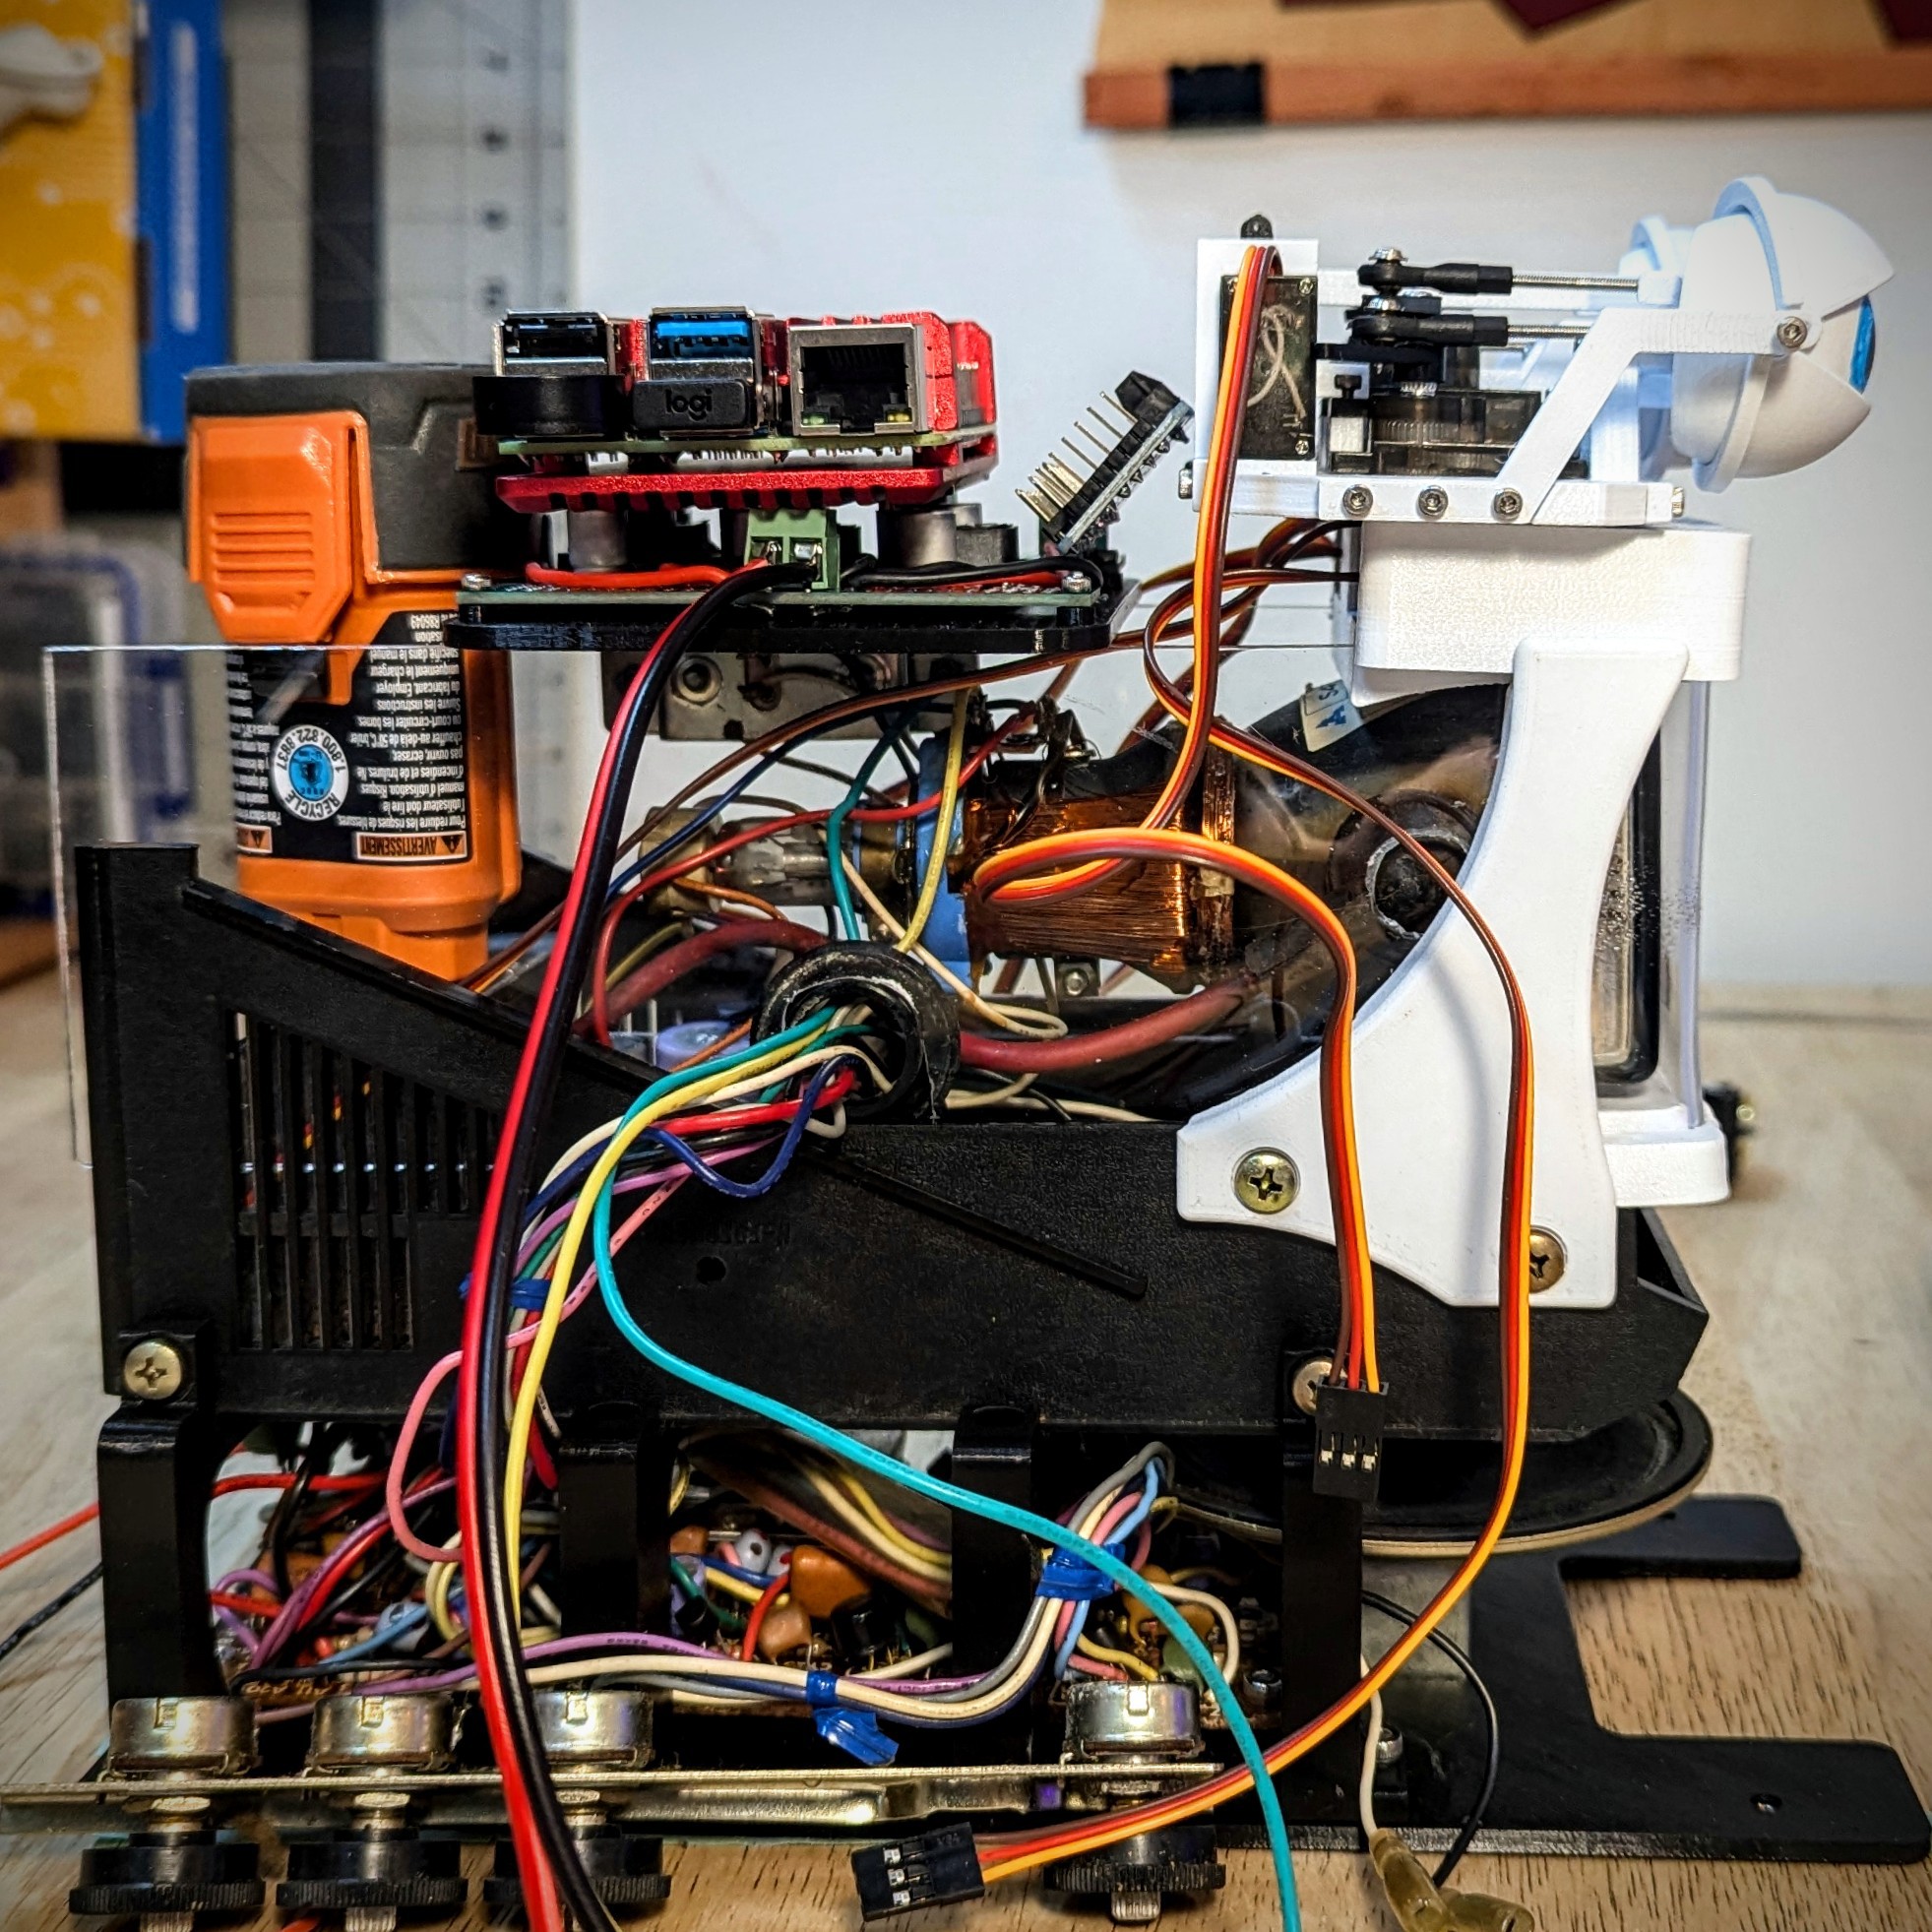
4. Power and Wiring
The electrical system for TOMMY came together as the build developed. I wanted the removable battery, so I used a 12 V RIDGID drill battery. I then needed to step down the voltage for most of the different systems.
The servo driver board required 5 V, the Raspberry Pi specified 5.1 V, and the audio amplifiers required the 12V raw voltage from the battery. The CRT took some investigation of the Photofact manual (see attached file) as well as testing to assess the required voltage. In testing using the existing power supply for the Panasonic TR003-C I measured a voltage of 4.7 V going to the CRT control board, so I maintained this for the build. I used a couple buck converters assembled into a "power board" to distribute power to all these systems.

For the full wiring breakdown see TOMMY-B-003_Electrical_Schematic attached in the files section below.
5. Carrying Case / Tommy's Box
I really wanted Tommy to be portable in a way that felt like a commercial product. Again aiming for an old school vintage electronic aesthetic. I took a lot of inspiration from my previous TVA Pi-Deck Field Computer project.
I used laser cut 1/8 in plywood to build the box, which was assembled with wood glue. I then used Super 77 adhesive spray to upholster the exterior with fabric. See the instructions for more details on the construction of the box. All the laser cut files are included in the files section for the project.
6. The Code
Full disclosure, I am not a developer or programmer. The code on this project is the area that could probably use the most improvement. While I had some help from AI, as well as many more talented people online and on YouTube, I wanted a code package that I had mostly created and understood myself. The full repo is available on my GitHub page: exercising-ingenuity / tommy-b-003
The main code segments are the animatronics control and the AI chatbot.
Animatronics Control
This used the Person Sensor by Useful Sensors (now discontinued) to return the location of faces / people in front of the robot. This was then translated into coordinates to pass to the servos. The servos were controlled using the Adafruit Python Servokit library.
AI Chatbot
I utilized the OpenAI Realtime API to provide responses for TOMMY. This was the most challenging part of the build for me, and a lot of what came together was thanks to Chat GPT itself. While I did get the API working, it never quite worked as smoothly as I wanted. I would like to improve this aspect of TOMMY, as at the end of the day it is the most critical part of his functionality. I may explore using an offline LLM, as well as improving the OpenAI Realtime connection.
This project by Bootable USBs on YouTube seems a much more flushed out and functional use of the API that I may try and replicate.
YouTube Video: Real-Time AI Conversations with Python — Talk to OpenAI Instantly!
Github Page: The-ITUnicorn / realTimeAPIpython