 ElectroScope Archive
Project Overview
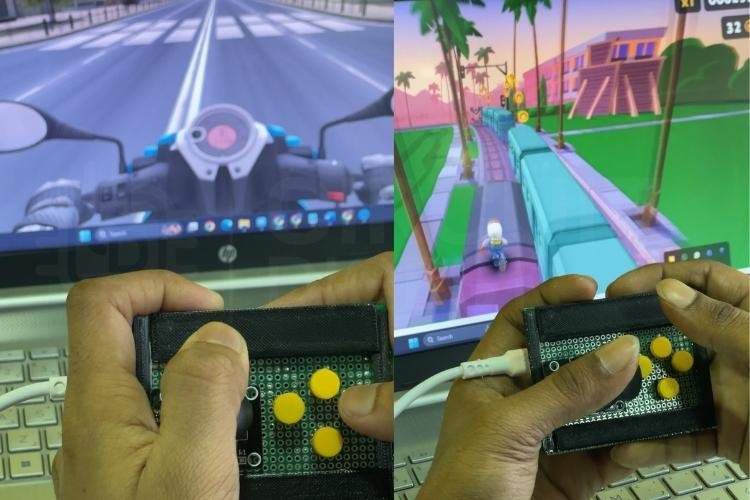
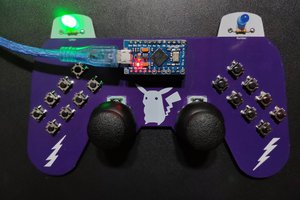
Turn an Arduino Uno R4 into a fully functional USB game controller that your computer recognizes as a keyboard. Using a joystick and tactile buttons, this DIY controller sends directional and action inputs (like arrow keys and WASD) via USB — perfect for retro games or custom control interfaces.
This build blends basic electronics and microcontroller programming to make something playable, tactile, and fun — ideal for maker workshops, gaming hacks, or interactive installs.
What You’ll Build
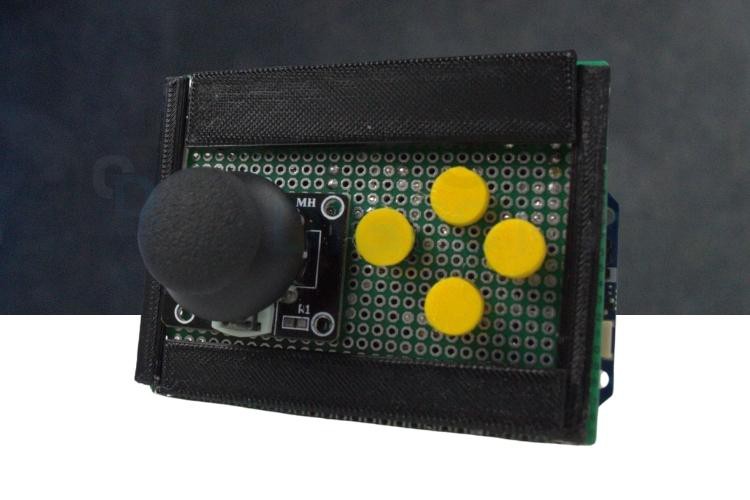
A compact Arduino game controller with:
-
A 2-axis analog joystick for directional control,
-
Four push buttons mapped to action keys,
-
A USB connection that emulates a keyboard, so no drivers are needed.
-
A durable rig you can solder and mount on a perfboard.
Parts List
You’ll need:
-
Arduino Uno R4 – core controller with native USB HID support.
-
1× Joystick module – two-axis input for directional control.
-
4× Push buttons – action inputs mapped to keyboard keys.
-
Perfboard (Vero board) – to mount and solder components.
-
Wires, USB cable, and soldering tools.

Circuit & Wiring
Joystick:
-
X-axis → A0
-
Y-axis → A1
-
VCC → 5 V, GND → GND
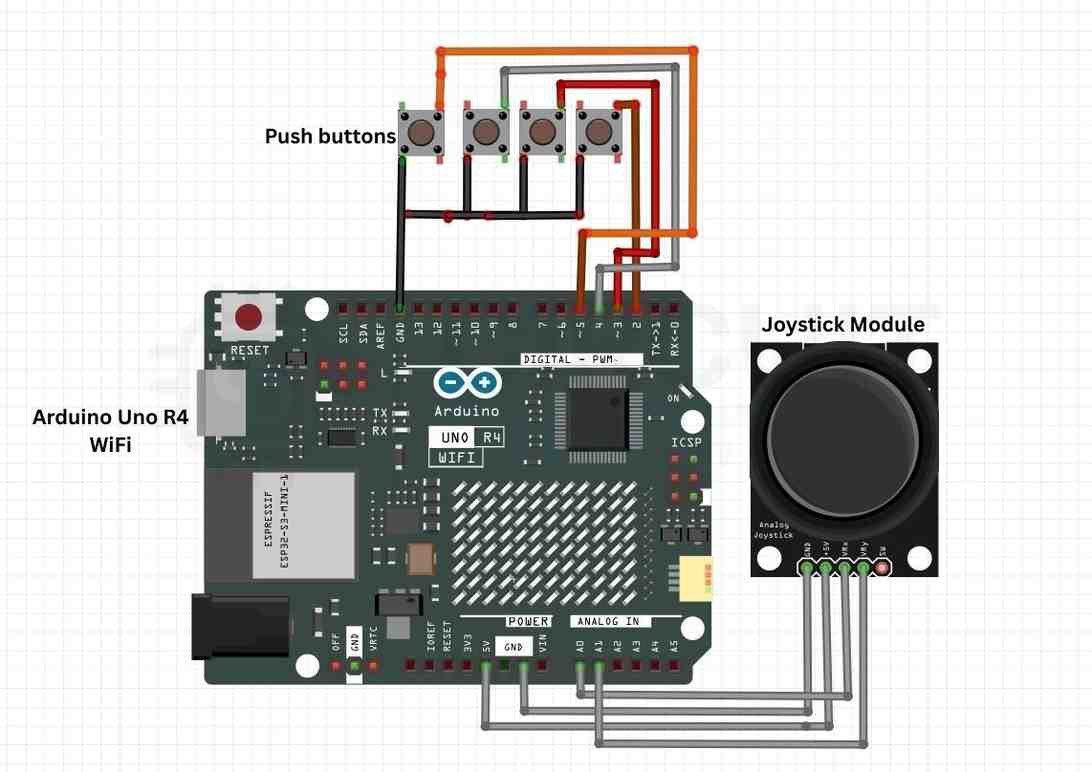
Buttons:
-
Four button terminals → Digital Pins 2–5
-
Other button terminal → GND
-
Internal pull-ups used in code (no extra resistors).
This wiring lets the Uno read analog joystick positions and digital button presses.
Building It Step-by-Step
-
Connect the joystick to the analog inputs and power pins on the Arduino.
-
Wire the push buttons to digital pins (2–5) and ground, enabling internal pull-ups in software.
-
Mount everything on perfboard neatly — solder for strength and durability.
-
Connect the Arduino to your PC via USB for power and data.
How It Works
Once plugged into a computer, the Uno R4 uses the USB HID (Human Interface Device) protocol to appear as a keyboard. This allows it to send keypresses directly — without drivers — making the controller compatible with almost any PC game that supports keyboard input.
Joystick logic:
-
Analog readings beyond a threshold trigger directional arrow key presses (up, down, left, right).
-
Dead-zones near center prevent accidental movement.
Button logic:
-
Buttons are pulled HIGH internally and read LOW when pressed.
-
Each maps to a keyboard character (e.g.,
W,A,S,D).
Arduino Code Example
#include <Keyboard.h>

// Pins
const int joyX = A0;
const int joyY = A1;
const int buttonPins[4] = {2, 3, 4, 5};

// Thresholds
const int LOW_TH = 350;
const int HIGH_TH = 670;

// Key maps
const char buttonKeys[4] = {'w','a','s','d'};

void setup() {  for (int i = 0; i < 4; i++) {    pinMode(buttonPins[i], INPUT_PULLUP); // enable internal pull-up  }  delay(3000);      // allow USB to enumerate  Keyboard.begin(); // start HID
}

void loop() {  // Read joystick  int x = analogRead(joyX);  int y = analogRead(joyY);
  // Directional keys  if (x < LOW_TH)      Keyboard.press(KEY_LEFT_ARROW);  else                  Keyboard.release(KEY_LEFT_ARROW);
  if (x > HIGH_TH)     Keyboard.press(KEY_RIGHT_ARROW);  else                  Keyboard.release(KEY_RIGHT_ARROW);
  if (y < LOW_TH)      Keyboard.press(KEY_UP_ARROW);  else                  Keyboard.release(KEY_UP_ARROW);
  if (y > HIGH_TH)     Keyboard.press(KEY_DOWN_ARROW);  else                  Keyboard.release(KEY_DOWN_ARROW);
  // Buttons  for (int i = 0; i < 4; i++) {    if (digitalRead(buttonPins[i]) == LOW)      Keyboard.press(buttonKeys[i]);    else      Keyboard.release(buttonKeys[i]);  }
  delay(10);
}
This sketch continuously checks control states and sends corresponding keypresses to the PC.
Tips & Troubleshooting
-
Ensure USB enumeration delay
setup()so the PC detects the device before sending keys. -
Adjust dead-zone thresholds if the joystick is too sensitive or drift-prone.
-
If inputs don’t register in a game, check key mapping in the game’s control settings.
Why This Is Cool
-
Universal compatibility: keyboard HID works with thousands of games.
-
No special drivers: simple USB plug-and-play.
-
Modular...
 Kutluhan Aktar
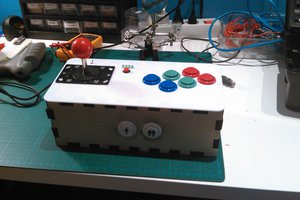
 kefcom