Pat
PatInspiration for the project
I've had a lot of trouble sleeping through all of my life that I can remember. I'm at the point where I will do almost anything in order to feel well rested and to regain some of the energy I've lost from my insomnia. I think a lot of other people are in the same boat, but after some pretty extensive research, I came to the conclusion that there really isn't much tech out there for improving sleep, short of CPAP machines for sleep apnea, something that I'd ruled out as an issue (but might be your problem! You don't need to be overweight to suffer from sleep apnea, your quality of life may be drastically improved from CPAP).
I saw an ad.
One of the first things you will see when checking YouTube for "how to improve sleep" is Bryan Johnson's psychotic approach to sleep optimization (a millionaire who is dead set on becoming immortal). In the video, he is using a water cooled mattress topper by 8Sleep that records his "sleep score", a number that the bed cover, or the strip of sensors beneath it is recording and uploading to the cloud. This looks really interesting, until you realize is costs thousands of dollars AND a mandatory monthly subscription. There are a few others, but they don't have the same amount of features as the 8Sleep does, they all have issues or questionable practices, and none of them are open source.
Being me, I want to optimize my sleep, but I am also poor. Even if I could afford to buy the bed, I couldn't afford to pay the subscription, and frankly, even if I could, I wouldn't want to give a cent to such a predatory company. One thing they've done very well with though, is advertising. It seems like nearly every health influencer who is in some way interested in sleep tracking has received one of these beds for free, and swears by it. Now I can go into almost any makerspace and mention water cooled beds and SOMEONE in the room will immediately know what I'm talking about, usually followed by "aren't those super expensive?"
"NO!"
(if you build it yourself)
Let's tear it down
I started on this project about two years ago, where I asked on the r/8sleep subreddit for a teardown of the chiller unit the "pod". I did a quick breakdown on the github project page about the actual cost of the unit after finding all of the parts on Aliexpress and Alibaba with the help of a fellow redditor. The total cost for this $1000+ piece of equipment? About $300. And that's after accounting for things like shipping and adding a bit of headroom.
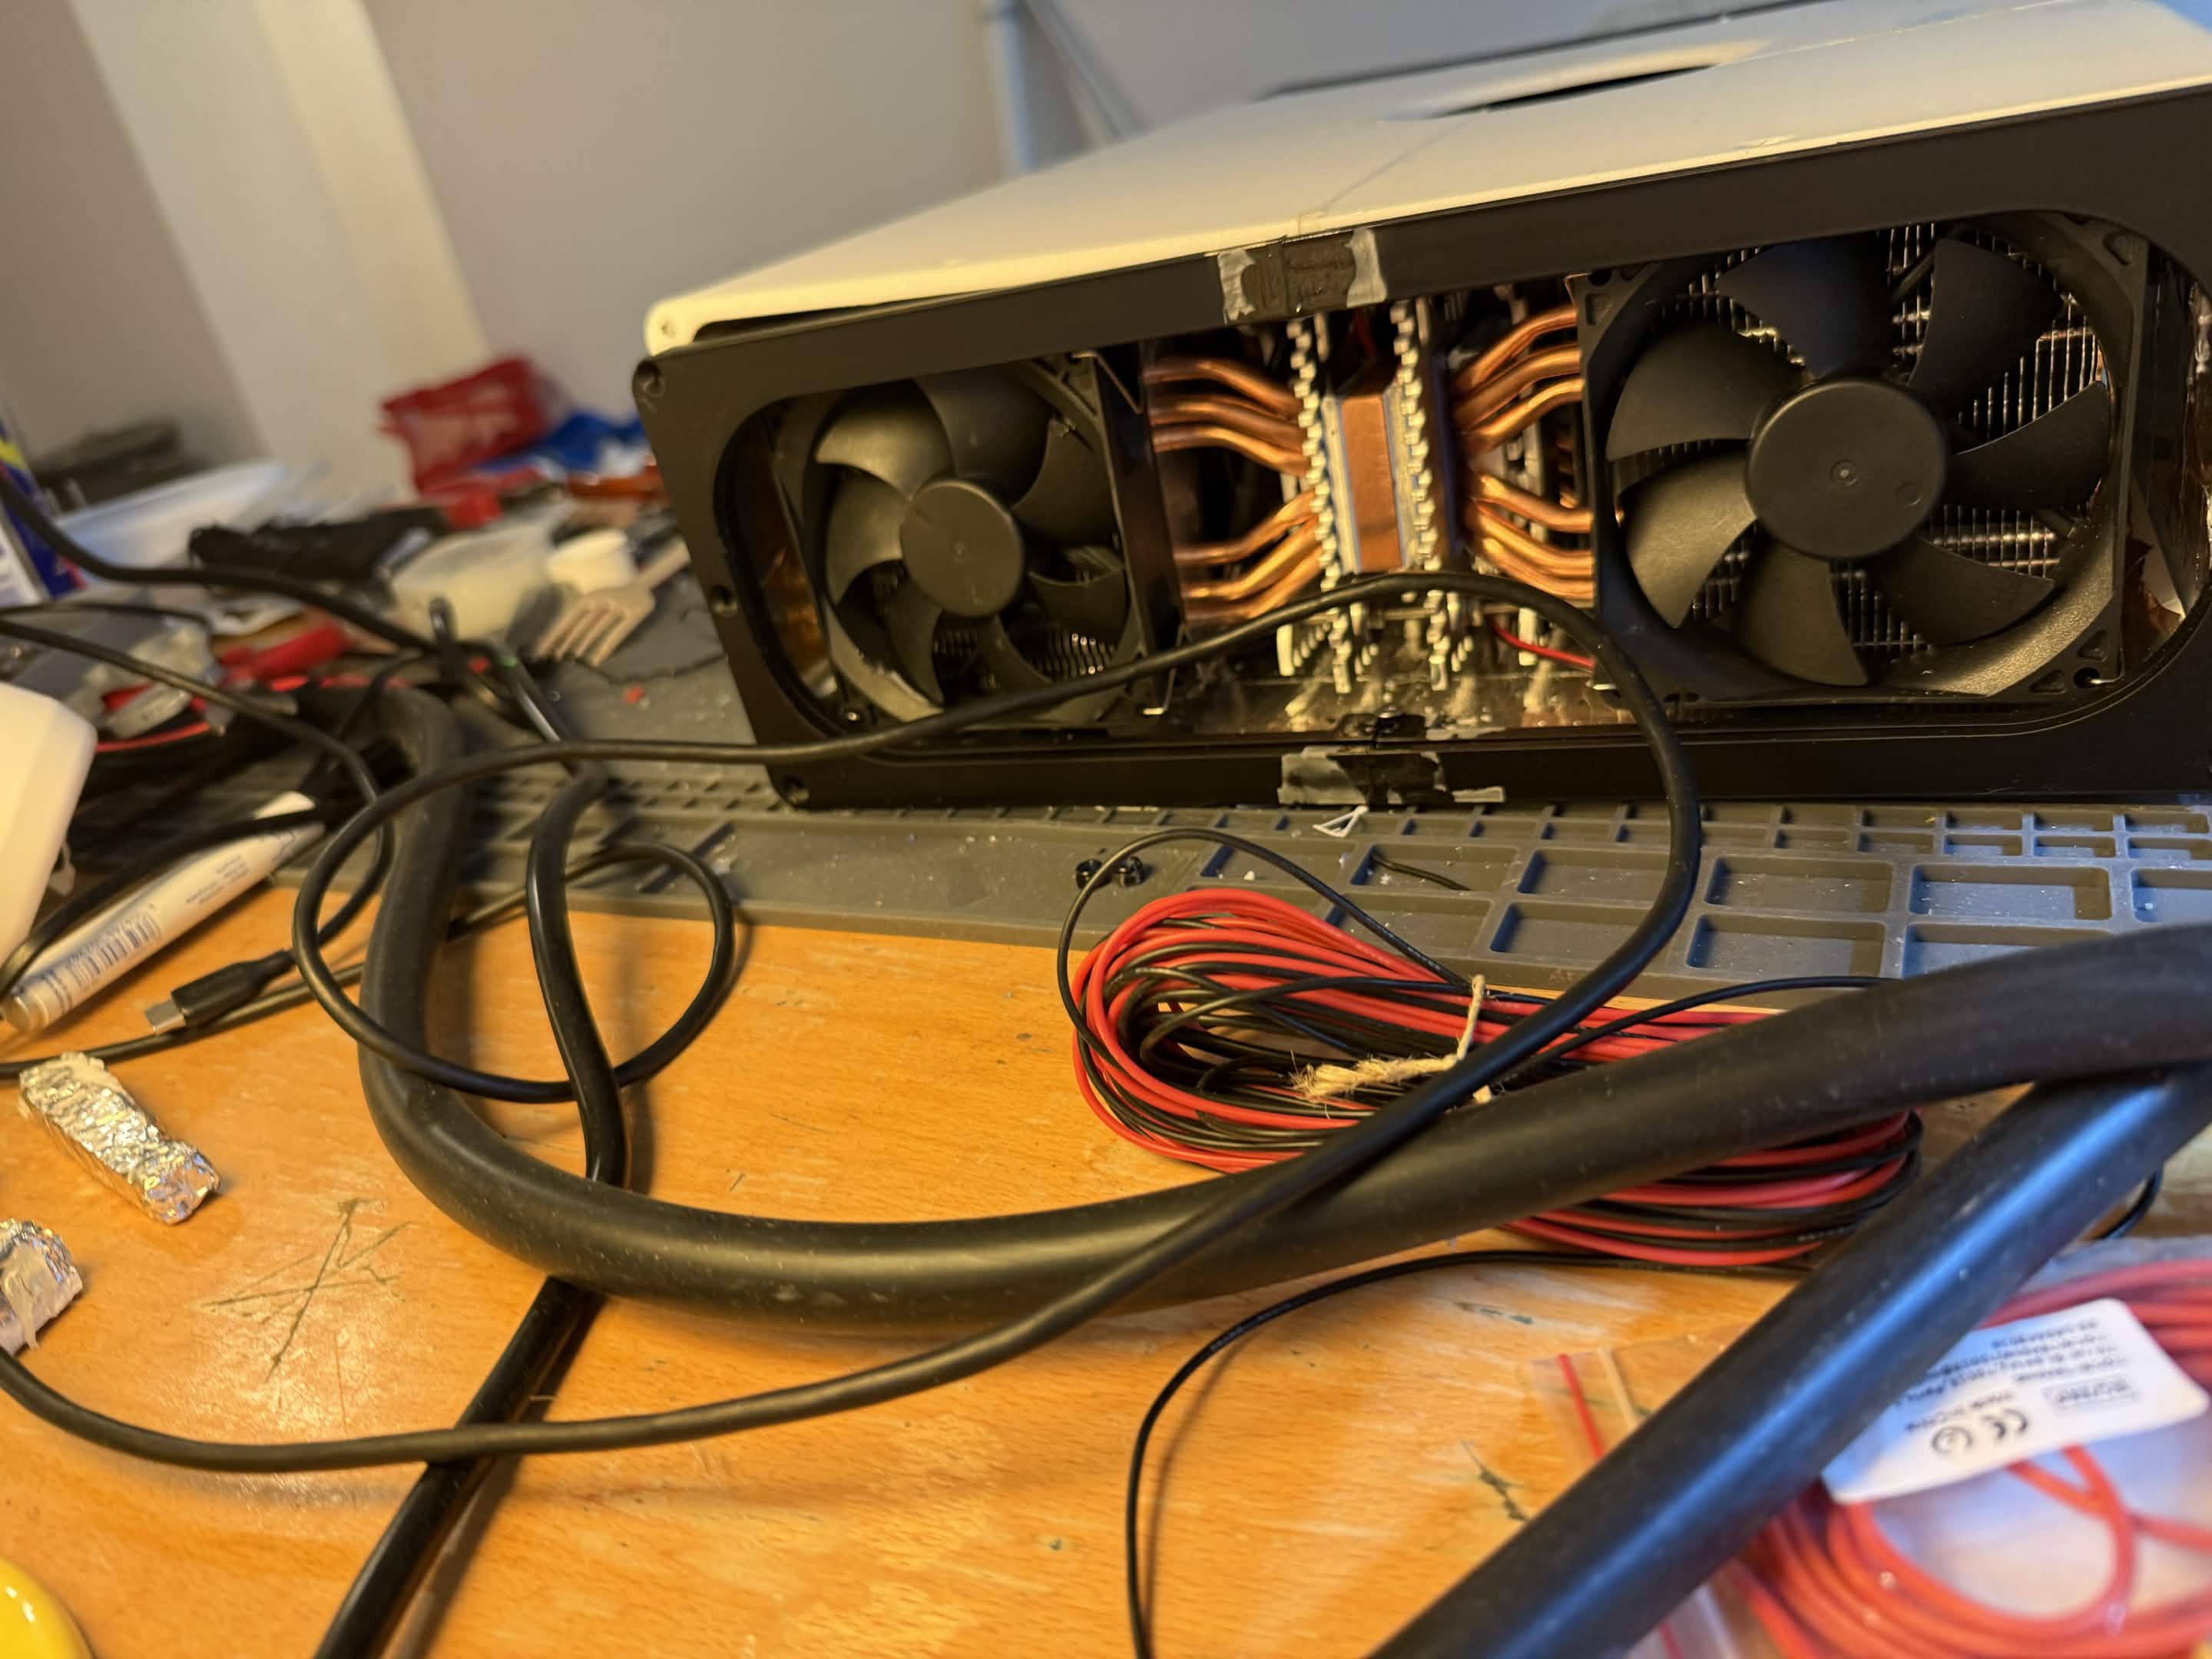
Nothing fancy inside
The Thermal Electric Coolers (TECs) they use for heating and cooling cost only around $4 each. While being very inefficient, they are more than sufficient for cooling a human, and are the quietest option. (I would still like to test a phase change system in the future, but those do not have the advantage of being solid state.) TECs I also learned can heat and cool on the same side, just by switching polarity. I immediately realized this would be important to keep the temperature at a precise level, so polarity switching would be required in any build.
It's feasible! Let's go! Oh, will it shock me?
So now I know it is feasible to build. Preface: going into this project, I knew almost nothing about electricity and electronics, but it still looked like a it was a relatively simple device, and I'm sure I can use a pi or arduino in place of their custom arm board. Looking at reddit, there quite a few others who thought the same, and some of them had even mentioned doing it, but nobody had shared how.
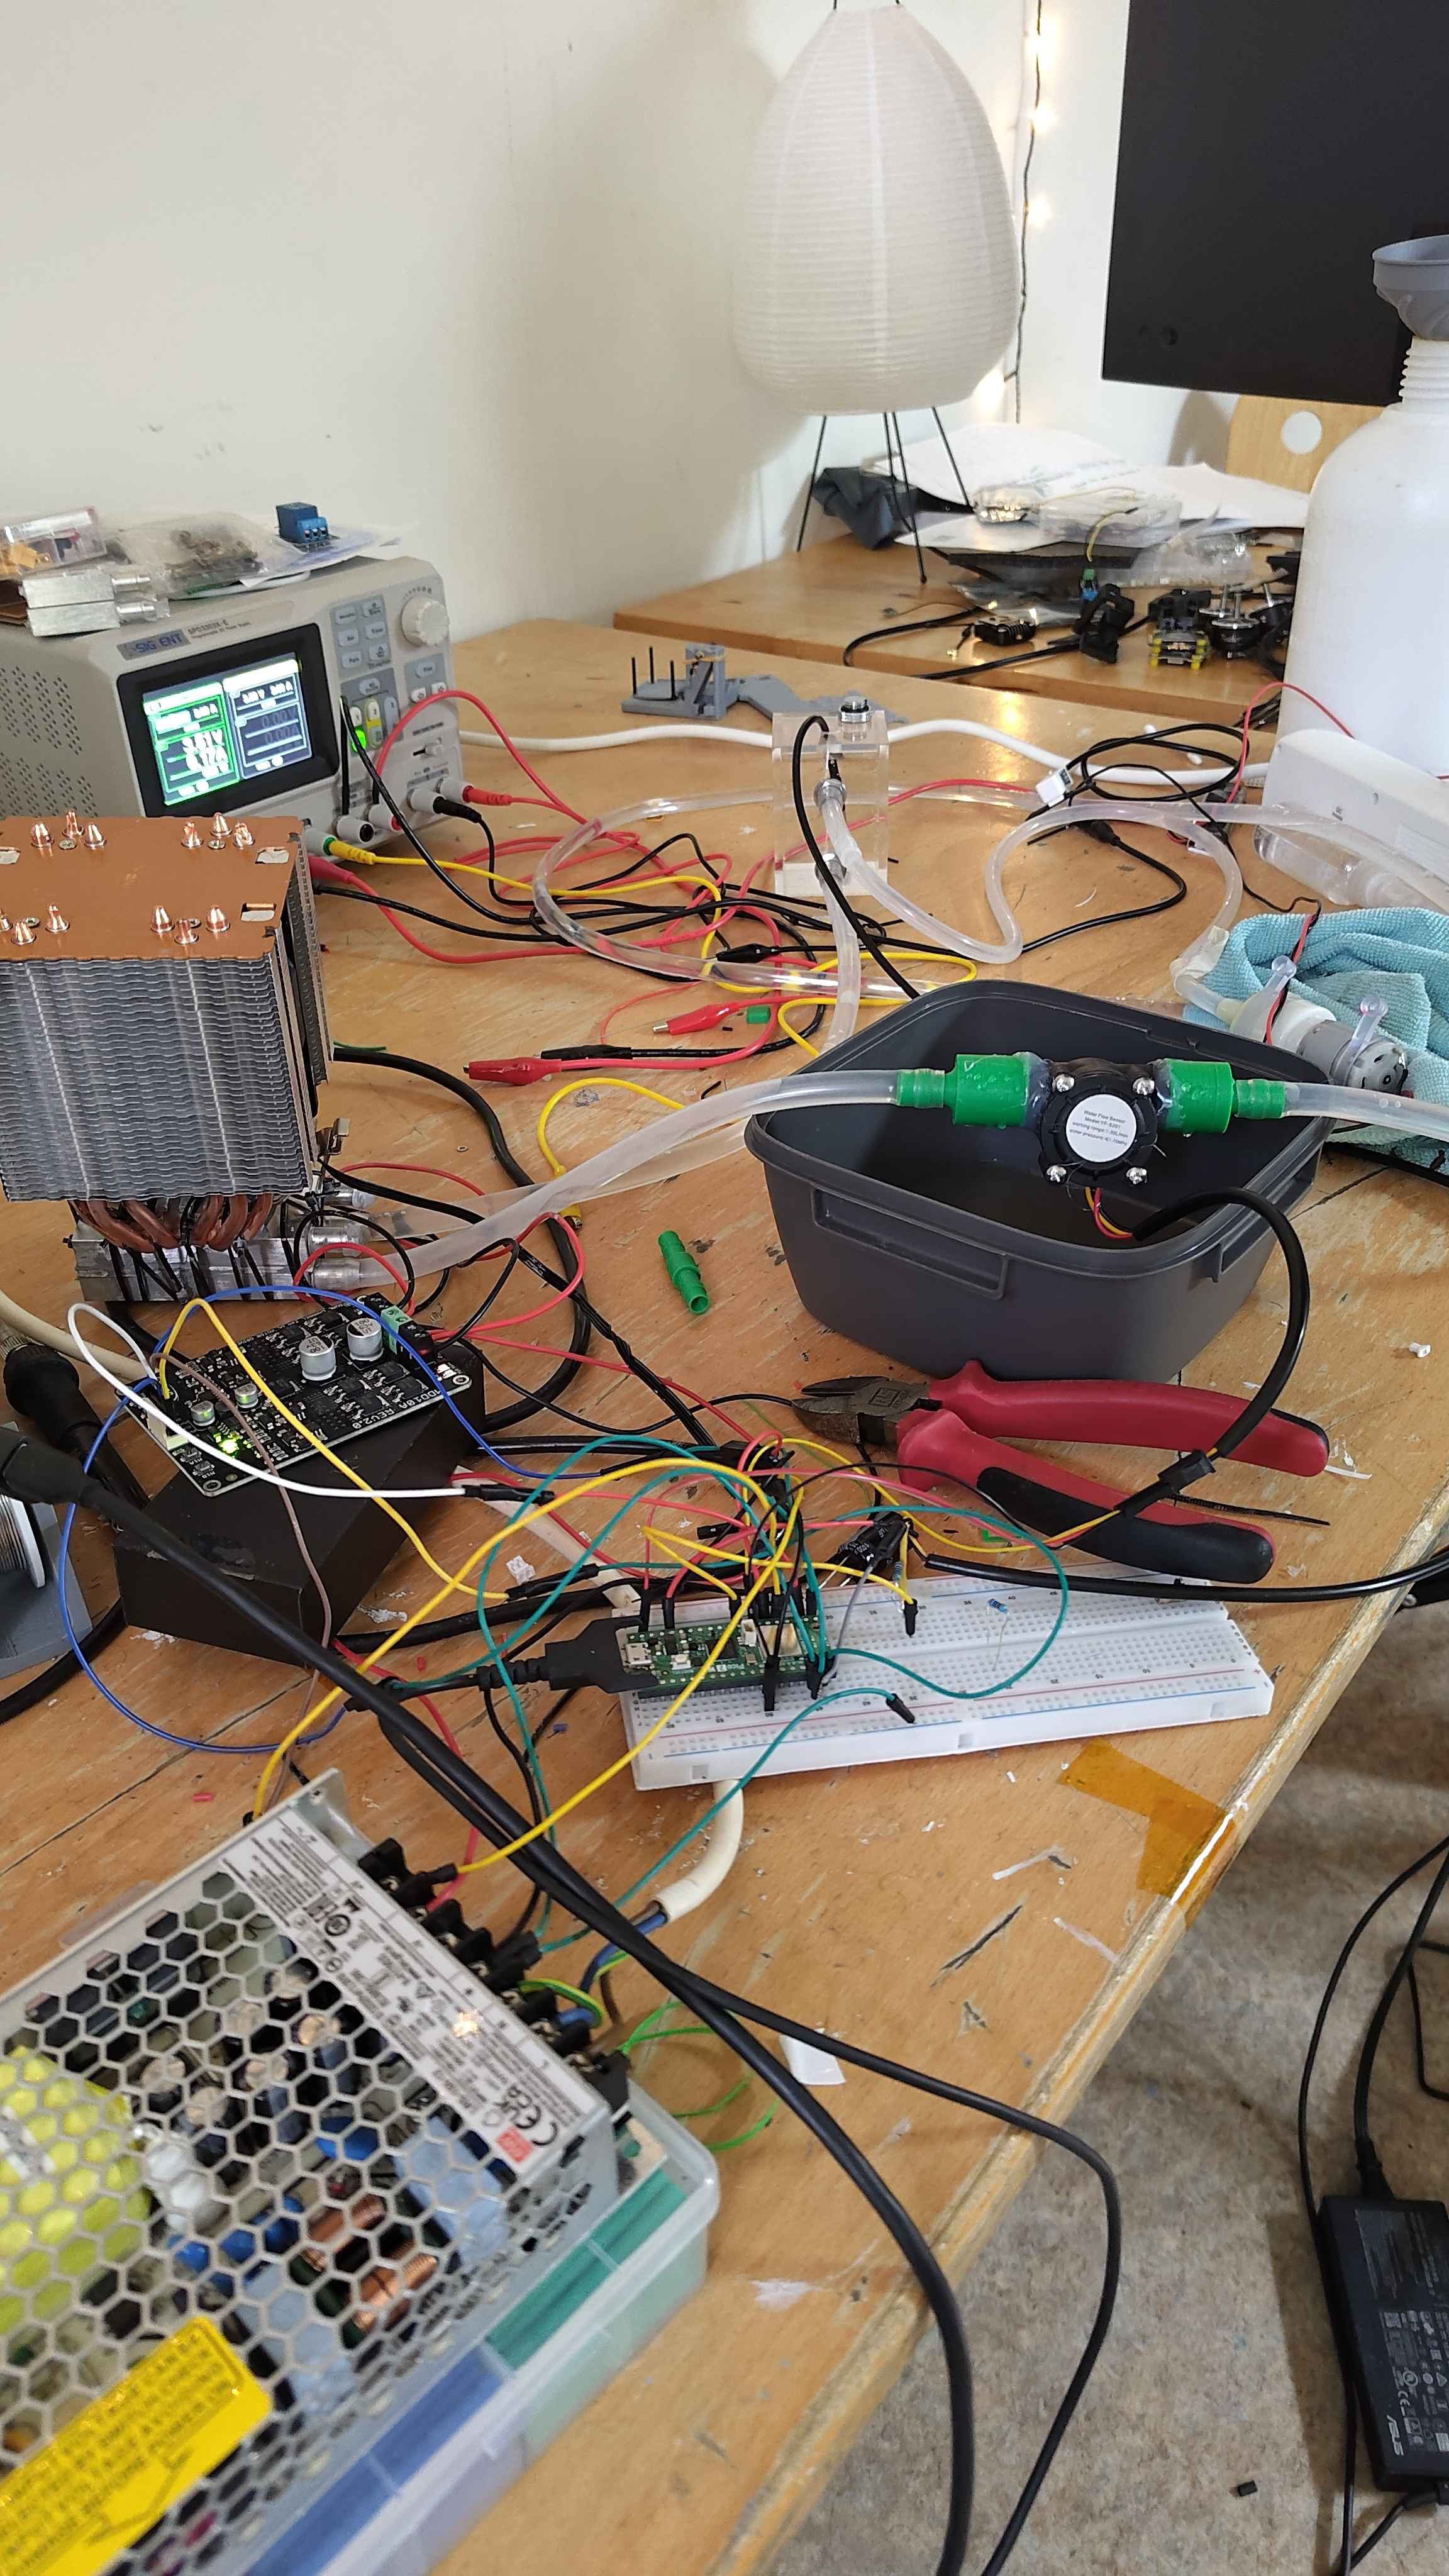 Prototype with a pi pico 2 and flow sensor
The prototype
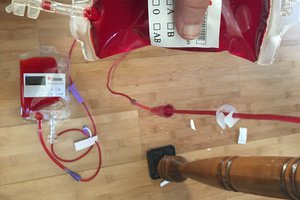
At first I looked at relays as a way to implement the cooling fast, so I ordered some cheap aluminum waterblocks (40x80mm) off Aliexpress, and some thermal compound, and slapped some 12703 TECs and the cheapest CPU cooler ($20) I could find on top of it. I ordered a benchtop power supply connected everything together with some silicone tubing...
Read more »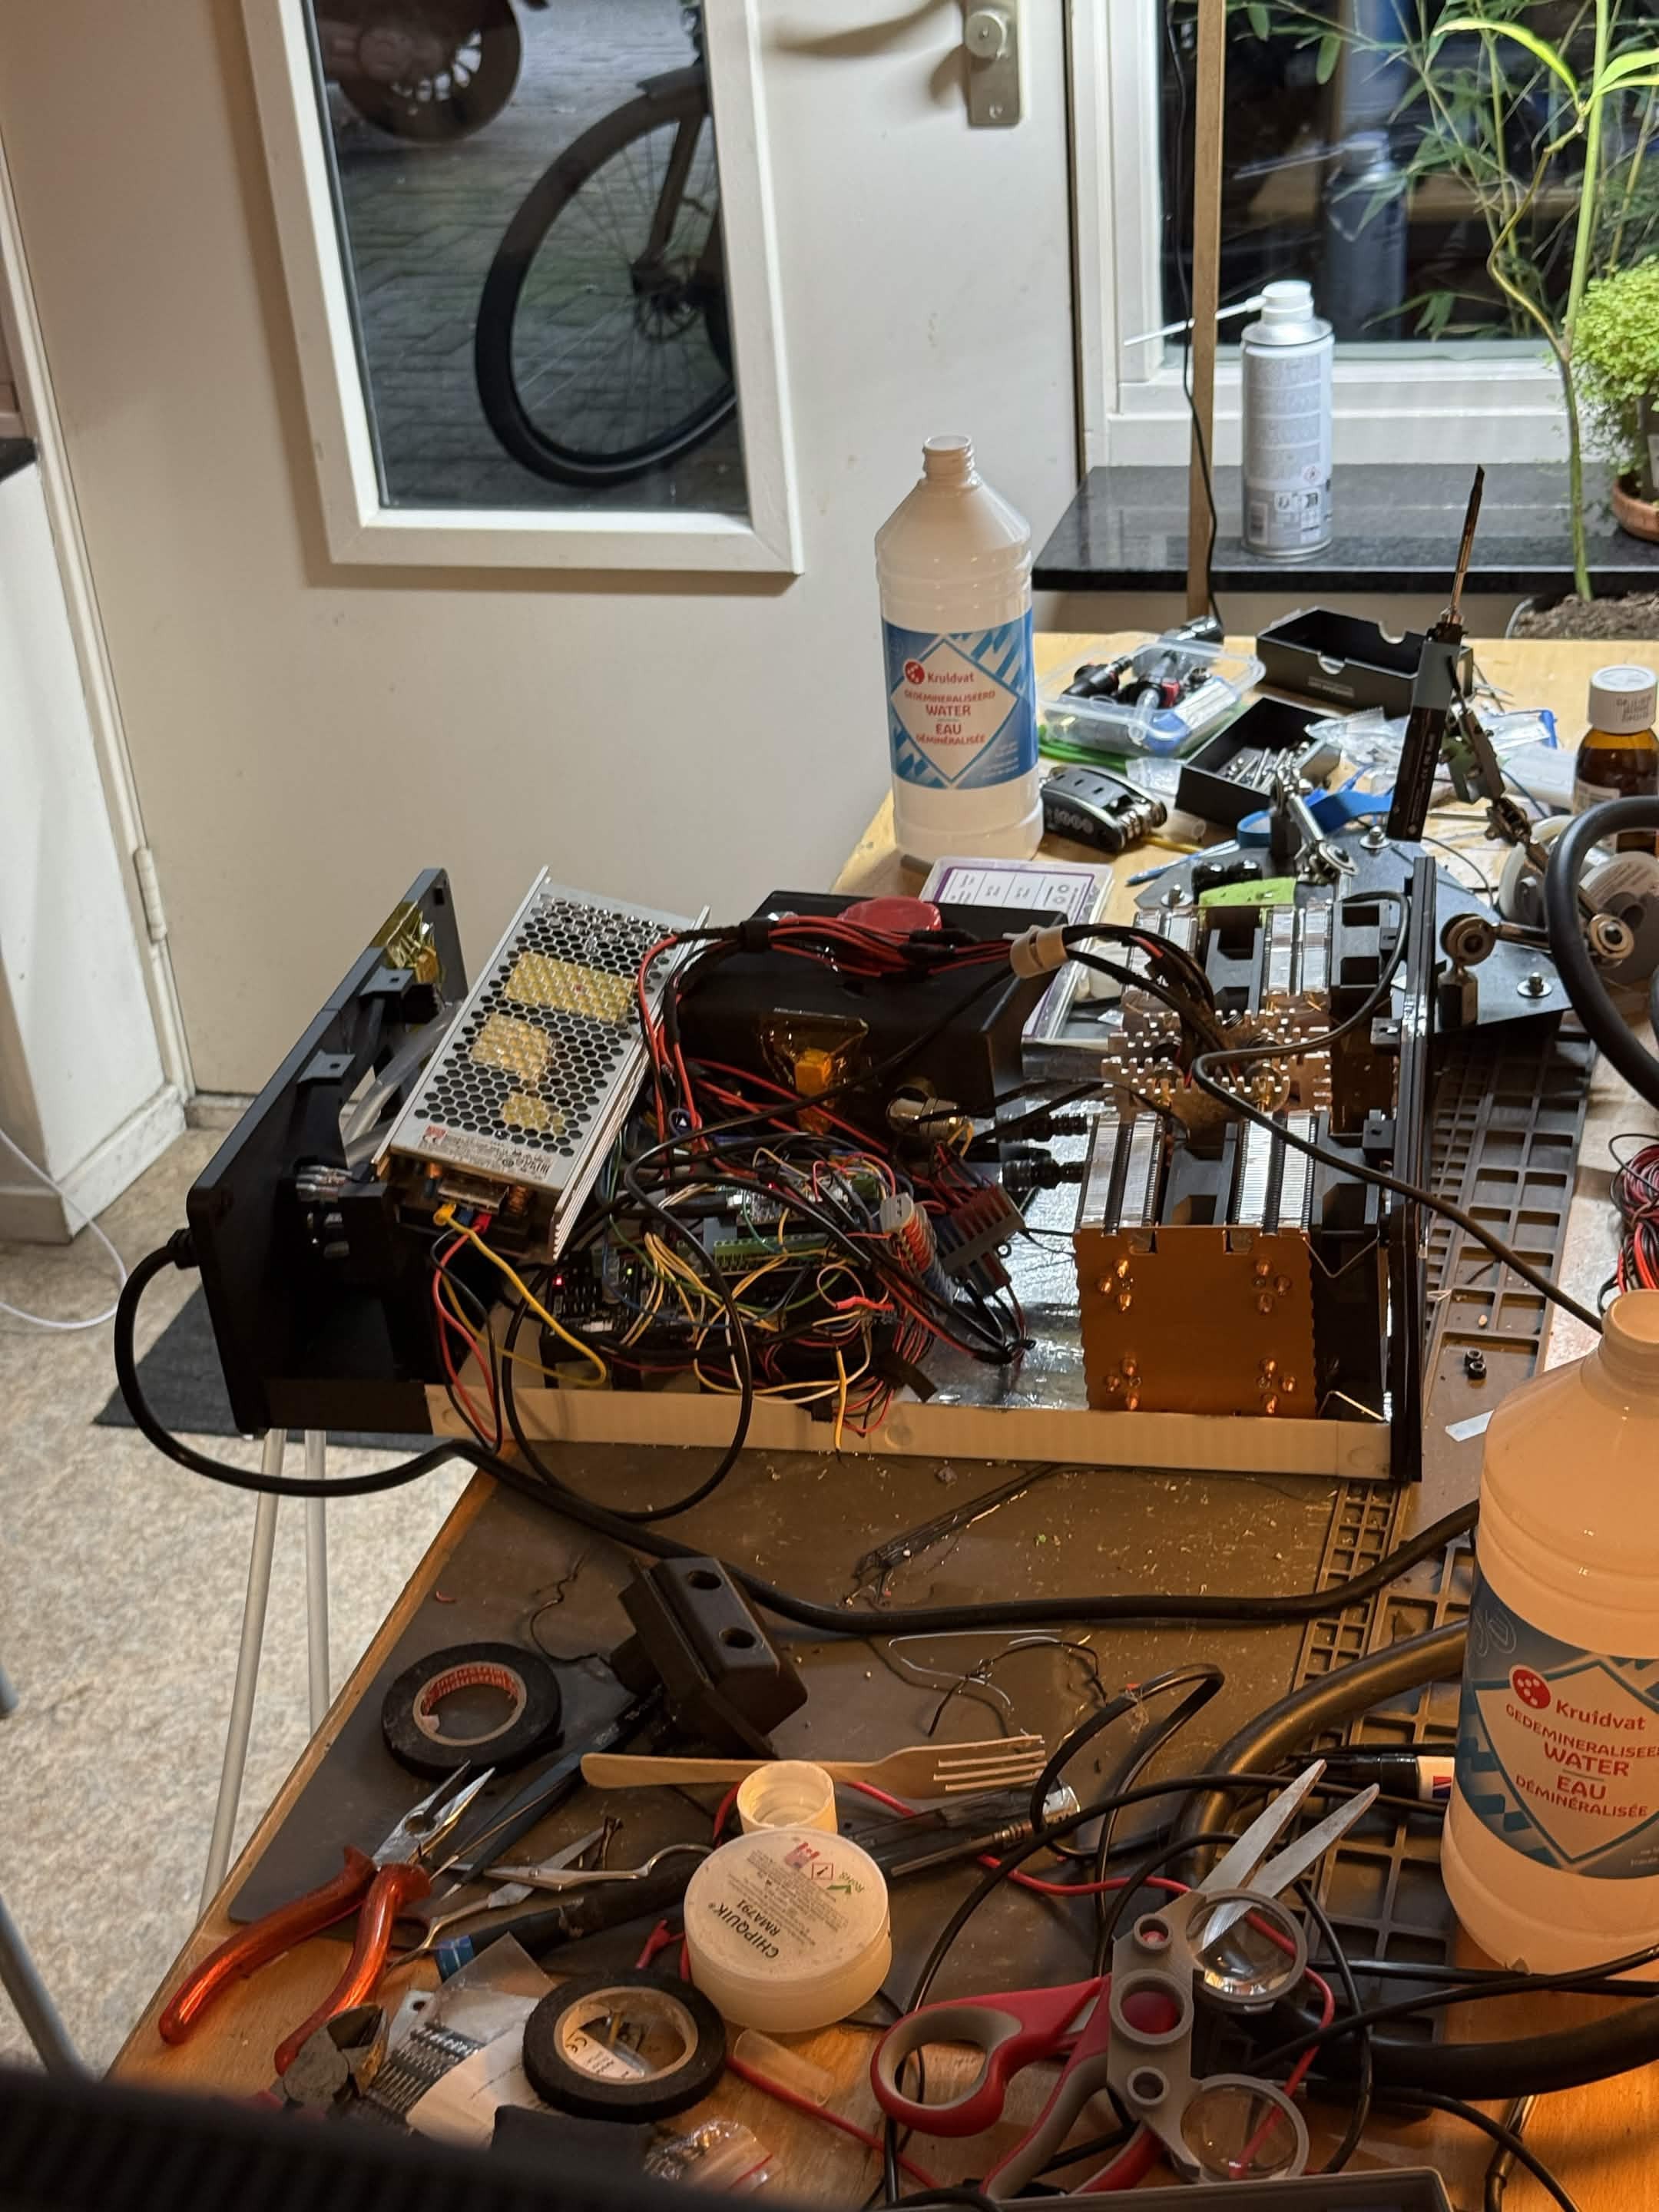
 Josh Starnes
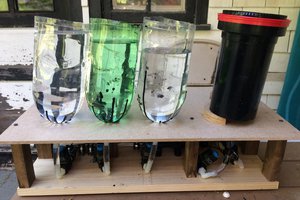
 Jorj Bauer