 Eric
EricI assembled a couple of tinybots from the latest version of the PCB, and it seems to work great! A few build notes:
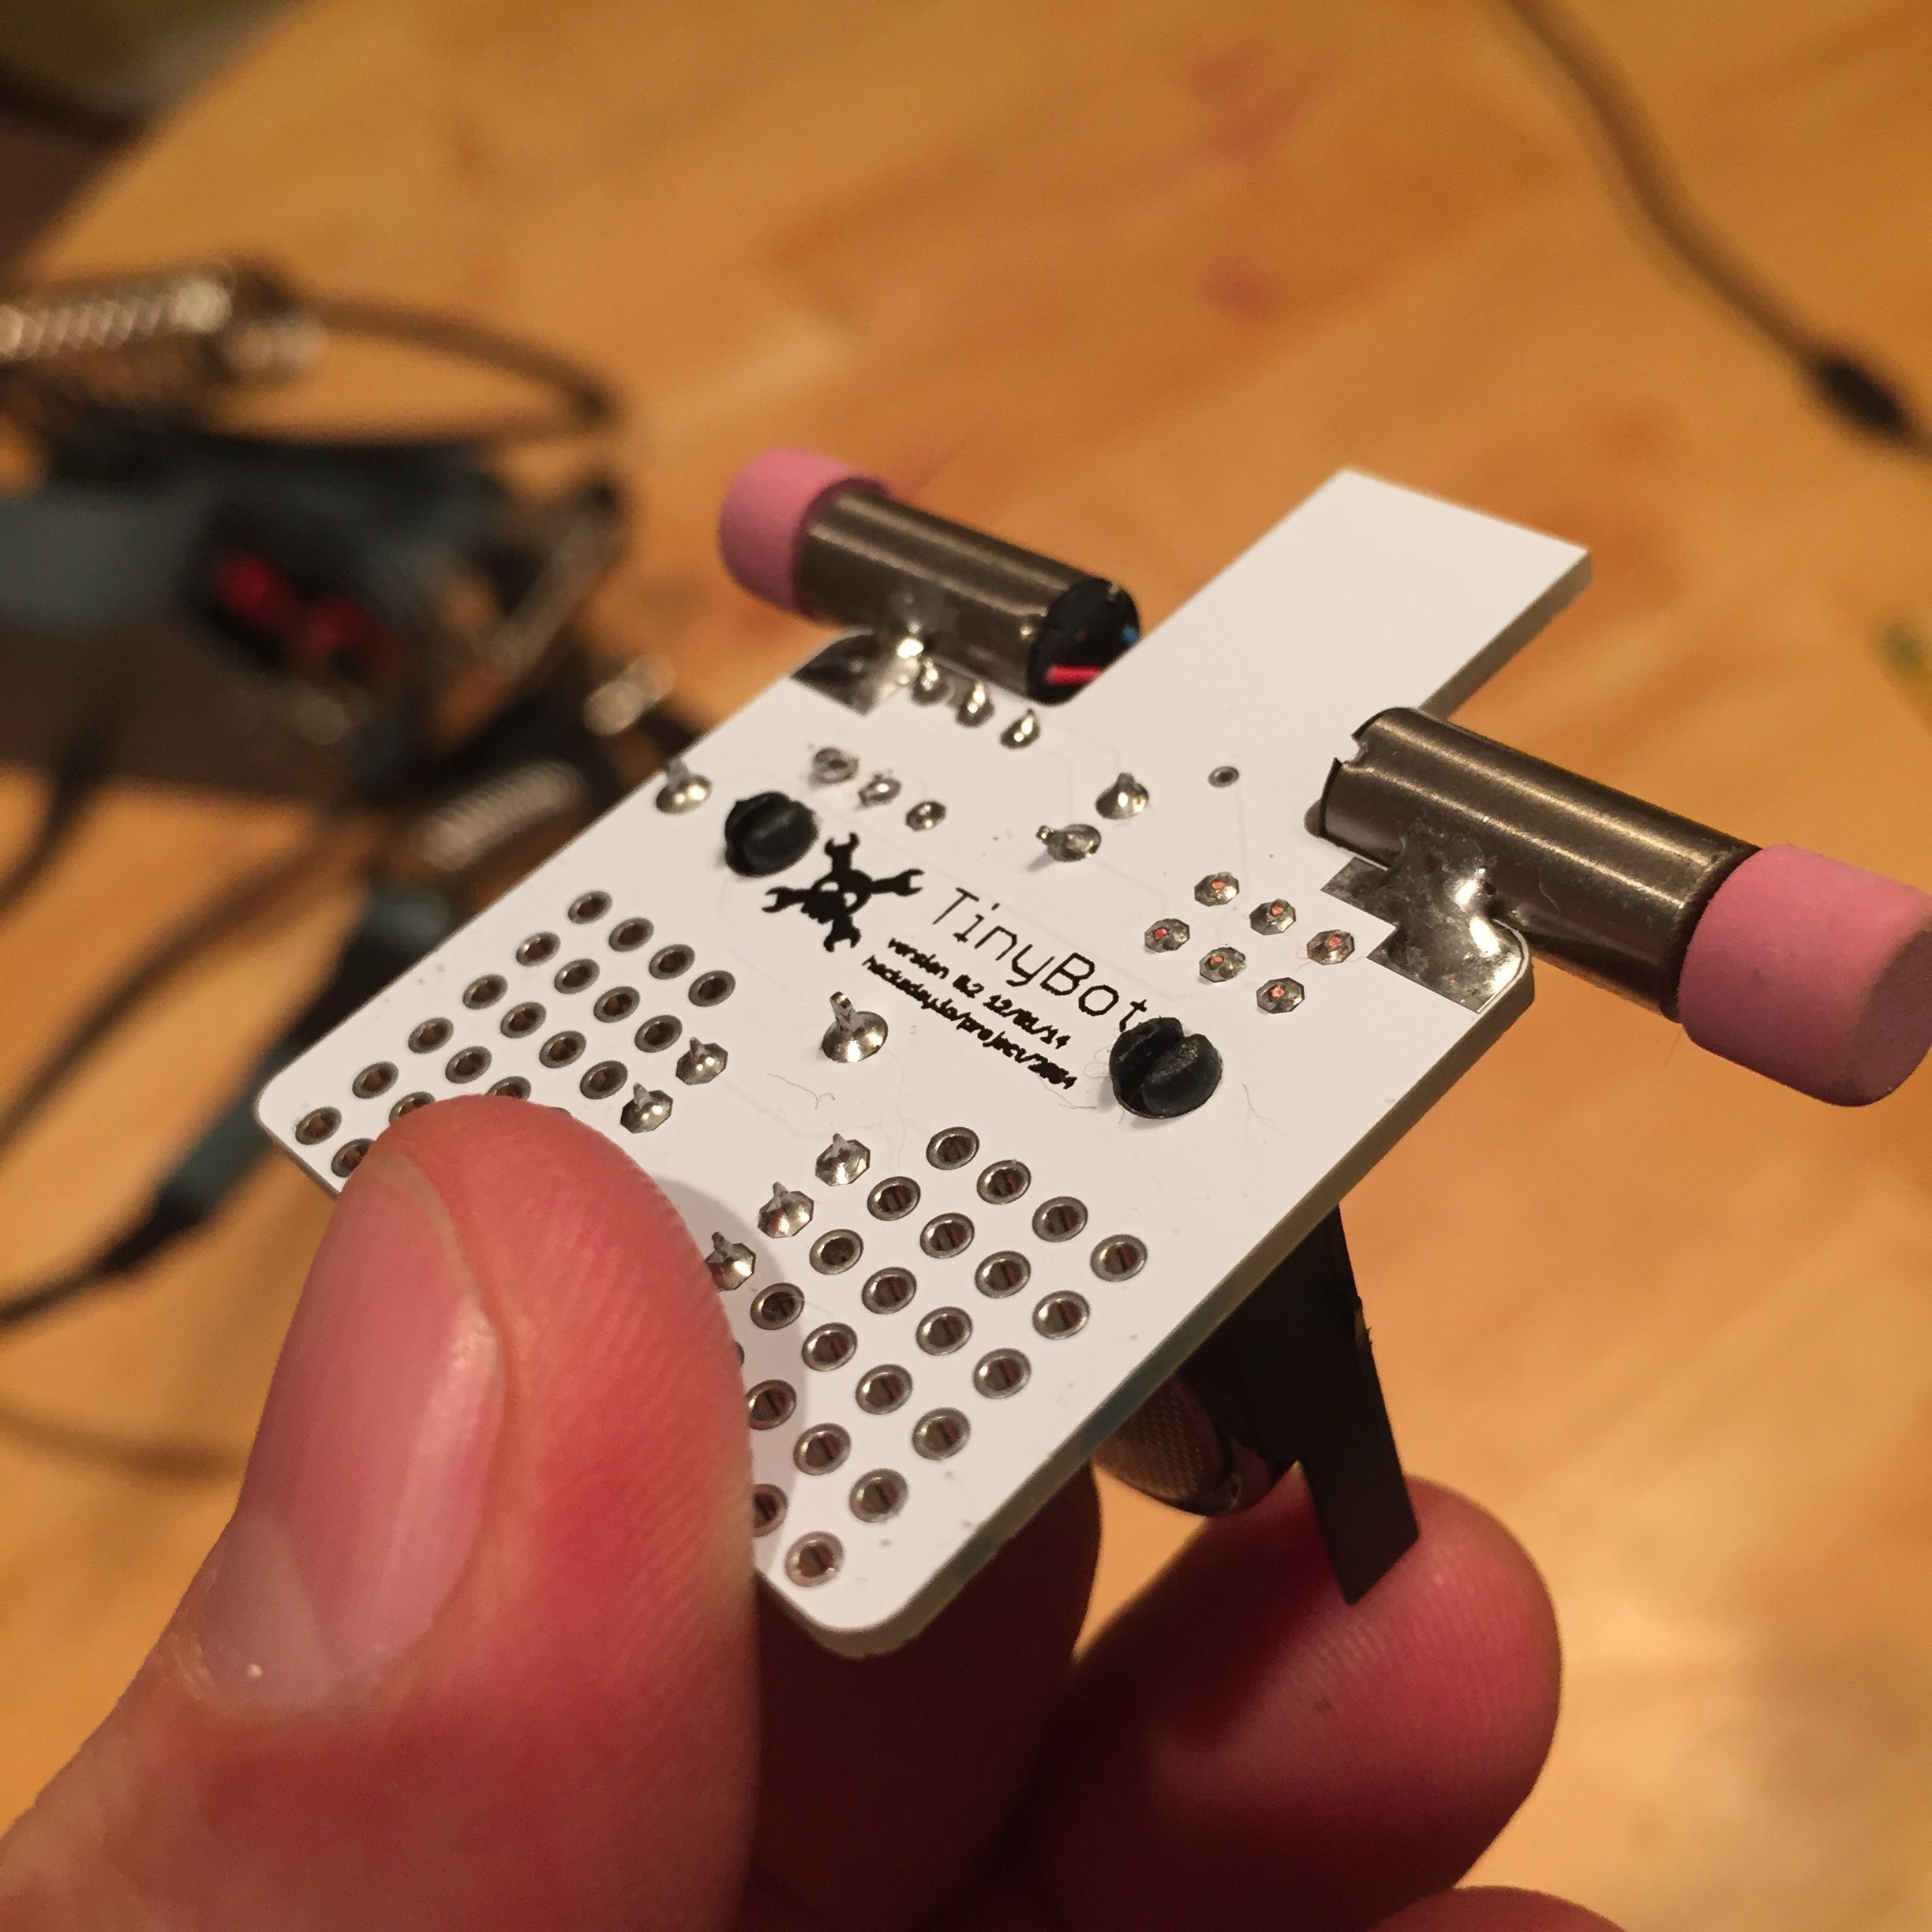
- I am using slices of pencil eraser for wheels. The axles will press right into the eraser without any sort of pilot hole, but seem to grip pretty well.
- The latest PCB has solder pads for attaching the motors which works pretty well with plenty of flux and heat. Just make sure the motors are either perfectly level or slightly sloped down at the outside ends or else the eraser wheels (which are barely larger than these motors) won't touch the ground.
![Motor solderpad detail]()
- Don't forget to wire the motors in opposite polarity or the tinybot will spin in circles =). Since they are facing opposite directions, they need to rotate in opposite directions!
At some point I would like to build a small army of these with different sensors, but I think for now I will move on to other projects (#pizero!). Here are a couple things I would add / modify for the next version if and when I (or you!) get around to it:
- Smaller battery that nevertheless has sufficient output to drive the tinybot for a reasonable number of minutes.
- On/off switch!
- Alternatively, On/Off/Program switch along with header for connecting to Arduino (running ArduinoISP sketch) for in circuit programming. The programming circuit is pretty simple: http://www.instructables.com/id/ATtiny-Programming-Shield-for-Arduino-1/
- Protection circuit that "debounces" charging voltage when first plugging the tinybot into USB port (I have fried a tinybot's charging circuit due to the rapid "flickering" that occurs as you insert it).
Discussions
Become a Hackaday.io Member
Create an account to leave a comment. Already have an account? Log In.