 Markus Hüttner
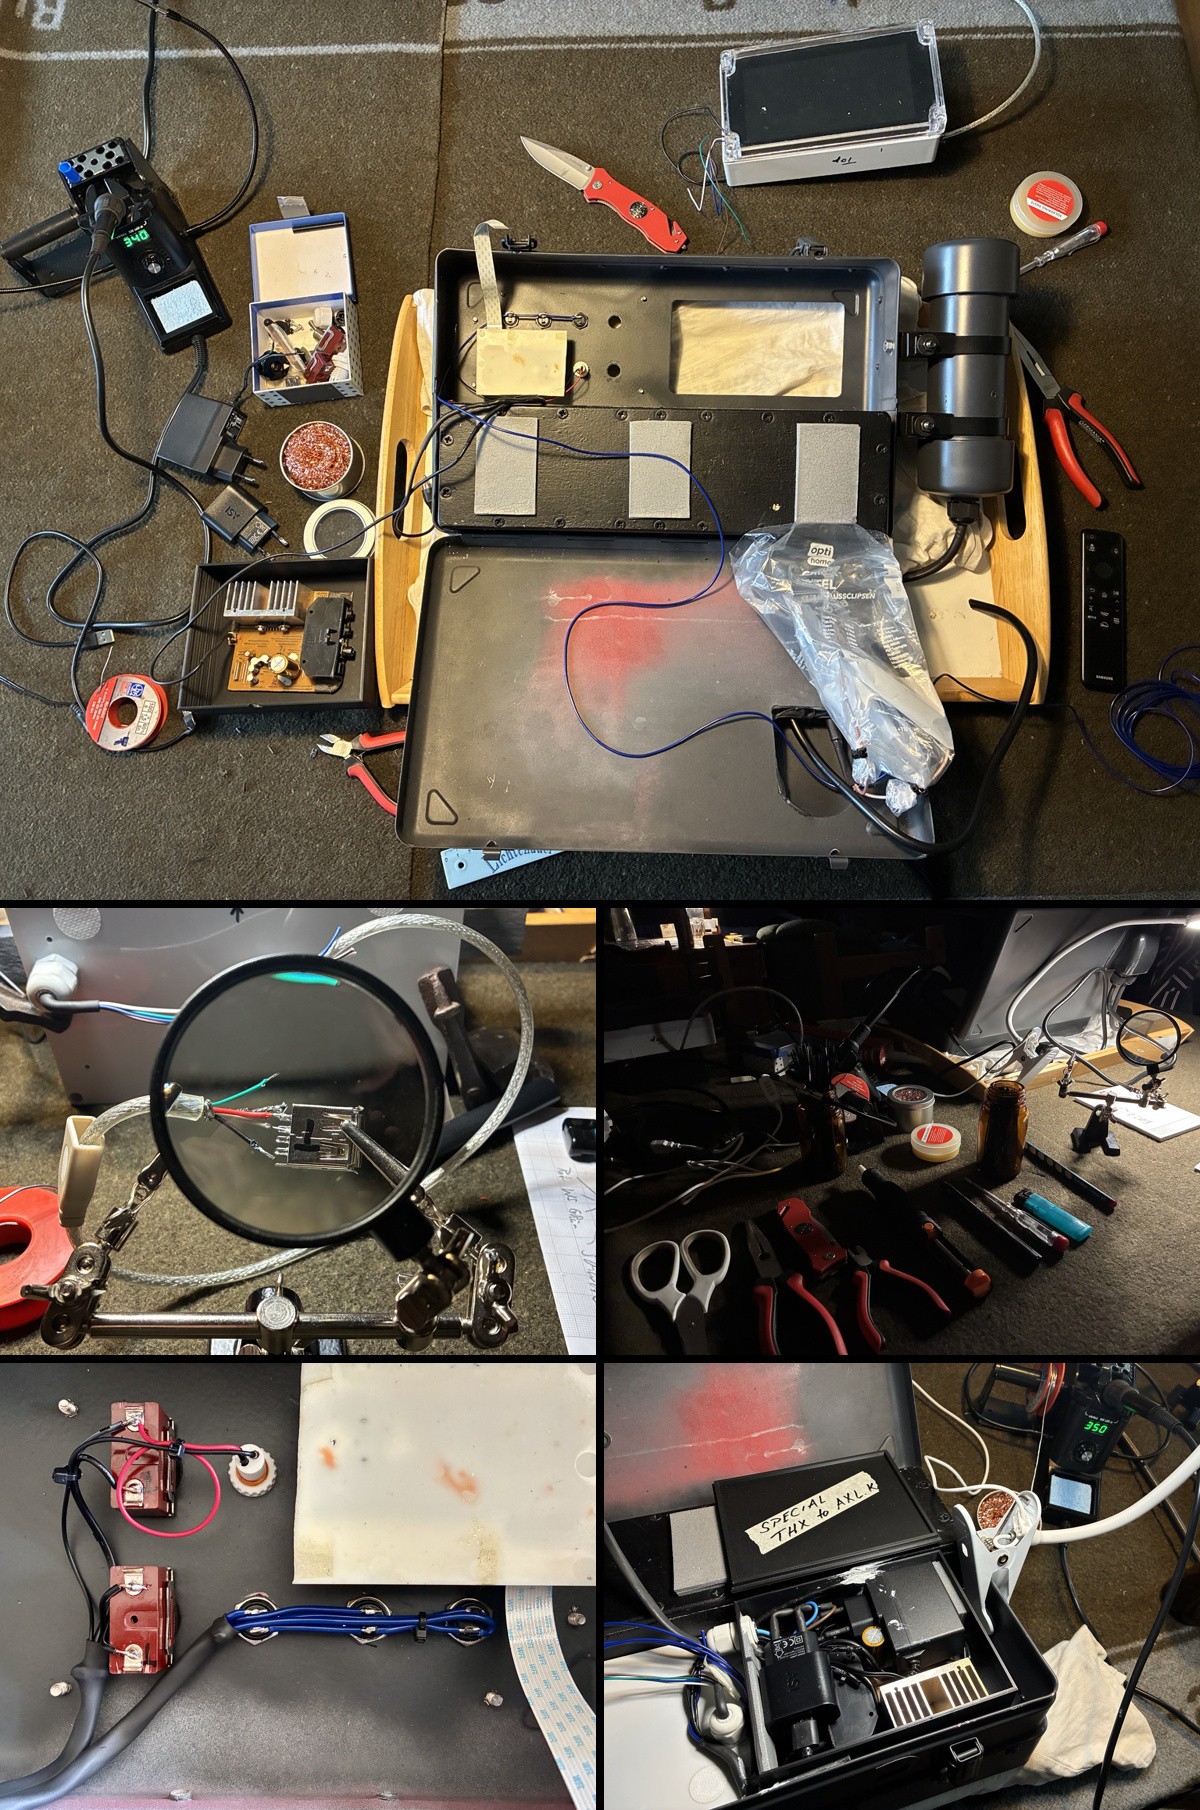
This stage was mostly about fitting everything into place.
Wiring, routing cables, and making sure each component had a defined position inside the enclosure.
The internal structure is kept simple.
No shared ground bus.
All connections are point-to-point.
Two separate power domains:
5V for Raspberry Pi and display
12V for the amplifier
Both switched independently.
The display module is mounted as a sealed unit behind the front window.
All other electronics are contained in separate compartments.
The goal wasn’t visual perfection, but clarity and accessibility.
Every connection can be followed, and components can be accessed if needed.
Once everything was in place, the enclosure was closed and the system tested as a whole.
From that point on, there were no further changes to the internal layout.
Discussions
Become a Hackaday.io Member
Create an account to leave a comment. Already have an account? Log In.