Close
0%
0%

Sentra — the Smartest DIY CCTV Camera

Sentra is a battery-powered DIY smart CCTV camera with live Wi-Fi streaming, motion detection, night vision, SD recording, and More.

Similar projects worth following
Sentra is a compact battery-powered DIY smart CCTV camera built around the ESP32-S3, featuring live Wi-Fi video streaming, motion detection, automatic night vision, SD card recording, sound monitoring, and a custom real-time web dashboard — all packed inside a sleek 3D-printed enclosure.

Hi Makers, I love building projects that combine engineering, embedded systems, and product design into something both useful and visually refined.

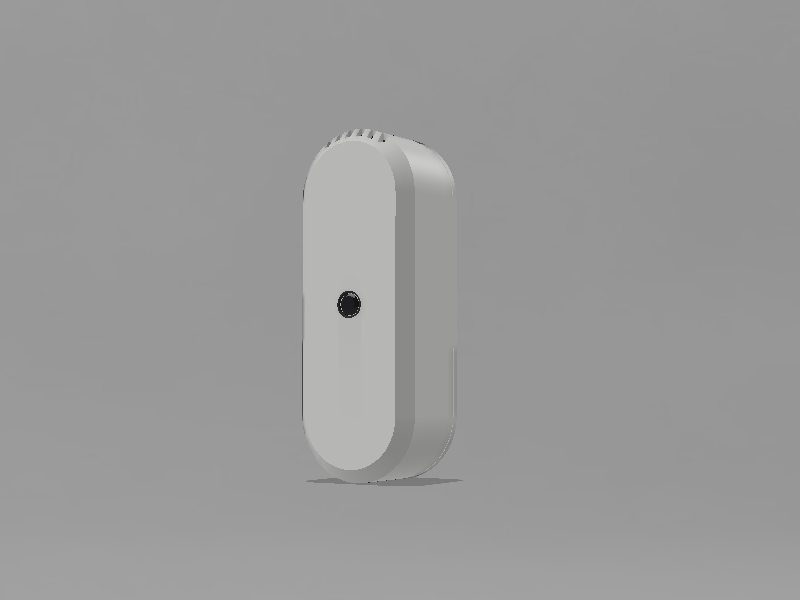
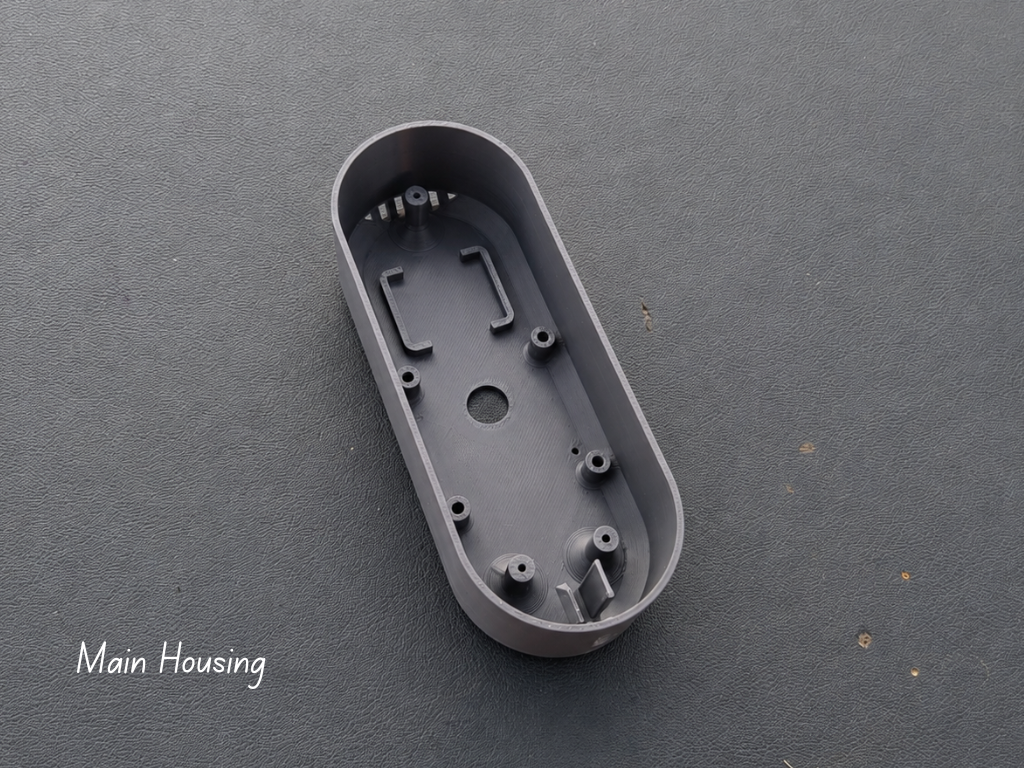
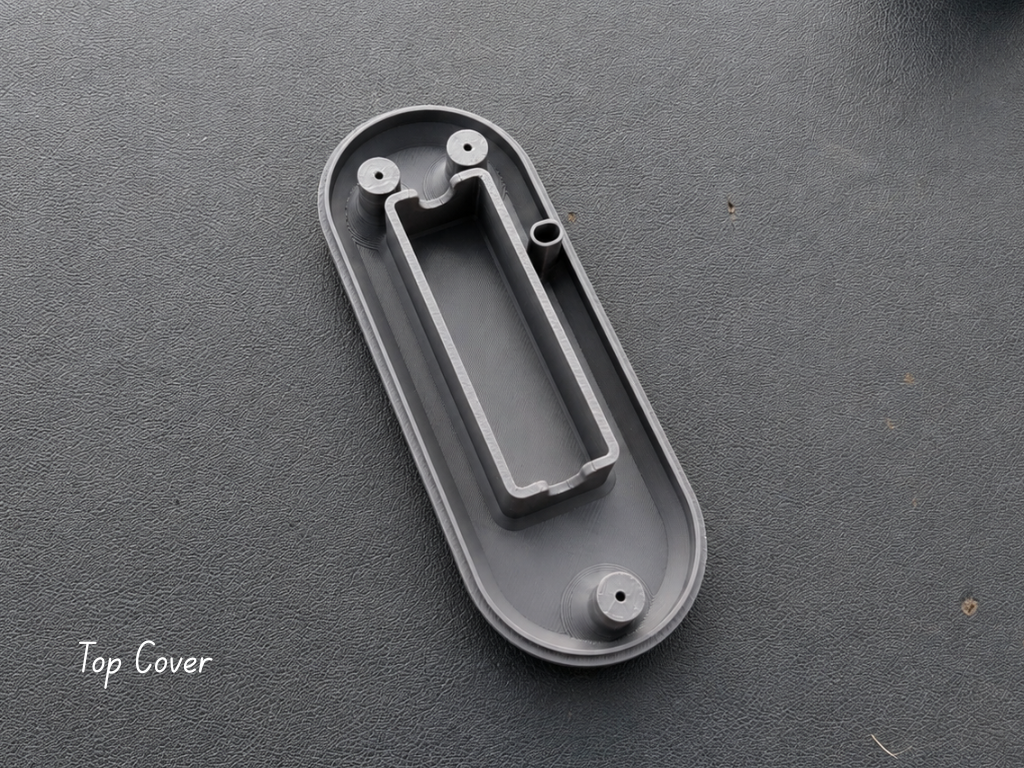
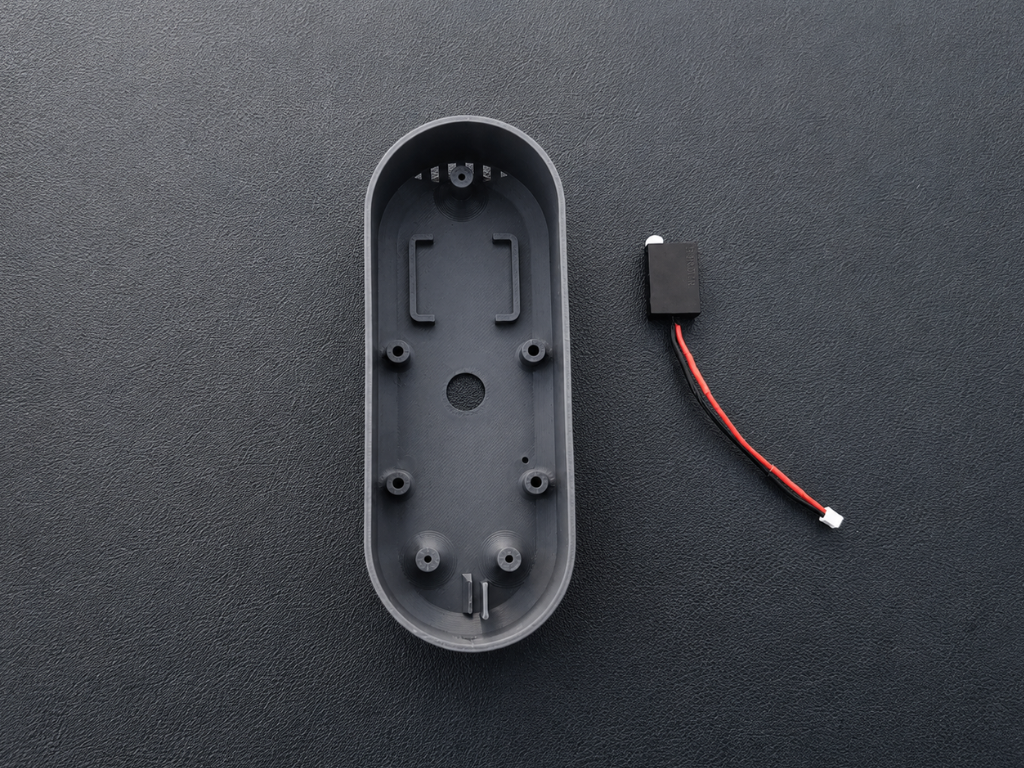
In this project, I created Sentra — The Smartest DIY CCTV Camera, a fully battery-powered smart surveillance system built around the ESP32-S3. Sentra combines live Wi-Fi video streaming, continuous SD card recording, motion detection, automatic night vision, real-time sound monitoring, and even robotic voice announcements into a compact custom-built device.

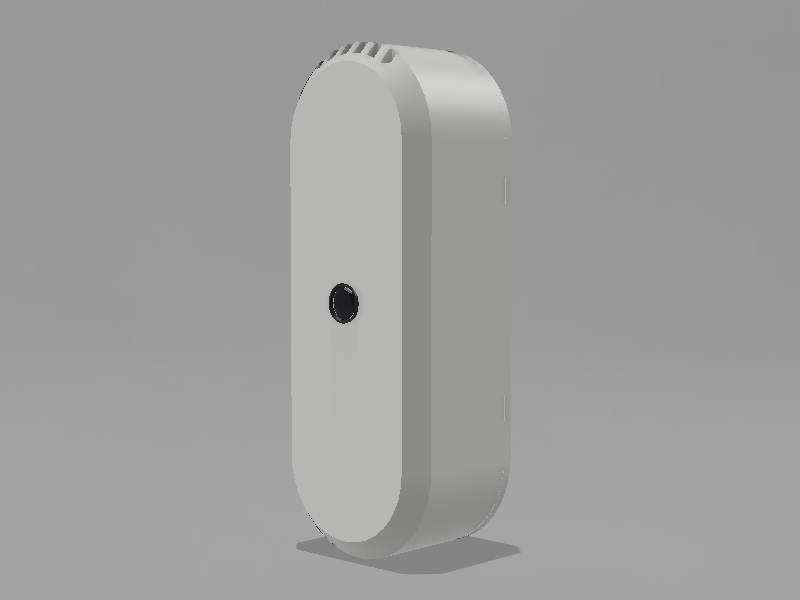
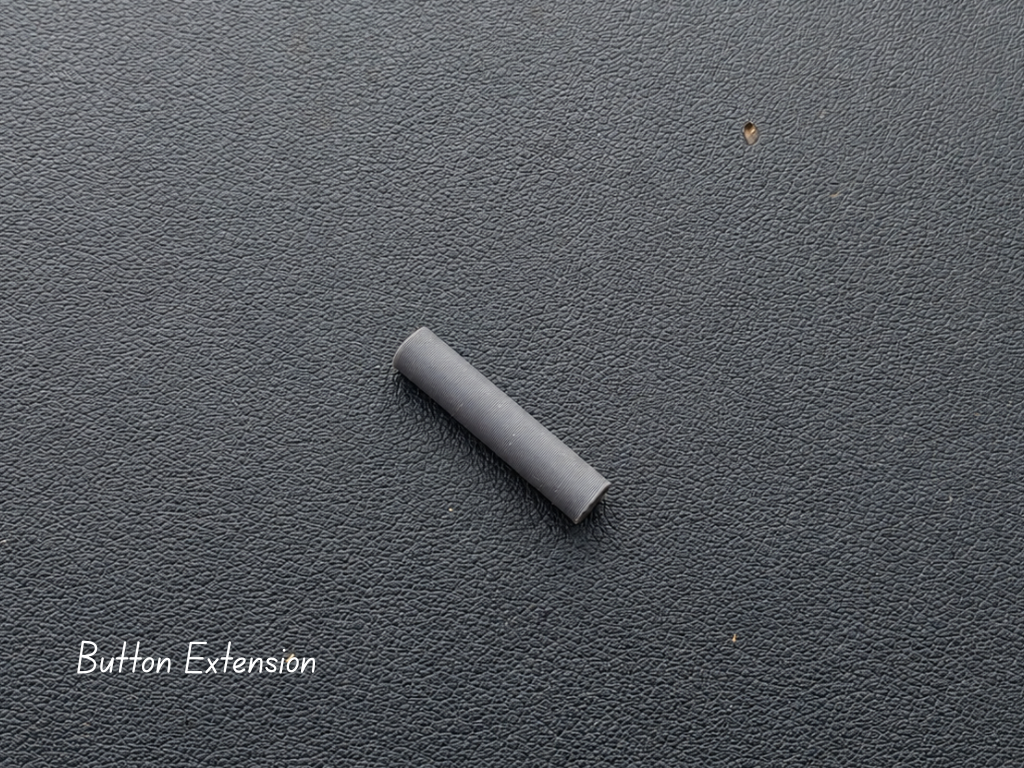
The entire enclosure and interface were designed in Autodesk Fusion 360 with a strong focus on clean aesthetics, portability, and a futuristic user experience. Alongside the hardware, I also developed a custom real-time dashboard that works directly in any browser — no apps, subscriptions, or cloud services required.

What makes this project special to me is that everything runs locally on the device itself. From motion analysis and adaptive infrared control to real-time voice synthesis and sensor monitoring, Sentra was designed to show how far modern DIY hardware can go when thoughtful engineering and creativity come together.

This project is my attempt to create a smart camera system that feels less like a typical DIY build and more like a real next-generation product.

Sponsored By NextPCB

Building a hardware project can get expensive, but NextPCB makes it easier for makers, startups, and engineers. Right now, you can get up to $200 OFF on professional turnkey PCB assembly for orders of 10 units or less.

From PCB manufacturing and component sourcing to full assembly and testing, NextPCB handles everything in one place with reliable quality and fast service. Whether you're building an IoT device, robotics project, or custom electronics product, this offer is a great way to prototype professionally while saving money.

Try it out using my link to unlock a huge discount and claim your $200 OFF on PCBA orders!

Connection of Sentra.png

Connection of Sentra

Portable Network Graphics (PNG) - 487.53 kB - 05/20/2026 at 18:12

Preview

Top cover.stl

3D Printing File

Standard Tesselated Geometry - 799.69 kB - 05/20/2026 at 18:12

Download

Button extension.stl

3D Printing File

Standard Tesselated Geometry - 180.75 kB - 05/20/2026 at 18:12

Download

Main housing.stl

3D Printing File

Standard Tesselated Geometry - 1.24 MB - 05/20/2026 at 18:12

Download

  • 1 × DFRobot ESP32 S3 Camera
  • 1 × Battery Charging Module
  • 1 × DFRobot ESP32 S3 Spekar
  • 1 × Rechargable Battery (3.6v)

  • 1
    CAD Design

    The first step of this project was designing the complete enclosure and internal structure of Sentra. I created all the parts from scratch in Autodesk Fusion 360, focusing on clean curves, compact dimensions, proper component clearances, and easy assembly.

    Since this camera is designed to be portable and battery-powered, I wanted the body to feel minimal, modern, and product-like rather than looking like a typical DIY electronics project, while keeping the overall design slim and clean.

    For inspiration and reference during the design process, I also took ideas from this excellent project by Mukesh Sankhla https://www.instructables.com/Build-a-Voice-Controlled-AI-Assistant-on-ESP32-Usi/

    I highly recommend checking it out as well — it’s a beautifully designed and well-documented build.

  • 2
    3D Printing

    Once the CAD design was completed, the next step was printing all the enclosure parts. The design consists of three main printed components:

    1. Main Housing
    2. Top Cover
    3. Button Extension

    For this build, I chose a gray PLA filament because it gives the camera a clean and modern product-like appearance while still being easy to print with high dimensional accuracy. PLA is a good choice for achieving smooth surface quality and maintaining the tight tolerances needed for proper assembly.

  • 3
    Spekar Assembly

    The next step was installing the speaker inside the enclosure. I first trimmed the speaker wires to a suitable length and added a little extra wire to make the final assembly easier and cleaner.

    After that, I removed the adhesive backing from the speaker and carefully placed it into the dedicated mounting area inside the main housing. I applied a small amount of pressure to secure it properly in position.

View all 19 instructions

Enjoy this project?

Share

Discussions

Does this project spark your interest?

Become a member to follow this project and never miss any updates