 Ken Yap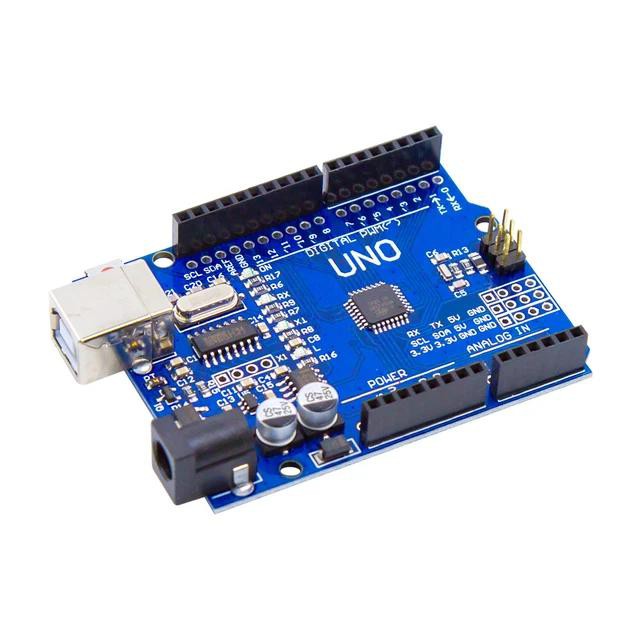
Just for kicks I decided to see if I could run blinky written in Rust on an Arduino, even though this is a digression from the main goal of this project. The Arduino model I have is a clone of the common UNO which has the ATMega328p MCU.
I found this guide which outlines the steps. From there I followed the link to the Github repo for avr-hal-template.
First of all, Rust on AVR chips doesn't use the LLVM compiler for the linking, but rather the gcc compiler. So you need to have this installed separately. If you have installed the Arduino IDE, then you already have it, but you have to make the commands avr-gcc and friends available from the command line. What I did was make symbolic links from /usr/local/bin to the actual executables.
$ ln -s -t /usr/local/bin ~/.arduino15/packages/arduino/tools/avr-gcc/7.3.0-atmel3.6.1-arduino7/bin/*
The version of the avr-gcc package may differ, double check.
The other thing you need to do is install the nightly Rust toolchain. This will be taken care of in a step further down.
Now install two auxiliary tools like this:
$ cargo install cargo-generate
$ cargo install ravedude
Ravedude is a front-end to avrdude, which must also be on your $PATH. Now run:
$ cargo generate --git https://github.com/Rahix/avr-hal-template.git
This will prompt you for the project name, and the type of Arduino you have and generate the standard Cargo project structure..
I had to make a couple of changes: In rust-toolchain.toml I changed the channel from nightly-2025-04-27 to just nightly. I also added port = "/dev/ttyUSB0" in the [general] section because autodetect didn't work.
Now you can do:
$ cargo build
If you didn't have the nightly toolchain already installed, then a lot of downloading will happen. After that many crates will be downloaded and compiled, then linked with the blinky in src/main.rs.
Note that the sample blinky doesn't use the Embassy framework. So this is the blocking version, which looks like this:
#![no_std]
#![no_main]

use panic_halt as _;

#[arduino_hal::entry]
fn main() -> ! {
    let dp = arduino_hal::Peripherals::take().unwrap();
    let pins = arduino_hal::pins!(dp);

    /*
     * For examples (and inspiration), head to
     *
     *     https://github.com/Rahix/avr-hal/tree/main/examples
     *
     * NOTE: Not all examples were ported to all boards!  There is a good chance though, that code
     * for a different board can be adapted for yours.  The Arduino Uno currently has the most
     * examples available.
     */

    let mut led = pins.d13.into_output();

    loop {
        led.toggle();
        arduino_hal::delay_ms(500);
    }
}
I made one change, from 1000 ms to 500 ms. Otherwise it's a ½ Hz blinky, not a 1 Hz blinky. Now you can run the blinky:
$ cargo run
   Compiling avr-rust-blinky v0.1.0 (/home/ken/play/uC/avr/project/avr-rust-blinky)
    Finished `dev` profile [optimized + debuginfo] target(s) in 0.32s
     Running `ravedude target/avr-none/debug/avr-rust-blinky.elf`
       Board Arduino Uno
 Programming target/avr-none/debug/avr-rust-blinky.elf => /dev/ttyUSB0
Reading 262 bytes for flash from input file avr-rust-blinky.elf
Writing 262 bytes to flash
Writing | ################################################## | 100% 0.08 s
Reading | ################################################## | 100% 0.05 s
262 bytes of flash verified

Avrdude done.  Thank you.
  Programmed target/avr-none/debug/avr-rust-blinky.elf
     Console /dev/ttyUSB0 at 57600 baud
             CTRL+C to exit.
As you can see, the size of the executable isn't large at all, so there is very little overhead in this case.
Discussions
Become a Hackaday.io Member
Create an account to leave a comment. Already have an account? Log In.