mircemk

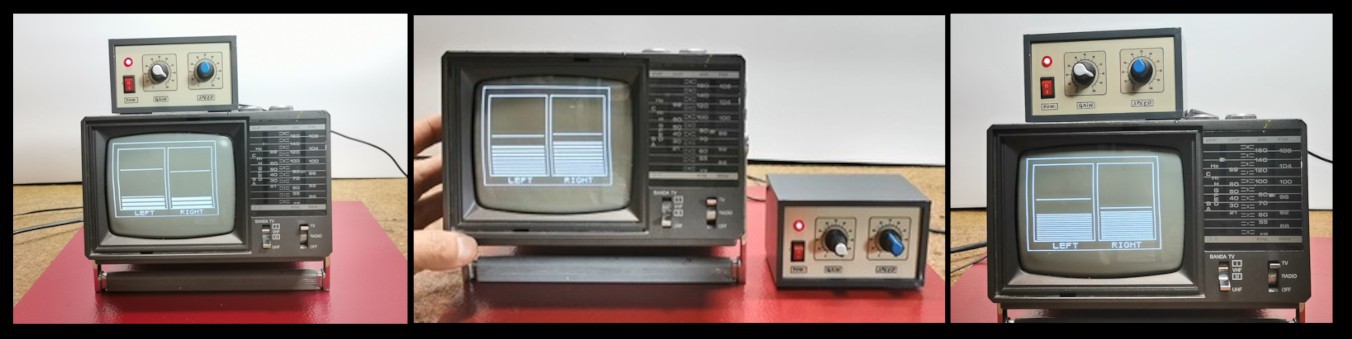
Some time ago in one of my projects I presented you a way to turn a black and white old mini TV into a Retro Clock. This time I will describe another project with which you can use your old TV and turn it into a beautiful video effect, and that is a full screen Stereo VU meter.
Again I will use the Arduino Nano microcontroller and the appropriate library for generating a composite signal. Most often, old TVs do not have a composite input, so we need to modify it in the way described in the previously mentioned video. This is probably the most complex part of the project, so in one of the next videos I will present you a much simpler universal way for the "composite in" option on old TV receivers.
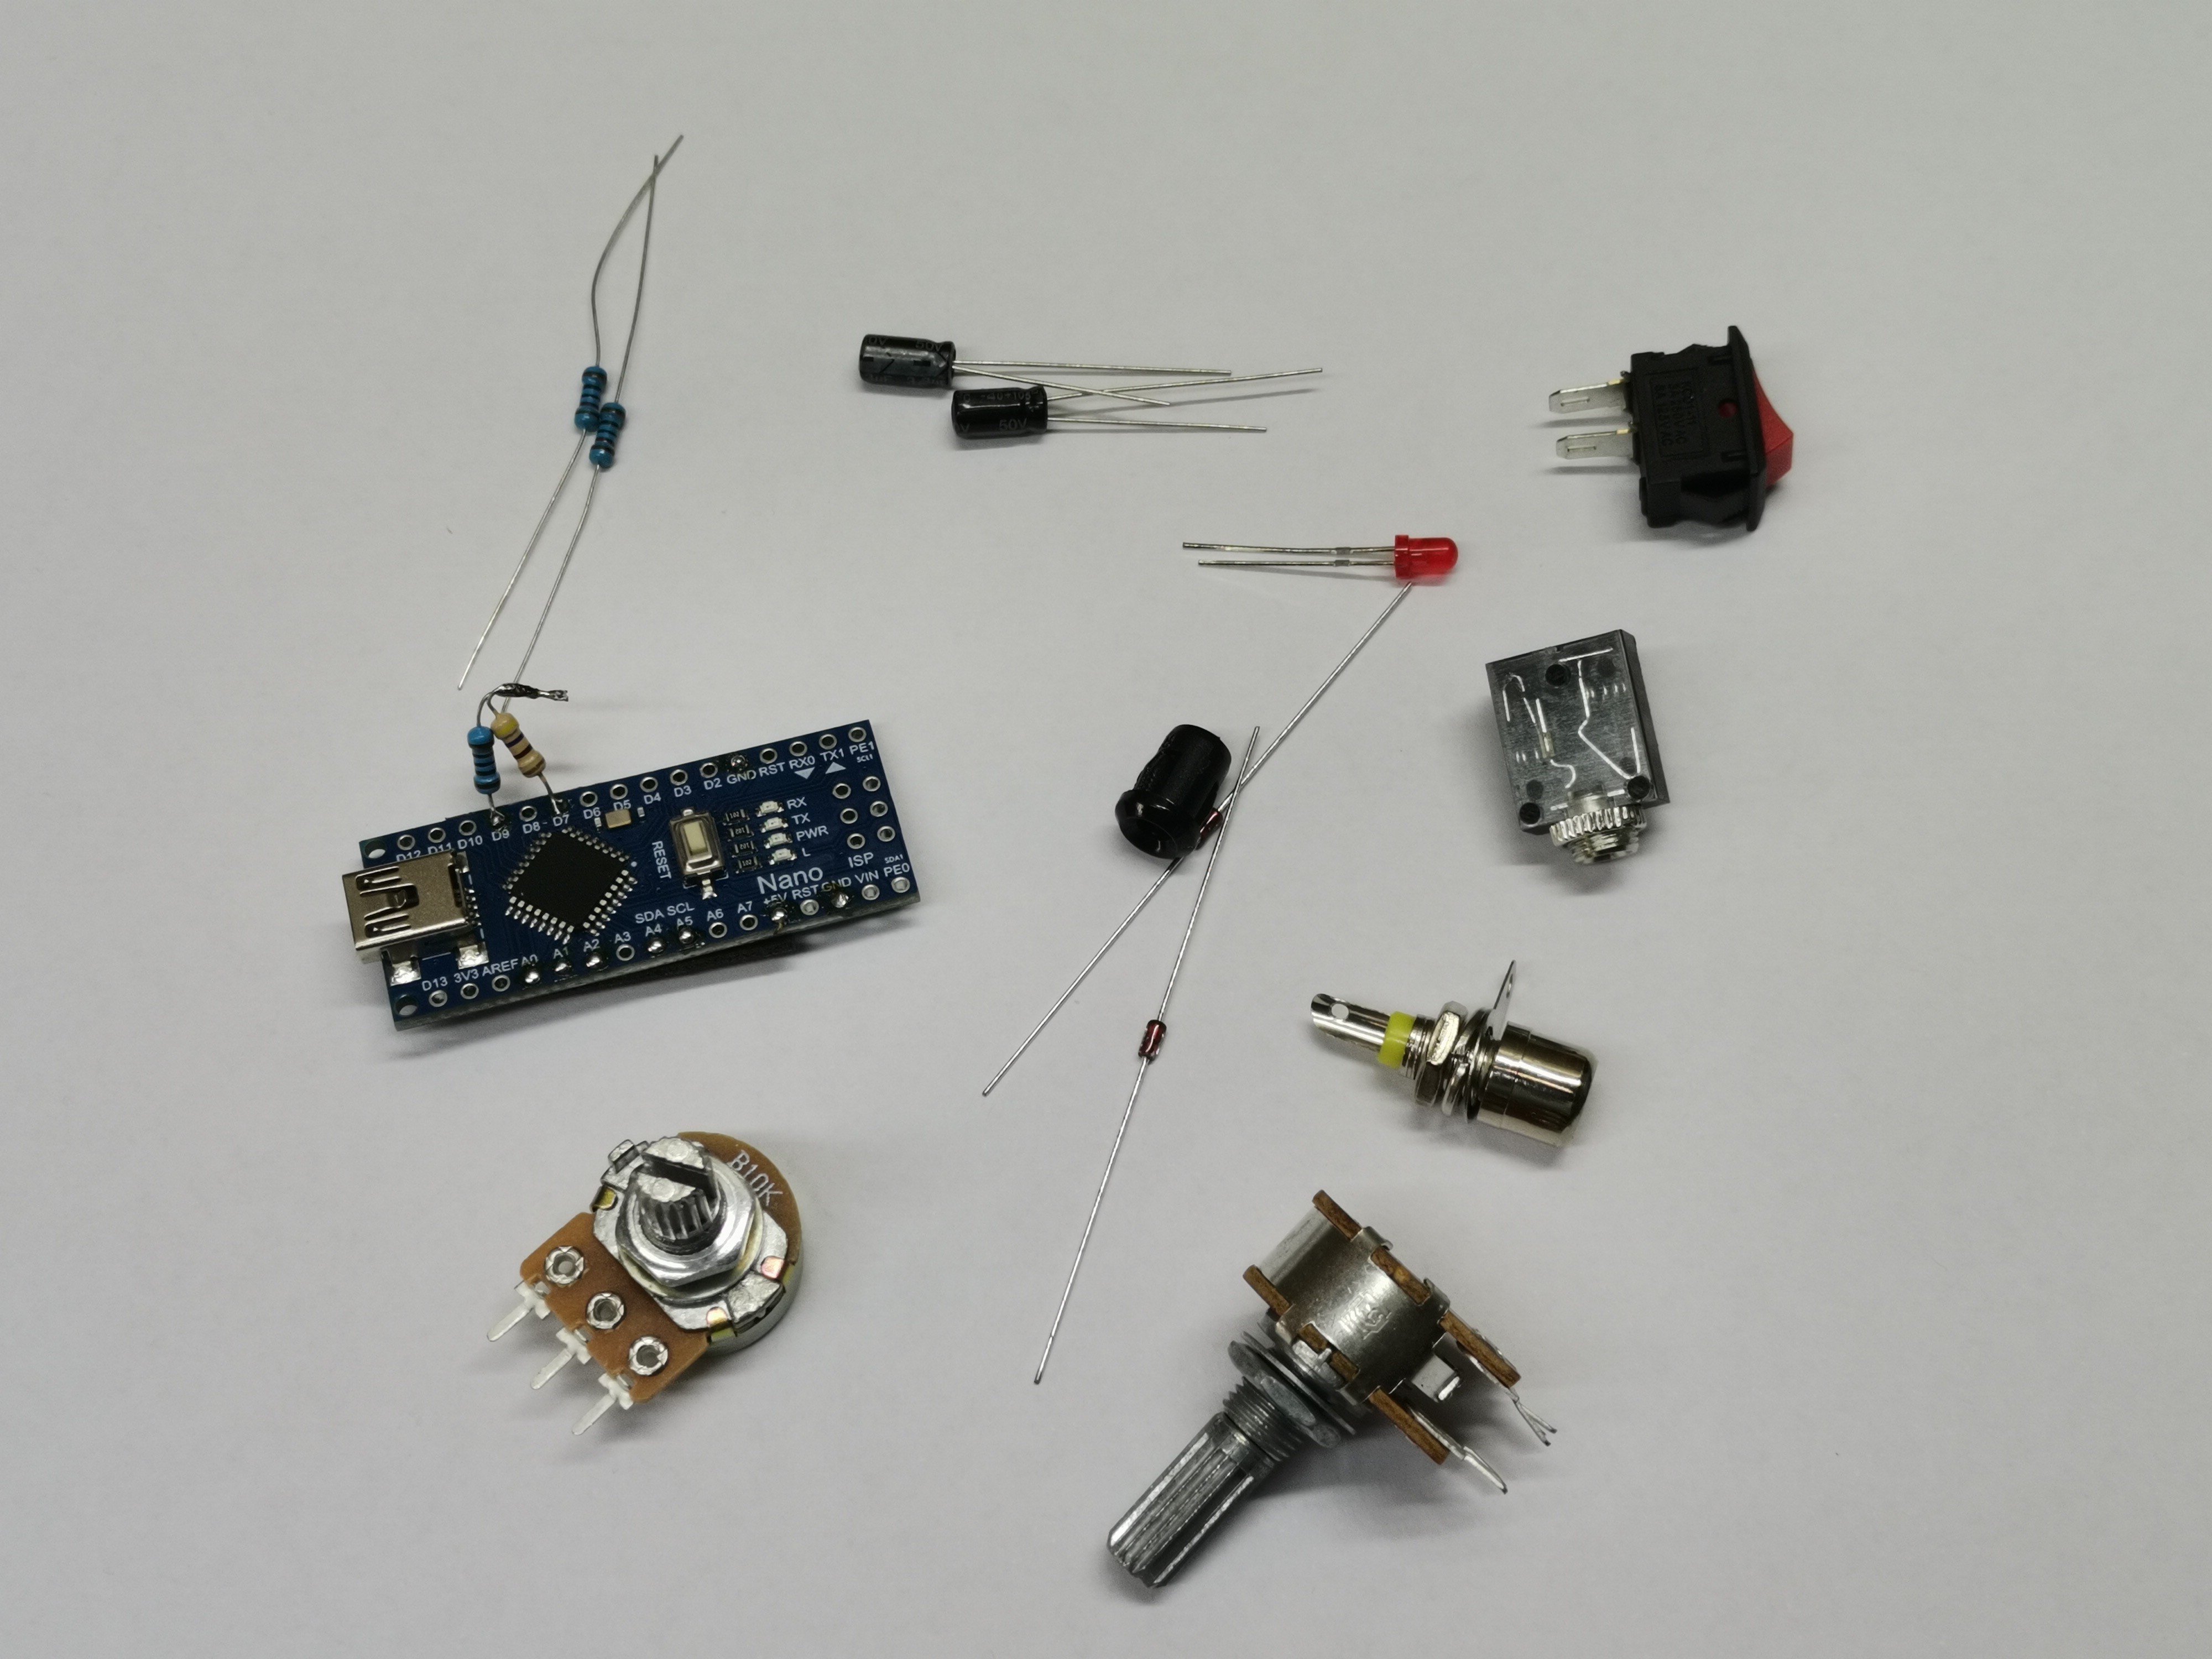
Otherwise, this device is extremely simple and consists of several components.
- Arduino Nano microcontroller board
- Potentiometer
- Two 1N4001 diodes
- two capacitors
- and four resistors
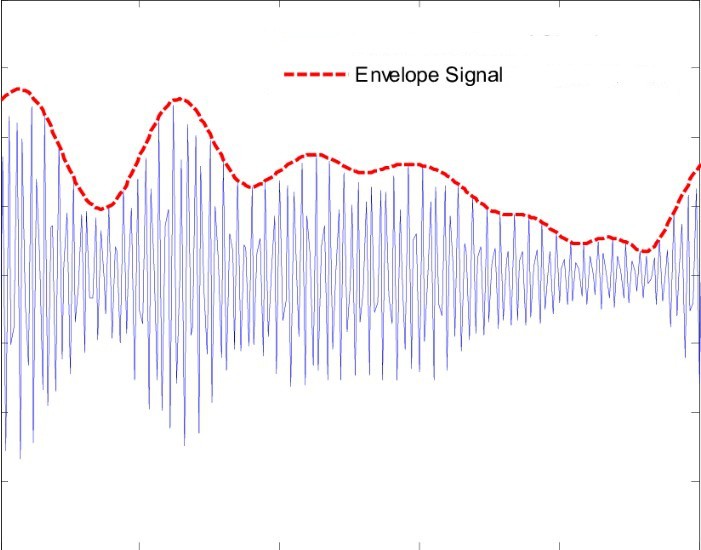
The input part of the circuit is a so-called Envelope Follower and constantly monitors the peak of the signal and sends it to the analog input of the Arduino.
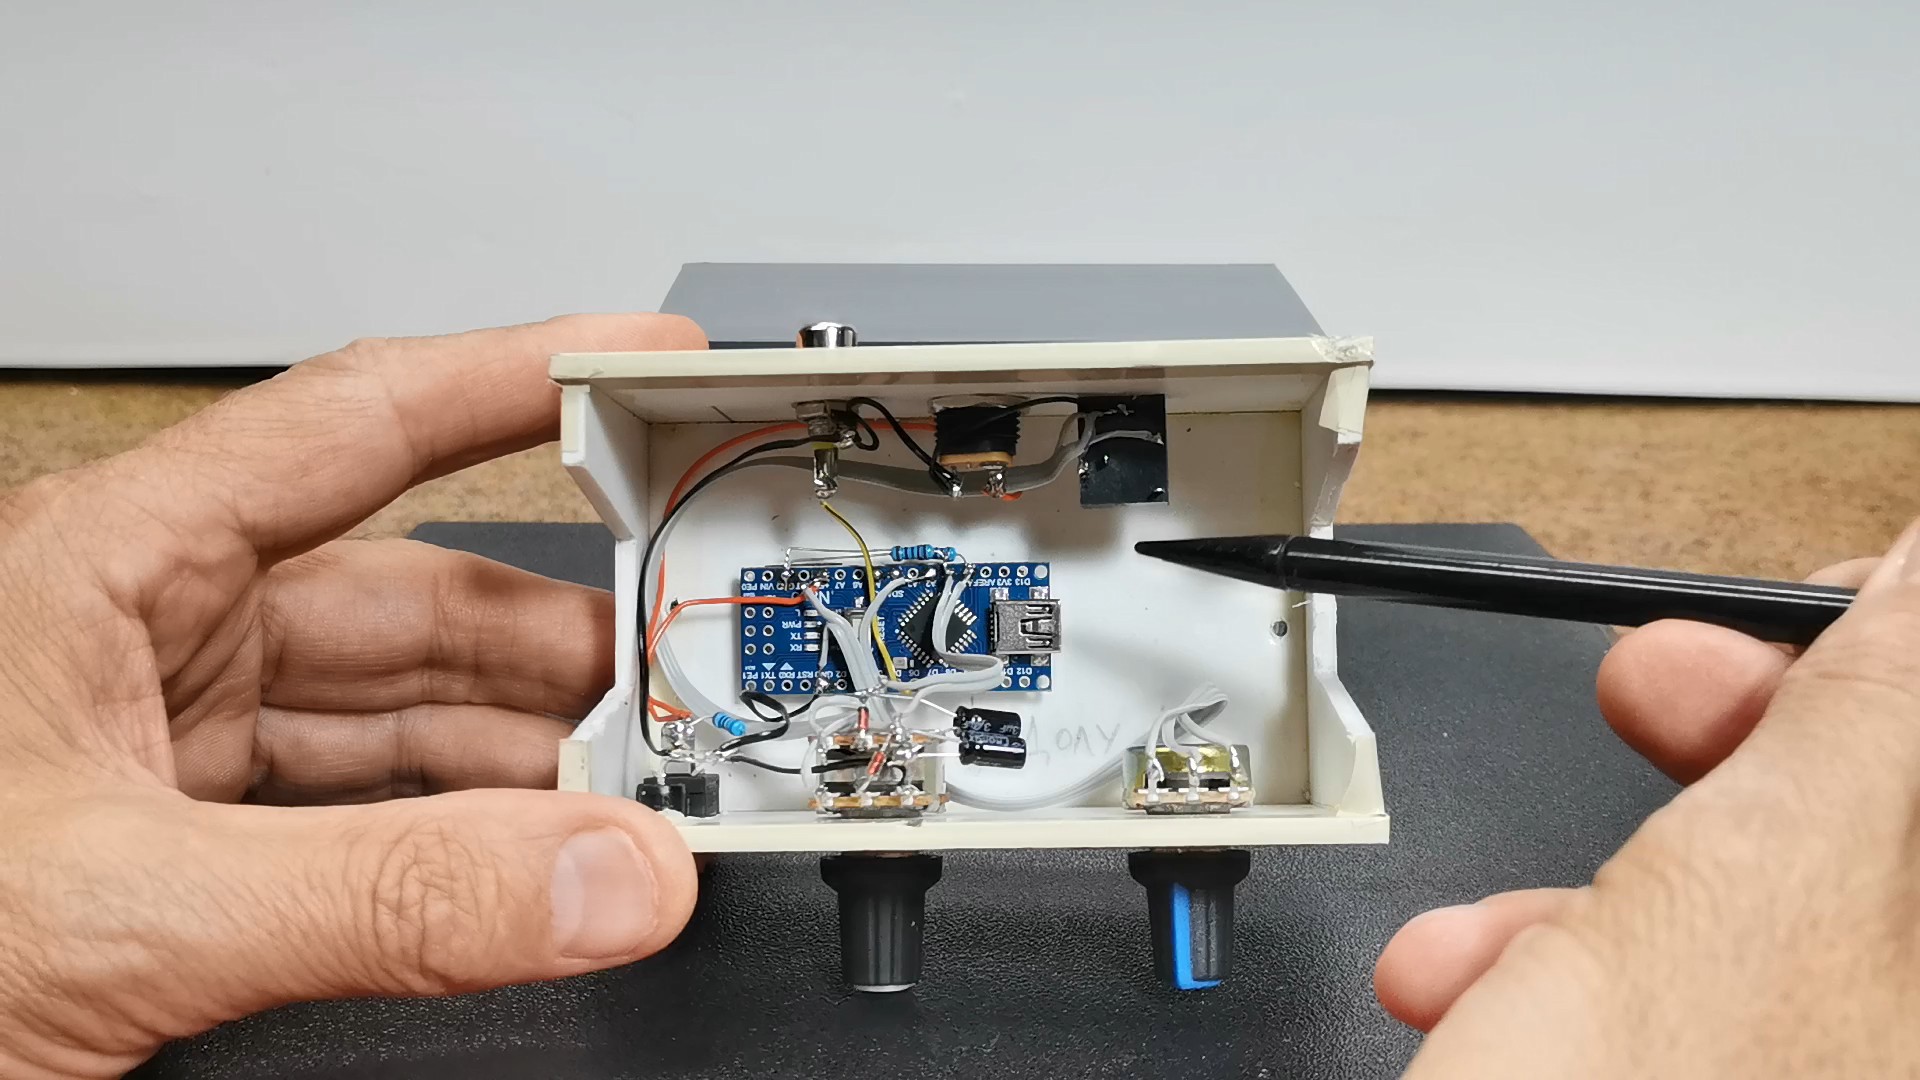
The two resistors connected to D7 and D9 in cooperation with the TVout library serve to generate a composite output video signal. The second potentiometer has a very interesting and at the same time useful function, and that is the regulation of the reaction speed in relation to the input signal and this visually means "smoothing" the displayed signal.
Now a few words about the software. Unlike my previous similar projects, where I used two microcontrollers, one for each channel, this time the signal from both channels is processed by one microcontroller, and all this for the sake of simplicity, because here we do not need precise measurements but only a visual impression. We can even completely eliminate the Envelope follower circuit and bring the signal directly to the Arduino inputs (preferably through 1 microfarad capacitors).
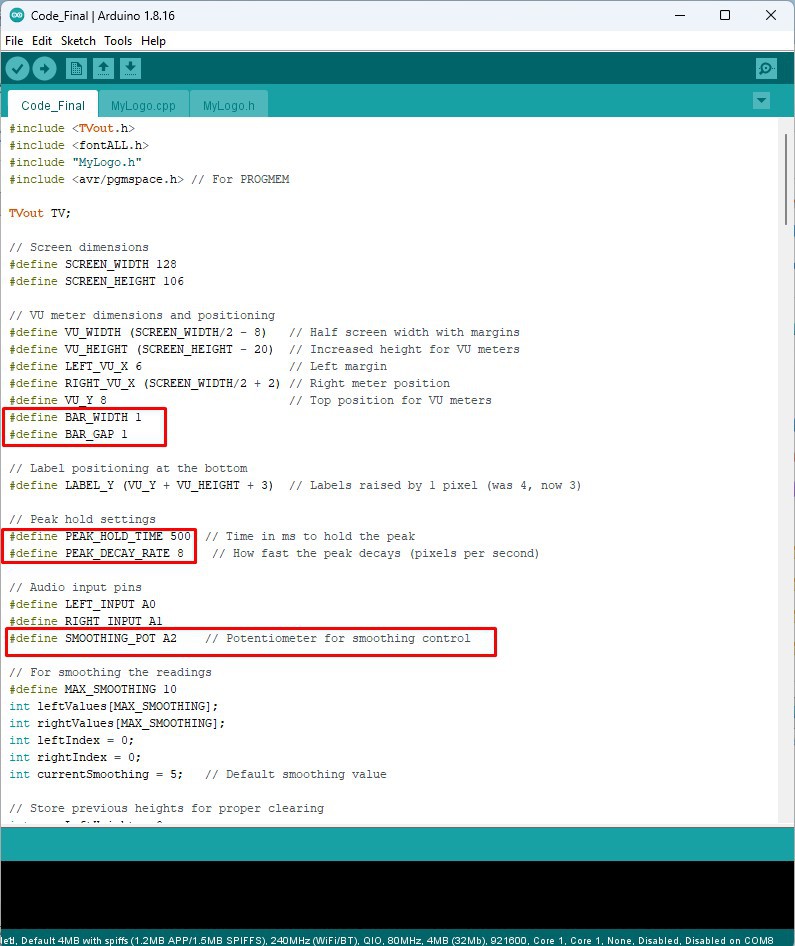
I designed the code in a way that allows you to easily change many parameters, starting from the thickness and distance between the bars, to the peak hold and decay time. You can also adjust the input sensitivity of the VU meter in the following way: float sensitivityGain = 5.0; // Adjust this value (1.0 = normal, 2.0 = 2x sensitivity ...). At first, I had the idea of a scale marked with decibels in the middle between the two channels, but then I left it out because this is just a visual effect, not a precise instrument.
Now let's see how this device works in real conditions.
As with the previous project, when starting, the title first appears, then my Logo, and finally the VU meter starts.
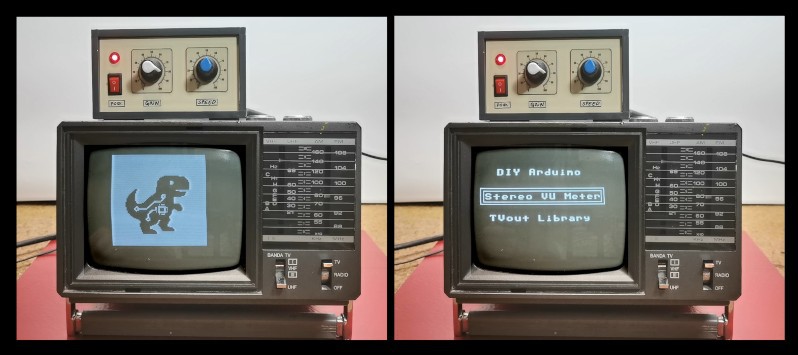
The Gain potentiometer adjusts the level of the input signal. Now you will see the influence of the other (smoothing) potentiometer. Moving the potentiometer to the left increases the speed of the bars' reaction, and vice versa, to the right decreases the reaction.
By changing the values
#define BAR_WIDTH 1
#define BAR_GAP 1
we can very easily create different shapes of the vu meter.
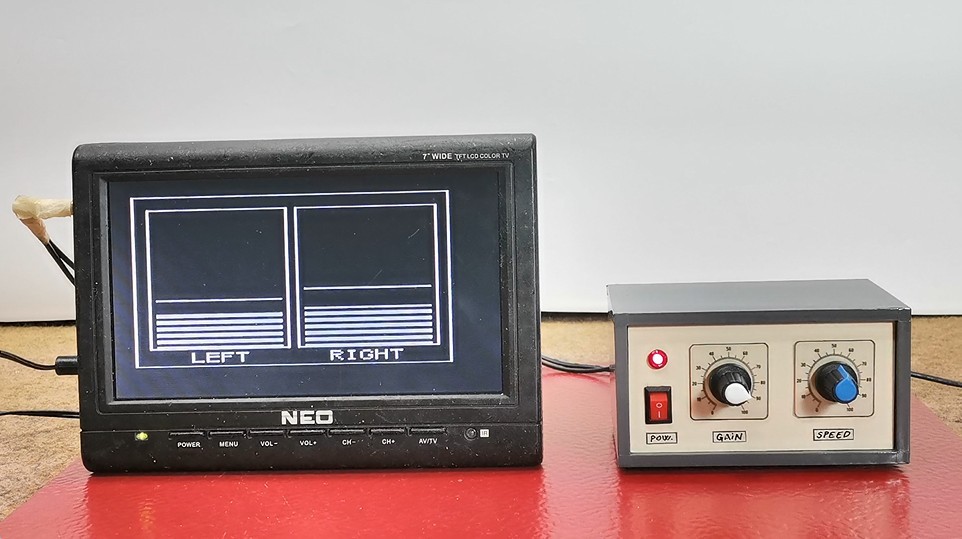
Here's what the VU meter looks like on my new Mini LCD TV with built-in composite input.
And finally a short conclusion. With this project, you can easily turn your old, useless TV into a beautiful retro video effect device.
 Julien